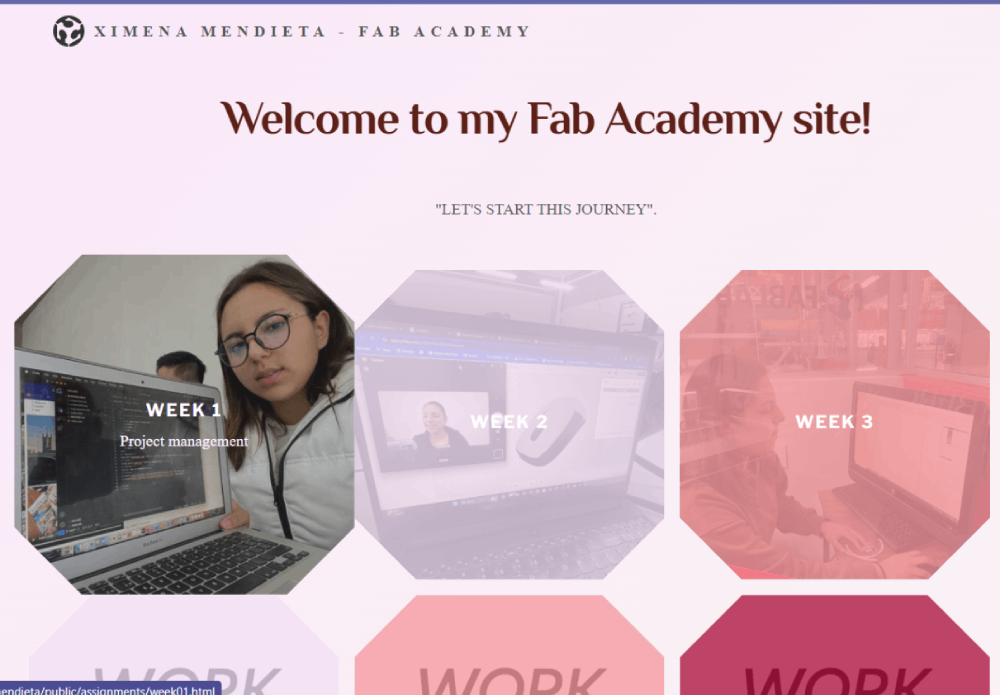
Week 1 : Website creation
During this week I learned basic codeing to complete the website page from the beginig, learning about Git and Vision. Giving my best to follow all the process and provide documentation with steps of how I creat my first repository
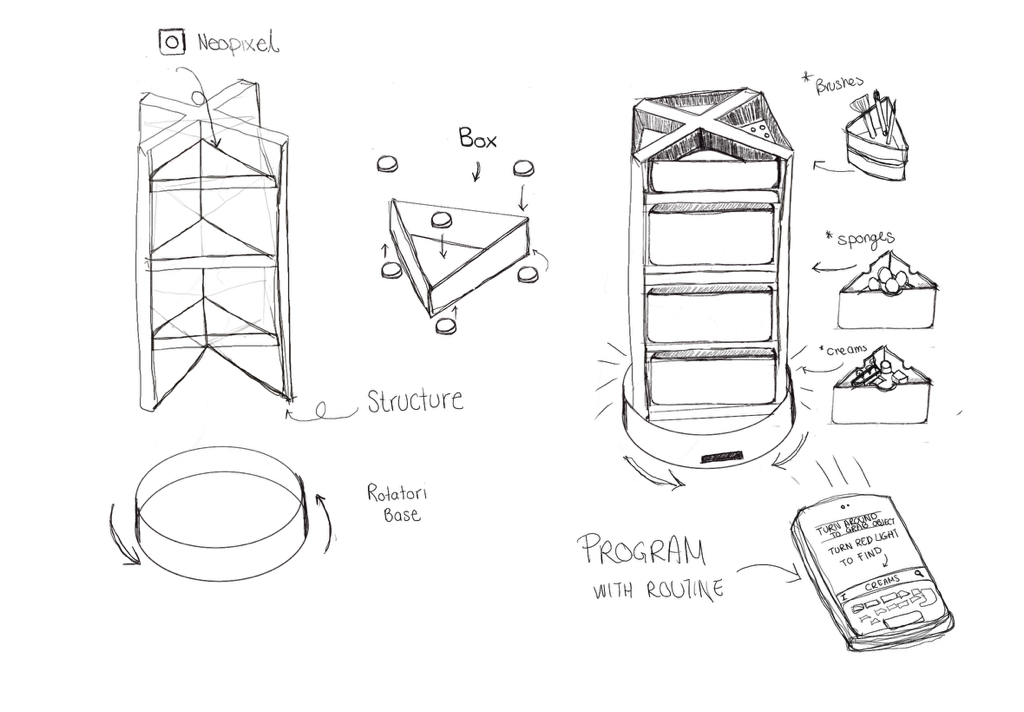
"Tool Finder"
Description
The Automated Rotary Organizer is a device engineered to transform the way you store, access, and organize objects. Utilizing advanced automation technology, this innovative organizer enhances convenience and efficiency in both home and office settings. With its intelligent design and user-friendly features, it streamlines the organization process, making it easier than ever to keep your space tidy and items readily accessible.
Gantt Chart
| Activity | Status | Start Date | Due Date | Duration |
|---|---|---|---|---|
| Research | Done | 01/01/2024 | 28/01/2024 | 6 days |
| Previous Works | Done | 01/01/2024 | 28/01/2024 | 6 days |
| Sketch | Done | 01/01/2024 | 28/01/2024 | 3 days |
| Define materials | Done | 29/01/2024 | 17/02/2024 | 5 days |
| Proto | Done | 18/02/2024 | 01/03/2024 | 5 days |
| Make PCB | Done | 02/03/2024 | 15/04/2024 | 4 days |
| Design Interface | Done | 16/04/2024 | 20/04/2024 | 7 days |
| Program | Done | 21/04/2024 | 30/04/2024 | 10 days |
| Print and Cut pieces | Done | 21/04/2024 | 30/04/2024 | 8 days |
| Slide | Done | 02/03/2024 | 15/04/2024 | 2 days |
| Test | Done | 01/05/2024 | 05/05/2024 | 2 days |
| Assemble | Done | 01/05/2024 | 13/05/2024 | 4 days |
| Final Touches | Done | 01/05/2024 | 13/05/2024 | 5 days |
| Video | Done | 14/05/2024 | 19/05/2024 | 2 days |
| Presentation | Done | 20/05/2024 | 10/06/2024 | 1 day |
Basic concepts to start
- HTML
- CSS
- Java Script
- Terminal
- GitLab
- Visual Code
- git init
- git clone [repository URL]
- git add [file] or git add
- git commit -m "commit message"
- git status
- git push
- Download Git and Install:
- Visit the official Git website (Git) and download the version of Git compatible with your operating system.
- After that download Visual software(VisualStudio) and download the version compatible with your operating system.
- Follow the installation instructions provided for your operating system.
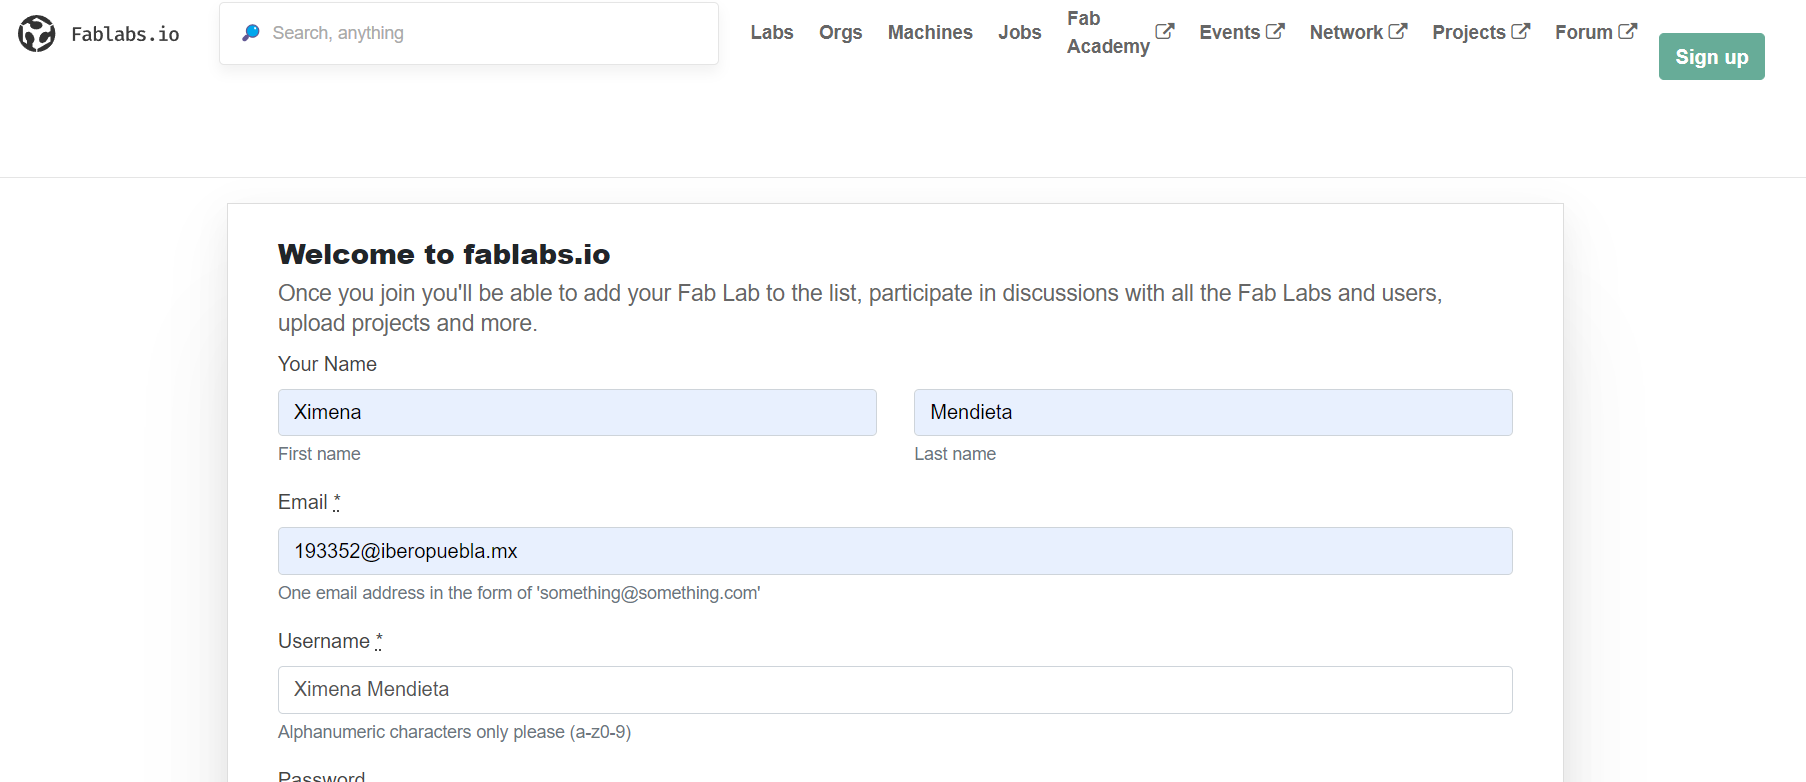
- Set Up GitHub Account:
- First I sign up for a GitHub account at GIT.
- Once registered, I log in to my account.
- And download the pretemplate.
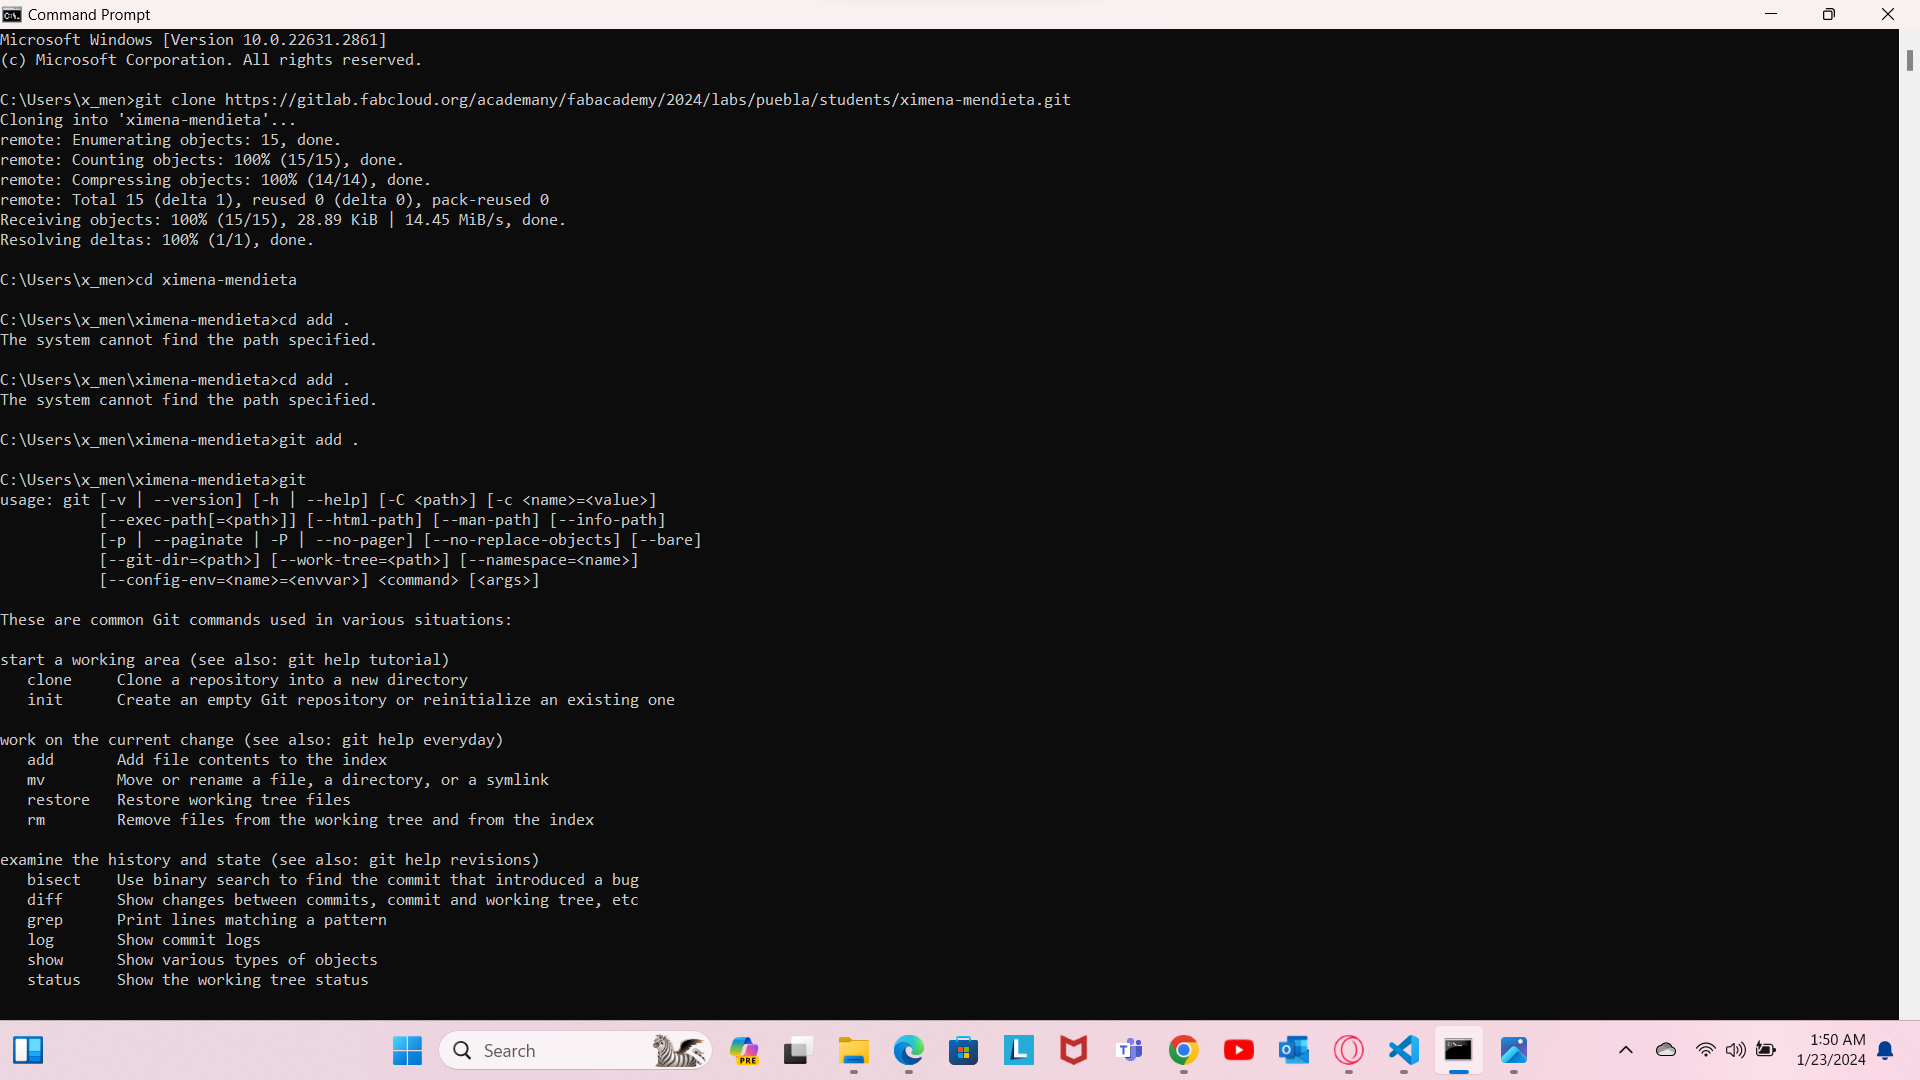
- Open Terminal (or Command Prompt on Windows):
- Launch the terminal application. On macOS, you can find Terminal in Applications > or use the default terminal emulator.
- On Windows,use Git Bash, which comes bundled with the Git installation but I personally used Command Promts due its simmilar to Terminal.
- Clone the Repository:
- Once I downloded the sorce code i went to a directory where I store the project files. Then i used the
cdcommand. - I also tried to clone the repository from GitHub using the
git clonecommand followed by the repository URL. For example:
git clone https://github.com/username/repository-name.git - Then replace the
usernamewith my GitHub username andrepository-namewith the name of the repository you want to clone. - And with the starting code also change my name among other things
- Once I downloded the sorce code i went to a directory where I store the project files. Then i used the
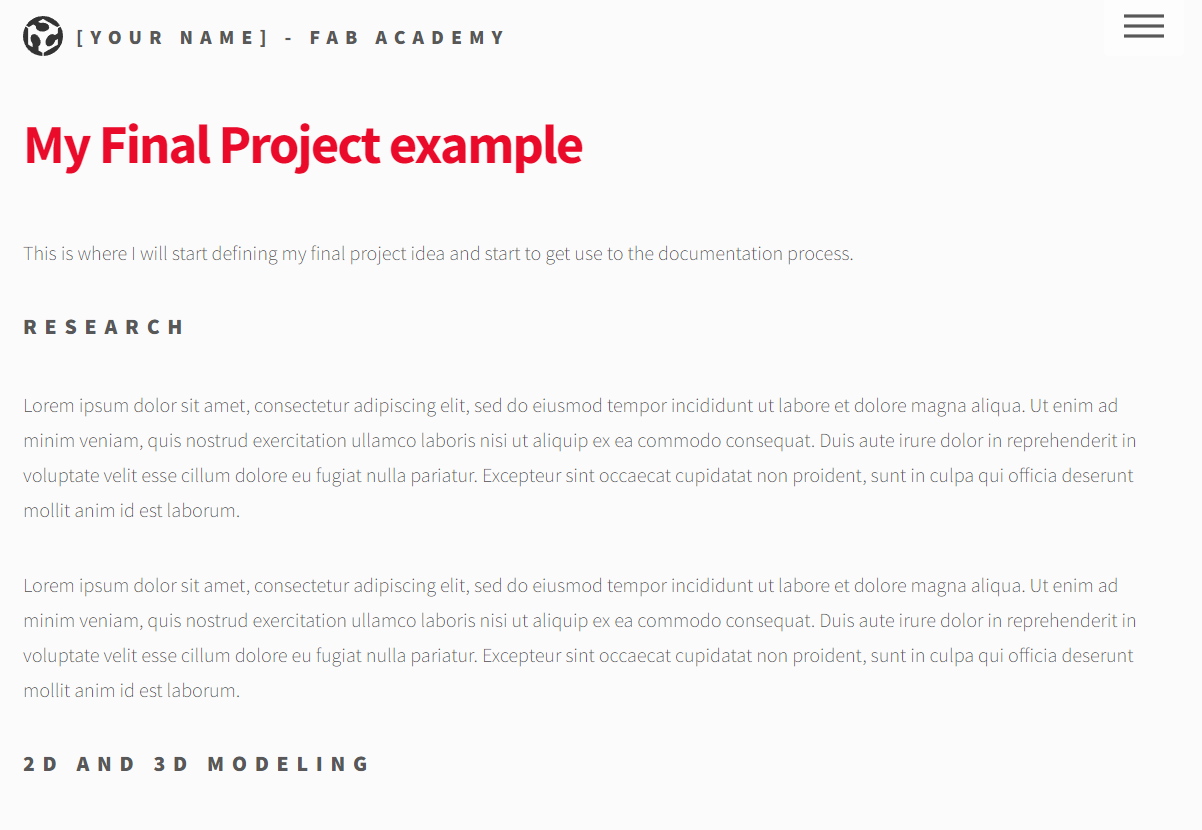
- Edit Characteristics:
- Open the
index.htmlfile in your text editor. - Add HTML markup to create the structure of your web page.
- Customize the content and styling of your page using HTML and CSS.
- Open the
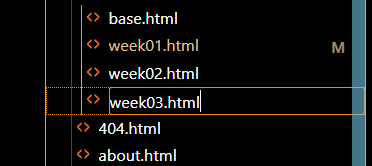
- Create the Weeks:
- Then I had to navigate the cloned repository directory using the
cdcommand. - And in the Explorer I selected a new file
week#.htmlI edited the indextouch week#.html.
- Then I had to navigate the cloned repository directory using the
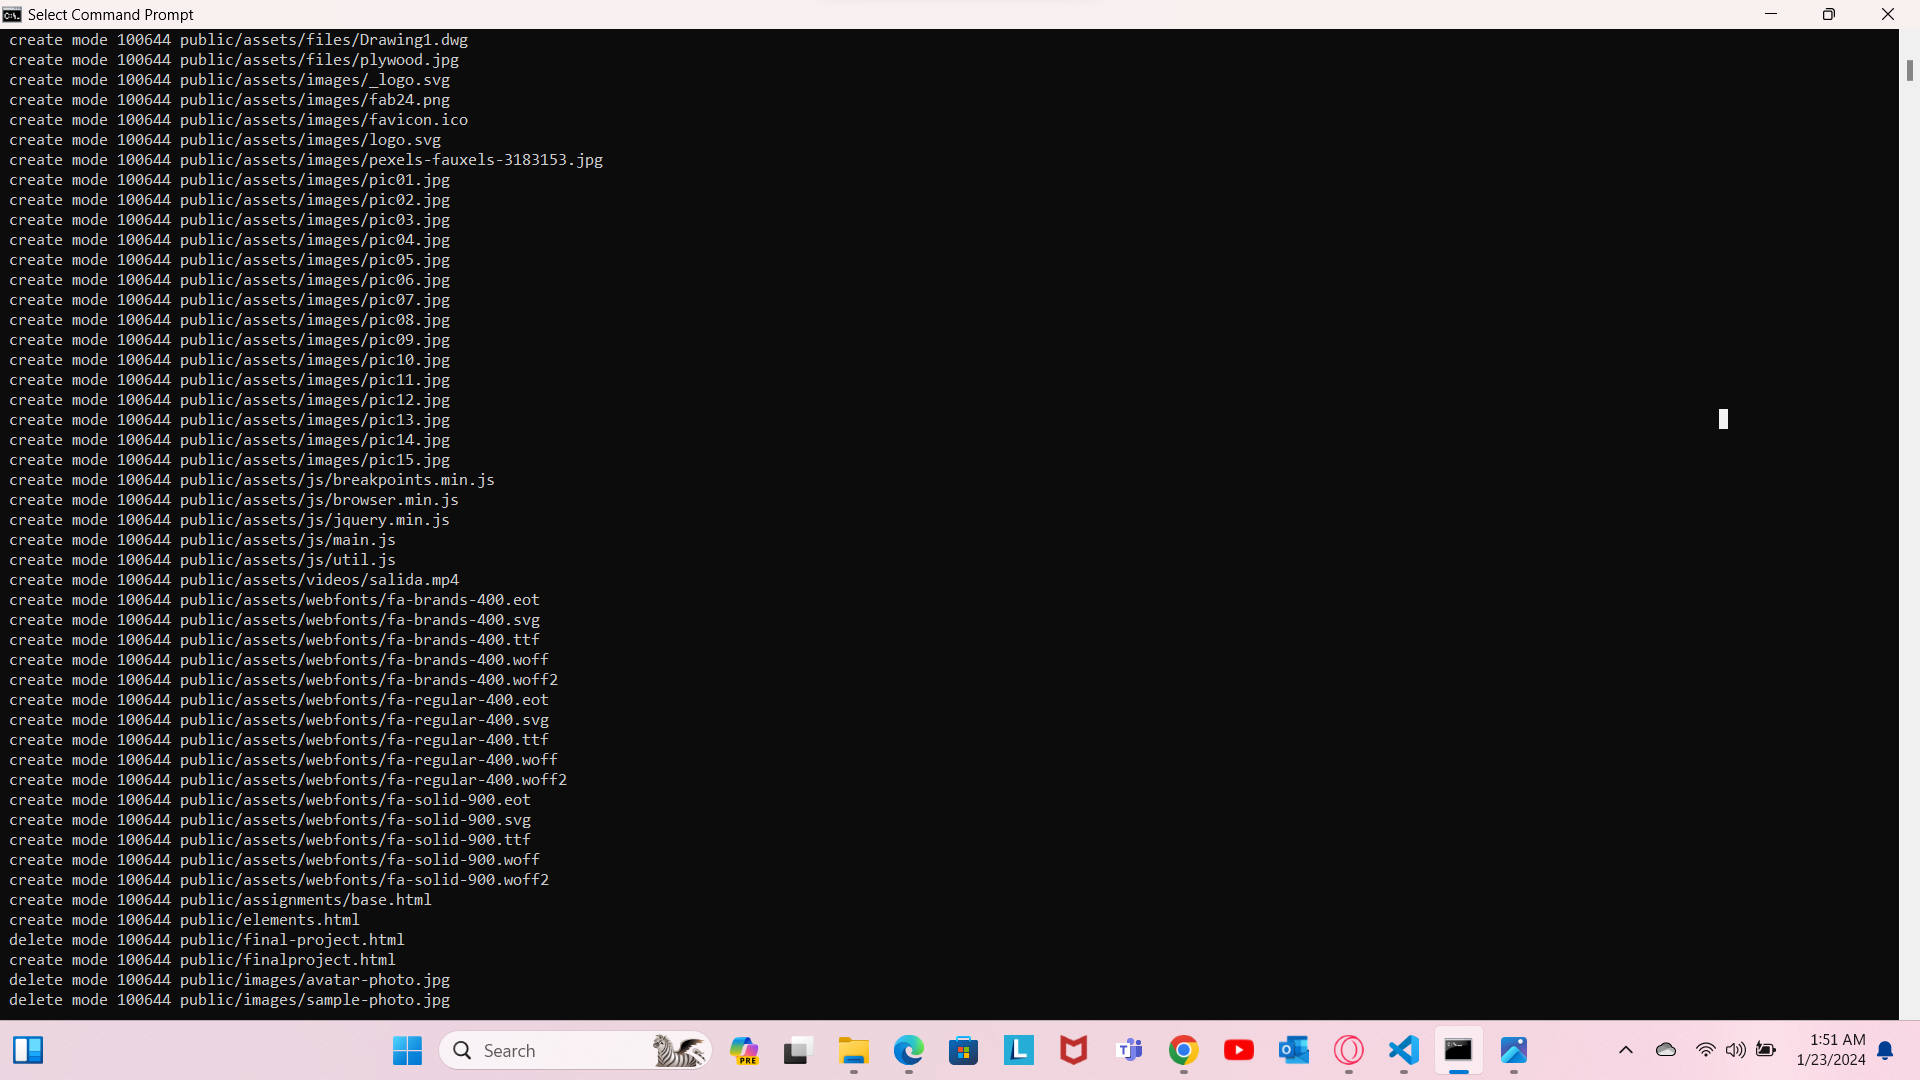
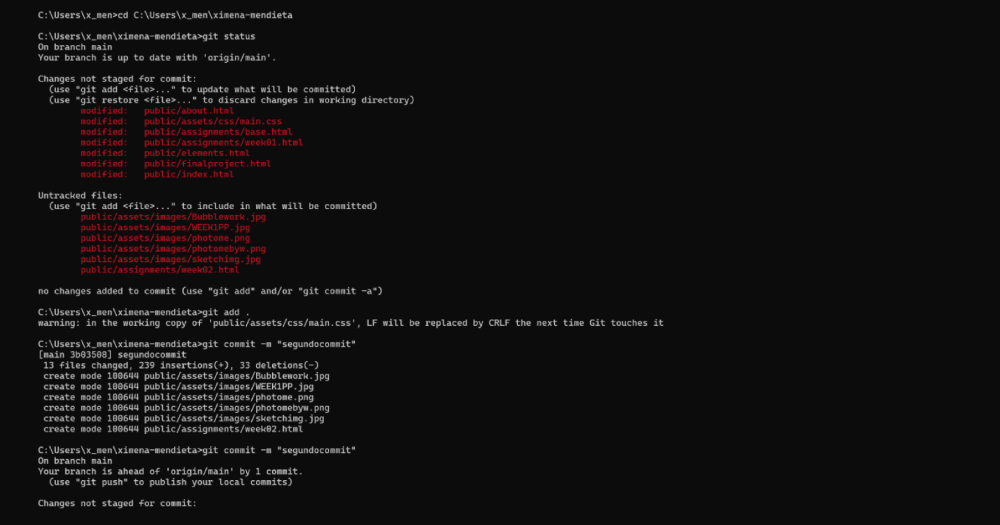
- Save Changes and Commit:
- Save the changes to the
index.htmland in all the pages created - In terminal, I used the
git statuscommand to view the changes I've made. - Add the modified file to the staging area using the
git addcommand:
git add index.html - Commit the changes to local repository with a descriptive message:
git commit -m "firstcommit""secondcommit"thirdcommit"
- Save the changes to the
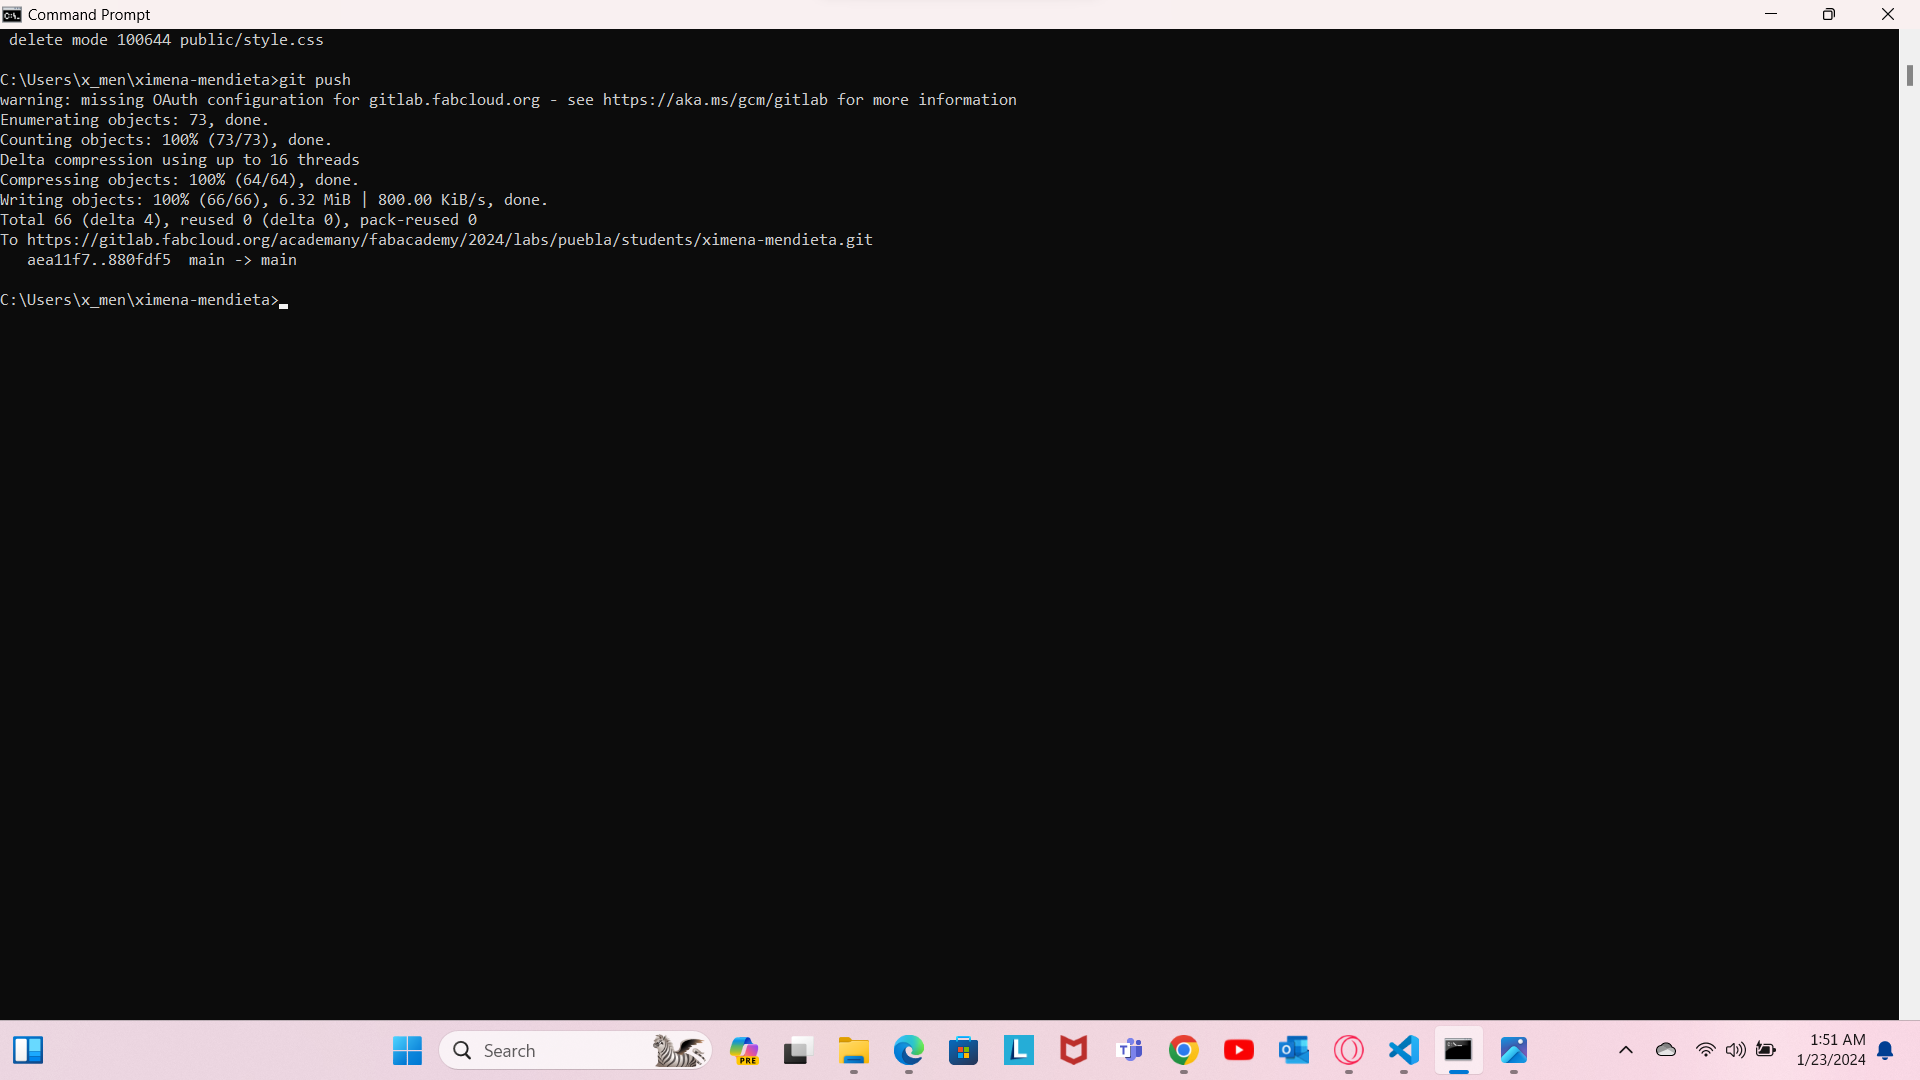
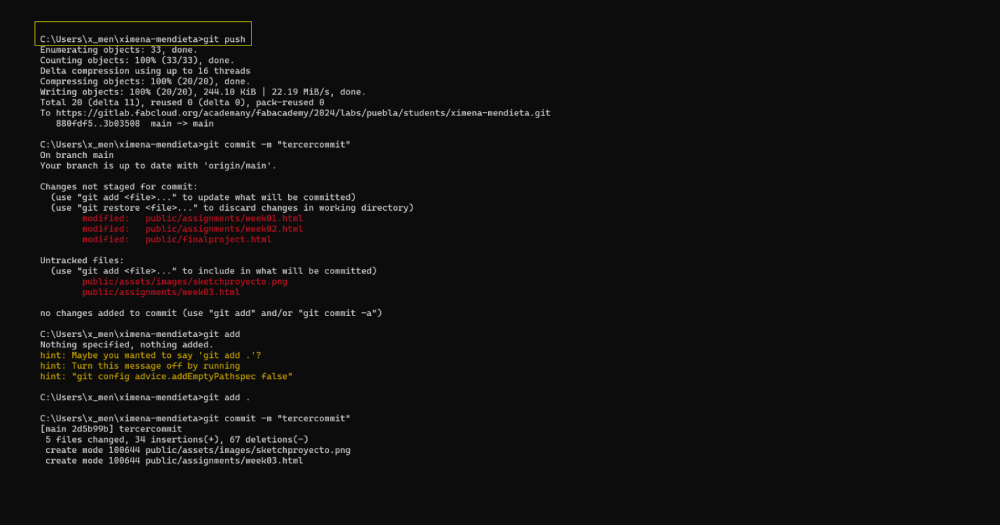
- Push Changes to GitHub:
- Push your committed changes to the GitHub repository using the
git pushcommand:
git push origin main - Replace
mainwith the name of the branch you're working on (e.g.,masterormain).
- Push your committed changes to the GitHub repository using the
- Verify Changes on GitHub:
- Affter all that go to the link of the original page to verigy all the changes *I had some issues with the push specificly with some images*.
- Choose a Version Control System: First, you need to select a version control system that suits your needs. Git, SVN, Mercurial, and others each have their own strengths and weaknesses.
- Set Up a Repository: In most version control systems, you start by creating a repository, which is a centralized location where all your files and their versions will be stored. This can be done locally on your computer or on a remote server, depending on the system you're using.
- Add Files to the Repository: Once your repository is set up, you add the files you want to track to it. This is typically done by "committing" the files to the repository, which creates an initial version.
- Make Changes and Commit: As you work on your files, you make changes to them. After completing a set of changes, you "commit" those changes to the repository. Each commit represents a snapshot of the files at a particular point in time, along with a description of the changes made.
- View History and Diffs: You can view the history of your files to see all the changes that have been made over time. You can also compare different versions of files to see what exactly changed between them.
- Branching and Merging: Version control systems often allow you to create branches, which are separate lines of development. You can work on new features or experiments in a branch without affecting the main project. When you're ready, you can merge your changes back into the main project.
- Collaboration: Version control enables collaboration among team members. Multiple people can work on the same files simultaneously, and the system will manage conflicts and ensure that everyone's changes are incorporated correctly.
- Reverting Changes: If you need to undo a set of changes, you can revert back to a previous version of the files. This is particularly useful if you discover a bug introduced in a recent change.
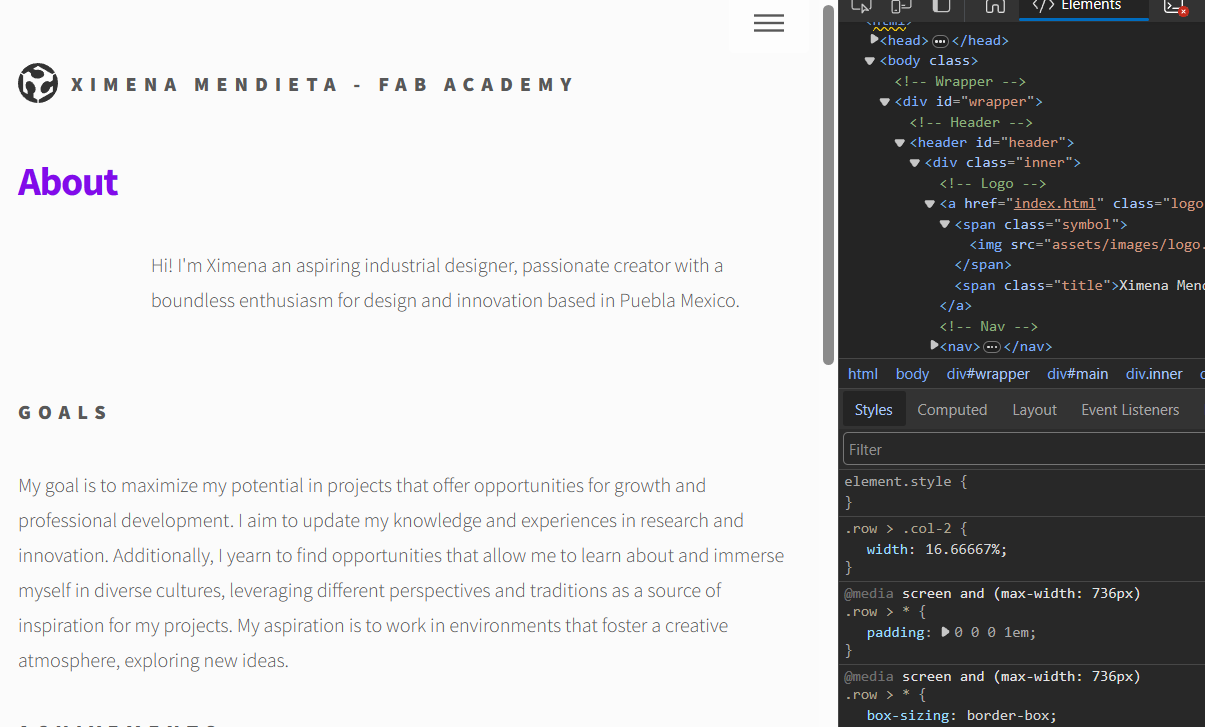
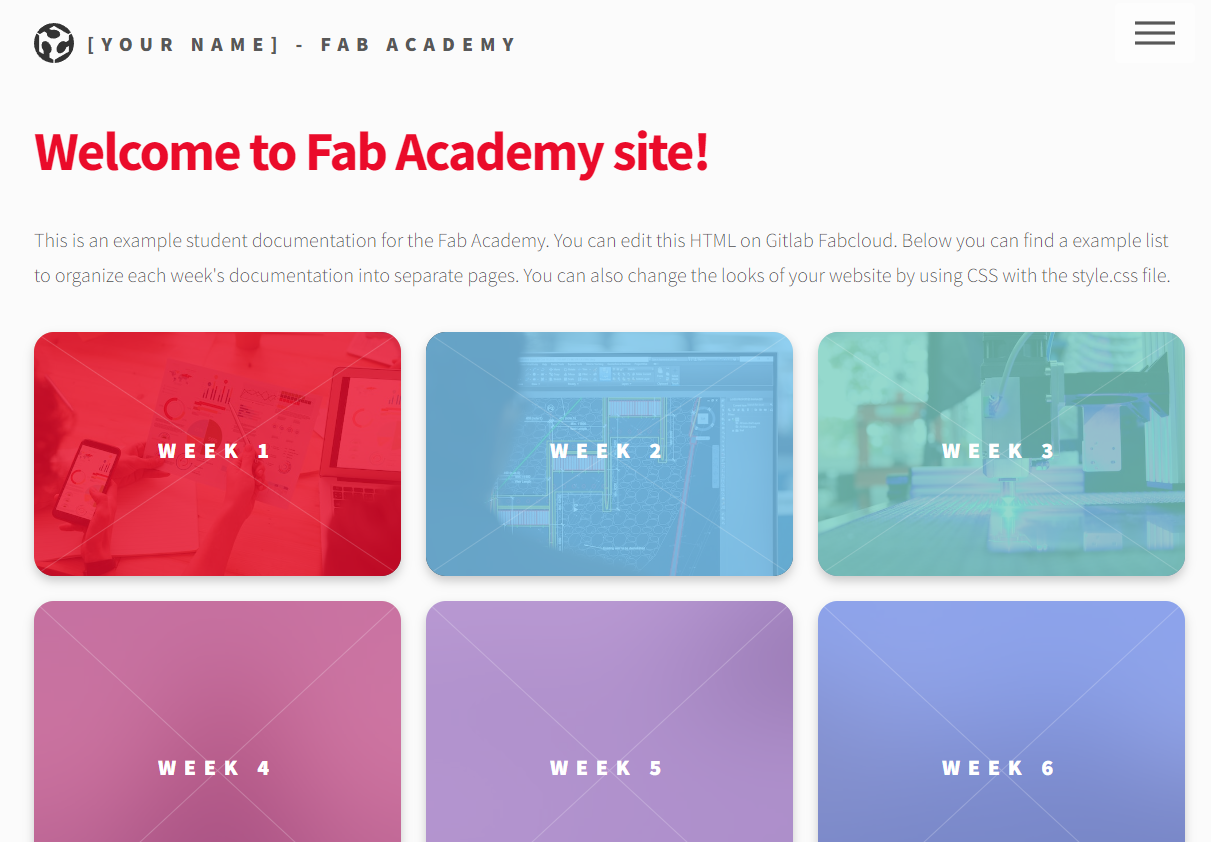
- Before and after:
- This is how the template locked, then how this is how it is so far.
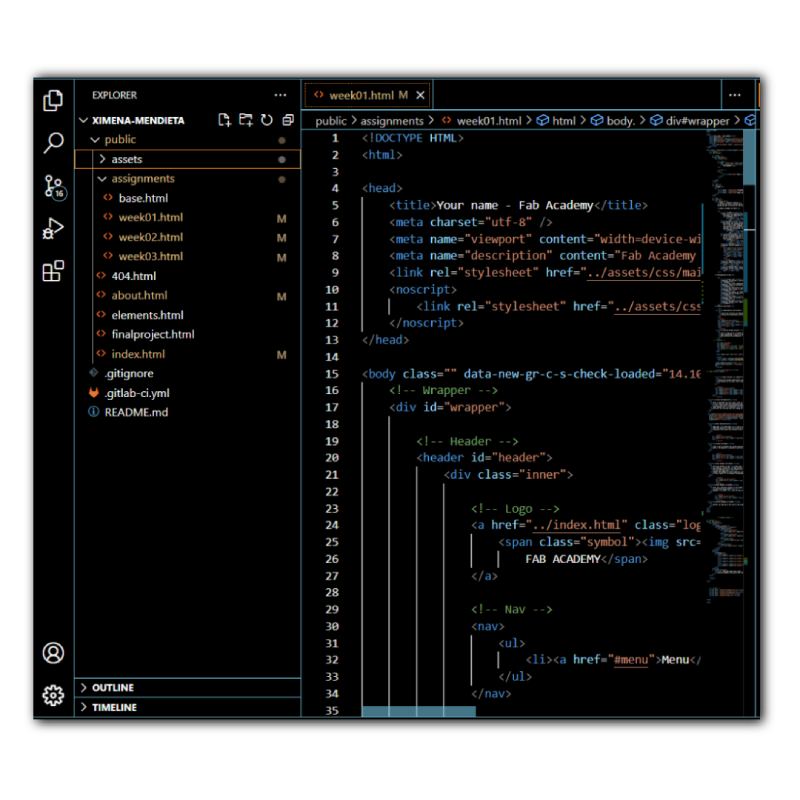
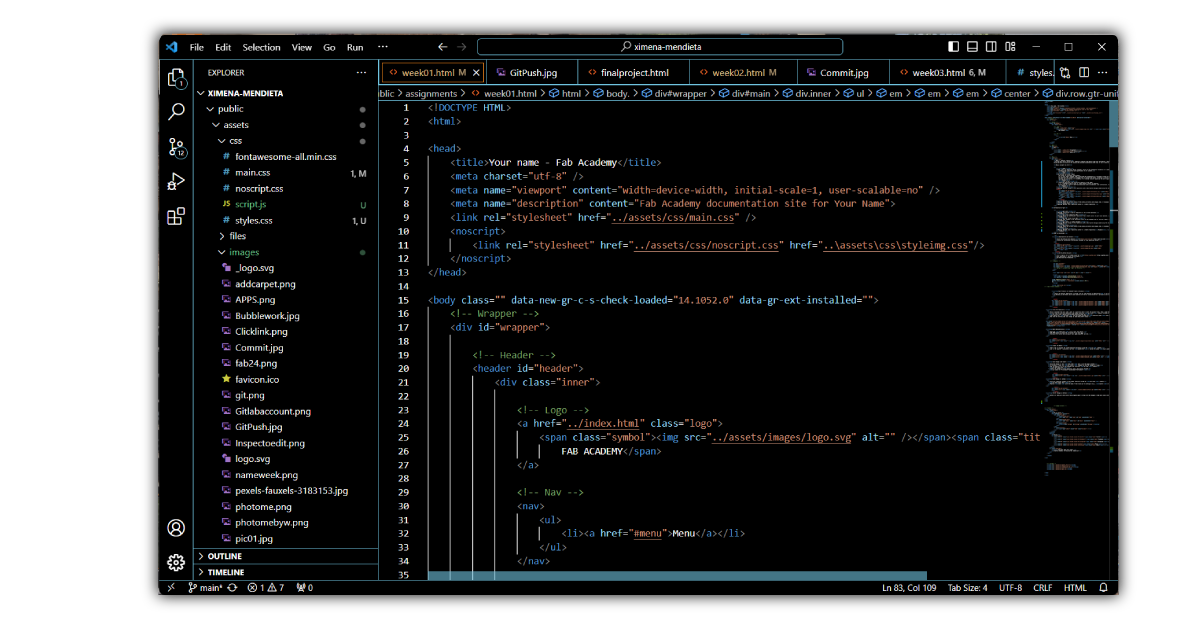
HTML, short for HyperText Markup Language, serves as the fundamental foundation of a website, providing the organization and significance of its content.
Example
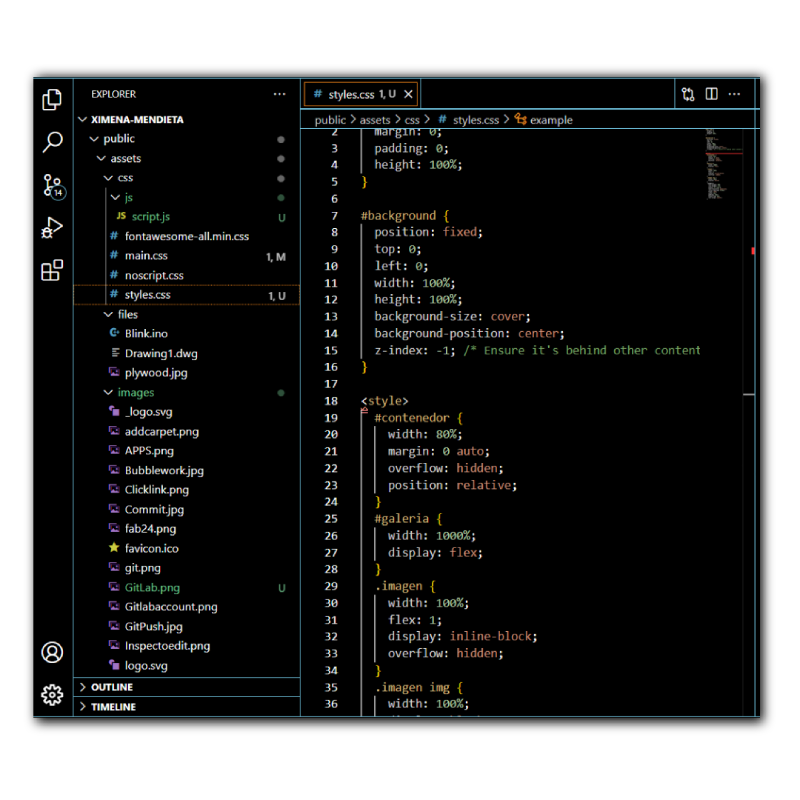
CSS defines the visual layout CSS stands for Cascading Style Sheets. It's a style sheet language used to describe the presentation of a document written in a markup language like HTML. CSS separates the content of a webpage from its design and layout, allowing to control aspects such as fonts, colors, spacing, and positioning. It's essential for creating visually appealing and well-organized websites
Example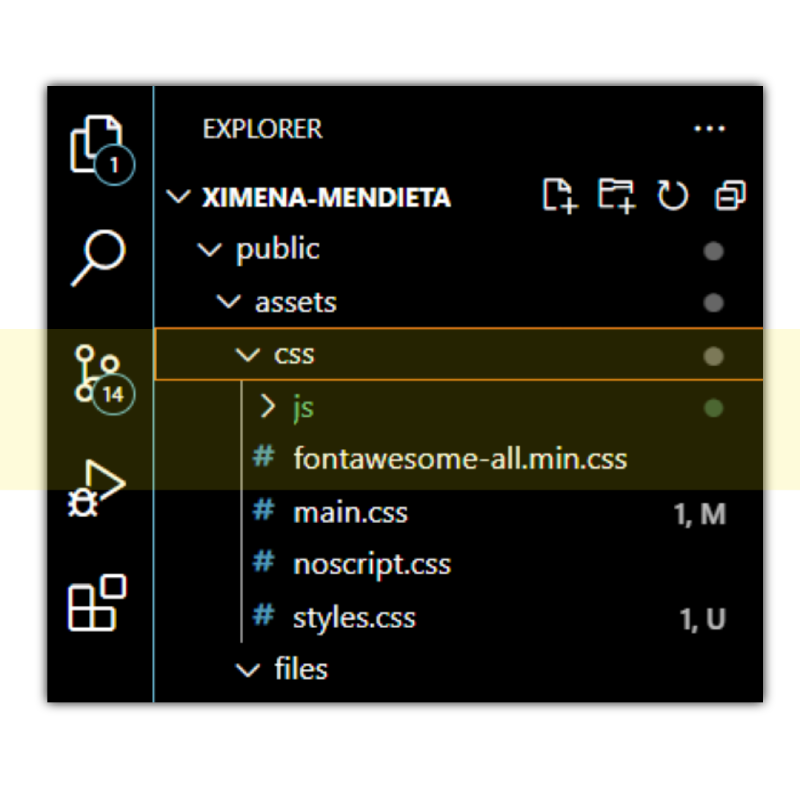
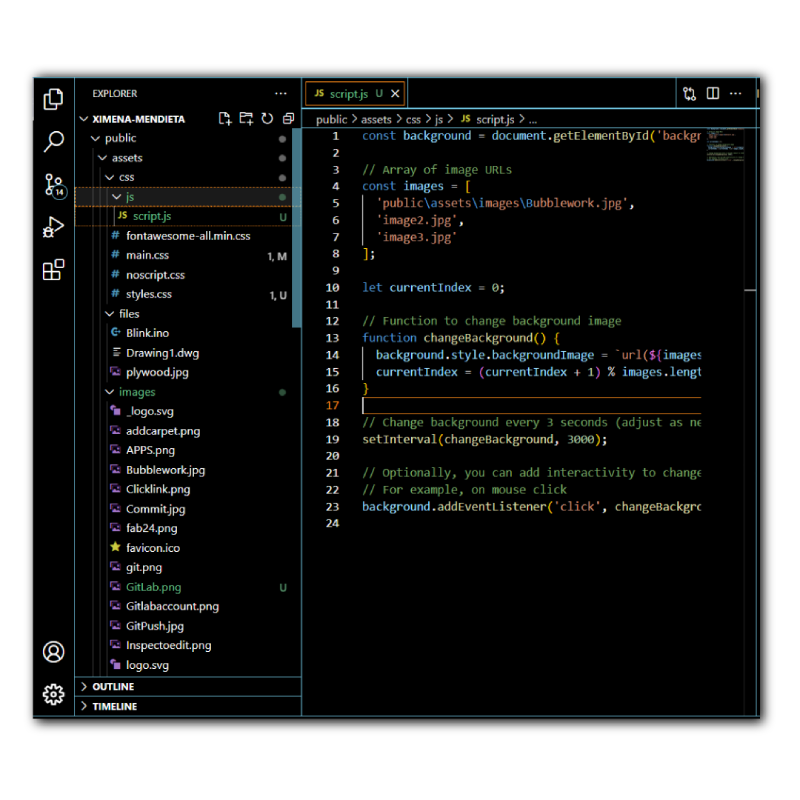
JavaScript determines the interactive behavior of web pages. It is a language primarily used to create dynamic content on websites. Mostly works as a space to add functionalities such as animations, user interactions, form validation, and much more.
Example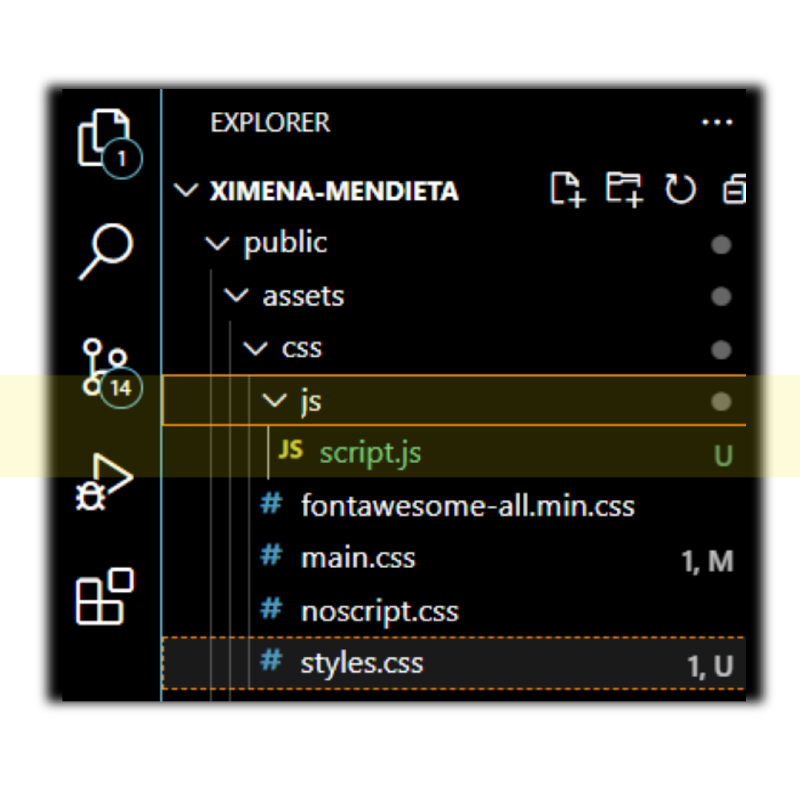
Terminal as a use refers to interacting with a computer's operating system through a text-based interface, typically using a program called a terminal emulator. Like a time line of your progress.


GitLab is a web-based DevOps platform that provides Git repository management, continuous integration/continuous deployment (CI/CD) pipelines, issue tracking, and collaboration tools for software development teams.

Visual Studio is an integrated development environment (IDE) created by Microsoft, primarily used for software development. It supports various programming languages and offers features such as code editing, debugging, version control integration, and collaboration tools.
Introduction of git
Meaning: Initializes a new Git repository in the current directory.
ExampleMeaning: Copies an existing Git repository from a remote source to your local machine.
ExampleMeaning: Adds changes in the specified file(s) to the staging area for the next commit. The . option adds all changes.
ExampleMeaning: Records changes to the repository with a descriptive message summarizing the changes made..
ExampleMeaning: Shows the current status of the working directory and staging area. It displays which changes are staged, unstaged, or untracked..
ExampleMeaning: Uploads local repository content to a remote repositoryExample.
ExampleStep by Step Guide:


Initial Template Setup
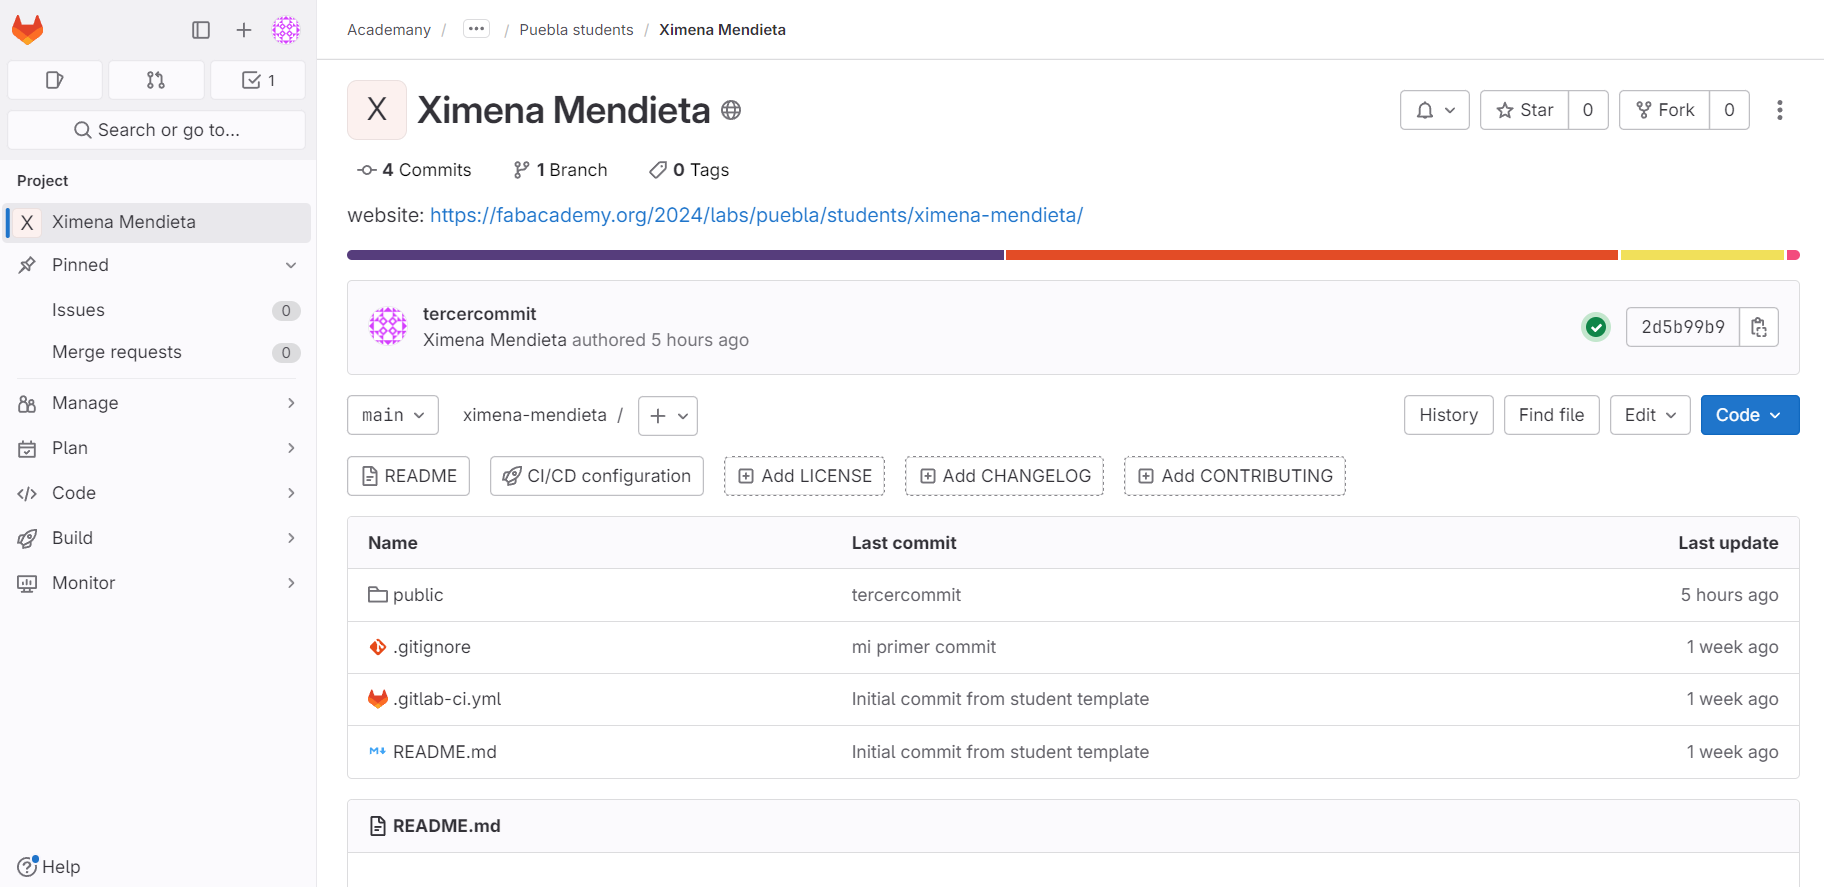
With a solid understanding of HTML and CSS, I was ready to tackle the project. Prof. Rafael provided a template that served as my starting point. The template can be found in the following link.
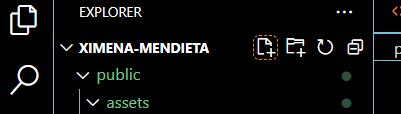
Figure 06. Creation of the local folder where the repository will be cloned into:
To start uploading things into my repository, first I needed to establish my username and email adress that were provided by FabAcademy. This step is essential since without the username and password Git won't be able to push and commit any changes I've made.
Figure 07. Commands to establish username and email adress
To work on the template we must clone the source code of the project on our local machine with the next command:
Figure 08. Command to clone the template into our repo
Review Version Control if necesary
Version control is a system that manages changes to files over time. It allows you to track modifications to your code, documents, or any other files, preserving a history of all changes made. This history includes who made each change, when it was made, and what exactly was changed. Version control is essential for collaborative projects, enabling multiple people to work on the same files simultaneously without fear of conflicts or loss of work. It also provides mechanisms for reverting files back to previous states, comparing different versions, and branching out new features or experiments while keeping the main project stable.
How to Use Version Control:

Reflection Summary
This week, I delved into basic coding to create a webpage from scratch, focusing on HTML, CSS, and JavaScript. I also learned about Git and GitHub for version control.
The most significant part was understanding how HTML structures a webpage, CSS styles it, and JavaScript adds interactivity. Git and GitHub were crucial for managing project versions.
Challenges and Solutions
One of the biggest challenges was understanding how Git commands work, especially when it came to pushing changes to the remote repository. Initially, I had issues with pushing certain files, such as images. However, by reviewing the documentation and searching for solutions online, I was able to resolve these issues and ensure all changes were correctly reflected on GitHub.
Future Applications
The knowledge gained this week is fundamental not only for web development but also for any software project I work on in the future. Understanding HTML, CSS, and JavaScript will allow me to build and improve more complex web pages. Additionally, using Git and GitHub will be indispensable for managing projects, collaborating with other developers, and keeping a detailed record of all code modifications.