Web Page creation
A webpage is a document, commonly written in HTML (hypertext markup language) viewed in an Internet browser. A web page can be accessed by entering a URL (uniform resource locator) address into a browser's address bar; it commonly contains text, graphics, and hyperlinks to other web pages and files. Cascading Style Sheets (CSS) is a stylesheet language used to describe the presentation of a document written in HTML.
For creating your own webpage, you can follow the following steps:
-
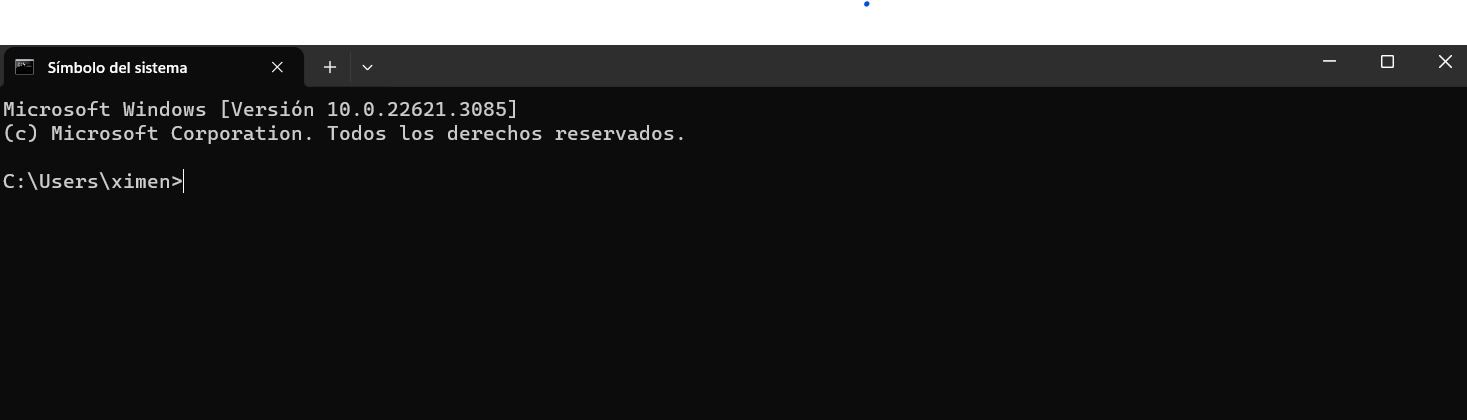
First you need to enter to CMD in your computer to start creating your webpage. My computer has two drives, so depending of your computer you need to write either C: or D:
-
Create two main folders, you can do it with the command of mkdir "name":

-
After doing that, both of the folders, you need to create different subdivisions that can organize the images, documents, videos, css, webfonts, weeks and js. You can create those files using "type nul>"
-
Just in case you fase the problem that you can't upload and need a permision to register, you can write the following commands:
- git config--global user.email "user@emailaddress.com"
- git config--global user.name "YourName"
-
It is important to mention that before having a template, we learnt the basic things related to web page creation, For example: here its my first web page :
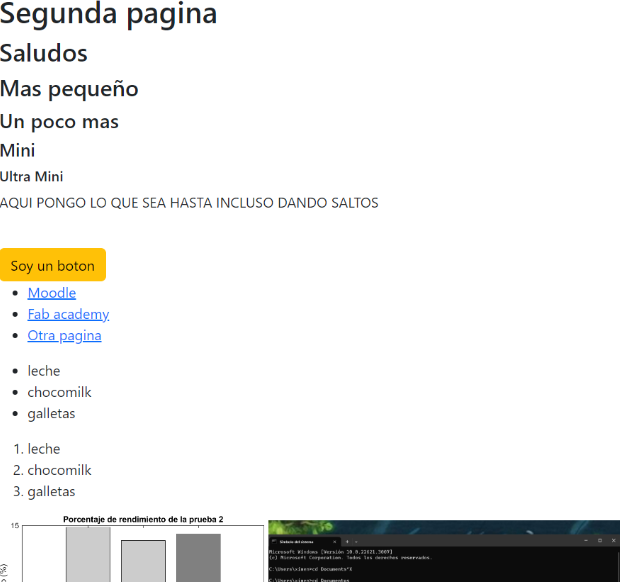
This first web page was a little bit simple, but it was just for getting used to the commands; here are some commands that you can use if you are getting started:
- "h1, h2,h3" : are used to identify the titles and the subtitles.
- "p" : is used to write down a paragraph.
- "ul" : is used to create a list but with dots and "ol" is for nombers, between those comants you need to put "li" to write down the list.
- "video src=k.mp4"controls width = 300px": is to put down a video.
- "button": is to put a button.
- "a href" : is to put a hyperlink.
- "img src= hi.png/jpg" : is to put an image.
-
The template was provided from the teacher Rafael Pérez, in which I made the following changes:
- Colors
- Structure
- Titles and Typography
- Clases
For changing colors you need to go to the part of main in css where you need to find the parts where you want to change the color, for example, for changing the background I went to this part:

It is important to explain that I wanted to put an image as a background, so I typed background-image: url of the image, background-repeat: for either repeating the image or not in the hole page, background-attachment for it to get fixed and background-size: the size of the image.
I reorganize some structures of the page, in order to have my own way of working. For example I changed the structures of some images, for example:
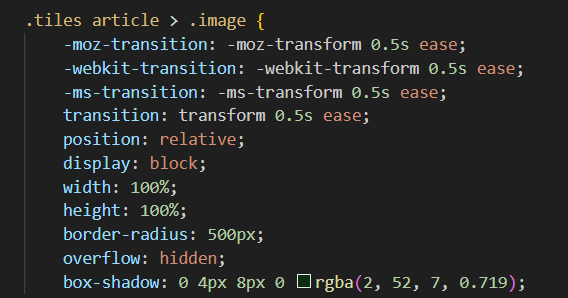
In that case the border radius is 500px because I wanted to look a little bit more circular instead of rectangular. In box-shadow you can change the color of the shadow of the following box or image you want to put. Width and height are to adjust the proper size of the image or object you are creating.
For the case of the typography you can use the following structures:
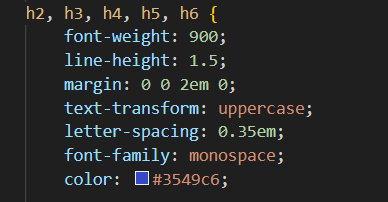
The Font-weight is for colocating the size of the title you want to put to your title. Font Family is used to specify the typography you want to use for you text, there are many options where you can choose from. Color is used to change the color you want to put to your text, it is important to mention that you can also add a shadow, just like the images.
The clases it is just to have more order for you structure, for example I created a new class just for puting a border to my week images, as you can see in this page (the orange ones), here is how I did it:
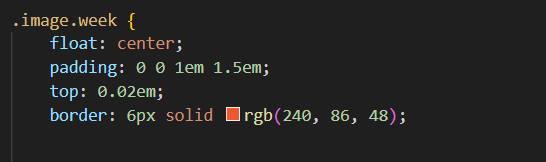
The Float is to colocate the image wherever you want to put it, Padding is to put the space you want between your image and your border, Top is to colocate the espace in the top, between the image and the text, and last but not least Border is to colocate a how tick you want your border and the color of it.
GitLab and the Webpage
Gitlab is a web. based Git repository that provides free open and private repositories. It is useful for project planning and source code managment for monitoring.
-
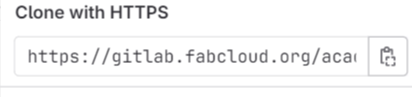
You need to do is to clone the link provided from the GitLab, that looks similar to this:
-
After doing that you need to open cmd and type "git clone: the link showed in step 1".
-
After doing that you need to follow the following steps after you finish editing, you need to do it in that order: git init-> enter, git status->enter, and so on:
It is important to mention that everytime you finish editing you should follow those steps. Between each line you should press enter, and in the part of "git commit -m"firstchange" , you should put a name that represents fully the changes made.
-
Already done the last step, it is necessary to login to GitLab in order to verify everthing is uploaded. It should appear something like this: