2. Computer-Aided Design
This week we worked on different computerd-aided software design. I am currently working this fab academy in a M2 MacBook Air, so the unique software I'm able to use is without a Virtual Machine is Fusion 360.
Creating a 3D model. First steps using Fusion 360.
Starting using Fusion was a little difficult because is the first time I use a software for computer design. The first step is to install it, so going to Fusion 360 oficial page and download it. After doing it, you need to open it.
What one of instructor gave us as idea to do was doing a shelf for keeping things using an empty filament roll for 3D printing.
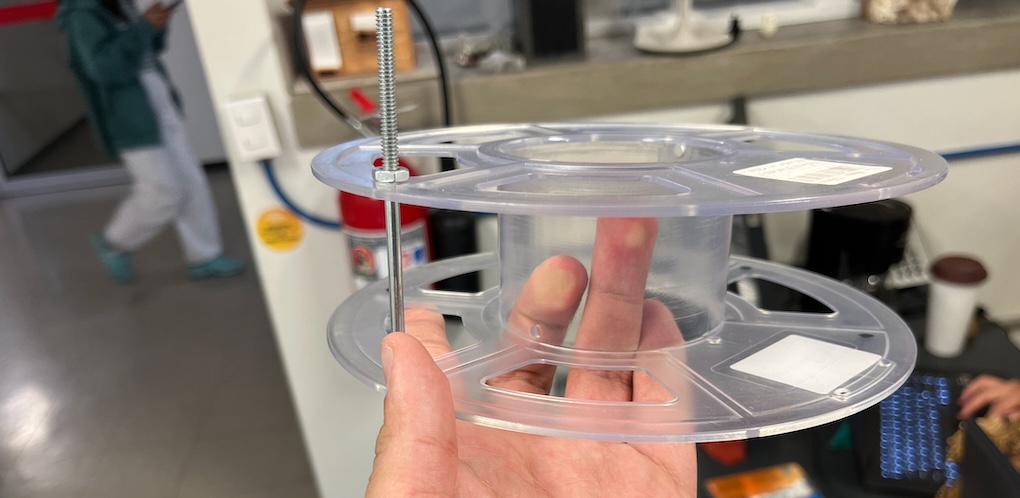
Having this idea I started drawing on Fusion 360 the next figure:
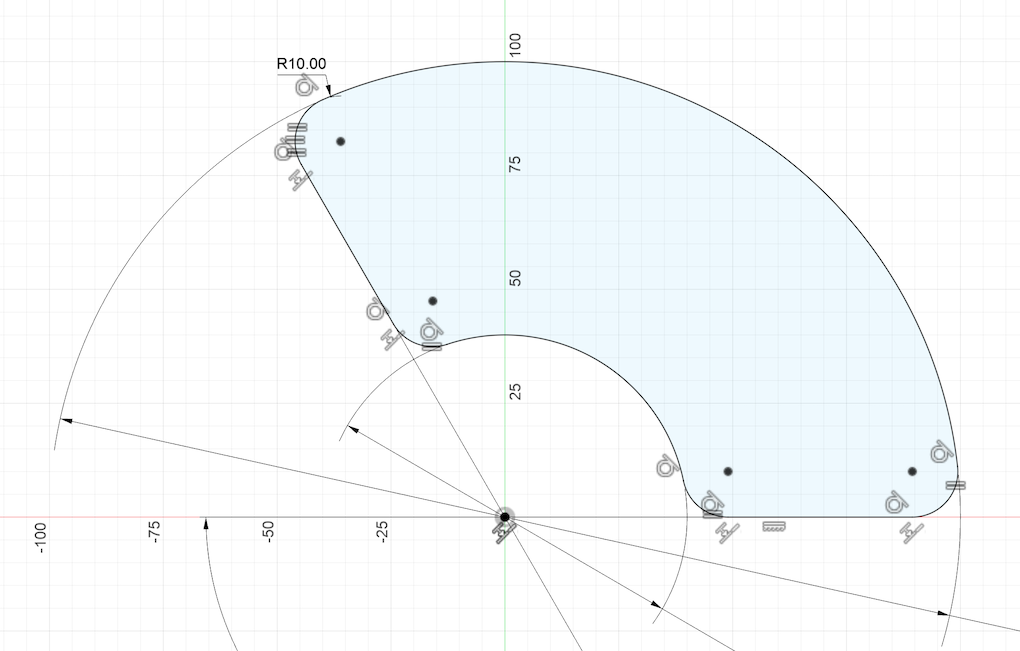
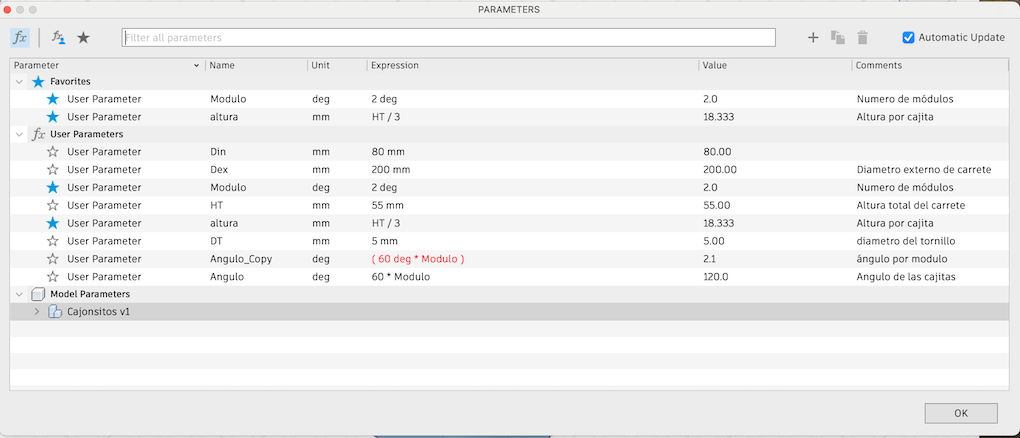
Then the extrude and some parameters.
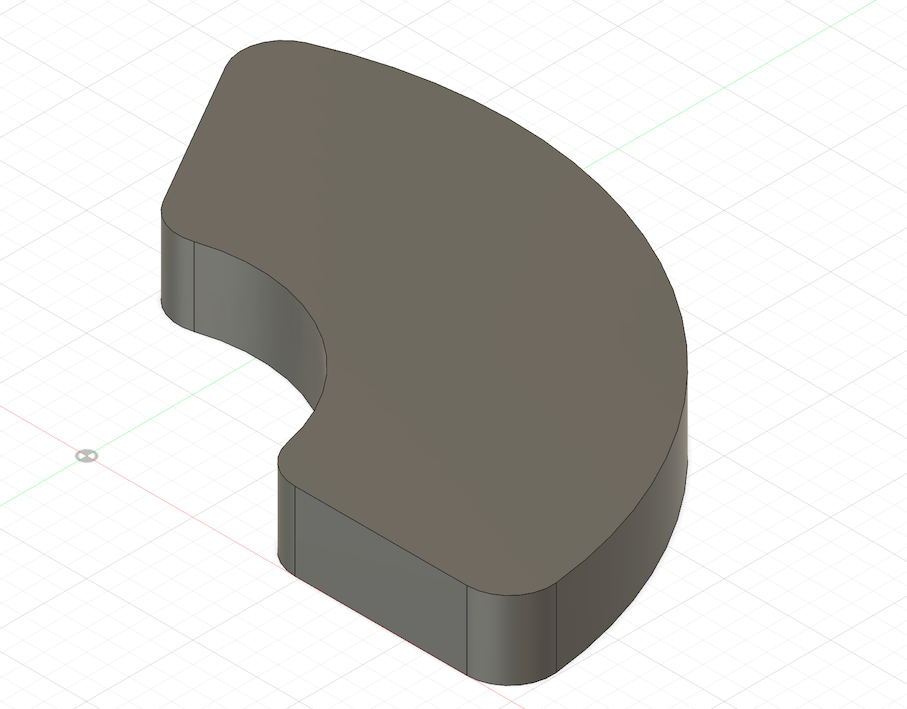
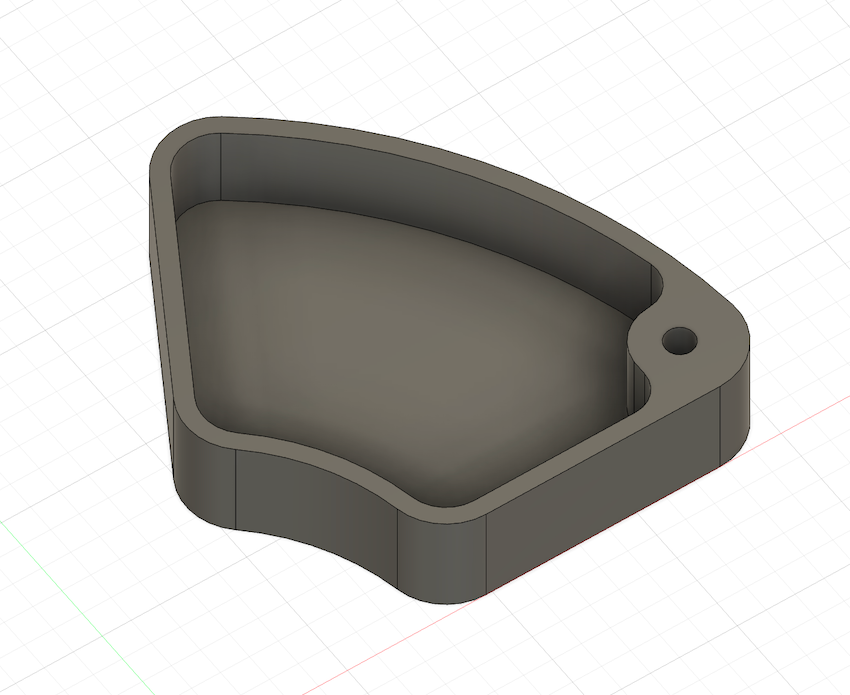
Then doing some extrudes and shell tool we have this:
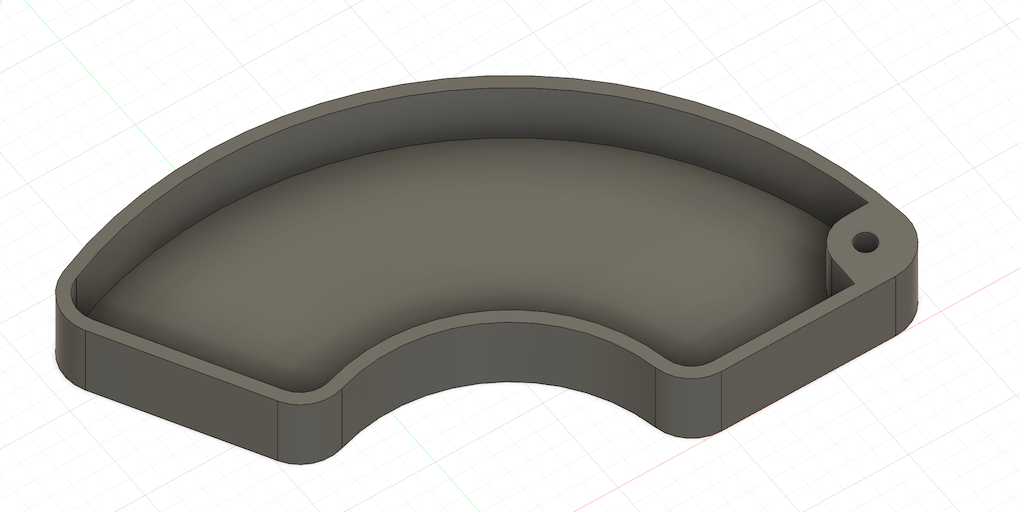
After using the fillet tool on some borders we get this:
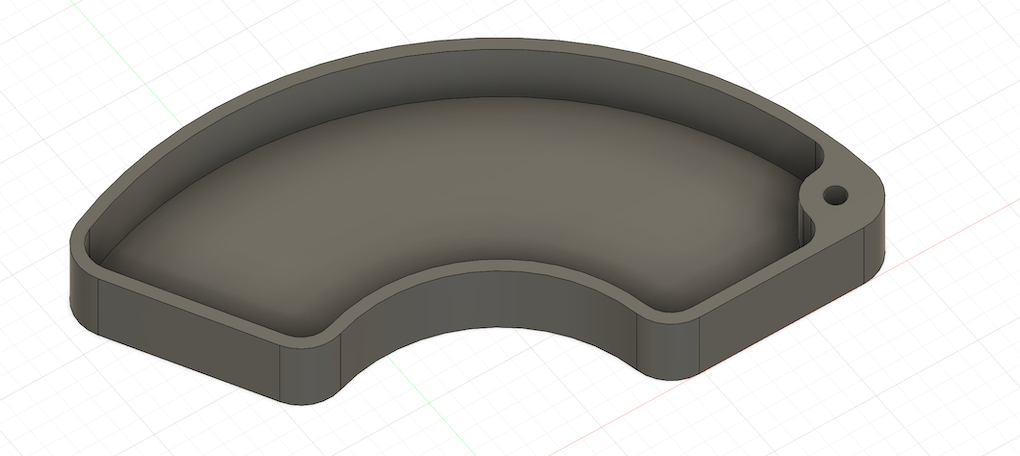
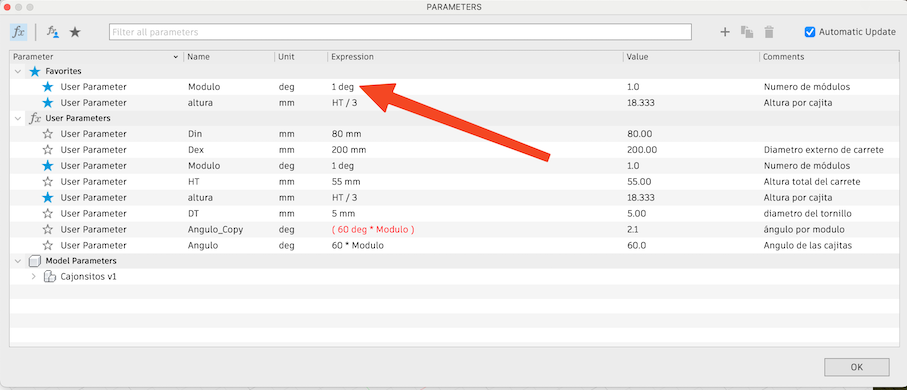
Because we have parameters we can move them to get boxes of different sizes:
This box was created in class with the help of our instructor Alberto Blanco.
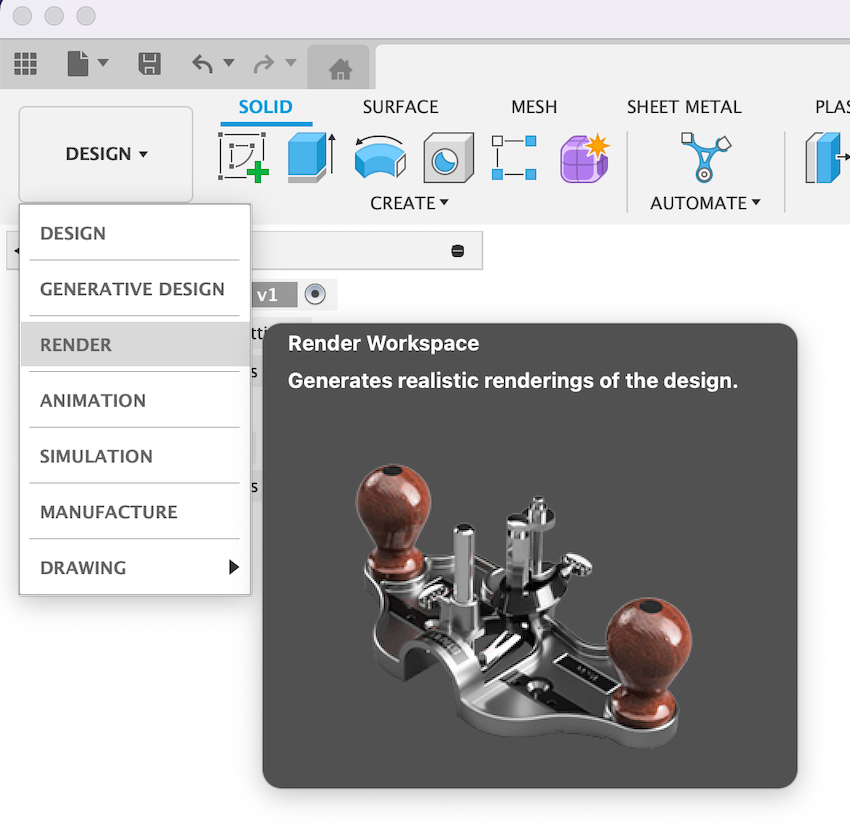
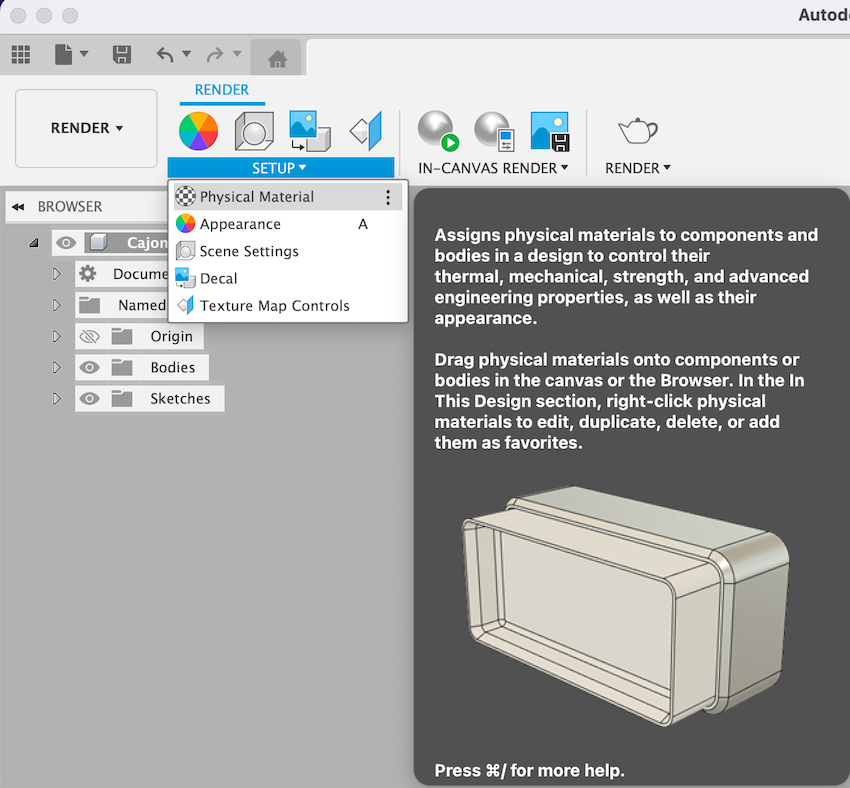
Then I added a rendering function, this to add textures, colors, etc.

Now with OnShape
Working with OnShape was too a good experience but not the best, in this case I worked through my web browser (Safari) so this is what I did.
1. Go to OnShape official pagethen create an account and we're done.
2. Create a new document
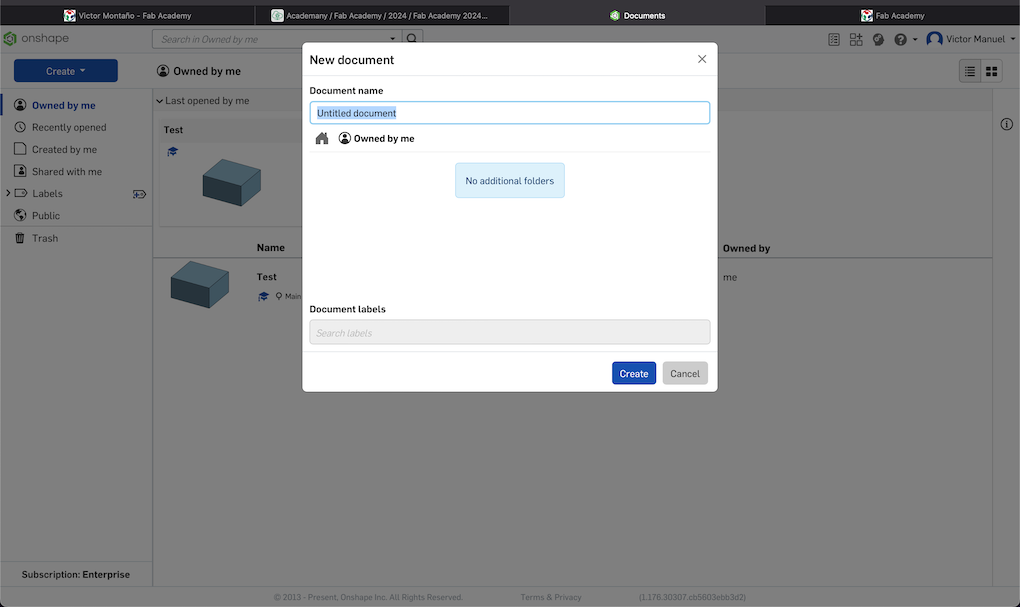
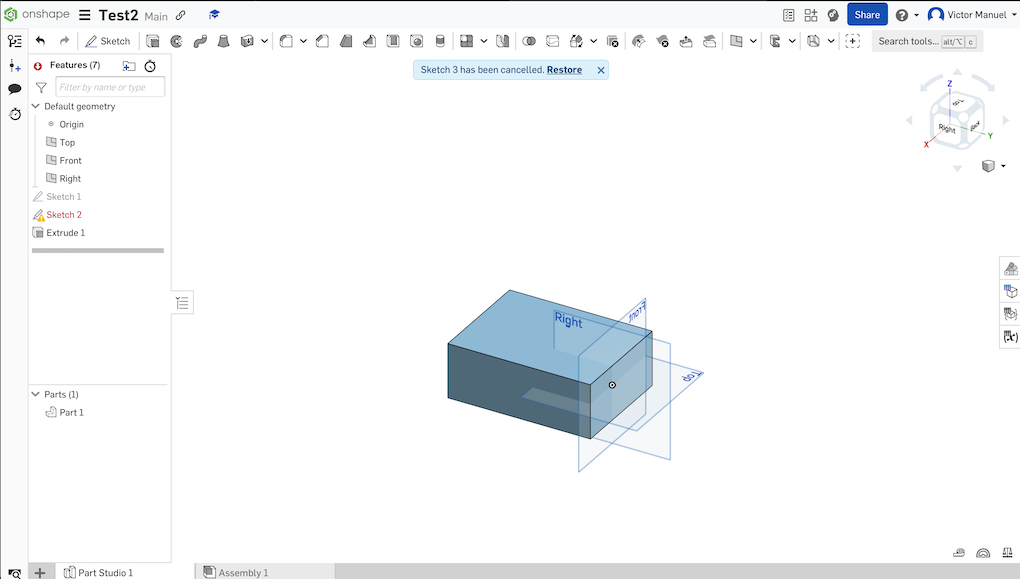
3. Start creating figures, in this case I focused my attention in creating a 3D sketch for my final project. I started doing the main box for the lamp.
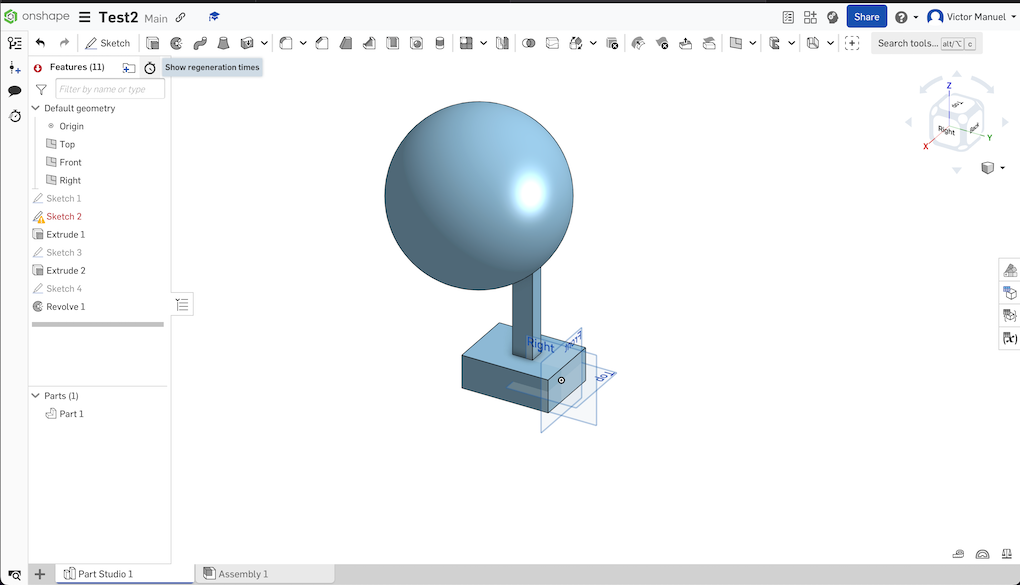
3. Then create more things and this is what we get.
. . .
The 2D model
In this case I'll be comparing Figma and Inkscape.
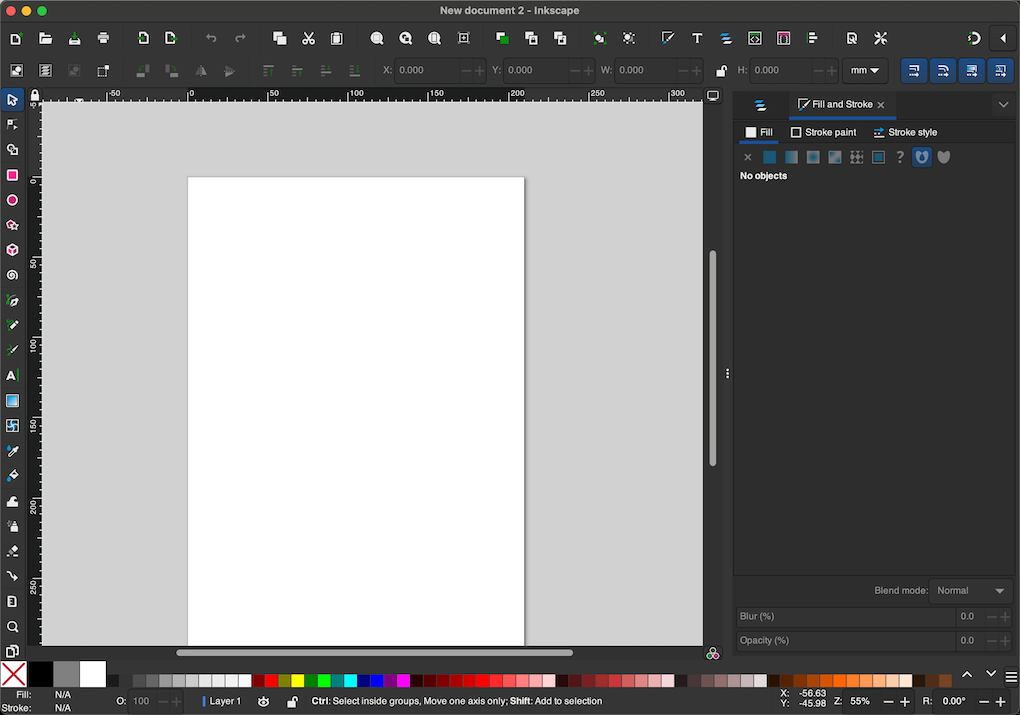
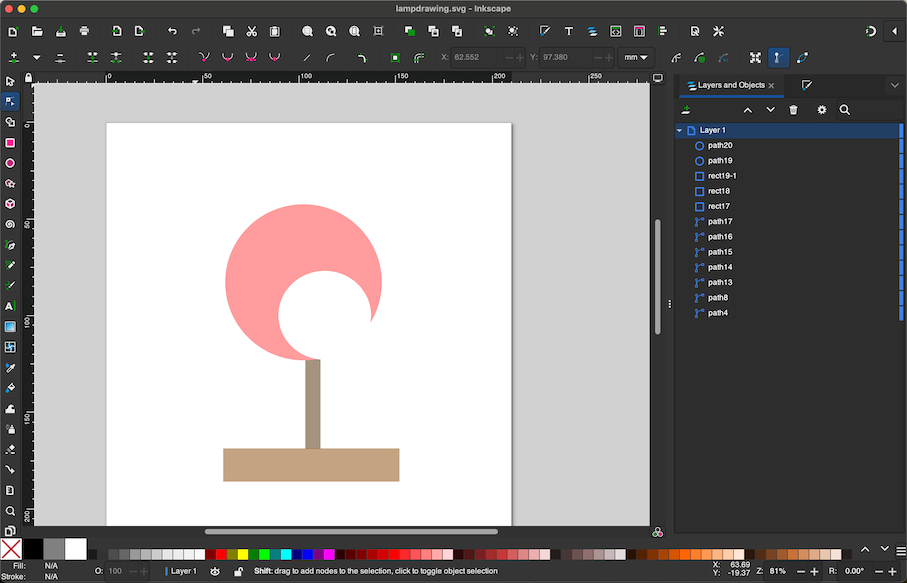
Starting with Inkscape I decided to create my final project as a sketch only using the figures that are alredy on the software.
. . .
Then by pressing R or clicking on the rectangle, we can start adding this figures on the canva.
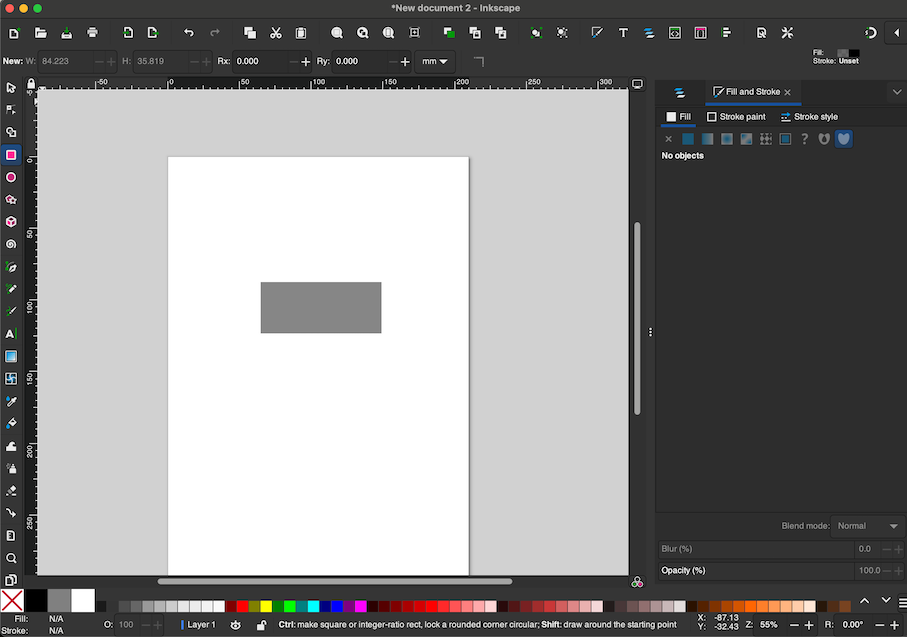
After some work, I did a prototype of my project when the lamp would be red.
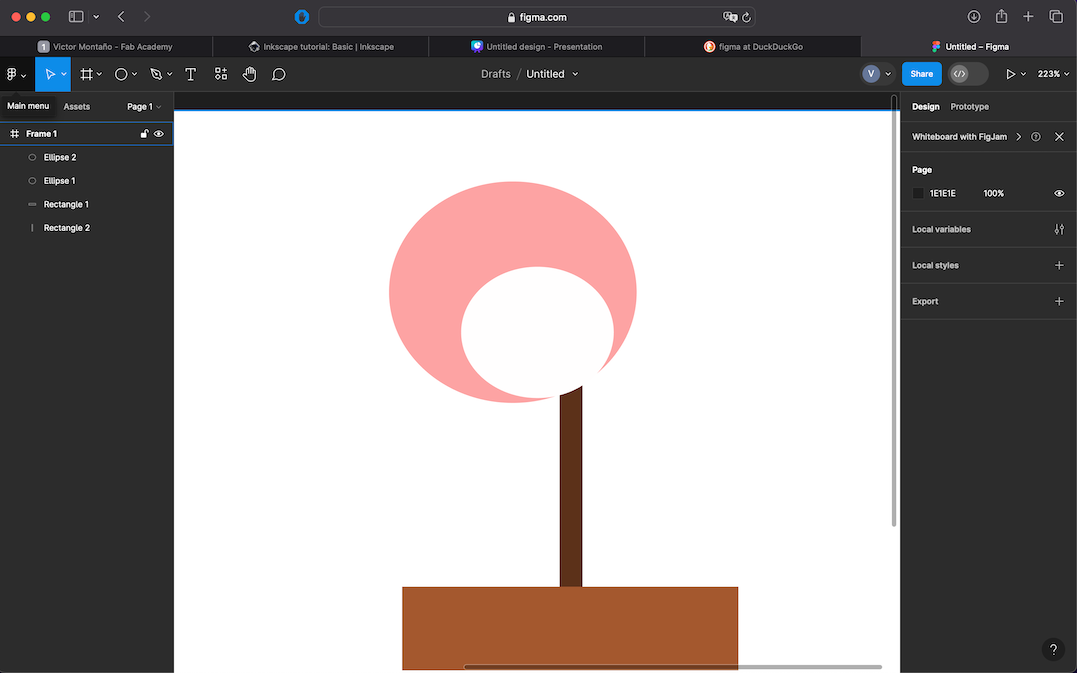
On the other hand using Figma was quiet simple but for me it felt as if I were on the kindergarden. This tool was to much simple if we're not working on screen or interfaces. I had some experience with figma before so for me this was simple.
Raster software
More needs to be tested, so a Raster software, often referred to as bitmap software, is used to create, edit, and manipulate raster images. Raster images are made up of a grid of pixels, where each pixel represents a color or shade. This is in contrast to vector software, which uses mathematical equations to create graphics that can be scaled infinitely without losing quality.
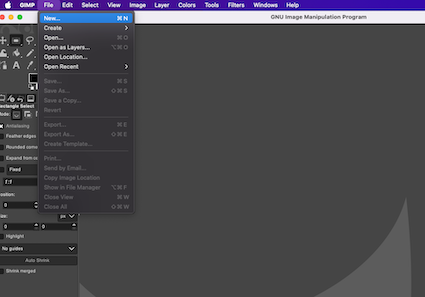
For this example I'm going to use GIMP which is free and open source. Let's start
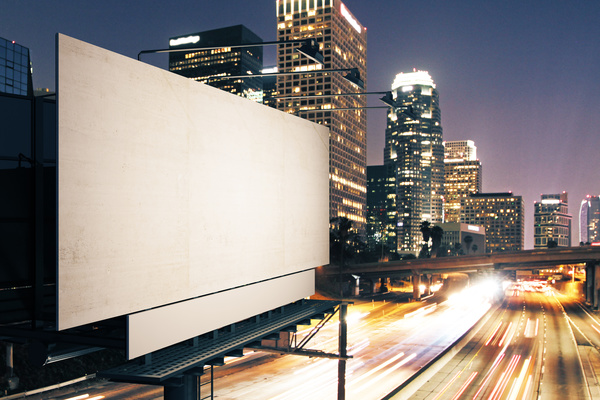
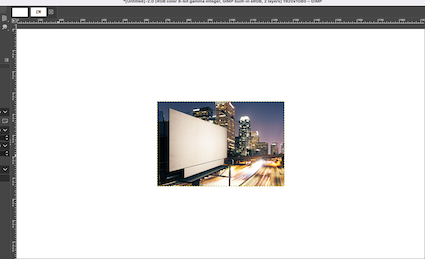
For this little example I'm using this first image of a billboard and a image of a Fab Lab chosen "random".
First open GIMP and create new.
Now import images by drag them on the canvas.
Then after we import the two images, we can play with the tools such as:
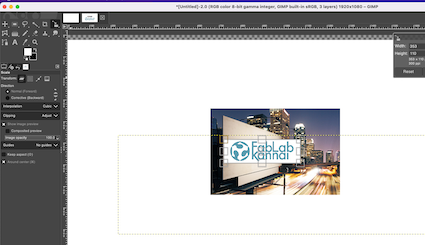
Or this one:
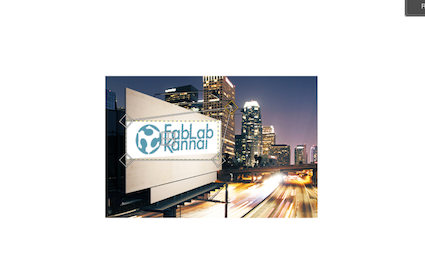
To get this: