16. Wild Card week
This week is about making something with a digital process not covered in another assignment on the Fab Academy course.
Robotics
What I decided to do this week was to move a robotic arm. This is interesting because outside in the industry, this robotic arms are very useful in a lot of things. So let's see.
What's a robotic arm
Robotic arms are devices that have been designed to do a given activity or job swiftly, correctly, and effectively. They're usually motor-driven consisting of a collection of joints, articulations, and manipulators, and are employed to accomplish heavy and/or repetitive processes quickly and consistently. They are particularly valuable in the industries of industrial production, manufacturing, machining, and assembly.
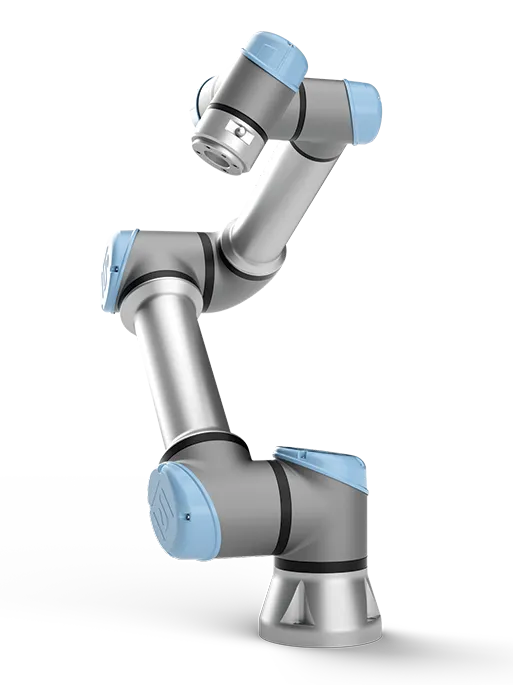
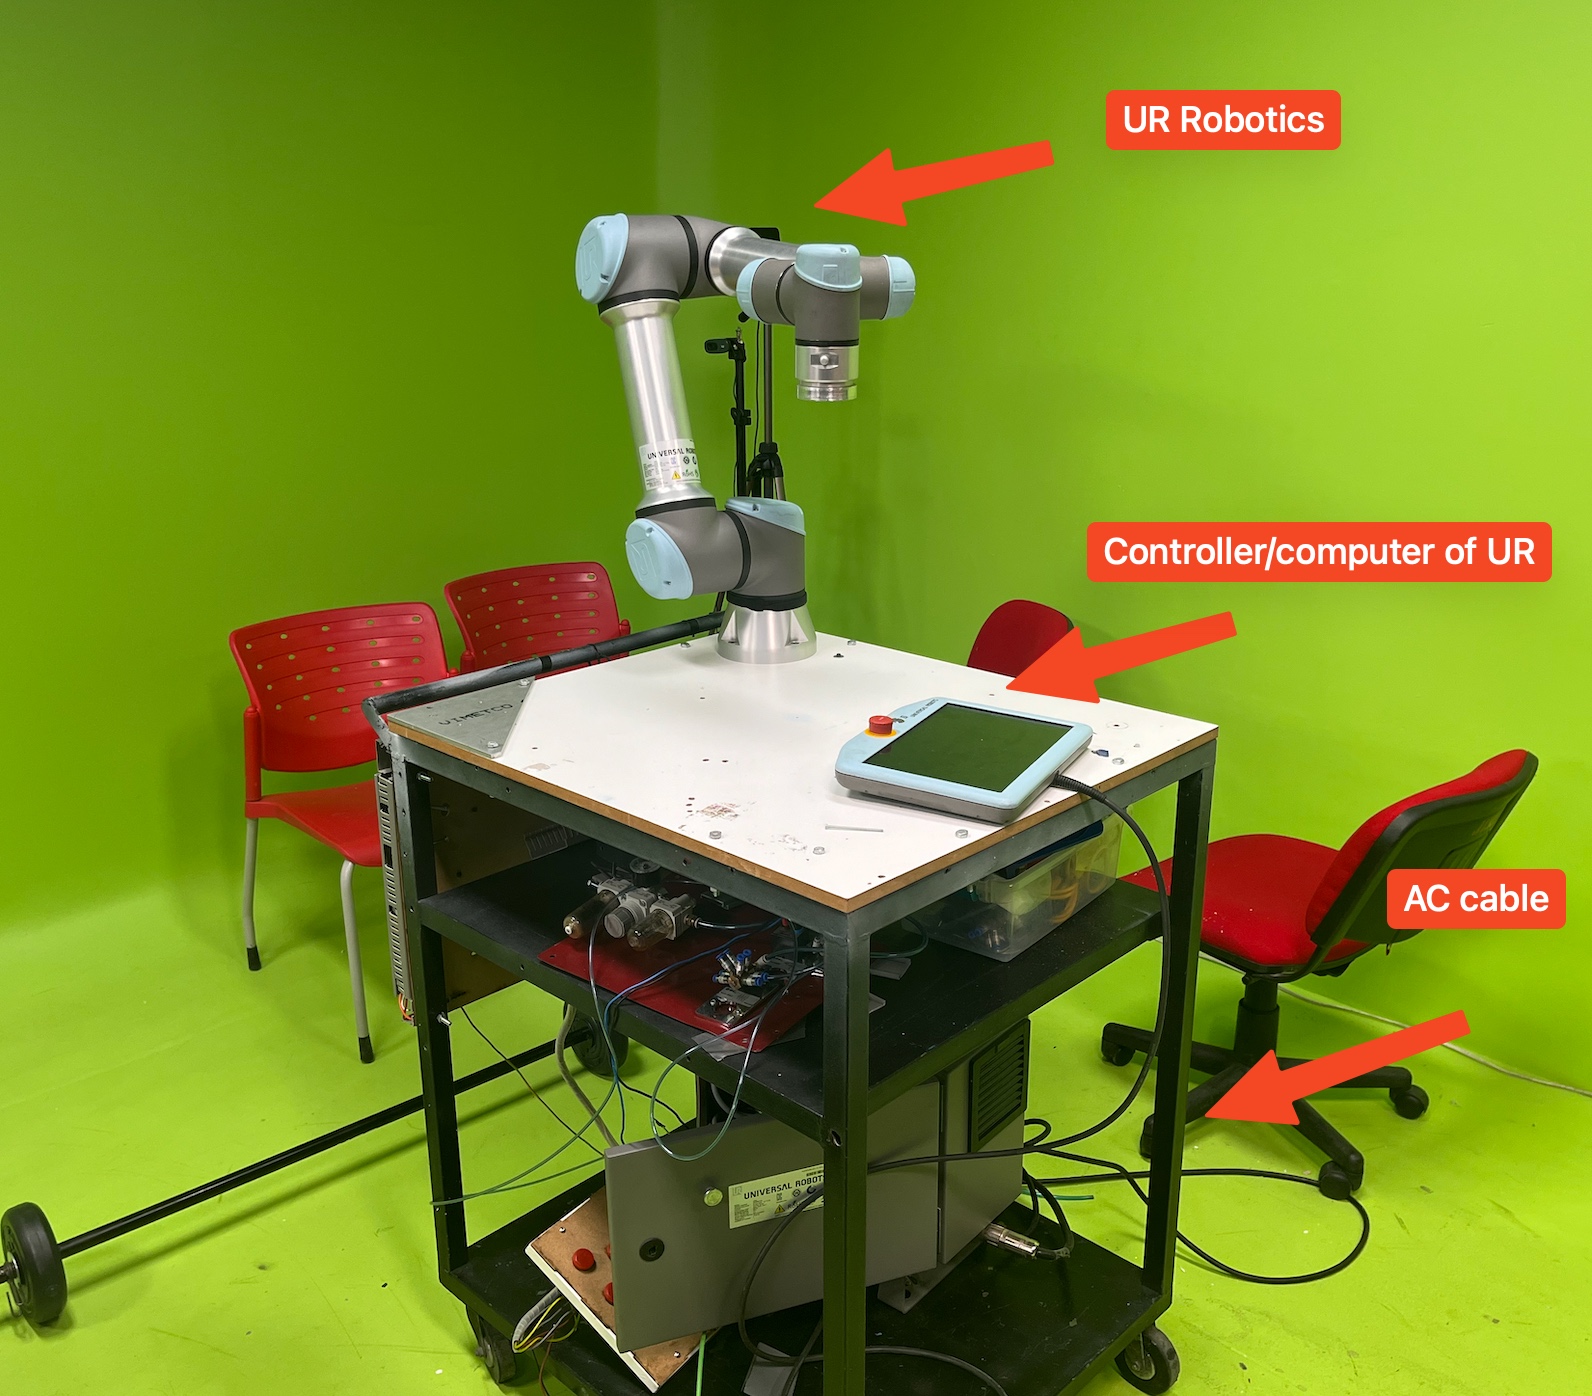
For this task, I'm going to use the UR5e robotic arm. The UR5e robotic arm is is the larger of our two light payload industrial collaborative robots. For applications that require a small-sized cobot with sufficient reach and payload, the UR5e will help you perform precise, meticulous tasks.
The idea
The idea for this task is to map every point using two different types of moves. On robotics we have different types of moves. In robotics, especially for industrial robotic arms, three primary types of movements are used: MoveL, MoveJ, and MoveP. MoveL (Linear Move) commands the robot to move in a straight line to a target position, ensuring a precise path, ideal for tasks requiring exact linear motion. MoveJ (Joint Move) directs the robot to move its joints to specific angles, resulting in a smoother and faster path to the target, suitable for rapid positioning tasks where the exact path is less critical. MoveP can refer to either circular movements or point-to-point moves, depending on the context; circular moves are useful for tasks requiring arc paths like welding or painting, while point-to-point moves focus on efficient positioning without specific path constraints. These movement types enable effective programming and control of robotic arms for diverse applications.
The way this work is by the next things:
- Controller: The robot’s controller is the brain of the system. It receives commands from the user or a pre-programmed script and translates them into movements. The controller calculates the required position and velocity for each joint to achieve the desired end-effector position.
- Inverse Kinematics: The UR5e uses inverse kinematics algorithms to determine the joint angles needed to position the end-effector (the tool at the end of the arm) at a specific point in space. This involves complex mathematical computations to ensure smooth and precise movements.
- Motion Planning: Once the joint angles are determined, the controller plans the motion paths. This includes calculating the trajectory for each joint to move from the current position to the target position without colliding with obstacles or exceeding the robot’s physical limits.
- Motor Control: The controller sends signals to the servo motors at each joint, dictating the amount of rotation needed. The servo motors, driven by the control signals, rotate the joints to the specified angles. The encoders continuously provide feedback, allowing the controller to make real-time adjustments.
- Safety Features: The UR5e is designed with collaborative operation in mind. It has built-in safety features such as force sensing to detect collisions and stop the motion if an obstacle is encountered. This allows the robot to work safely alongside humans.
This Robot has the next parts:
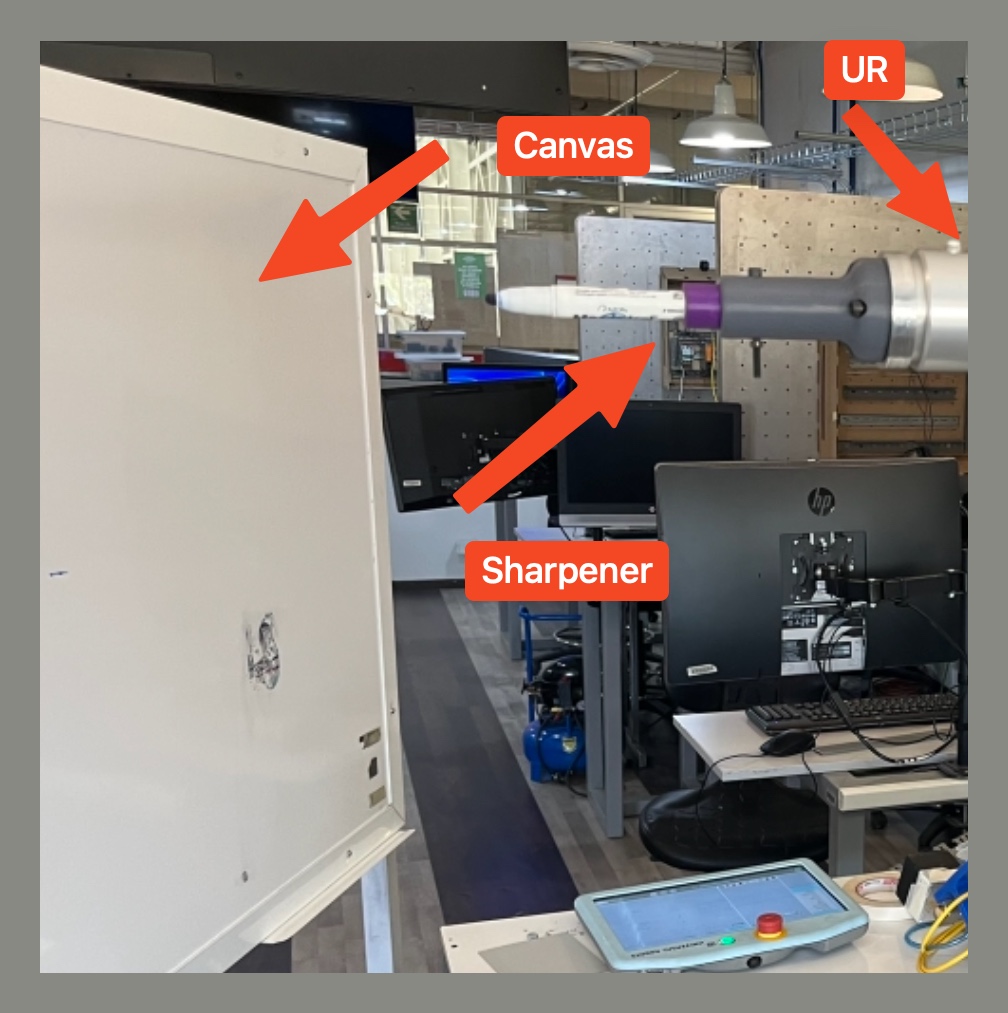
For this task I'm going to map some points in a canvas (board) and then run those waypoints. This is interesting in order to make some drawings. The drawings I want to create are a heart and a letter, kind of handwriting.
Starting with the robot
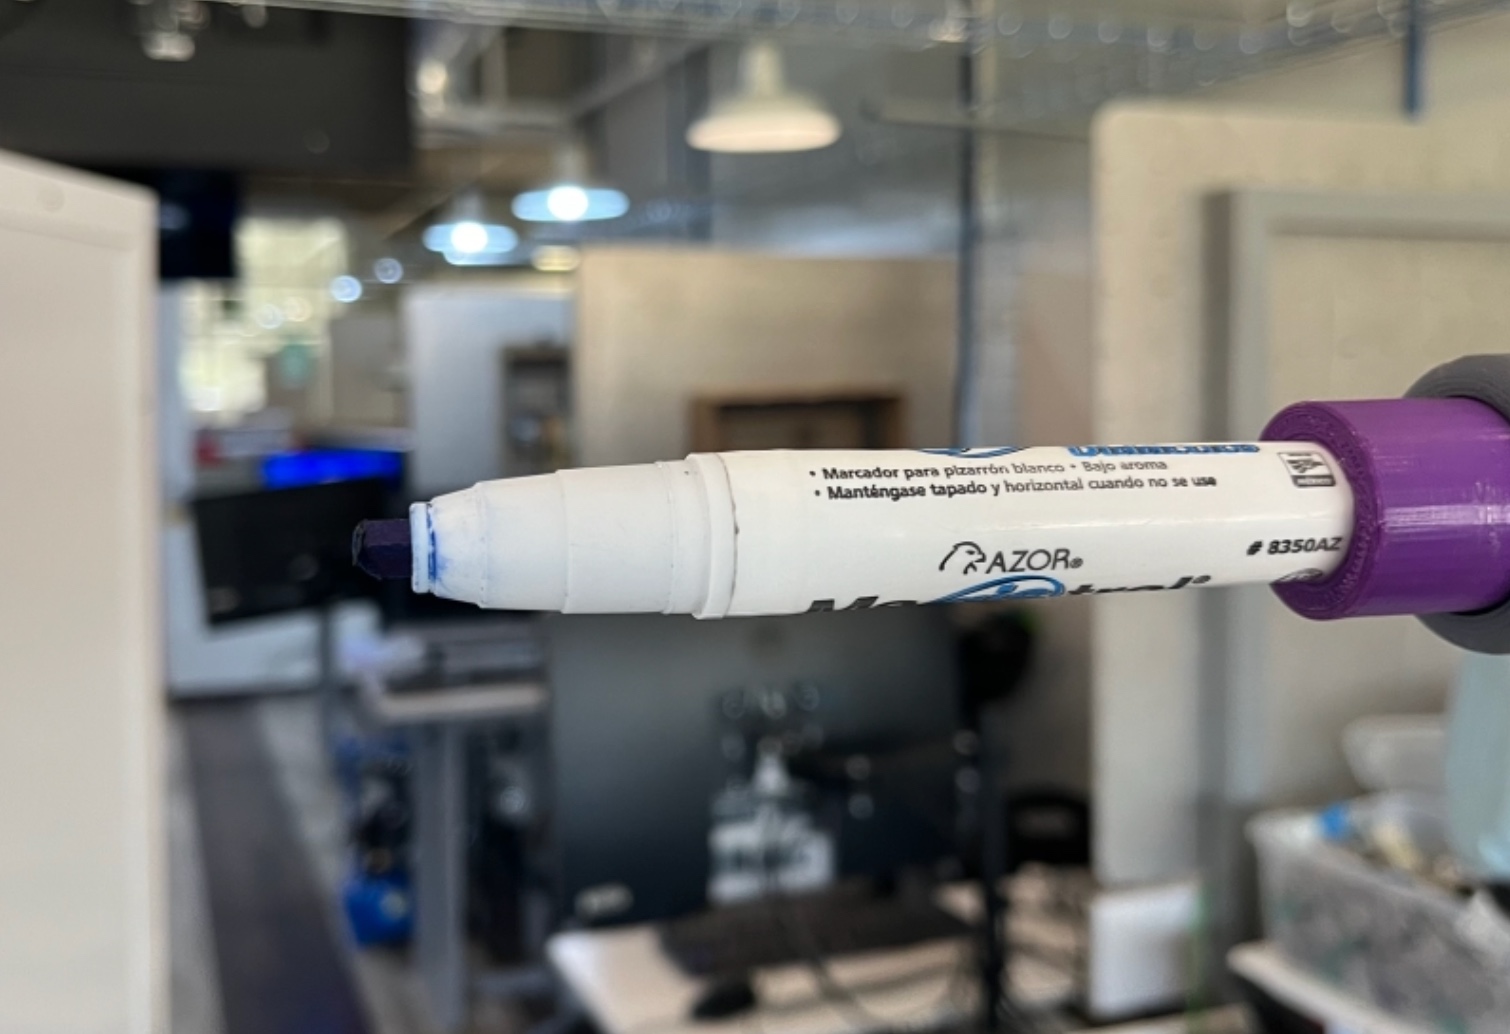
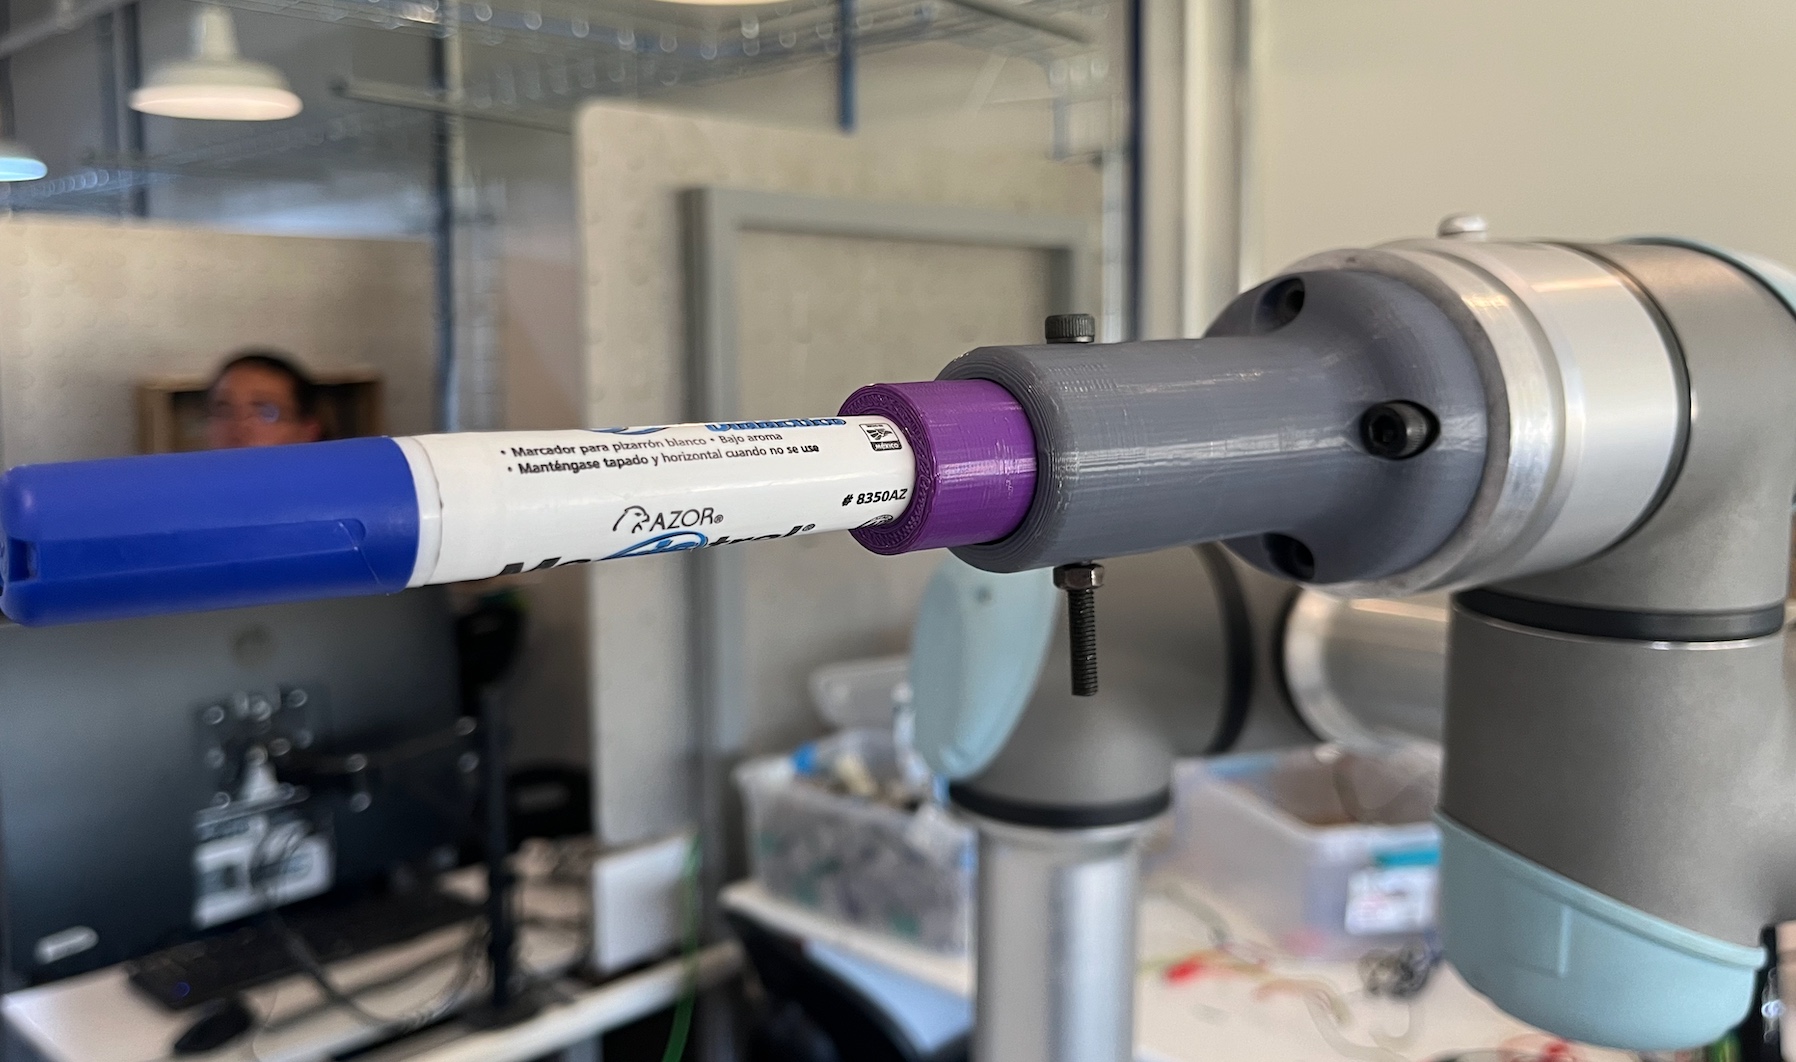
First of all we need to set the sharpener tool on the robot, so here is the sharpener tool and the robot with it.
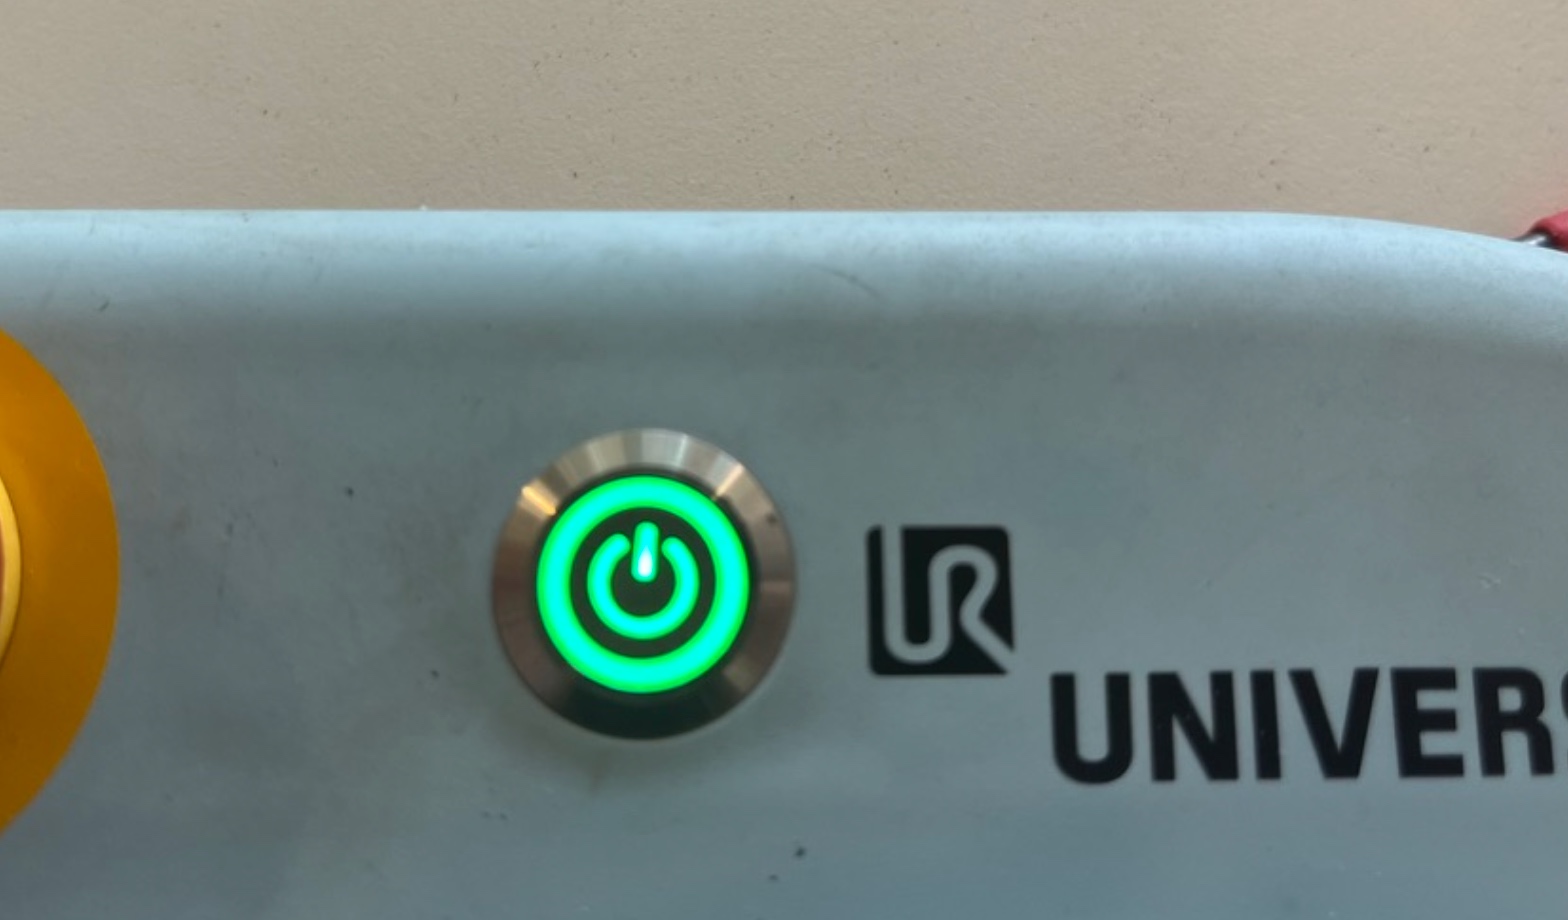
The first step using this robot is to turn on which is going to last at least 5 minutes.
After we turn on, we have the first interface and a password is required in order to work with the robot, so we input the password and we can start working.

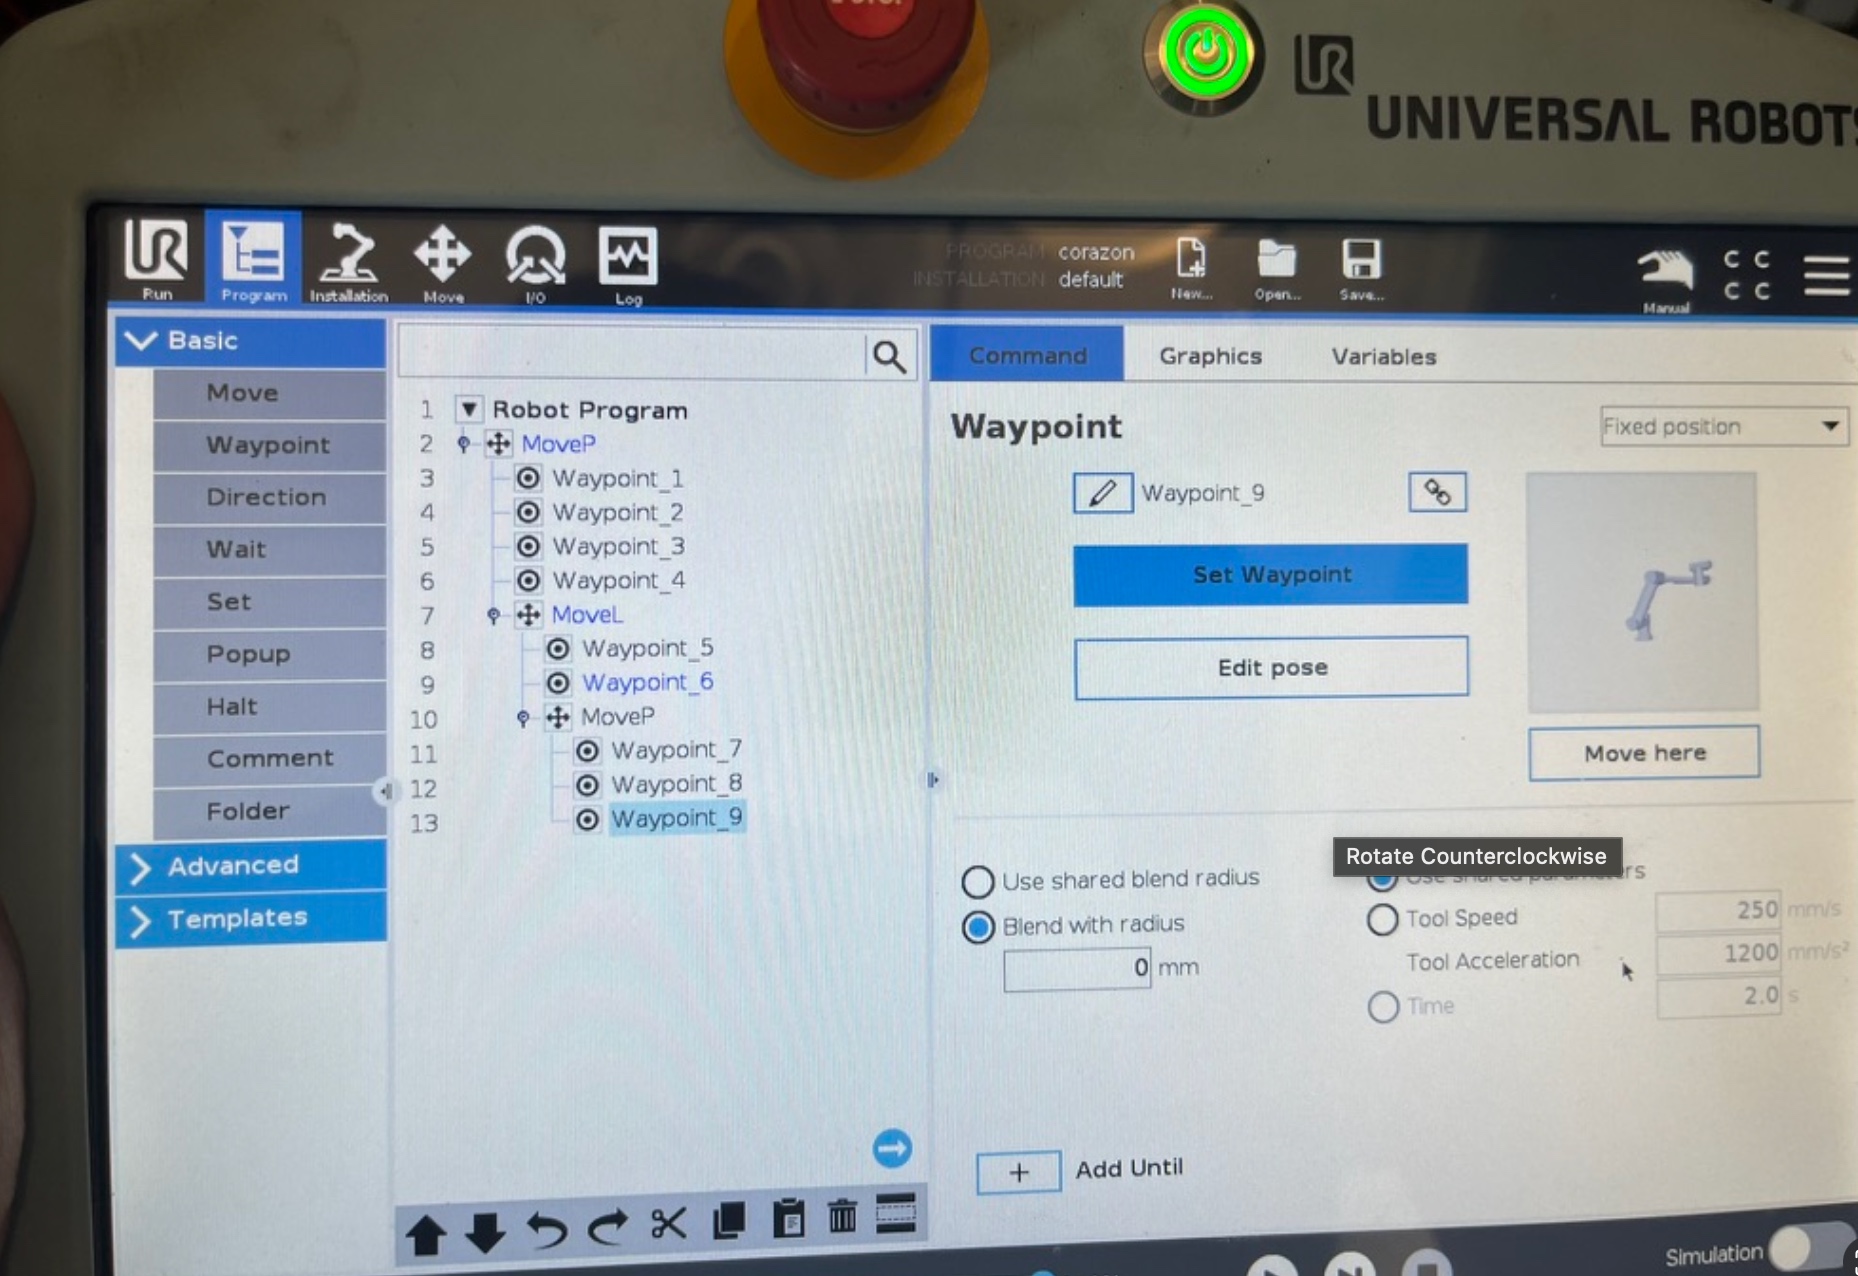
Then we start by pressing program, then there we can start programming with Blocks programming which allows us to program the robot using waypoints.
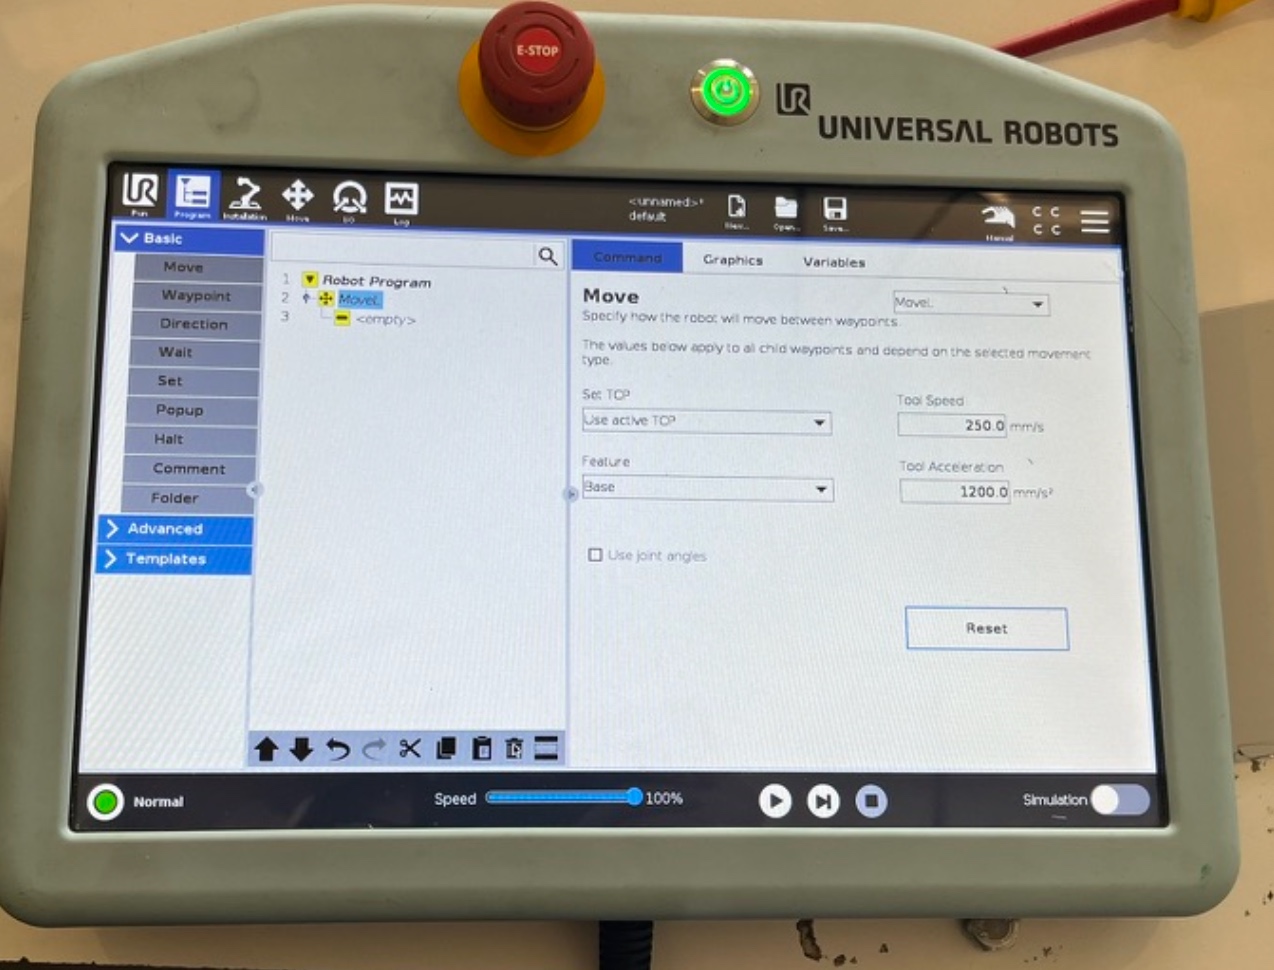
Here we choose the type of movement that we want to create, in the code we can have multiple type of movement, for this time I'm going to try with L movement.

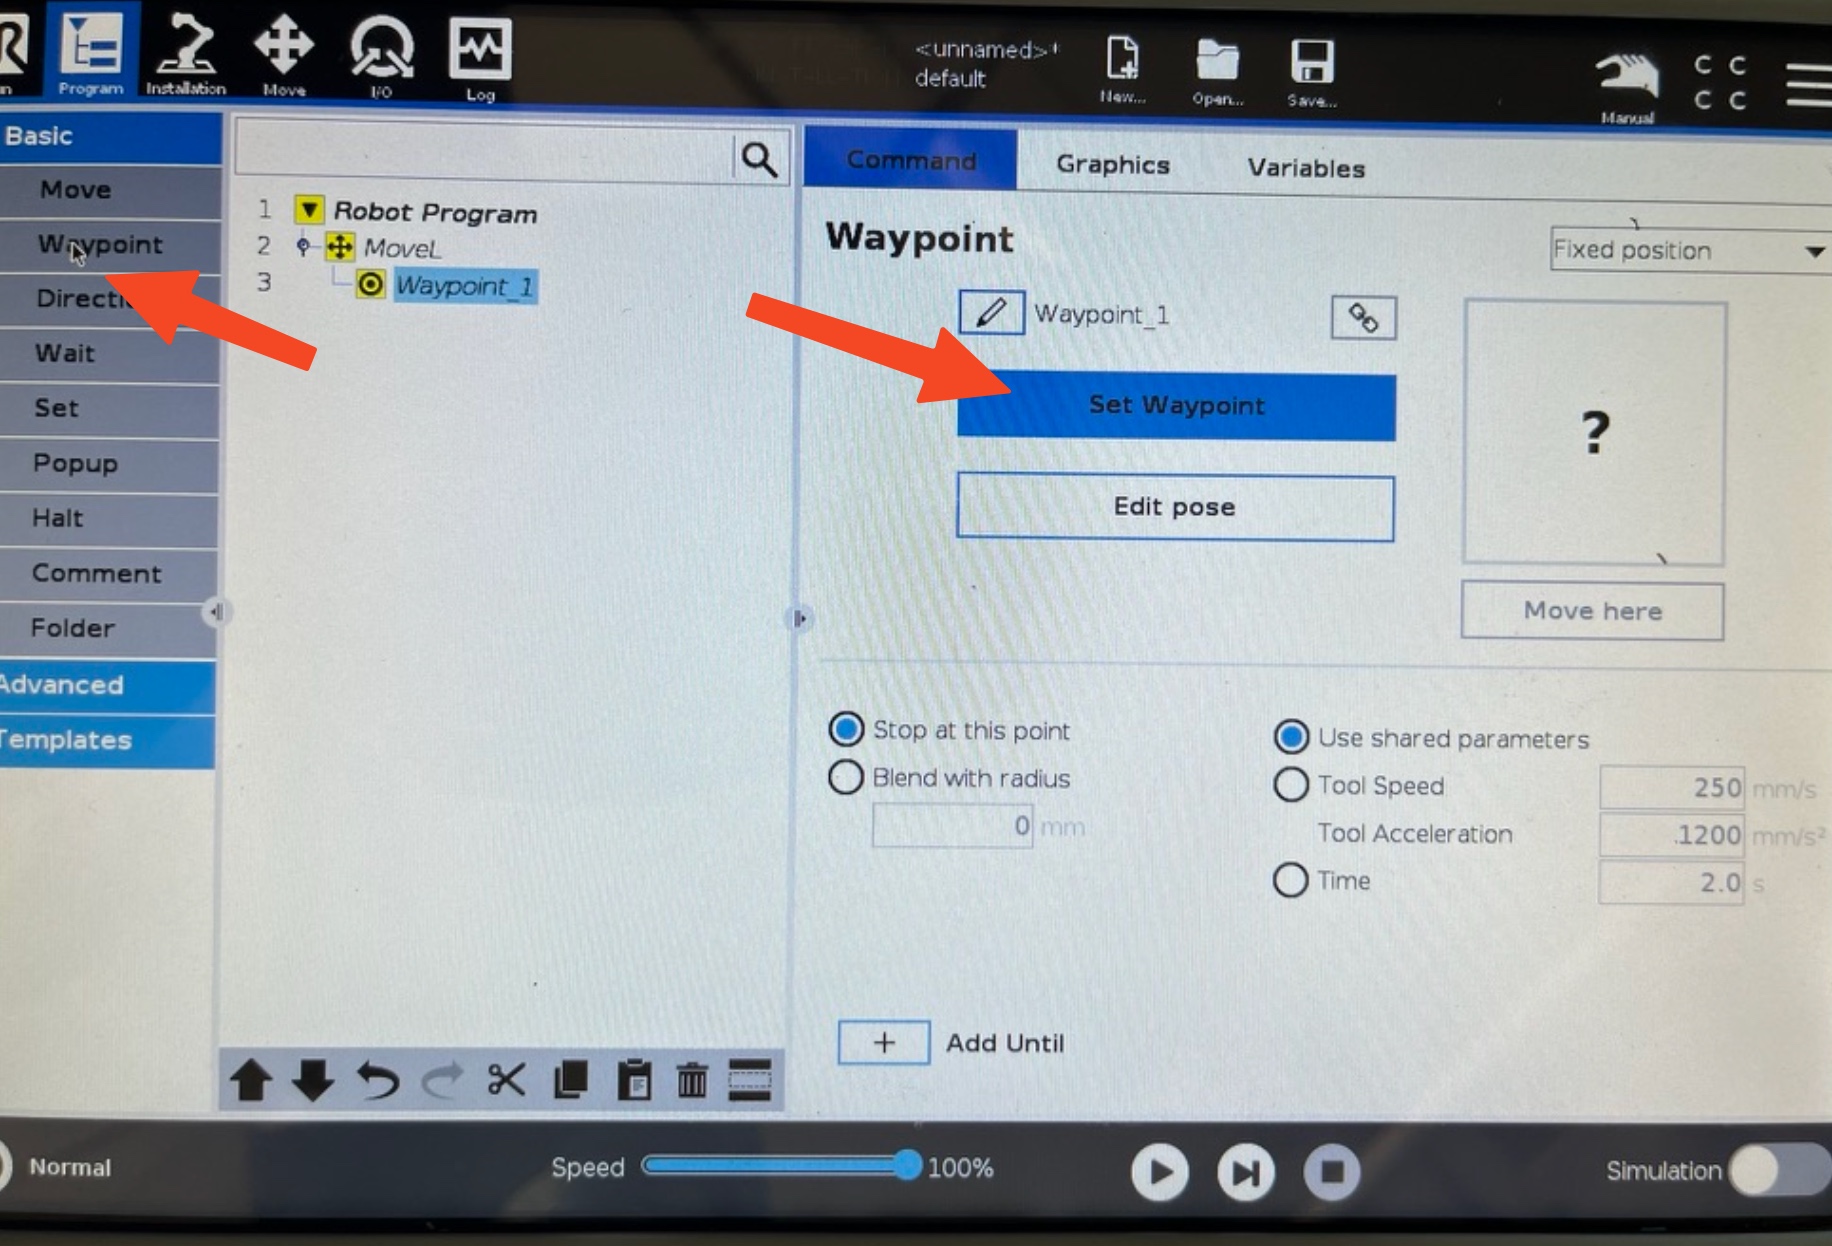
Now we start with pressing the free movement button on the controller to move the robot manually, then we set the robot on the first place we want it to be and we set the first waypoint

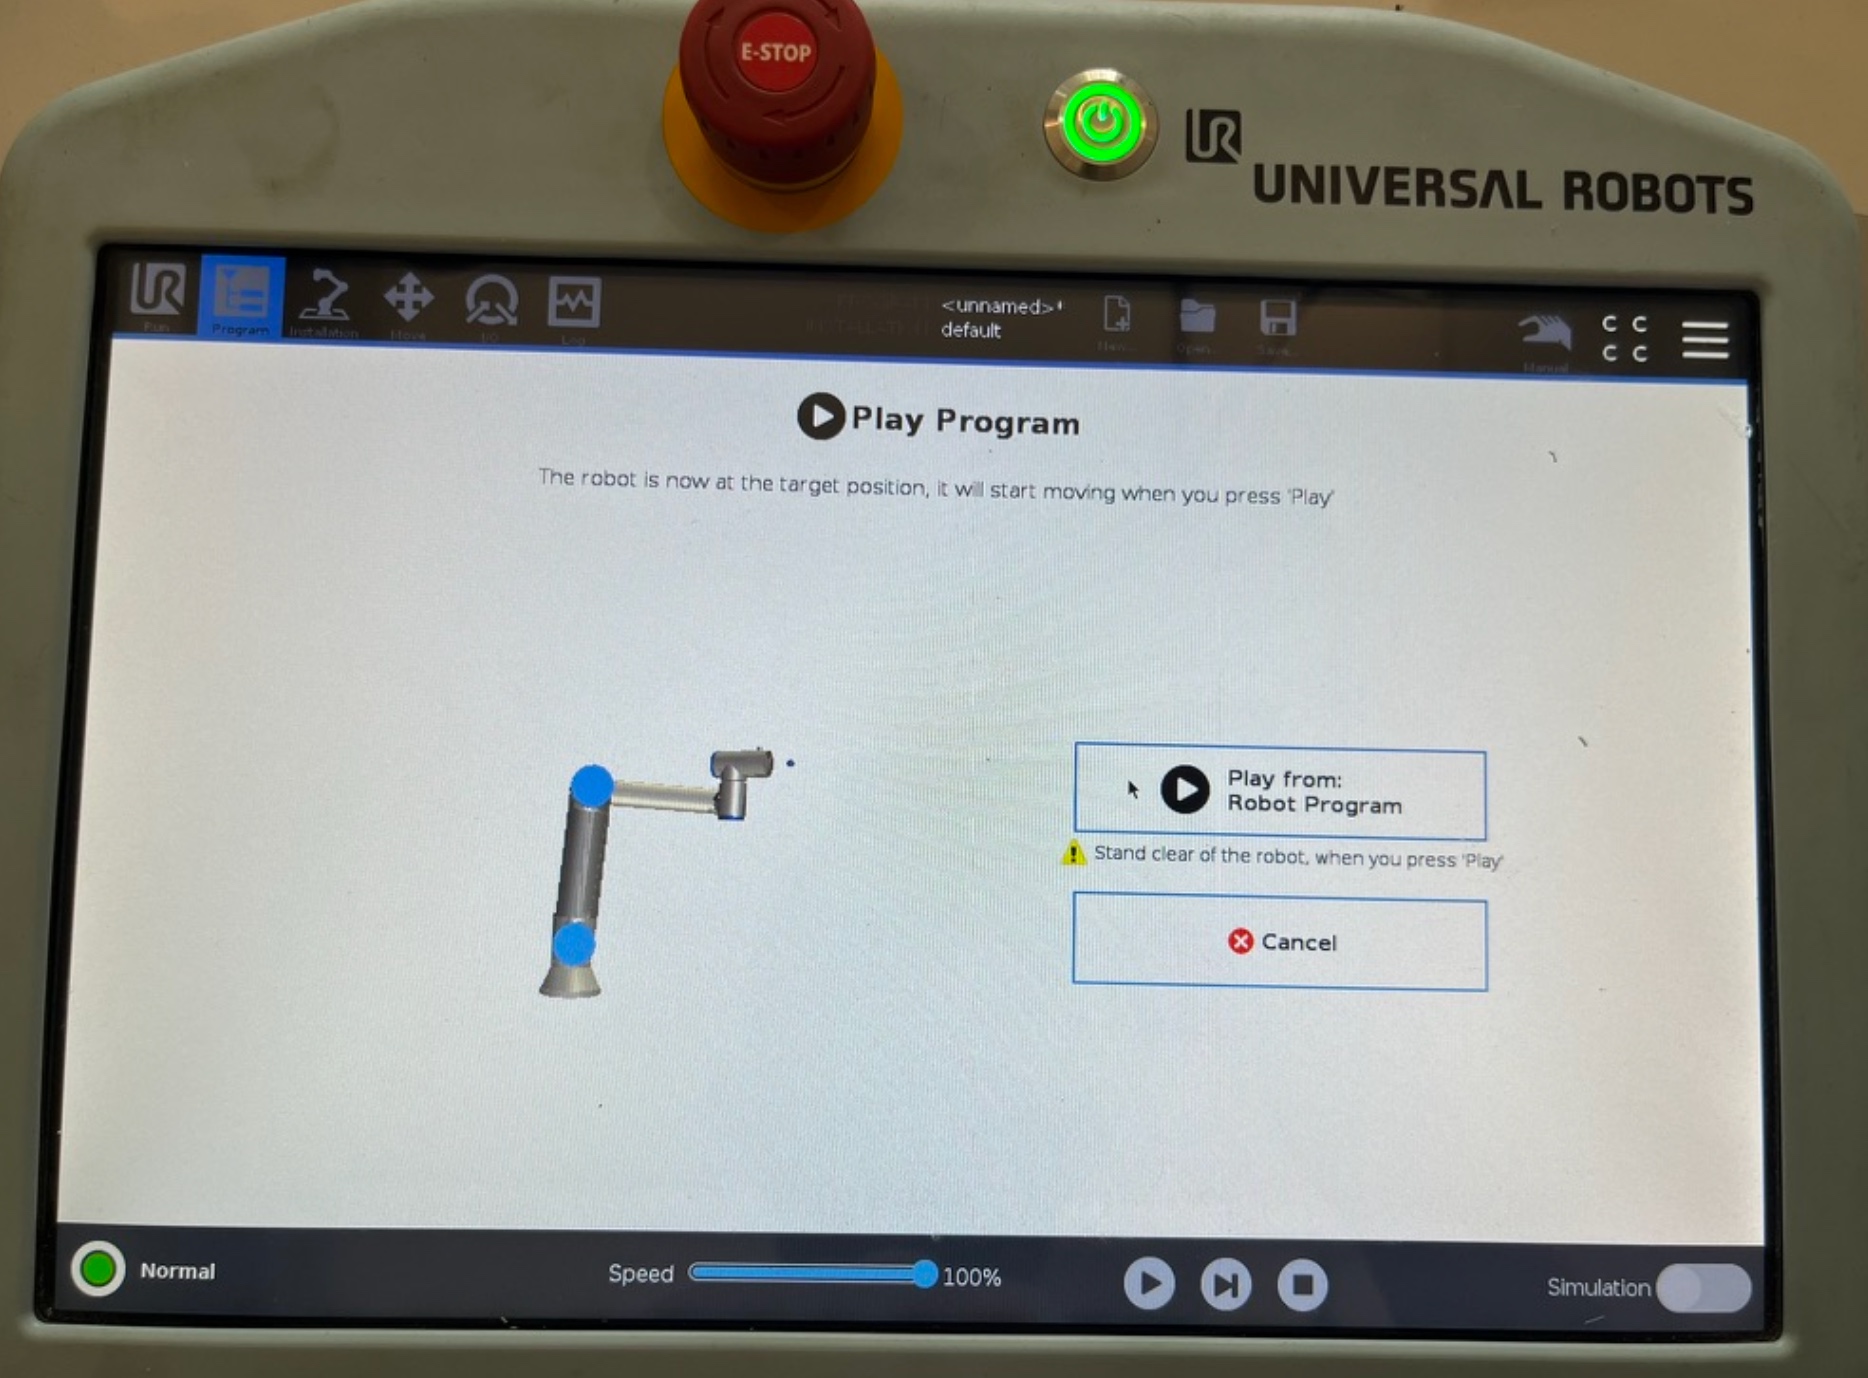
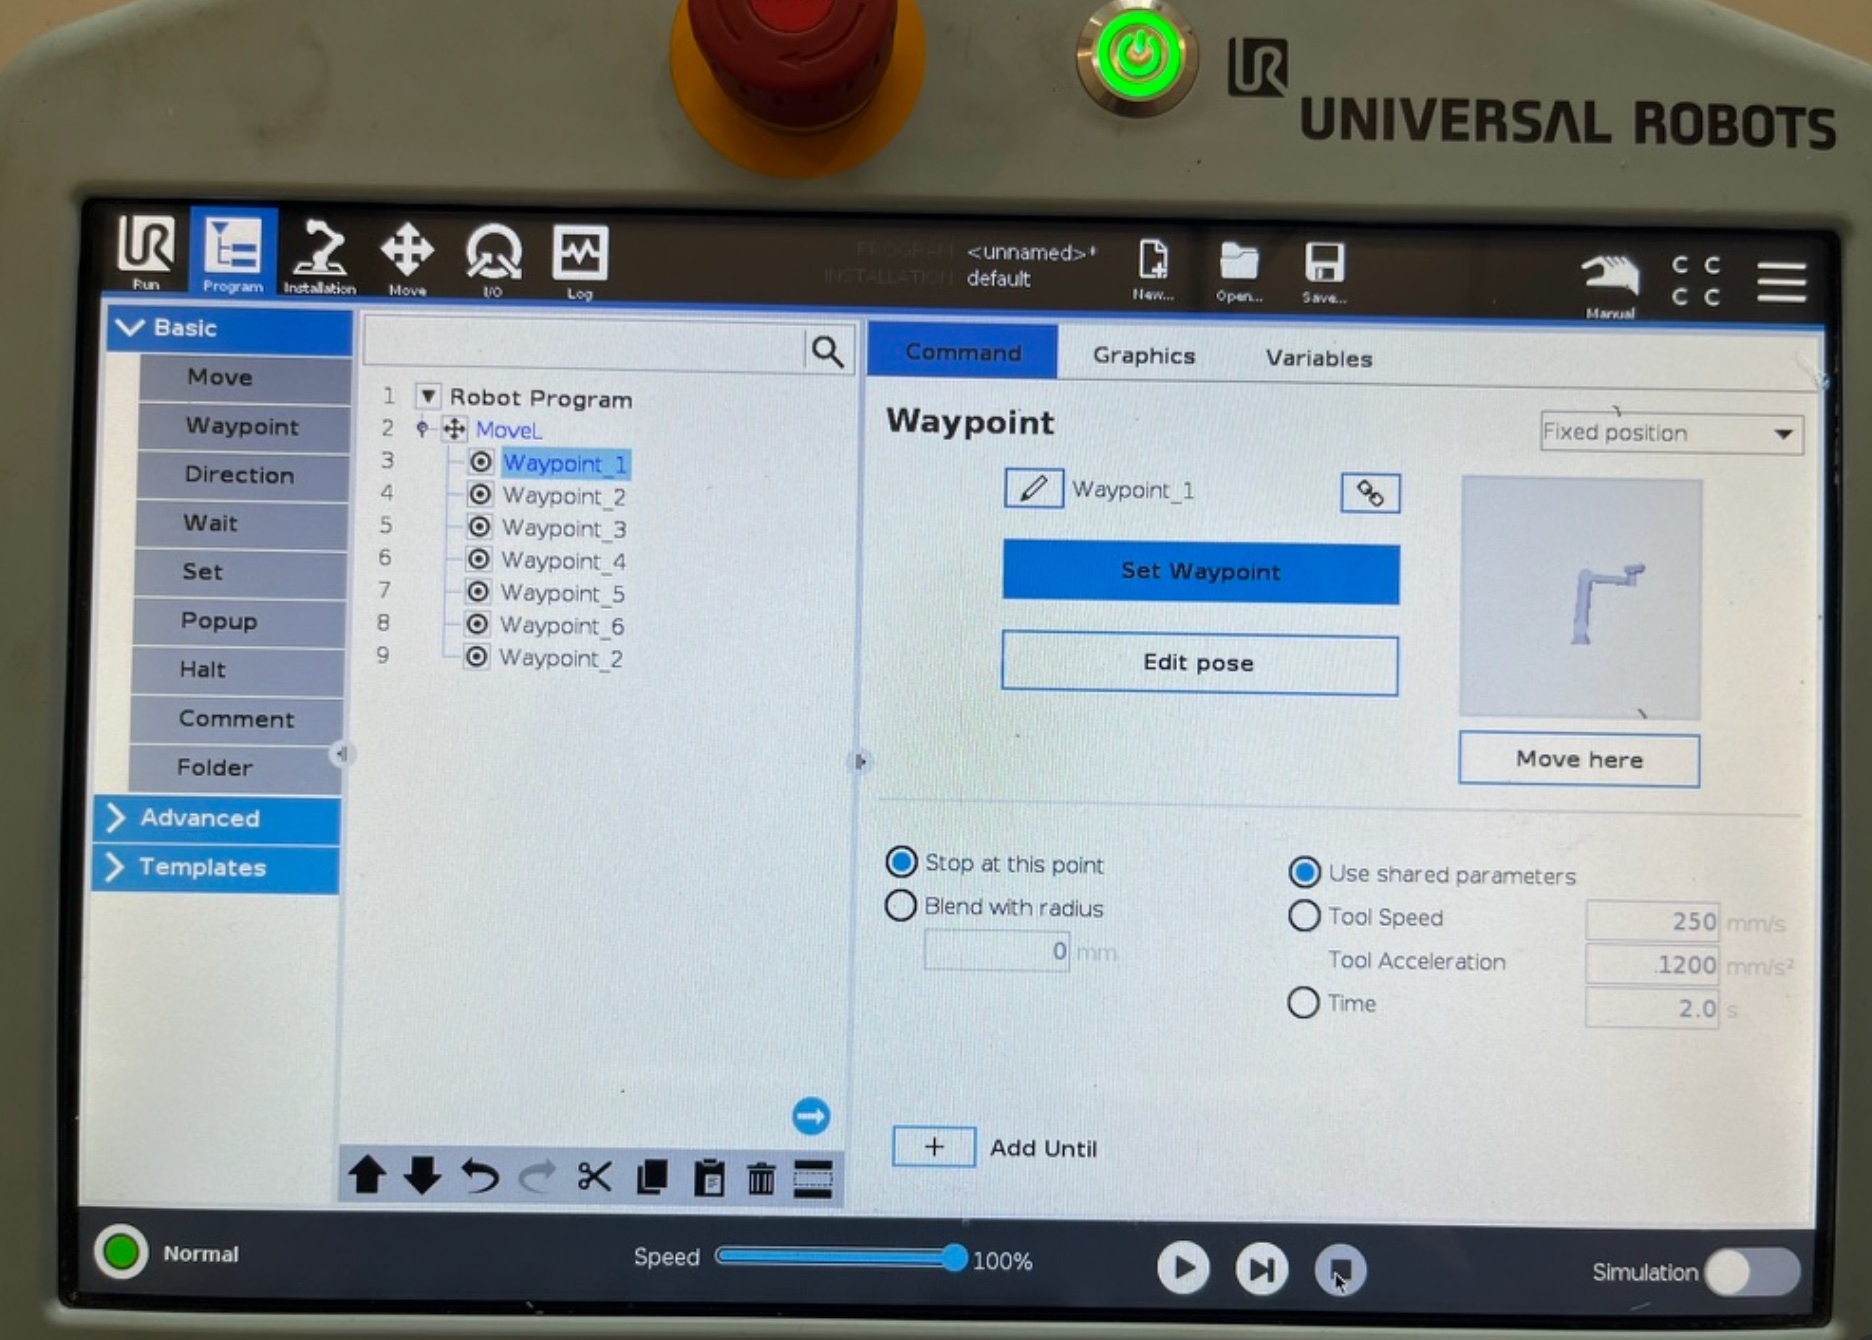
We continue setting waypoints all around the points we want the robot to draw and finally we run the code.
The first final result:
Let's do something better with the move type P, for this we follow the same process but we add the movement P in some parts.
Now we run this code and we have a heart that could be improved
This was a really important week for me because I never thought I'd move a robot, so this was interesting and important to know how waypoints and type of movements work.