13. Molding and casting
This week was about moulding and casting. From creating a mold, learn about materials and imagine a lot what the result is going to be.
The group assignment
Here is the group assignment where you can find more about this topic.
On this page I'll be talking of my process of molding and casting. This page is sectioned in three parts, the first about the designs, the second about the milling process and finally the casting process.
The first idea: cover for an Apple TV controller. moulding
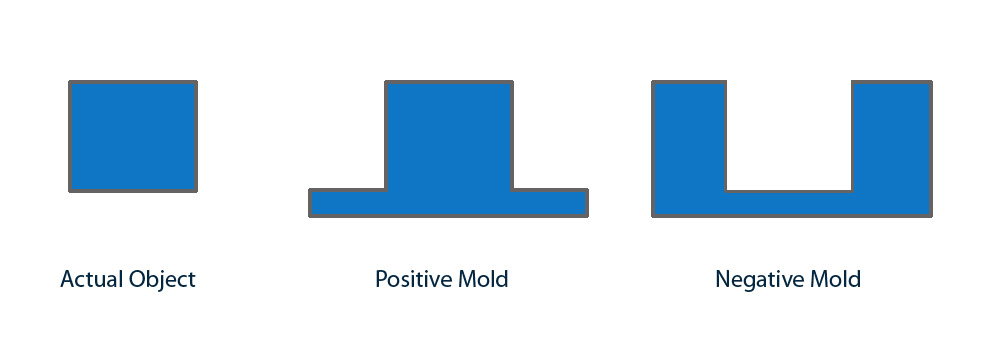
Molding involves creating a hollow form or a mould, which can be made from different materials such as plaster, silicone, metal, or plastic. The choice of material for the mould depends on the object being cast, the level of detail required, and the number of pieces to be produced. The process starts with creating a model of the desired object, which is then used to create a negative impression in the moulding material. This impression forms the mould, which will shape the cast material.
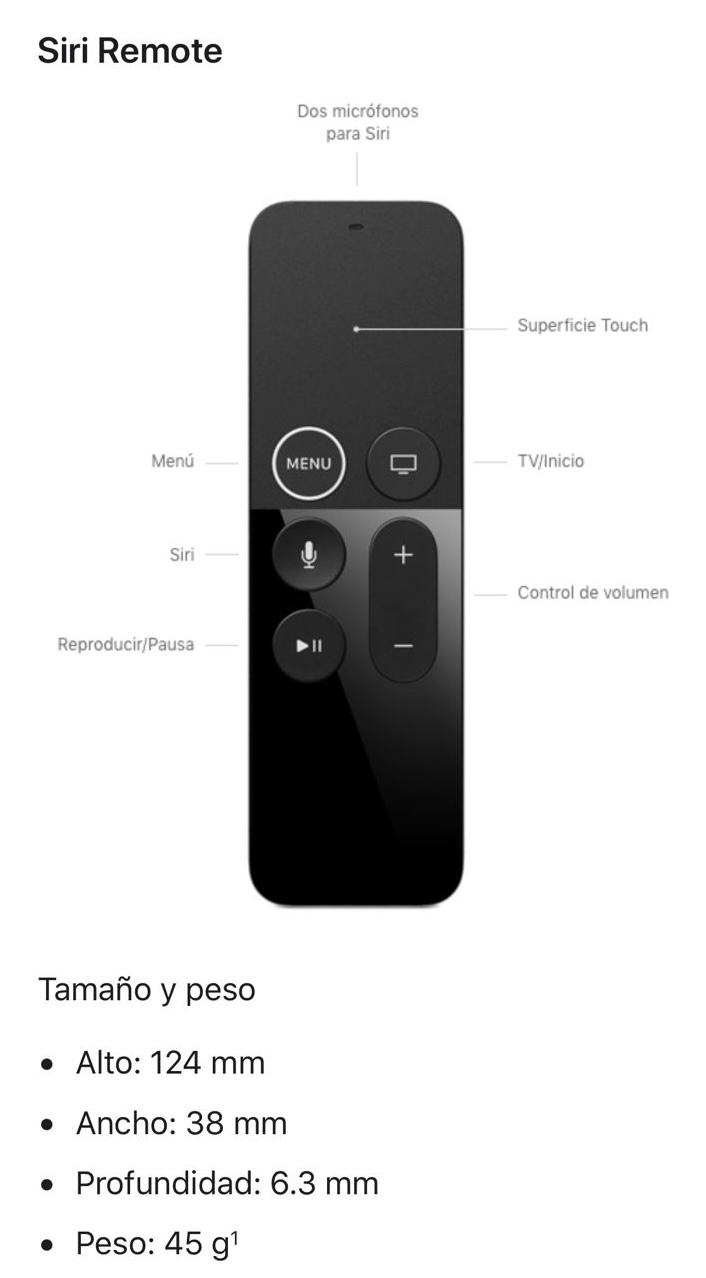
For this task, I wanted to create a cover for protect an apple TV controller. For this I started with the measures:
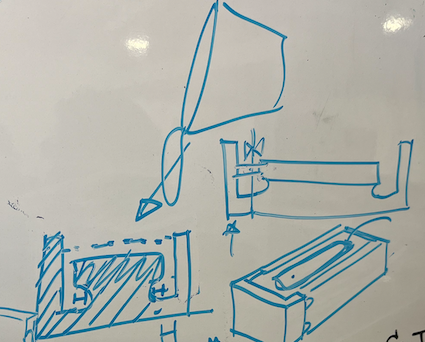
It was a difficult design because of the padlocks that make the device holders in the case. Here's what we planned:
I created the design on Fusion360. This was possible by using the measures that Apple provide in their page which are:
Widht: 38mm, Height: 124 mm, depth:6.3 mm. The design that I made was kind of easy because I rather not to use the holders on the case:
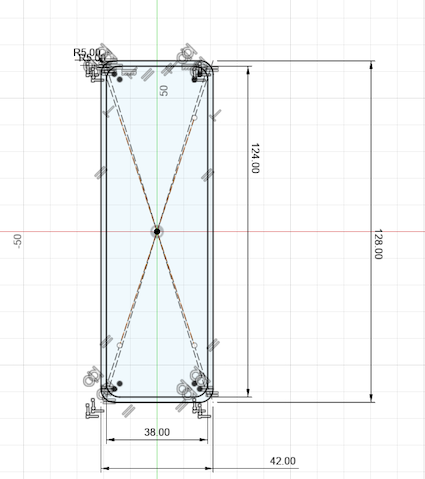
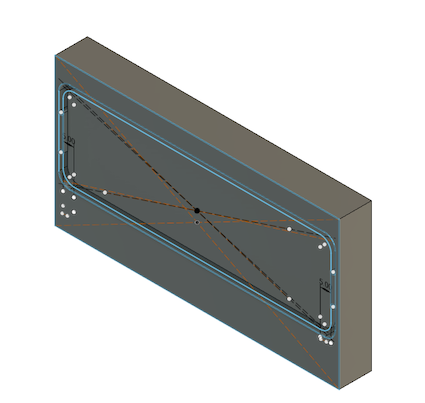
The final design on fusion360 needed to be extruded on a plataform, this in order to use the software and detect well the design:
Then I wanted to do something else in order if this was going to fail, so because I'm catholic, I decided to go with an .STL that I downloaded here.
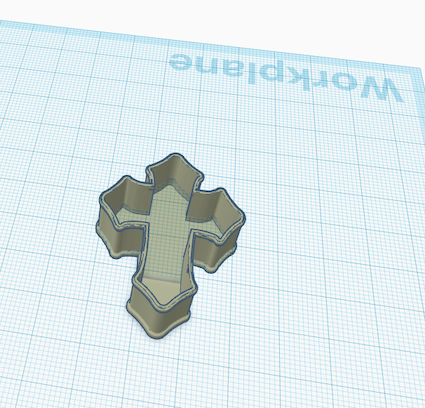
Finally just for testing, I decided to create a rosary decade. This is useful to pray the rosary on the go. This is going to be a test because I want it small.
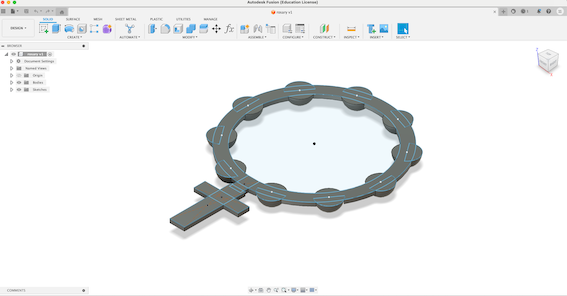
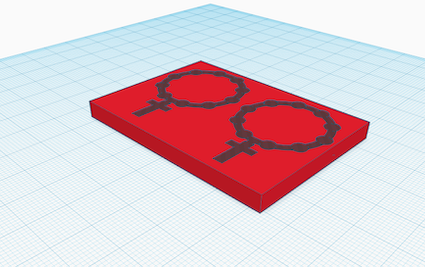
Passing it to TinkerCad to make it as hole and have two:
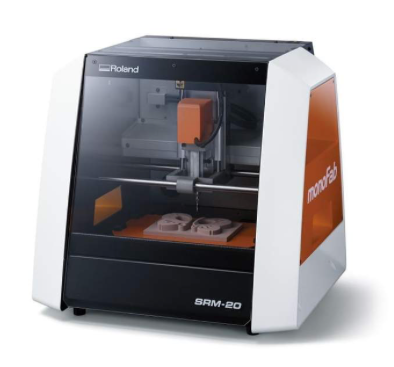
Using the milling machine
For this molds, I decided to use the milling machine (the same we used for the PCBs). The monoFAB srm-20. The use of this milling machine is important due the model I'm doing, because I'm creating a negative mold, this this process is going to be kind of easy.
Let's start. To make the moulds, the SRP player software. This software is comfortable but can't run on Mac so I used a classmate windows computer to make the milling machine work.
First is important to consider that the two molds that I'm going to do on this task are negative molds. A negative mold is the process of removing the actual object on the surface.
Let's start with the process of milling:
- 1. The first step is to open the software and import the STL file of what we want to mill and choose parameters. The X, y and Z axis are automatic. Only we need to select the top of the surface model. On this case I
selected that orientation in order to put the STL in the correct direction.

Model settings.
- 2. The second step is to choose the type of milling and the alignment of the block of moulding wax. In this case "Better surface finish" and "Modelling with many curved faces" are the options for the milling. Then on the blockspace,
cut top only is the option because we're doing negative mold.
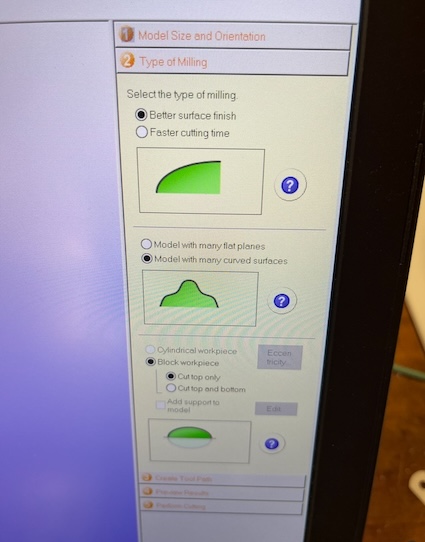
Type of milling.
- 3. The third step is to create the tool path. On this step we define the dimension of where we are going to do the mill.
The parameters of the Modelling wax I used were X: 80, Y: 150 and Z: 37. It's important to consider that the tool we're going to use needs to be added, this by going to options/add tool/select tool.
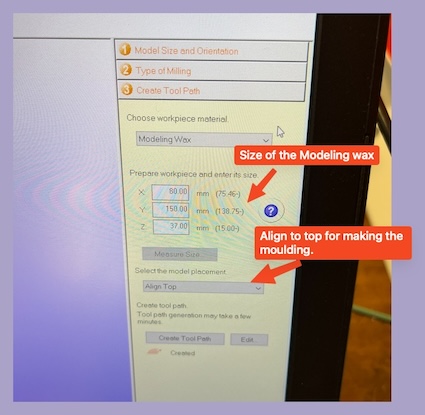
Tool path.
- 4. Finally we can preview the milling and we can send it to cut. To send it to cut we need to stablish the center of the modelling wax. It's important to be the center, to set this center the ROLAND
application is needed.

Preview apple tv control case. 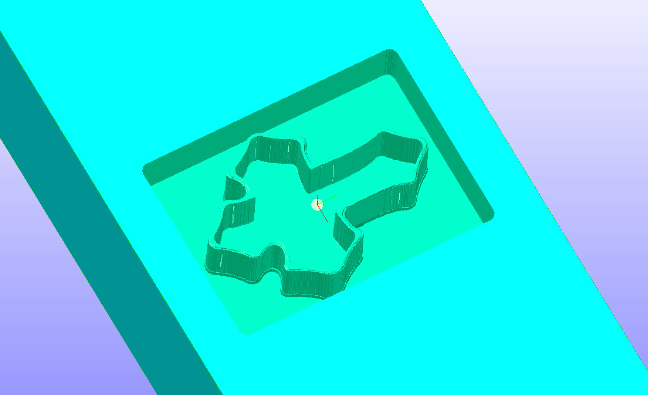
Preview of the cross. After checking that let's cut:
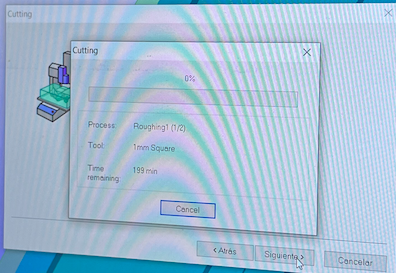
Start cutting. 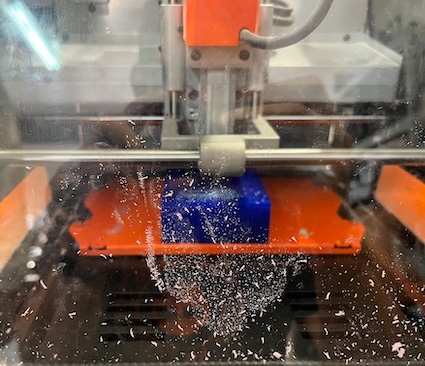
Milling. Then milling the cross:

Milling the cross.
Milling the decade:
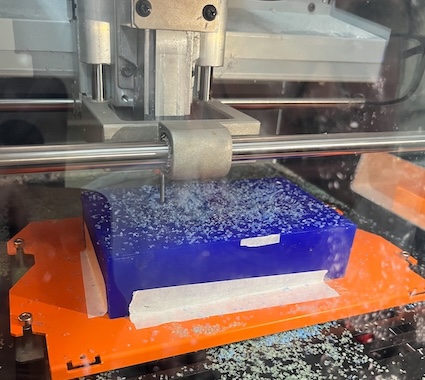
Milling the decade.
- 5. Just for details. A finishing is needed so we use a ball tool to get the smooth surface. This is set on the edit tool path option and is useful. (Didn't take
pictures of this part of the process).

Ball tool.
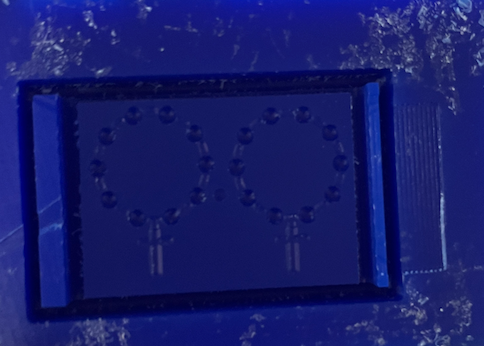
Results of milling
After we milled the cover and the cross, we got the next:

Casting
Let's talk about casting. Casting is the process of pouring a liquid material, such as metal, plastic, glass, or plaster, into the mould where it solidifies into the shape of the mould. Once the material hardens, the mould is removed to reveal the final product. Casting is used to produce a wide range of items, from industrial parts and tools to artistic sculptures and jewelry.
For this casting, I'm going to use Silicone 3030. It's datasheet can be found here.
This material needs to be used with caution. Gloves and glasses should be used during the process of using it.
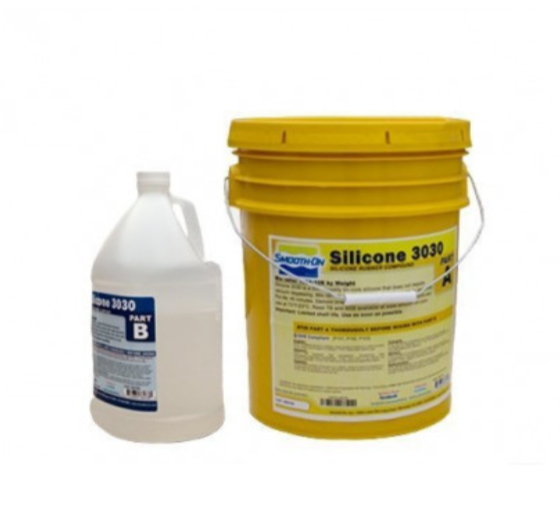
As we see, we have two materials, the part A and part B. Part A is the silicone by itself, this is the main component and every 100 grams of this part A need to be mixed with the part B, which is the catalyzer, using 10 grams every 100 g of part A. So it's the 10% of part A what we're going to use on part B.
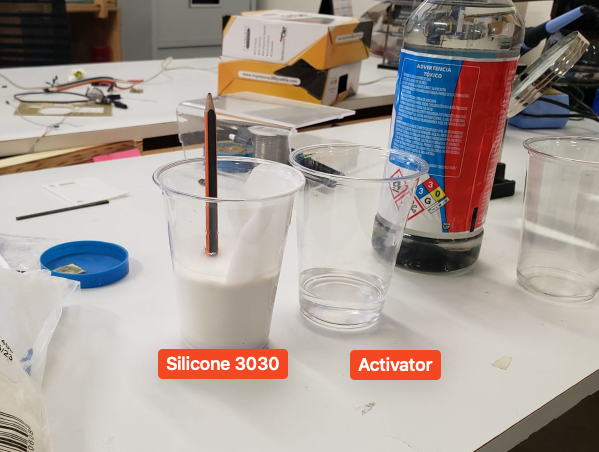
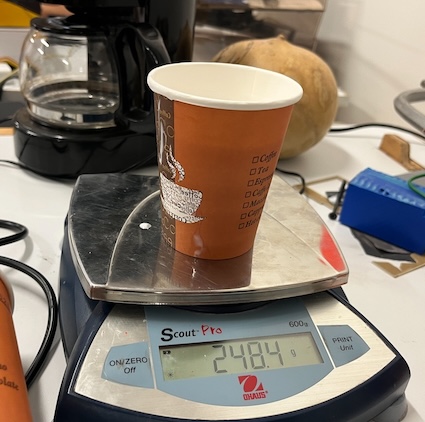
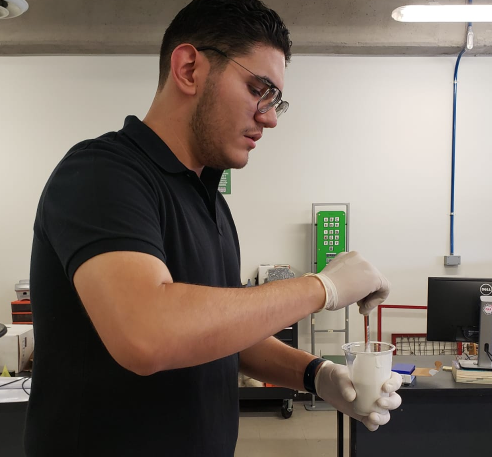
Here a scale is necessary to make the measurements as they should be made. Me with other classmate make the measurements and here are some pics:
Here is me mixing. Gloves are required and also glasses.
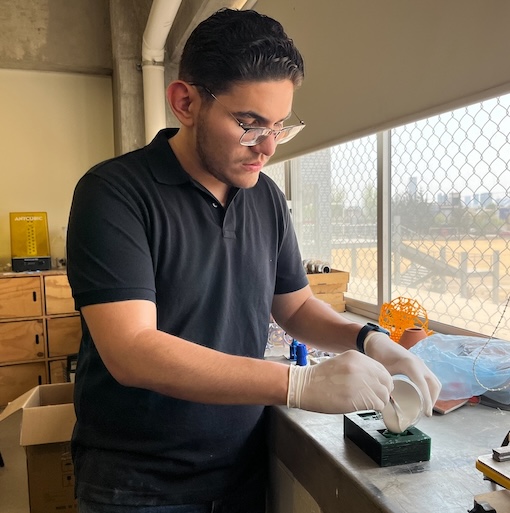
Pouring the mixture on the mold.
Let's wait like 24hrs to see the final result.
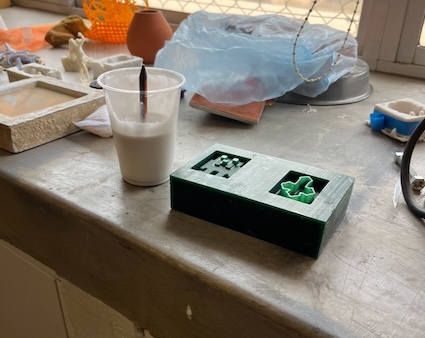
The final results
Here we have the final results, let's check:
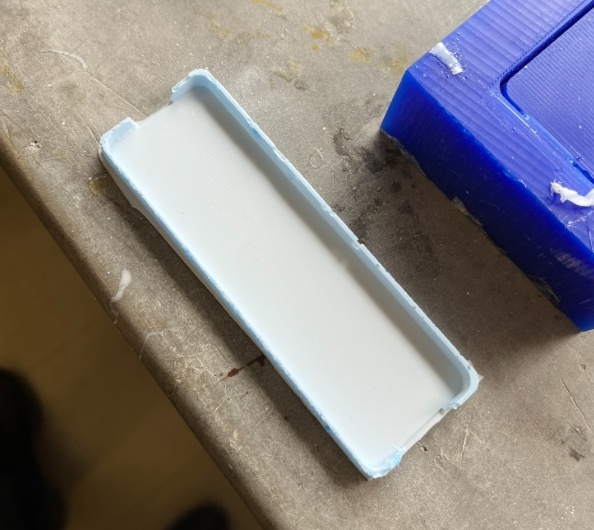
The first one, the Apple TV controller case was not the best result, as we can see, it is as it should be and is cause because the design was difficult and for me, it was difficult to land the idea on the fusion360. This was for me the one that I really wanted but didn't get, this because apple do not sell a cover for this controller.
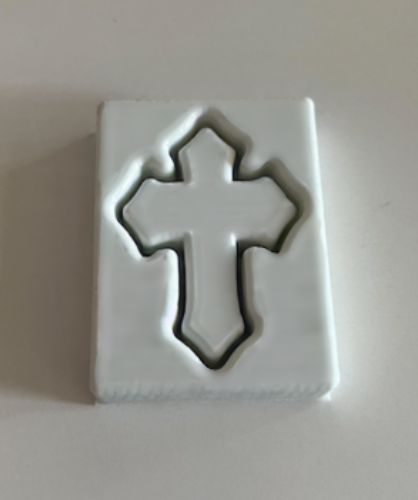
The second one was great, we have a cross as it should be. We can cut the cross and have it but I decided to let it as it is to have it protected.
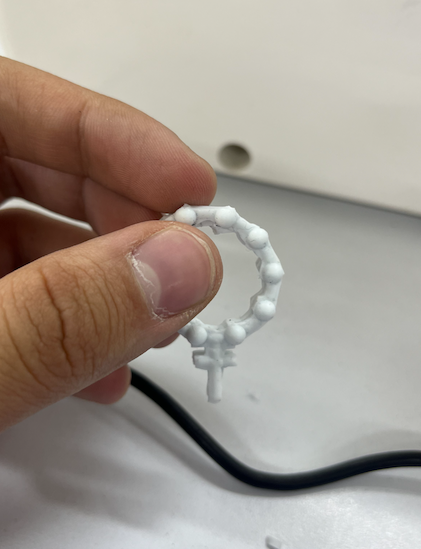
And the third one, the decade of the Rosary was great and I think it can be useful. The both parts need to be glued with silicone, I used a partner silicone mixture that he made. Here is the final result:
Finally I would like to say that for me this was a difficult task because I'm not much into computed design and molding for me was difficult. It was interesting and it seems easy but to much security measurements need to be taken because the materials are harmfull.