1. Principles and Practices, Project Management
This week I worked on defining my final project idea and started to getting used to the documentation process.
Deployment of the page
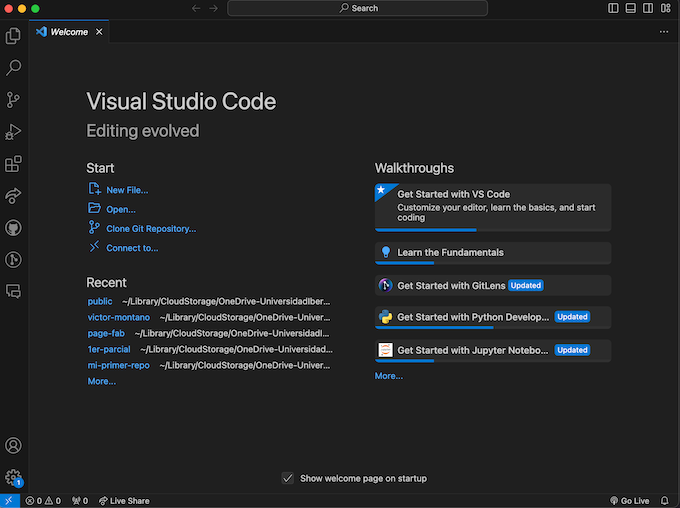
The first step was to decide which text editor to use, in this journey through Fab Academy I am going to use Visual Studio Code.
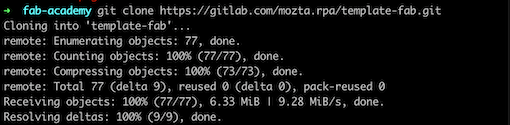
Then our instructor Rafael gave us a template of an HTML page to upload everything, so we needed to clone that and upload it to the Fab Academy GitLab. The git clone LINK command clones the repository from the web to the computer.
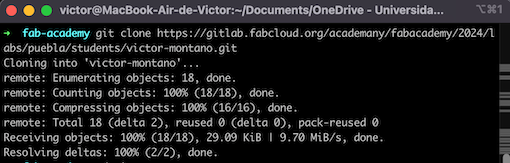
After that it was necessary to upload the page into the GitLab repository. This was made by commiting and pushing everything from the terminal. The first step on this process is to clone and connect the GitLab repository to the computer, for this it was necessary the next clone too:
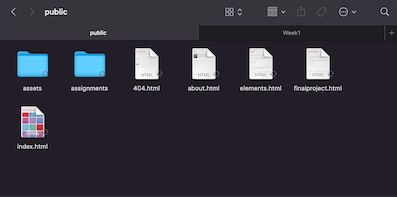
Then I added everything on the directory /public which is the one that will contain the page.
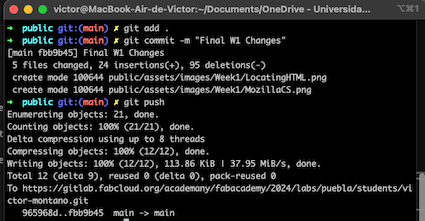
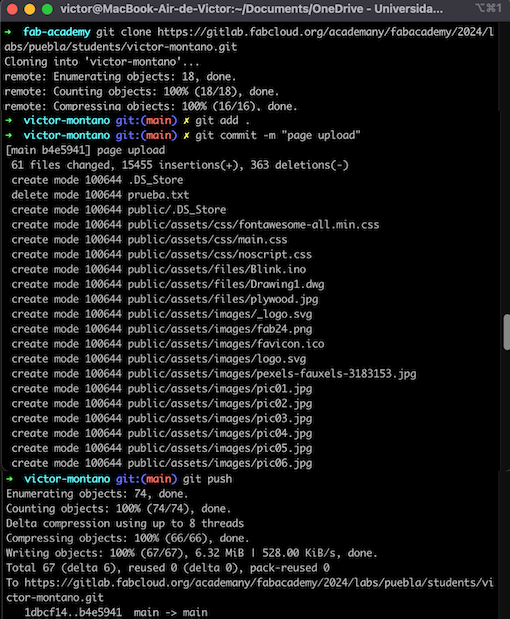
Finally I upload everything to the GitLab repository, this by using the command git add . which adds every file to the index. After that the git commit -m "CHANGE NAME" was used to create a commit with the name of the change and finally the git push which uploads everything to the GitLab repository:
For communication between my terminal and GitLab, Im using HTTPS. HTTPs protocol is an easy way to communicate your pc with GitLab. Although is easy, could be a risk for your credentials. GitHub stopped accepting account passwords on 2021.
When using HTTPs you only need to input your account once (the first time), then you're not requiered to input it again, this is something great for all that are starting using version controls.
On the next image I'm not showing the first time I input my account because I didn't take the screenshot but the input of the credentials is simple as a copy and paste account.
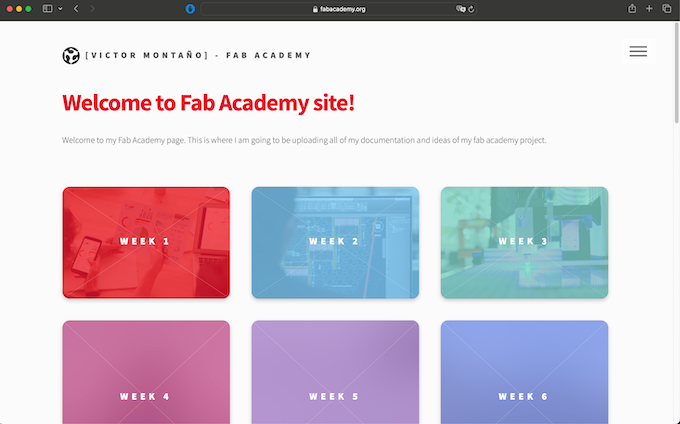
And we got it!!!
The page is composed by 3 essential elements: the main page, the about me, and the weeks page (this will be repeated each week).
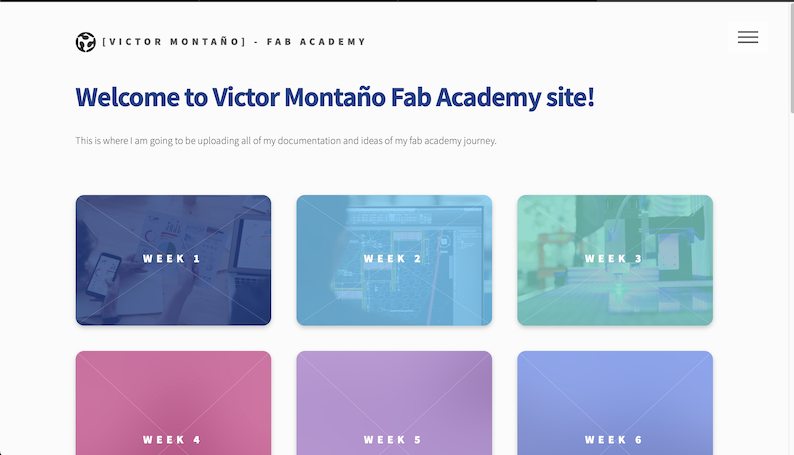
After the deployment of the page I decided that a little change should be done so I changed the color of the titles of all template. To do so I needed to locate on the styles.css the color of the titles, so I used the shortcut cmnd + F and search on the styles.css the color code, which in this case was EA0B2A then I replaced every of that color for the color code 264287 and this was the final result.
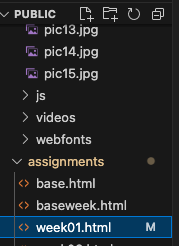
Editing the page was kinda easy, the first step was to locate the file on the directory called week01.html which is this one. Then I started editing and adding text, images and more.
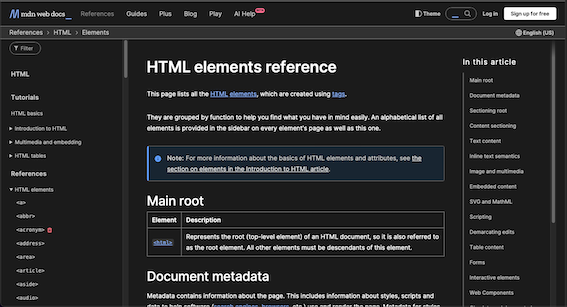
For editing the page, adding text, importing images and more stuff, a page that I found useful was this cheat sheet of HTML created by Mozilla Developer Network. In that page I learn more about HTML and tags.
After all this changes were made, I needed to upload it to GitLab, so needed the following commands: git add ., Then git commit -m "NAME OF THE CHANGE" and finally to push them to the cloud, git push.