Review the safety data sheets for each of your molding and casting materials,
Make and compare test casts with each of them and
Compare printing vs milling molds
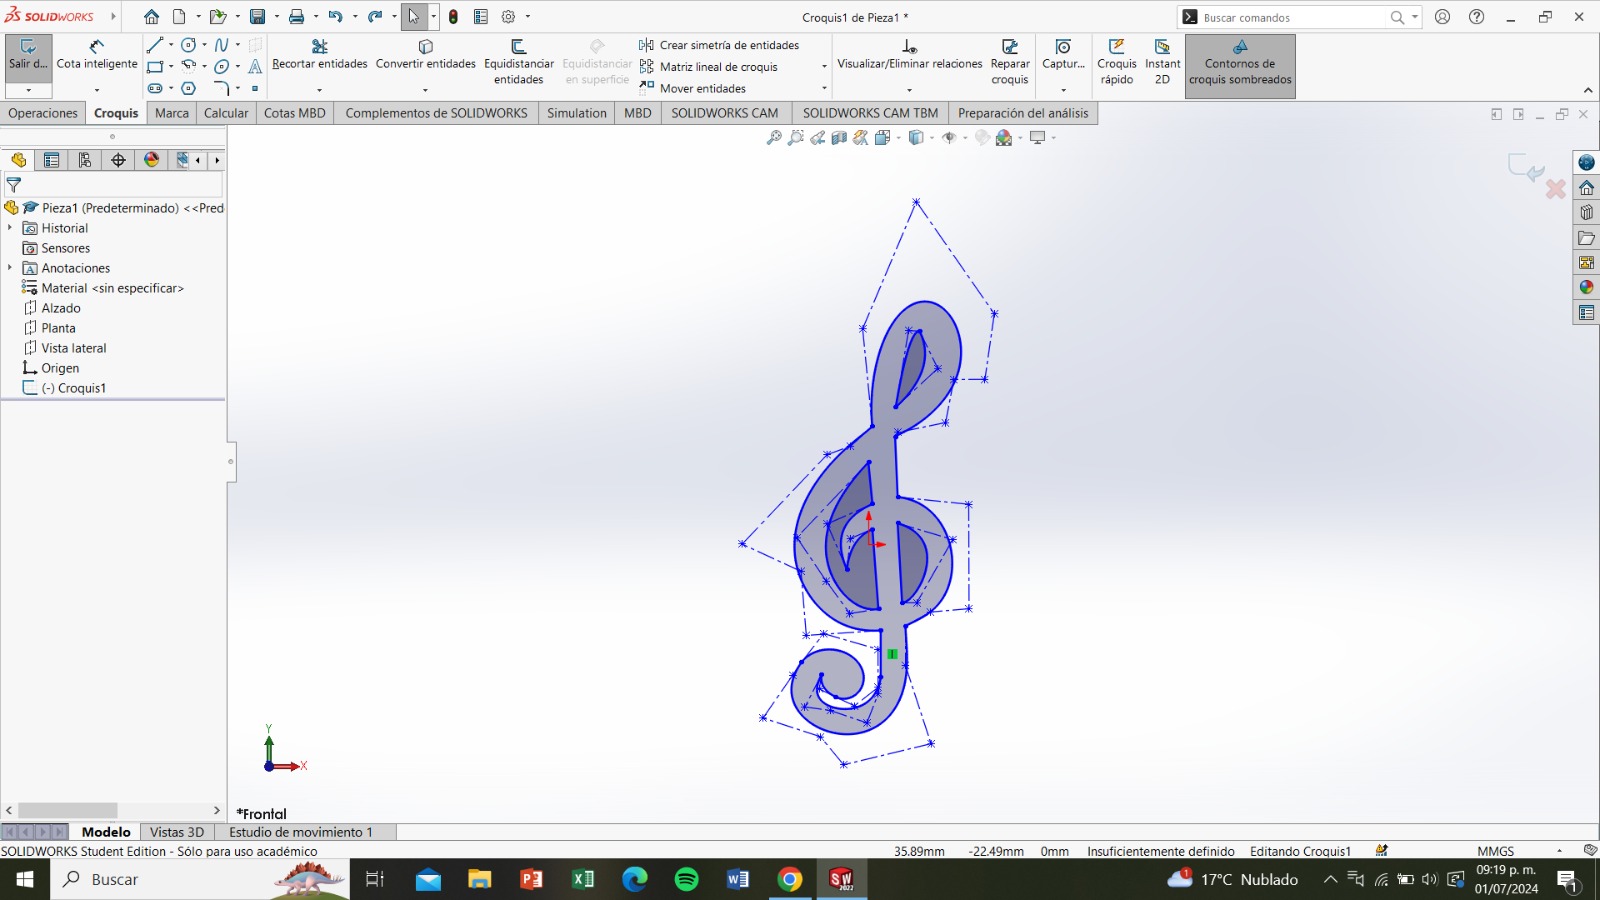
Now I will make a mold with a wax block and the router. I will start by designing a
treble clef in SolidWorks. The block we were given is 9cm by 15cm, so I will make the
figure approximately 6.5cm long and 2.5cm wide to leave more space on the block in case
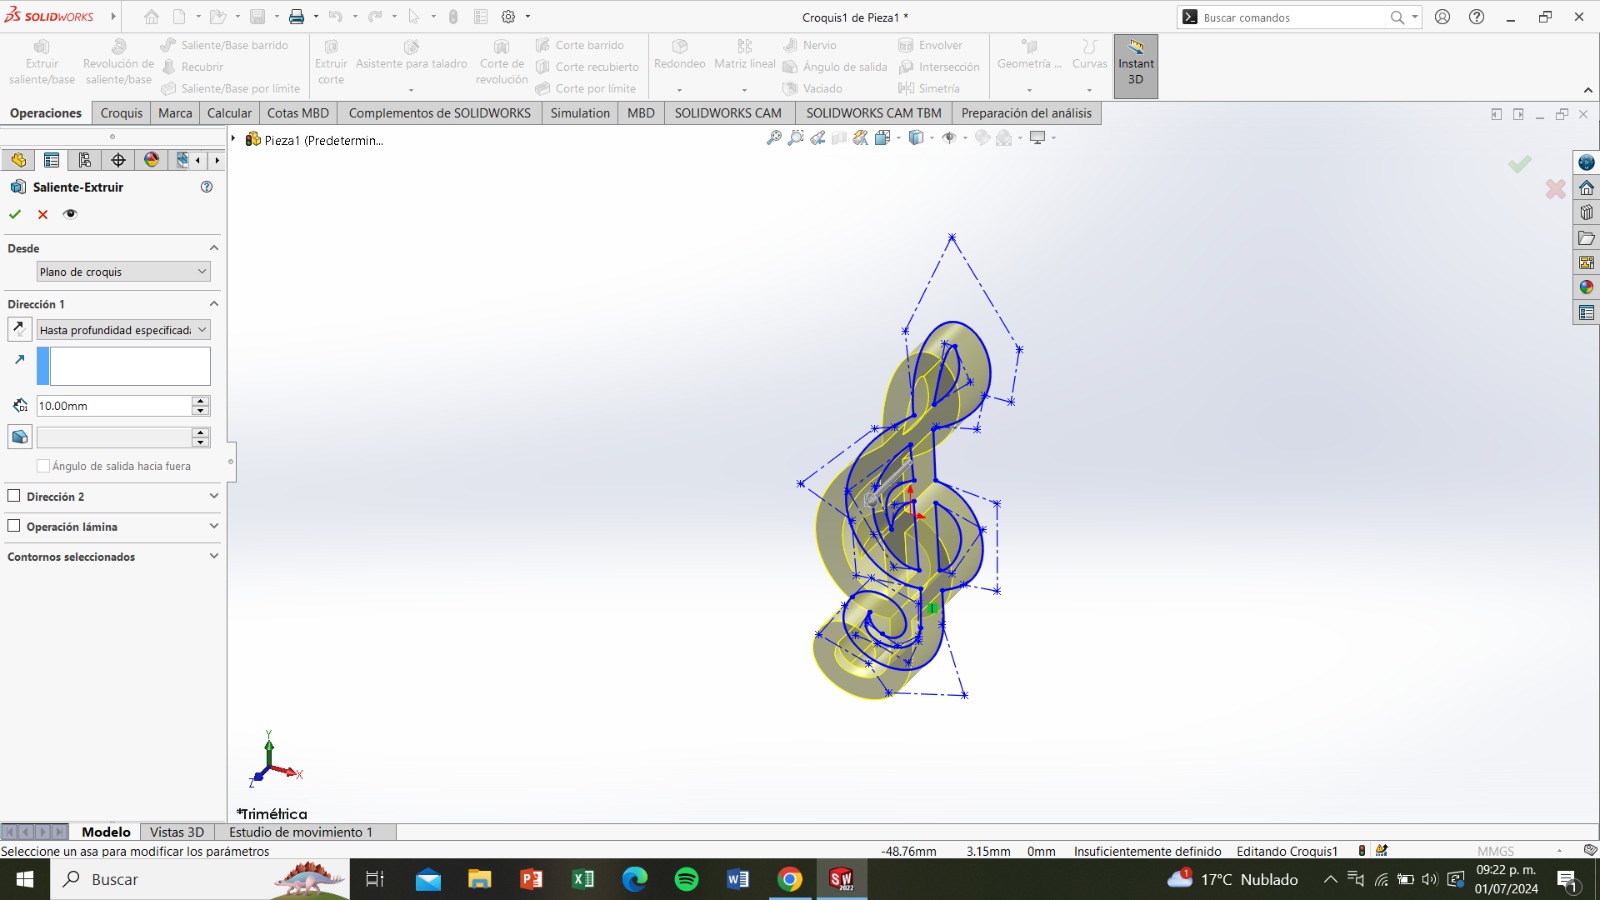
it doesn't come out right the first time. I made the curves with the desired measurements
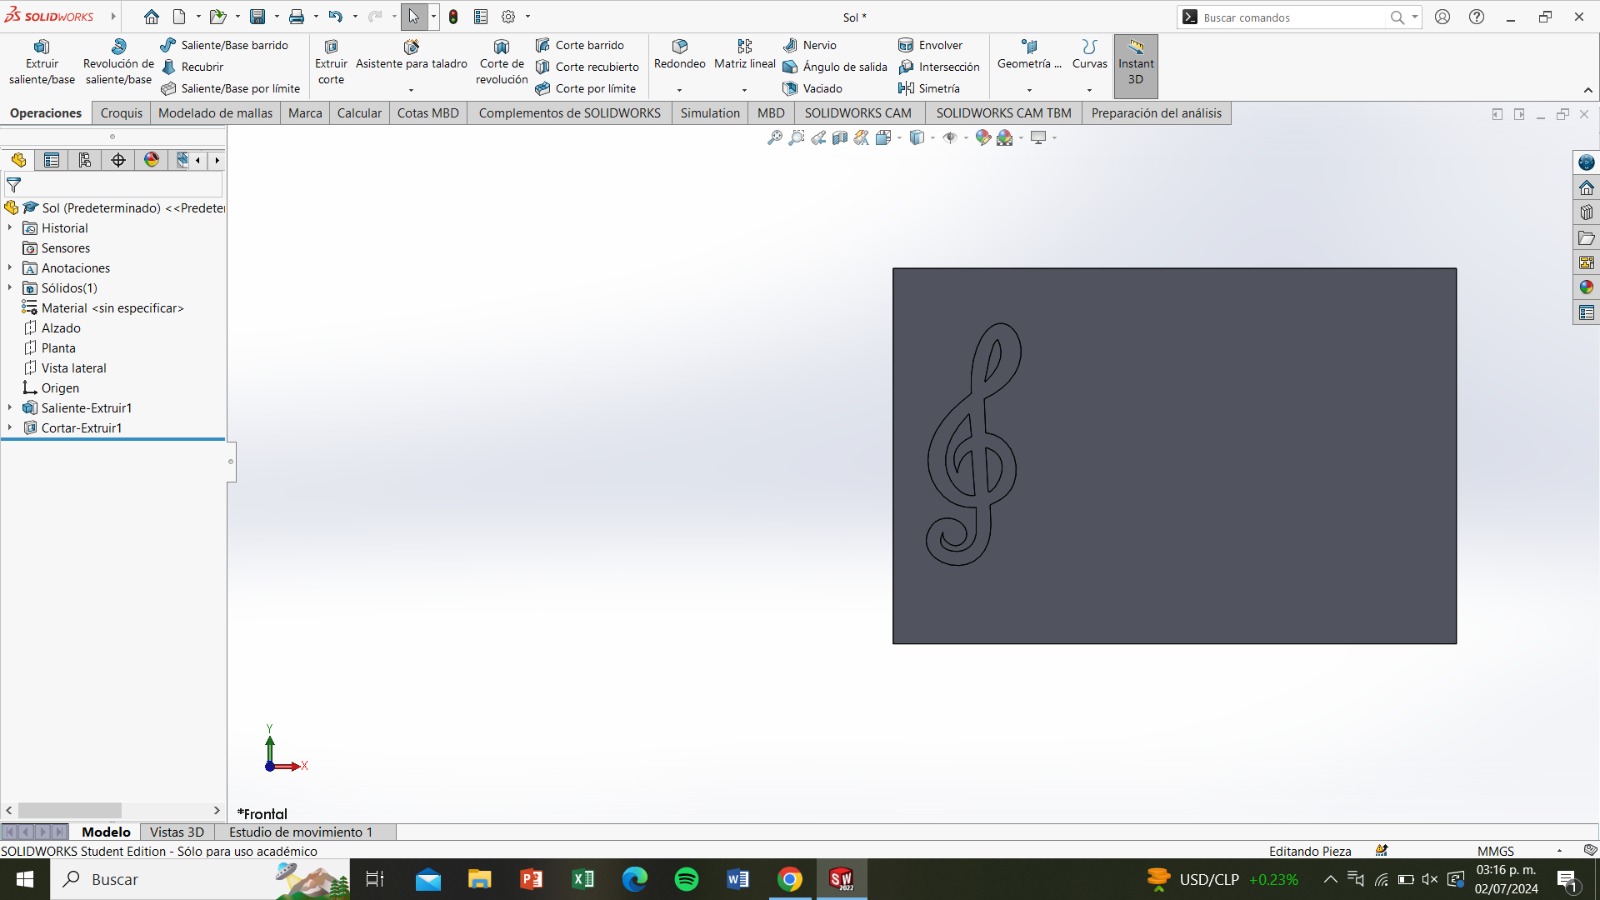
and then made a block with the measurements of my wax block and created a 1-centimeter
obstruction in it with the design I made.
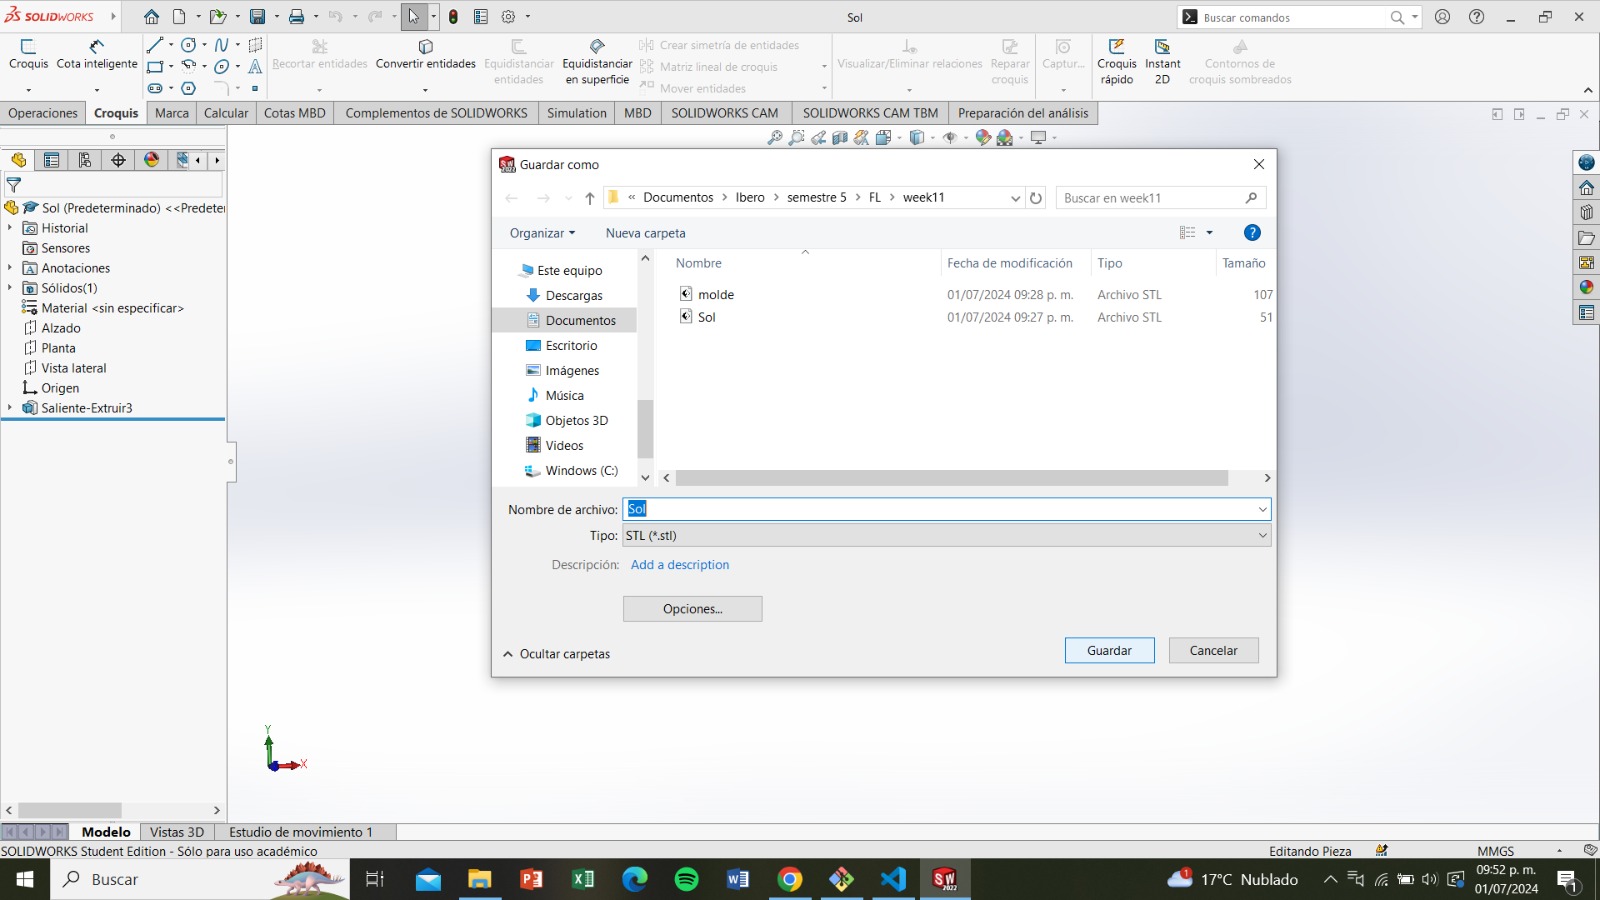
Then, I saved the document as an .STL file
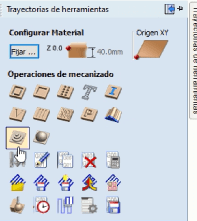
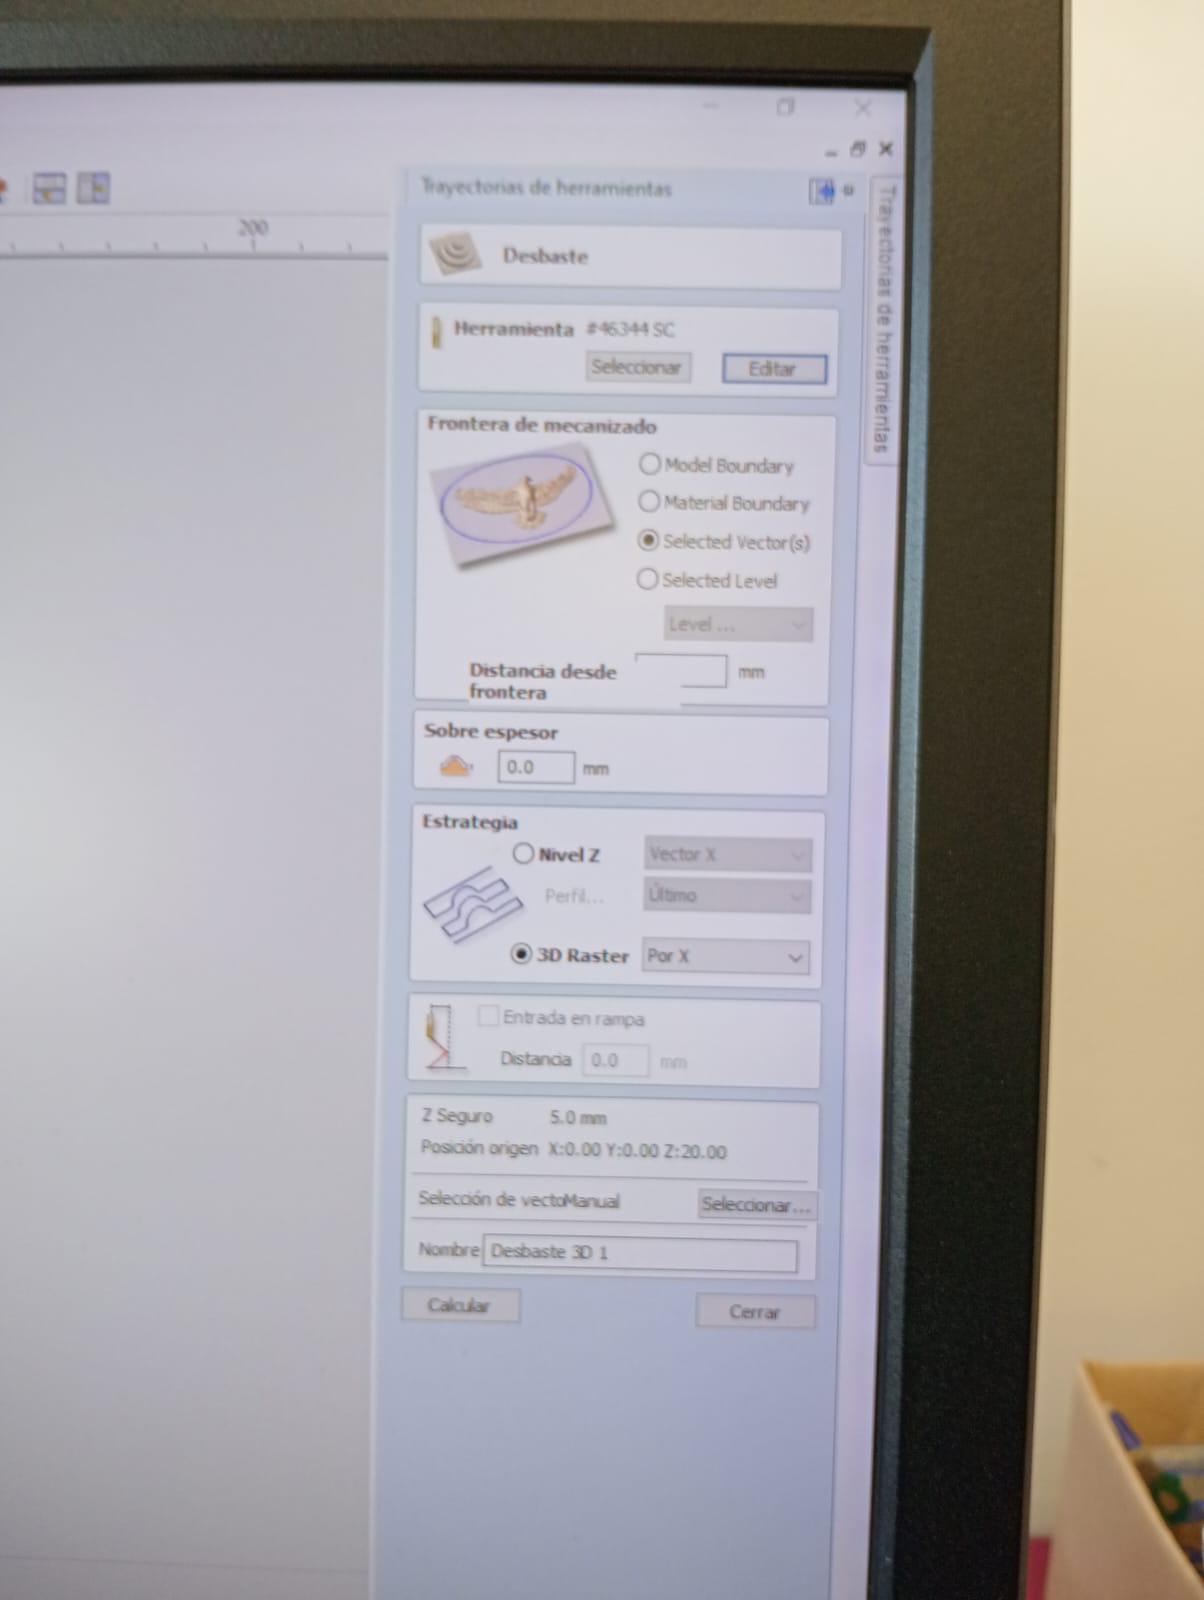
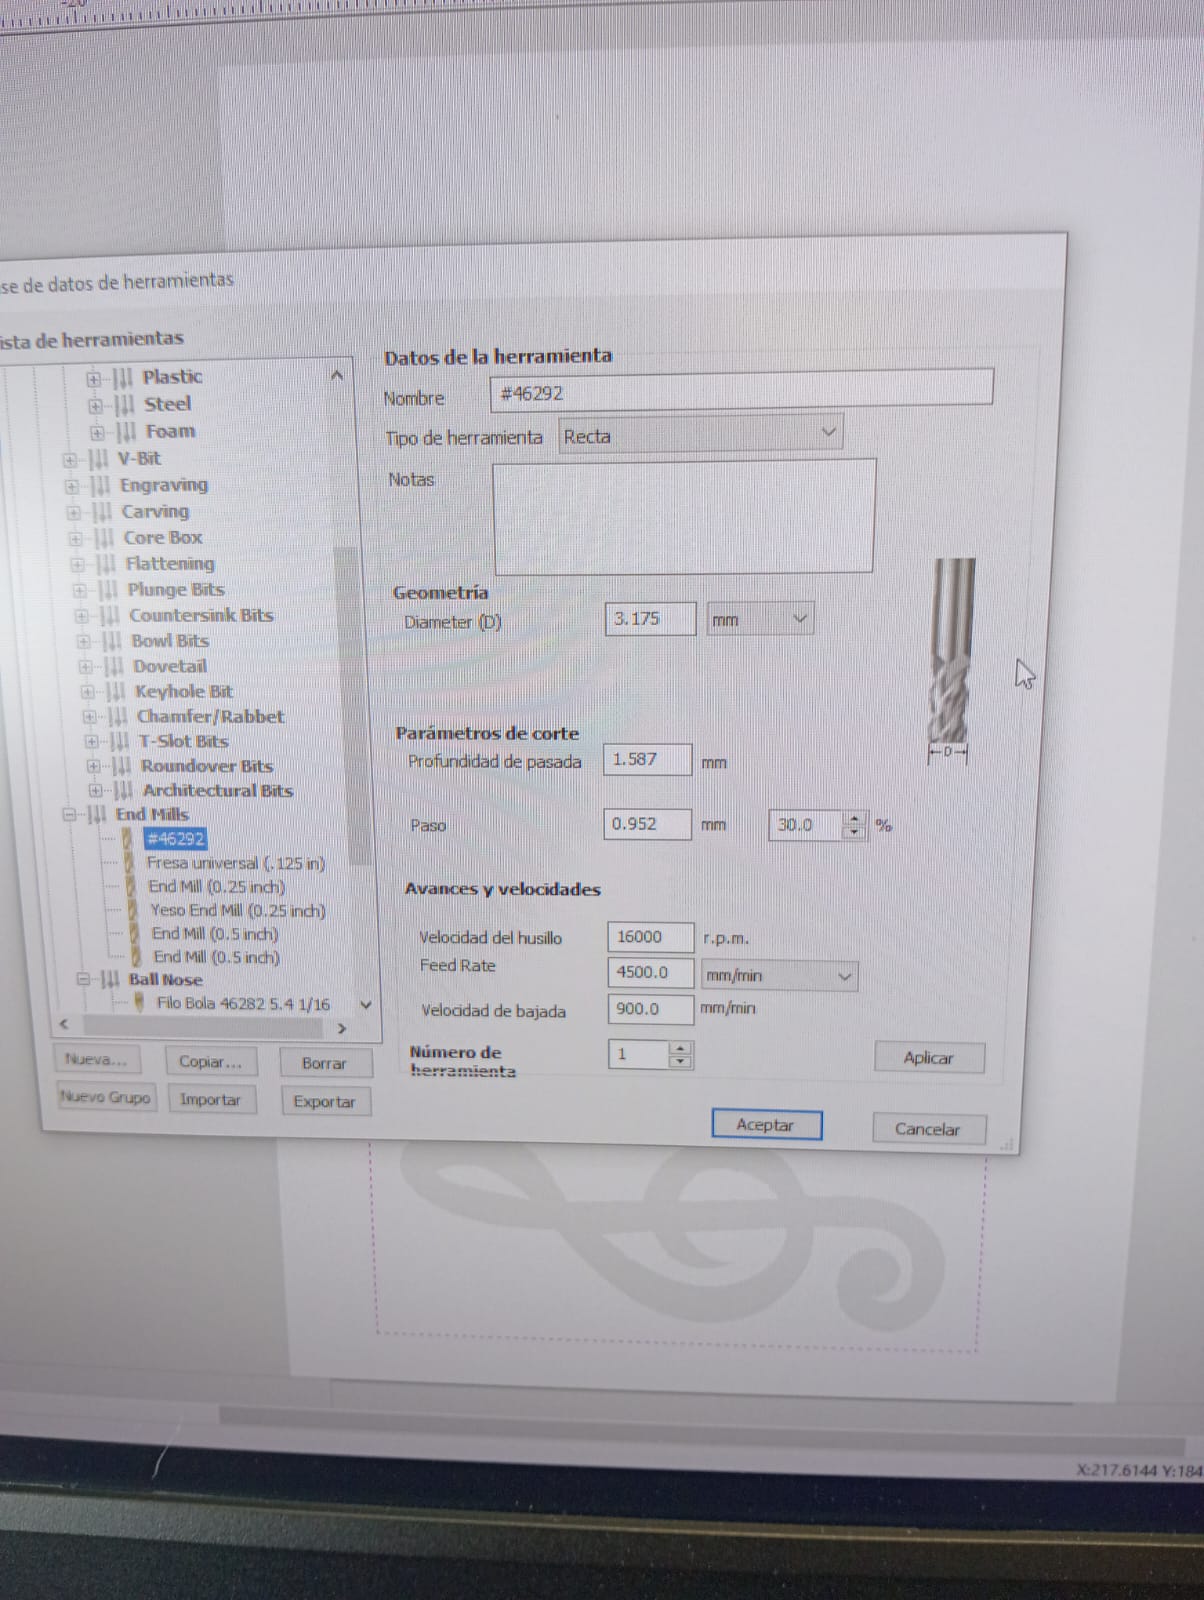
I opened my document in VCarve, defined the size of my block, selected '3D Roughing,' and chose the appropriate
tool and adjusted the parameters for a 1/8 cutter.
Then I clicked on simulate to make sure everything looked good.
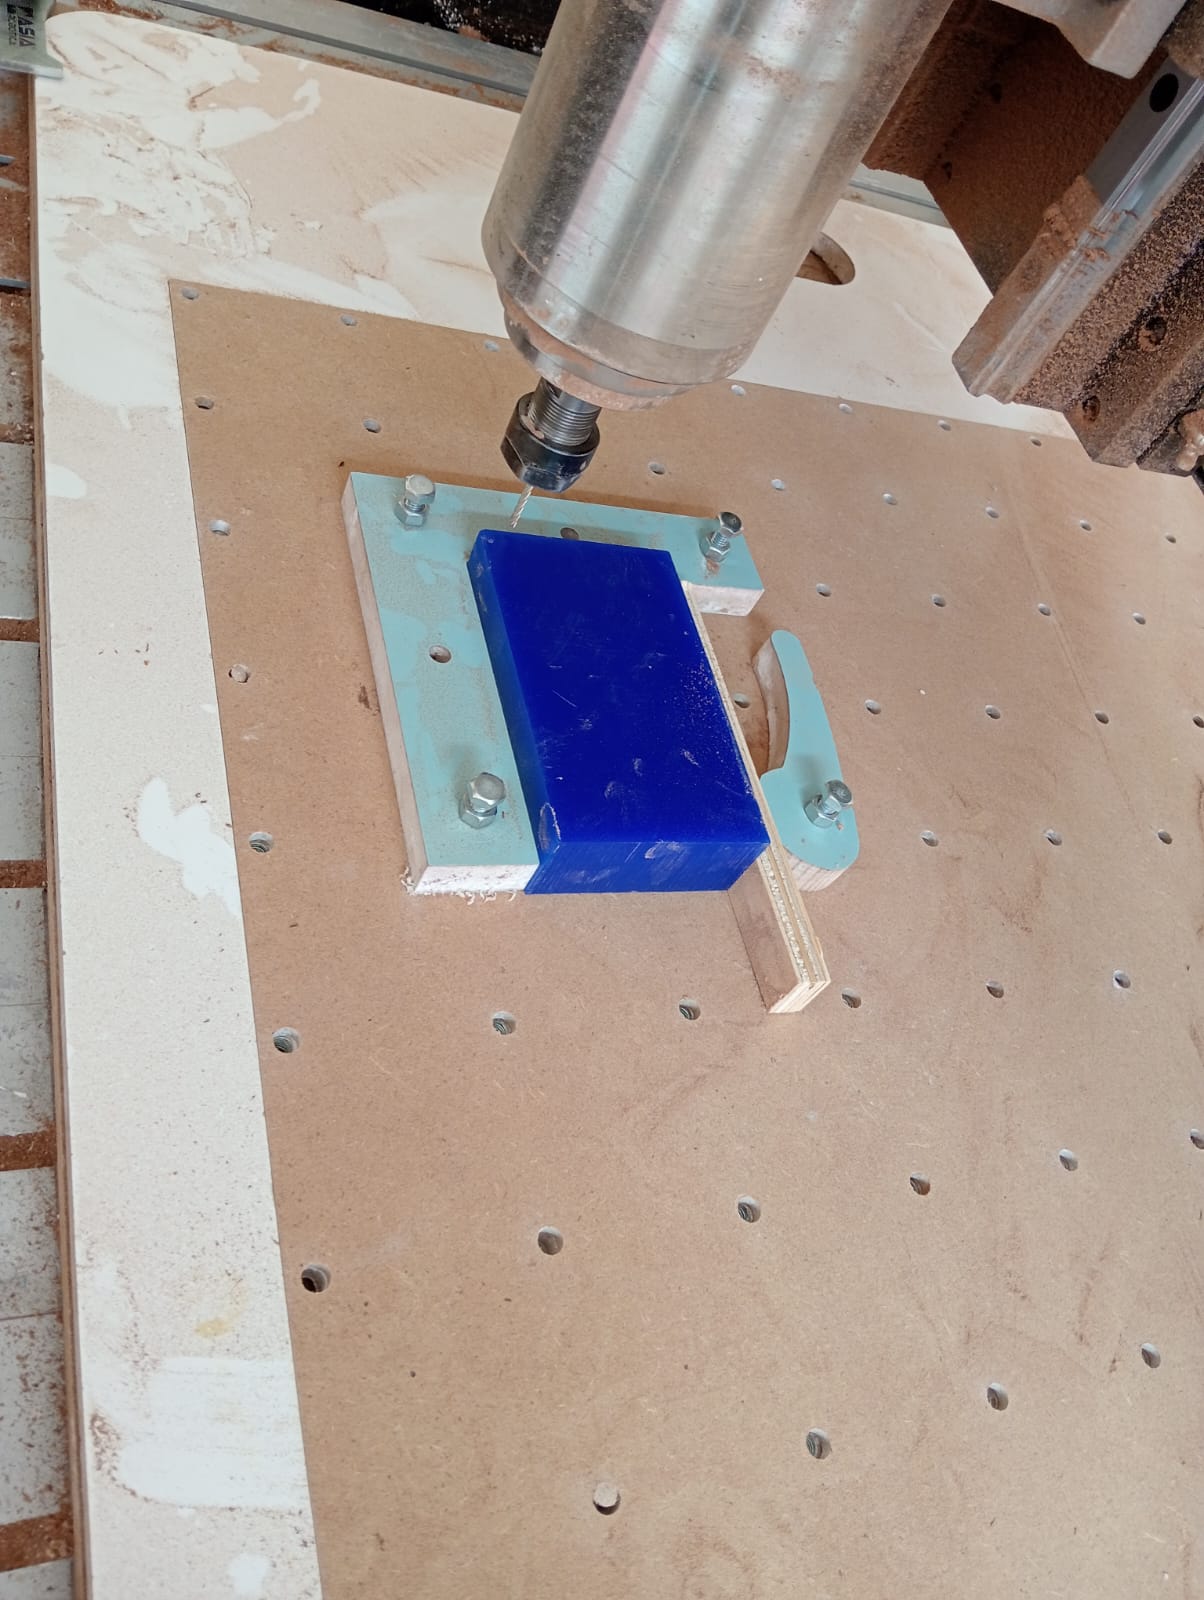
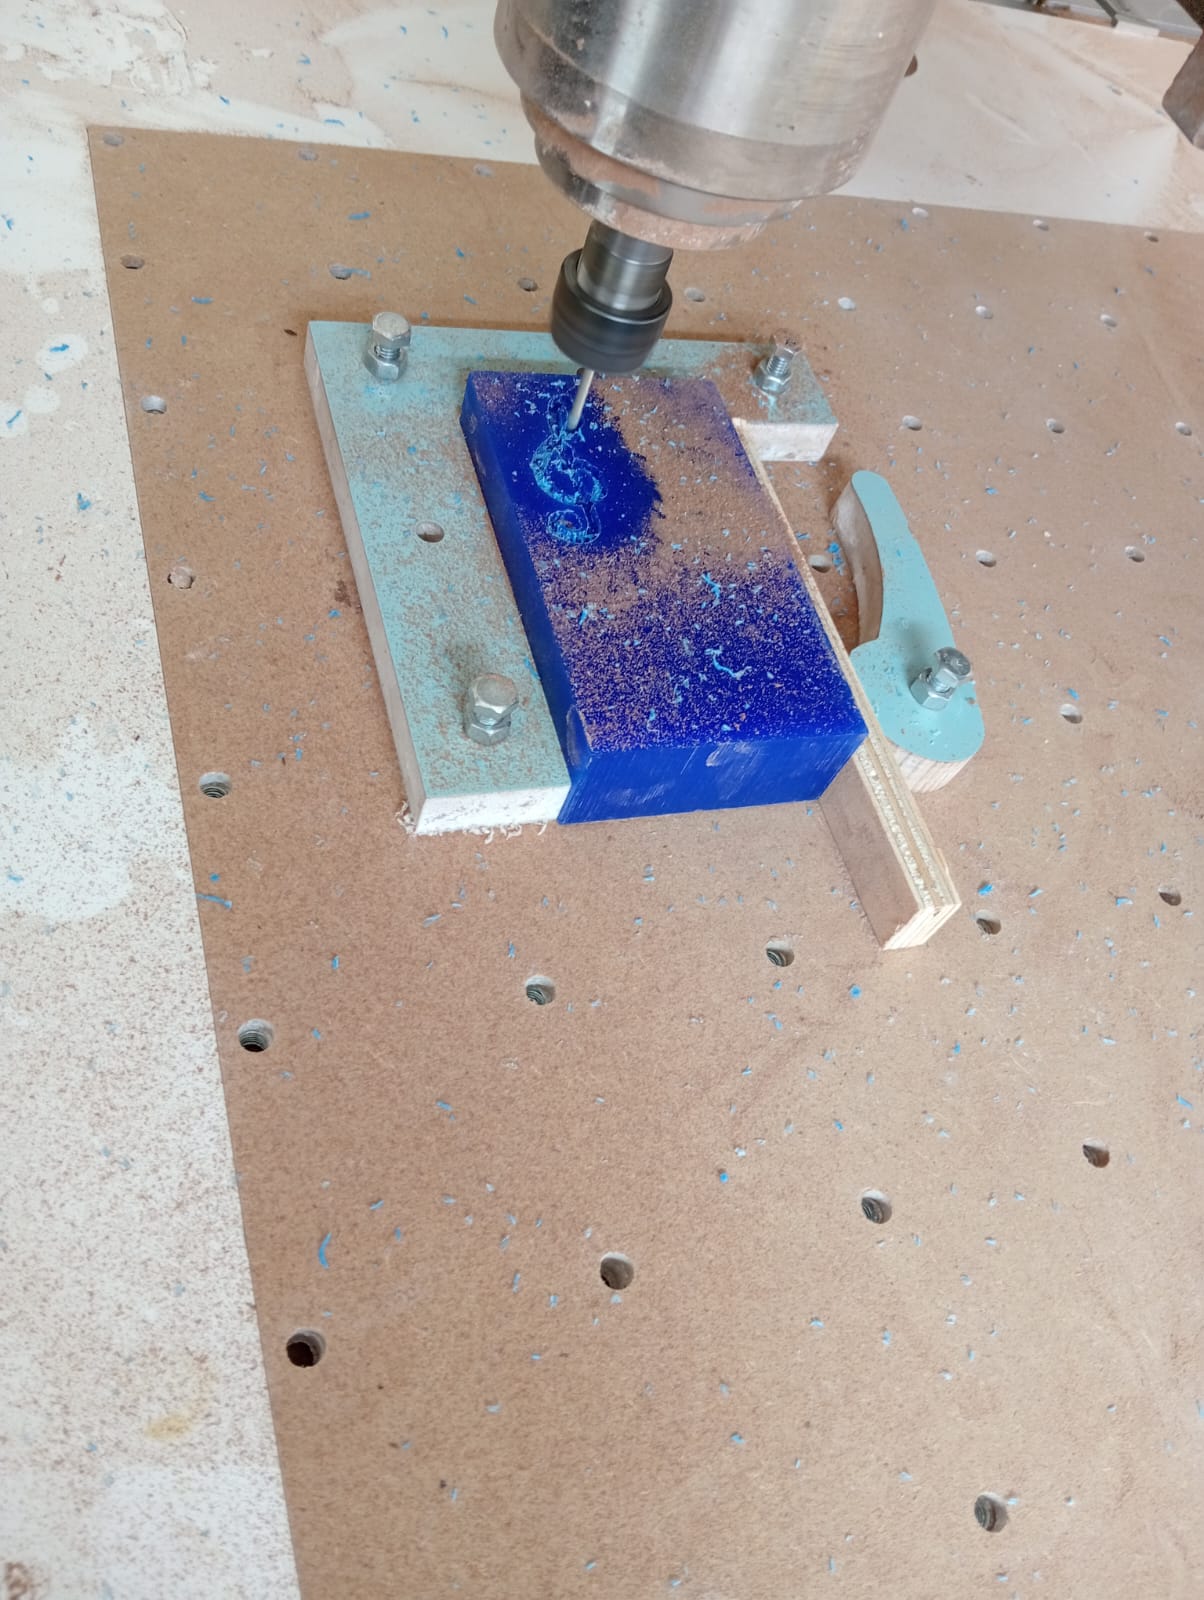
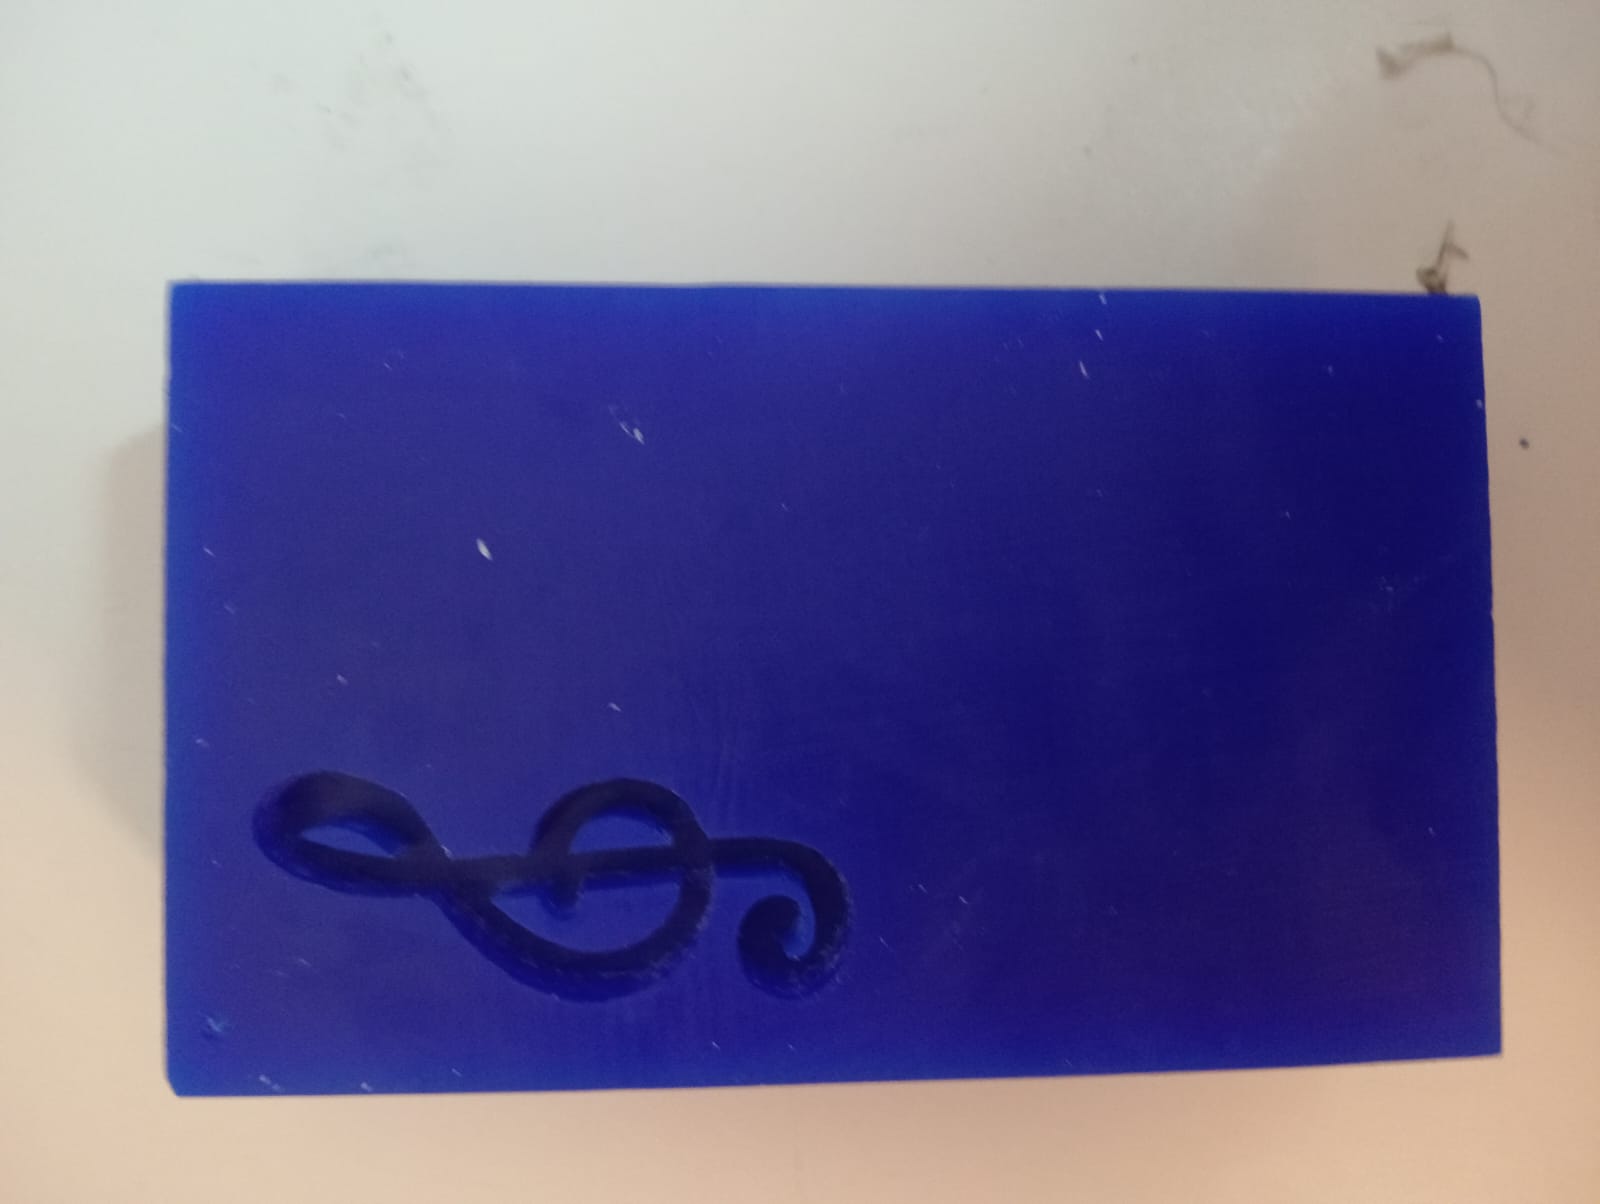
I saved the document and went to the router. First, I placed the sacrificial bed where I secured the wax block and then the 1/8-inch cutter.
I adjusted the Y, X, and Z axes and pressed start.
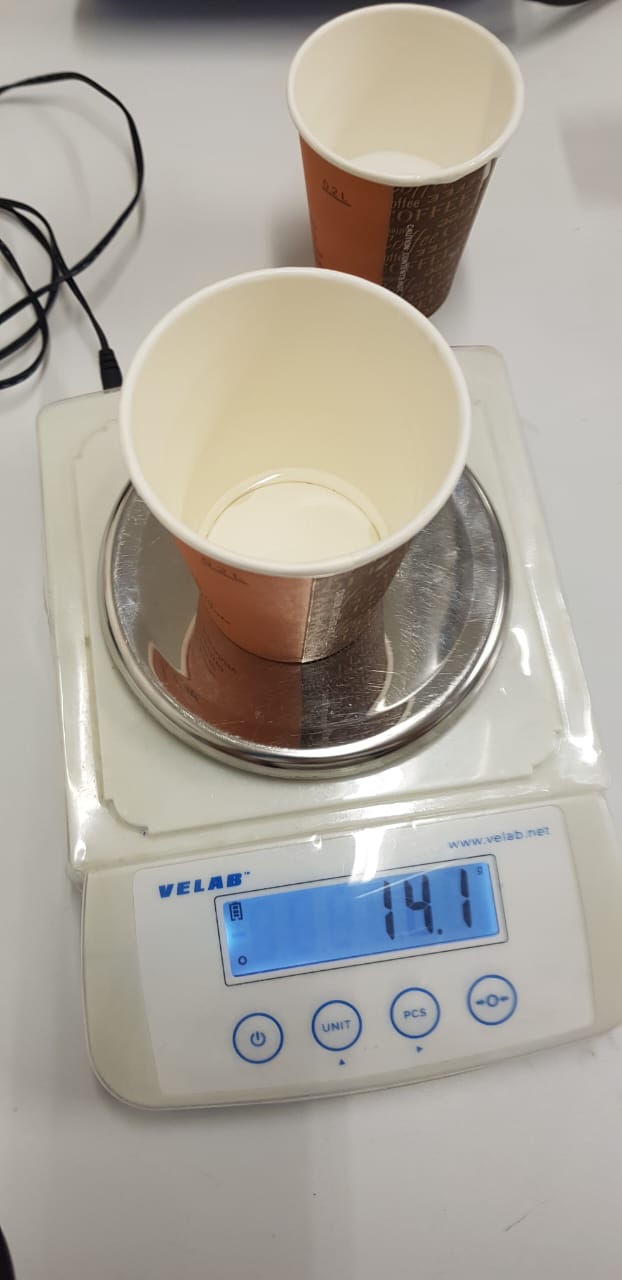
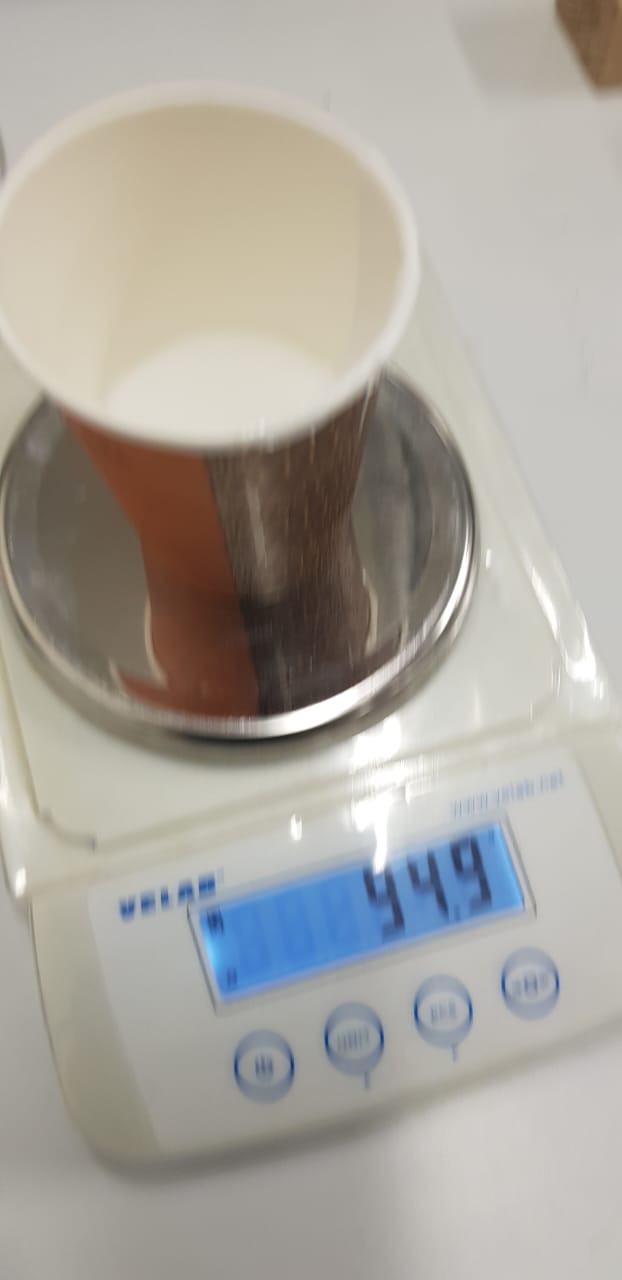
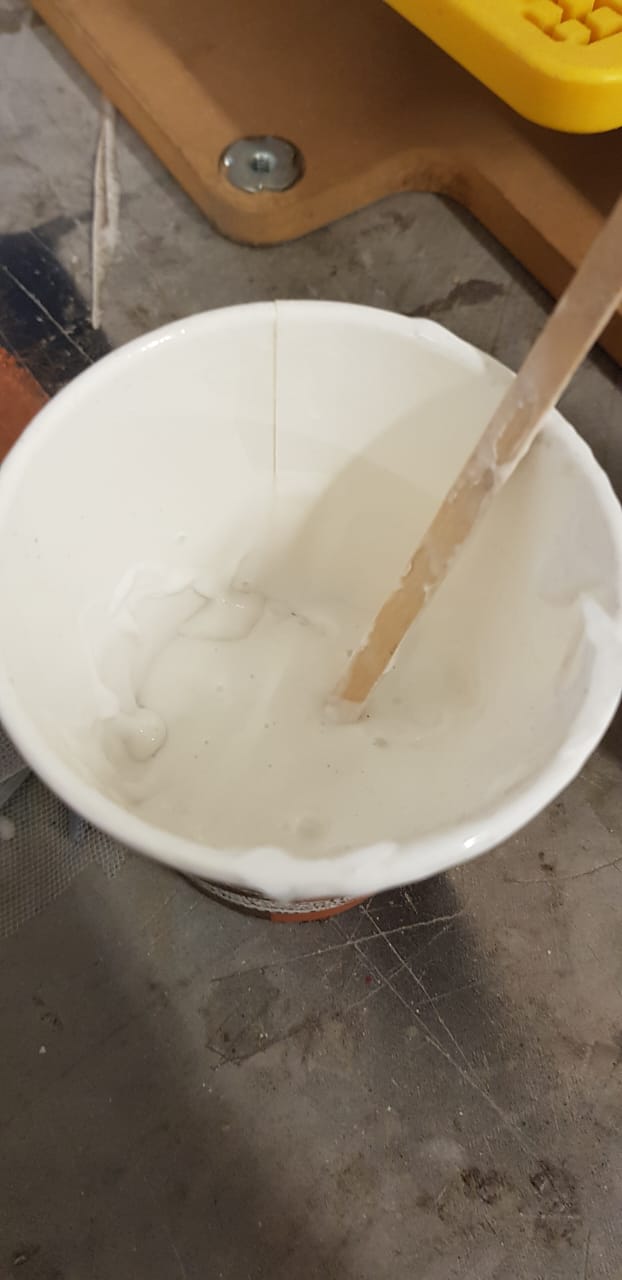
Once cut, I removed the block and cleaned it to pour a silicone mixture. I used Silicon 3030, which consists of two components: Component "A" (base) and Component "B" (catalyst). These two components
are mixed in a ratio of 90 grams of Component A to 10 grams of Component B. We mix them thoroughly until a homogeneous mixture
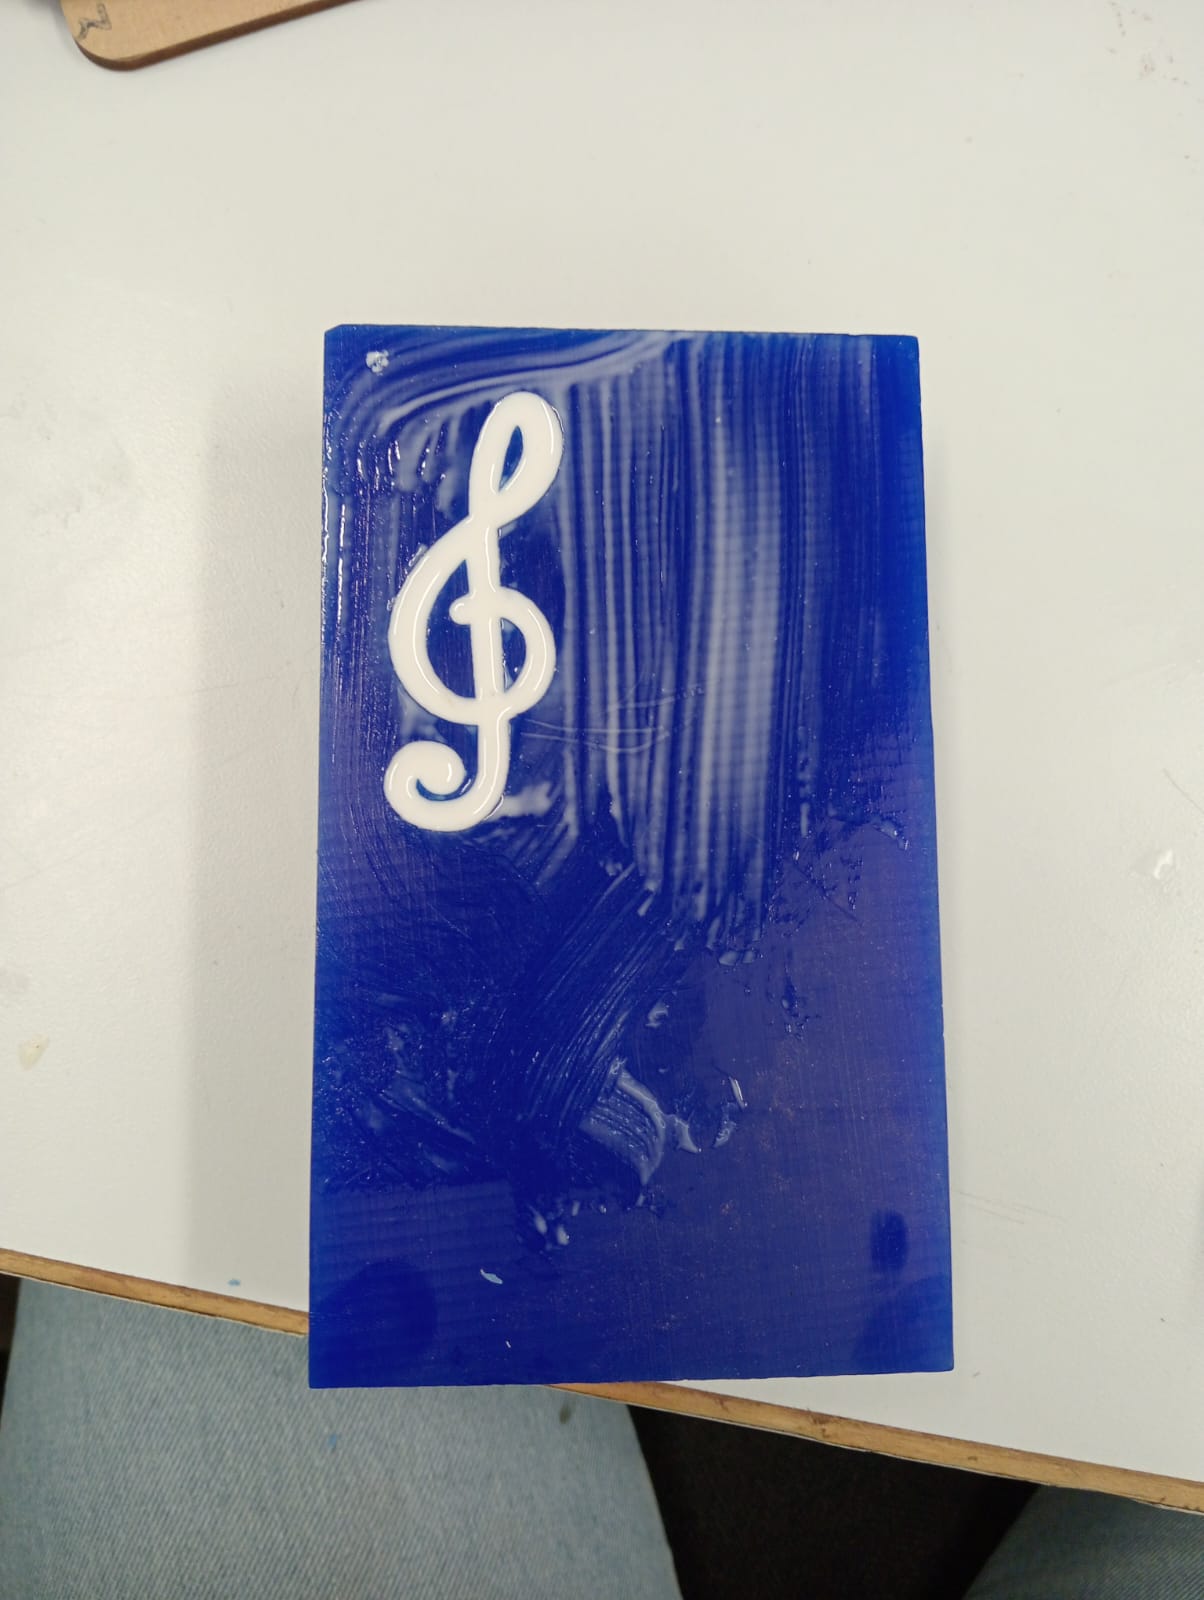
is achieved. now we pour it into the mold.
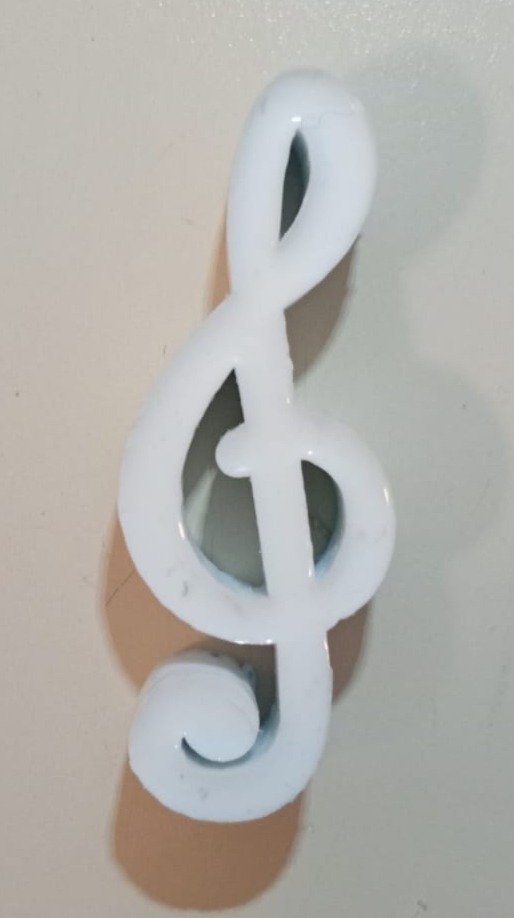
I waited for it to dry, and the next day I unmolded it. And that's it, our mold is ready!
Previous attempts.
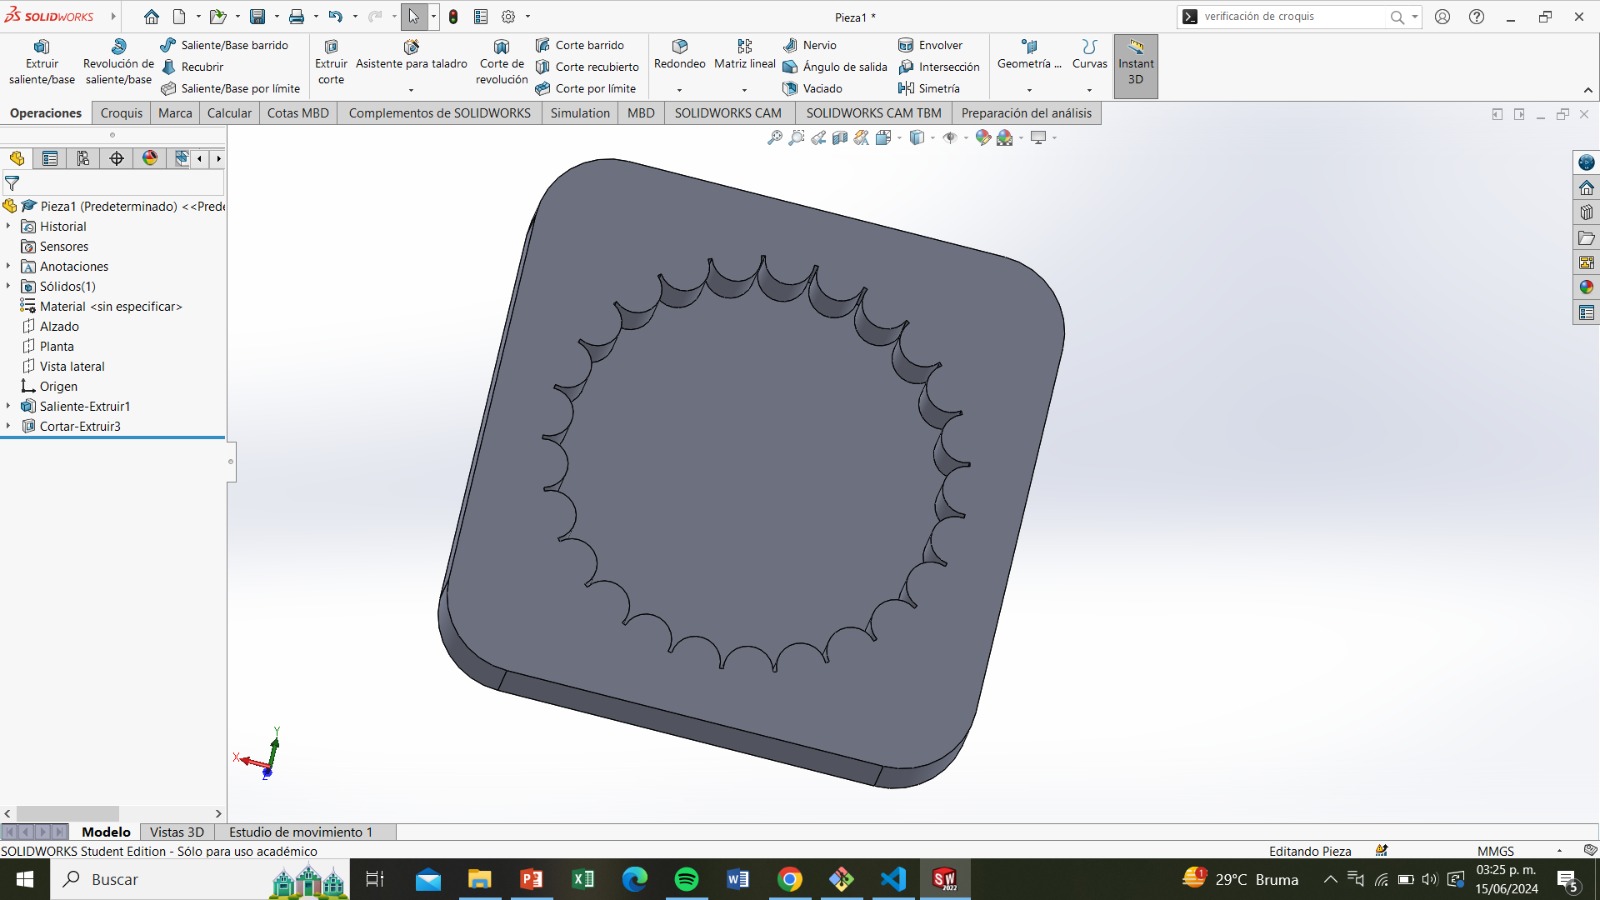
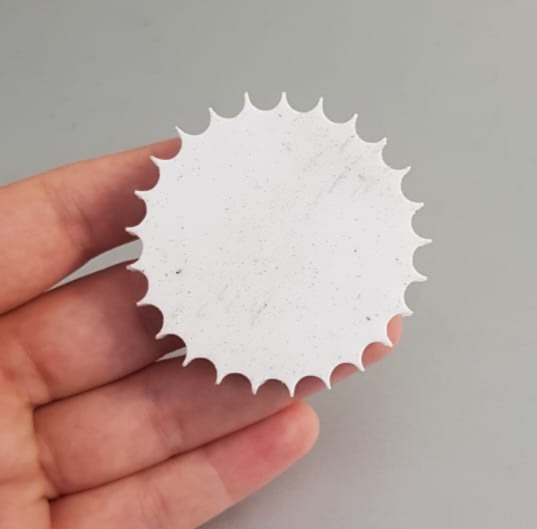
Before the wax block, I made a 3D-printed mold. I designed it in SolidWorks and printed it with PLA,
which is why it didn't meet the requirements, but here are some images of how it turned out.