This week´s group assignment was dedicated to test the design rules for your 3D printer(s)
and Document your work on the group work page and reflect on
your individual page what you learned about characteristics of your printer(s)
3D printing, also known as additive manufacturing, is like having a mini factory on your desk.
It allows for the creation of three-dimensional objects by stacking layers of material, such as
plastic or metal. From toys to machine parts, its flexibility revolutionizes personalized production
without the need for a complete assembly line.
Design rules for the 3D printer
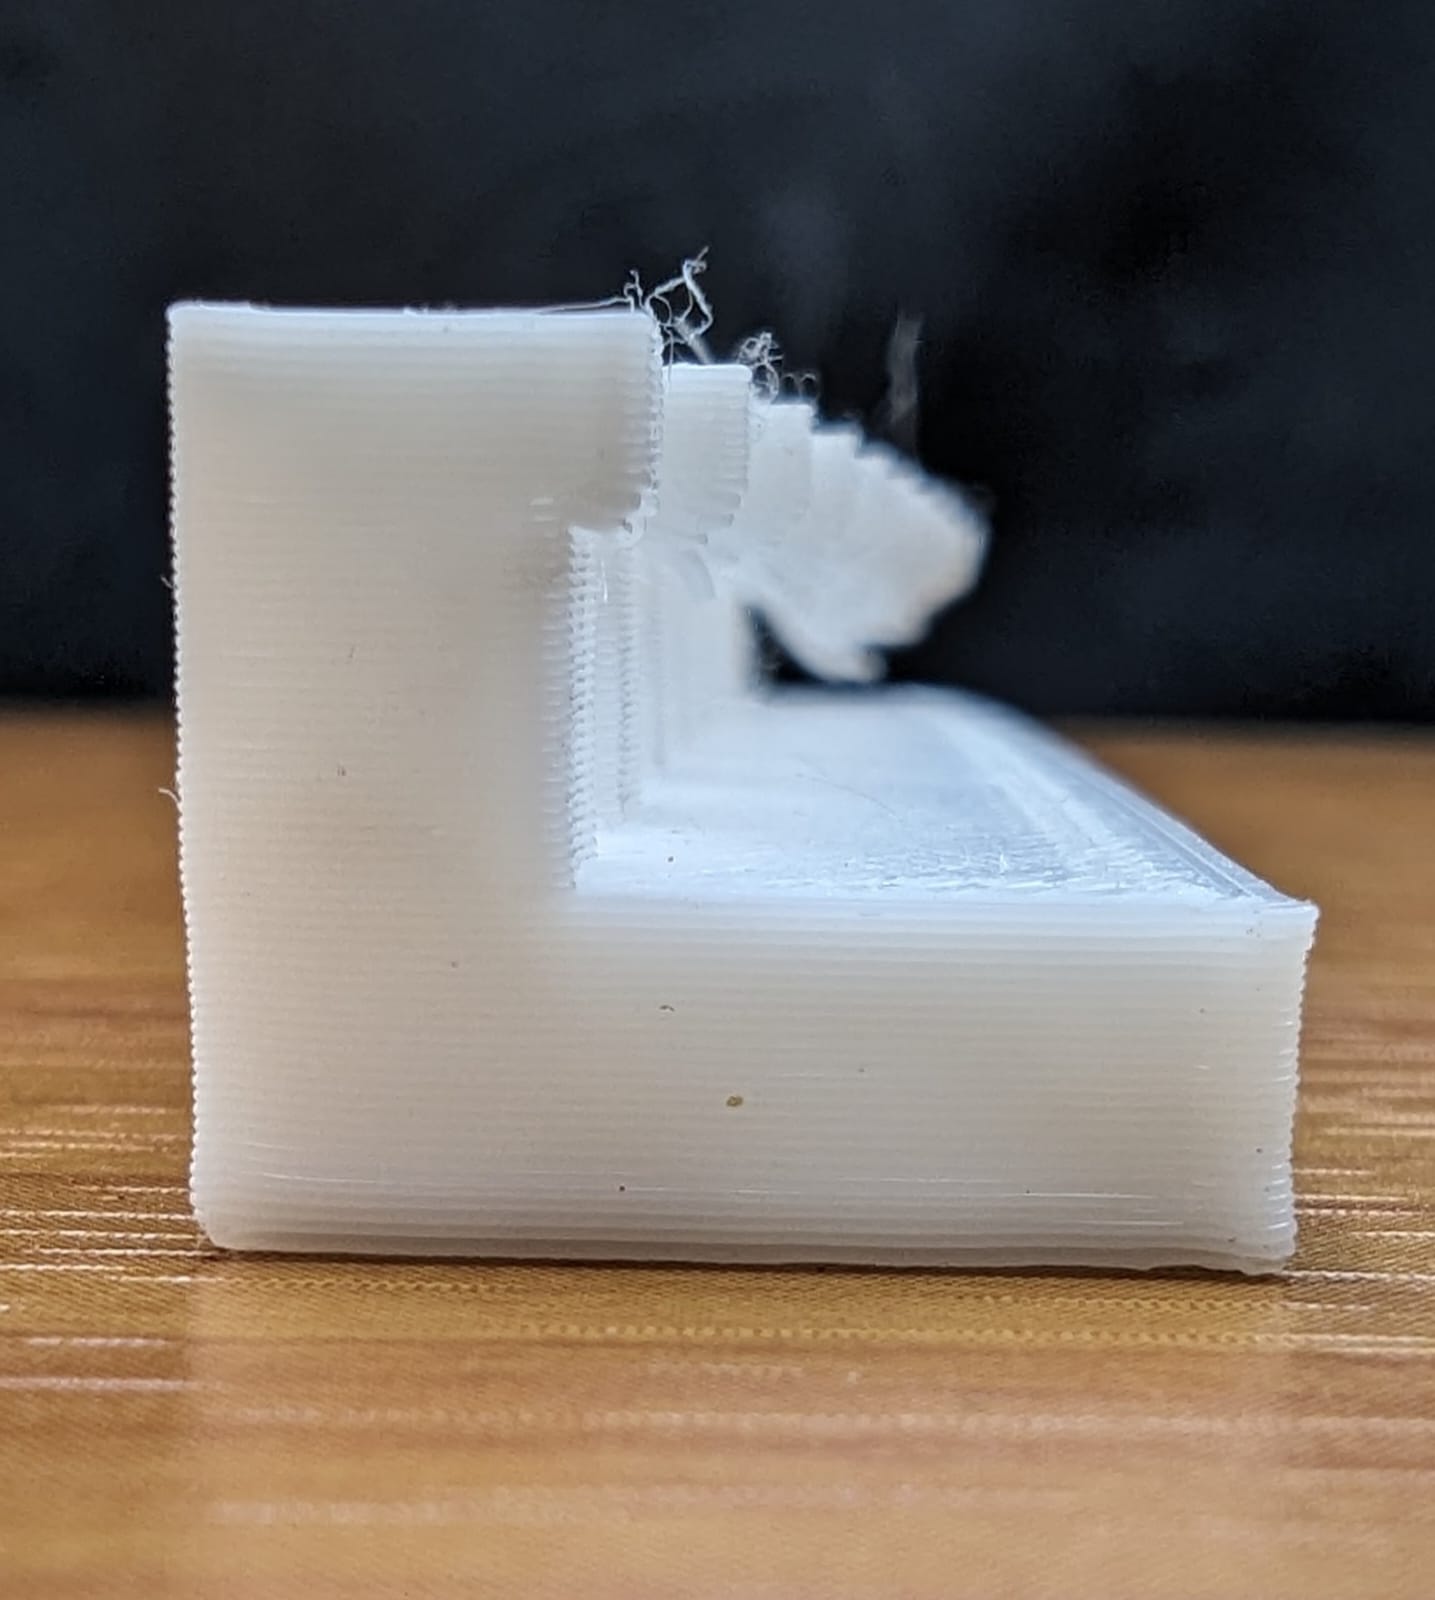
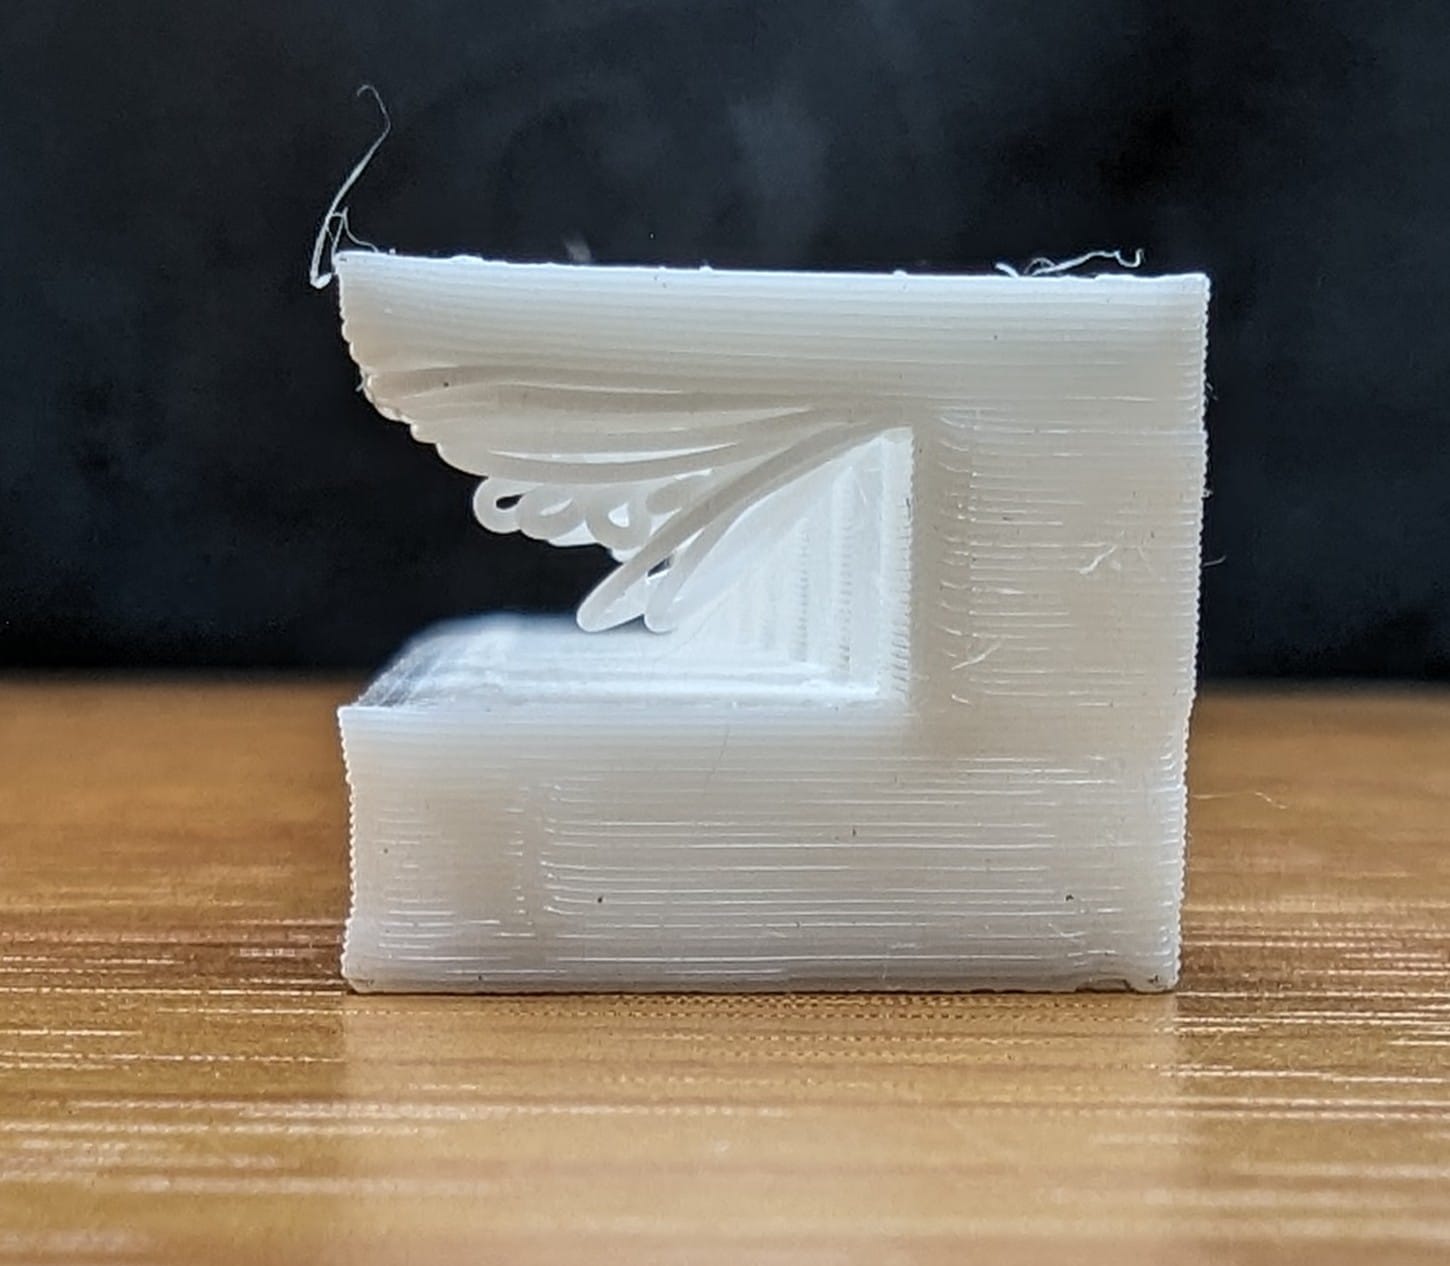
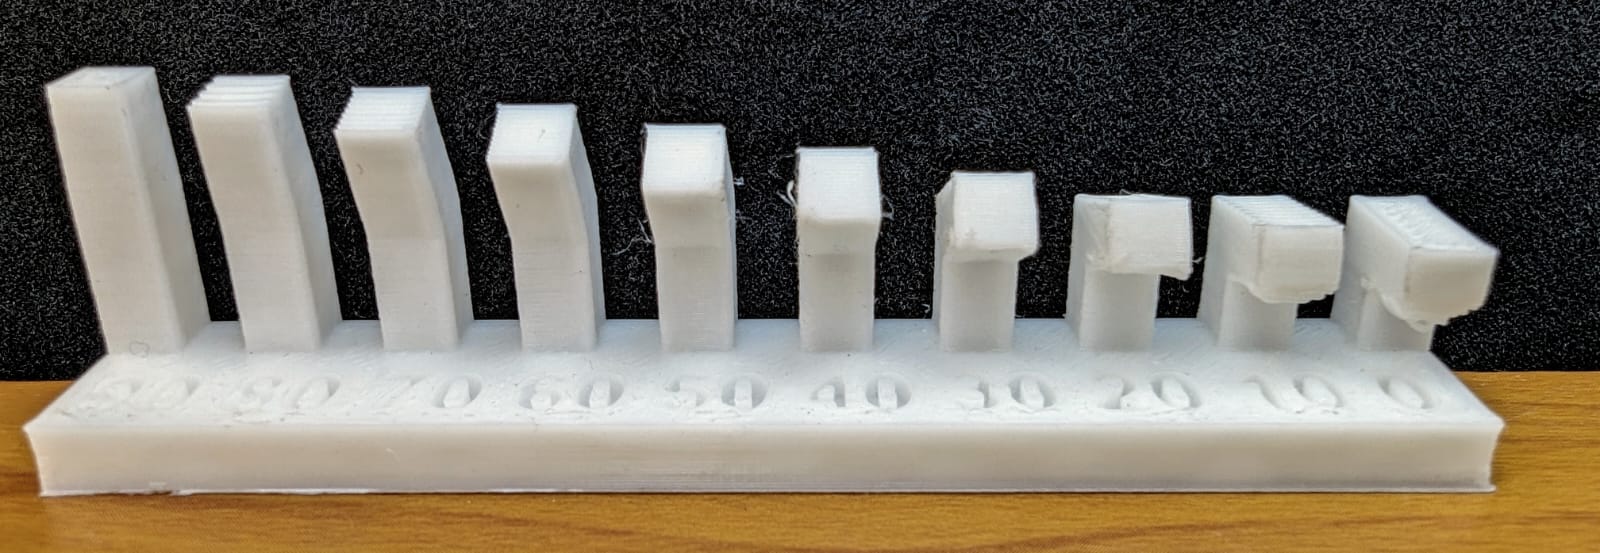
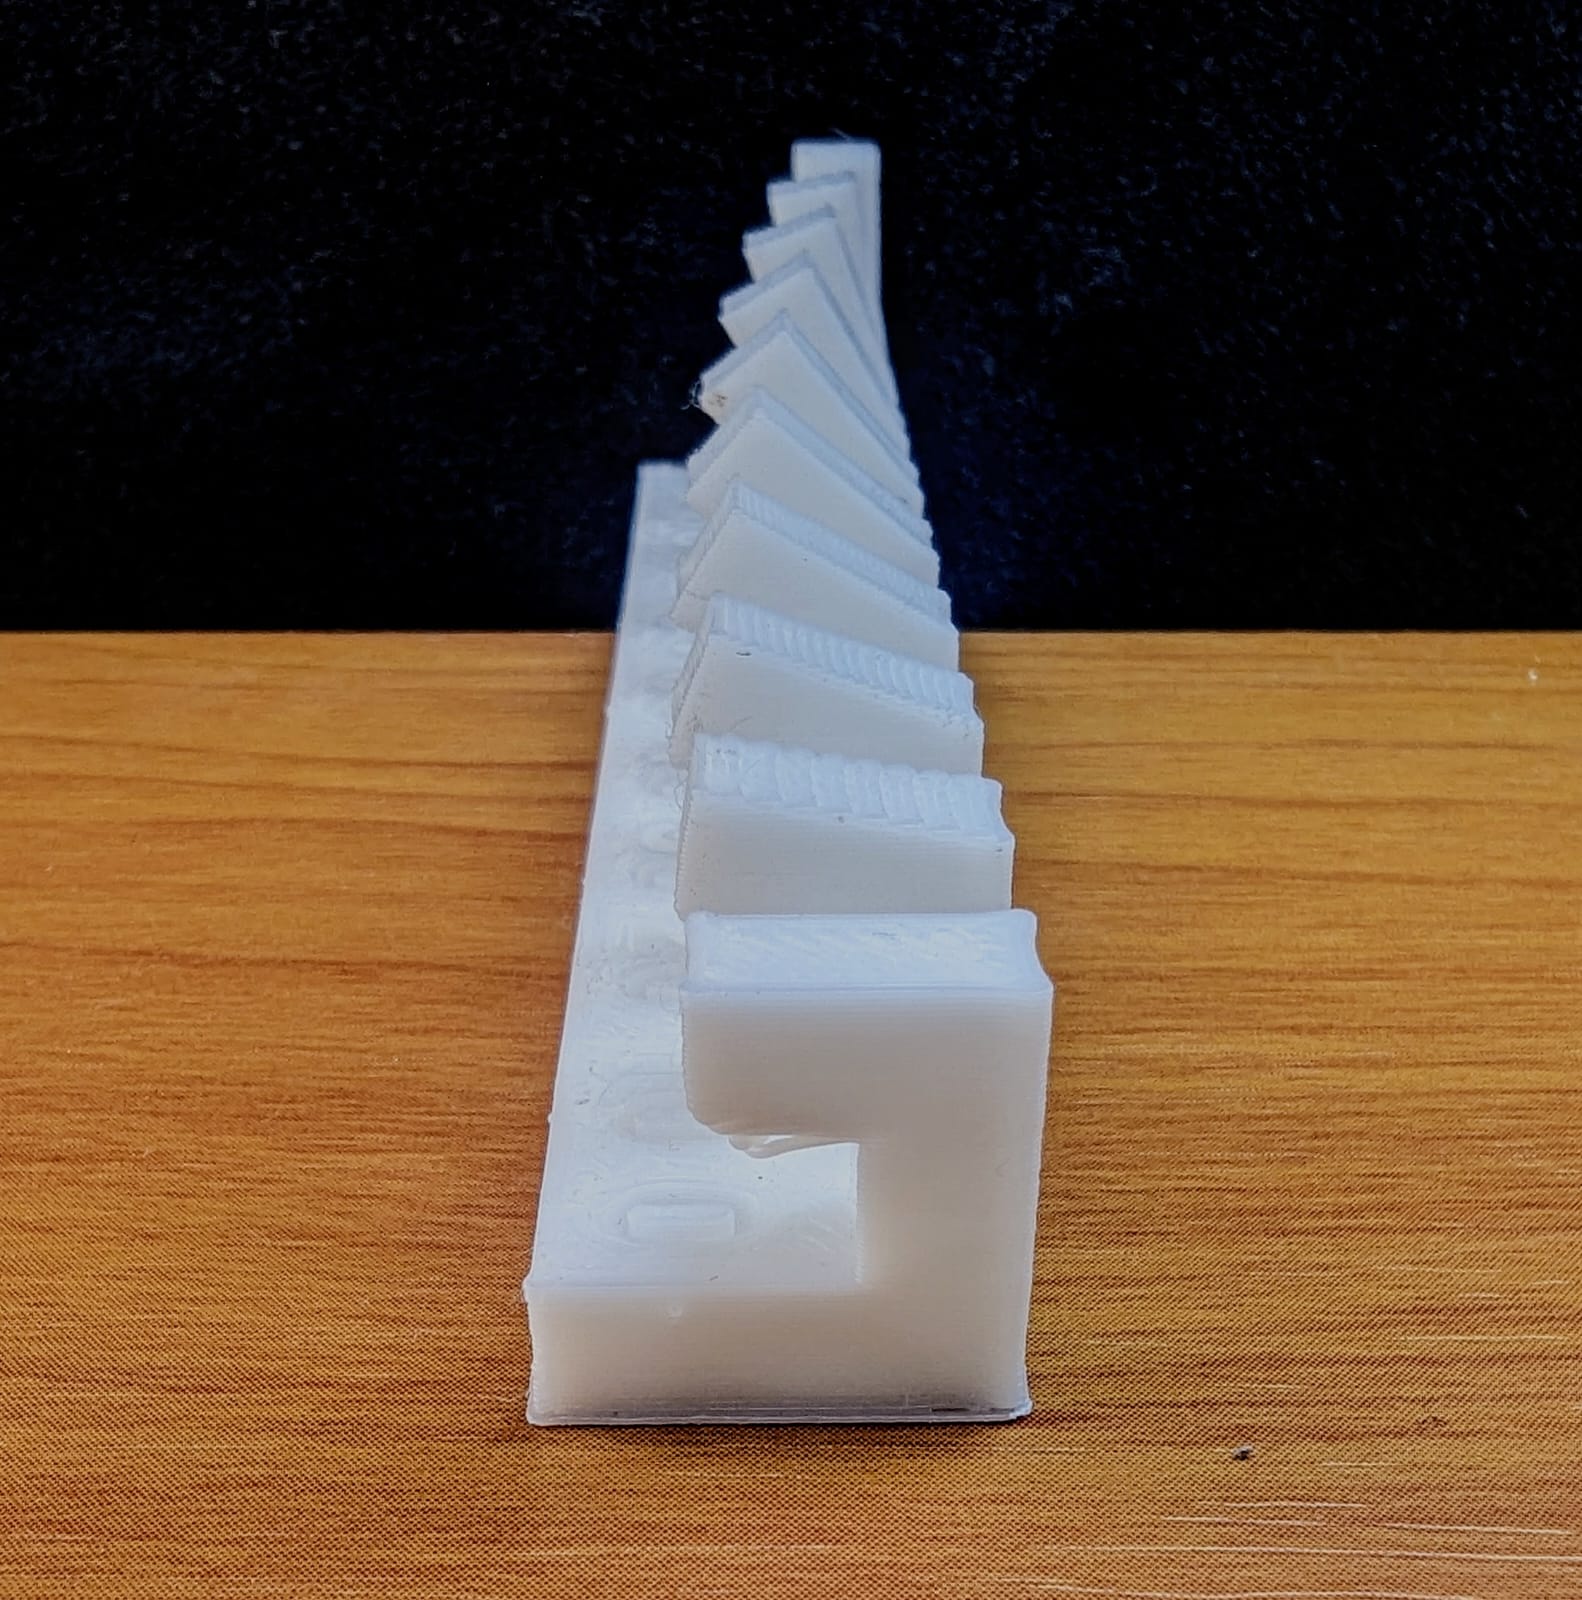
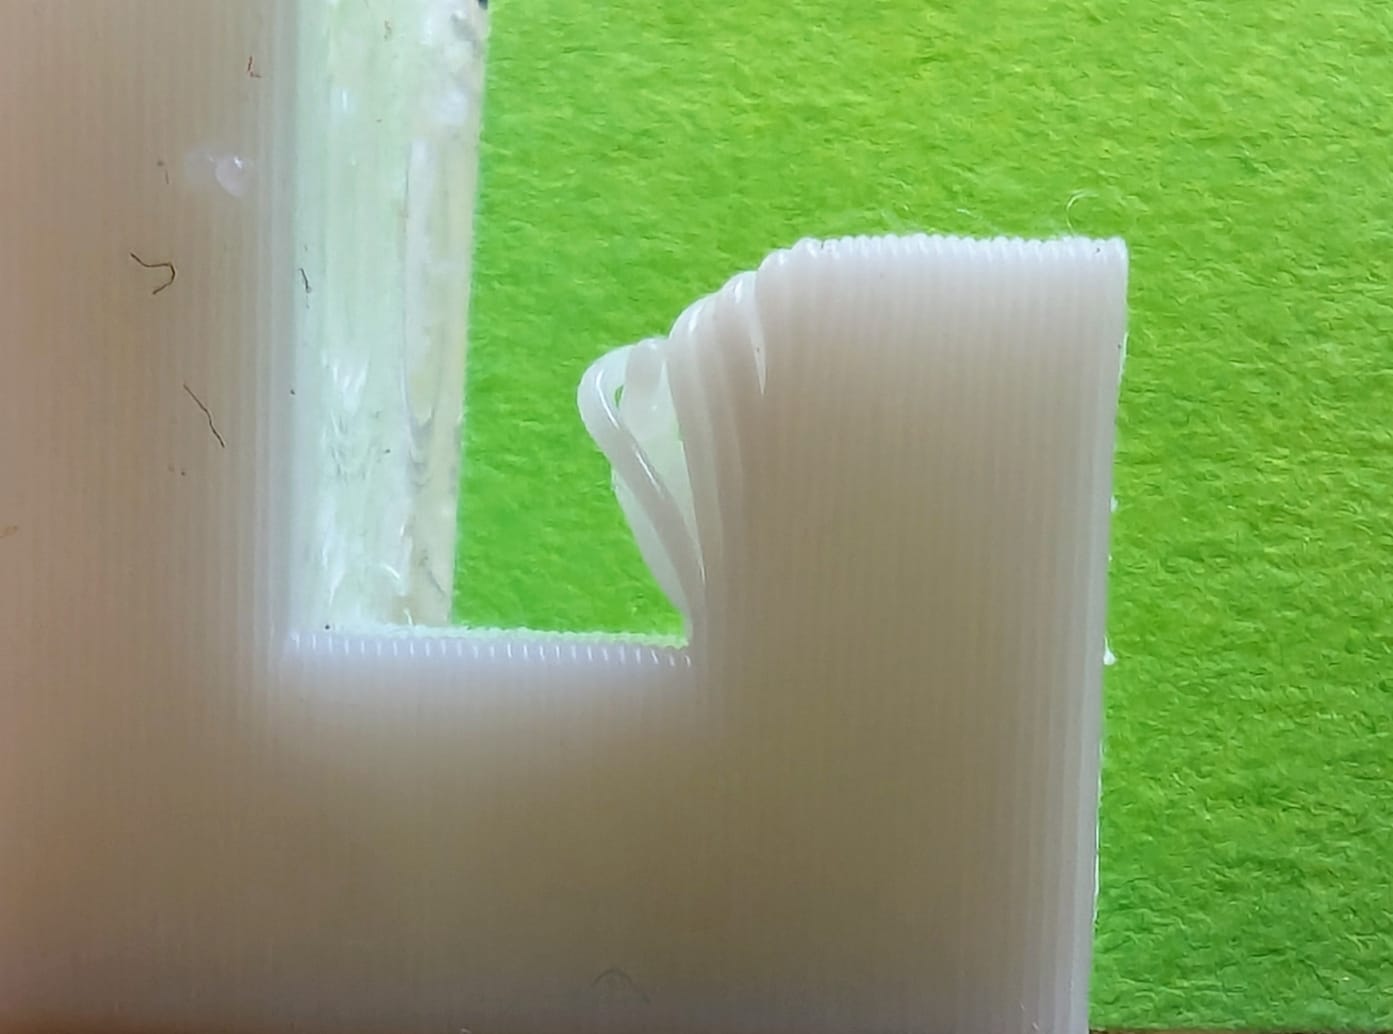
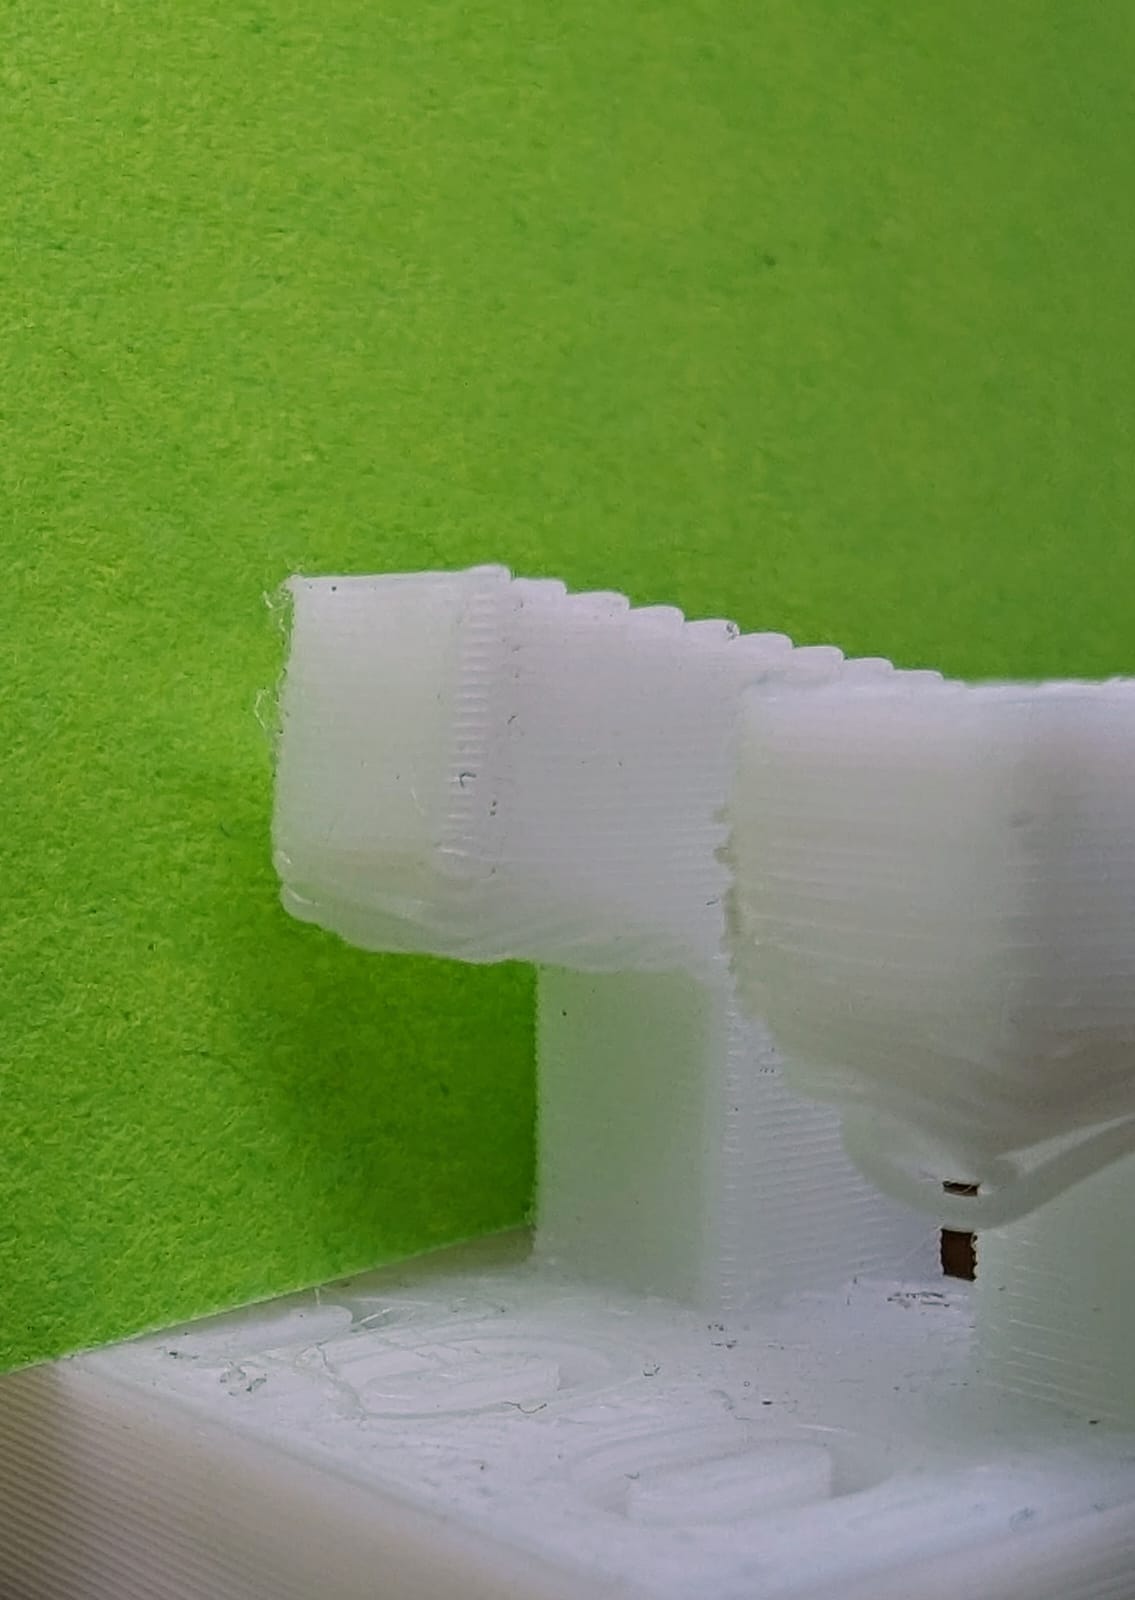
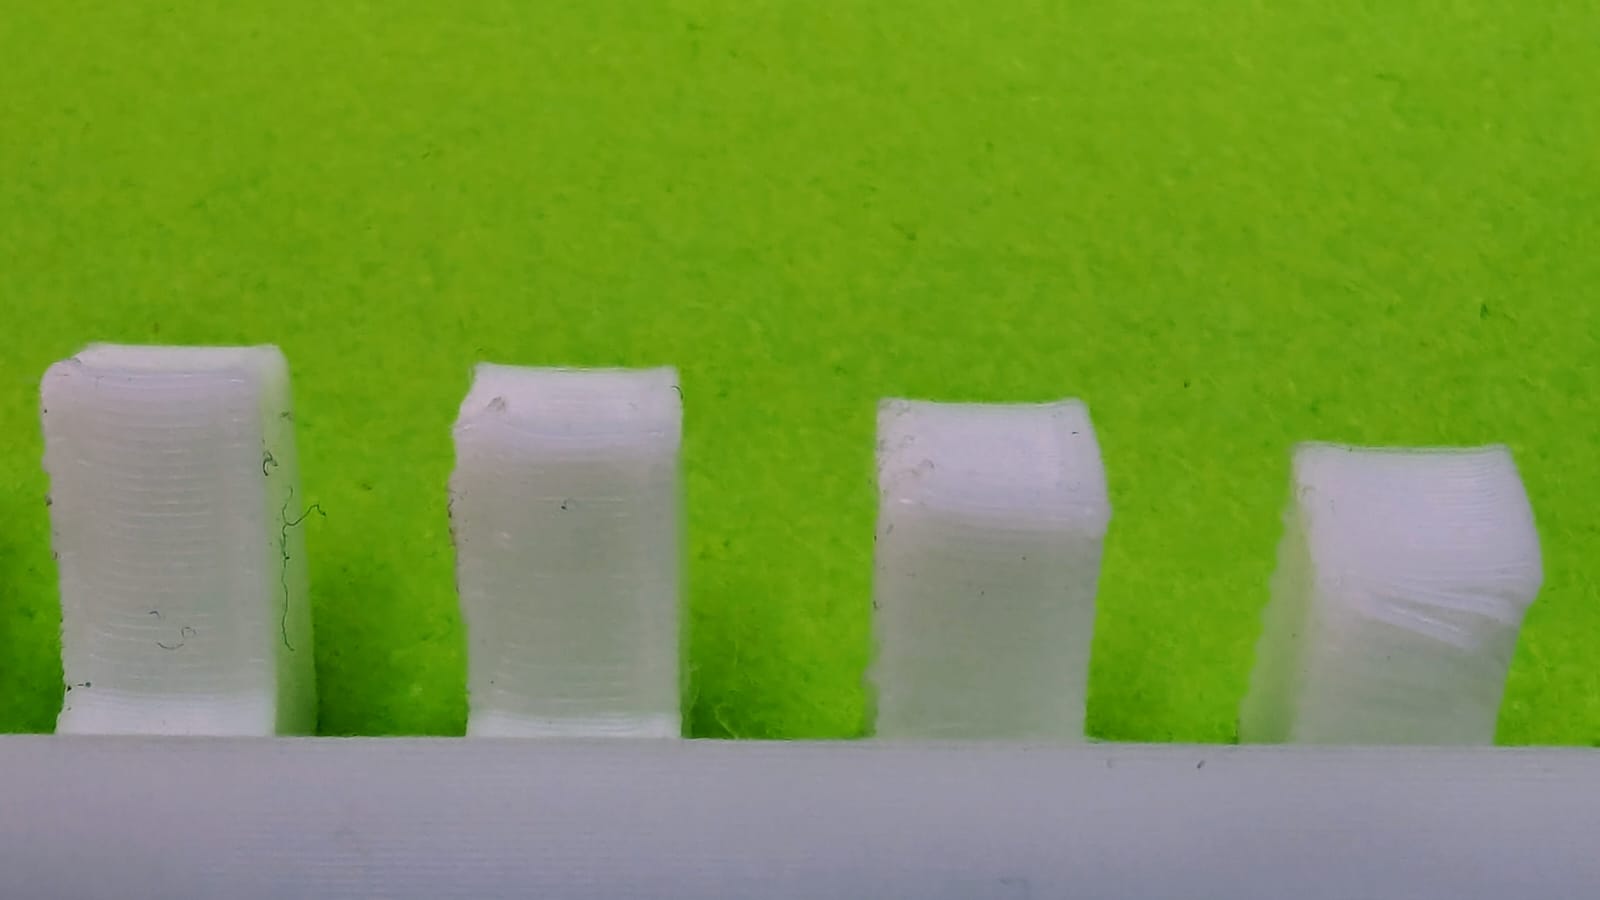
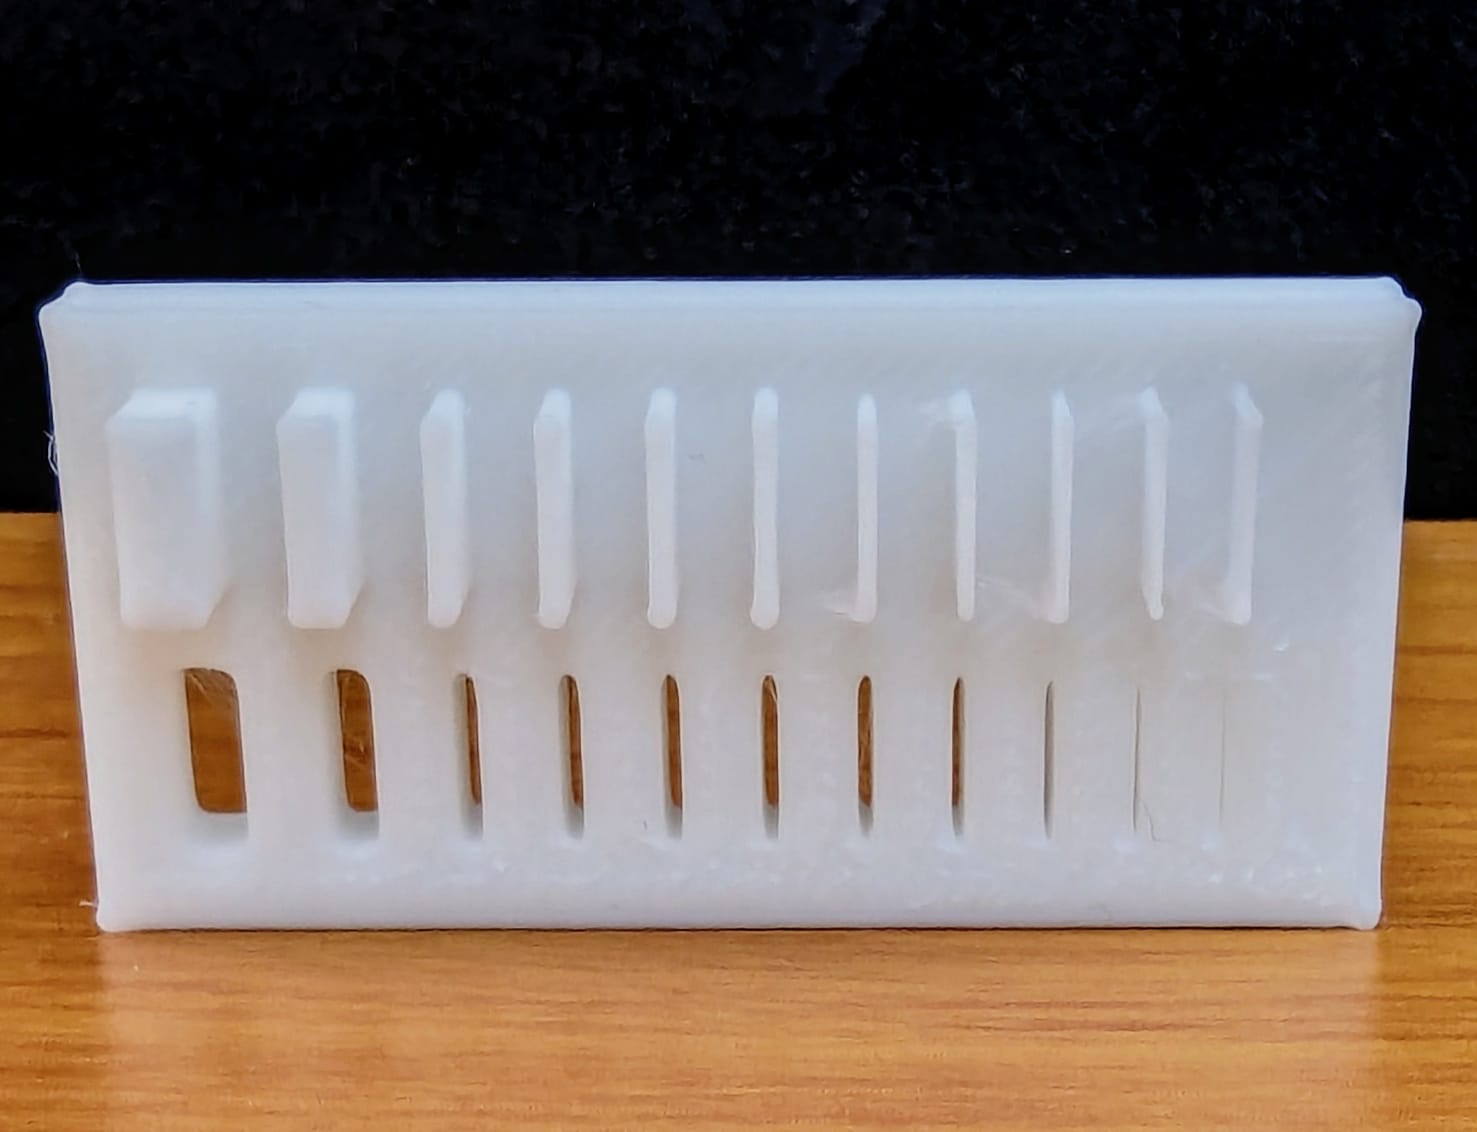
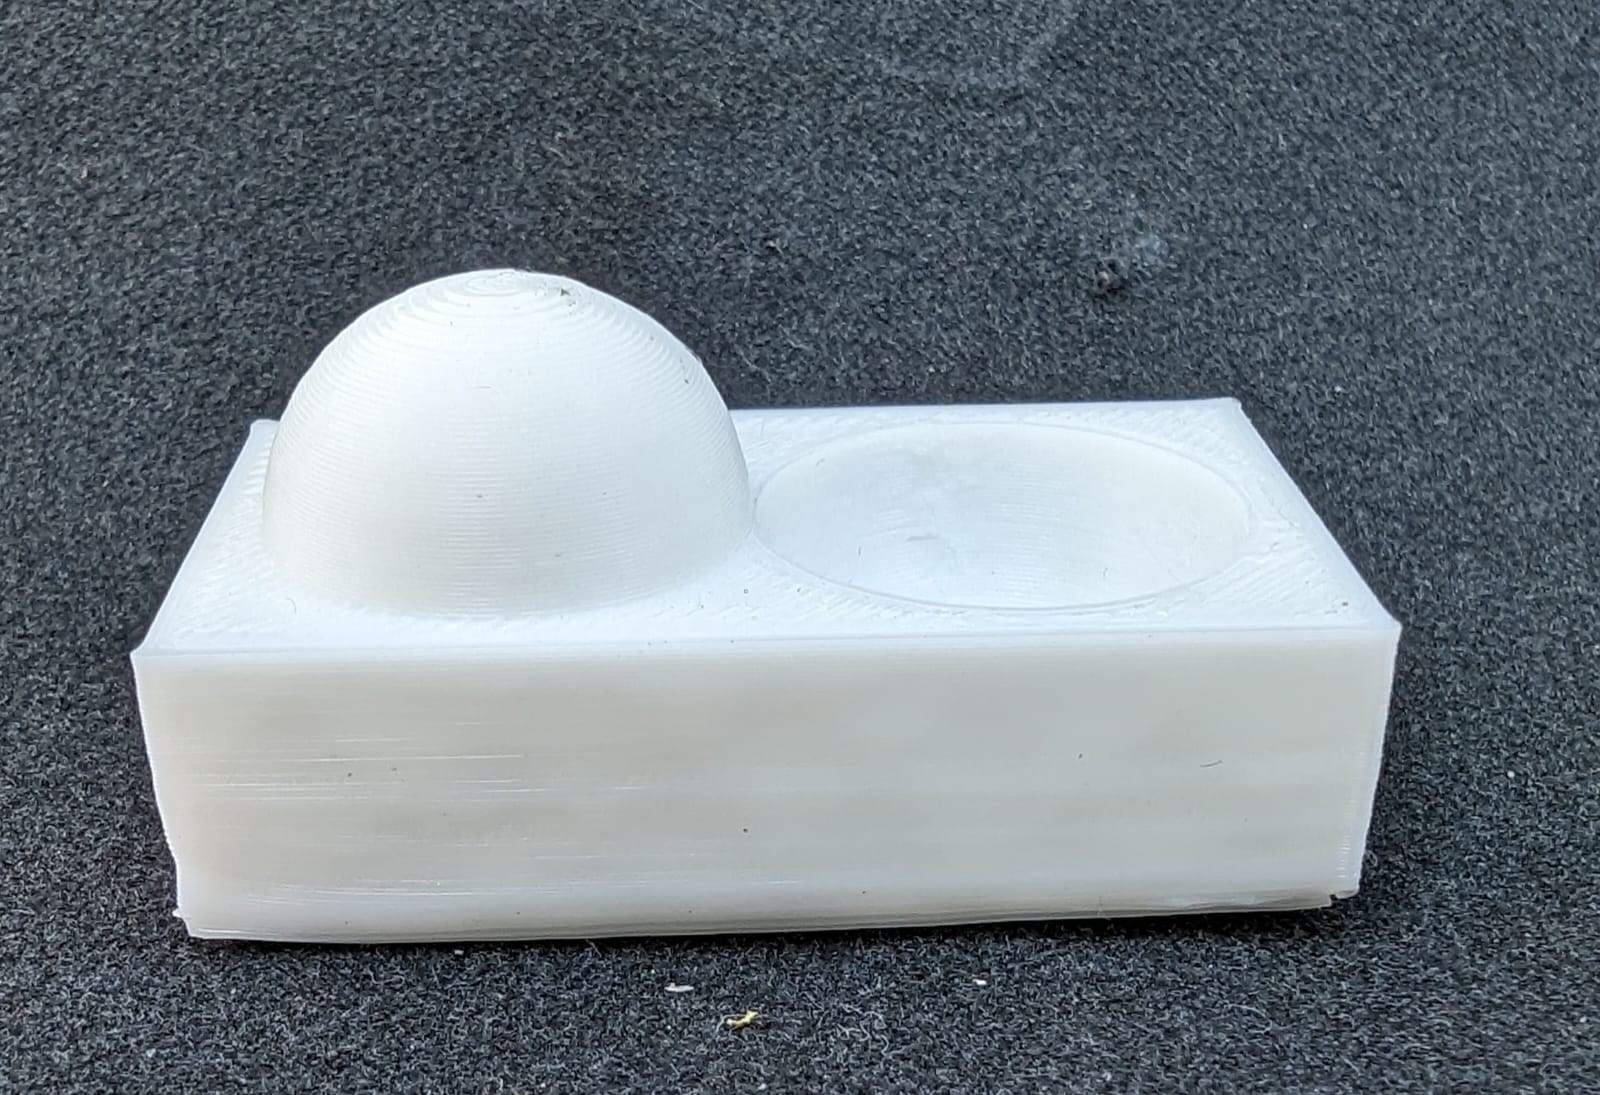
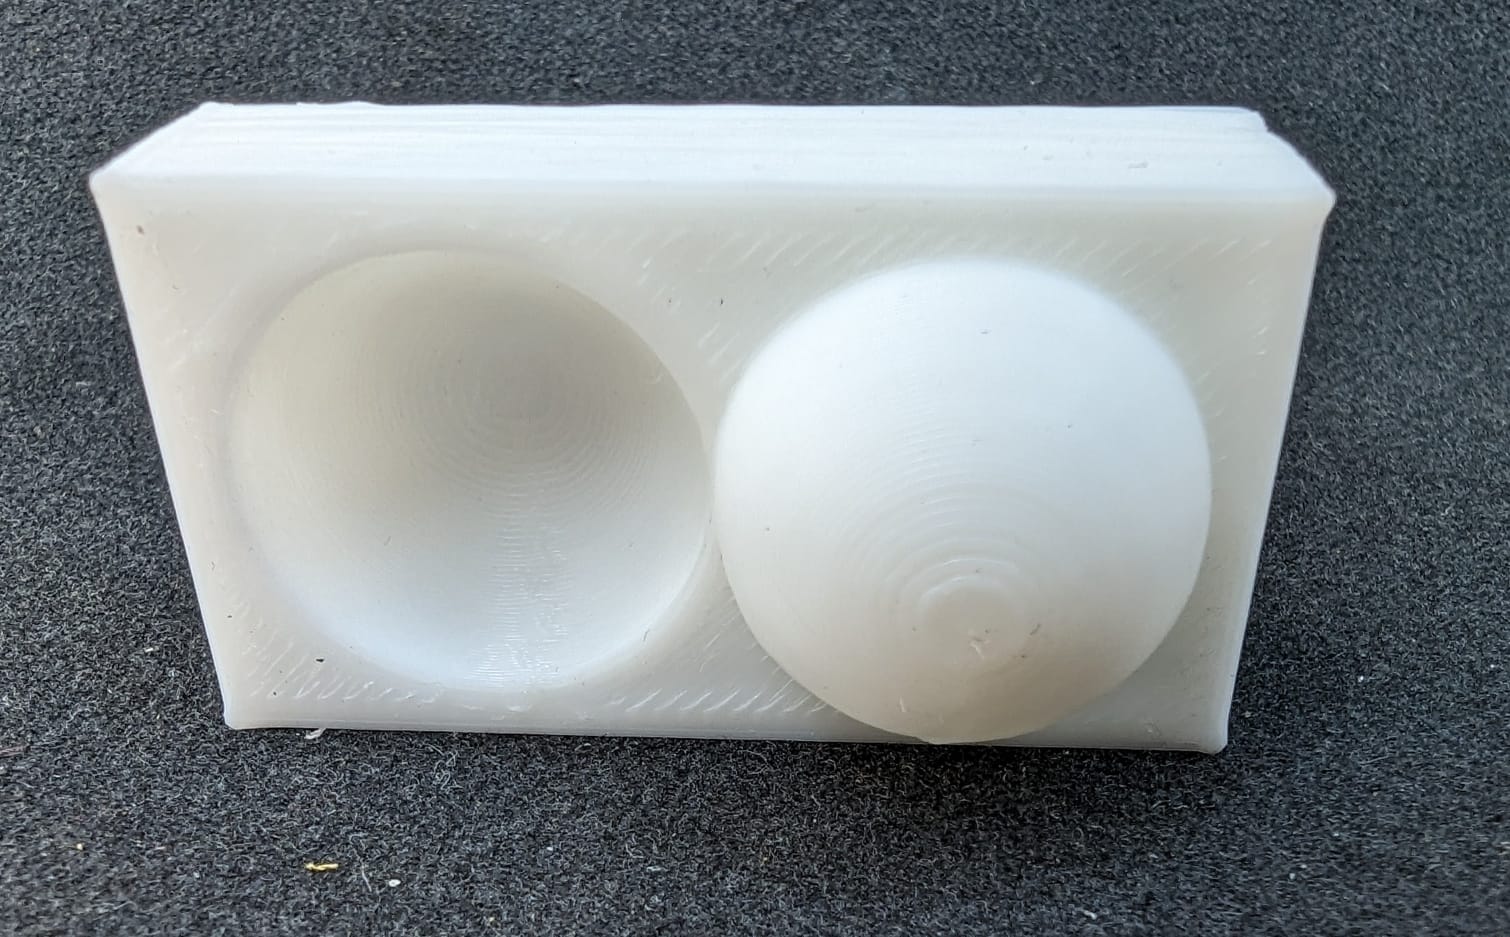
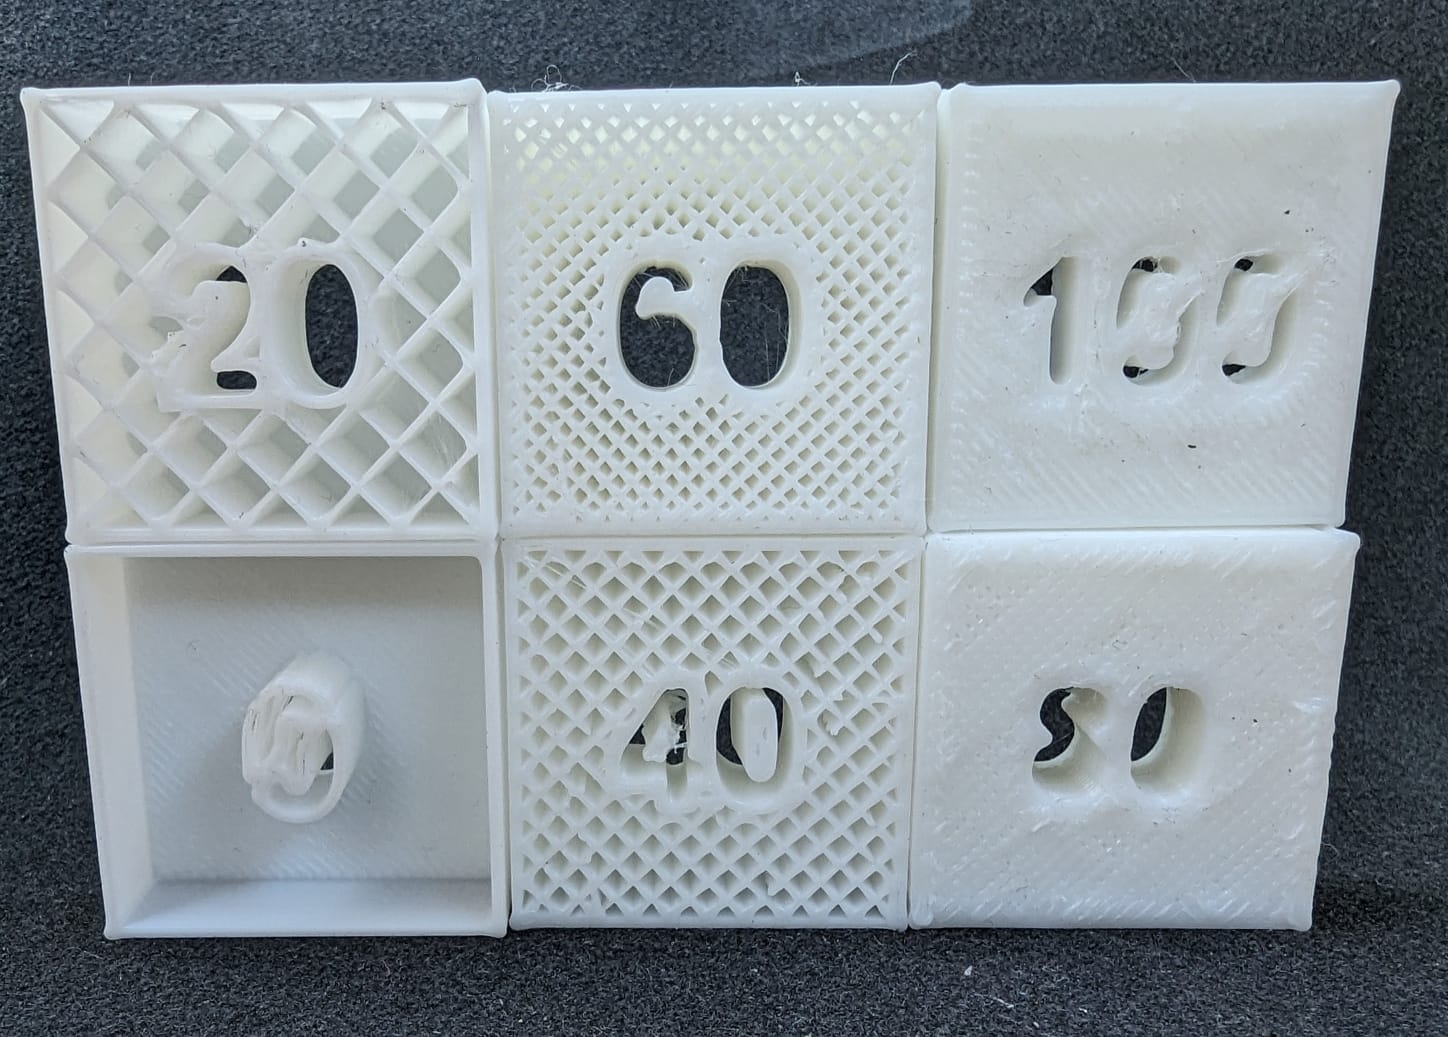
1. Overhang:
Overhangs refer to parts of the model that extend out over an area with no material beneath them.
2. Printing Angle
The angle at which a feature can be printed without support. Angles up to 45 degrees are often manageable without supports,
but this can vary based on the material and printing technology.
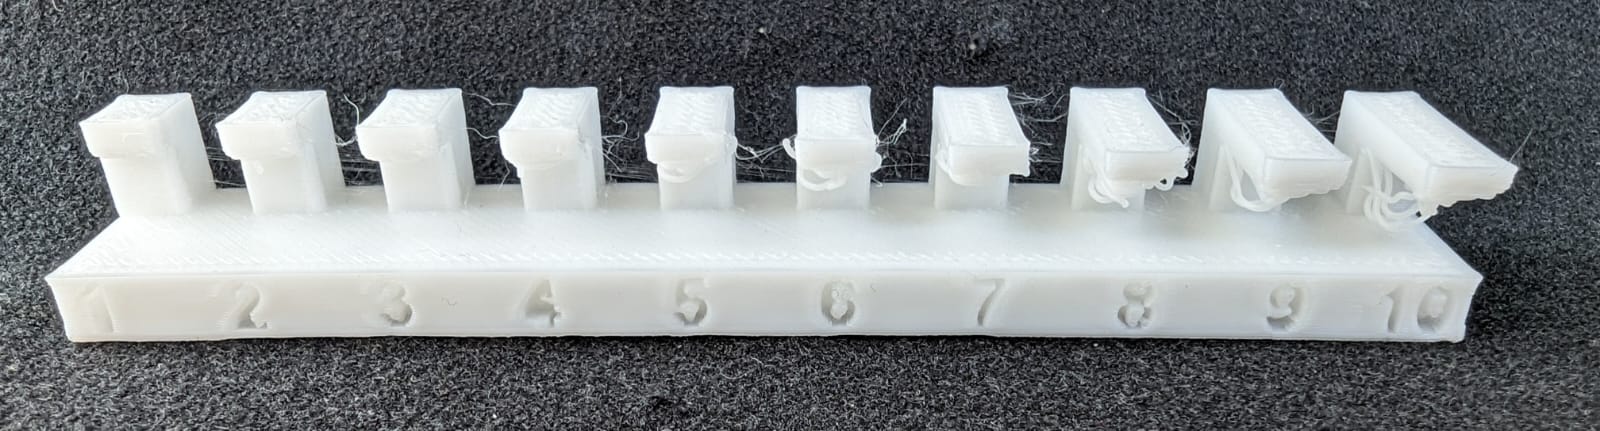
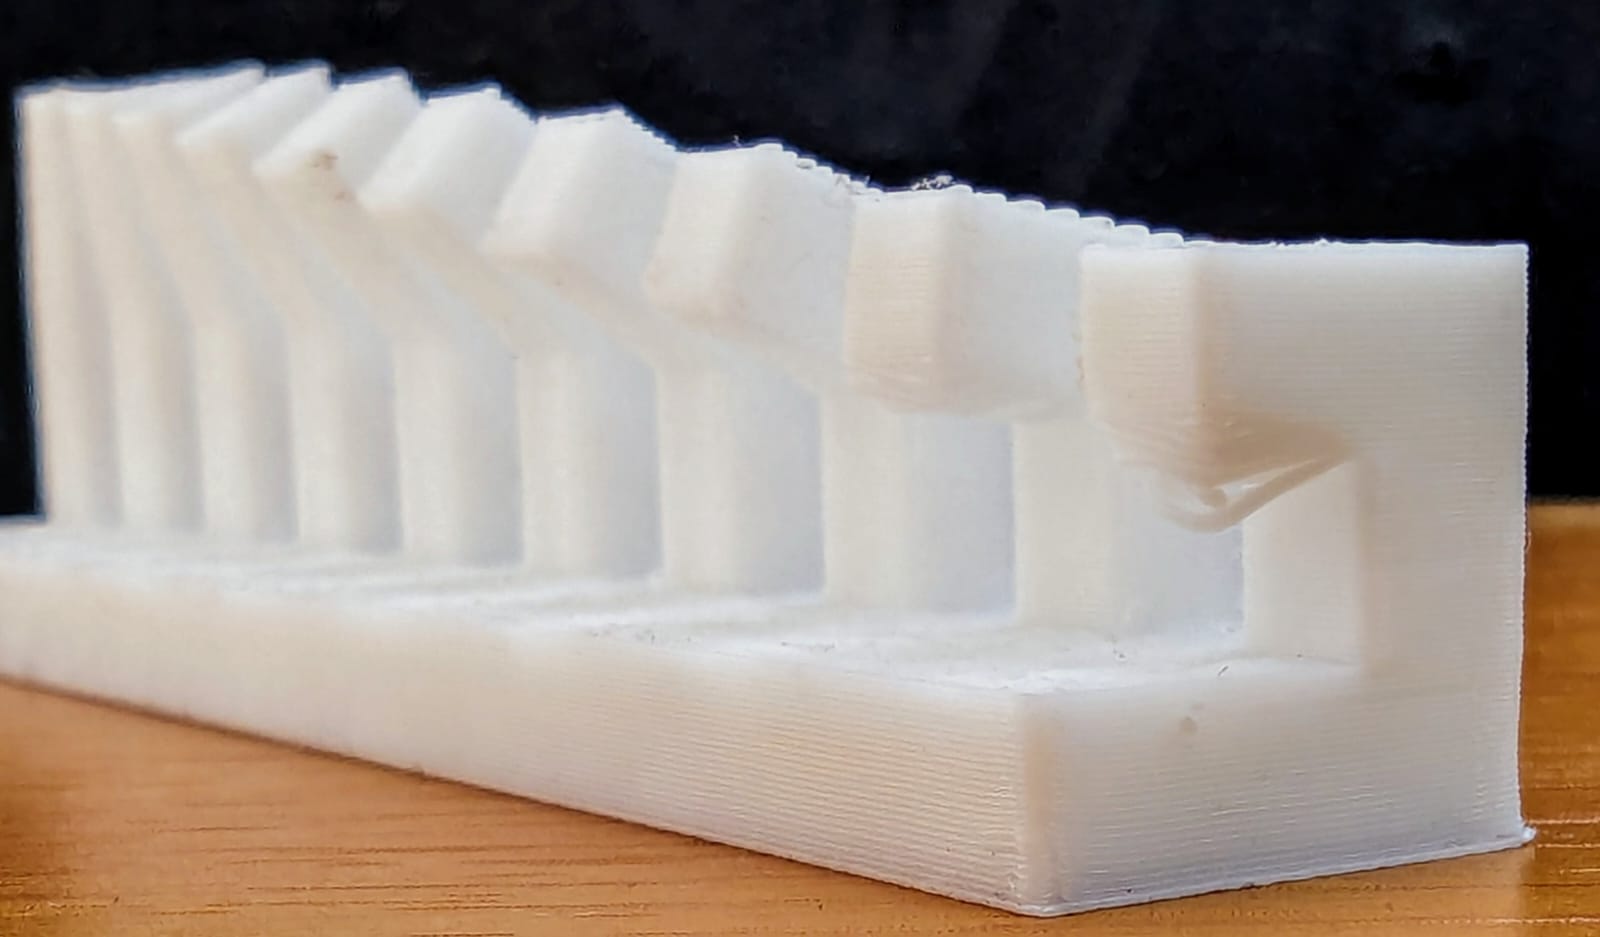
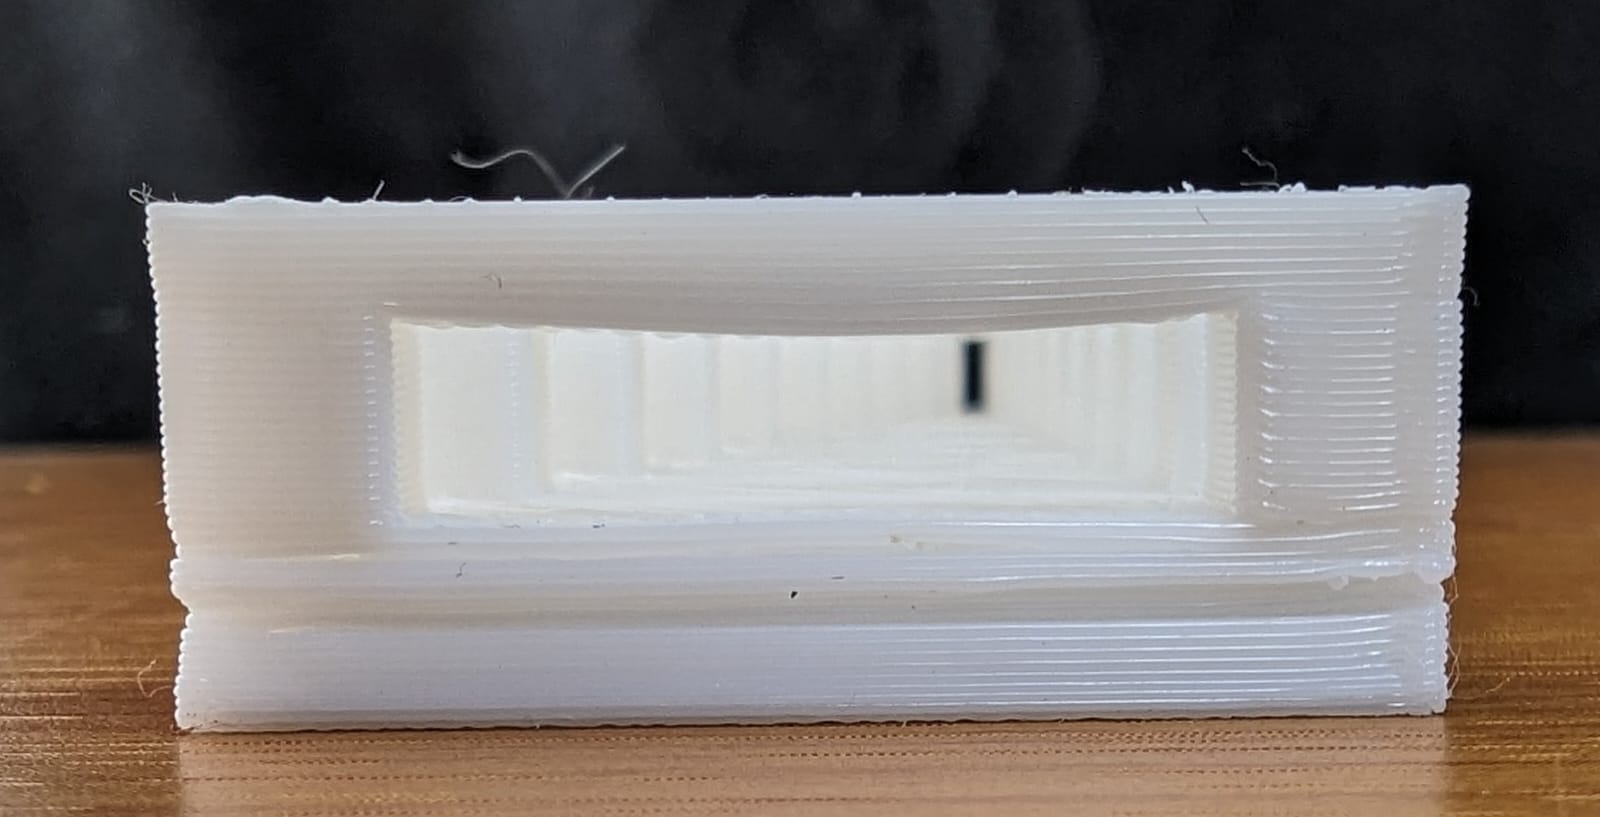
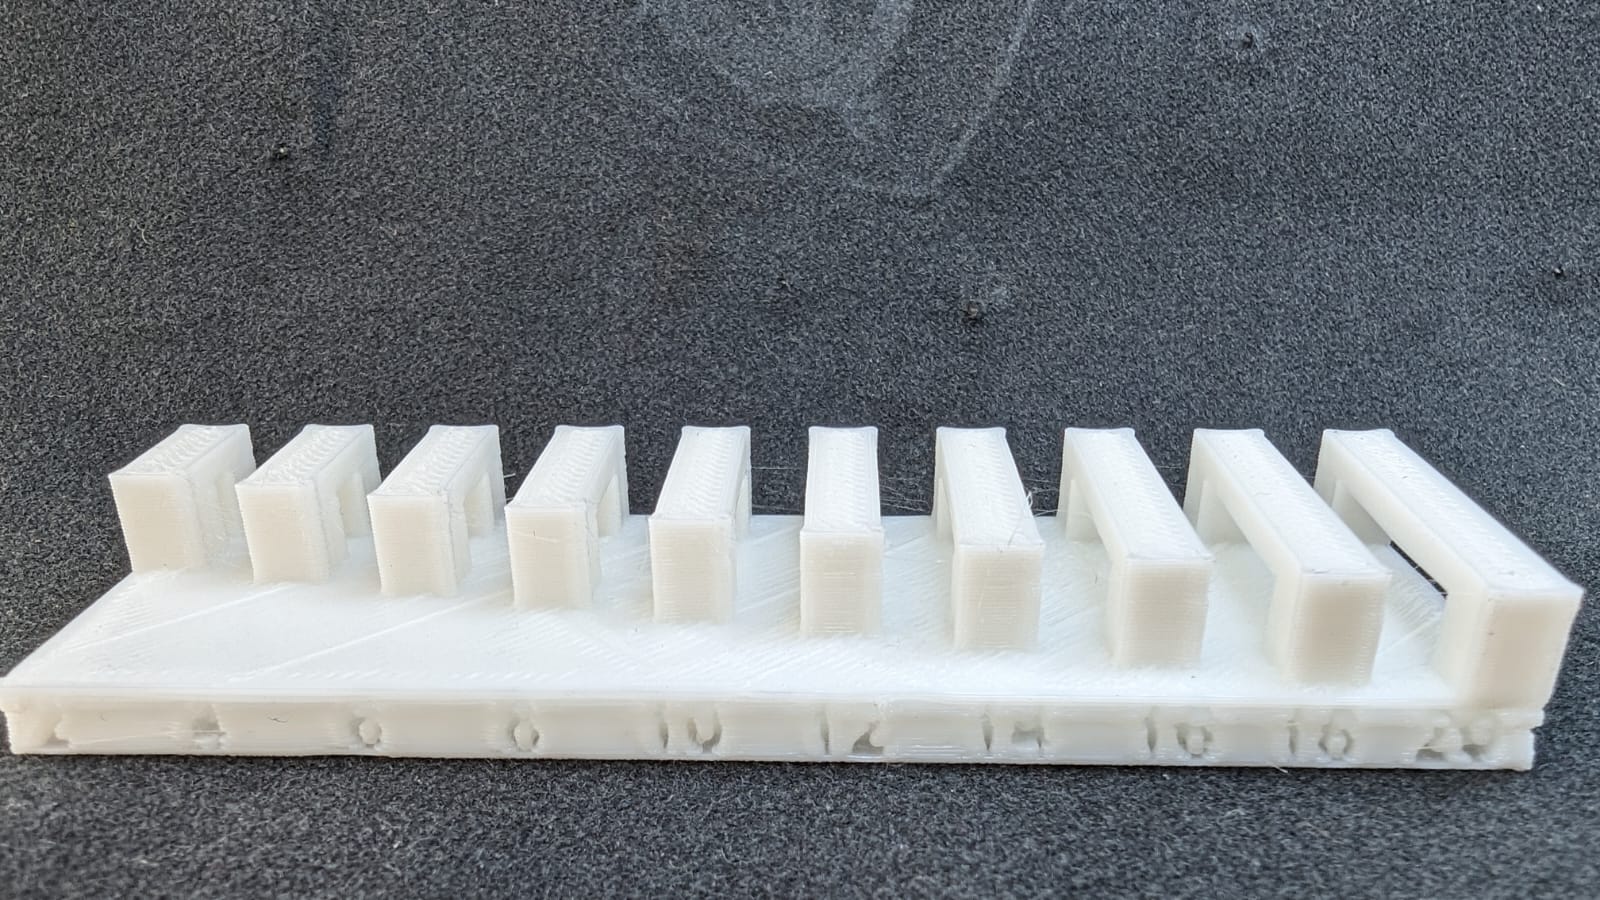
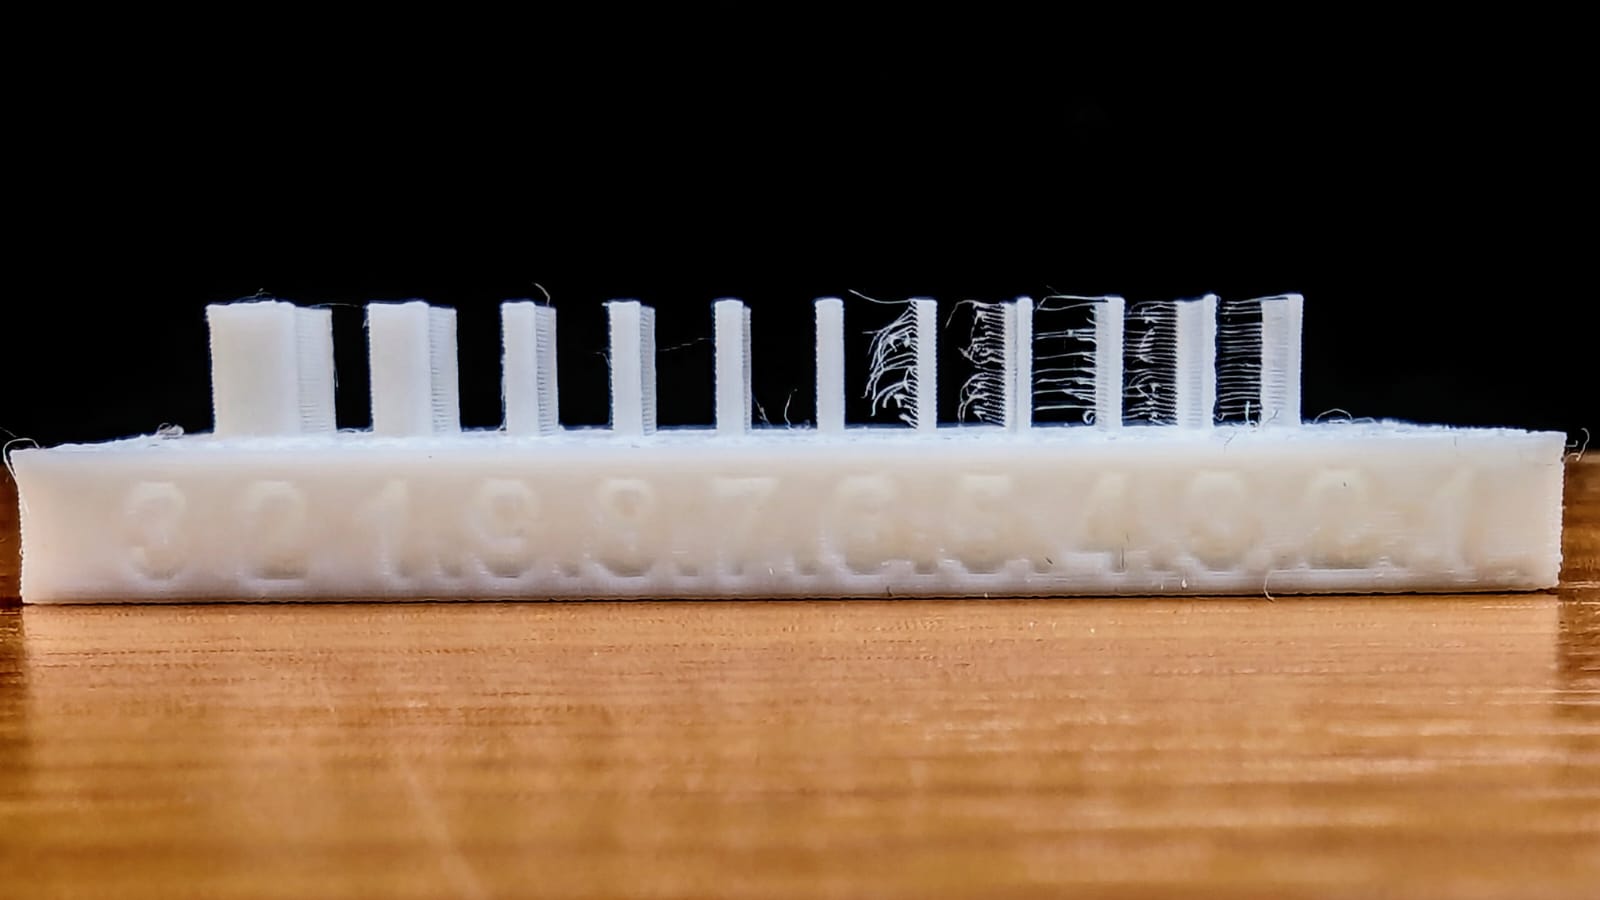
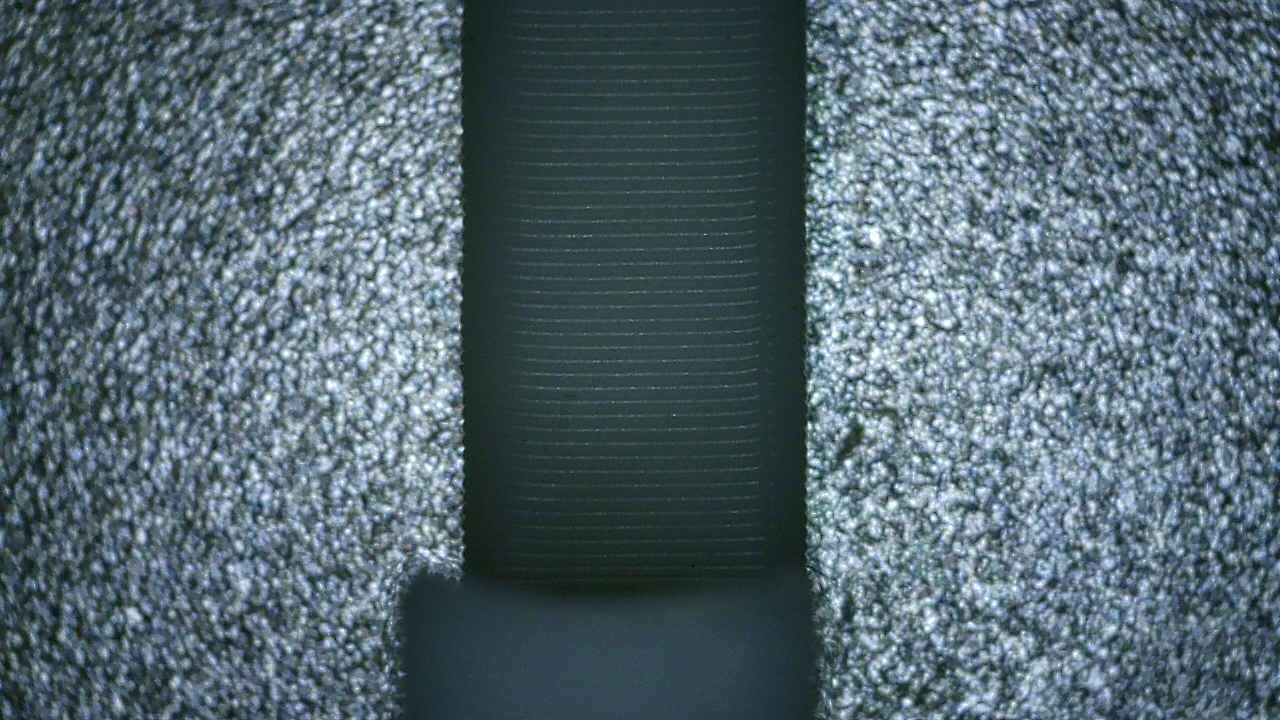
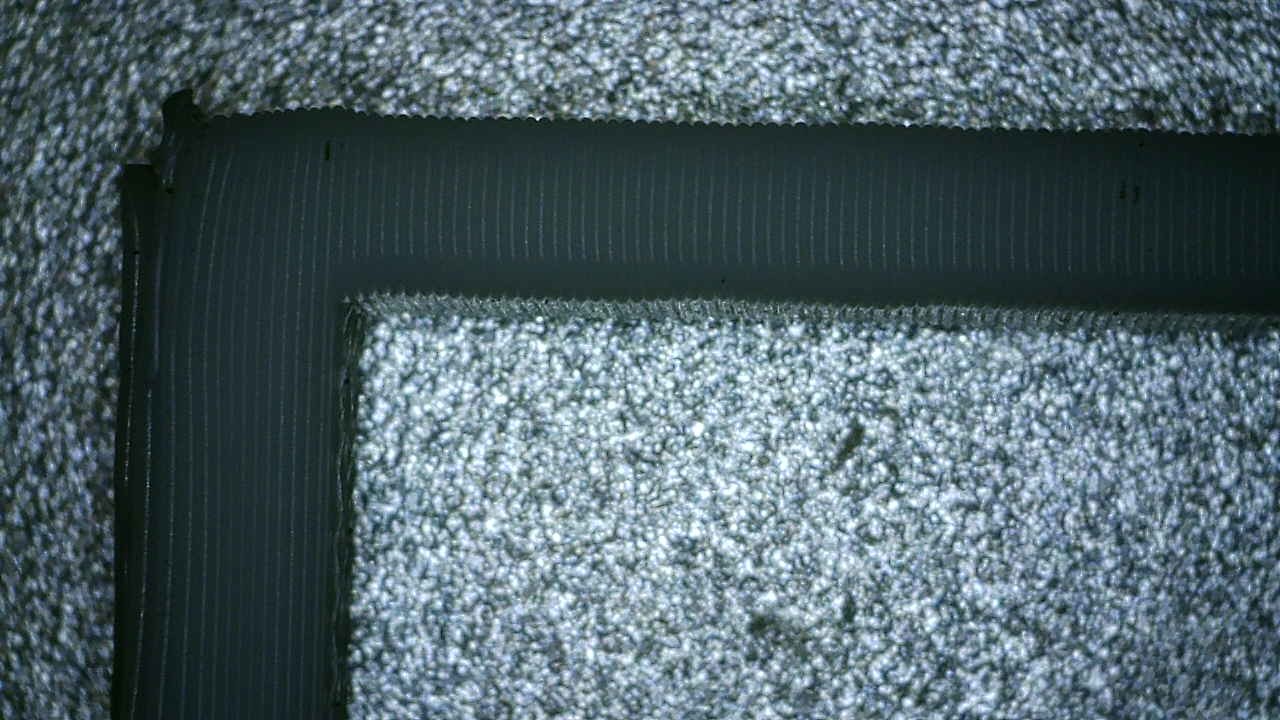
3. Bridging
Bridging refers to spanning a gap between two parts of a print without support beneath. The success of a bridge depends
on the material's properties and the printer's capabilities, with shorter spans typically being easier to bridge.
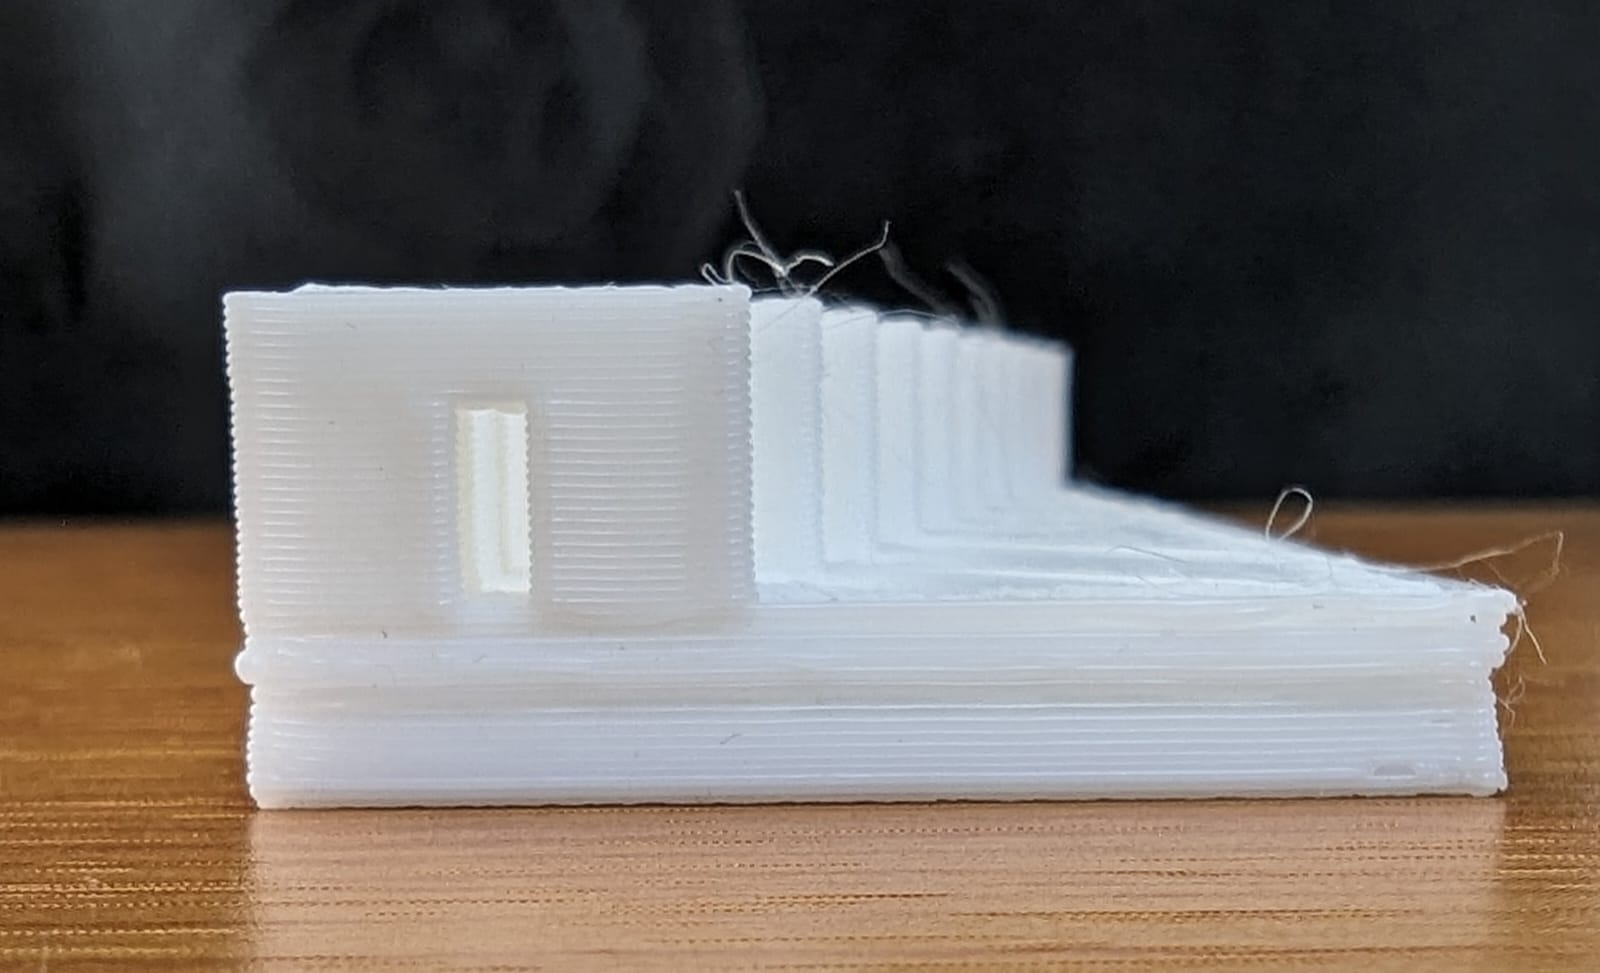
4. Wall thickness
The minimum thickness of walls that can be successfully printed, impacting the object's durability and structural integrity.
Thin walls may not print well, while very thick walls can waste material and time.
5. Dimensions
Accurate dimensions are crucial, especially for functional parts that must fit together.
3D printing can introduce variances due to material shrinkage or printer calibration issues.
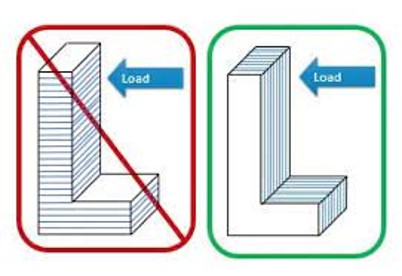
6. Anisotropy
3D printed objects can have varying strengths in different directions due to layer-by-layer construction.
This must be considered in the design phase, especially for mechanical parts under stress.
7. Surface Finish
The quality of the print's exterior, which can range from rough to smooth. Surface finish is influenced by the printer's resolution,
the material, and post-processing techniques like sanding or chemical smoothing.
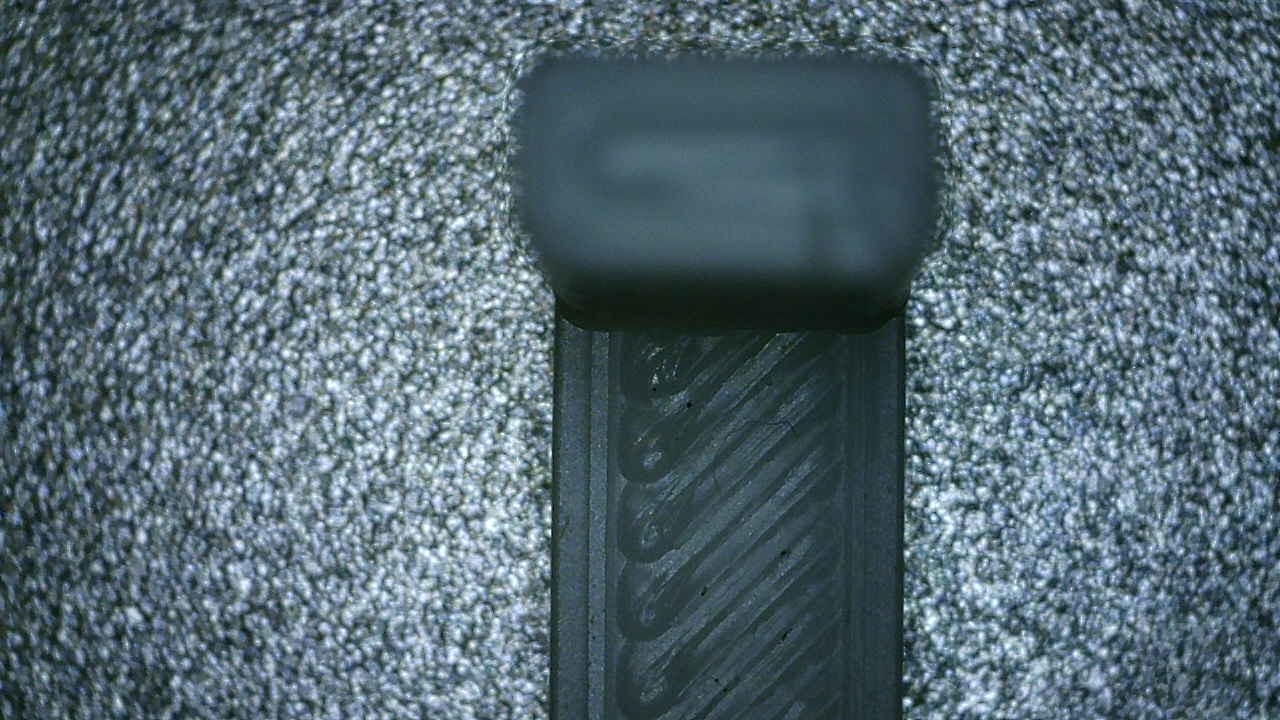
8. Clearence
Clearance involves the space between the support structures and the actual part being printed. Adequate clearance ensures supports can
be removed easily without damaging the print, typically around 0.2mm to 0.5mm depending on the material and print resolution.
9. infill
The inside of a 3D print is called infill, and it can be adjusted in terms of density 0% is hollow while 100% is solid. The main determining
factor for infill percentage is the type of application for which the part is destined to be used. Prototypes and hobbyist creations rarely need more than 20% infill. Functional parts that will be exposed to mechanical stress loads will typically require infill percentages of 50% or more.
As an individual assignment we had to to design and 3D print an object (small, few cm3, limited by printer time) that could not be easily made subtractively.
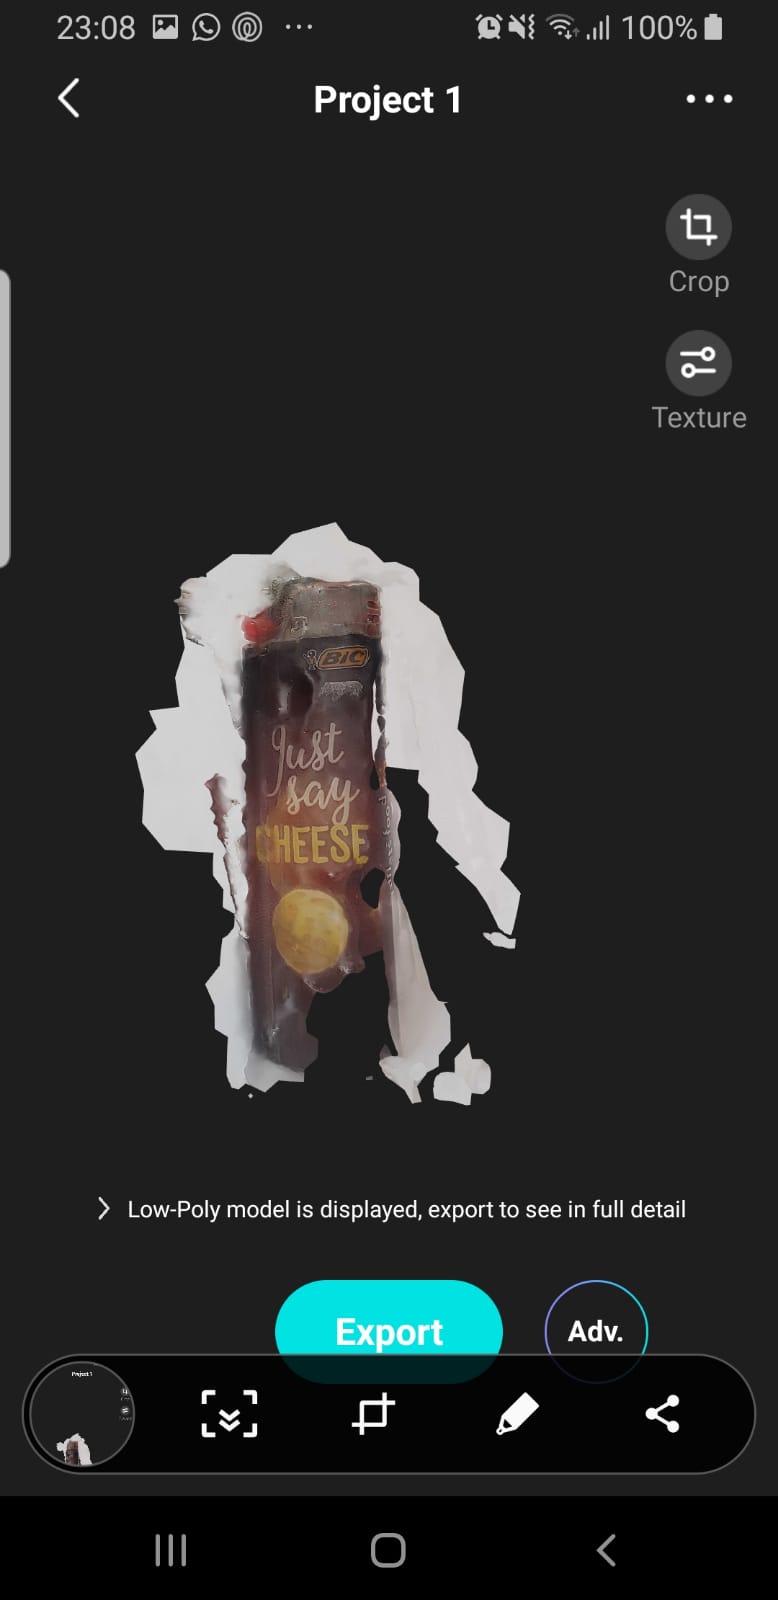
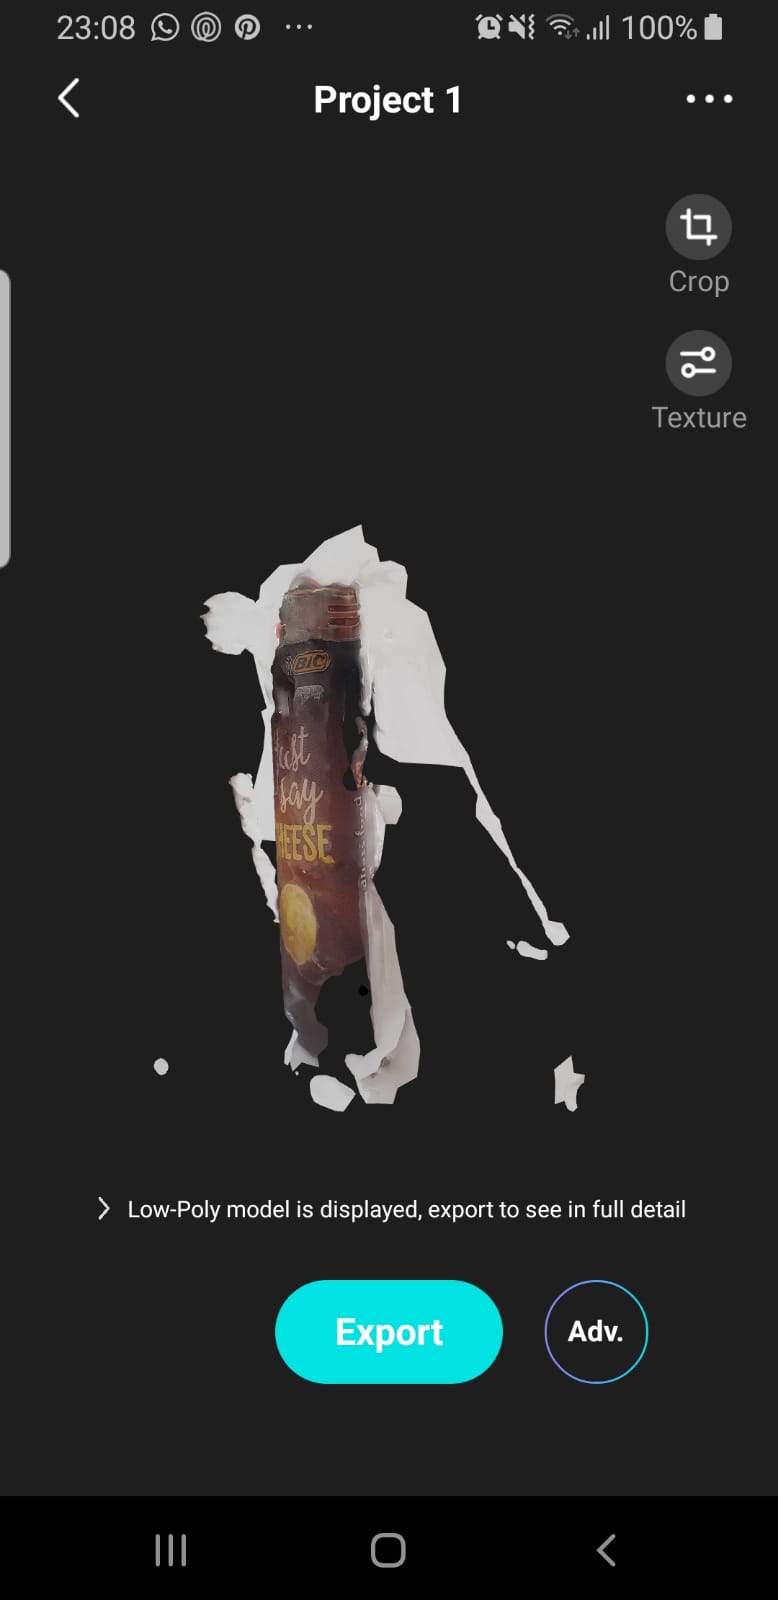
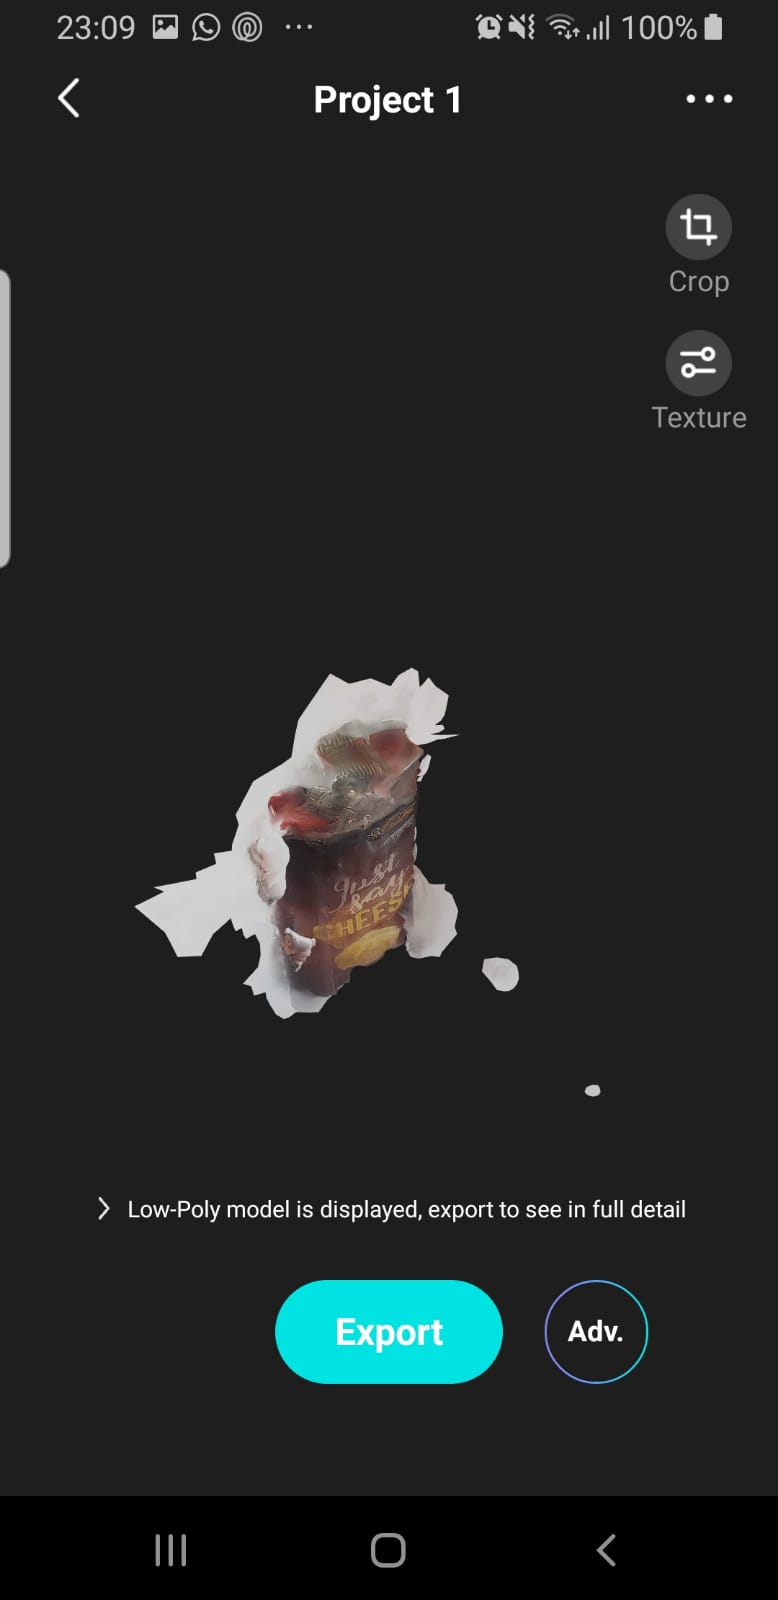
We also had to 3D scan an object
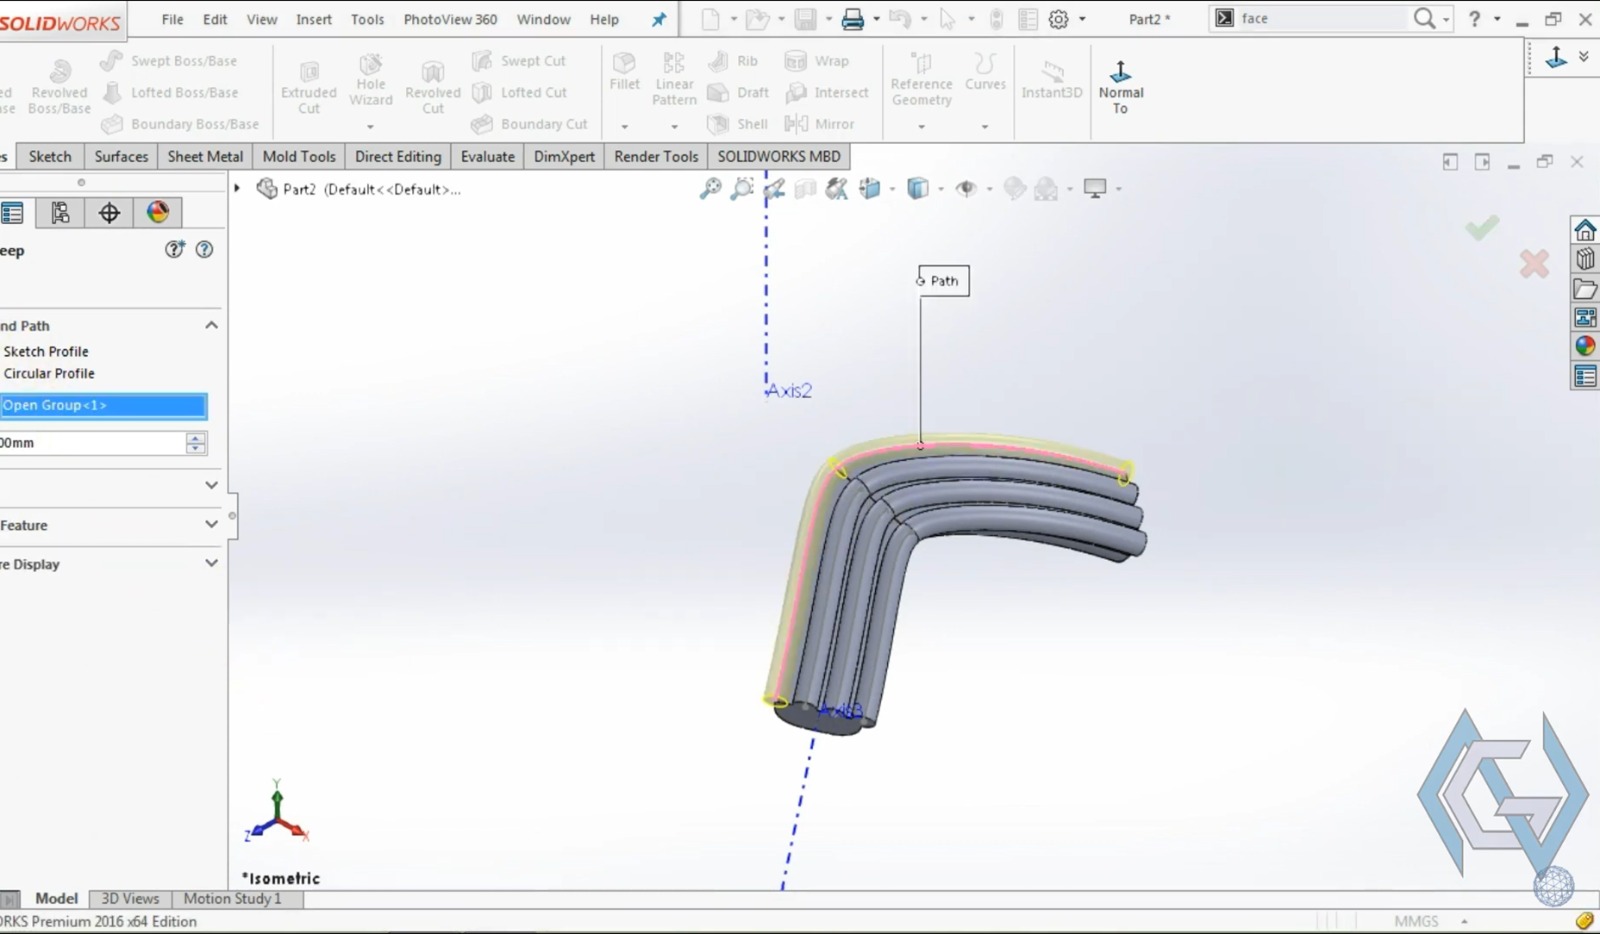
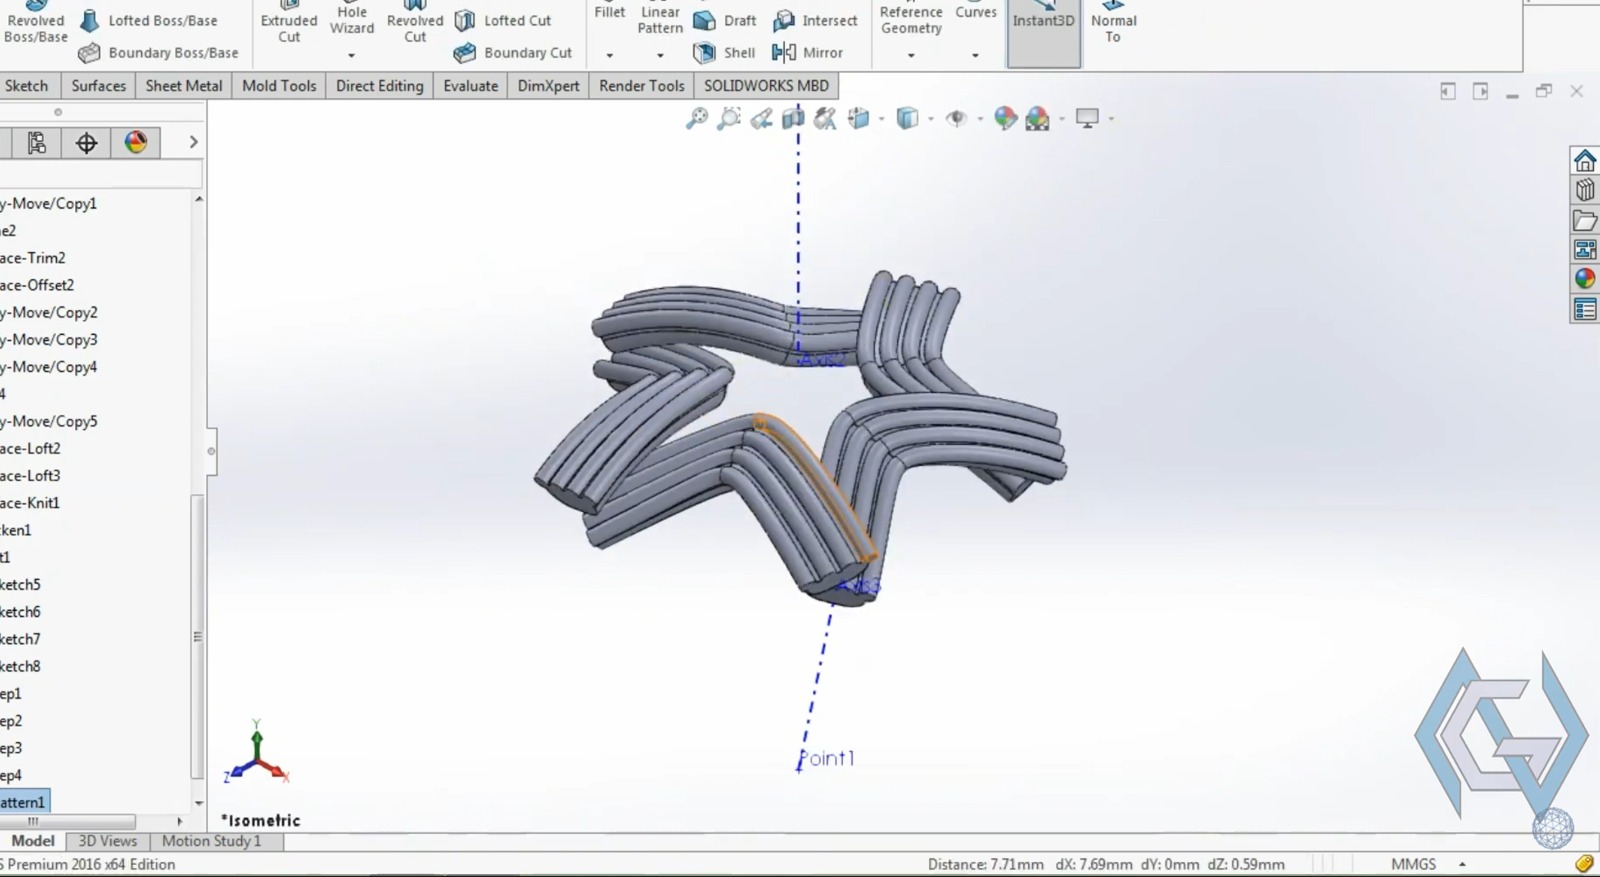
I had planned to make my part using CATIA, but I had an issue with the license, so I thought it was an excellent excuse to
also learn how to use SolidWorks. BTW this is my first time using it, so here goes nothing :)
SolidWorks
is a computer-aided design (CAD) software primarily used for 3D modeling and technical design. It's widely used in industries like mechanical engineering,
product design, architecture, and aerospace to create virtual models of components and systems before physical manufacturing. SolidWorks offers advanced tools for part design,
assembly, motion simulation, strength analysis, and more, making it a comprehensive tool for engineers and designers.
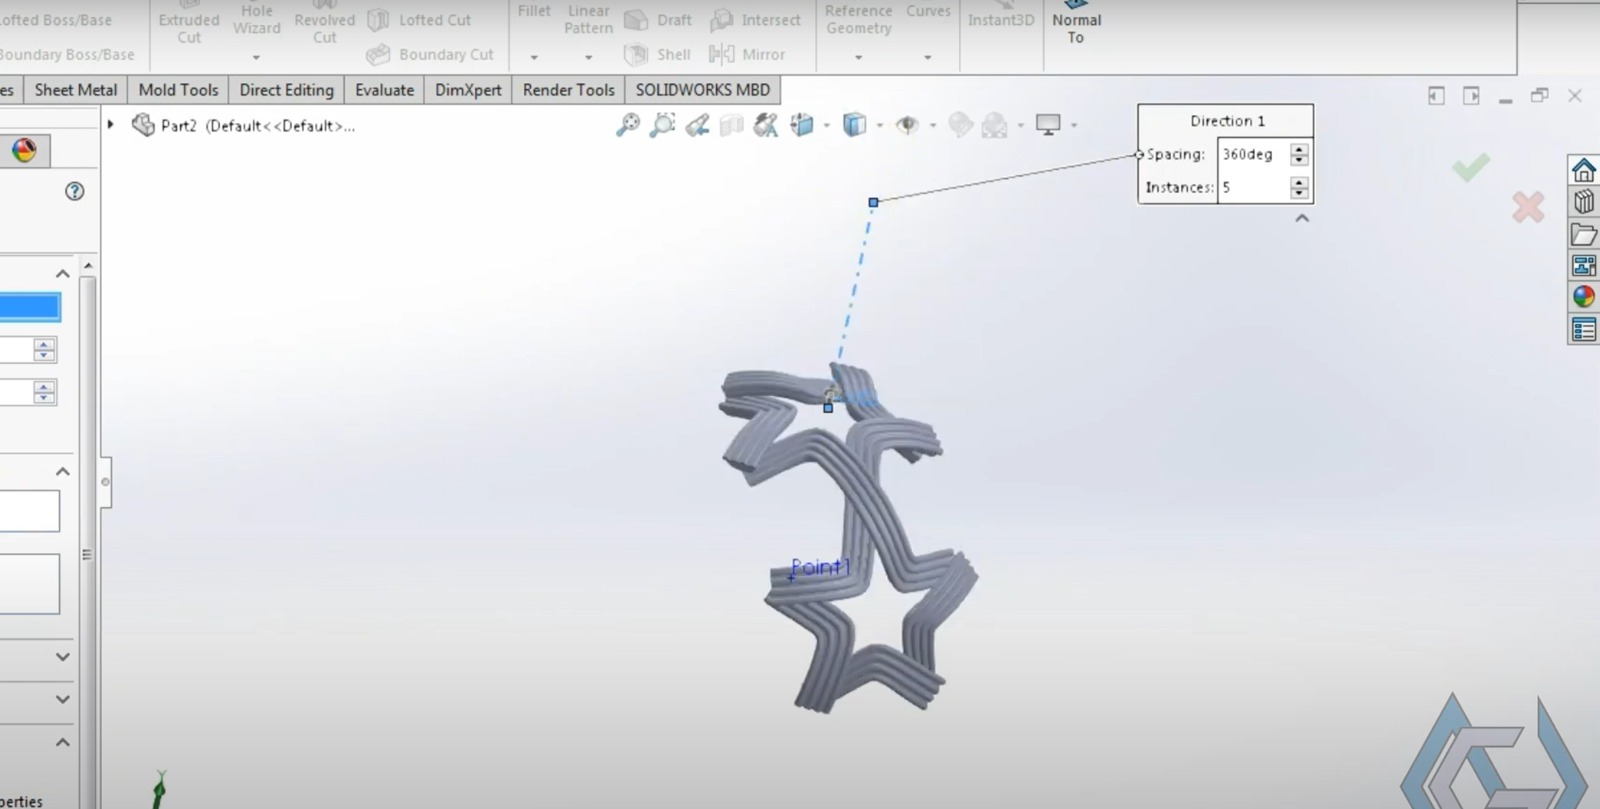
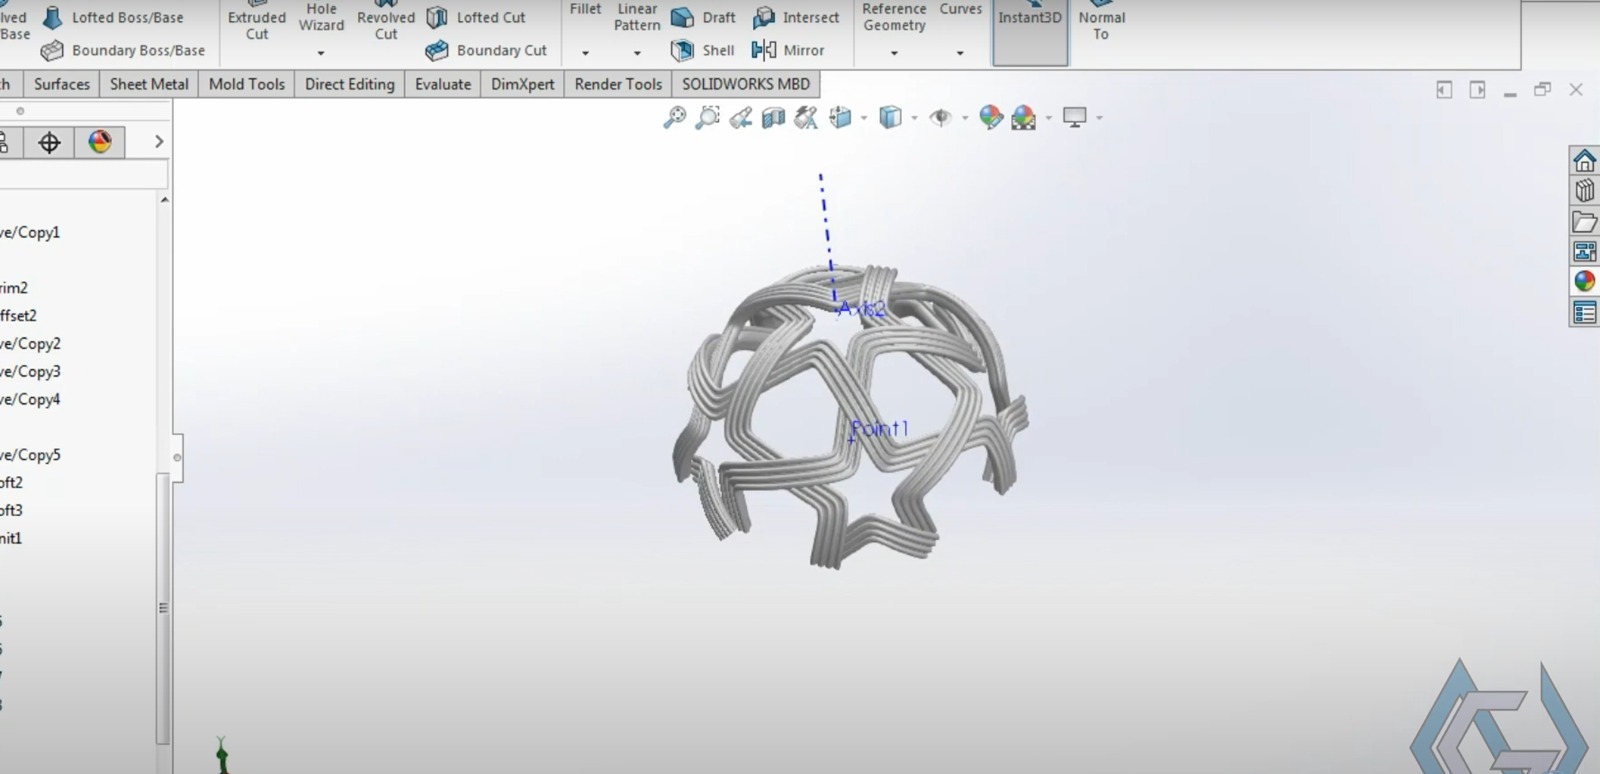
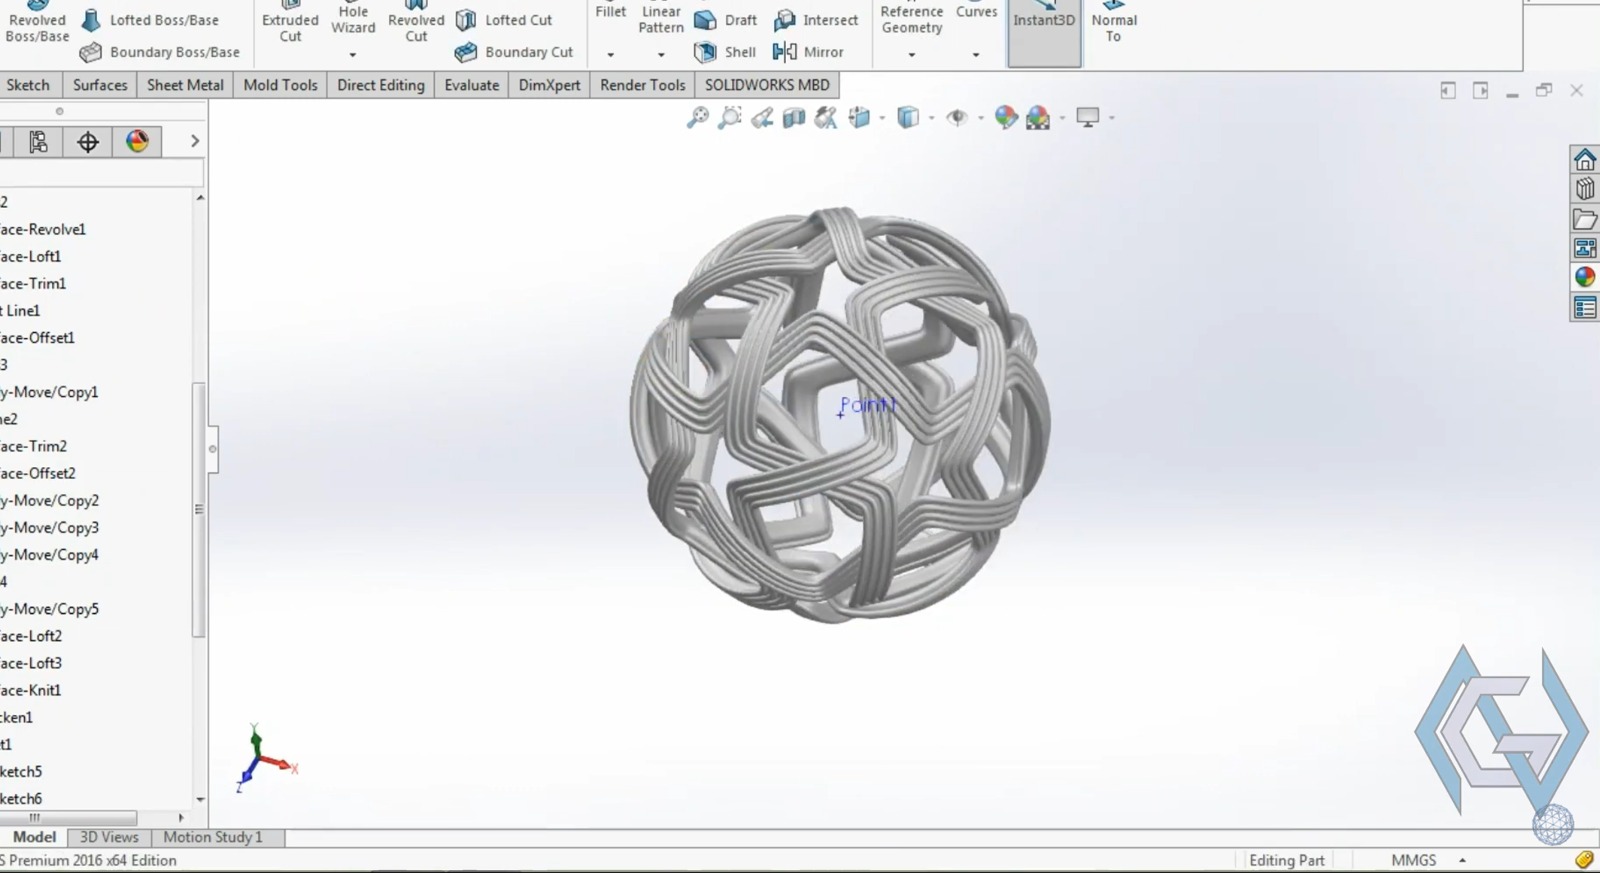
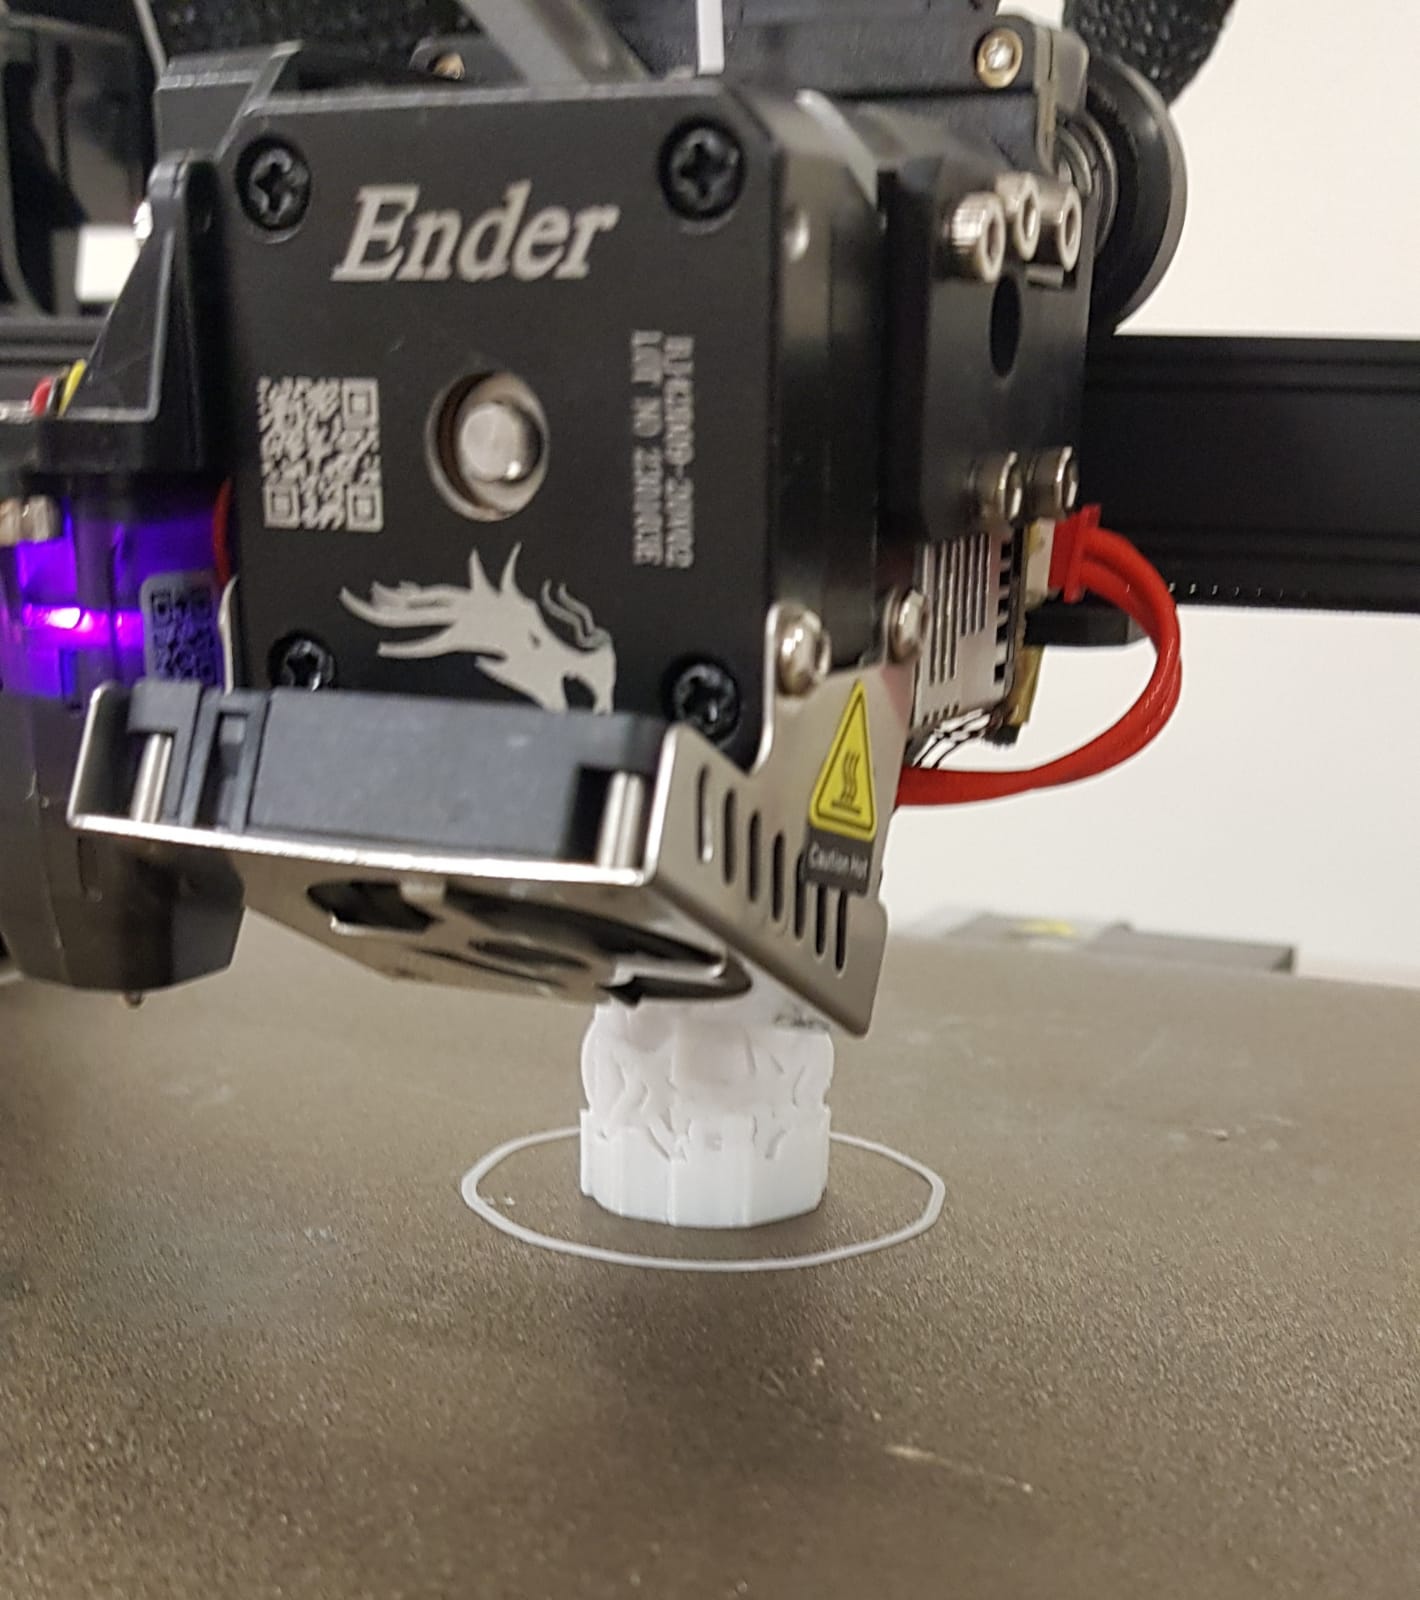
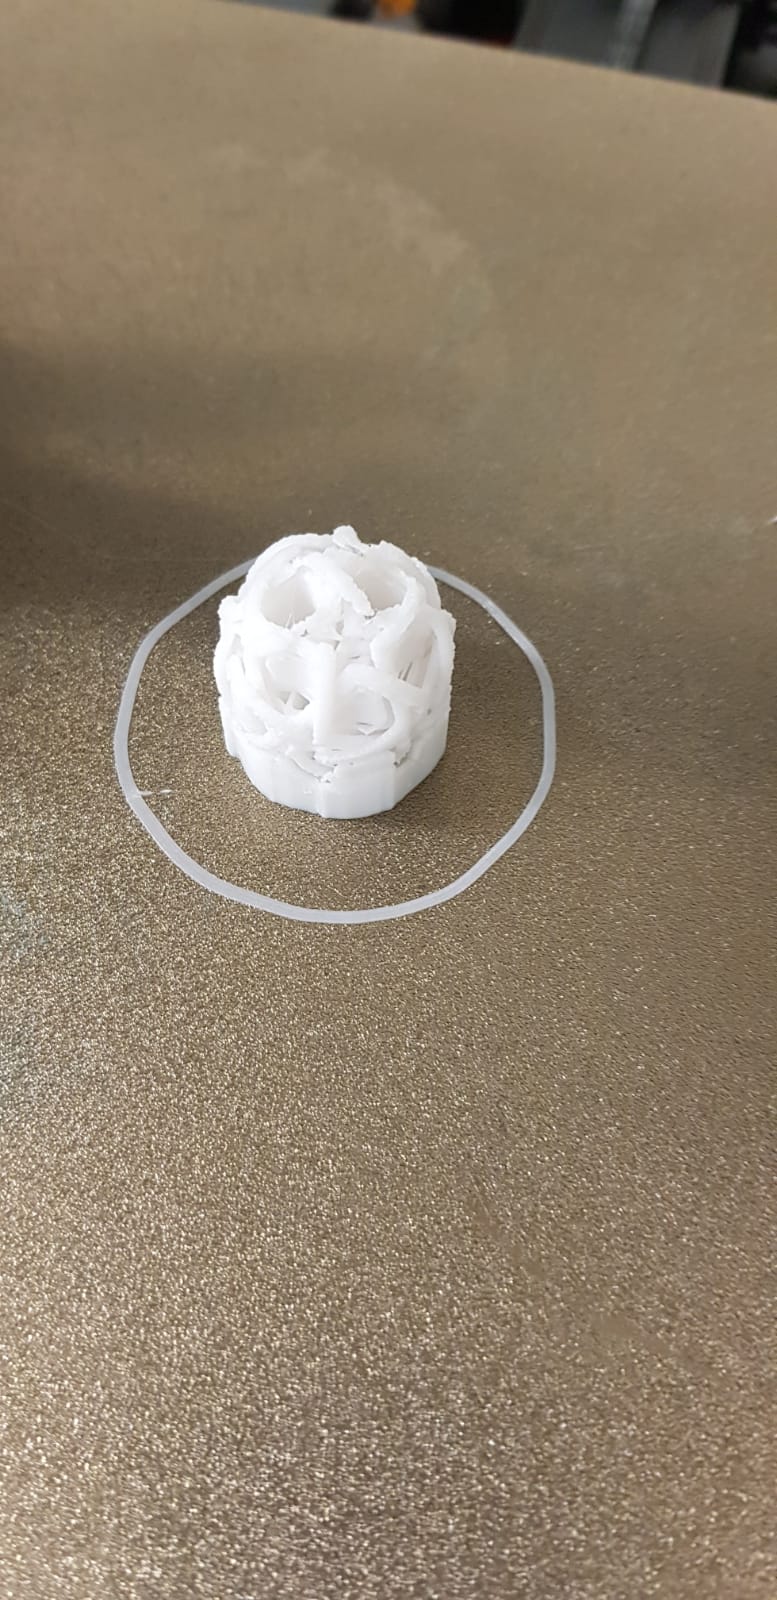
I decided to design a little ball with stars.
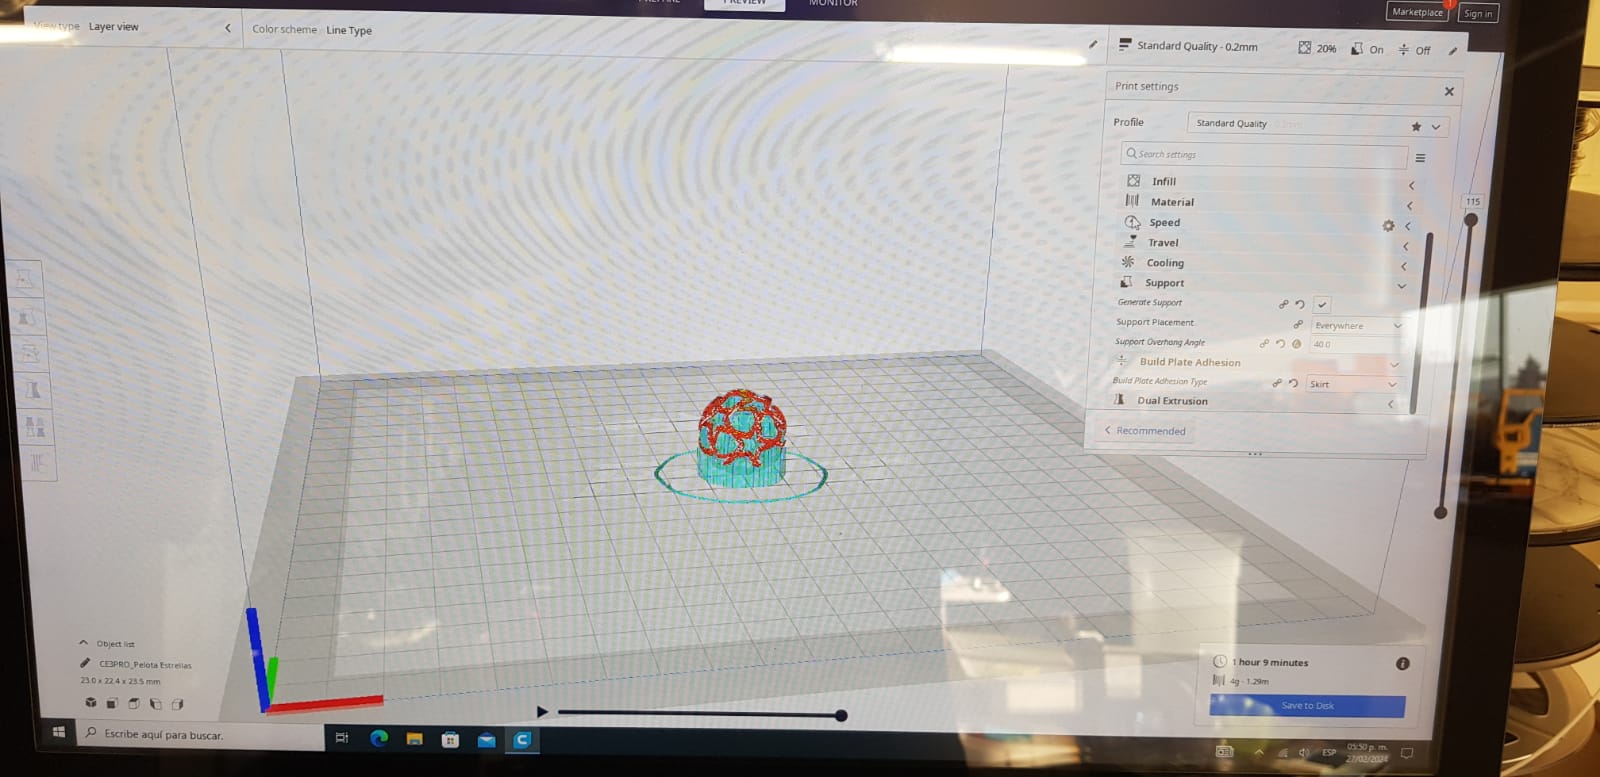
With the design ready, we save the document in STL format to open it in FlashPrint. From the program, we add the supports
and scale it so that it takes approximately 2 hours to print.
Now we save the document onto an SD card to transfer it to the printer and print.
Results 3D model:
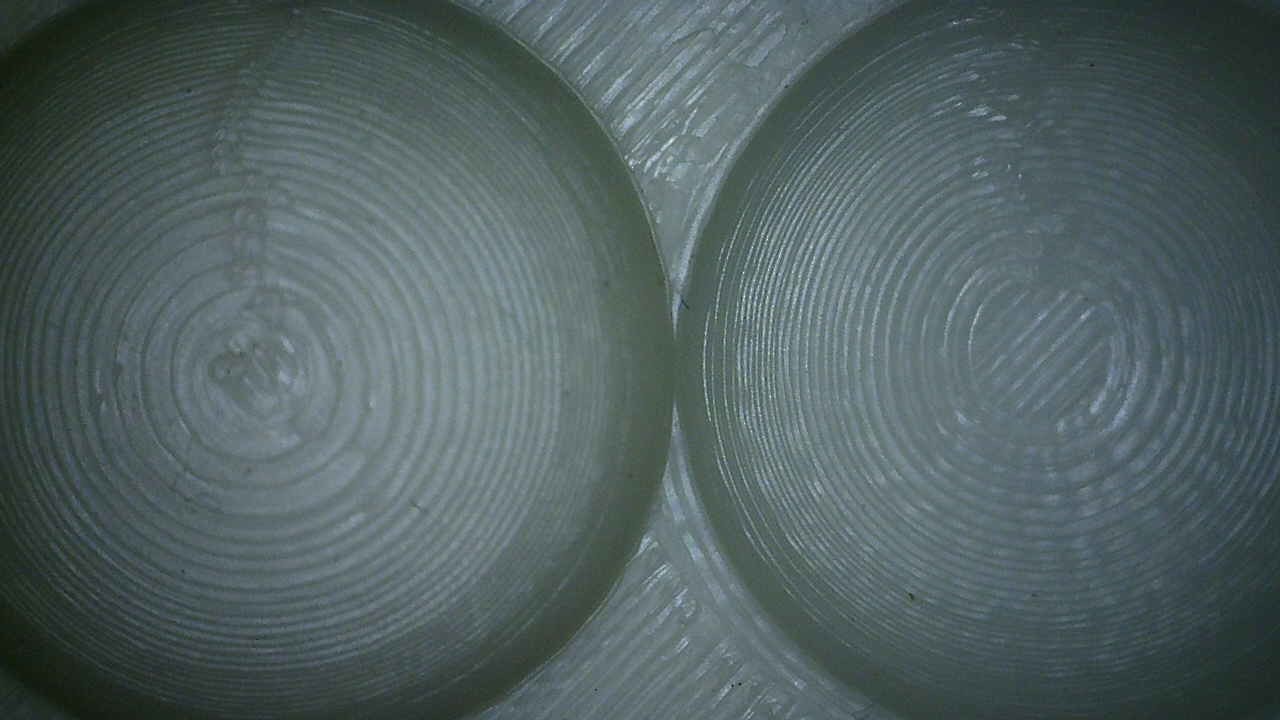
Removing the filaments from the figure was almost impossible because the piece is very small, the solution could be printing it larger.
For the 3D scanning, I decided to use the "Kiri Engine" application. I took around 70 photos per scan, but the result was not very good in most of them.