This week I worked on designing a 3D model and 2D design. I used
"catia student v5" for the 3D model and
"inkscape"
for the 2D design.
CATIA V5 is a computer-aided design software used in various industries for 3D design of complex products
and the generation of technical drawings. It is known for its wide range of tools and its ability to handle
large and complex projects. CATIA V5 is not an open-source or free software program.
Inkscape is an open-source and free vector graphics software. It is used to create and edit vector graphics such as logos,
illustrations, diagrams, and more. It is a powerful and versatile tool with advanced design and editing features,
available for Windows, macOS, and Linux.
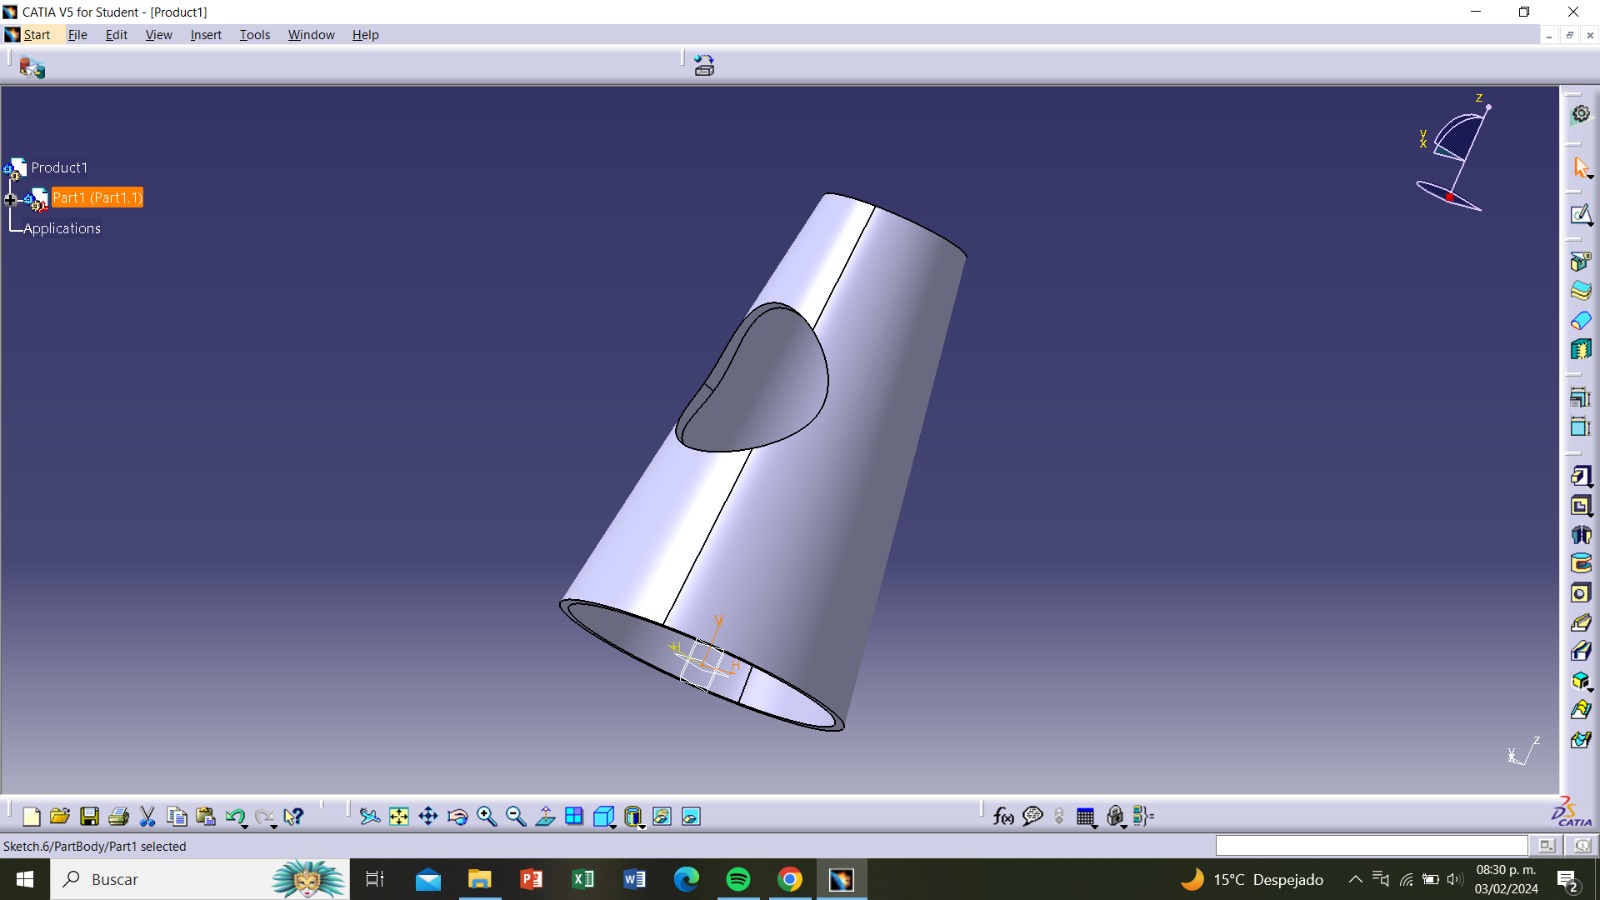
3D model
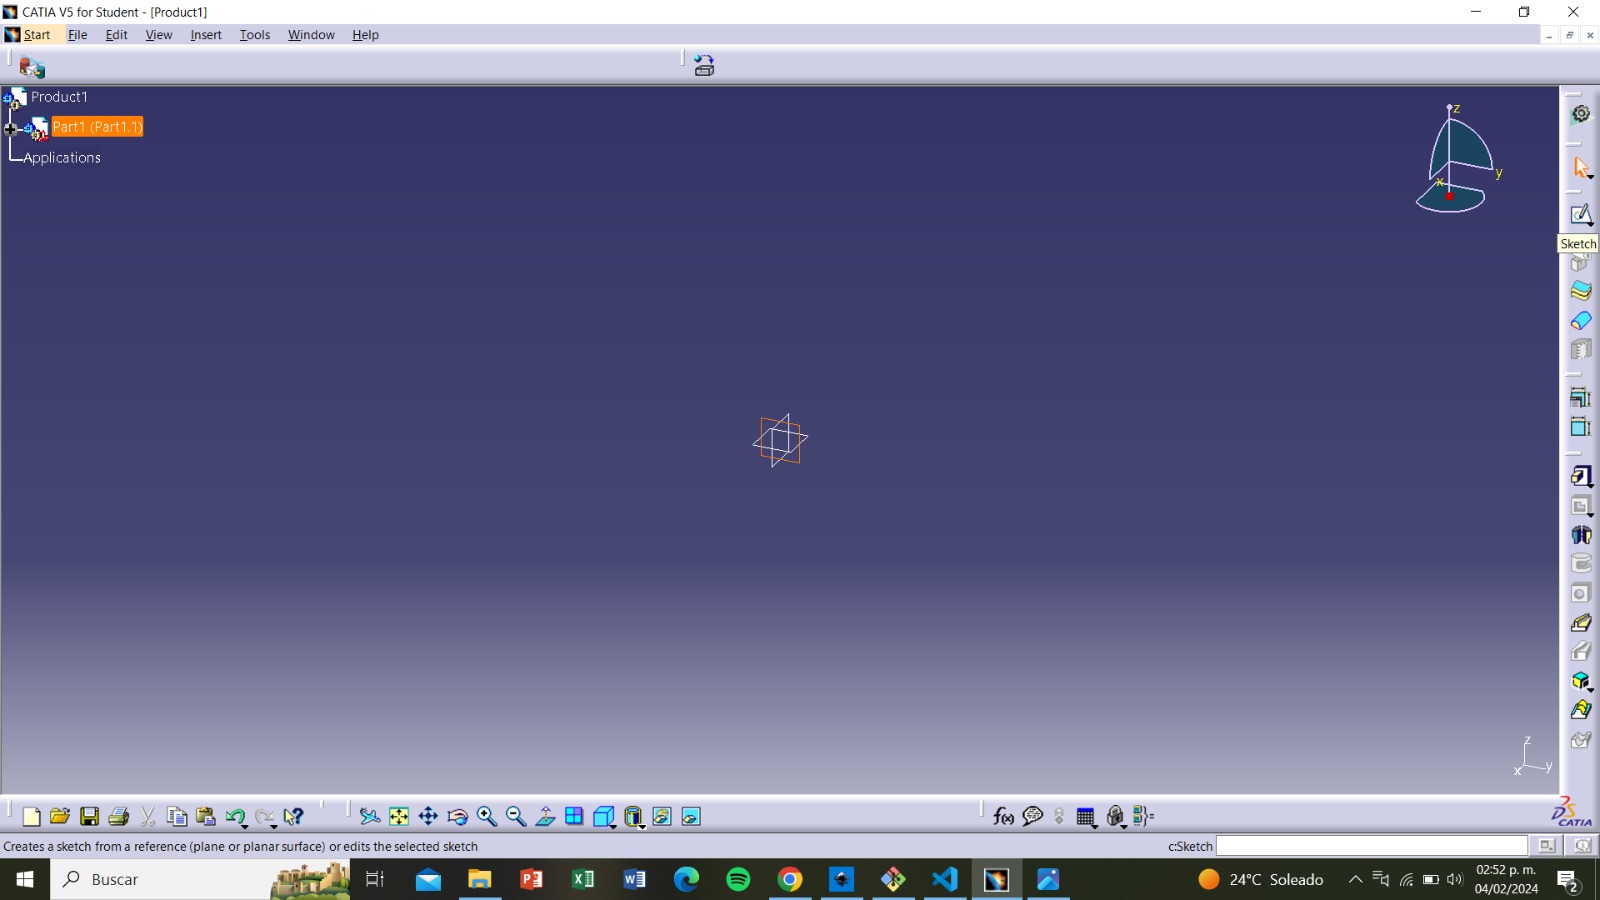
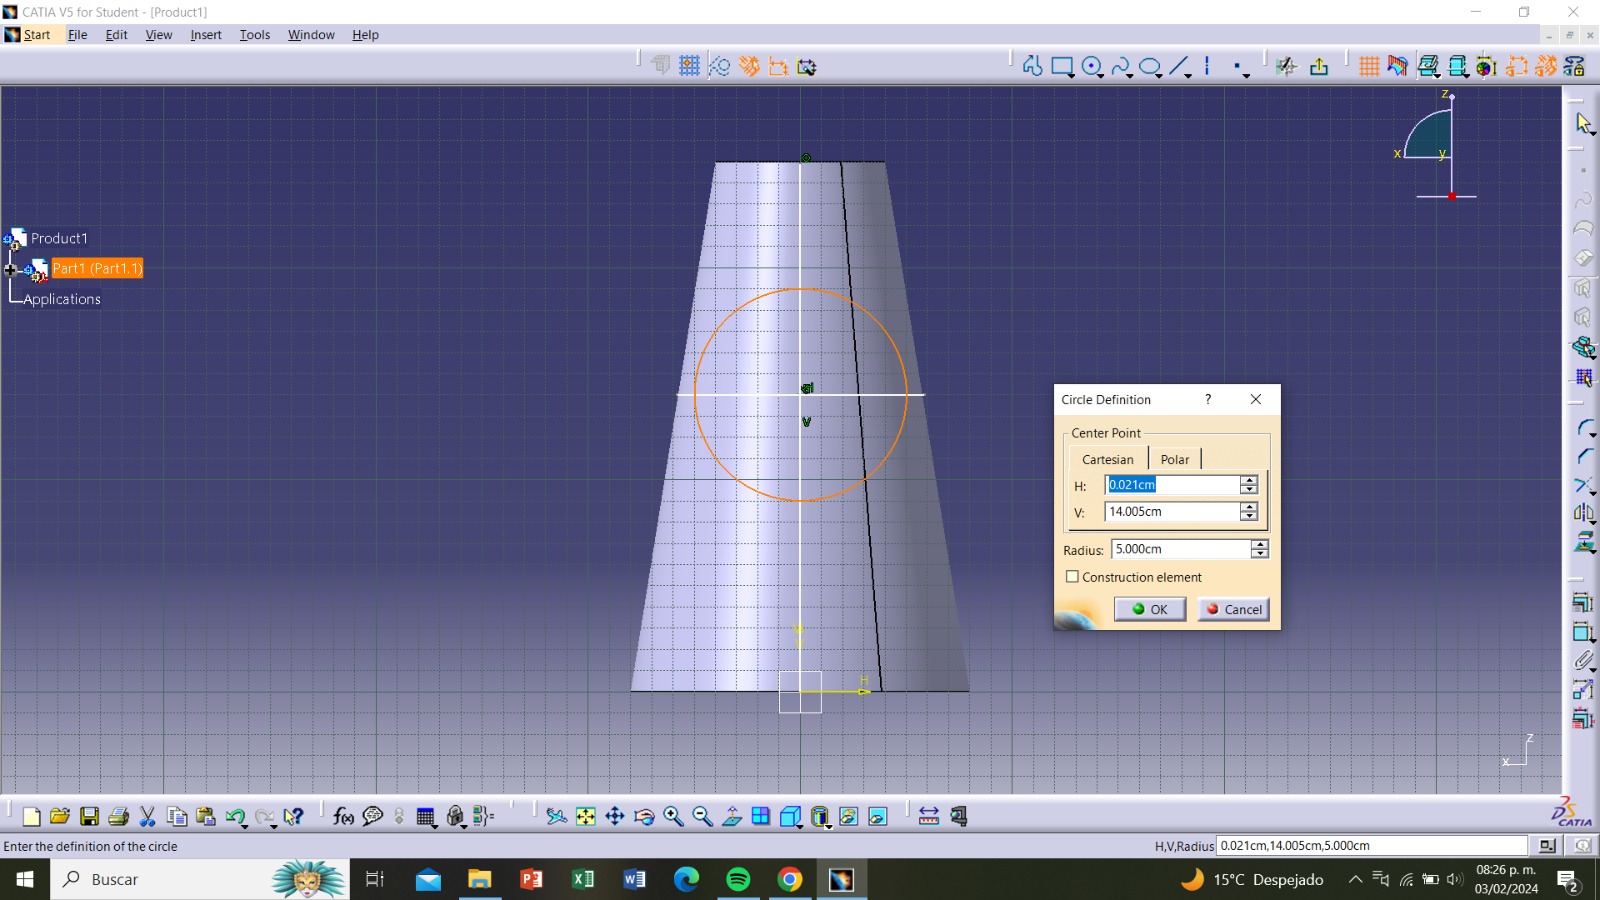
From the main panel, we select "start", "mechanical design", and then "part design".
We select a view and then click on "sketch".
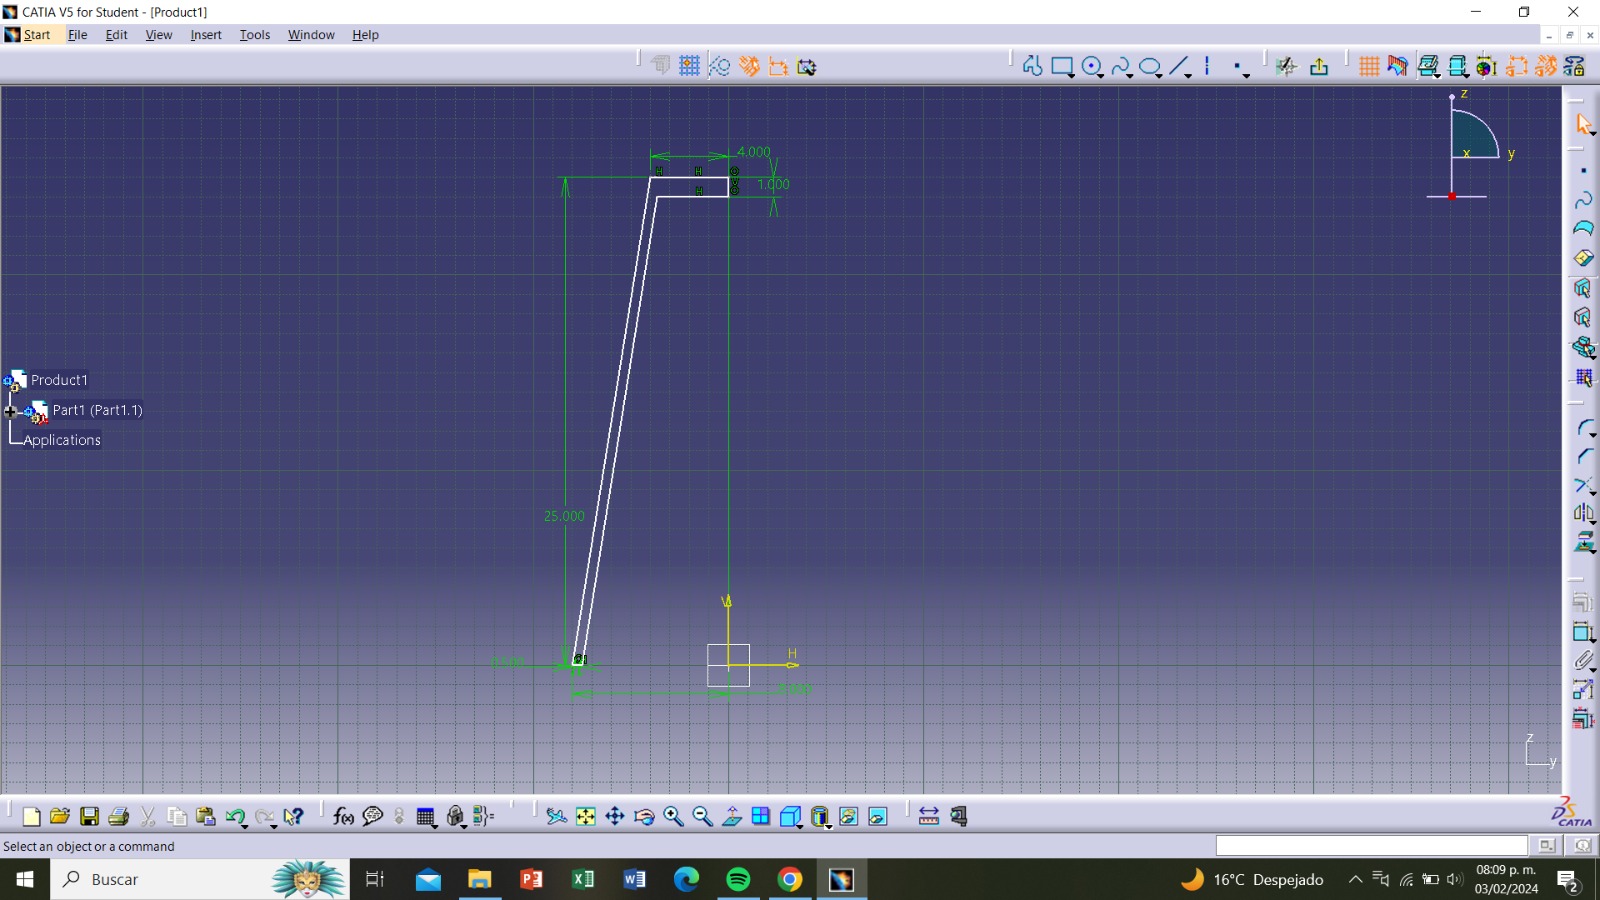
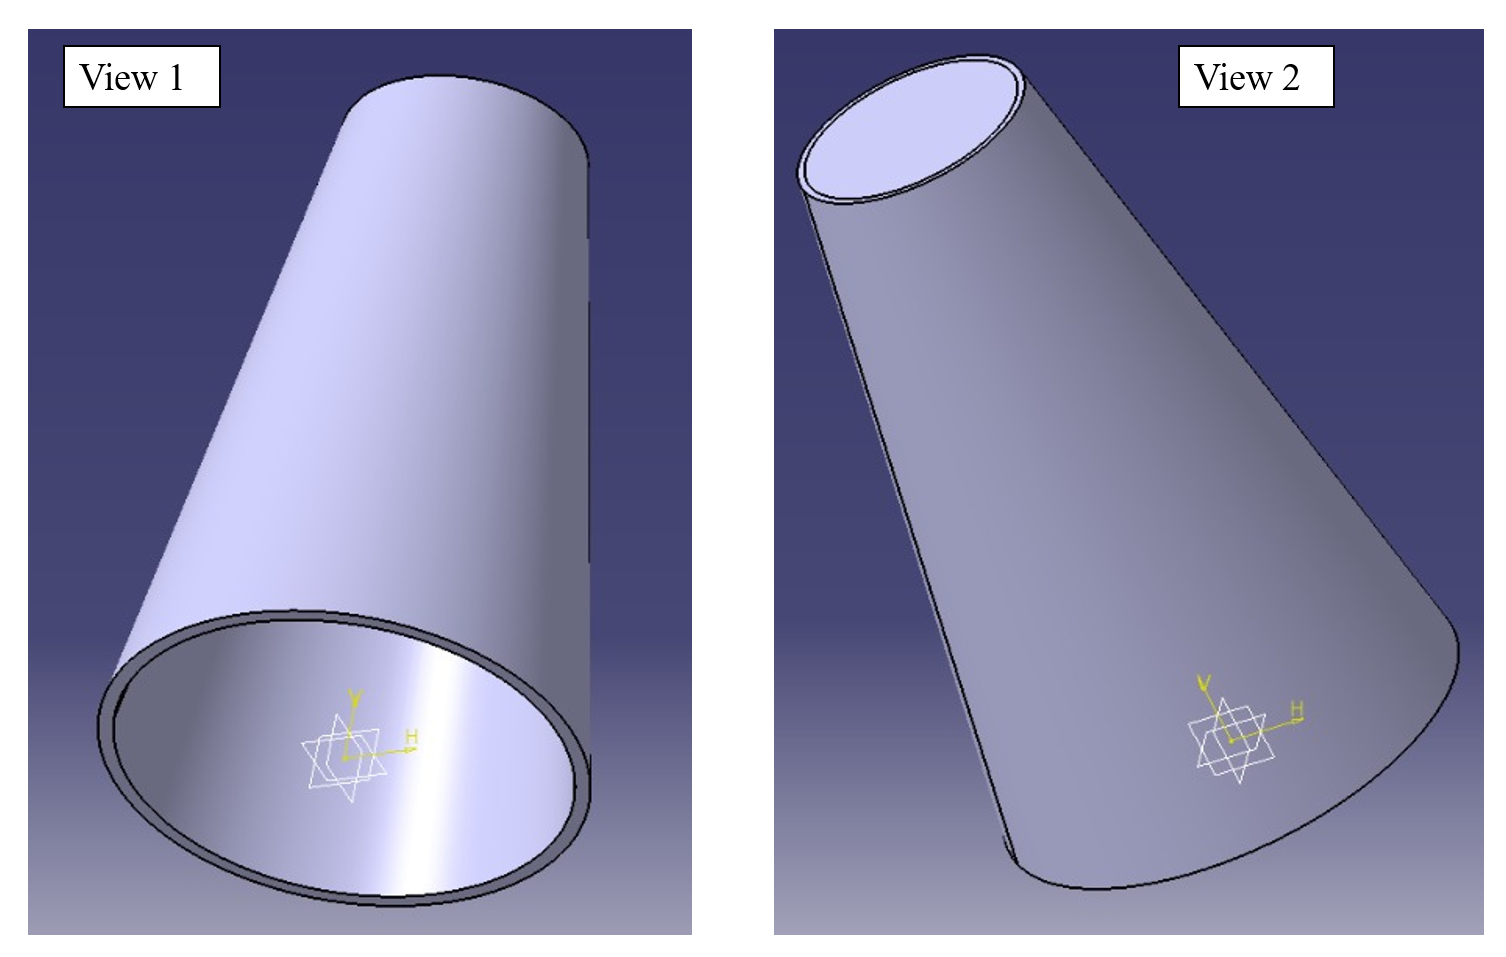
From the opened window, we can start drawing. I decided to create a part of my final project.
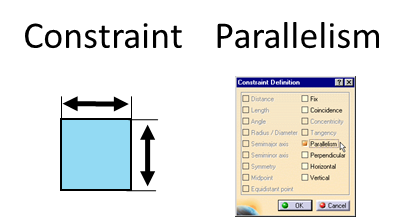
I began by placing the lines, and then, using the "constraint" tool, I gave them the desired measurements.
I also utilized the "parallelism" command with the "constraint definition" tool.
The measurements are as follows:
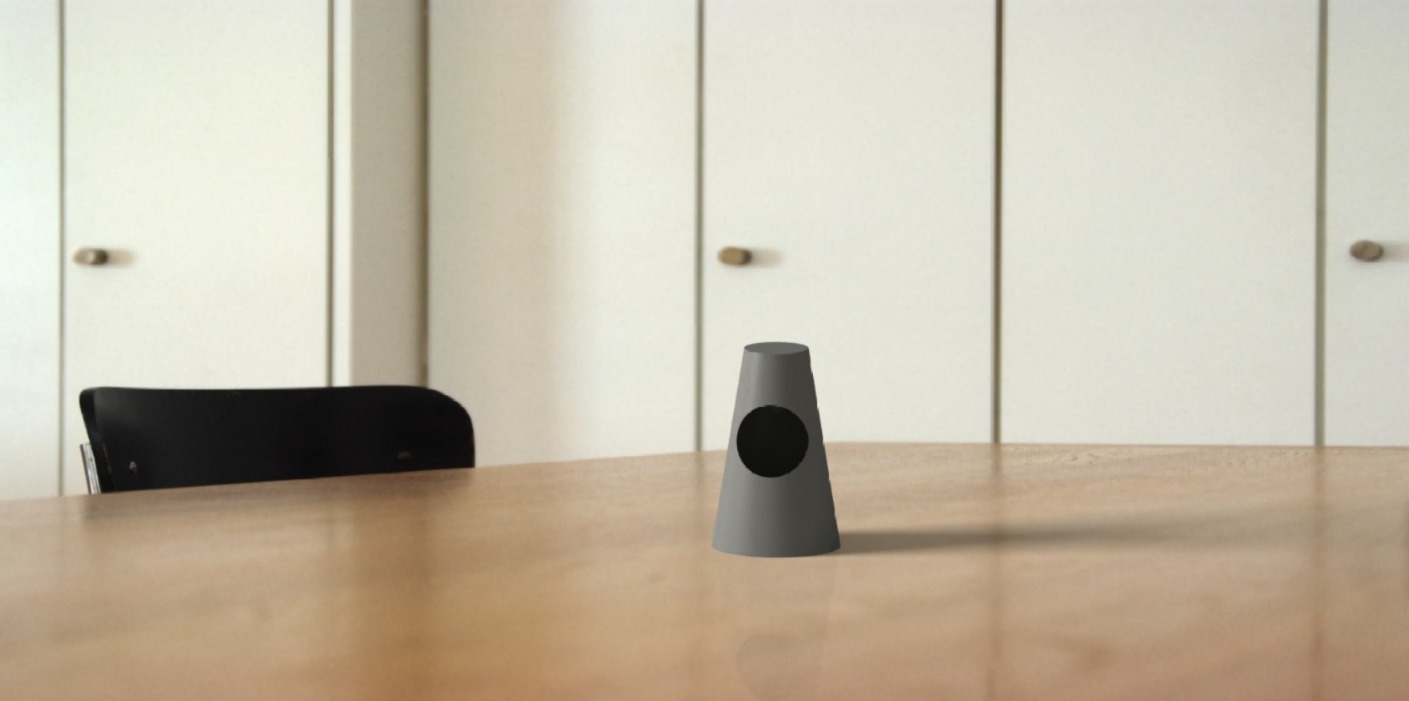
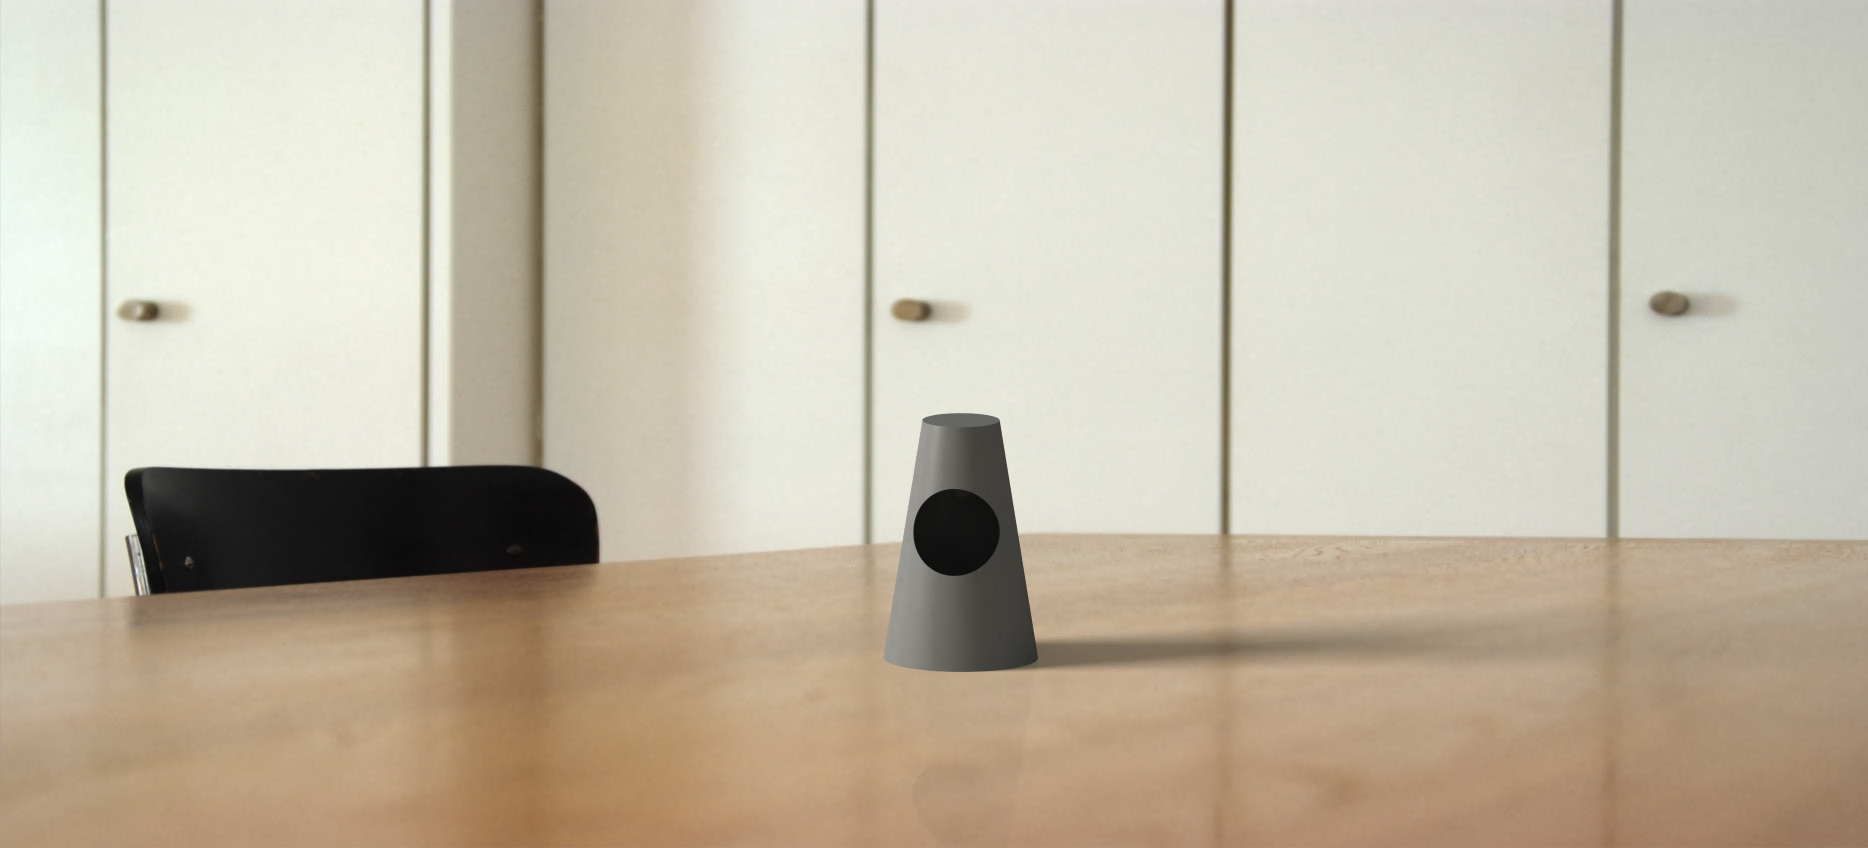
Height: 25cm
Upper radius: 4cm
Lower radius: 8cm
Side thickness: 0.5cm
Top thickness: 1cm
Once we have the measurements, we continue with the next step. The part has a funnel shape. To achieve this effect,
we click on "exit workbench", which takes us out of the drawing and shows us how our part looks. In this window,
we click on "shaft", select our part, the axis reference, in this case it is the y-axis and click ok.
Using the tool that allows us to view the part from different angles, we verify that it looks as desired.
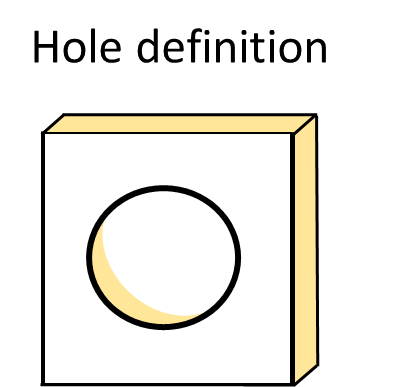
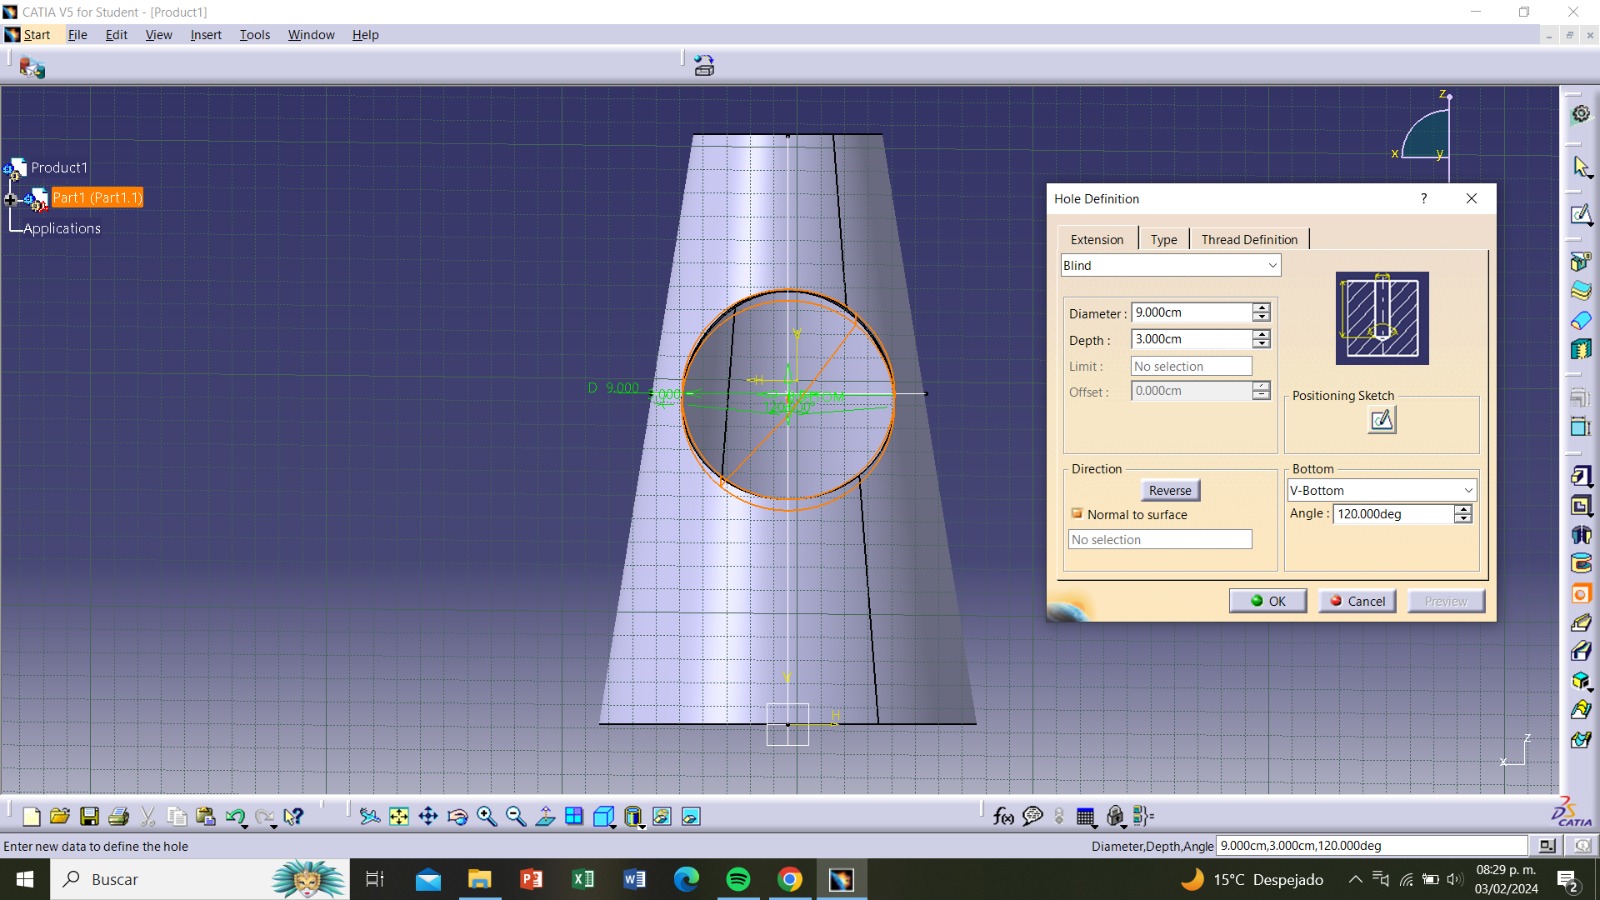
The part now needs a hole for the sound to come out. For this, we draw reference lines
Knowing where to place it, we select "hole definition" and input the specifications: diameter - 9cm and depth - 3cm.
To finish, we check that everything is in order and save the progress.
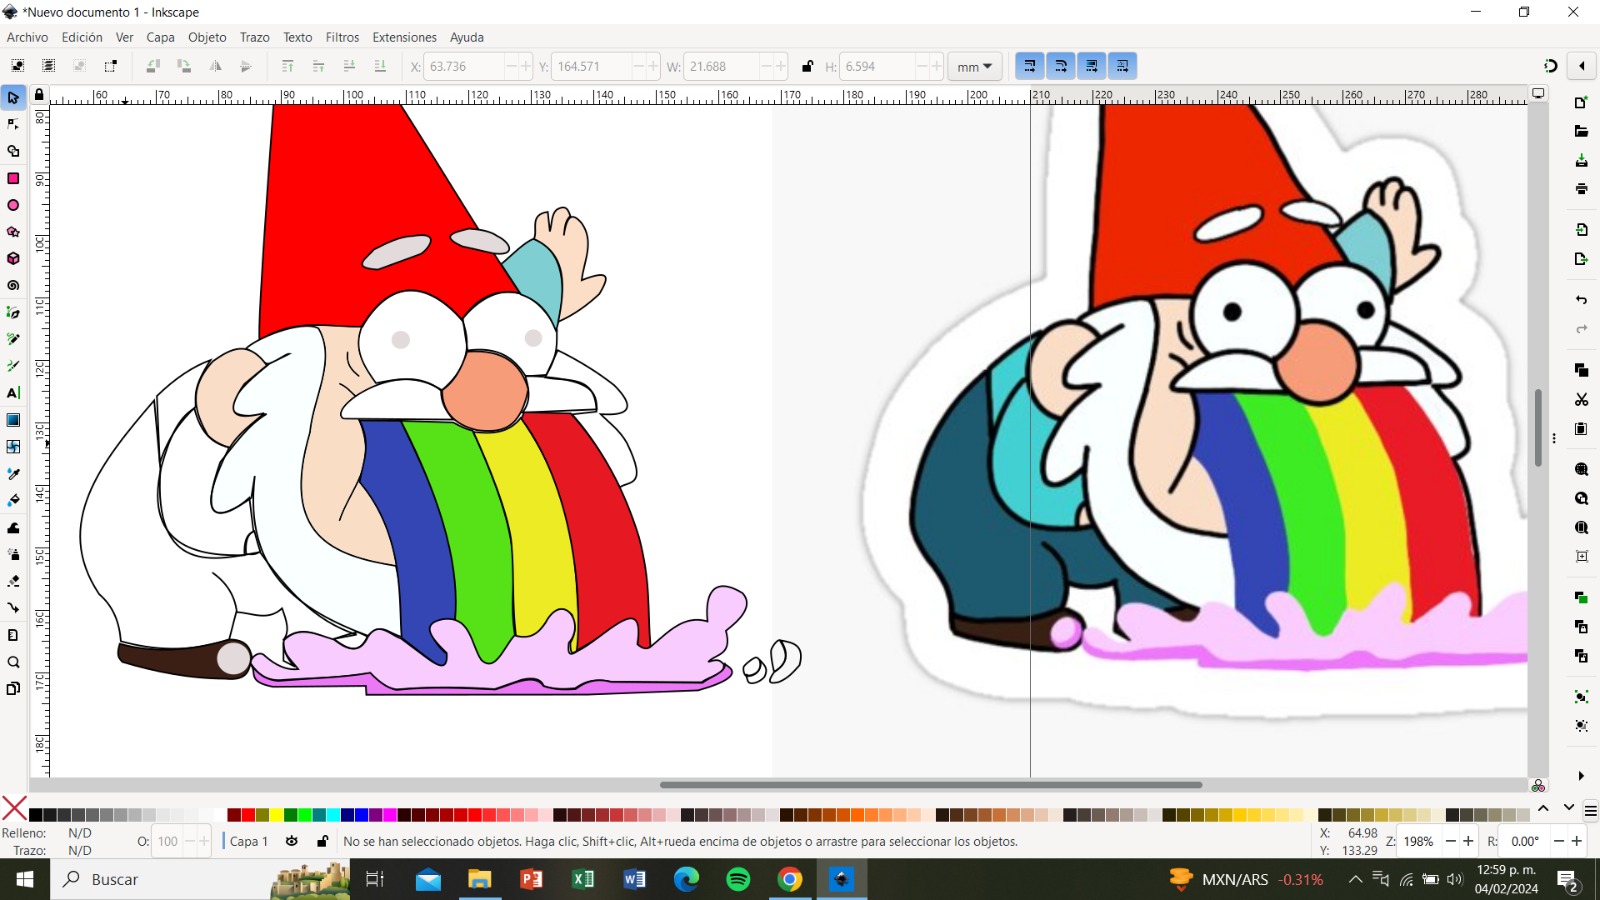
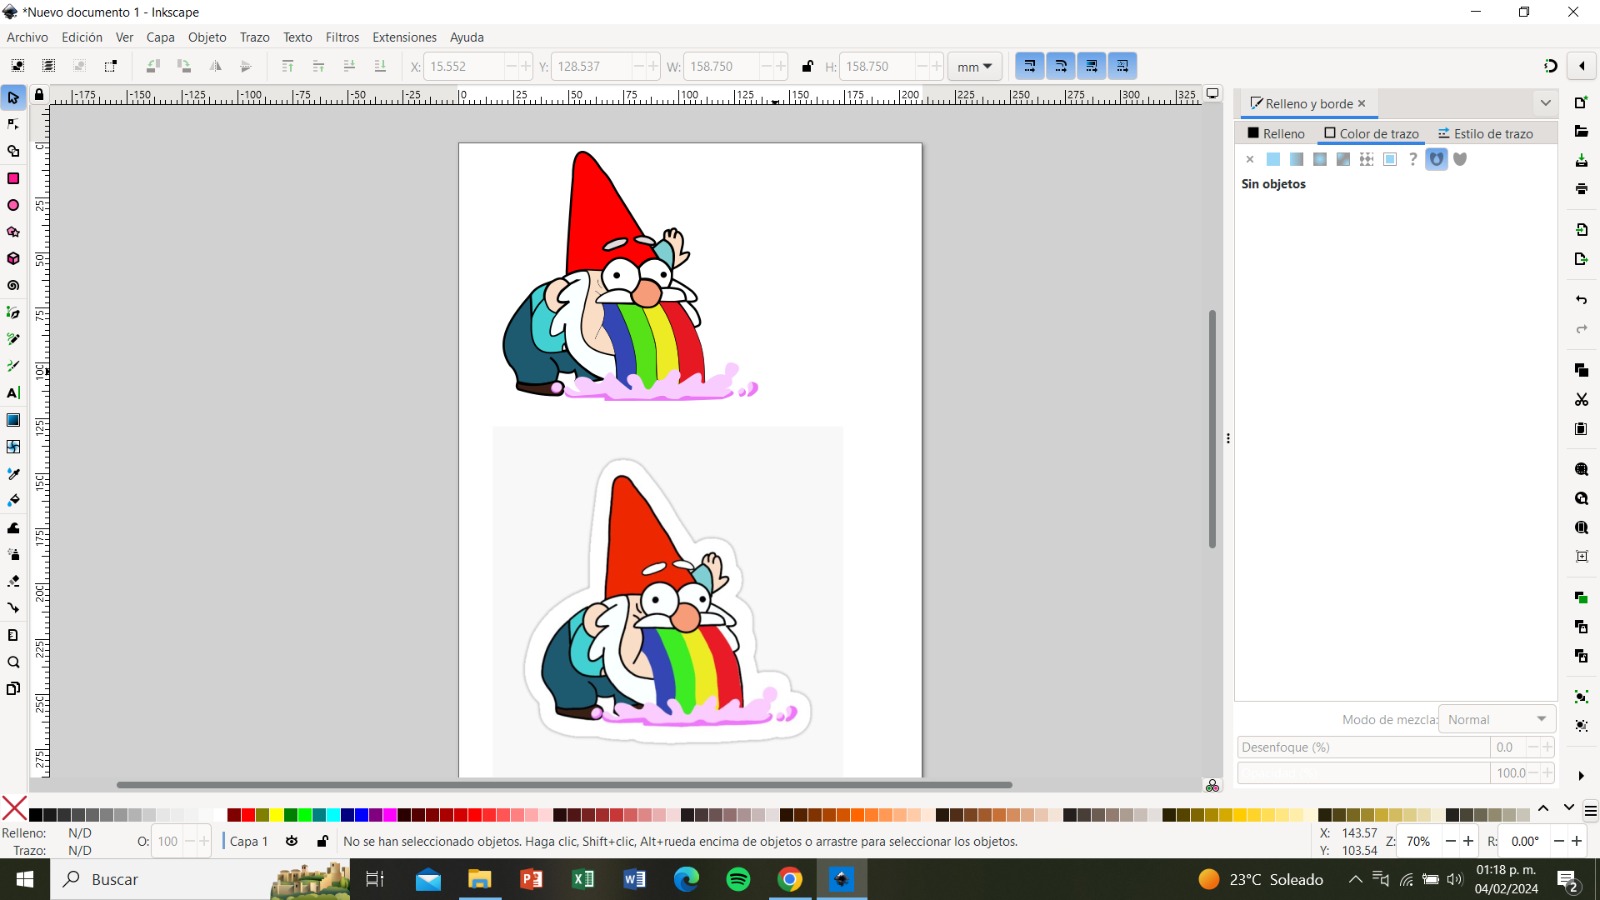
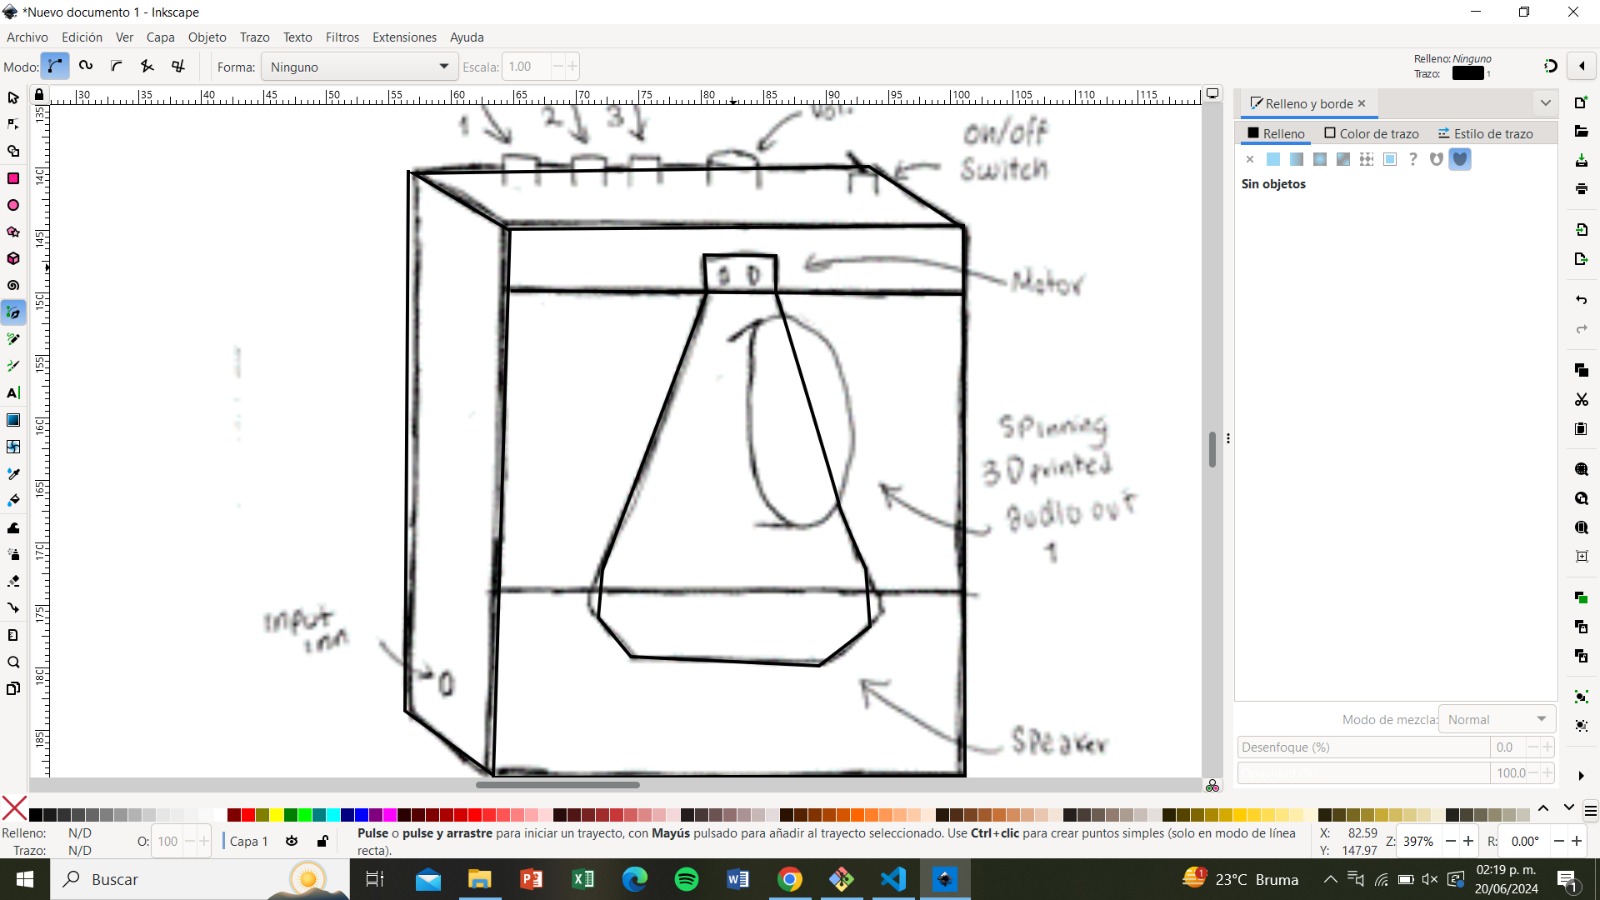
For the 2D design, I chose an image of a gnome vomiting rainbows from Gravity Falls :)
We start by opening the Inkscape program and pasting the reference image
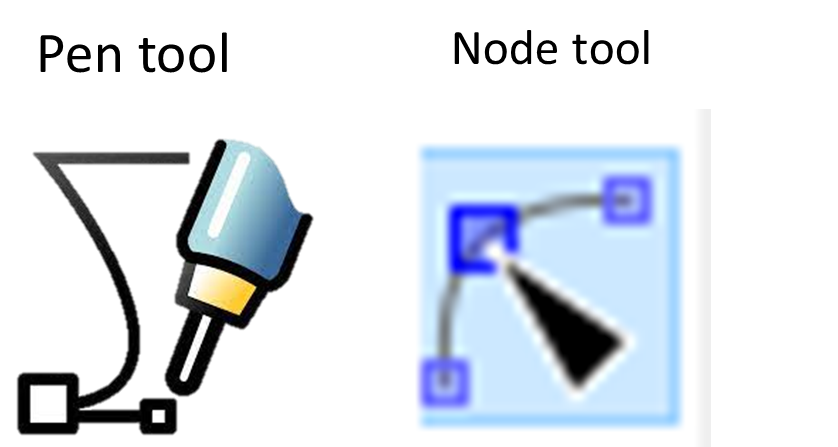
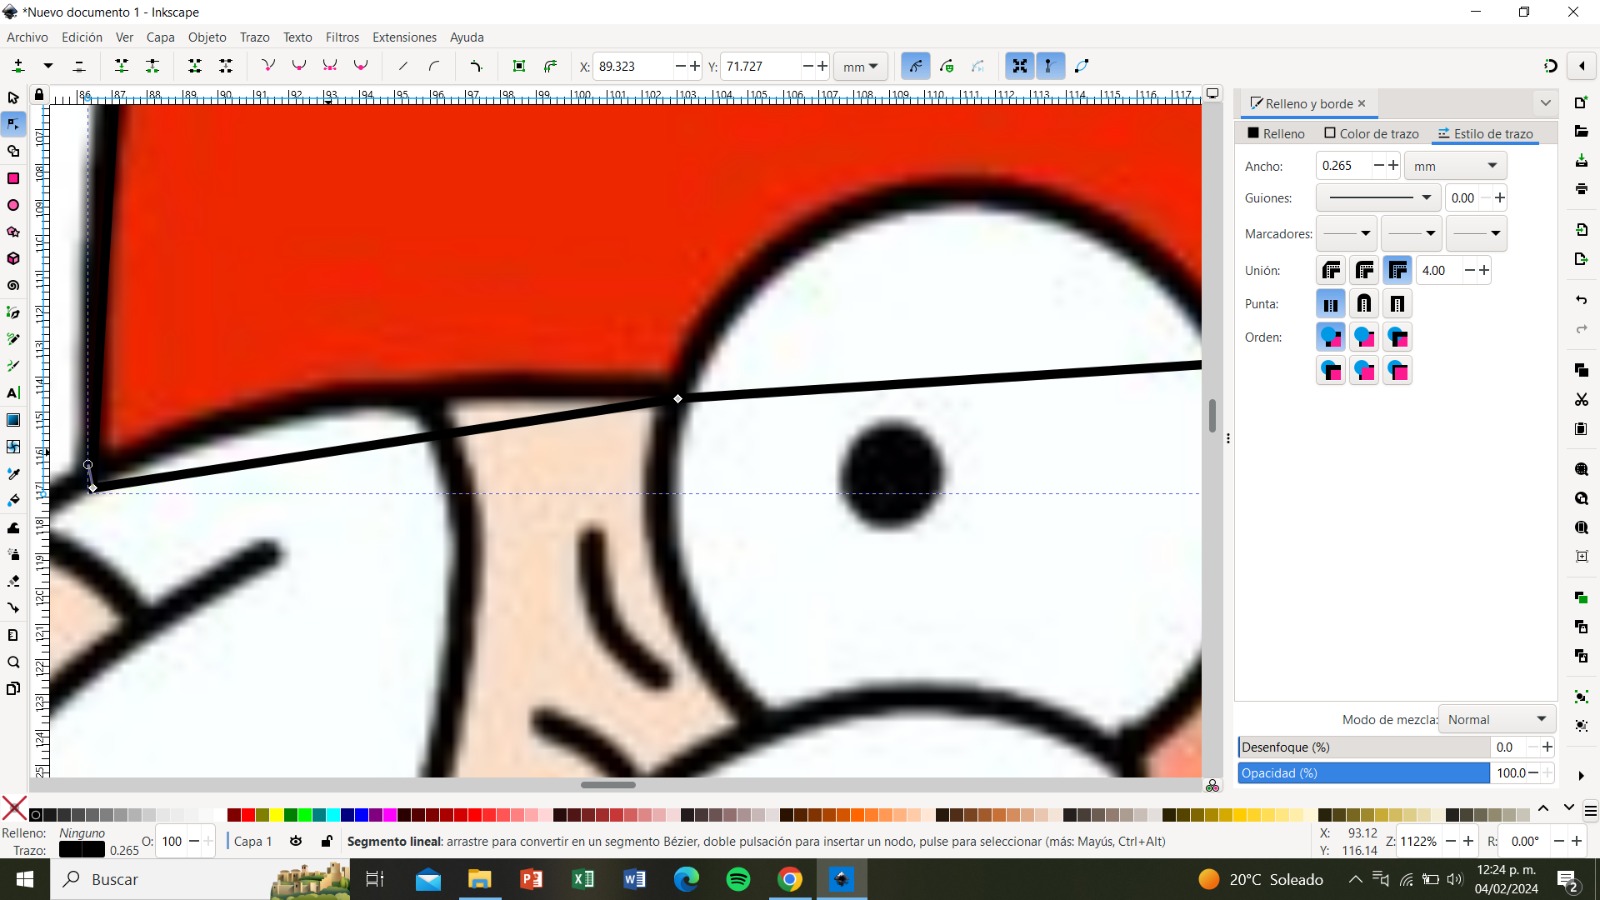
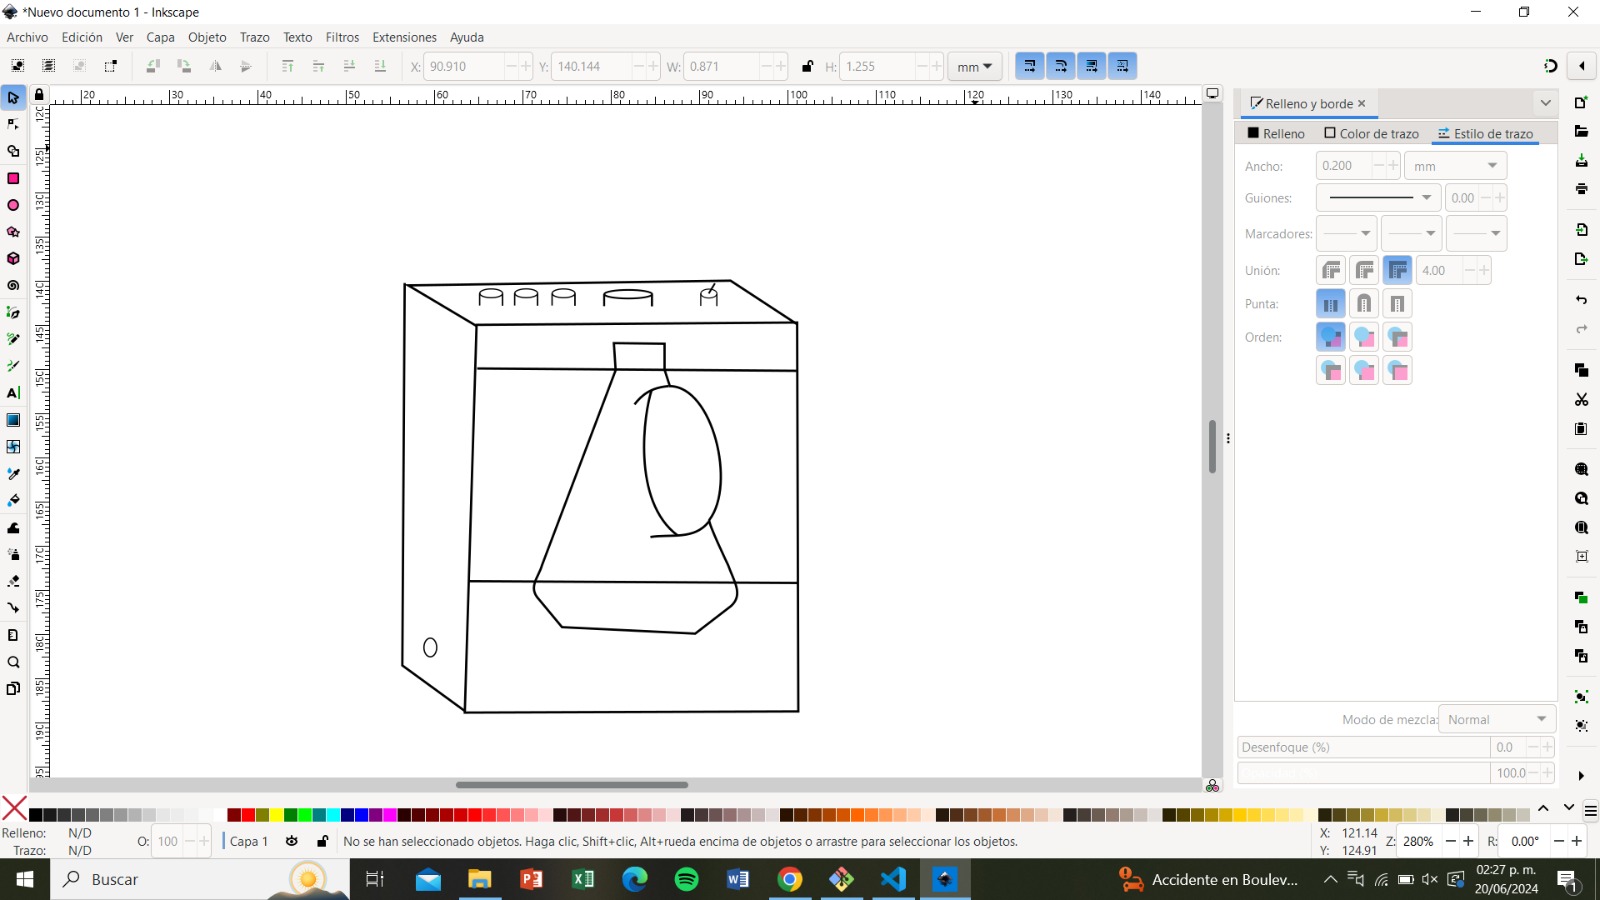
With the "pen tool", we outline all parts of the image. Once we have the outline, we use the
"node tool" to adjust the lines into place.
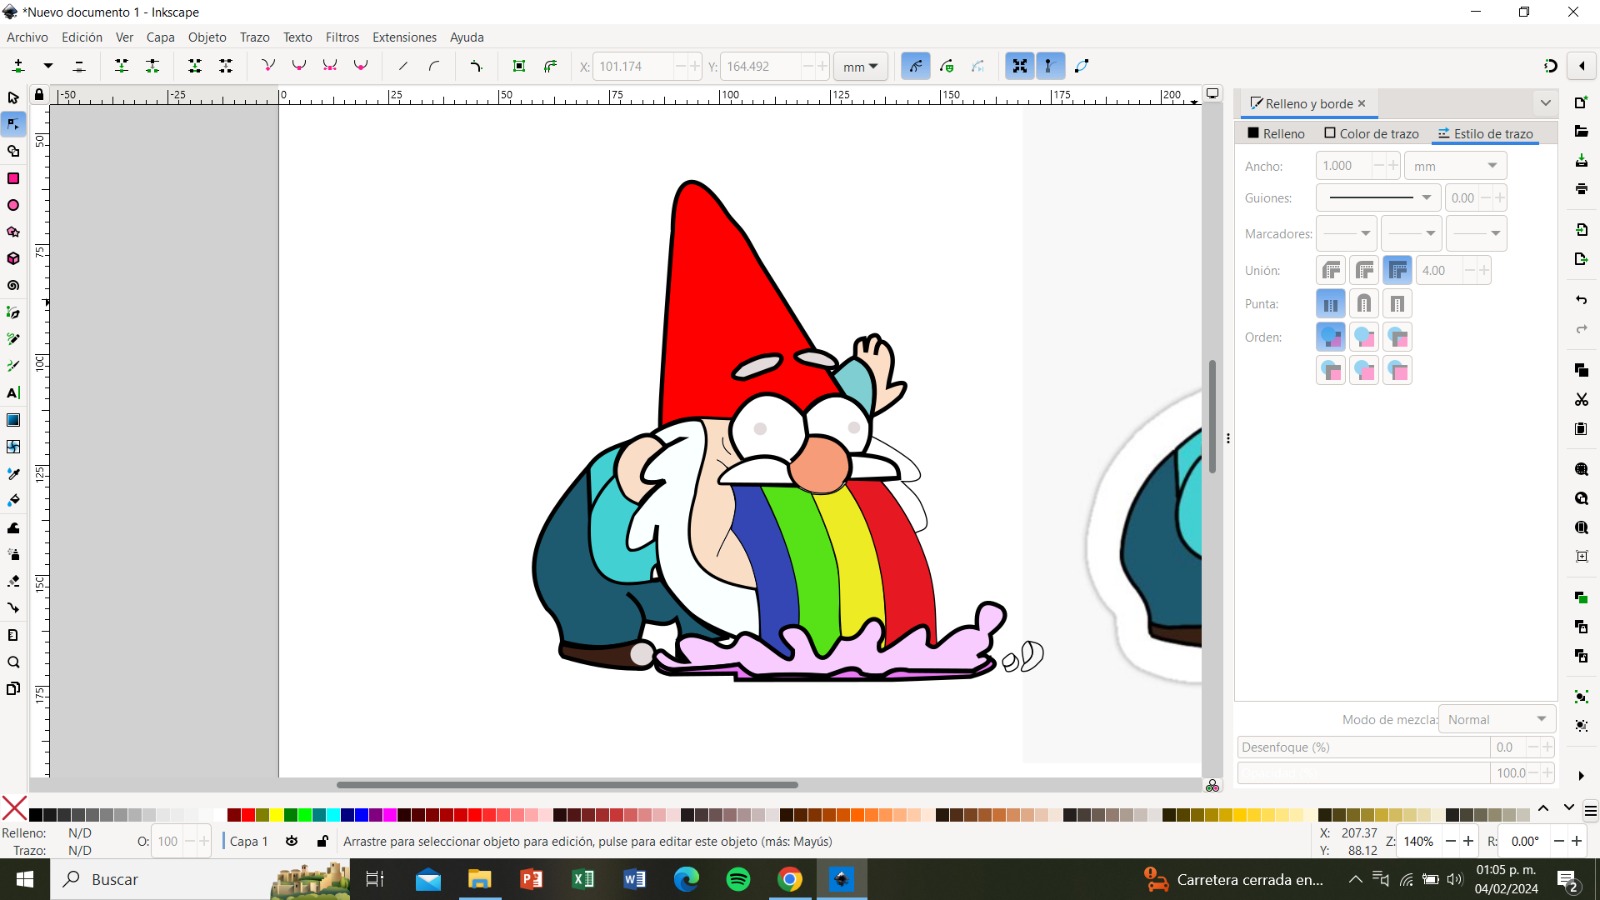
We add color to the image using the "paint bucket tool", and we choose the colors with the
"eyedropper tool" to match them with those in the reference image.
We thicken the outlines and adjust them.
We make some changes to make it look more like the reference image, and it's done.
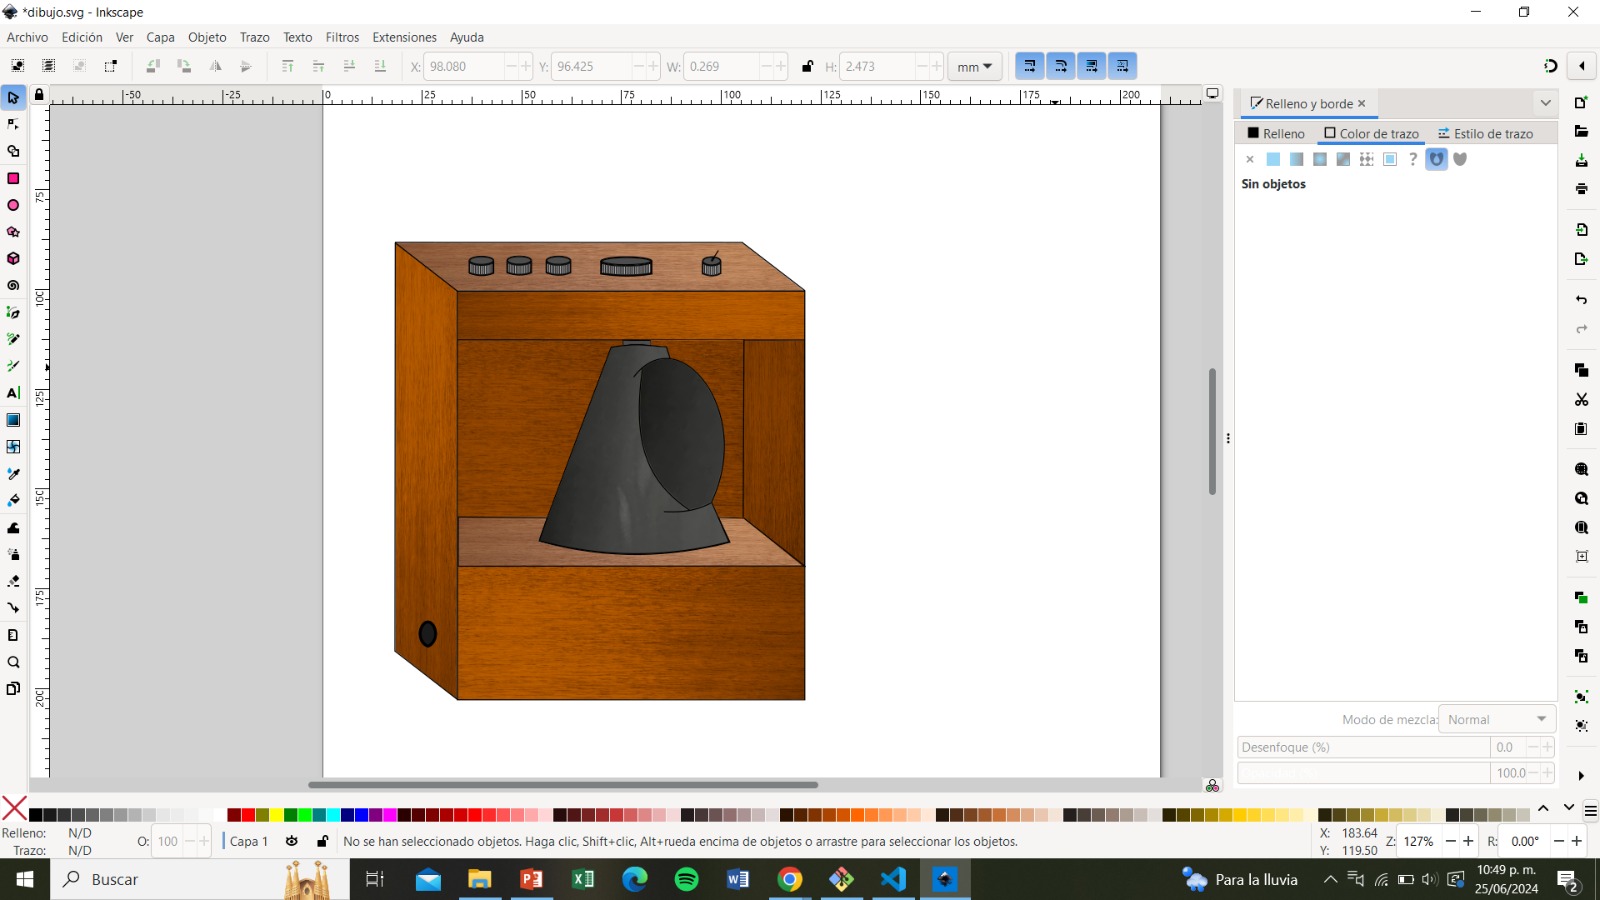
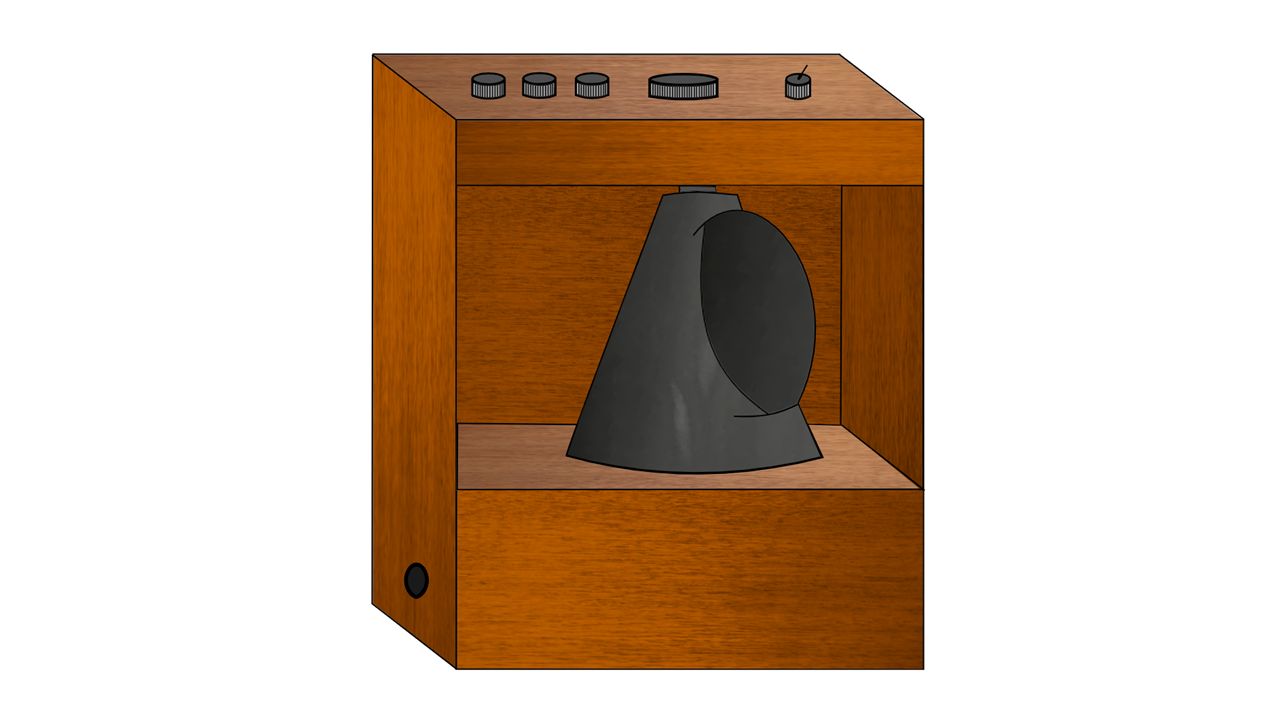
With the knowledge gained from the previous 2D drawing, I made this other drawing of my final project.
First, I copied and pasted the image to vectorize it. I used vector graphic software to convert the raster
image into a vector format. This process allowed me to easily manipulate the shapes and lines in the image
After vectorizing the image, I carefully added textures to give it depth and a more tactile feel. I also applied
various colors to different elements to enhance its realism and make the image more visually appealing.
Even though I've had the student license for "CATIA" from university for a while now, I hadn't
actually used the program. It was both entertaining and challenging to use it, and I found it
to be a very useful and comprehensive program. Working with 'Inkscape' was definitely easier than
"CATIA"; it feels like an upgraded version of "Paint".


