1. Project management
In this first week, I worked on defining my final project idea and designing my website using Visual Studio Code and GIT.
Visual Studio Code (VS Code) is a versatile source code editor developed by Microsoft, known for its simplicity, powerful features, and wide support for programming languages. It's popular among developers for its extensive customization options and cross-platform compatibility.
Git is a distributed version control system widely used in software development to track and manage changes in source code, facilitating collaboration among teams of programmers and efficient project management.
Basic commands
These are some commands to initiate a repository:
- git init: Initiates a new Git repository.
- git clone [URL]: Clones a remote repository to your machine.
- git add [file]: Adds a file to the staging area.
- git commit -m "[message]": Commits changes with a descriptive message.
- git status: Displays the current repository status.
- git push: Pushes changes to the remote repository.
- git config --global user.email"you@example.com"
- git config --global user.name "your name"
- mkdir "folder name": create folder
- code .:It is to open the code in Visual Studio Code.
My Website
The following text shows how I made my webpage:
Step 1, creat a git repository:
First, we created a folder directly in the files on our computer. The folder created was the one my instructor gave me, which contains a design template for our web page.
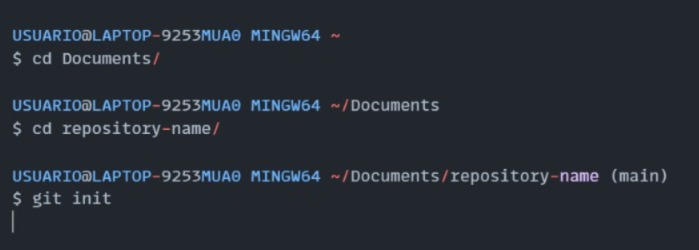
Then, in the Git CMD terminal, we converted the folder into a Git repository. For this, we used the command git cd and added the path to navigate to it. Once we found it, we typed git init.
Note: after each command, press enter:
Step 2, clone git repository:
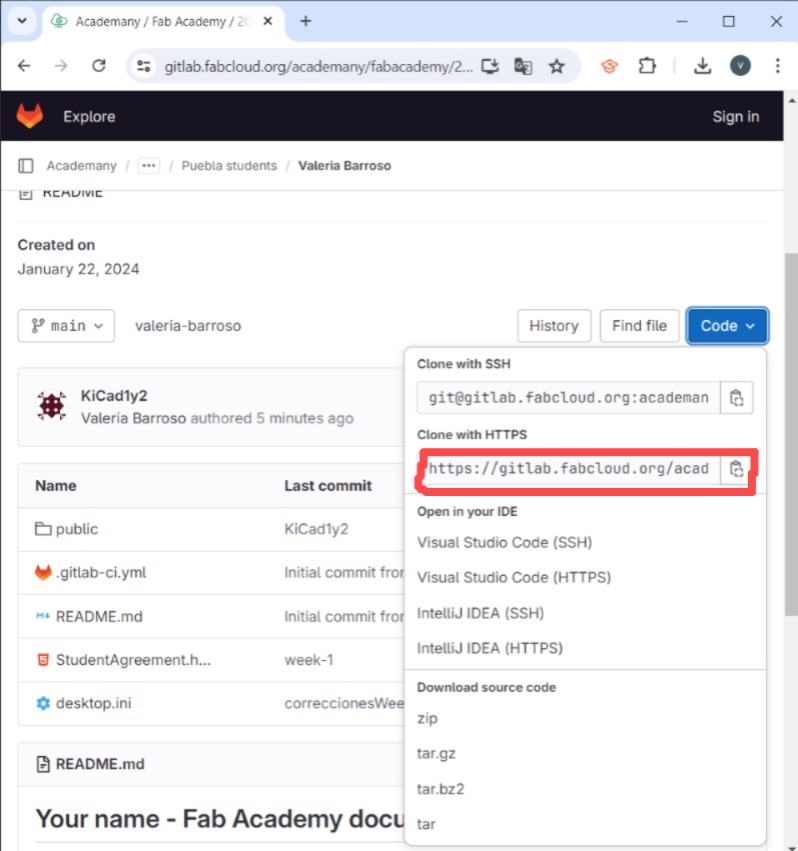
Then I am going to clone all of this into the GitLab account that was given to us by the Fab Lab. First, I logged into GitLab using the information sent to our email by Fab Academy. Inside GitLab, we click on 'Code' and copy the URL that says 'Clone with HTTP'.
Then, from the terminal, we type git clone followed by the URL that we copied. We typed "git add .", "git commit -m 'commit message' ", and "git push".
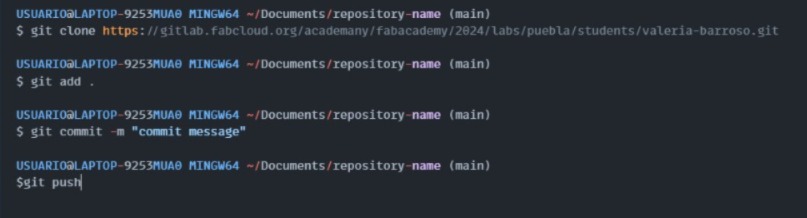
With that, our folder is now linked to the web page.
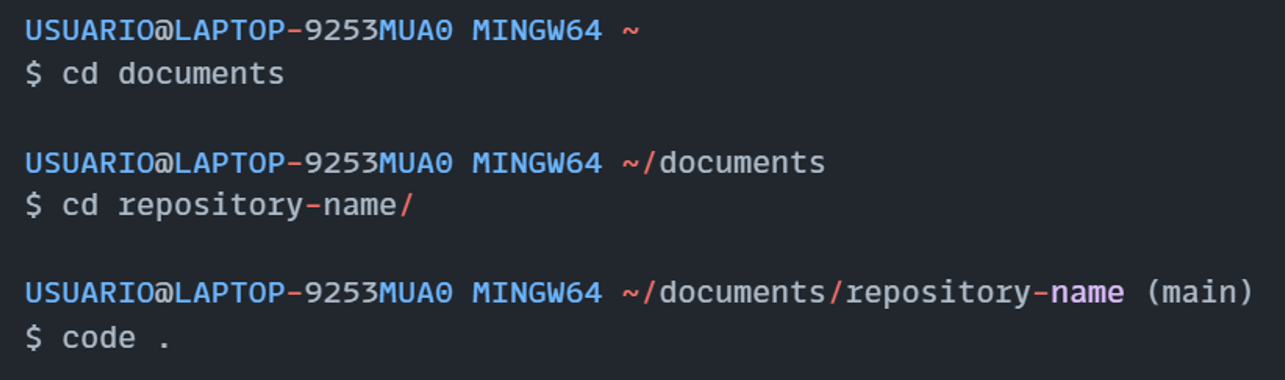
Step 3, opening and editing with Visual Studio:
With the command "code ." the Visual Studio Code program is opened, and we can now begin editing the base design provided to us.
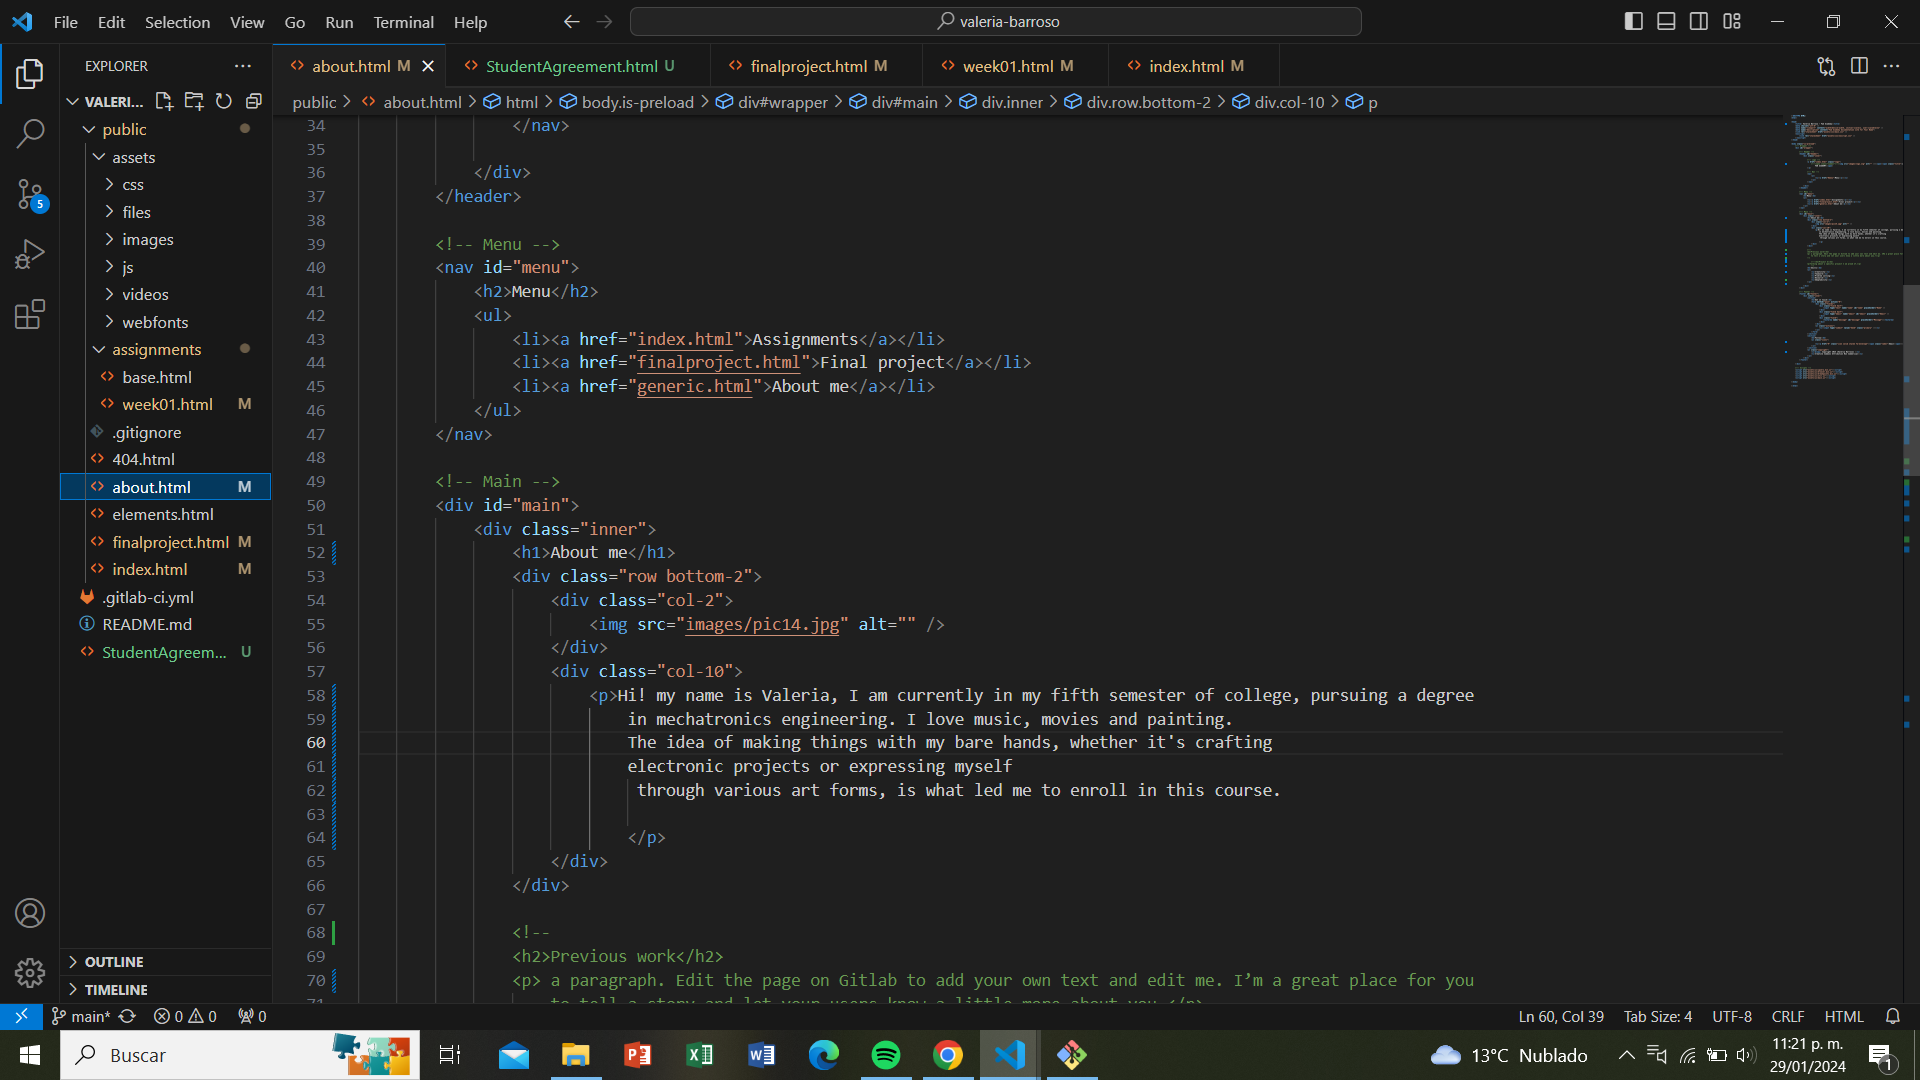
THIS IMAGE SHOWS THE MODIFICATIONS I MADE TO THE 'ABOUT ME' SECTION.
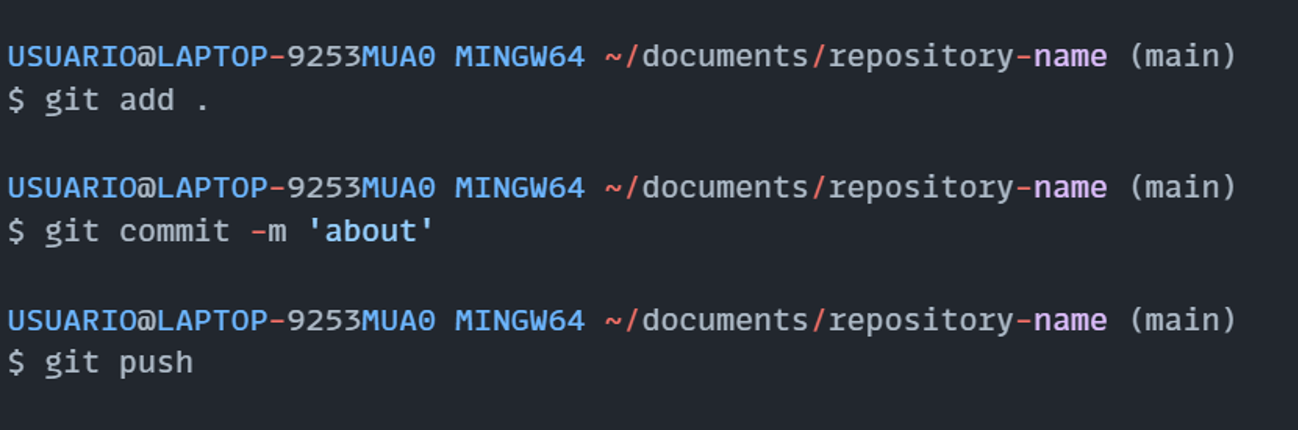
Once we have finished, we write 'git add .' and then 'git commit -m' and write the name of the change, 'about'. Type the command "git push" to upload it to Git Bash.