My Final Project
I have the idea to make a Vertical Hydroponic Tower for Cultivation.
Research
The vertical hydroponic tower is a tower-shaped structure that houses several plants at different levels. It uses tubes and pumps to distribute water and nutrients evenly to all plants. Vertical hydroponics is a cultivation technique that allows plants to be grown without soil, which means that the roots of the plants are suspended in the air and fed by a nutrient solution. Vertical hydroponics is an efficient way to grow plants, as it uses less water and space than traditional agriculture. Additionally, vertical hydroponics can be used to grow plants in urban areas where space is limited.
This technique is suitable for growing plants that have shallow roots, such as lettuce, spinach, and herbs. It is also ideal for growing plants that require a lot of water, such as tomatoes and cucumbers. However, it may not be suitable for growing plants that have deep roots, such as carrots and potatoes. The vertical hydroponic tower technique is a versatile and efficient way to grow plants, and it can be used to grow a wide range of plants in a small space.
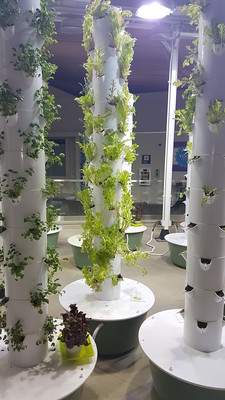
"vertical lettuce" by Protopian Pickle Jar is licensed under CC BY-SA 2.0.
Sketch
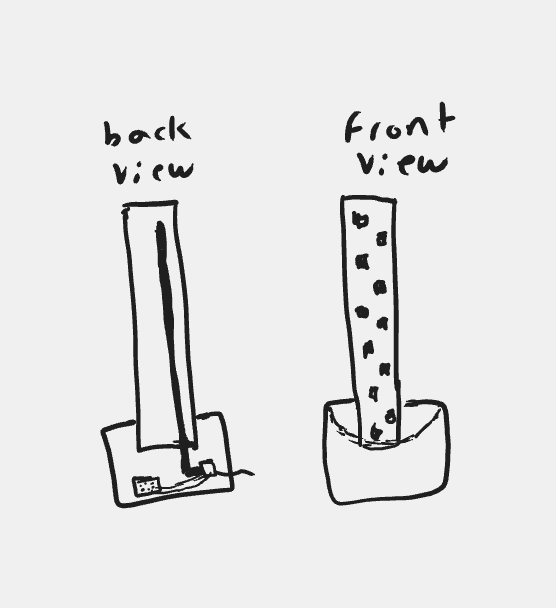
A made a sketch of the idea i have for the vertical hydroponic tower
Materials
| Qty | Description | Price MXN | Price USD |
|---|---|---|---|
| 1 | PVC Tube 4" | 90 | 5 |
| 1 | Bucket 19LT | 165 | 9 |
| 1 | Water Pump | 500 | 28 |
| 14 | Little Baskets | 80 | 4.5 |
| 1 | PVC Tube 1/4" | 30 | 1.6 |
| 1 | PVC Plug | 18 | 1 |
The Plan
At first i tried to make my plan in excel but it was kind of complicated. Then I tried in my agenda. I have a Synology NAS so I use Synology Note Station. It is a note taking app, but it also has the ability to mark events as done or pending.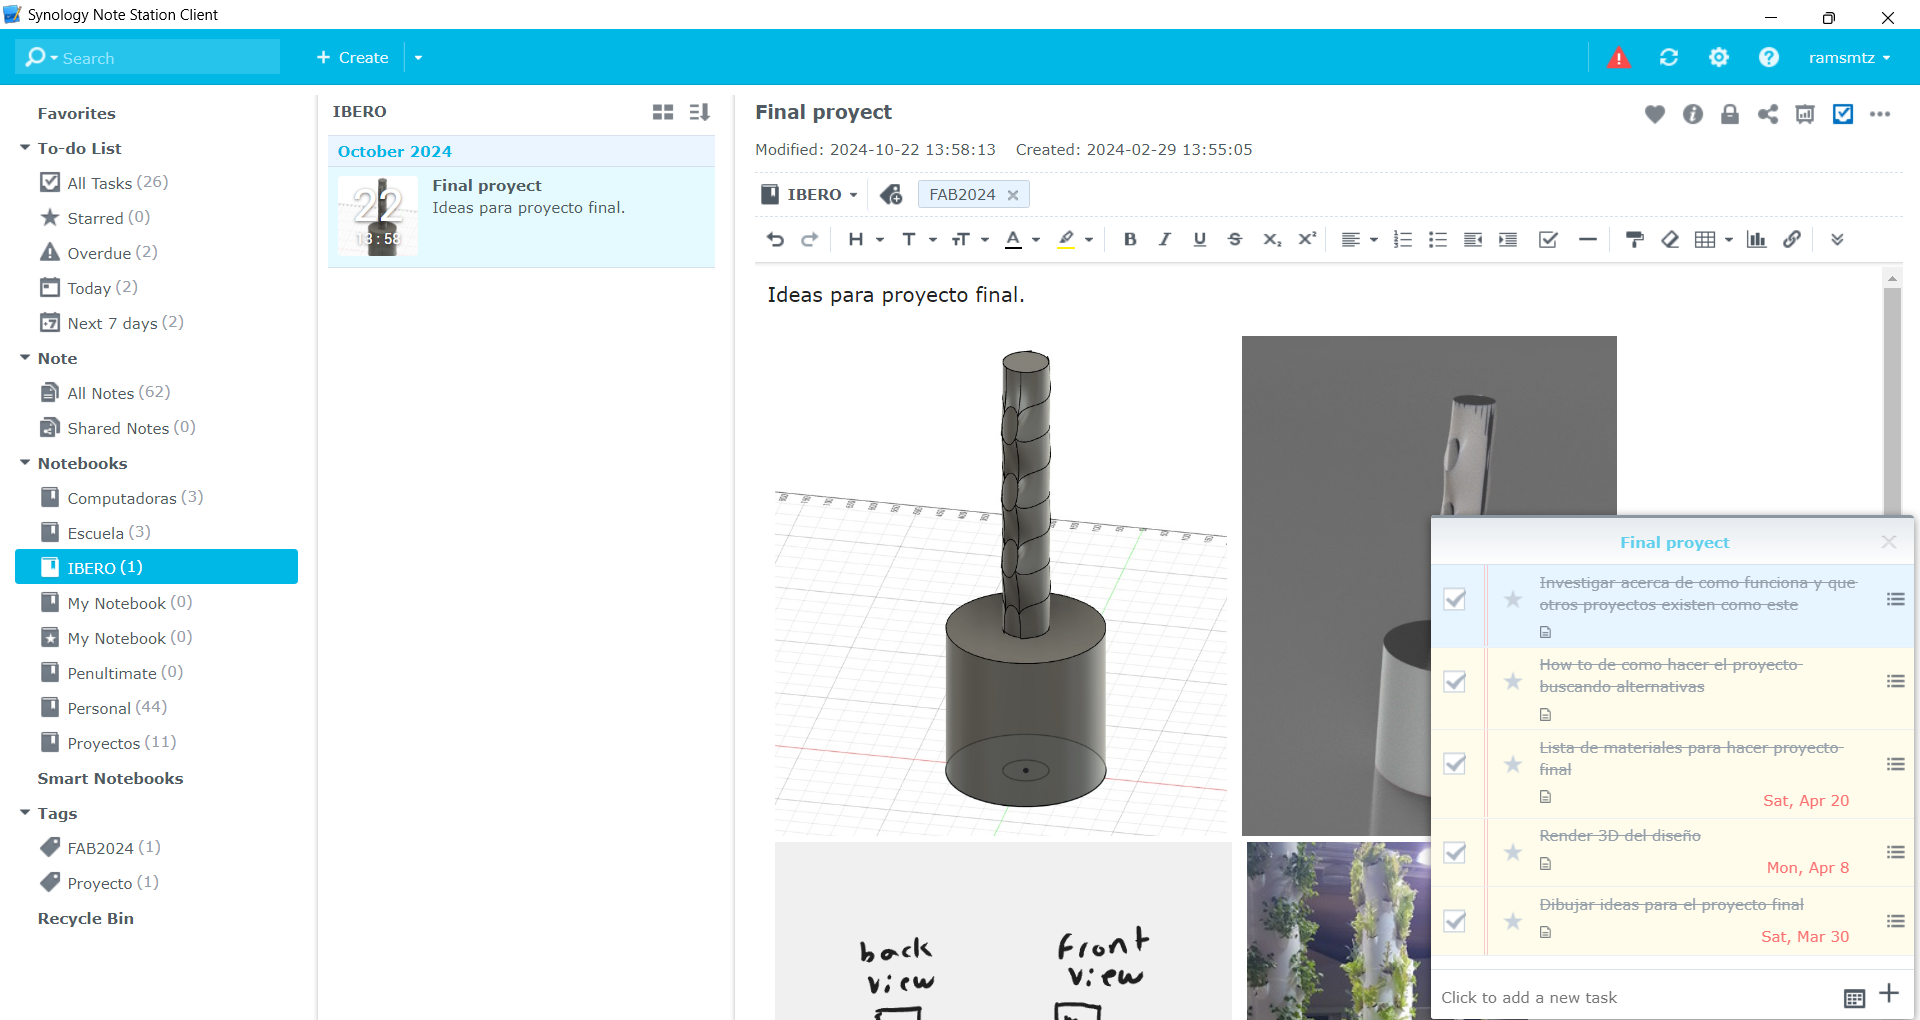
In this app I wrote ideas for my final proyect, the materials needed, the shape, deadlines, i also mark when i had finished an assignment, I created other task as I was getting deeper in the proyect.
This app was my savelife to finish my final proyect, because i could watch my progress in my PC or in my phone. If I had any other idea I could wrote a sketch about it to developed later on.
Building
I wanted to 3D print the holes where the baskets would be placed, but my printer didn't have a large enough work area for the required size. So, I abandoned that idea and decided to create the holes by heating the PVC instead.
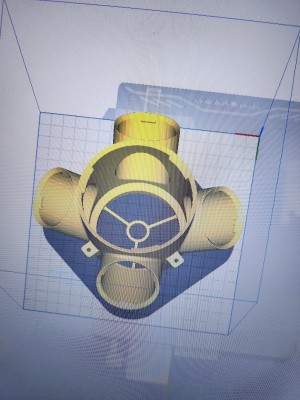
My initial plan was to 3D print these baskets, but I needed 14 of them, and each one took 4 and a half hours to print. So, I decided to buy them instead.
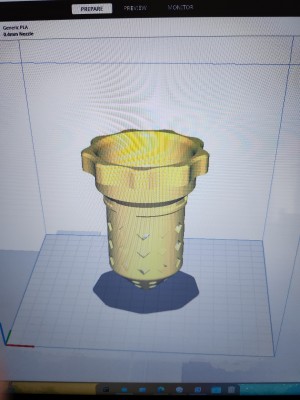
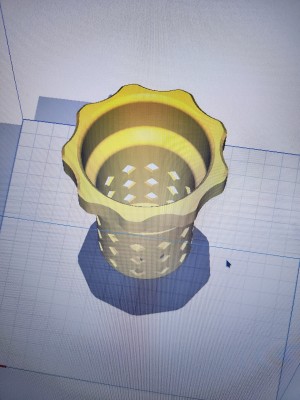
After painting the PVC, I placed the 14 baskets, and this is the result.
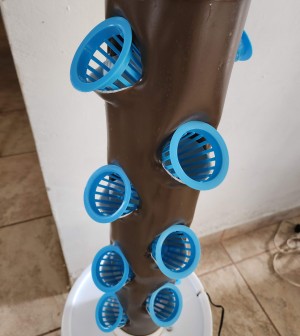
Now, everything is ready for me to assemble the hydroponic tower.
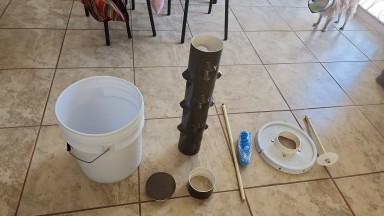
First, I insert the lid of the bucket and the large PVC pipe to position the smaller PVC pipe and connect it to the submersible water pump.
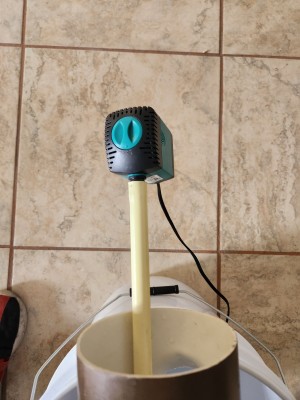
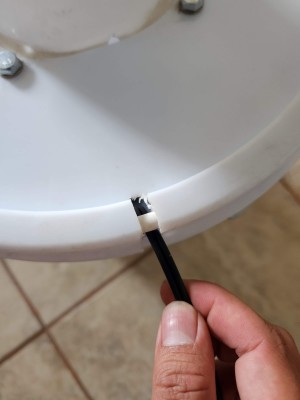
I fill the container with water and its nutrients, ensuring that I place the pump in the center of the bucket. Then, I close the lid, making sure the cable runs through the notch I made in the lid so it doesn’t get pinched.
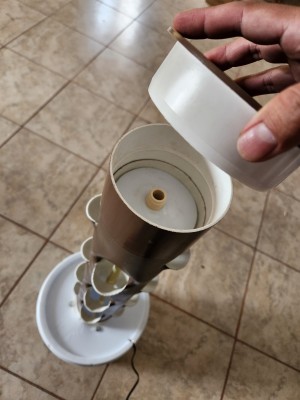
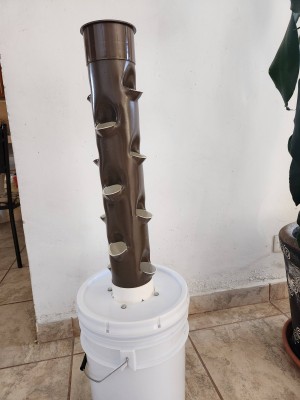
Finally, I secure the top lid to prevent water from spilling out, and this is how it looks.
Coding
After assembling the tower, I had to purchase a 5V relay to control the pump's timing, as the pump I bought operates on AC, not DC. This is the relay I bought.
After connecting the XIAO RP2040 to the Arduino IDE, I required code to make the pump operate for a specific duration before turning off. Therefore, I turned to ChatGPT to generate a code that could control the relay via the RP2040. This is the code it produced.
// Definición del pin al que está conectado el relé
const int relayPin = 3; // Puedes cambiar este pin según tu configuración

void setup() {
// Inicializa el pin del relé como salida
pinMode(relayPin, OUTPUT);

// Asegúrate de que el relé esté inicialmente apagado
digitalWrite(relayPin, LOW);
}

void loop() {
// Activa el relé
digitalWrite(relayPin, HIGH);

// Espera 3 min
delay(180000);

// Desactiva el relé
digitalWrite(relayPin, LOW);

// Espera 1 hr
delay(3600000);
}
Now it was time to test if it worked, and apparently, there were no issues. Everything was a tangle of cables, as it was only for the test to ensure it worked properly.
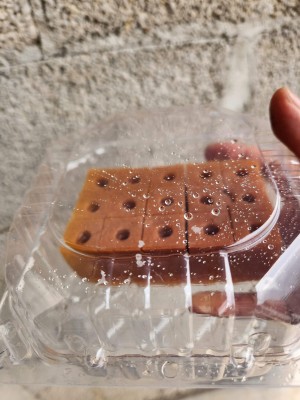
I've encountered issues with the seeds; the first batch died, and the second one hasn't germinated yet, so I haven't placed them in the tower.
Here is a minute video explaining my proyect.
