5. 3D Scanning and Printing
Individual assignment
1. Design
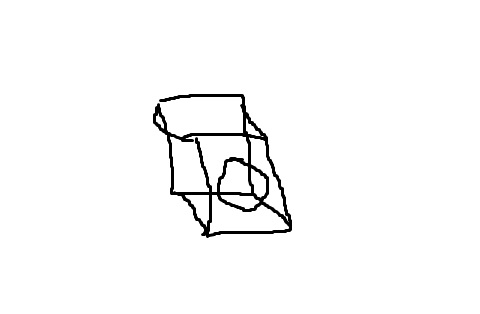
This week, we need to design an object that can only be created using a 3D printer. I've been contemplating the idea of crafting a cube with an a sphere within its confines. Picture something like this:
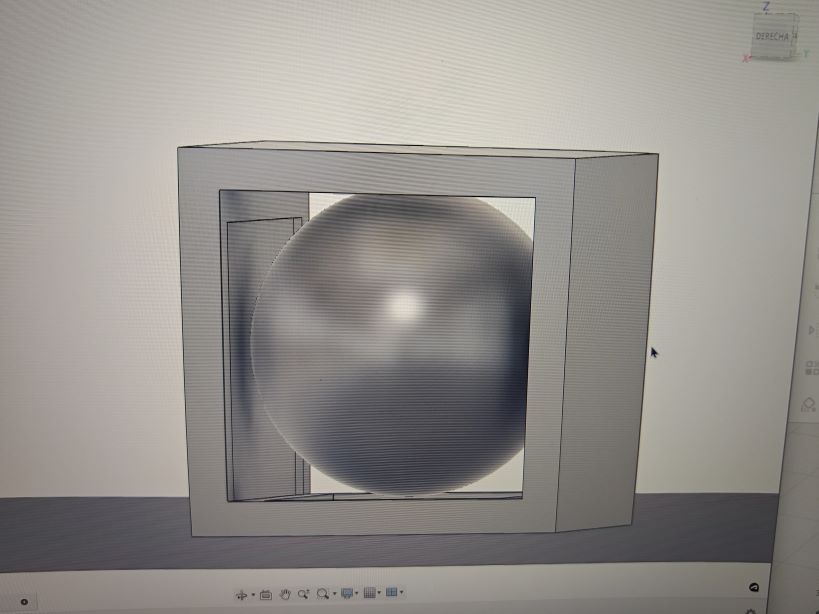
So, I began translating my concept into a tangible design using Fusion, eager to visualize how it would manifest in a three-dimensional space.
After finalizing the design in Fusion, I proceeded to export the model to Ultimaker Cura, a slicing software for preparing the 3D print job. Within Ultimaker Cura, I configured the print settings for PEGT filament, a quality of .02mm, speed of 60mm/s, temperature of bed 75 degrees celsius, temperature of the nozzle 235 degrees celsius.
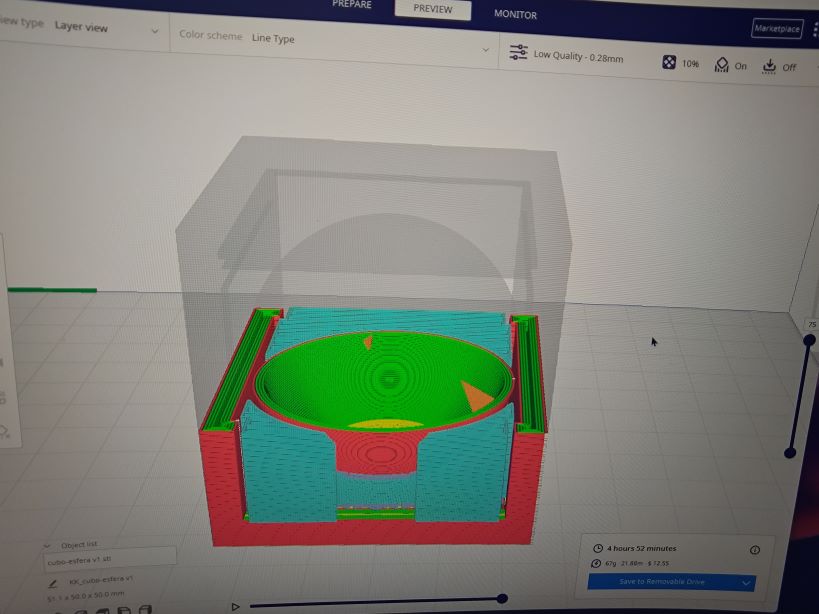
Following the preparation in Ultimaker Cura, I initiated the 3D printing process with high hopes for a successful realization of the designed object. Initially, everything seemed to be progressing smoothly, with the printer meticulously layering the material to bring the cube-and-sphere creation to life.However, my optimism took a turn when unexpected challenges surfaced during the printing process. It became evident that certain intricacies of the design were posing unforeseen difficulties for the 3D printer. Issues such as overhangs, intricate geometries, or adhesion problems started to manifest, leading to deviations from the intended outcome.
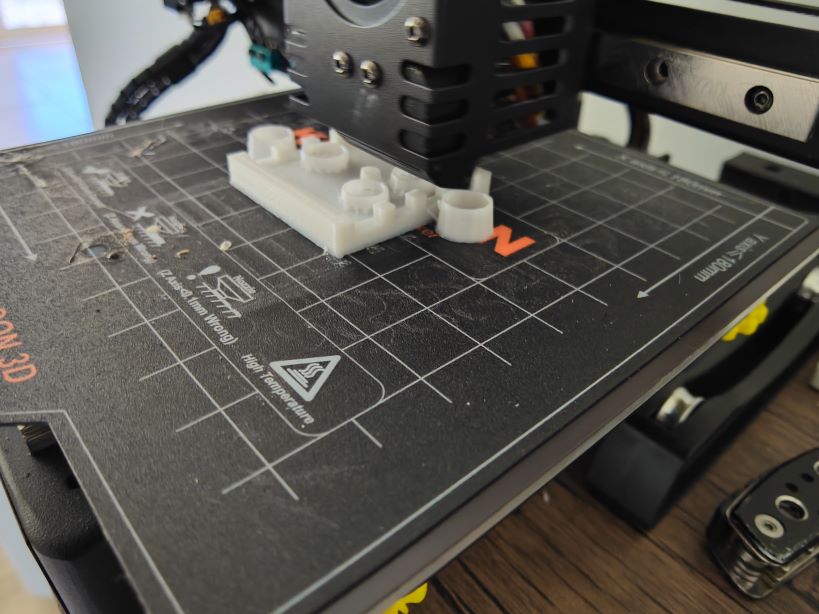
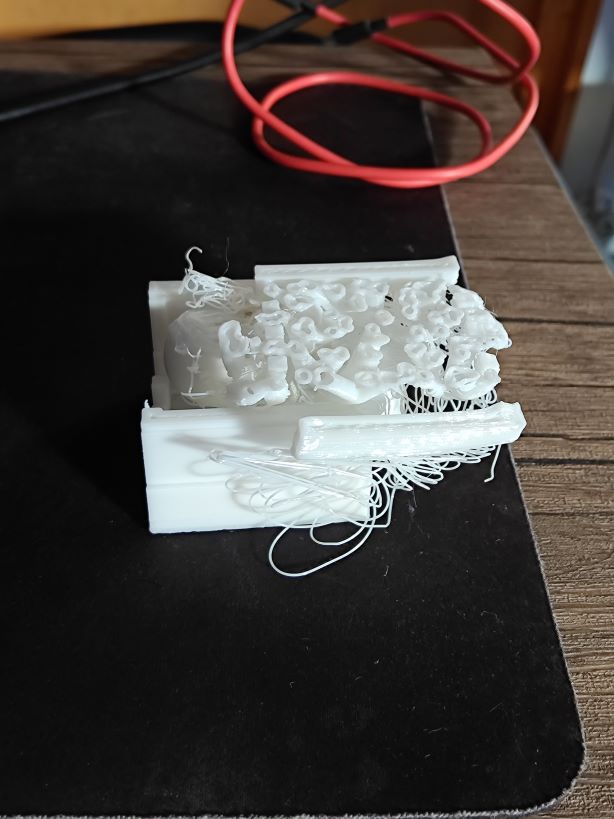
Despite making three attempts to print the model, each session extending beyond the four-hour mark, unexpected hurdles arose. In an effort to expedite the process, I decided to reduce the size of the design. However, this adjustment gave rise to a new set of complications, primarily centered around the supports necessary for the intricate geometries. Reducing the size of the model exacerbated the issue of support structures, making their removal a formidable challenge. The intricate design, compounded by the smaller scale, rendered it difficult to cleanly detach the supports without causing damage to the printed object. Regrettably, this led to the unintended consequence of breaking both cubes that I had crafted.
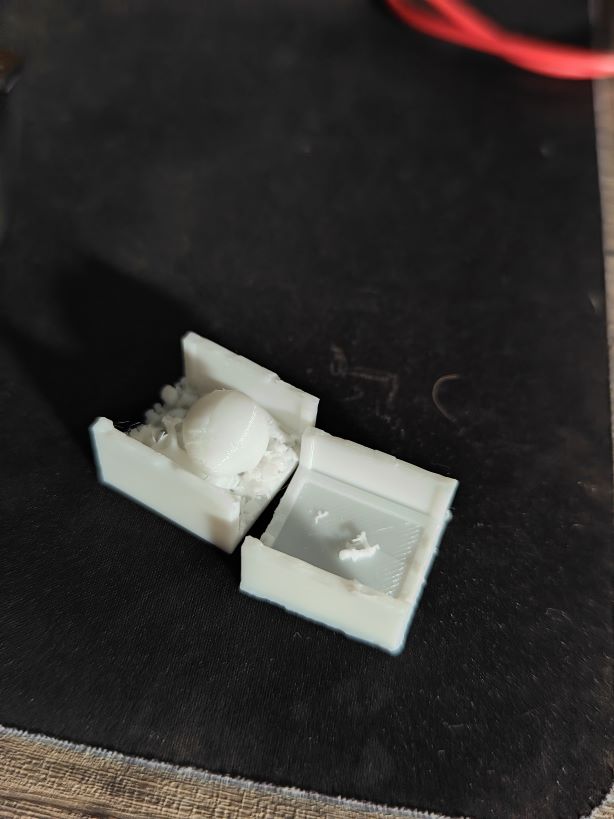
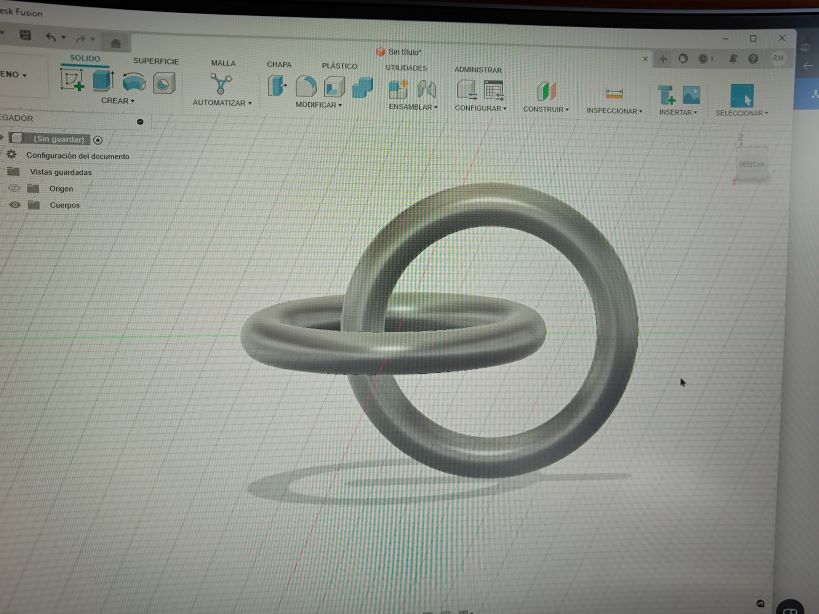
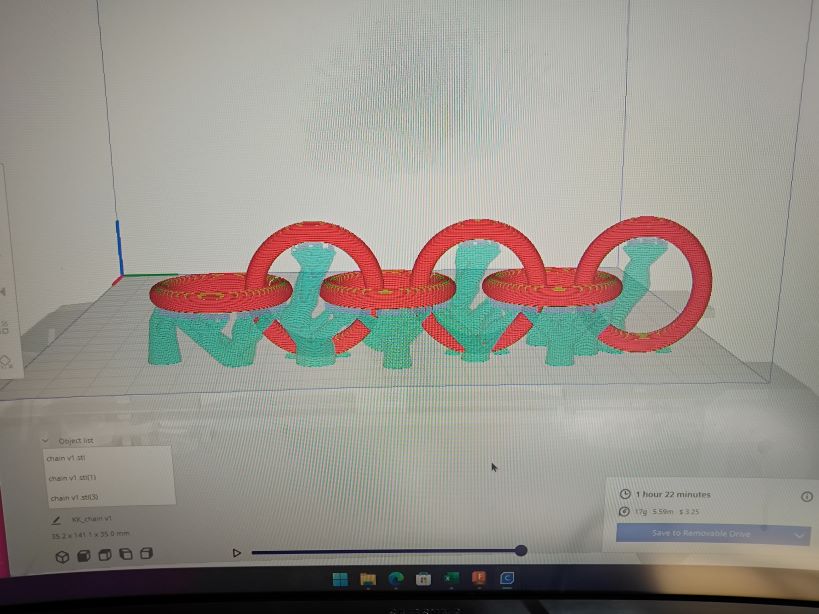
In the end, after numerous attempts to remove the stubborn internal supports proved unsuccessful, I made the practical decision to shift my focus and embark on a new 3D printing endeavor. Time constraints played a crucial role in this decision, as waiting for the completion of the previous design was not a viable option. Determined to make the most of the available time, I pivoted my creative efforts towards designing a different object. This time, I chose to craft a chain using Fusion 360. Once satisfied with the digital representation, I seamlessly transferred the chain design to Ultimaker Cura for the necessary slicing and preparation for the 3D printing process. I used the same printing parameters as before.
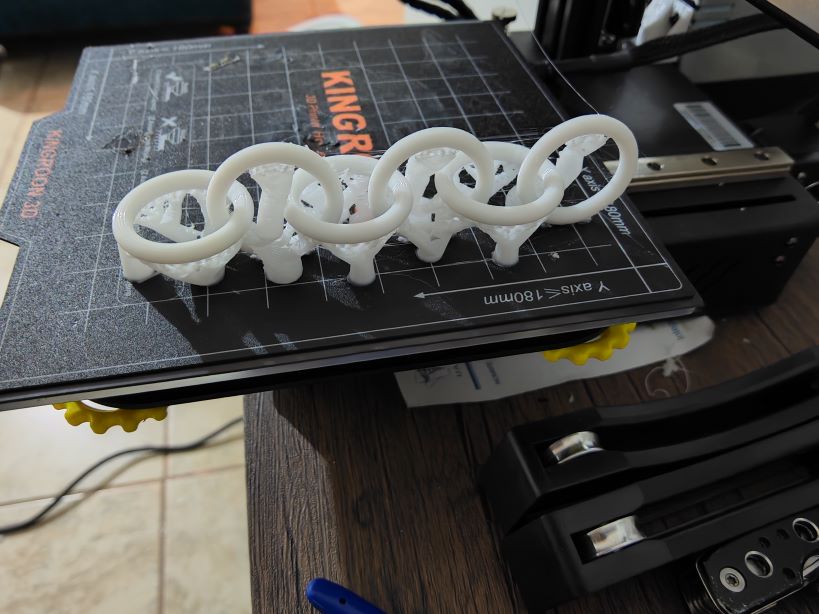
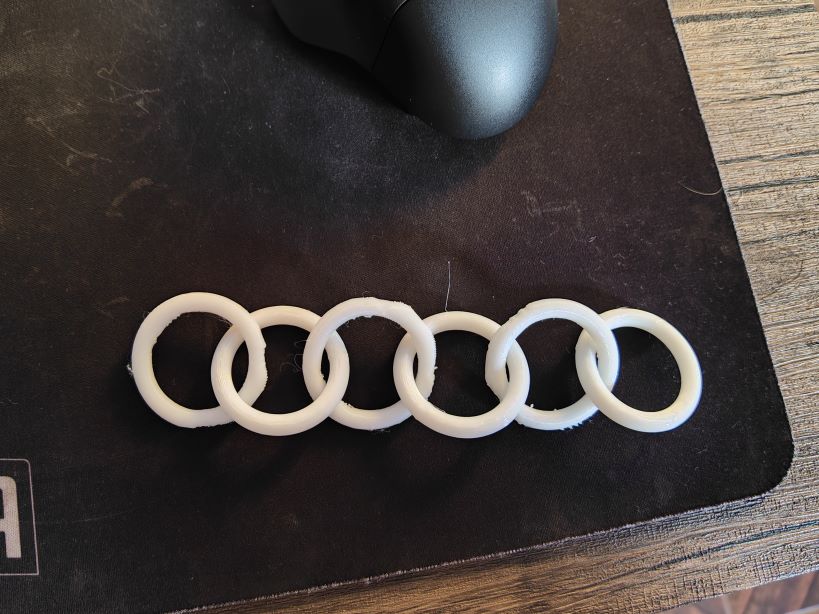
The final result.
2. 3D Scanning
The subsequent task involved scanning a 3D object, and for this purpose, I opted to employ photogrammetry, utilizing my smartphone. However, I encountered a hurdle as most of the applications I came across required payment. Consequently, I decided to explore alternative options and sought out an application that would enable the processing of images on my computer. It was during this search that I stumbled upon Meshroom. Meshroom, as I , offered a solution to my predicament by facilitating the processing of images captured on my phone through a photogrammetric approach, thereby allowing me to generate detailed 3D models on my computer.

The subsequent stage involved selecting the subject for scanning. In this regard, I opted for a plush toy, placing it strategically on a bench. Proceeding with the photogrammetric process, I systematically captured a series of photographs from diverse angles encompassing the entire plush toy. By strategically varying the perspectives, I aimed to provide Meshroom with an extensive dataset that would enhance the precision and fidelity of the resulting 3D model.
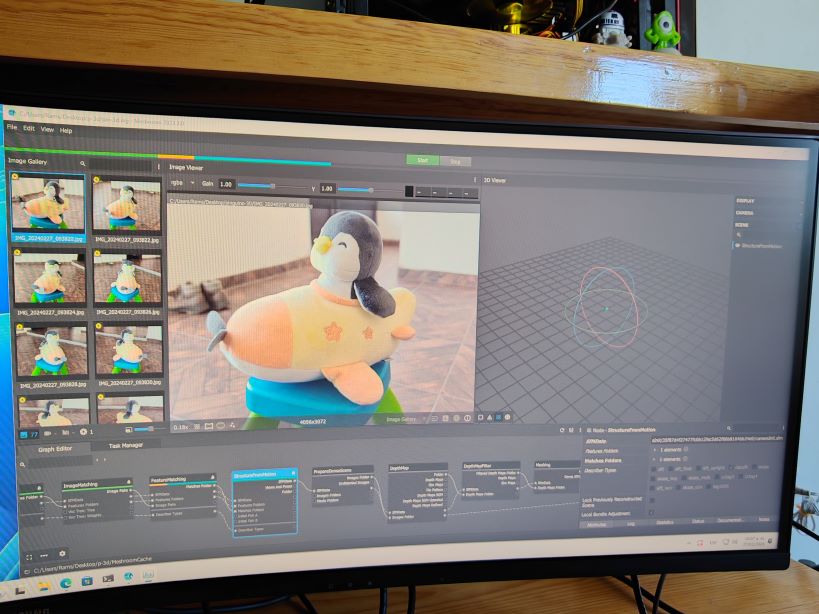
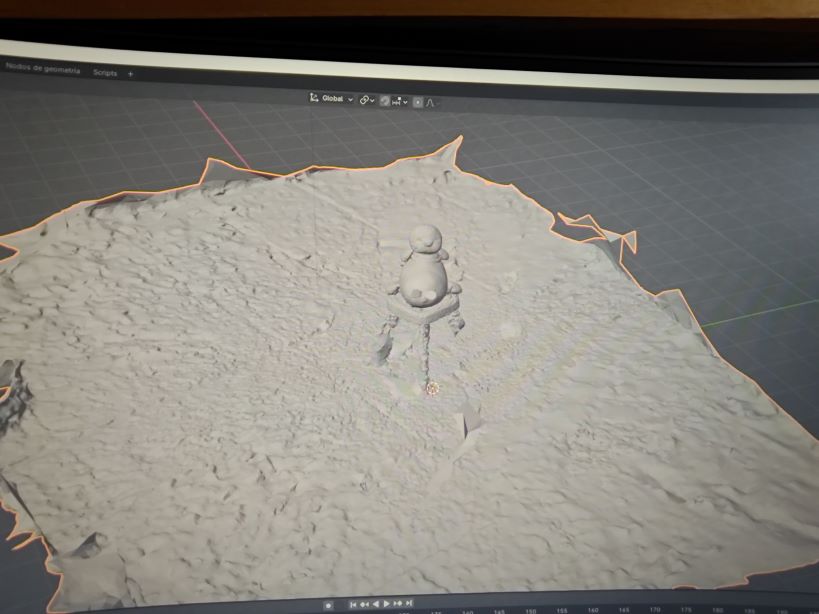
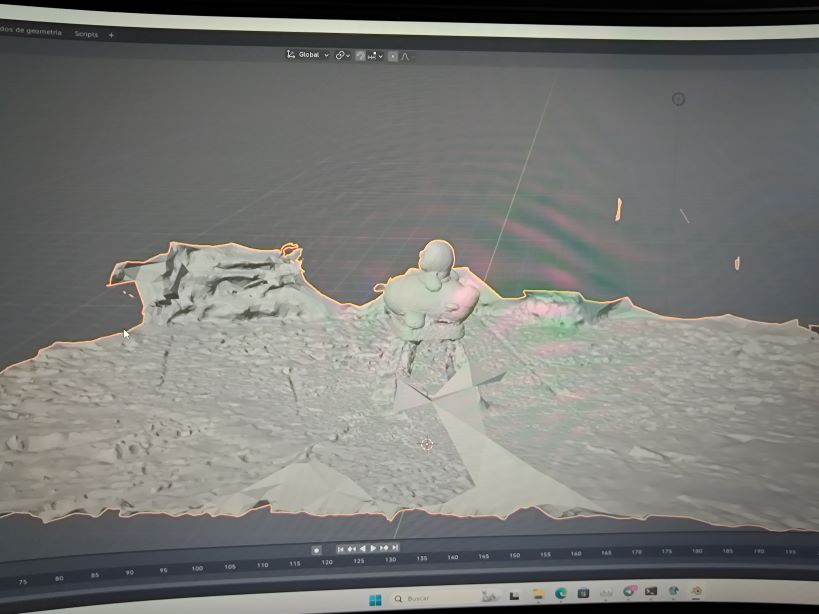
After processing the images in Meshroom, the program started creating a cloud of points to view the final render.
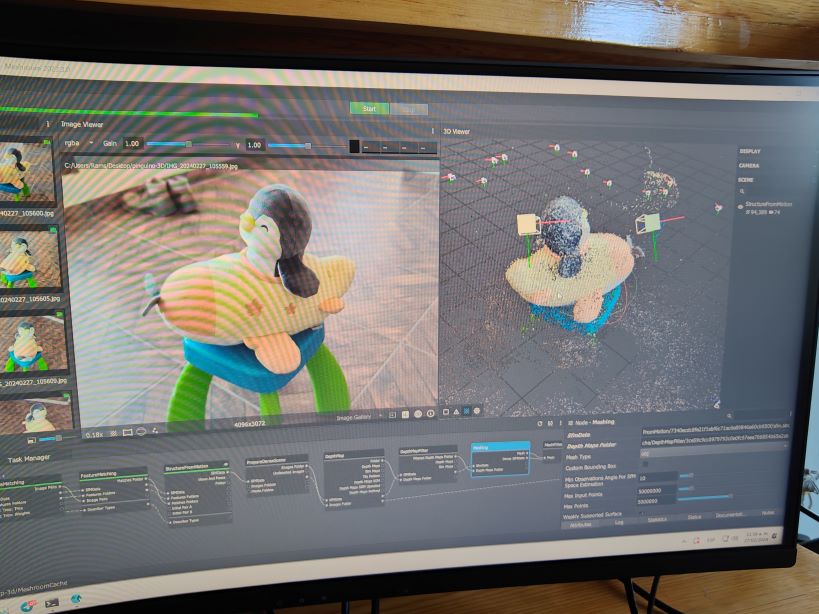
After the final render was over, i open the .obj file in blender.
