4. Electronics Production
1. Creating my PCB
This week, our assignment involved the creation of a Printed Circuit Board (PCB). At our local fabrication facility, we were provided with the necessary files and accompanying images to effectively reproduce the specified PCB design.

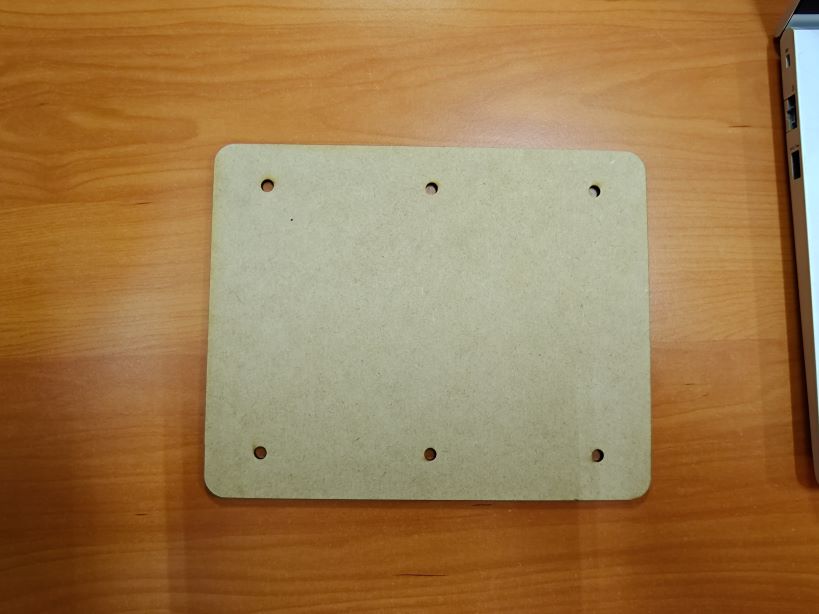
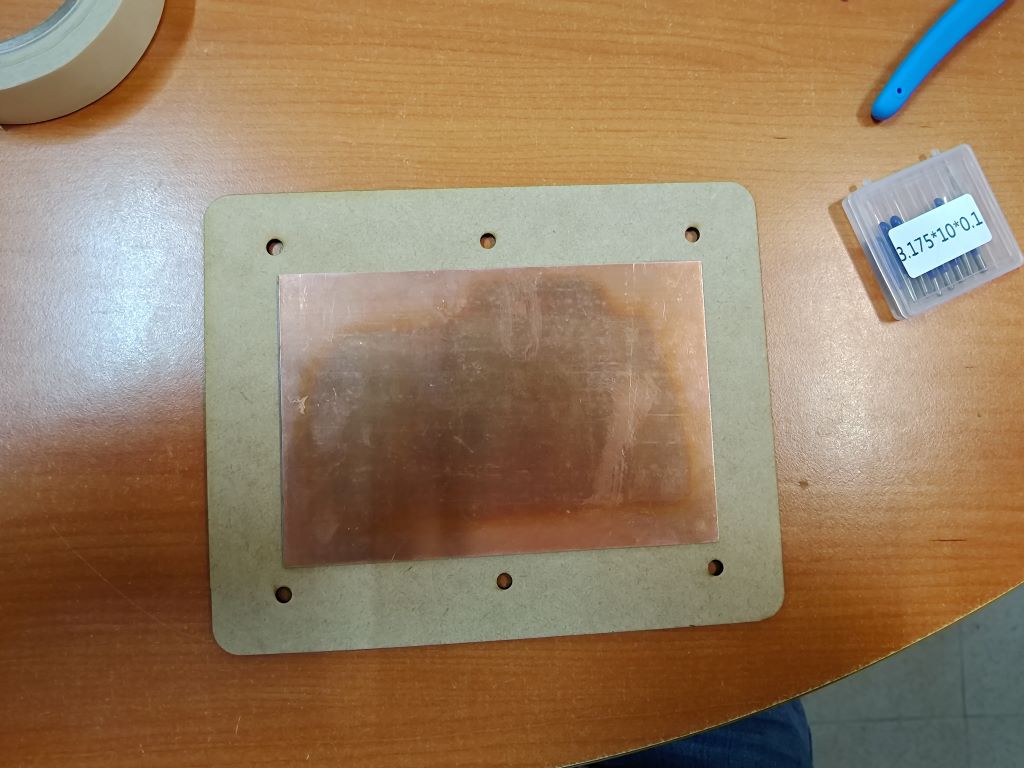
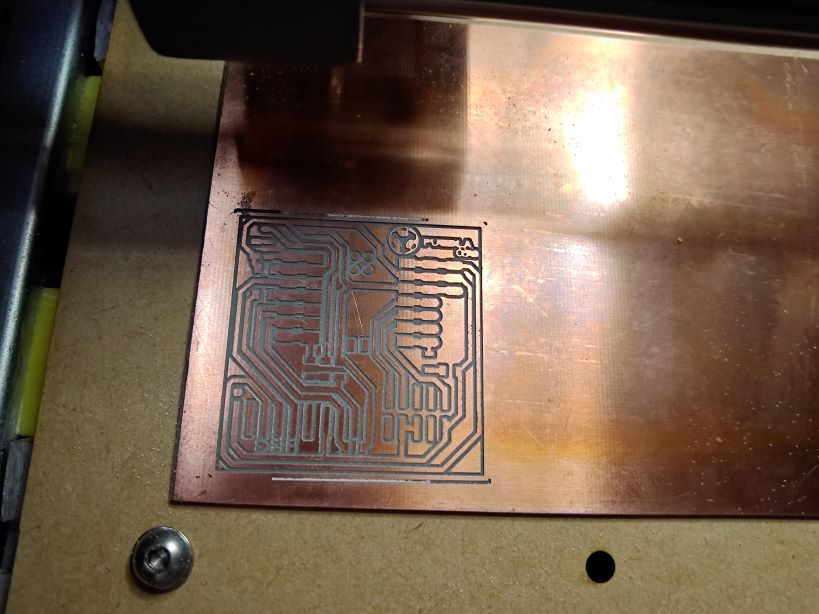
The initial step in the process entailed cutting a Medium-Density Fiberboard (MDF) sheet, which served as the substrate for placing the copper layer and subsequently executing the precise cuts for the Printed Circuit Board (PCB).
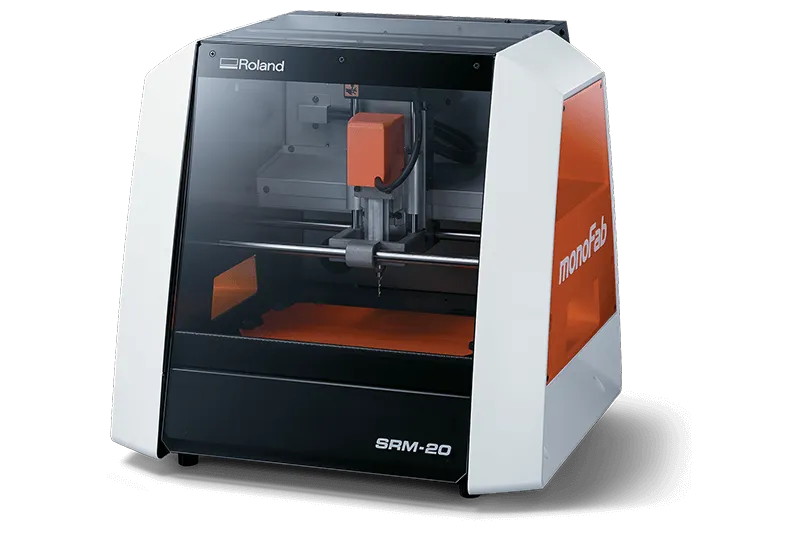
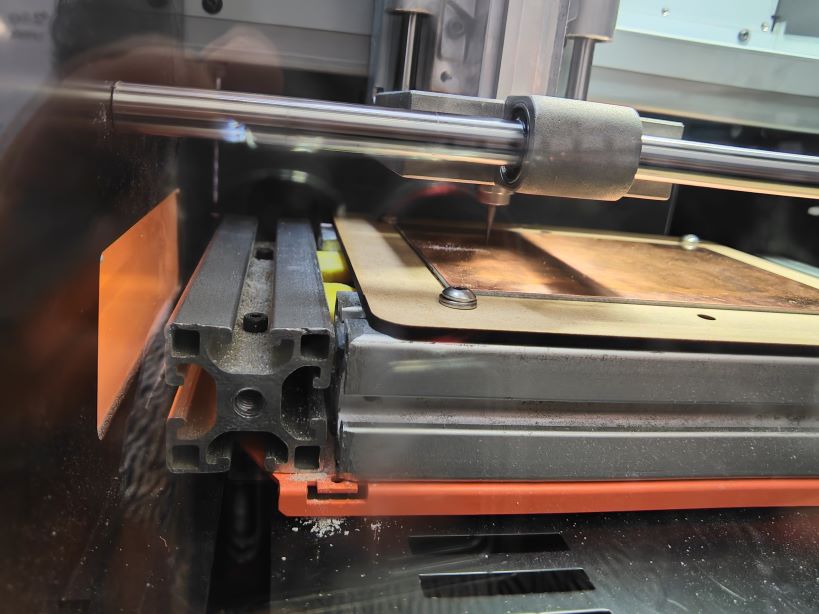
To craft the PCB, I employed a mini mill, specifically the ROAND SRM-20.
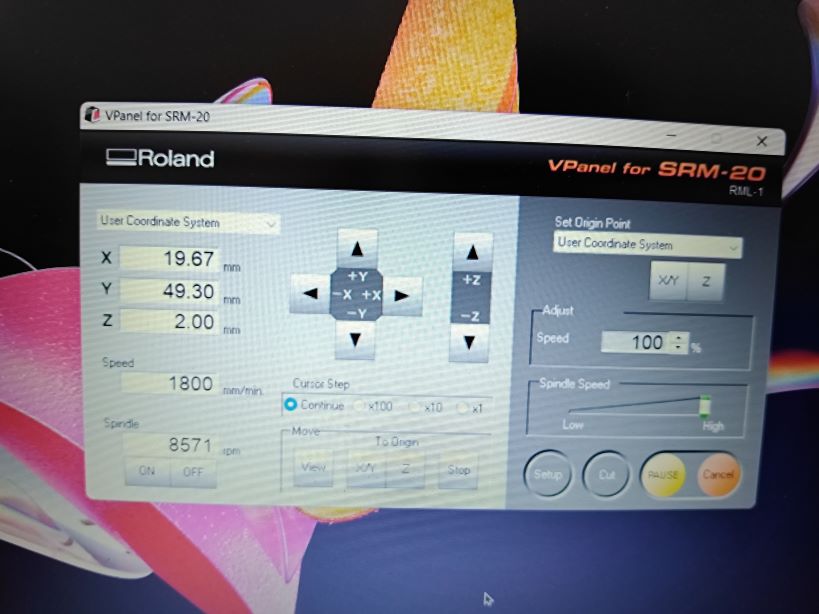
To upload the design to the machine, we utilized a web platform called https://modsproject.org/. On this website, we selected the specific model of the mini mill and specified the type of cut we intended to perform.
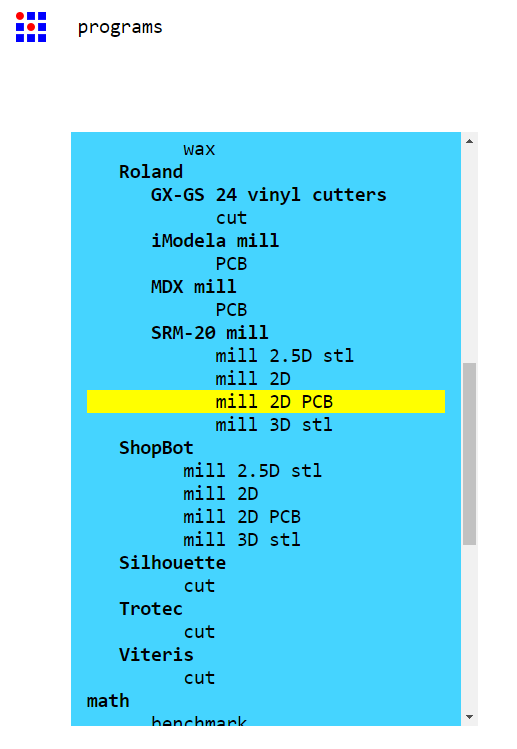
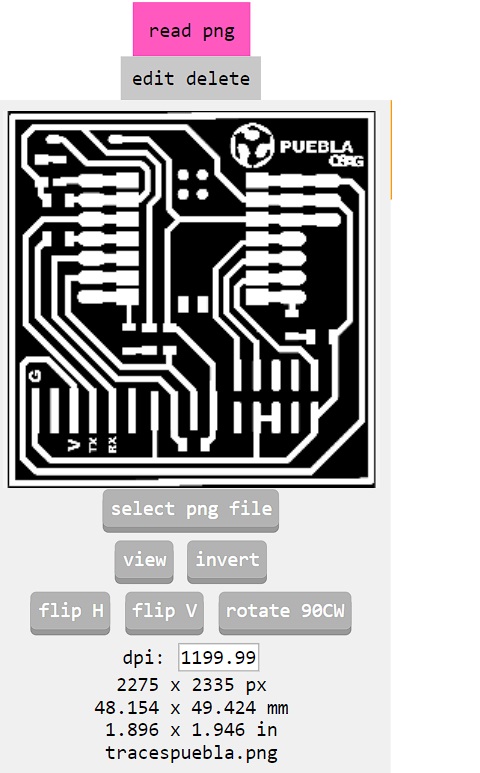
Subsequently, we selected the PNG file that corresponded to the desired design.
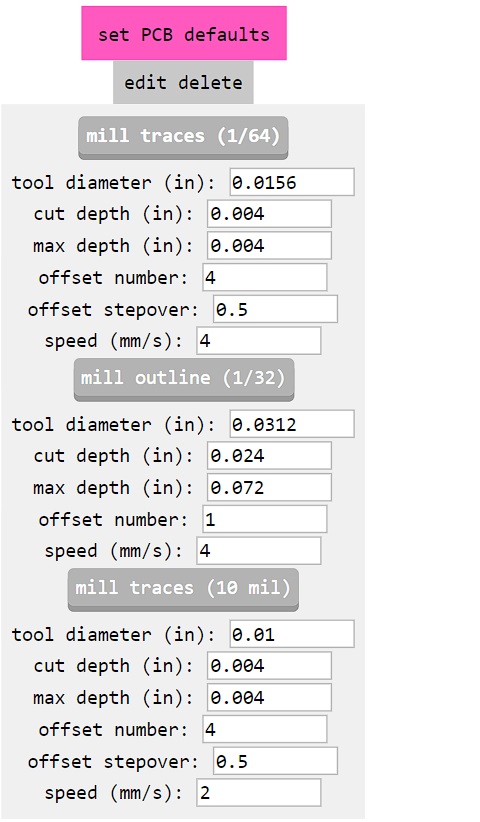
Next, we proceeded to choose the diameter of the tool we intended to use, and specified whether the operation involved traces or outlines in the design
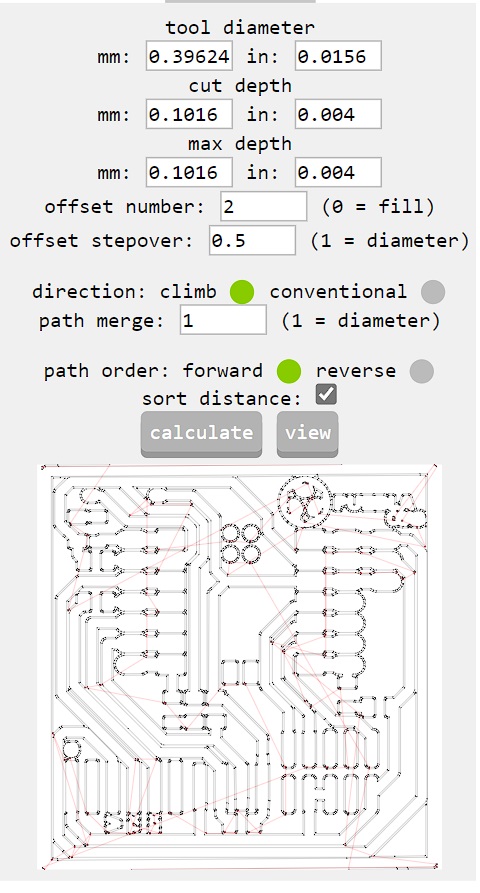
We adjusted the offset to 2 and initiated the calculation of the toolpath, determining the precise route that the tool would follow during the milling process.
After placing the copper board onto the mini mill, we initiated the program to commence the drilling process for our file.
Final cut
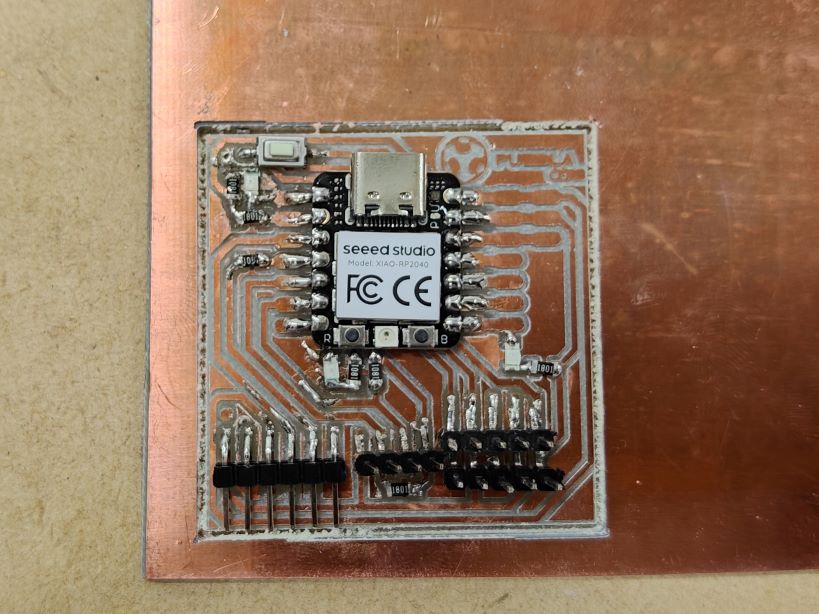
2. Soldering
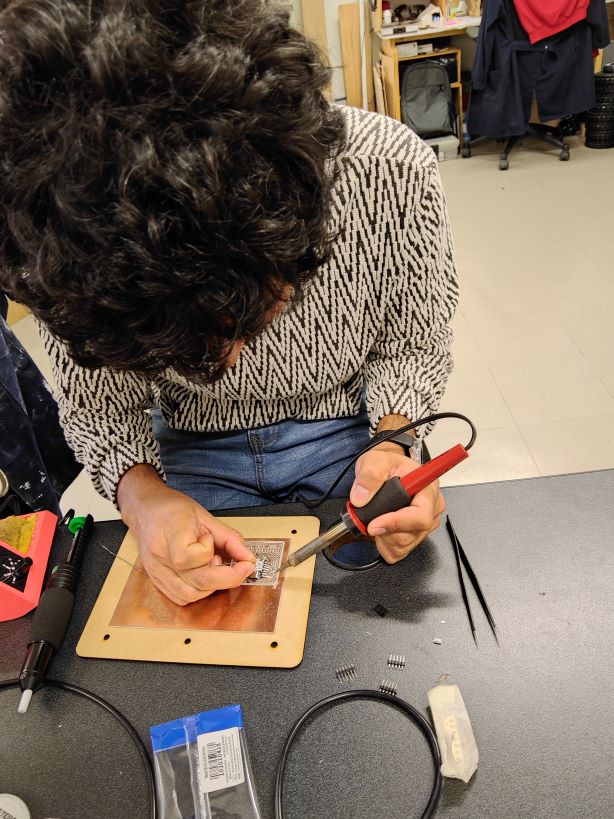
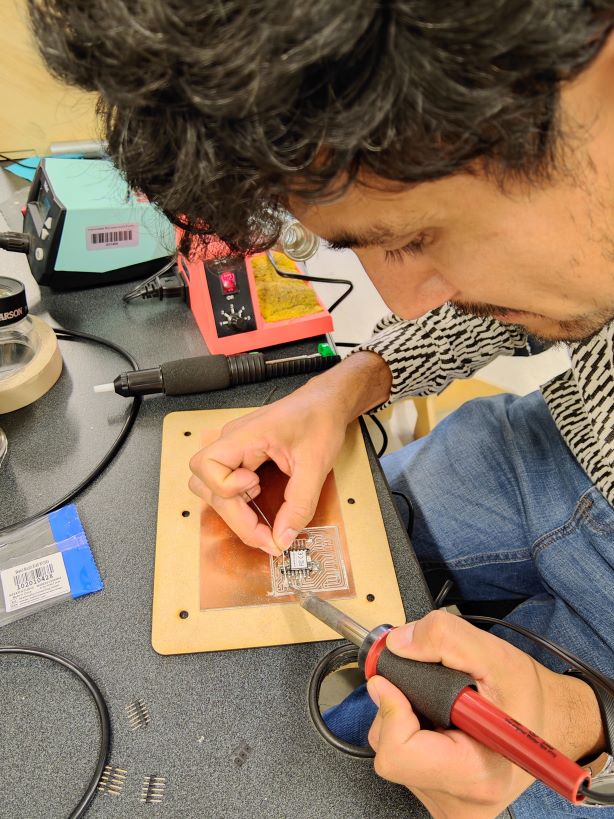
Following the PCB cutting process, the next step involved soldering the components onto the board. I utilized tweezers, a soldering iron, and solder for this task. Following the provided image as a guide, I meticulously soldered the components, simultaneously checking with a multimeter to ensure proper connectivity and functionality.
Final
3. Programming
Arduino
The initial phase involved downloading Arduino IDE, followed by following the steps outlined in the guide provided at https://wiki.seeedstudio.com/XIAO-RP2040-with-Arduino/. This guide facilitated the recognition of the RP2040 by the program. Ultimately, the process concluded with uploading the provided code onto the RP2040 and verifying its functionality.
The code i use for this:
void setup() {
pinMode(D1, INPUT);
pinMode(26, OUTPUT);
digitalWrite(26, HIGH);
pinMode(D7, OUTPUT);
digitalWrite(26, HIGH);
pinMode(D6, OUTPUT);
digitalWrite(26, HIGH);
}

void loop() {
digitalWrite(26, digitalRead(D1));
digitalWrite(D6, HIGH);
digitalWrite(D7, HIGH);
delay(1000);
digitalWrite(26, LOW);
digitalWrite(D6, LOW);
digitalWrite(D7, LOW);
delay(1000);
}
Video of the final product.