2. Computer-Aided Desing
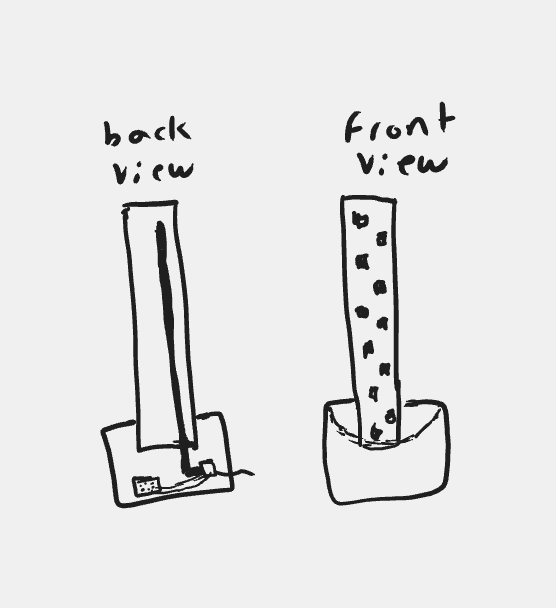
1. From sketch to render
This week, my focus has been on delving into the realm of 3D design programs to enhance my skills and bring my sketch to life through rendering. I initially started my journey with SolidWorks, as i had already some knowledge on how to use it an it was the first software license that landed in my inbox. However, during a visit to my local FAB, Autodesk Fusion was introduced, and its user-friendly interface immediately caught my attention. Intrigued by its features and ease of use, I made the decision to transition my project to Autodesk Fusion
Autodesk Fusion
Initially, Autodesk Fusion felt more intuitive to me, as if I were sculpting with Play-Doh due to its flexible and dynamic interface.
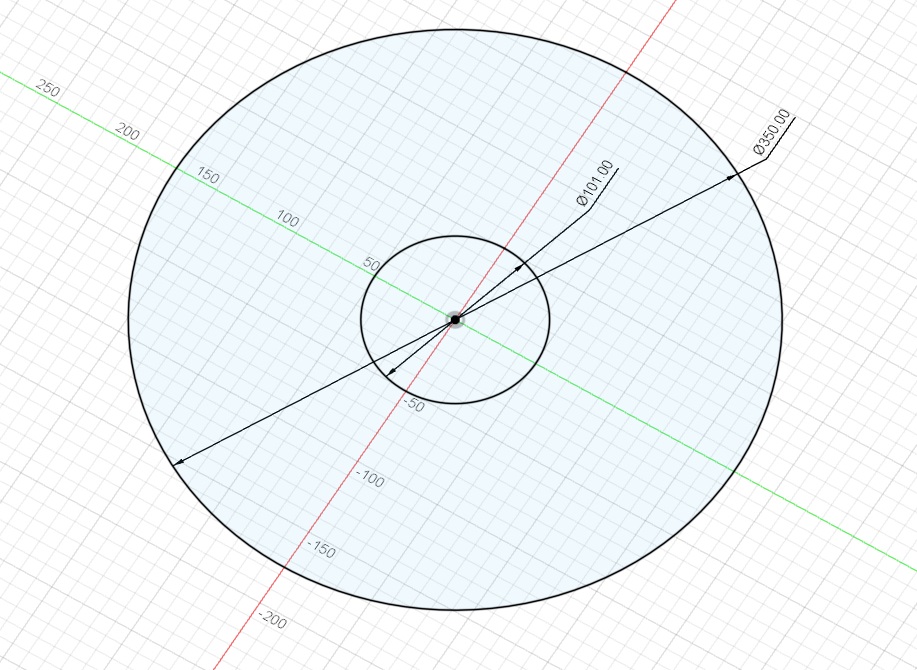
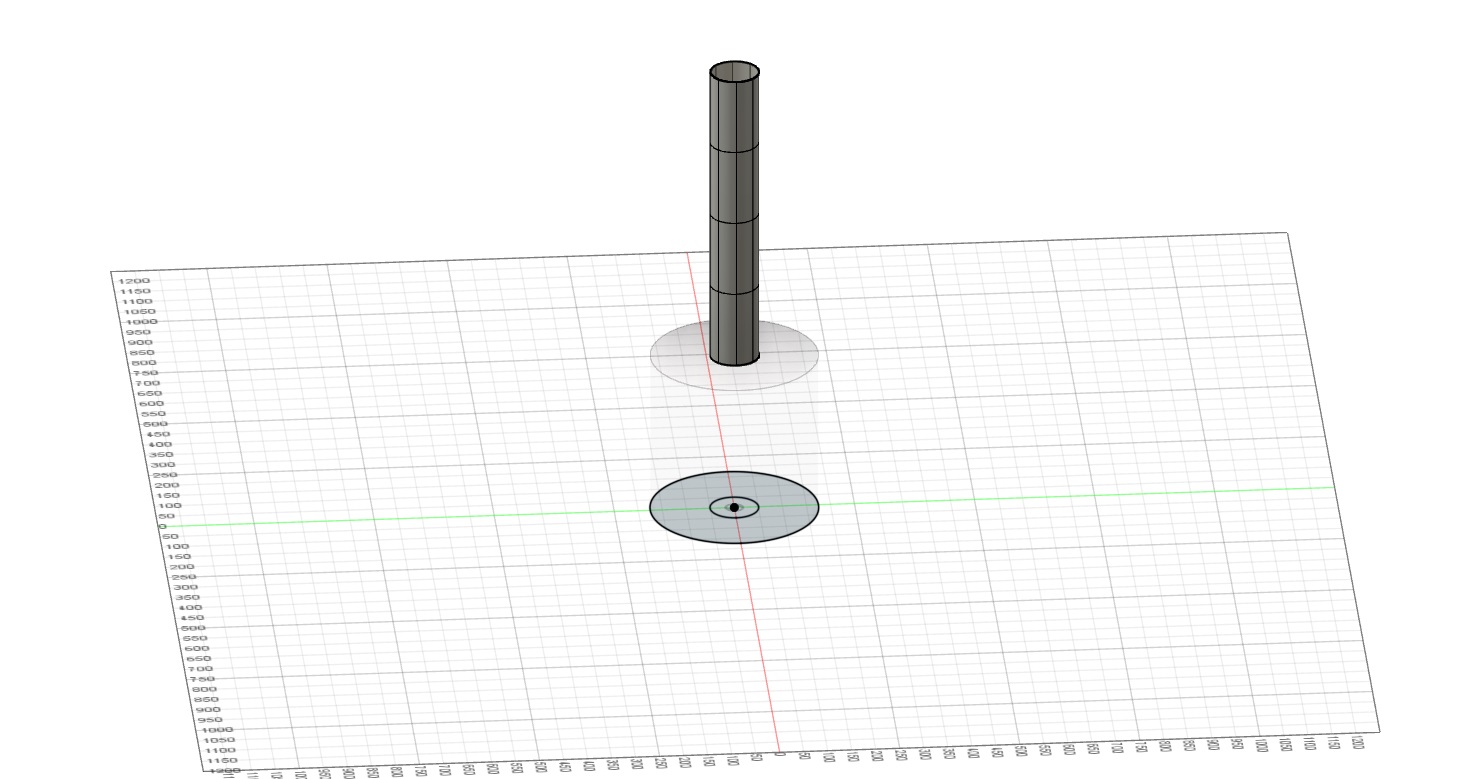
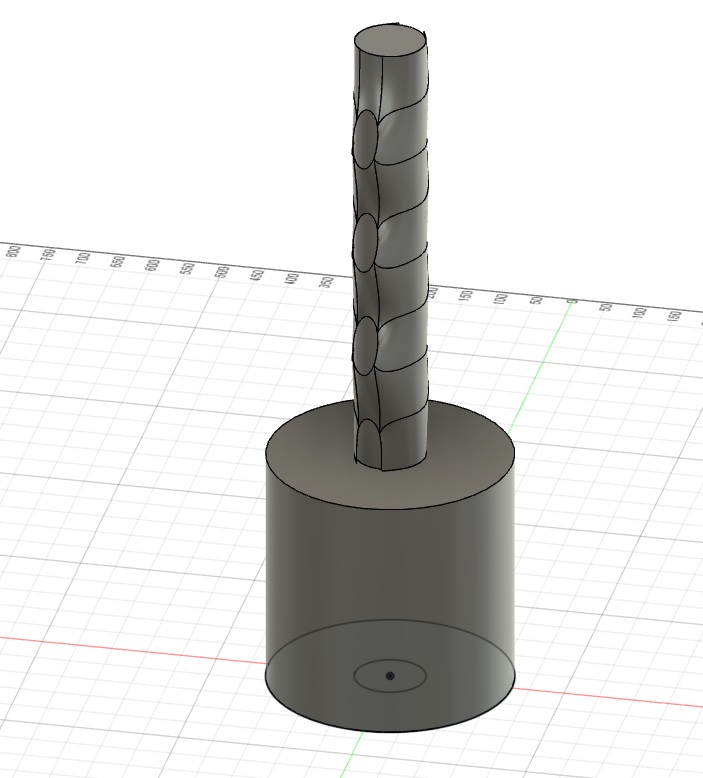
My first task involved creating two circles, one with a diameter of 10cm and the other with 35cm, representing my PVC pipe and bucket, respectively.

I began subdividing lines, removing vertices, and attempting to reposition the openings to achieve a more aesthetically pleasing and conceptually aligned result. The challenge arose when searching for the appropriate tool to create the perforations, but after some exploration and experimentation, I successfully navigated the software's features.
The intricate task of manipulating the openings demanded precision, and it took some effort to ensure that the design closely mirrored my initial vision. Through a series of adjustments, I managed to refine the placement of the perforations to achieve a design that, in the end, was not far from what I had envisioned.
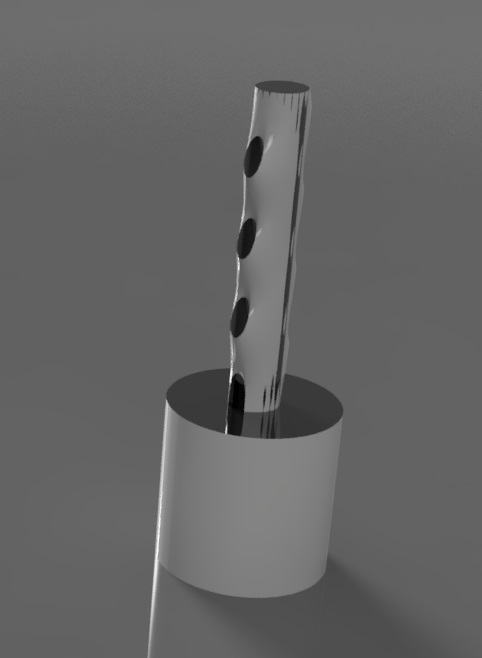
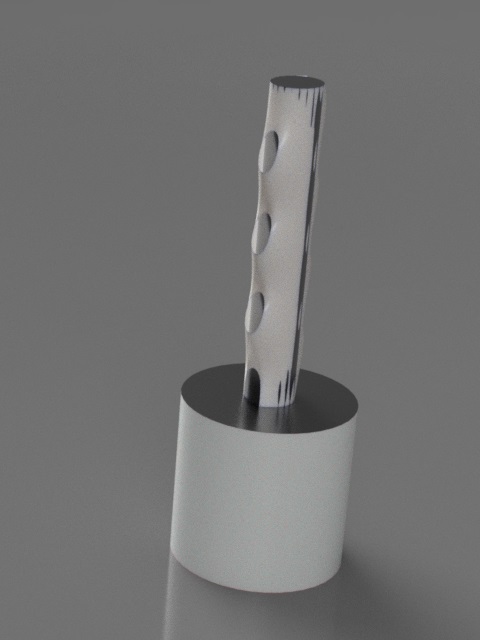
the only remaining task was to render the image—an aspect of the design process that I had not previously ventured into. Surprisingly, the rendering feature in Autodesk Fusion proved to be quite intuitive, even when it came to selecting the material type and adjusting reflections within the design. This step allowed me to add an extra layer of realism to the visual representation of my 3D model.
After exploring the various rendering options, adjusting lighting effects, and experimenting with material properties, I was able to produce a rendered image that brought my design to life. The rendering process not only provided a visually appealing representation but also offered insights into the importance of lighting and material choices in creating a lifelike and engaging 3D visualization.