Embedded Programming
CLICK HERE TO SEE THE GROUP ASSIGMENT
This week's assignment is called: Embedded Programming. Here is the programming process I undertook with the board I created in my week
Arduino
Once I opened a new document in Arduino, I started to create my code for the board.
Libraries and Definitions
Let's explain everything in bullets so it's easier (not only for you, but for me too):
- Included the necessary library: Added #include Adafruit_NeoPixel.h to include the Adafruit NeoPixel library, which provides functions to control NeoPixel LEDs.
- Defined pins: I assigned variables to represent various pins, such as power, NeoPixel, button, and additional LEDs, making it easier to reference them.
- Created a NeoPixel object: I instantiated an Adafruit_NeoPixel object called pixels with specific configurations: one pixel, connected to pin 12, using the GRB color order, and operating at 800 KHz.
Setup Function
- Initialized the NeoPixel object: In the setup function, I called pixels.begin() to initialize the NeoPixel object.
- Configured pin modes: I used pinMode() to set up the modes of various pins, such as power (as output), button (with a pull-up resistor), and additional LEDs (as output).
- Set the initial power state: I set the initial state of the power pin to HIGH using digitalWrite(Power, HIGH).
Loop Function
- Checked the button state: In the loop function, I checked if the button is pressed (LOW). If true, I triggered the changeFireColor() function and waited until the button was released.
- Ran continuous effects: Regardless of the button state, I continuously ran the fireEffect() and simulateSparks() functions to create visual effects.
Helper Functions
- Changed the fire color: In the changeFireColor() function, I generated random values for red and green to change the color of the NeoPixel, creating a dynamic fire effect.
- Simulated a fire effect: In the fireEffect() function, I simulated a flickering effect on the NeoPixel by adjusting brightness randomly and introducing delays.
- Simulated sparks: In the simulateSparks() function, I simulated sparks by briefly turning on and off different LEDs (red, yellow, green) with random delays.
In summary, I created an Arduino program that combines interactive features with continuous visual effects. I allowed the user to trigger a color change in the NeoPixel through a button press while continuously running a fire-like animation and simulated sparks. The structure ensures a dynamic and interactive LED display.
Once I had my code all done, I just needed to upload it to my board, in the top left corner of Arduino I first verified it and once it said it was correct, it was ready to upload.

Thonny
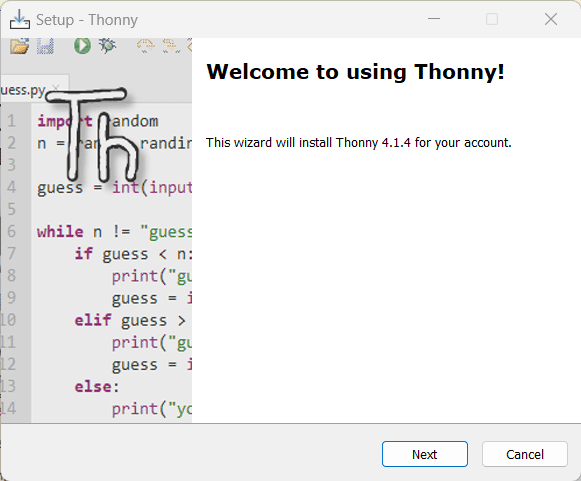
For the second part of this week's assignment, I translated the code to Phyton, so I could use it in the program Thonny. But first I needed to install it and reset the board so it can "transform" into reading it.
Reseting the Board
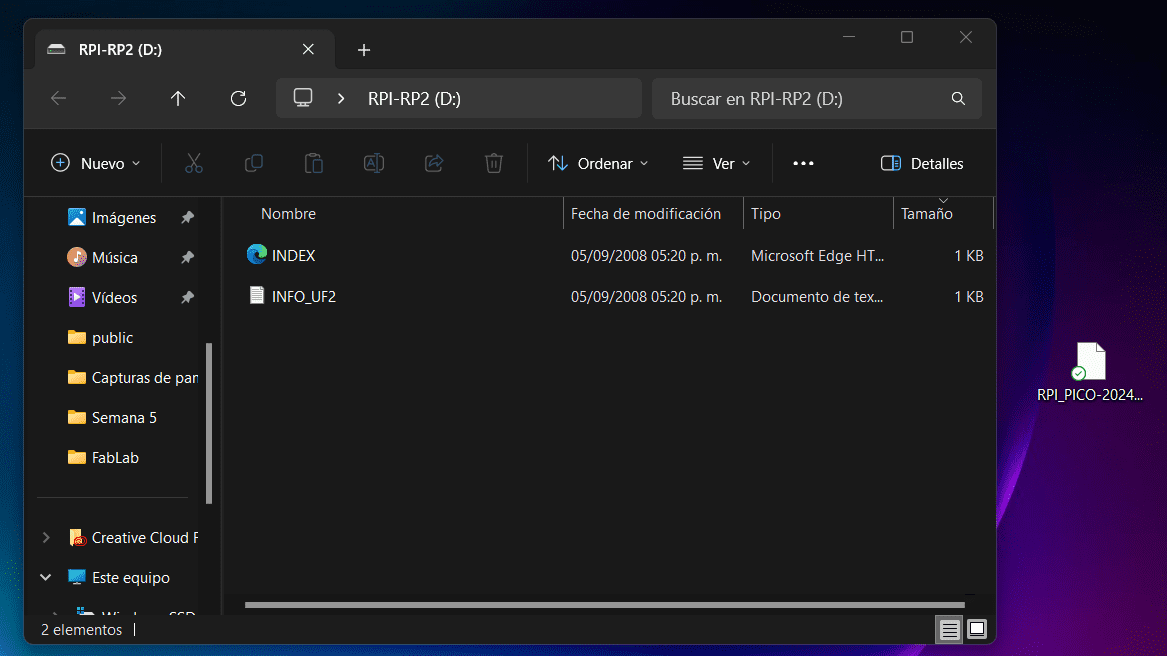
Whit Thonny installed, I needed to reset the board so it reads the new language. I pressed the B button on the board and connected it to my computer, releasing the bottom once plugged, the board's file carpet opened, and I inserted the file my teacher gave us, immediately theb folder closed, and the language was changed.
Reseting the Board
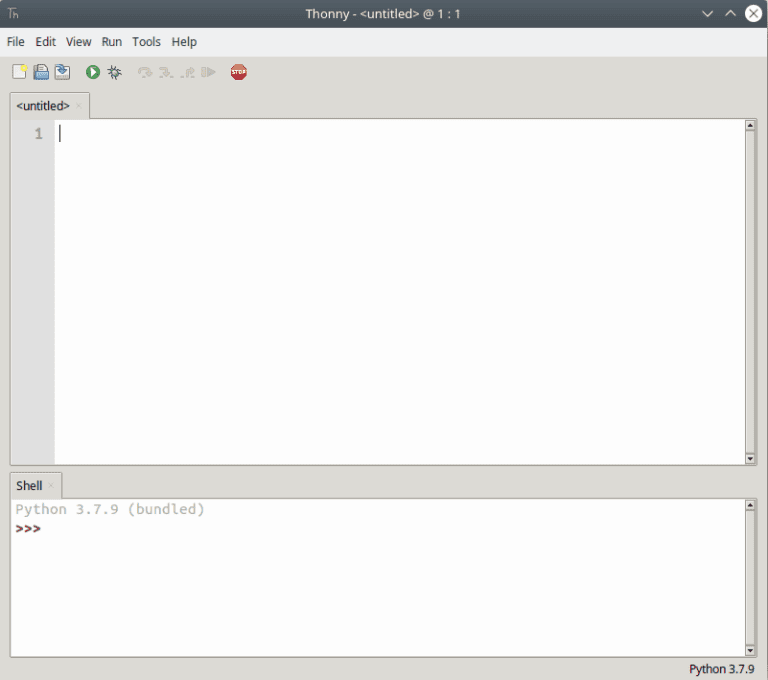
Now the language of the board has been changed, we can now create the same code we already have and "translate" it to Phyton.
Importing Libraries and Setting Up Pins
- Imported necessary libraries: Included the required libraries such as time, random, NeoPixel, and Pin.
- Set up pin configurations: Defined the pin for NeoPixels (pixel_pin) and the button (button_pin).
Functions for Changing Fire Color, Fire Effect, and Simulating Sparks
- Defined a function to change the fire color: change_fire_color which generates random values for red and green and sets the NeoPixel color accordingly.
- Created a function for the fire effect: fire_effect simulates a flickering effect by adjusting the brightness of the NeoPixel.
- Implemented a function to simulate sparks: simulate_sparks changes the NeoPixel color in a sequence.
Main Loop for Continuous Operation
- Set up a continuous loop with a timeout: The program runs in a loop for a specific duration (timeout in seconds).
- Checked for button press: If the button is pressed (button_pin.value() == False), I change the fire color and wait until the button is released.
- Continuously run fire and spark effects: The loop then runs the fire effect and spark simulation continuously within the specified timeout period.
We now just have to upload the code to the already selected board in Thonny, and we have our code uploaded and running! Here are the results video: