Team Practice
Link of our team practice.
Parametric Design
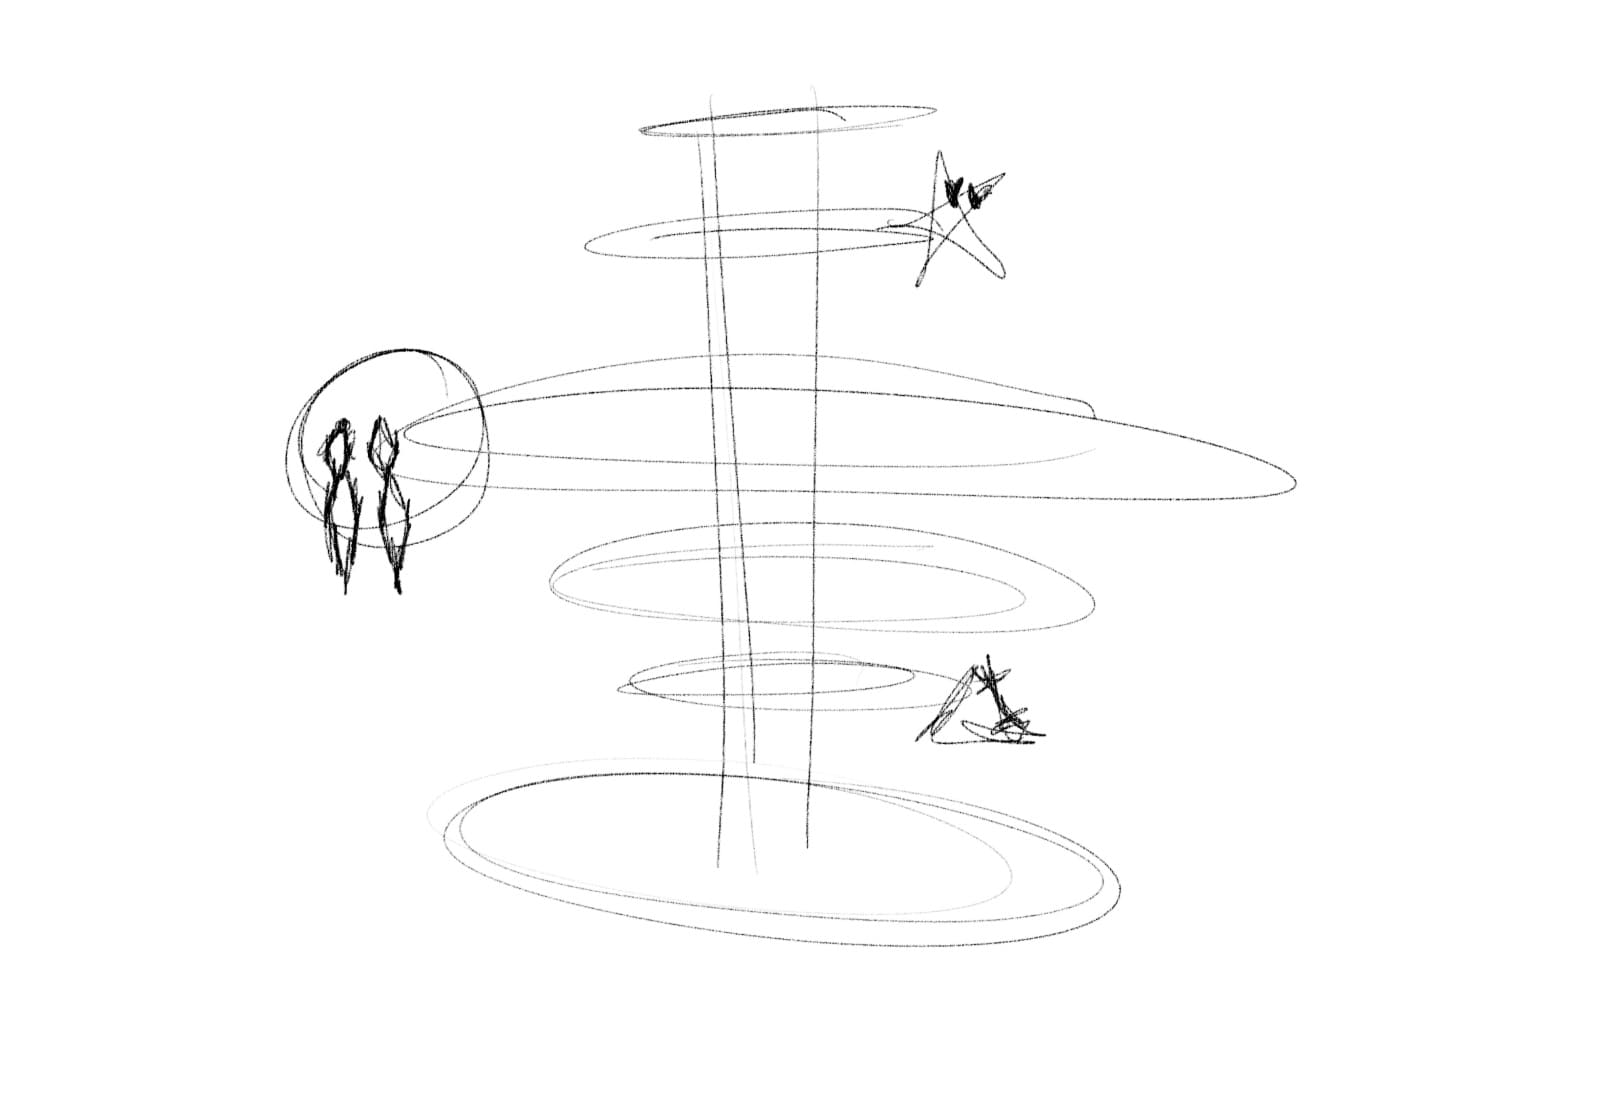
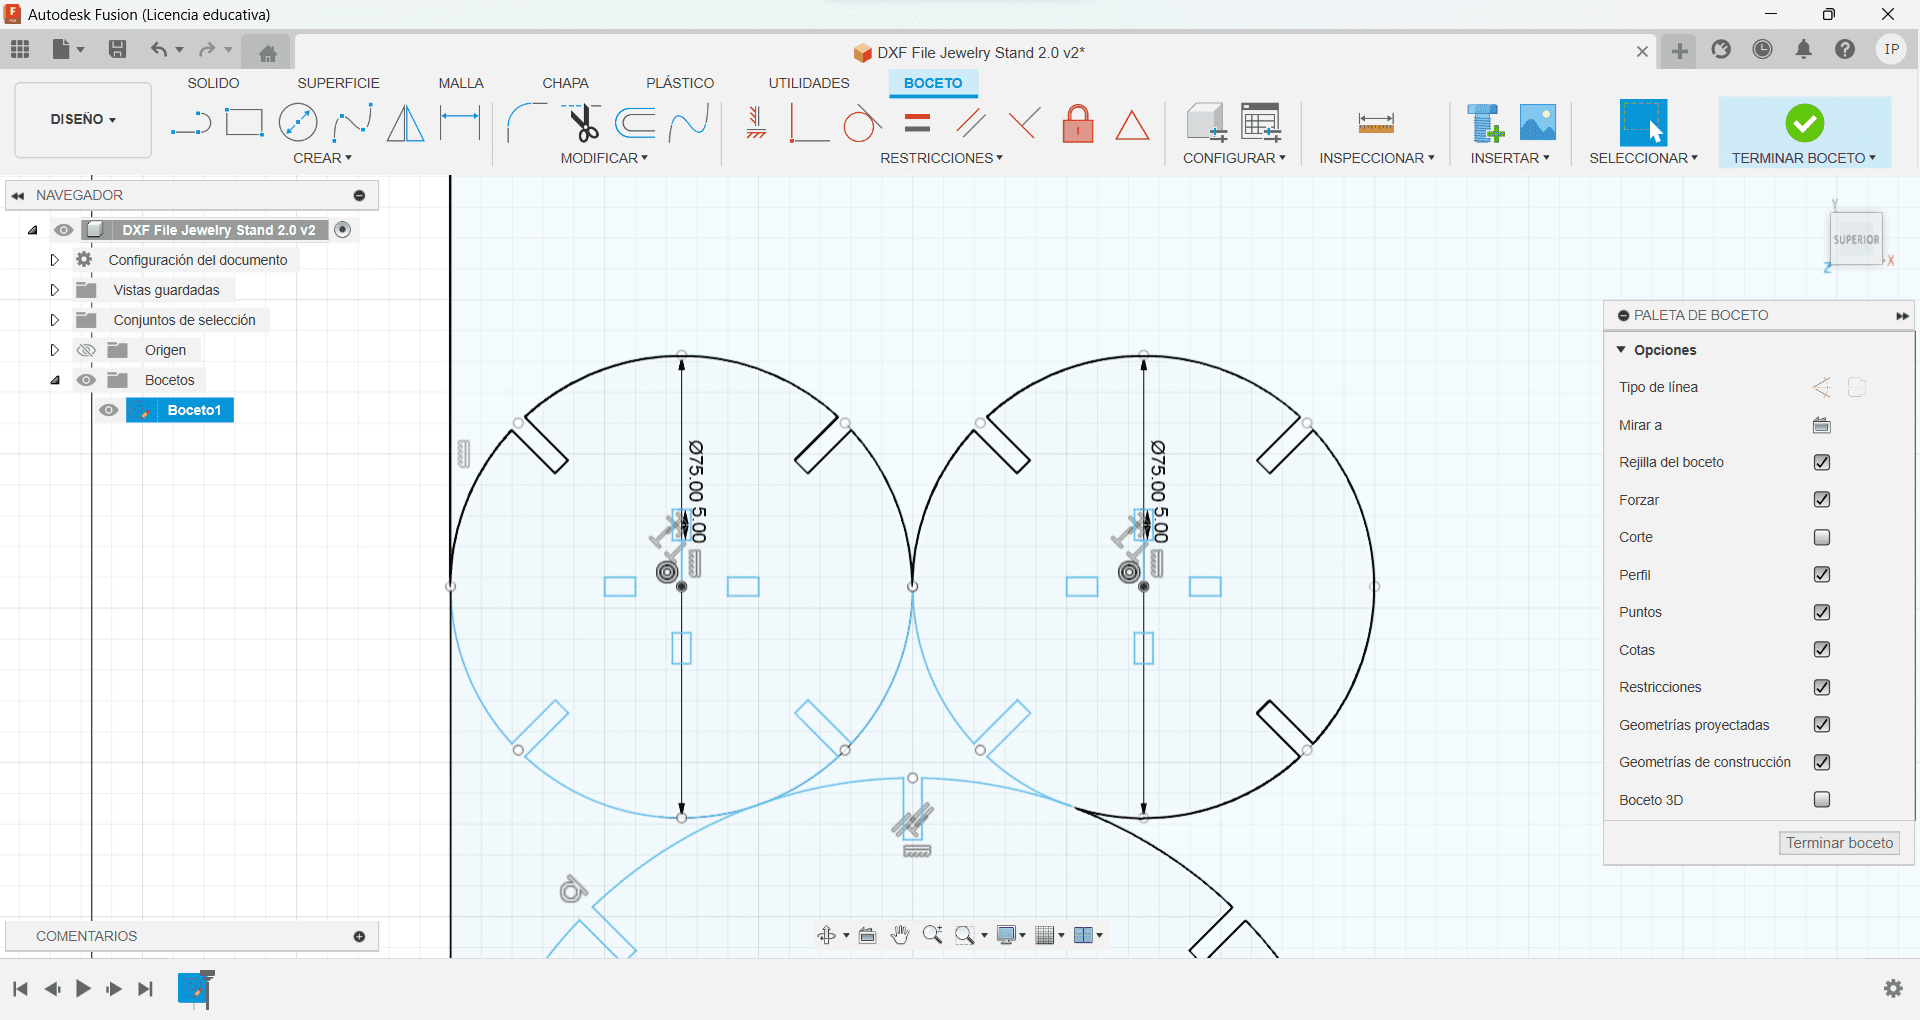
This week's assignment is Computer-Controlled Cutting which consist of two tasks: Laser Cutting, creating our own parametric design, and, cutting something on the vinyl cutter, I started right away with the parametric design, immediately decided I wanted to do a jewelry stand, created some sketches:
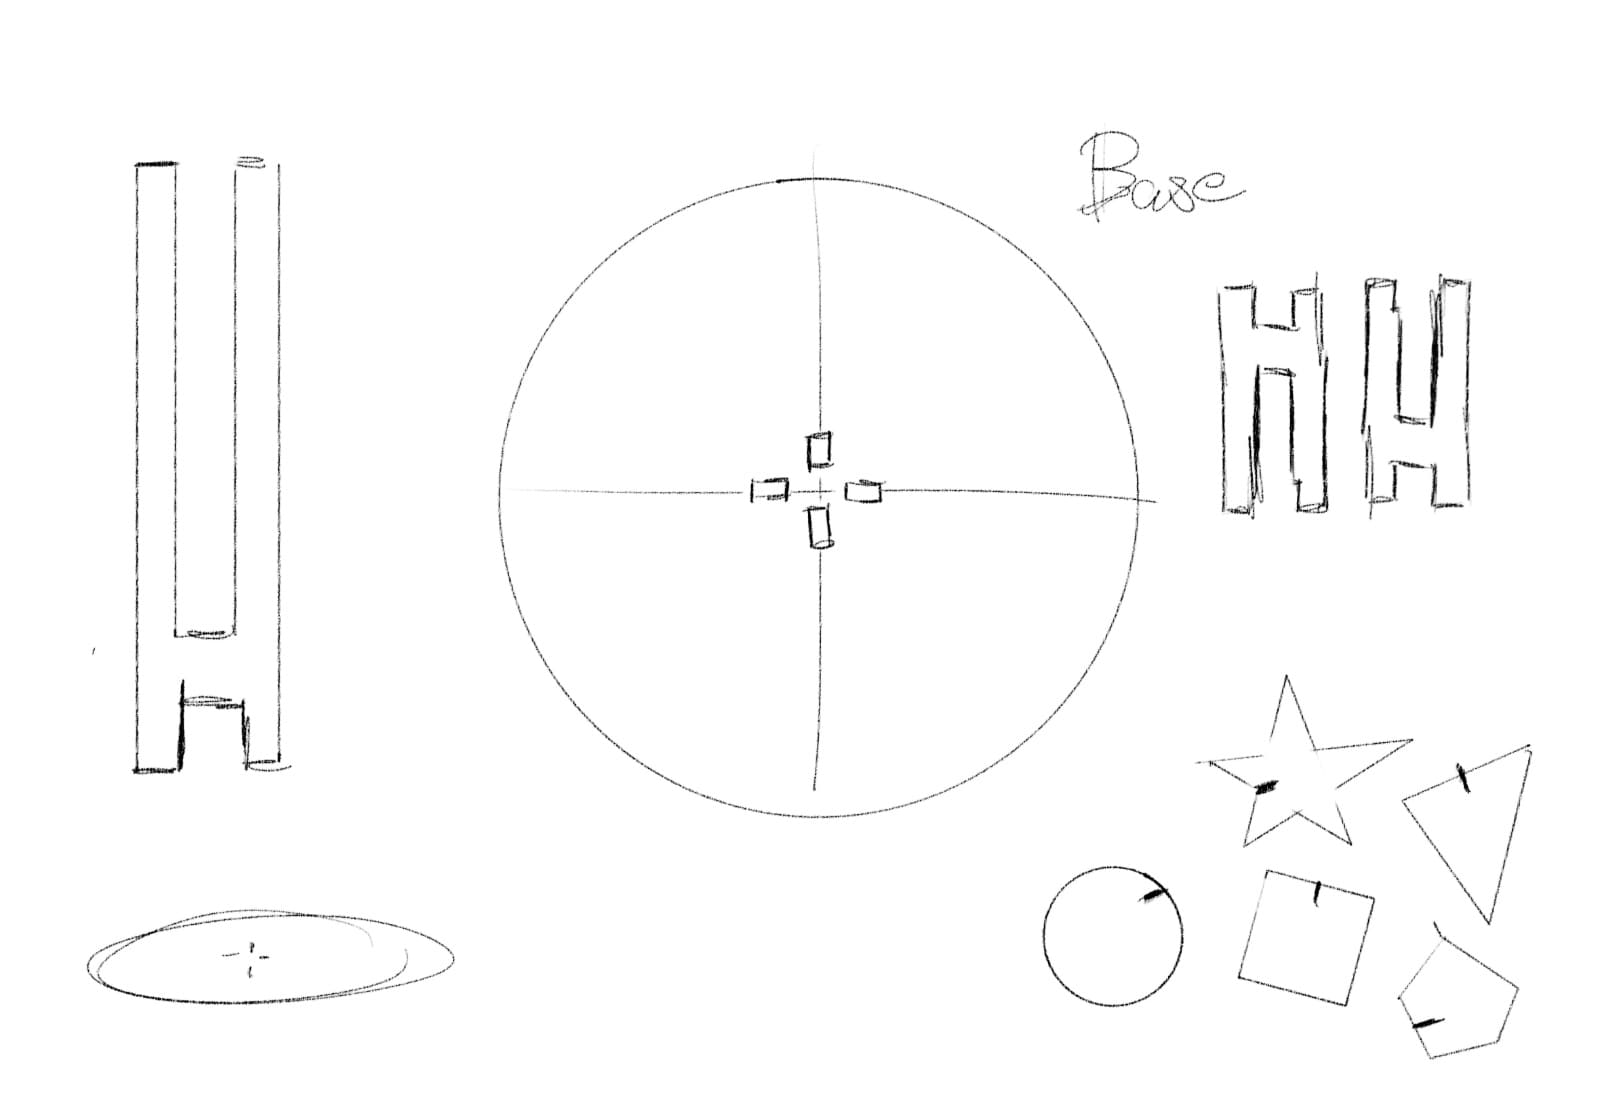
Creating the pieces
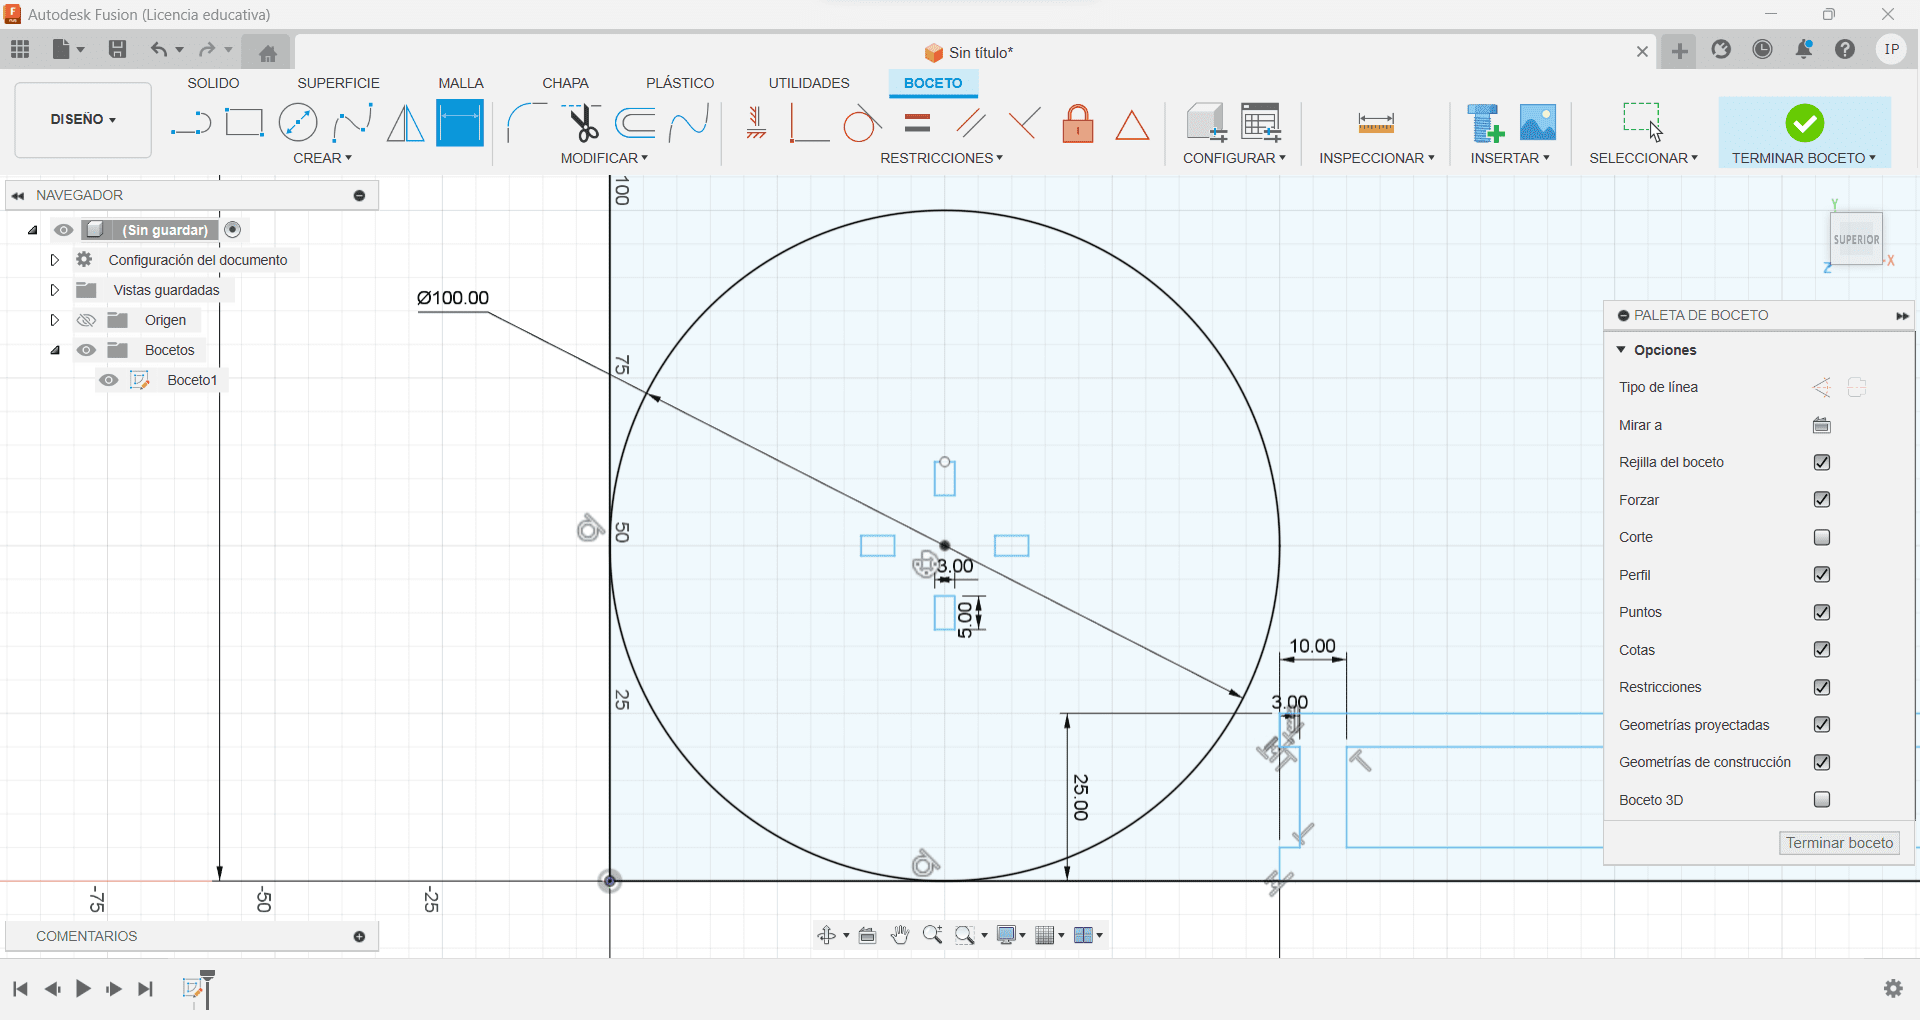
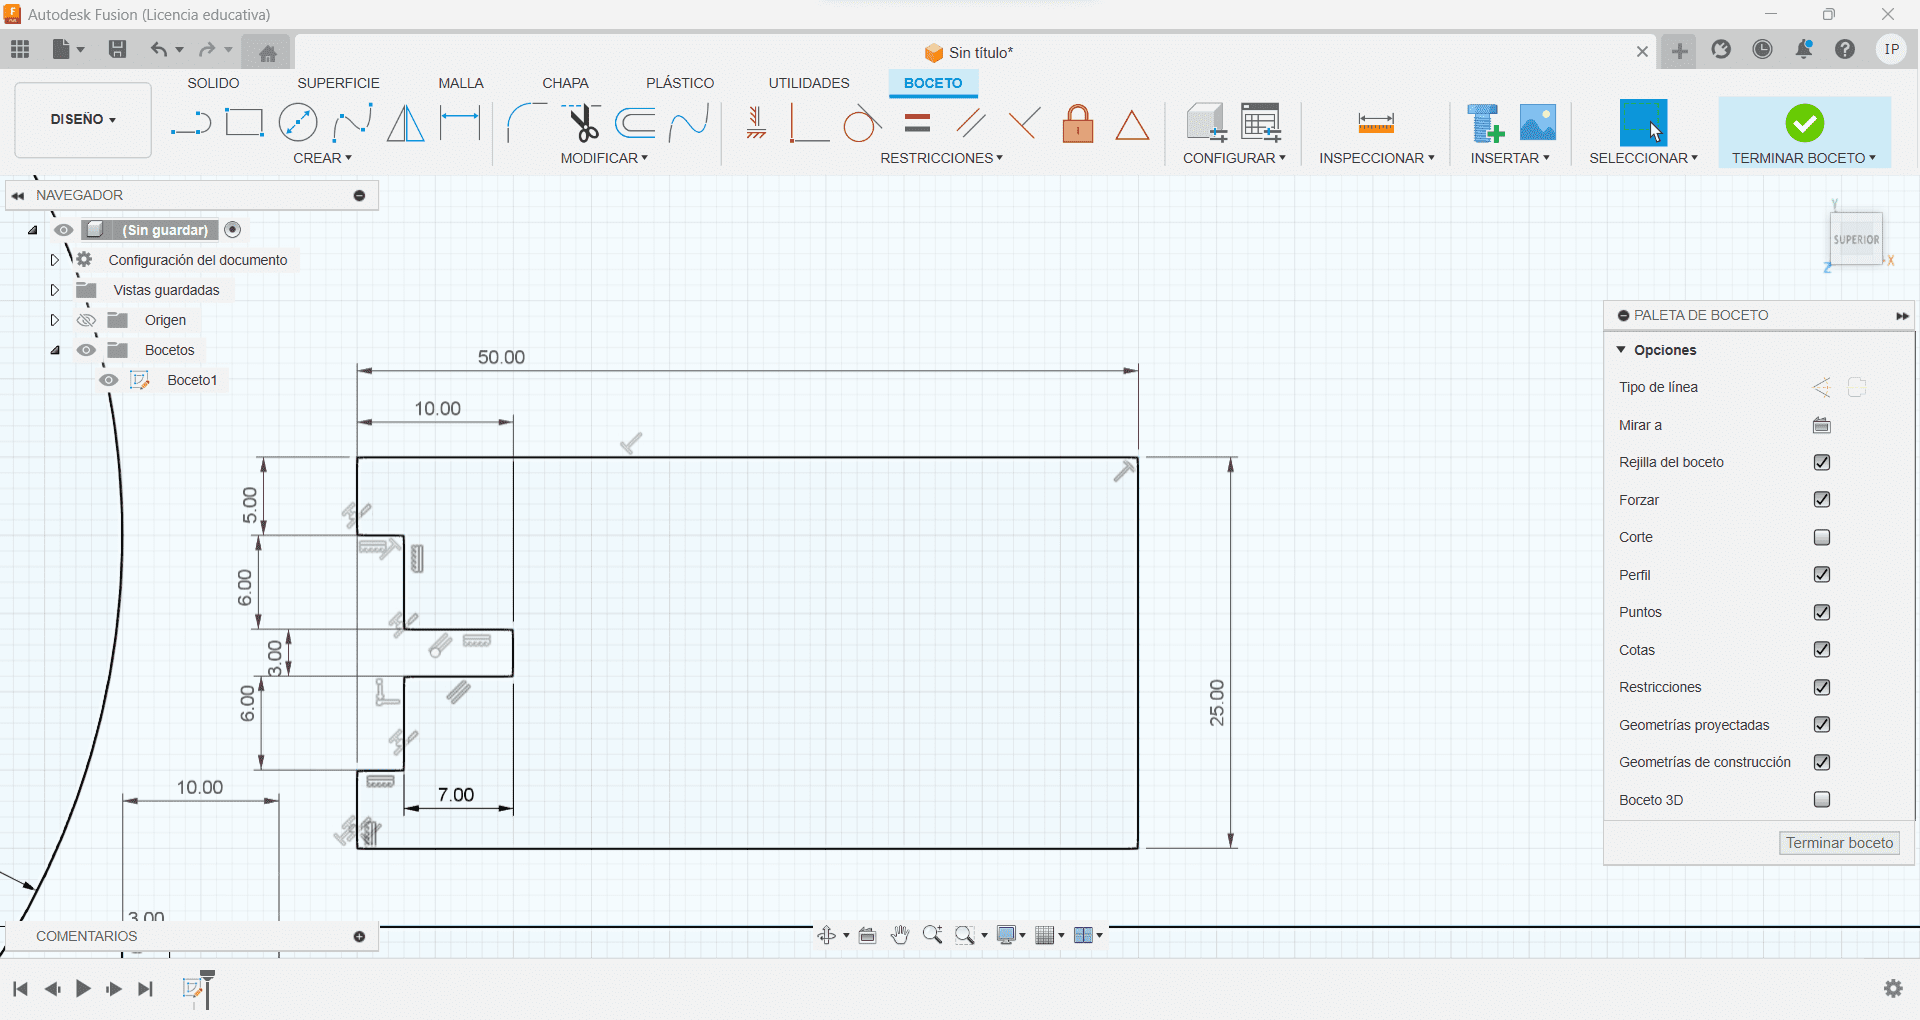
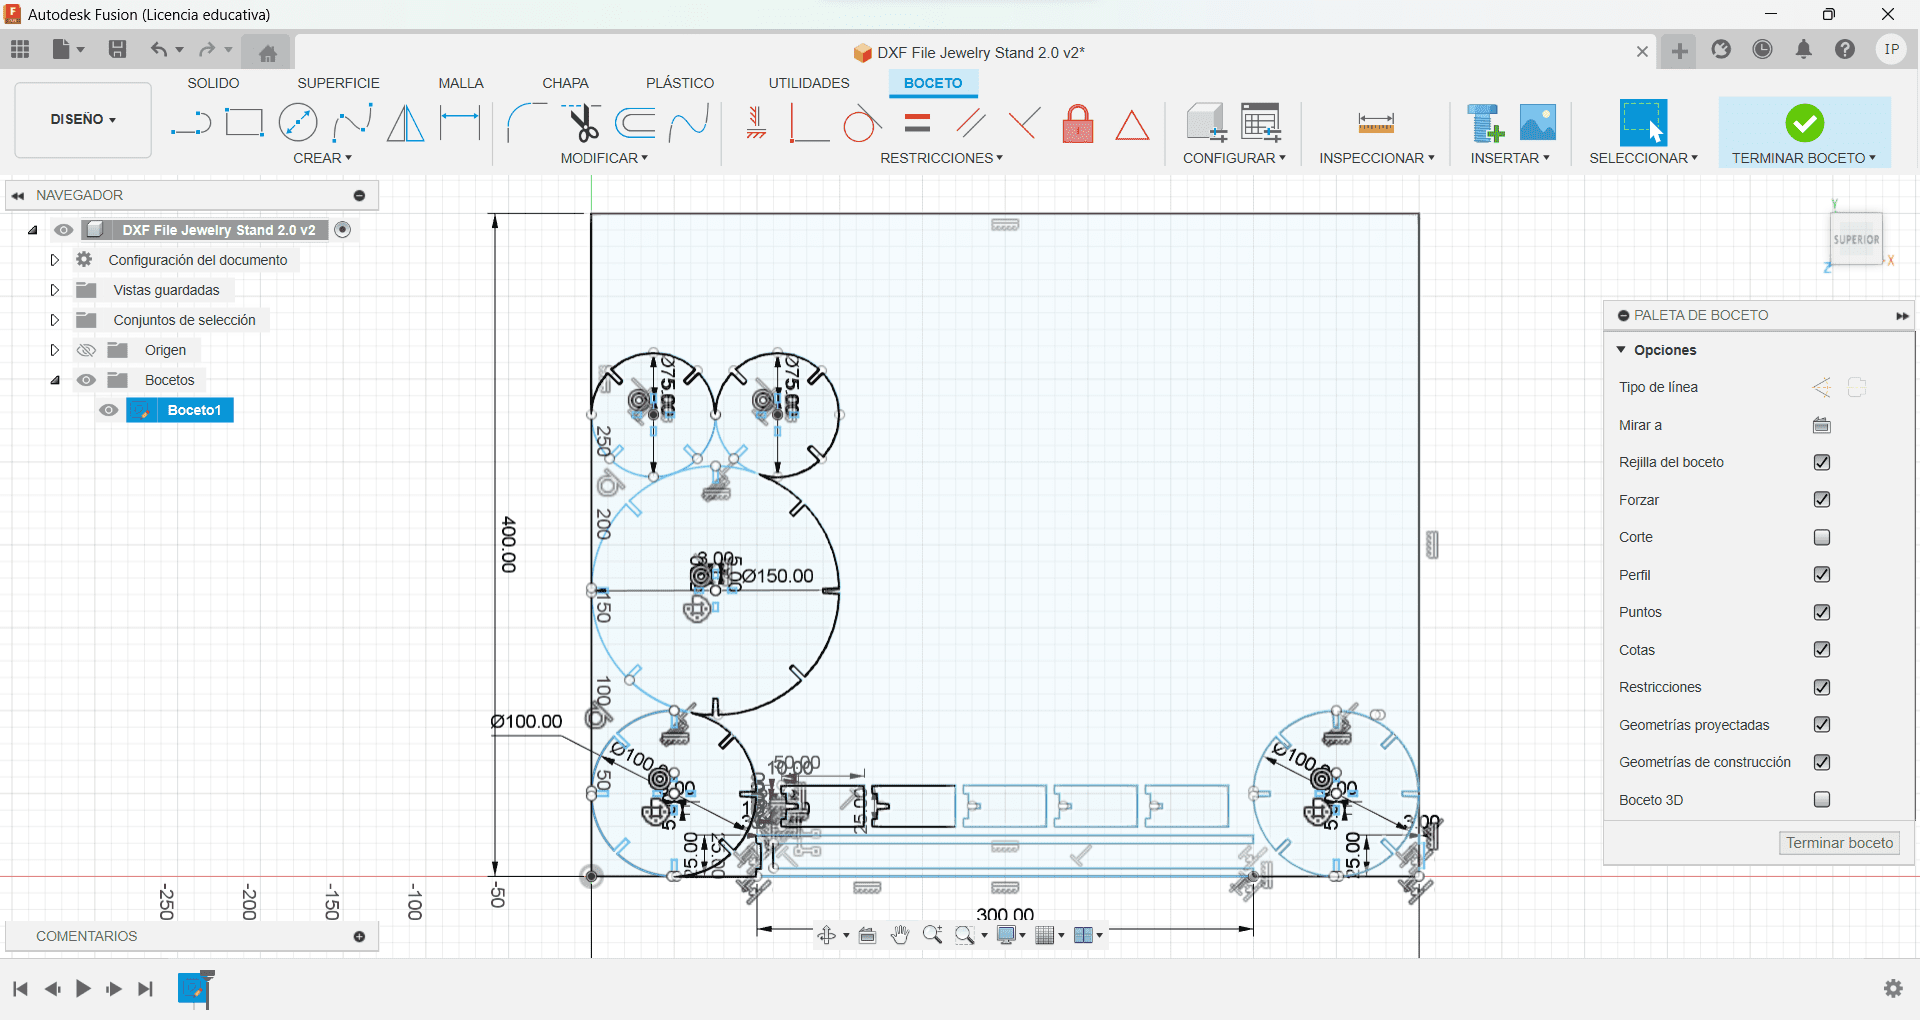
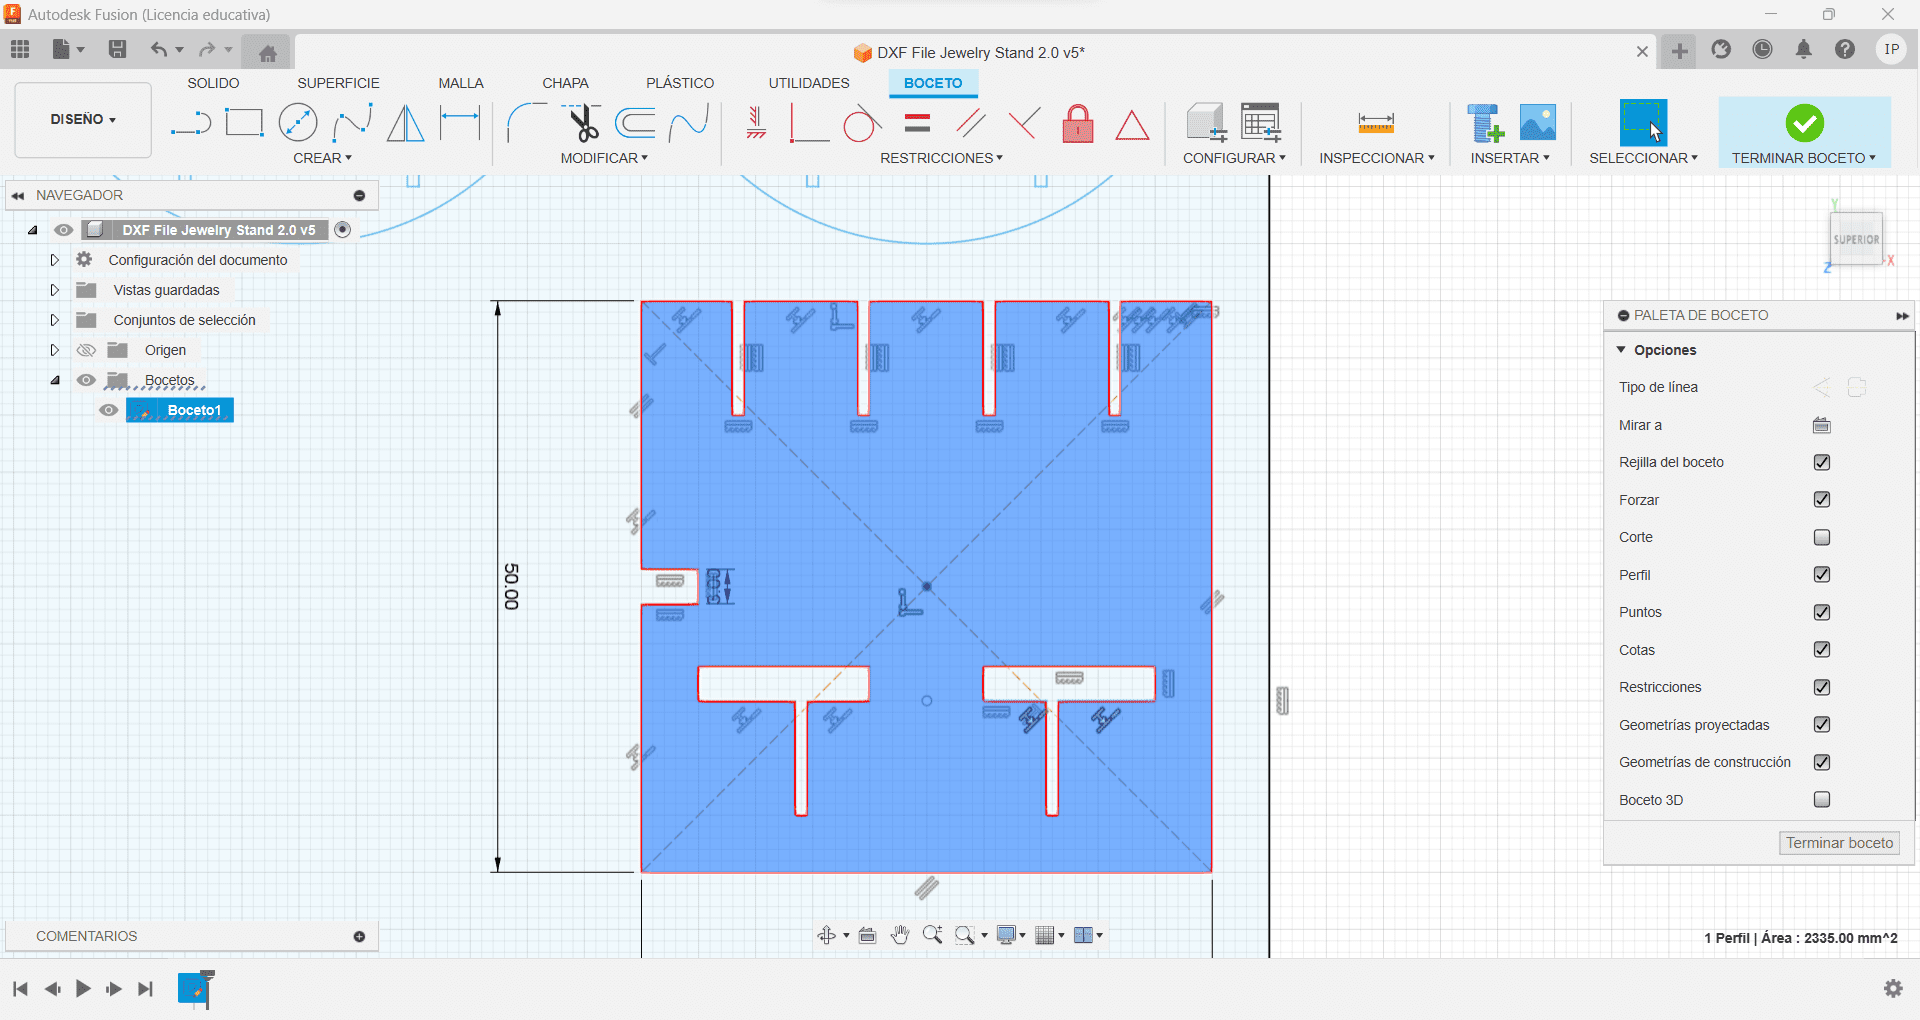
I purchased a 40x50 cm MDF panel, so I created a 400x500 mm square in the sketch mode, that had 3 mm of width, so I started with that, to have a 100 mm base circle and a cross in the center for the interception of pieces. With the diameter of the center circle on the cross being 15mm, the side of the central pieces had to be the same , and with a length of 30mm, I designed these "H" letter.
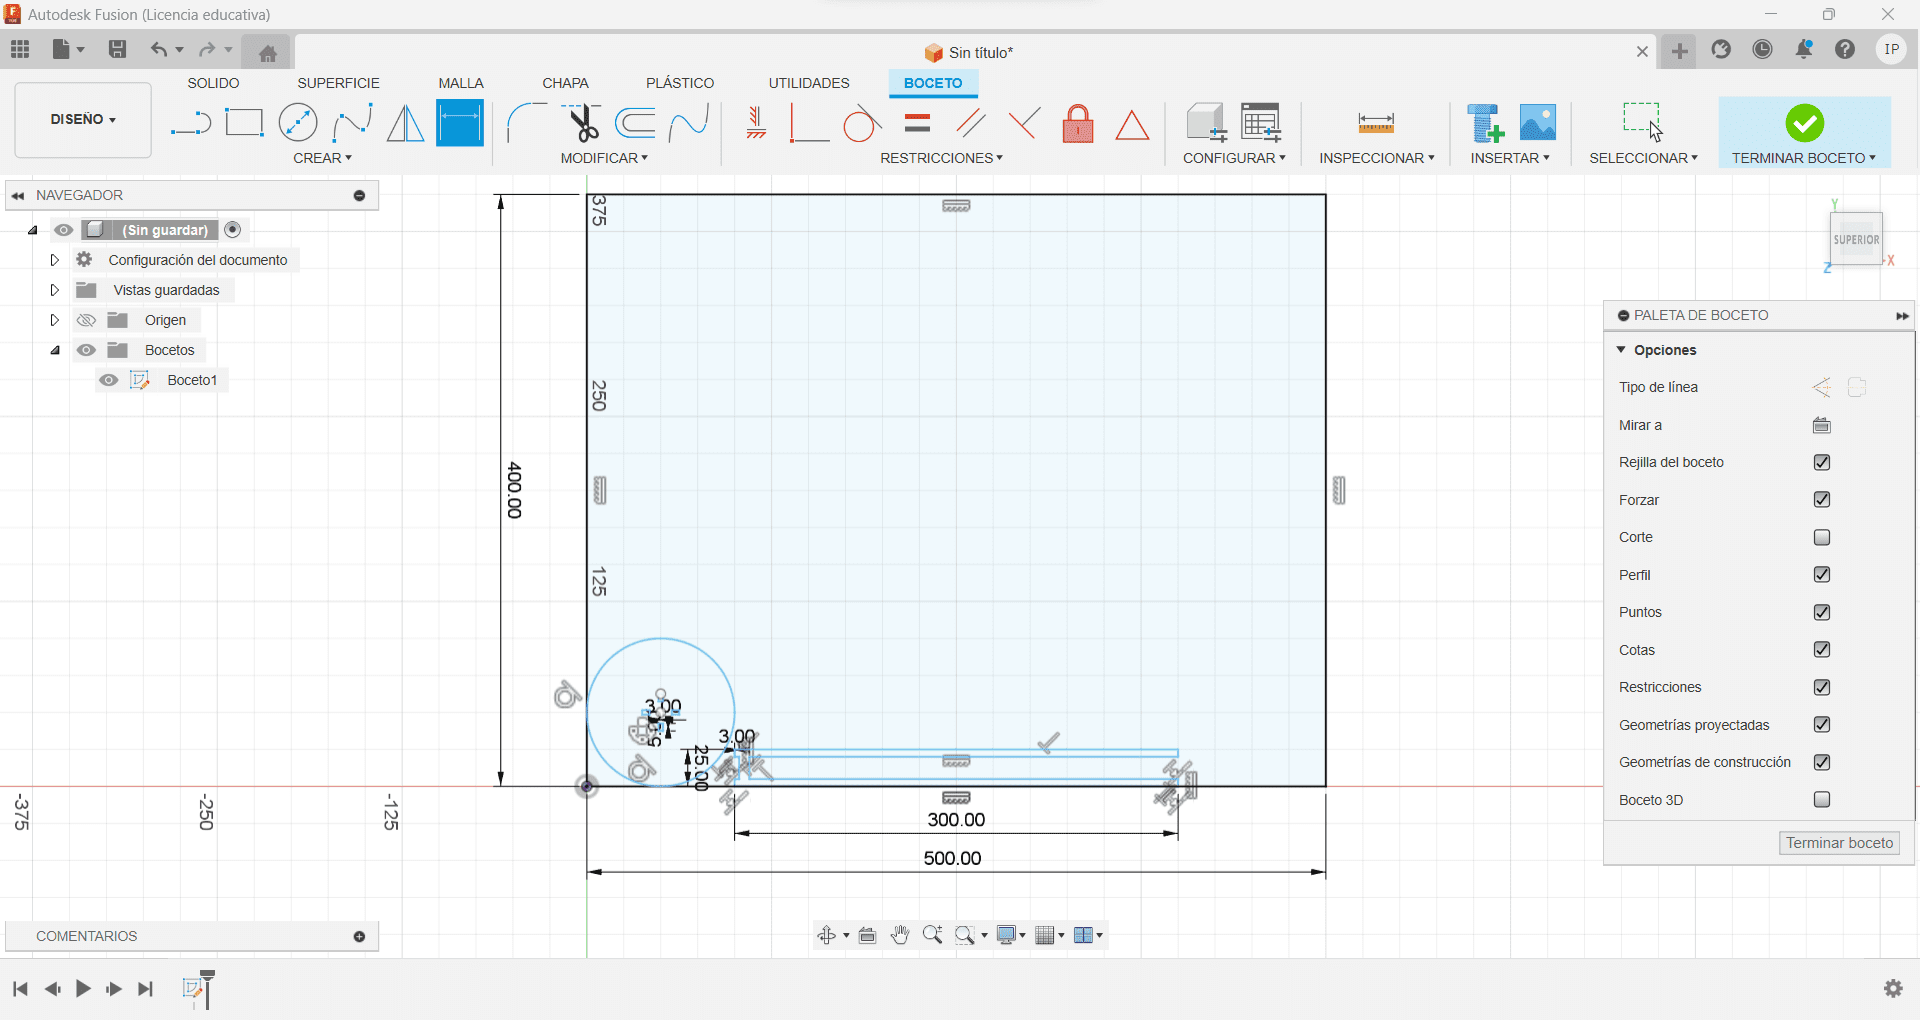
Then with the other piece, I made the interception for the "H", and made them smaller to have the other circles with a space between them. Made them 50 mm wide, and used the tool rectangular pattern, to repeat them another 5.
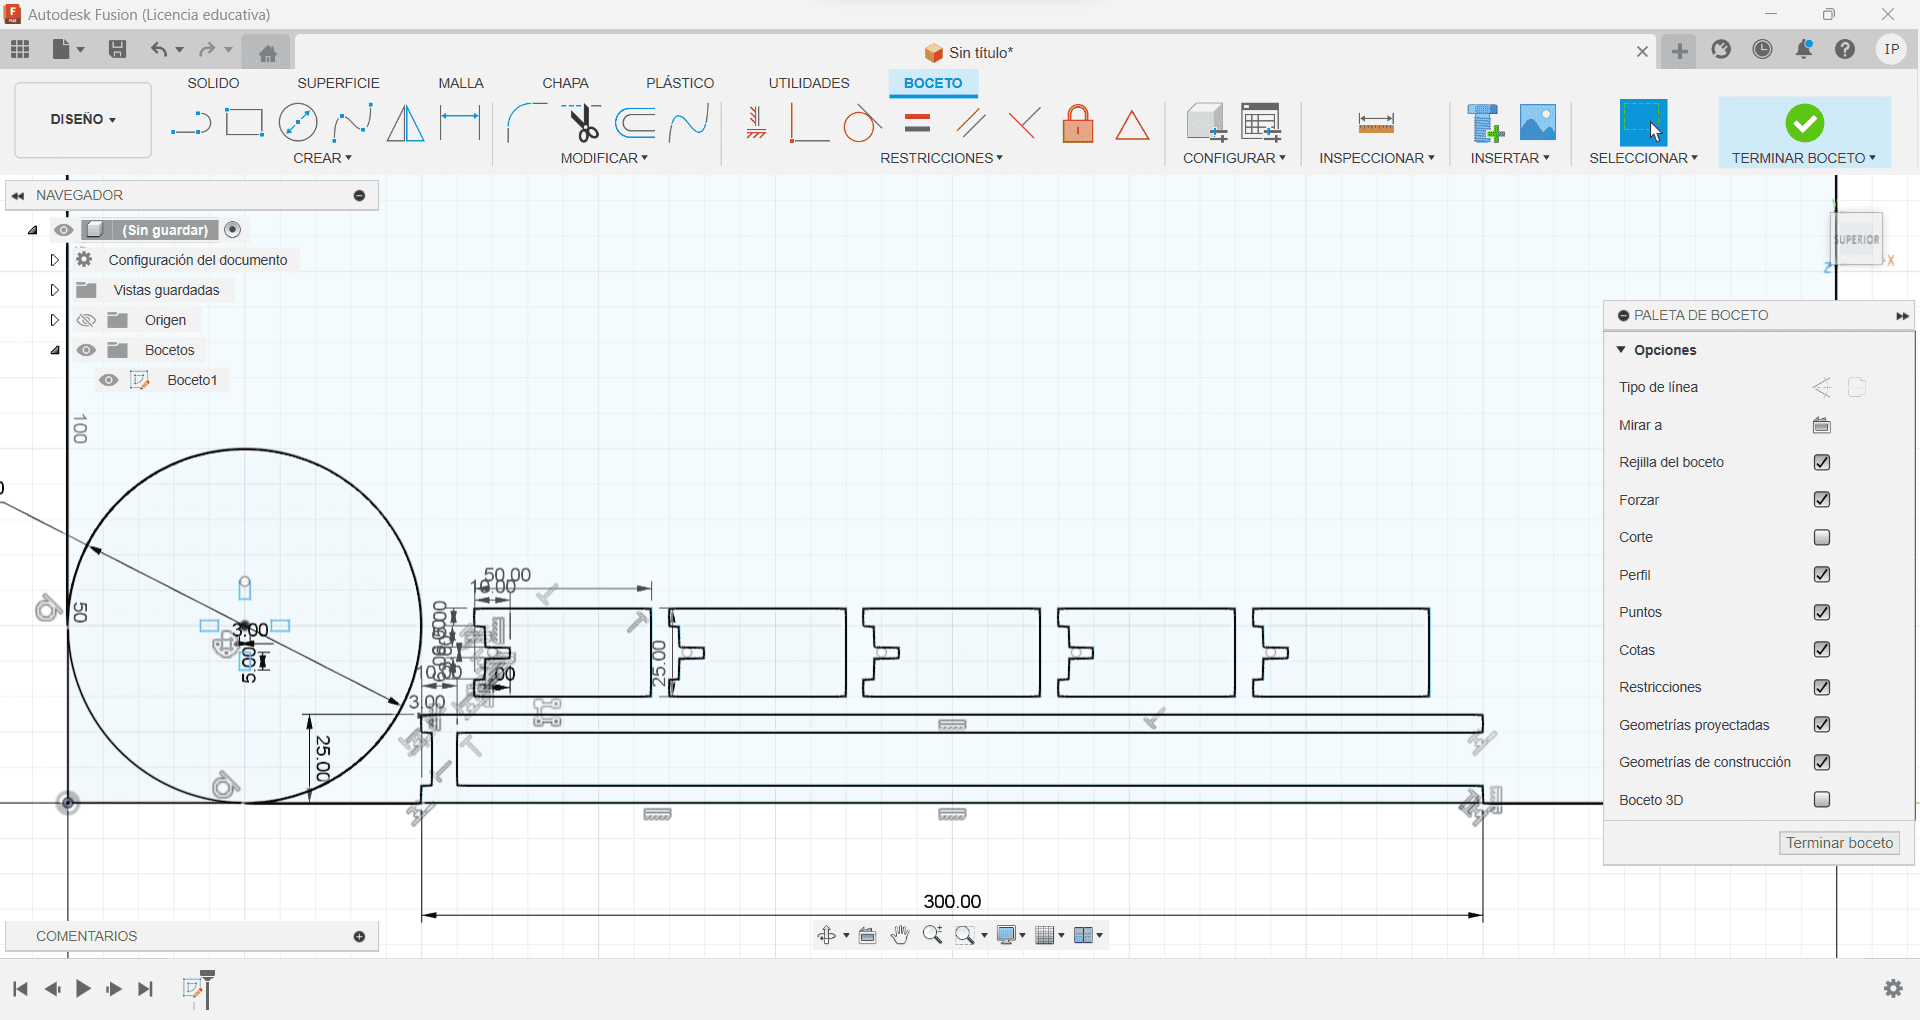
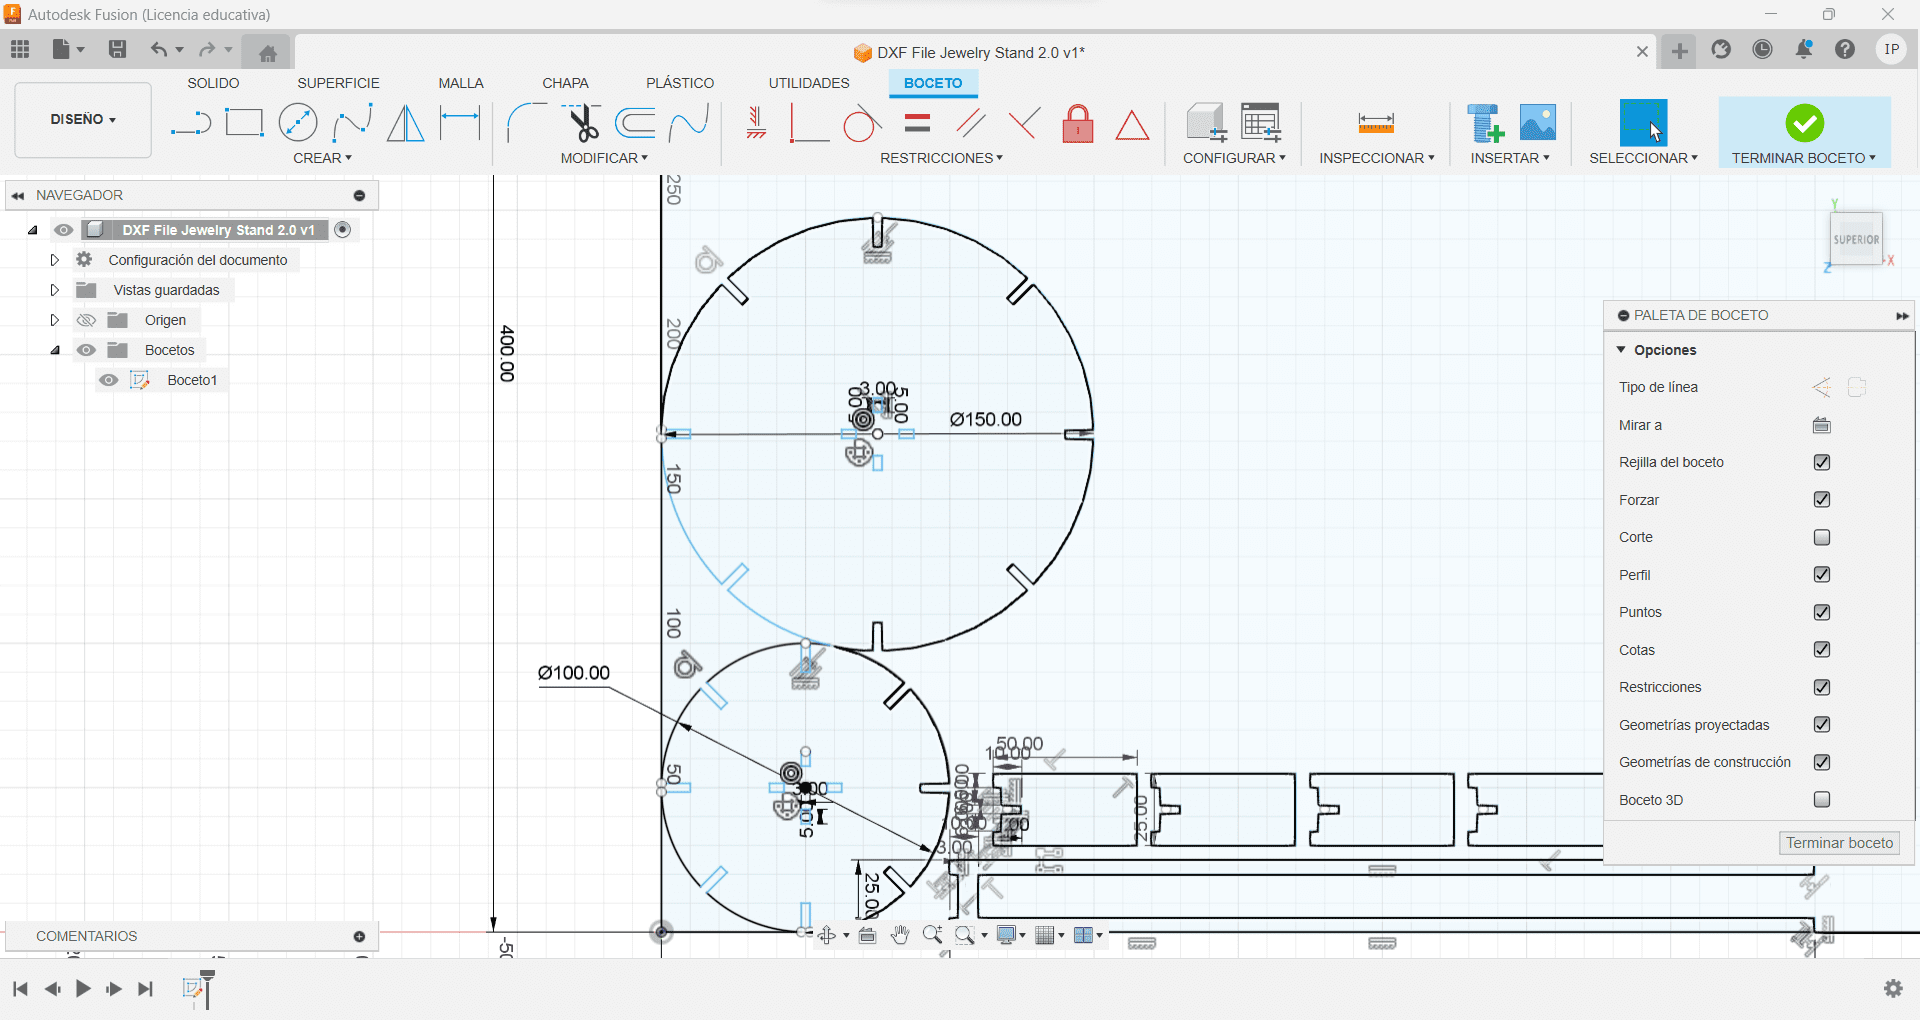
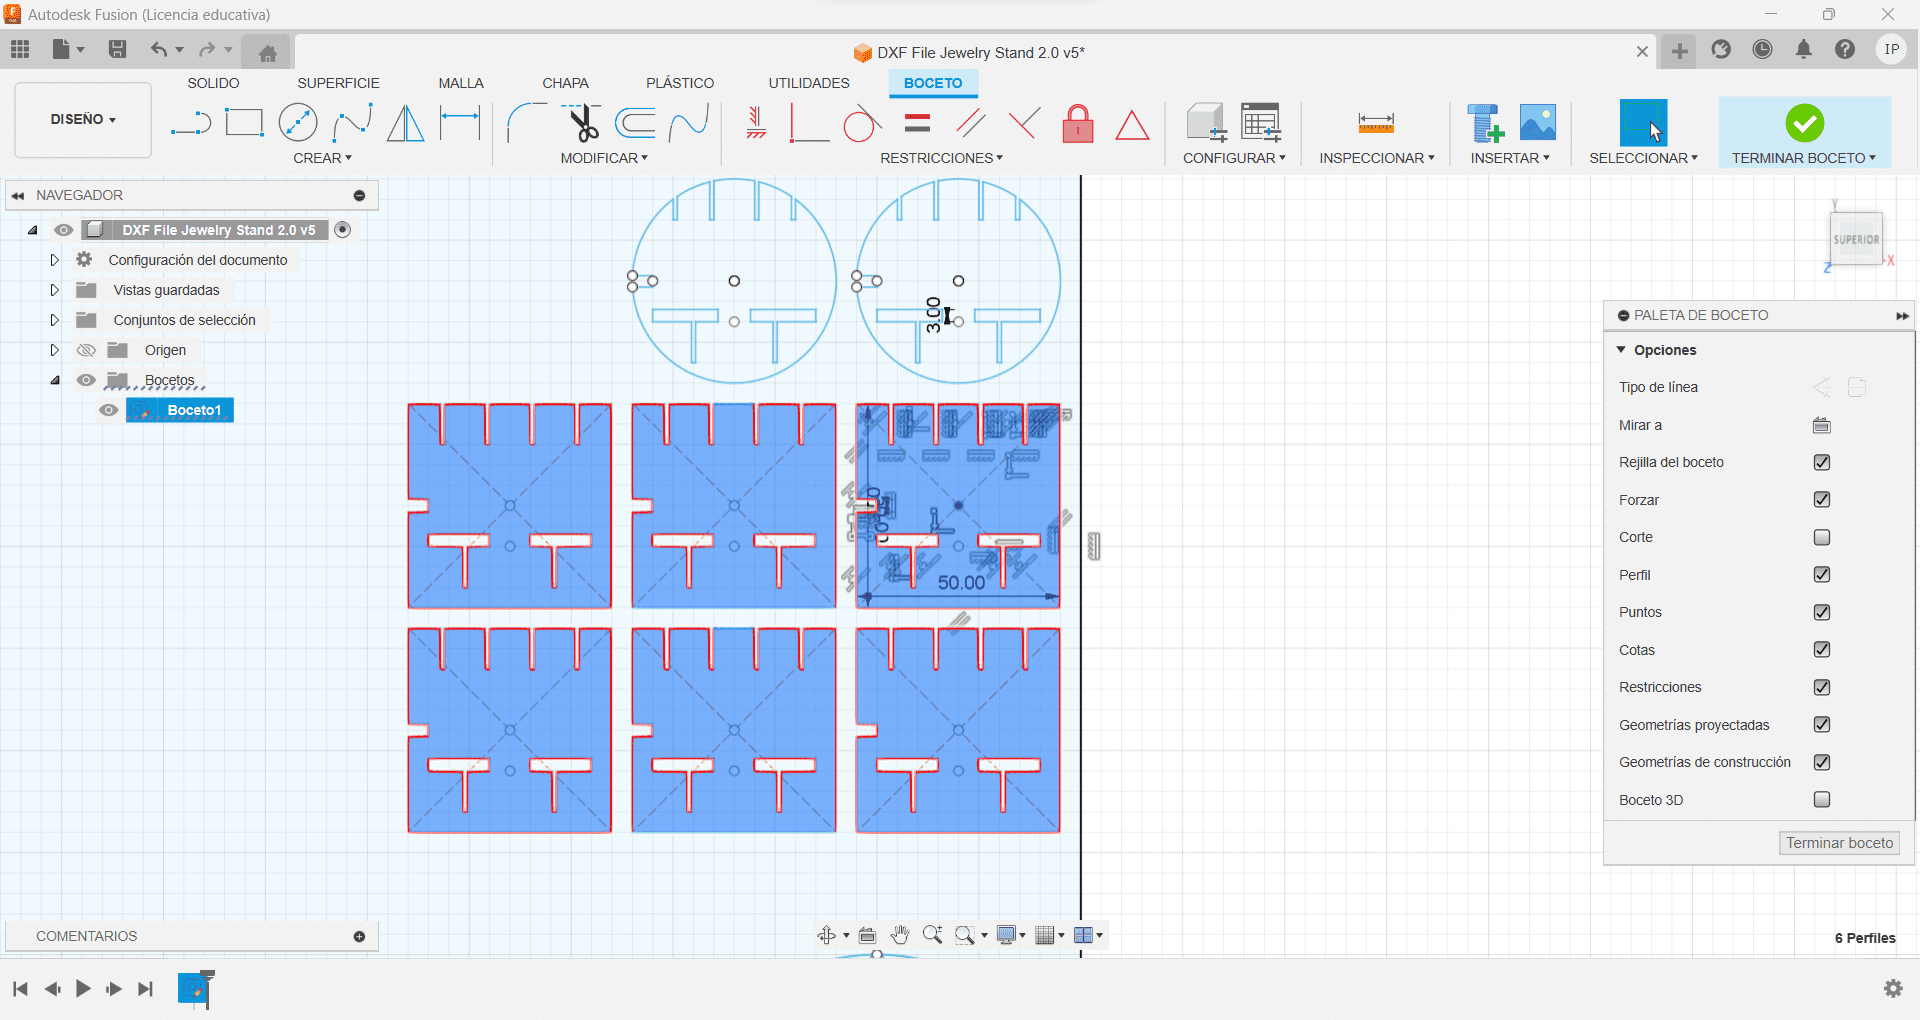
I then made other circles with different lengths, to have 2 circles with 75 mlm wide, 1 with 150 mlm wide , and 2 with 100 mlm wide, having the same middle cross, and small openings all along the external perimeter. These opening will be for the modular pieces. Remember to always have the pieces inside the 50 0mlm x 40 0ml rectangle.
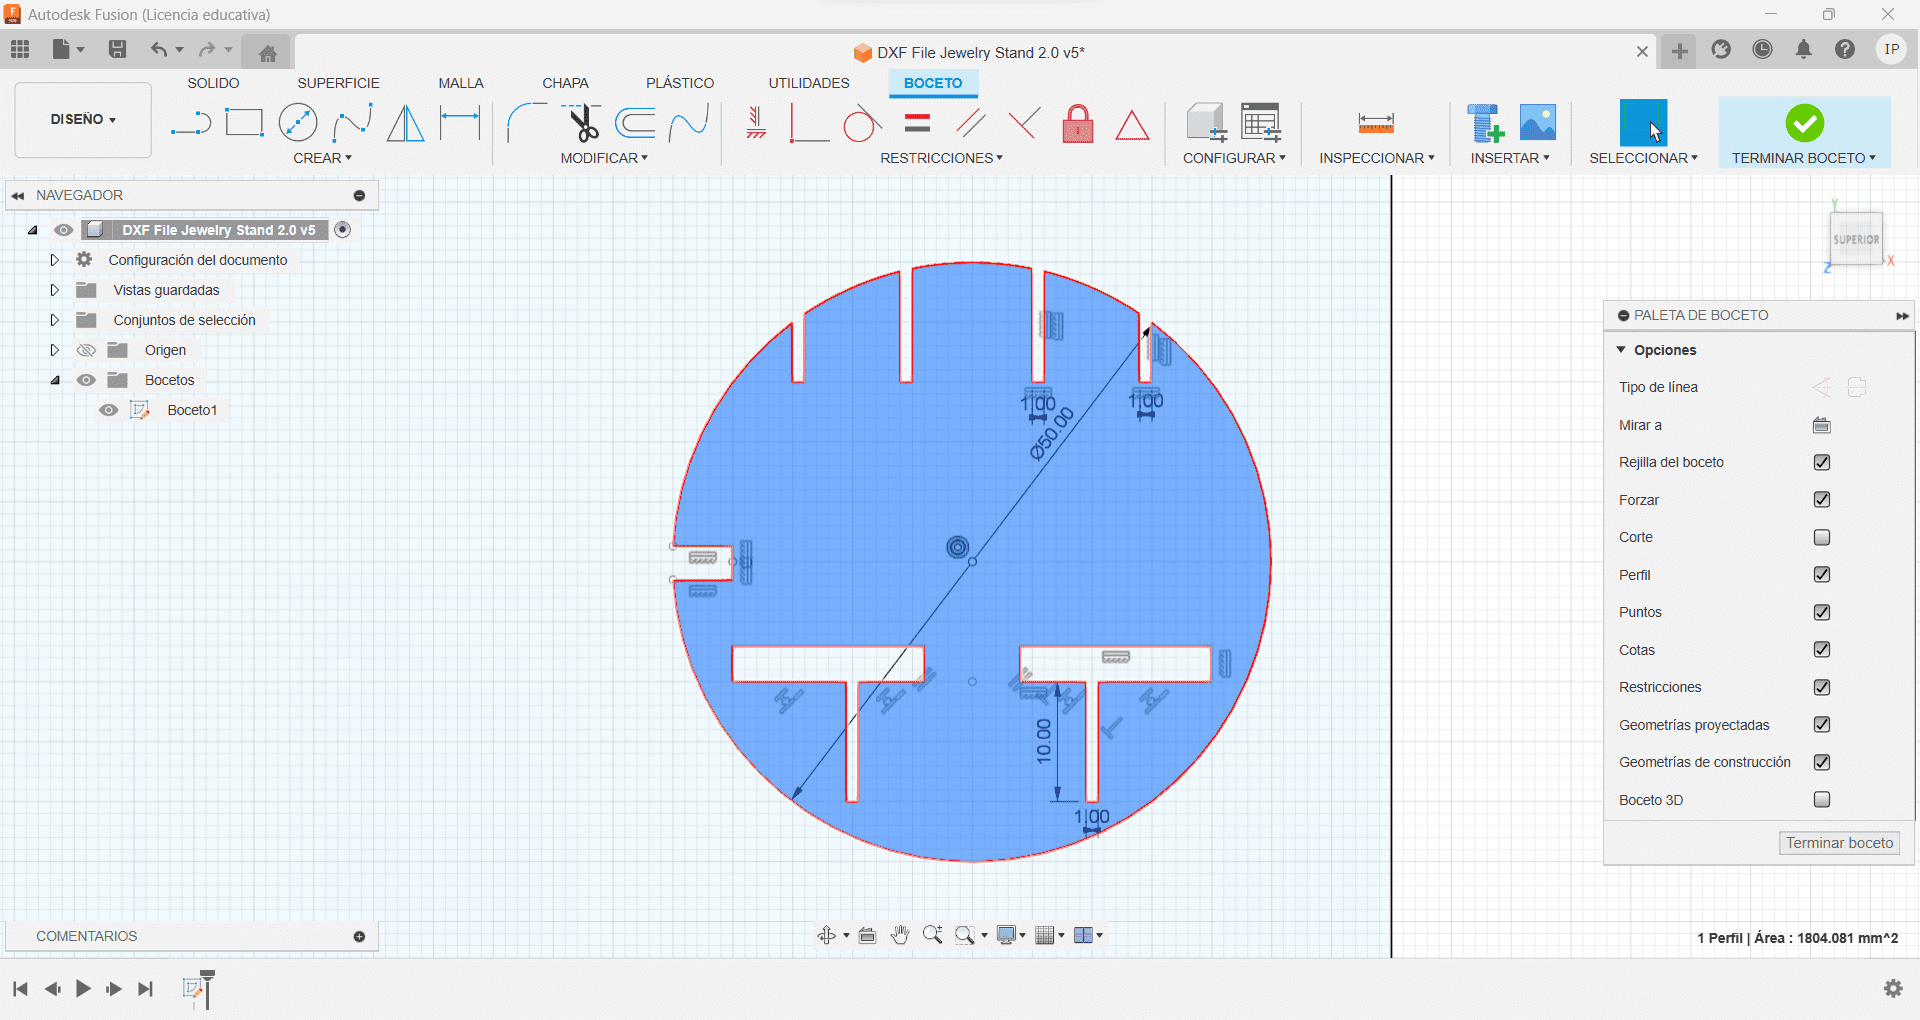
Modular Pieces
As the sketch, I had previewed 5 different shapes: star, triangle, square, circle and pentagon. Starting with the circle, I created the slot for the earrings with 5 different shapes. I then created a rectangular pattern with the design, creating 5 more pieces.
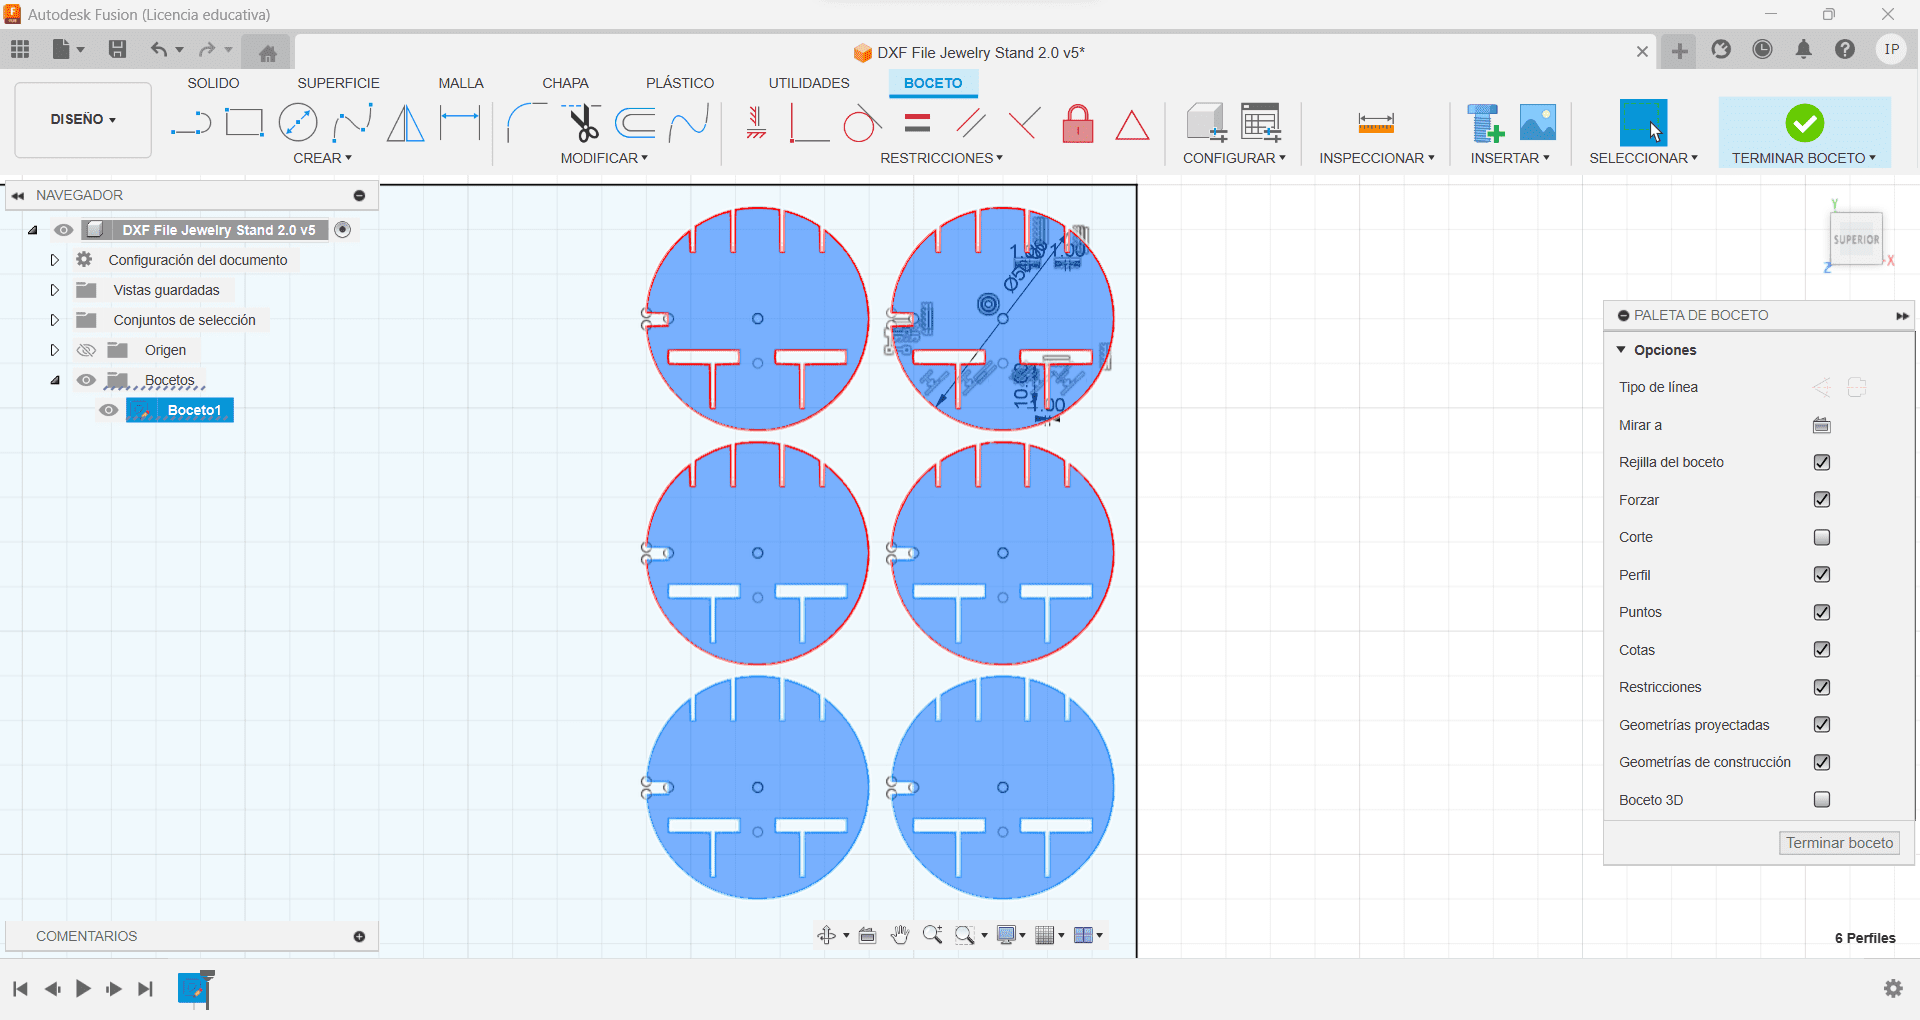
Having a fairly similar shape, I made the square figure, with 50 mlm long. And again, used the tool rectangular pattern.
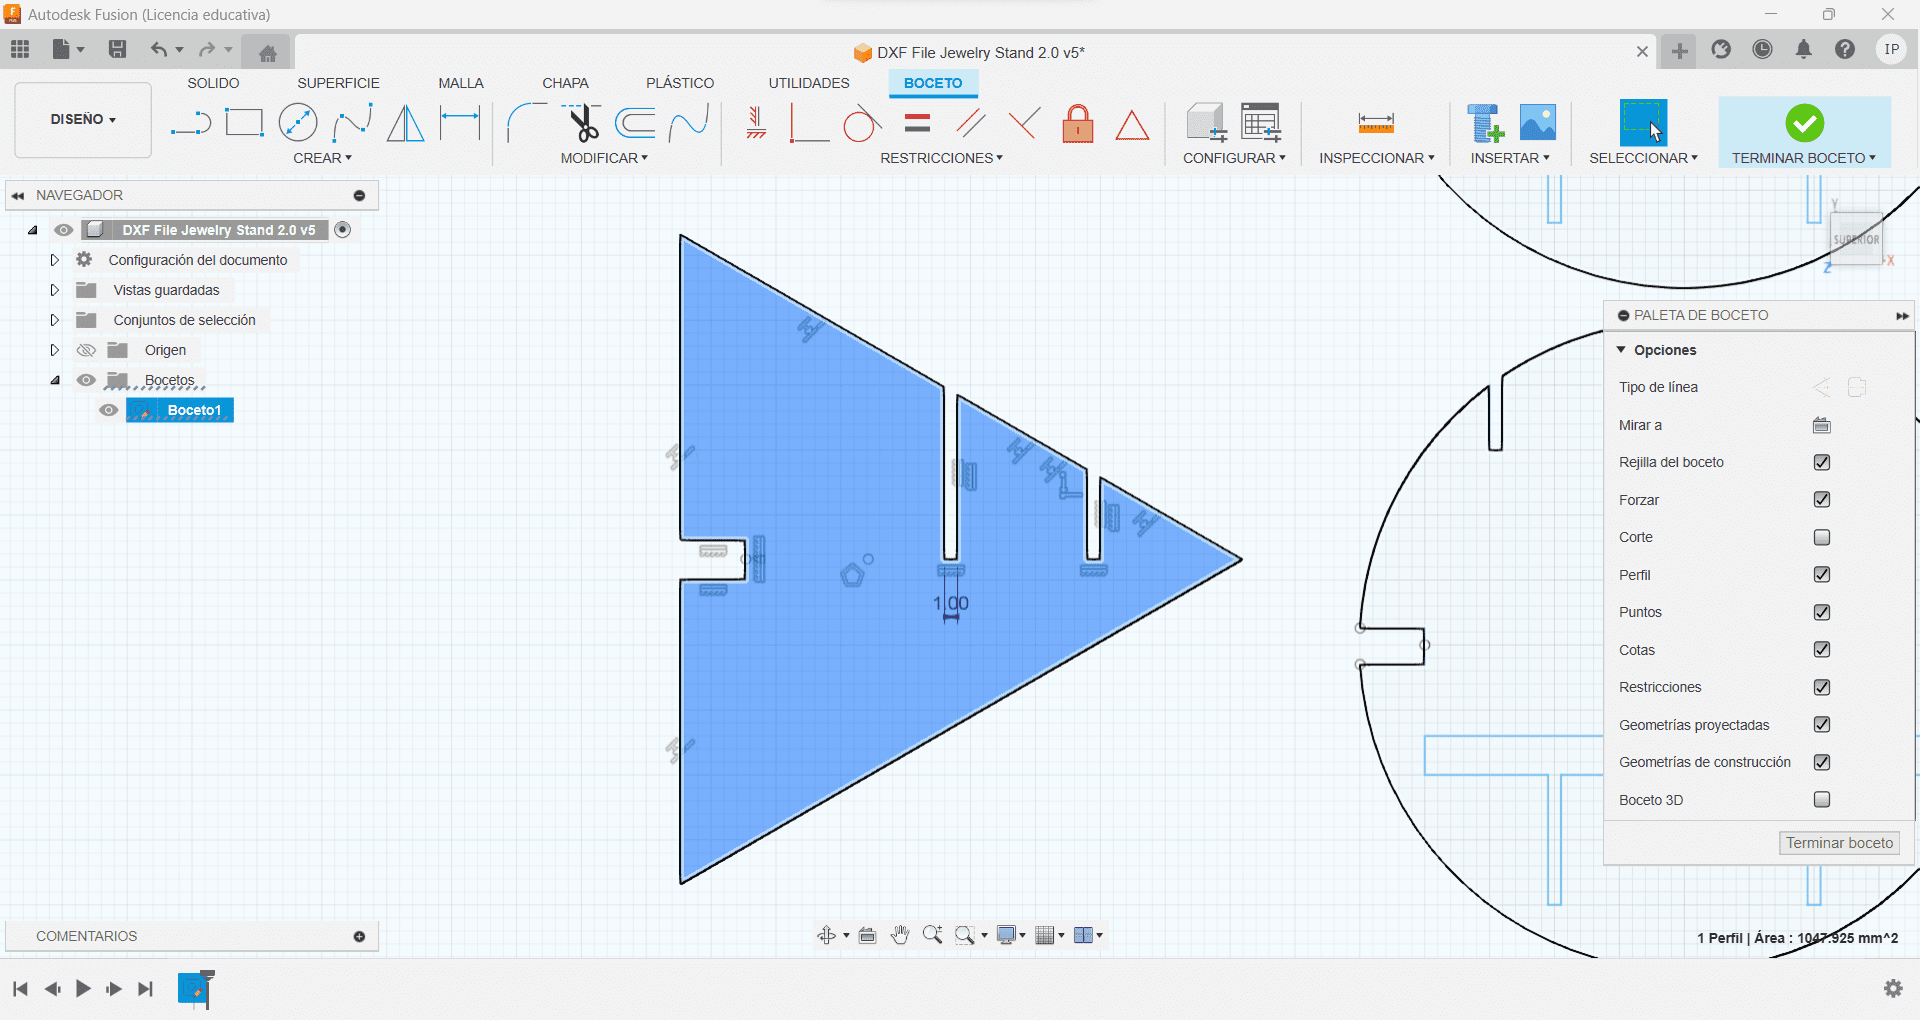
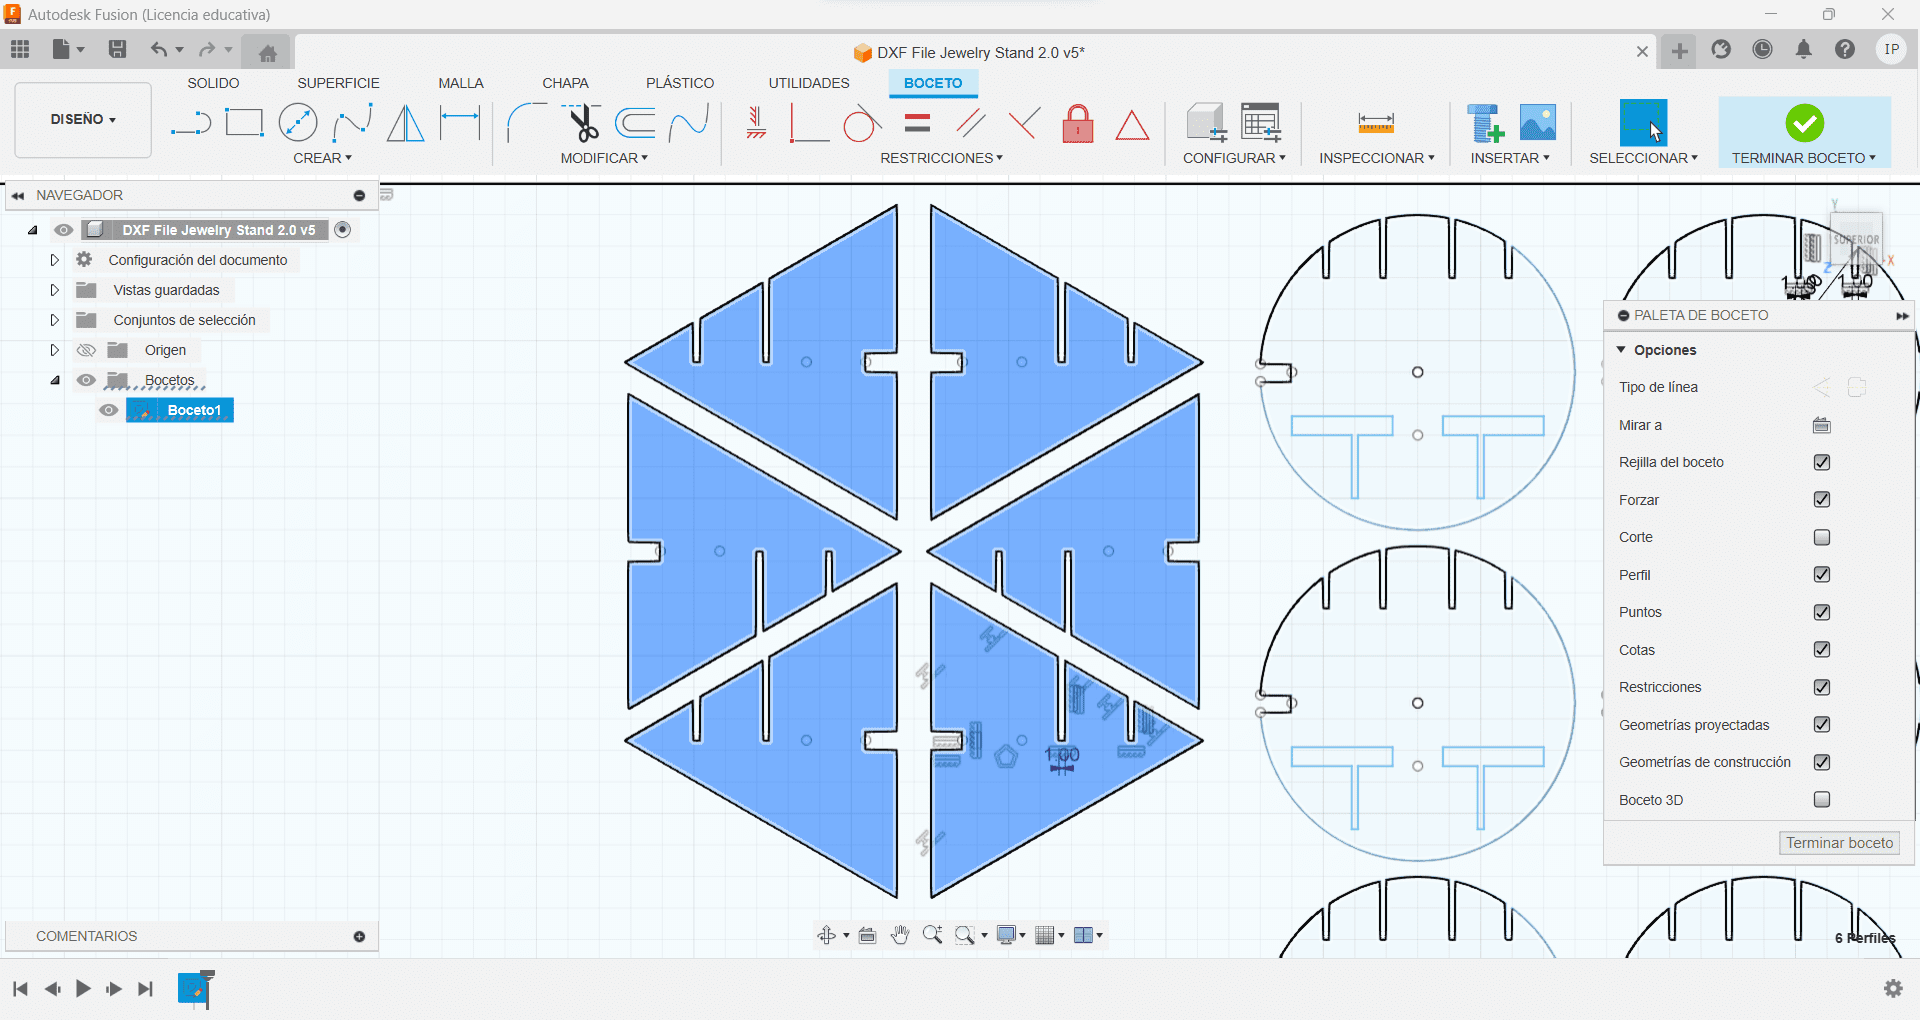
Using the polygon tool, I created the triangle having the same 50 mlm each side, I also made them so they are for a single pair of earrings, I then again used the rectangular pattern to create another 5.
For the pentagon, I used the same polygon tool, having 35 mlm on each side, I also had the earring slot a small chamfer, with the chamfer tool, giving it 1 more mlm so it has an easier access. Made again a rectangular pattern

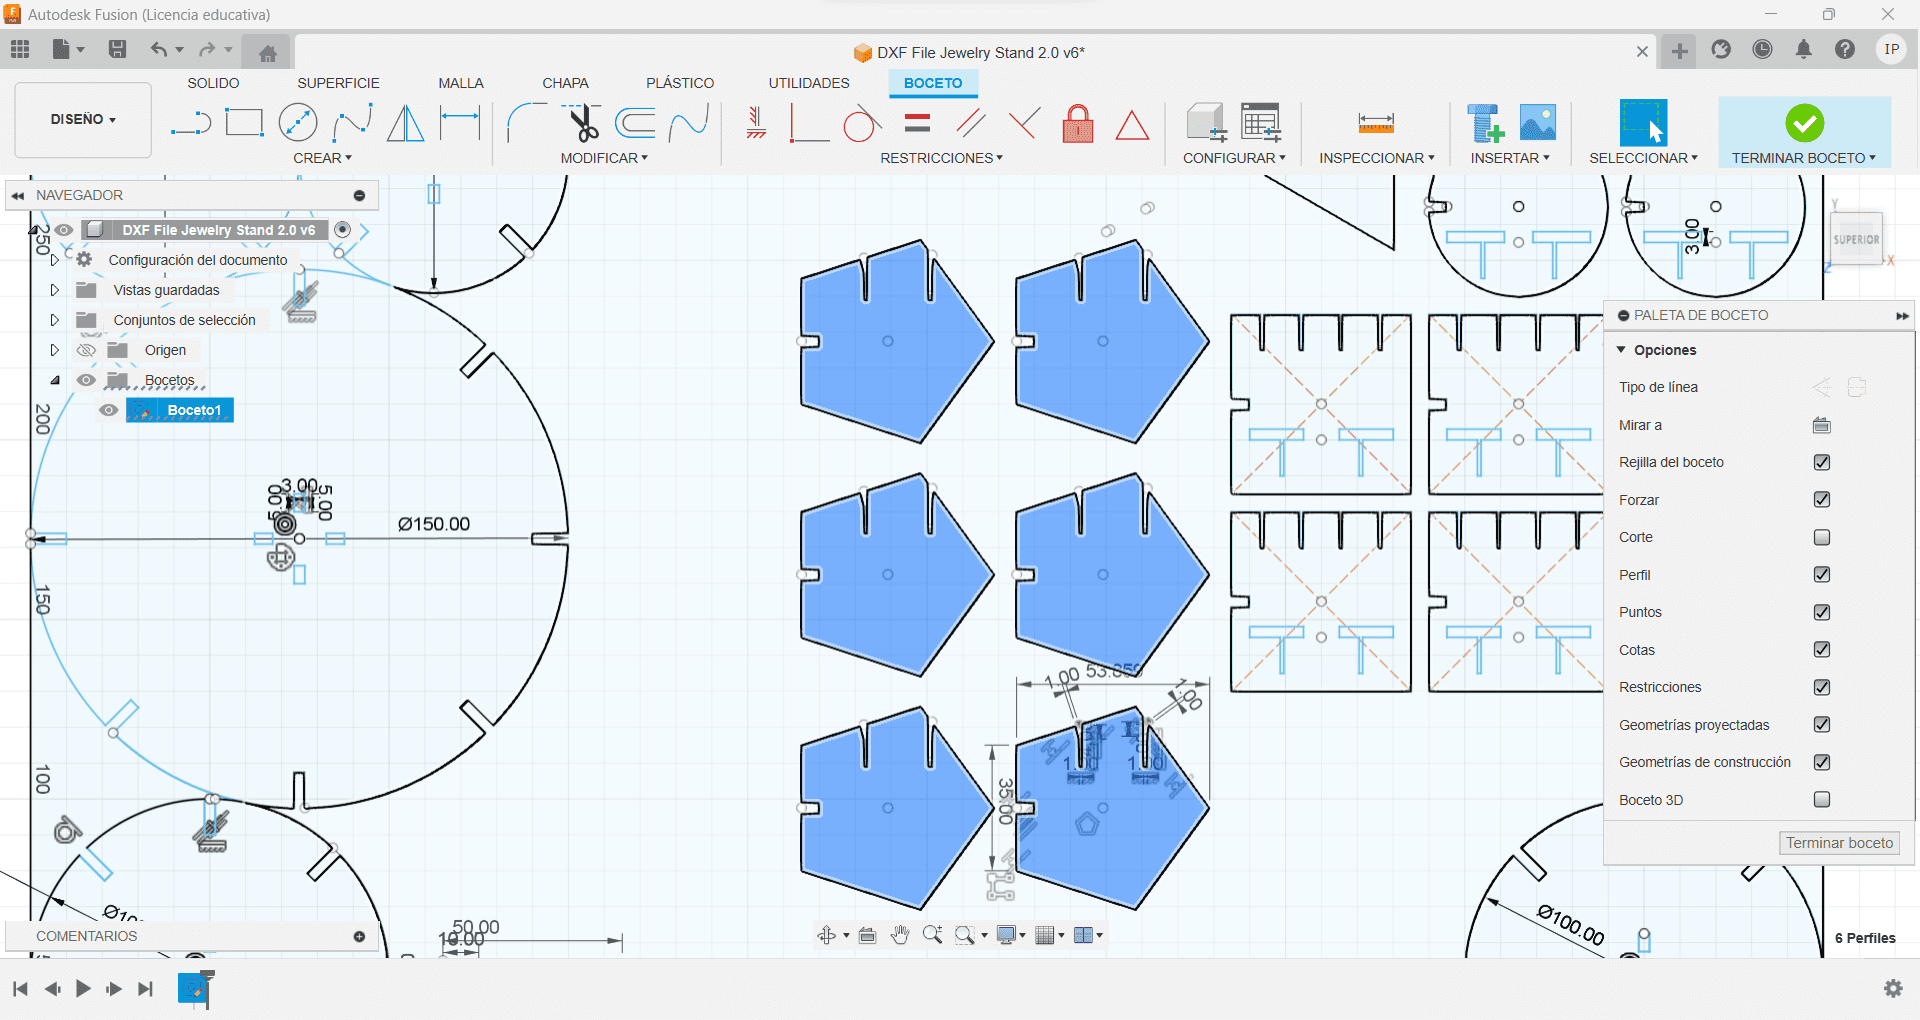
I quite didn't like the star shape because I felt it was too unnatural to the other shapes, so I added 2 of each figure and erased the rectangular perimeter, saved it in a DXF file, so I can use the laser cutter.

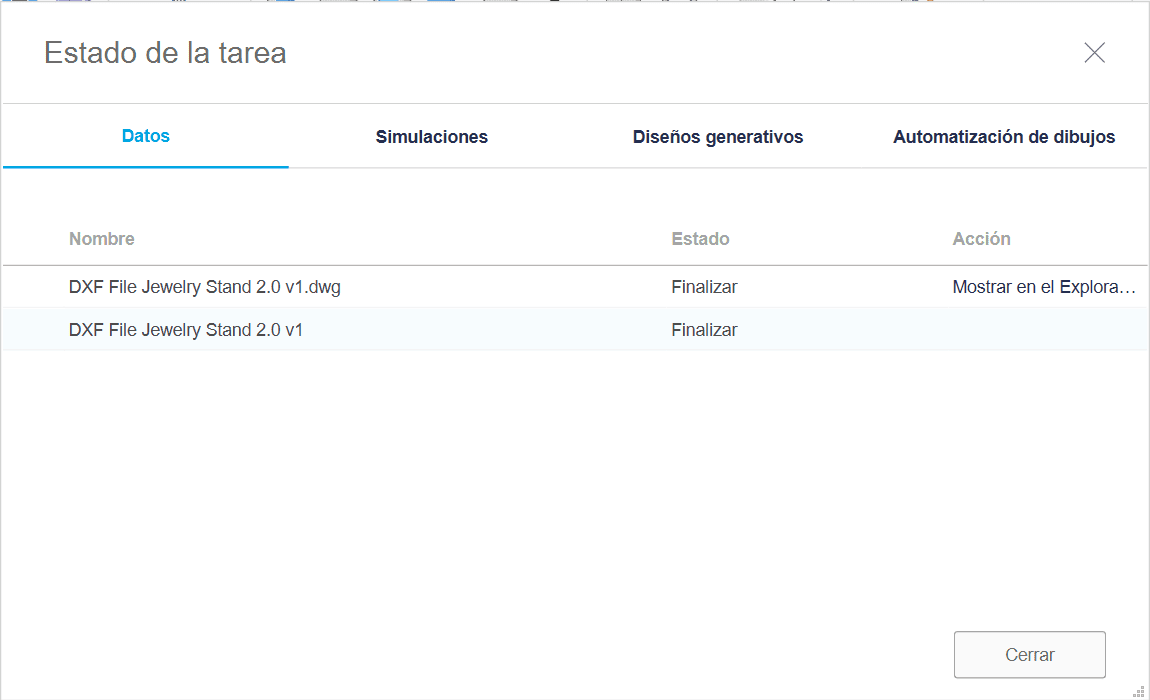
Using the Laser Cutter
Laser cutting is a digital manufacturing technique mostly based on thermal principles, utilizing a concentrated laser beam to carefully melt material in a specific area. (Fun!)
Every machine, comes with its unique set of parameters and software like Smart Carve. Other crucial factors to account like the material type and its thickness wich important to know before cutting.
Required Machining Parameters
In the data base of the program to generate our G Code you will need this info!
| Properties | Description | Supplier | Result |
| Machine | CNC | ASIA Robotica | max 24000 RPM |
| Material | MDF | - | 15mm |
| Diameter | Tool Diameter | End Mill 1/4" max RPM 28000, 2 flutes | D = 0.25 inch |
| Depth of pass | How much does the tool cut per pass | It's specified by the tool supplier, or 50% of the diameter of the tool | 0.125 inch |
| Stepover | Distance that the tool has between each pass | Depends on the Application | 40% in bas reliefs |
| Spindle Speed | How fast is the spindle tool going to turn | As per reccomendation table (Team Practice!) | 9000 |
| Feed Rate | Feed per tooth or Chip Load | Follow the reccomendation Amanna tools/s or Chip load x RPM x # Flute | 200 IPM = 5075.98 mm/min |
| Plunge Rate | Forward Speed | Depending on your process and material | 800 mm/min |
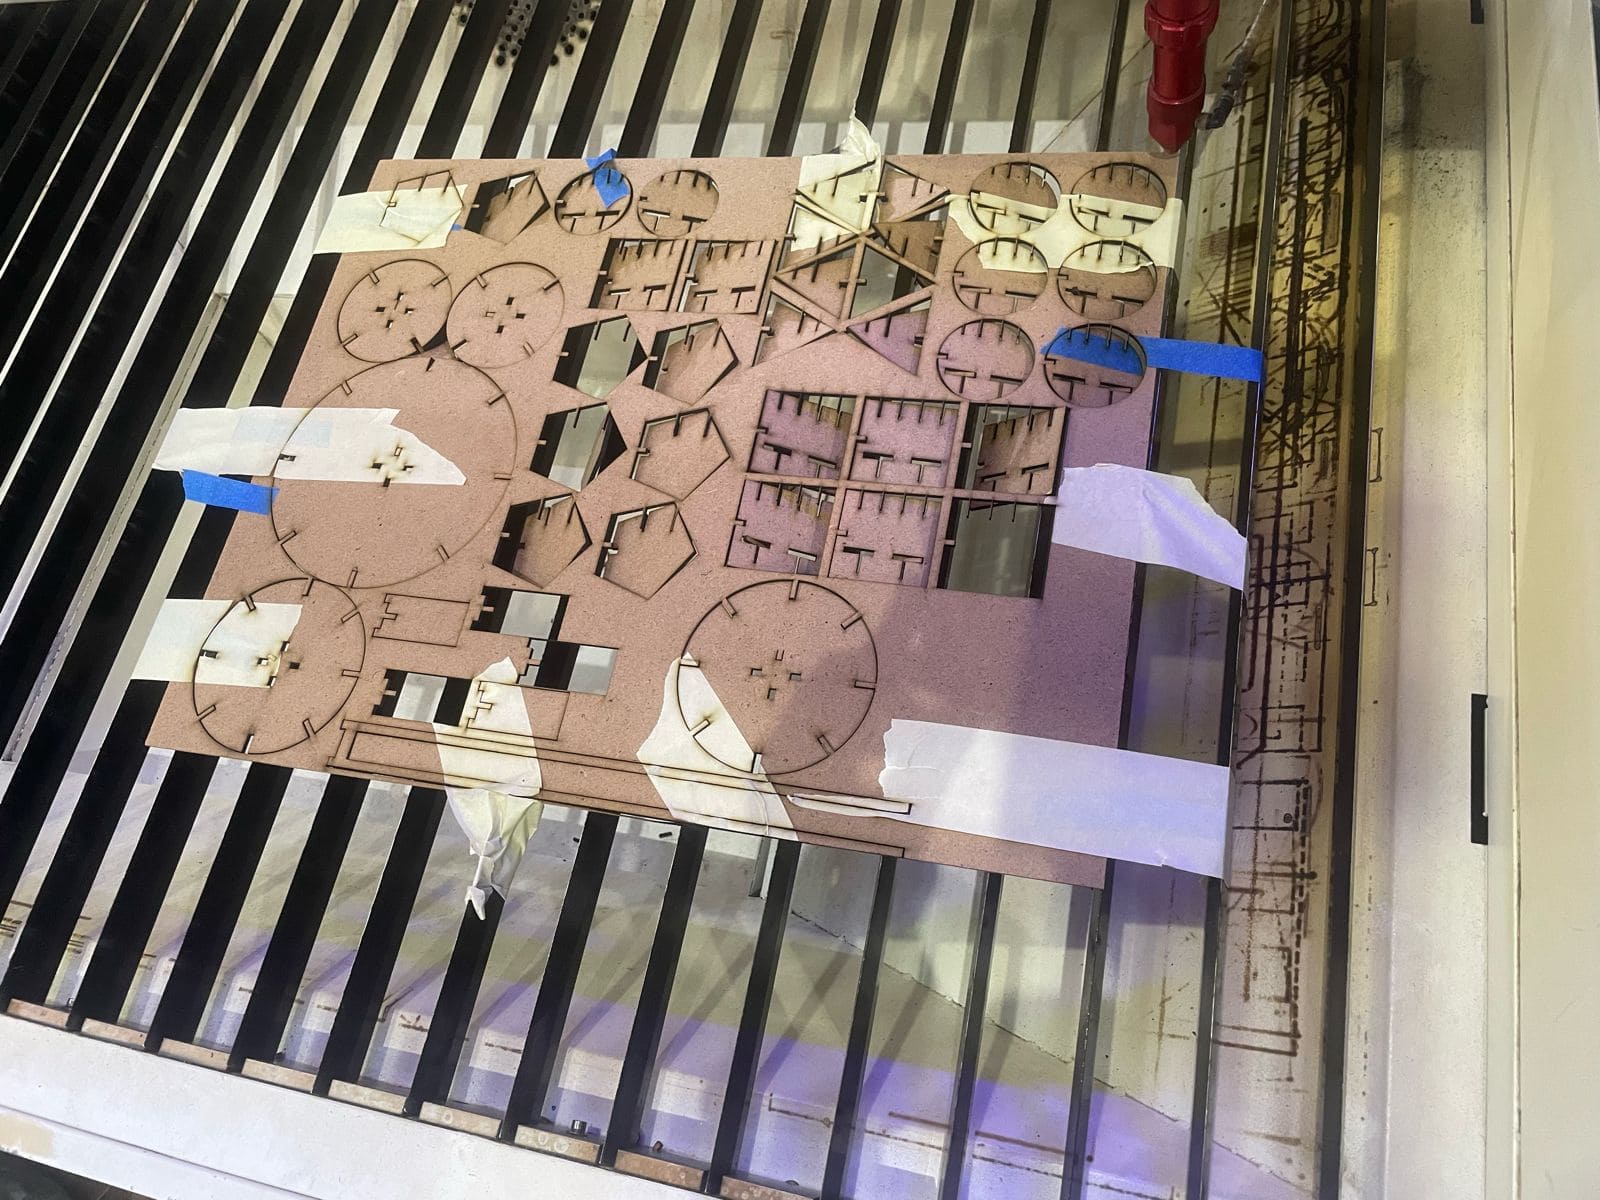
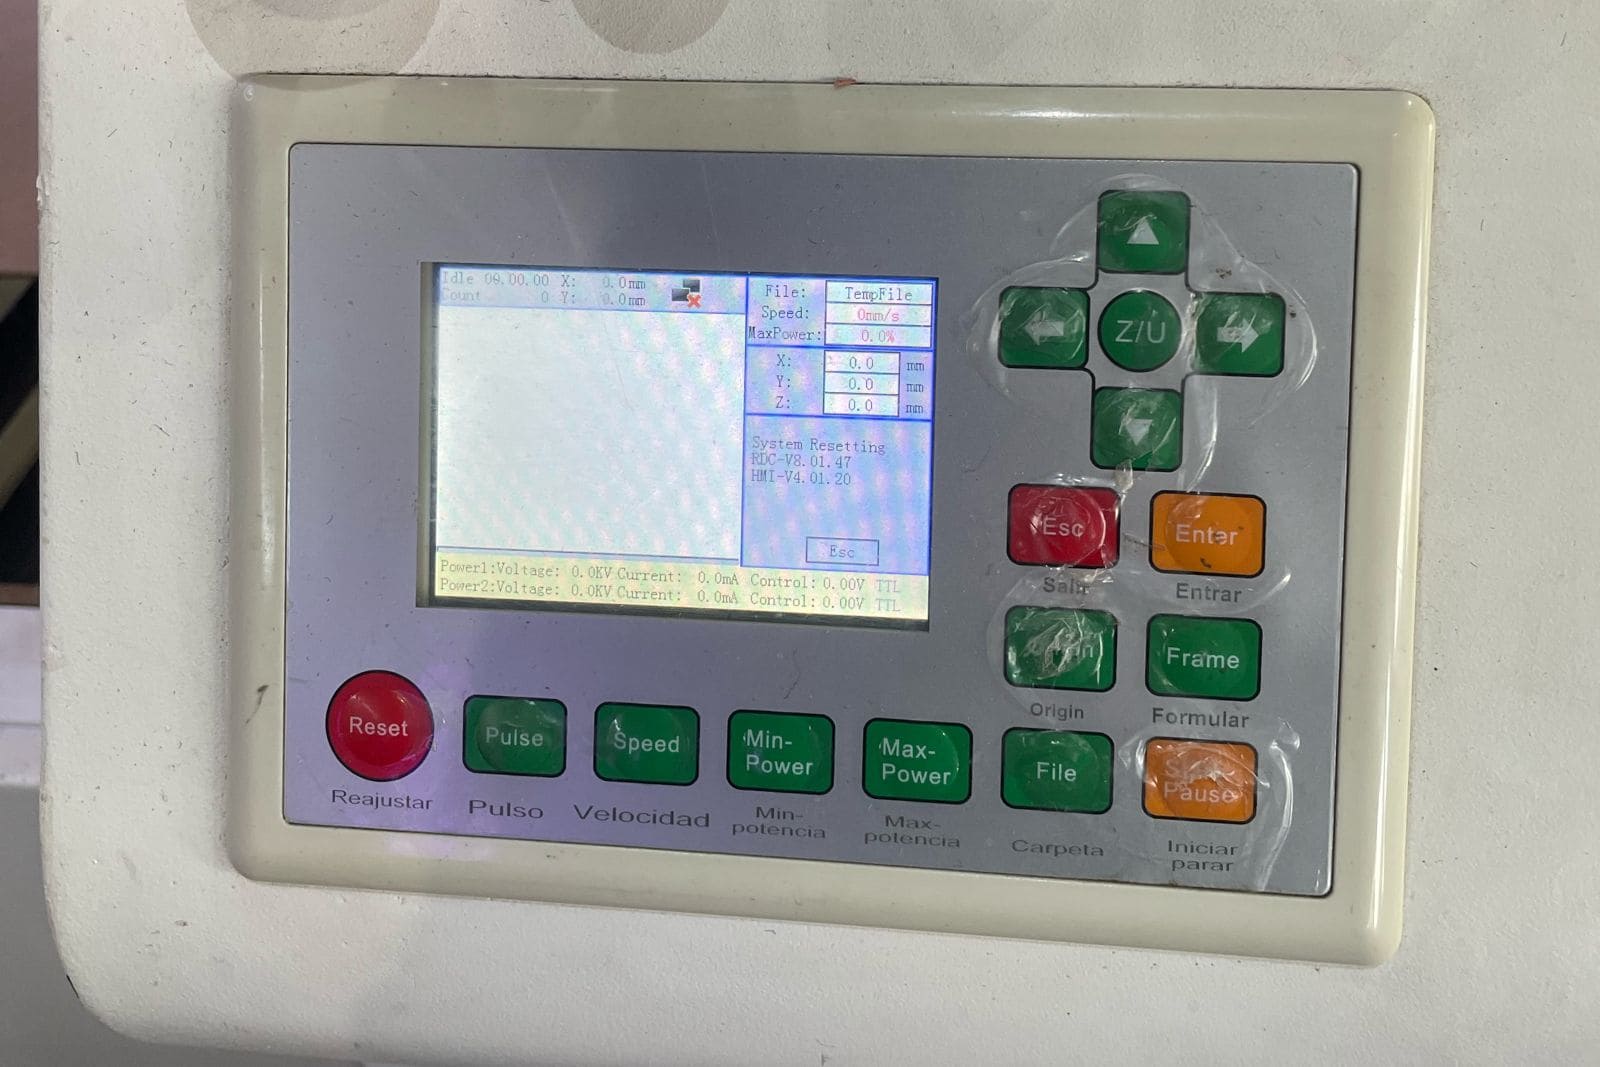
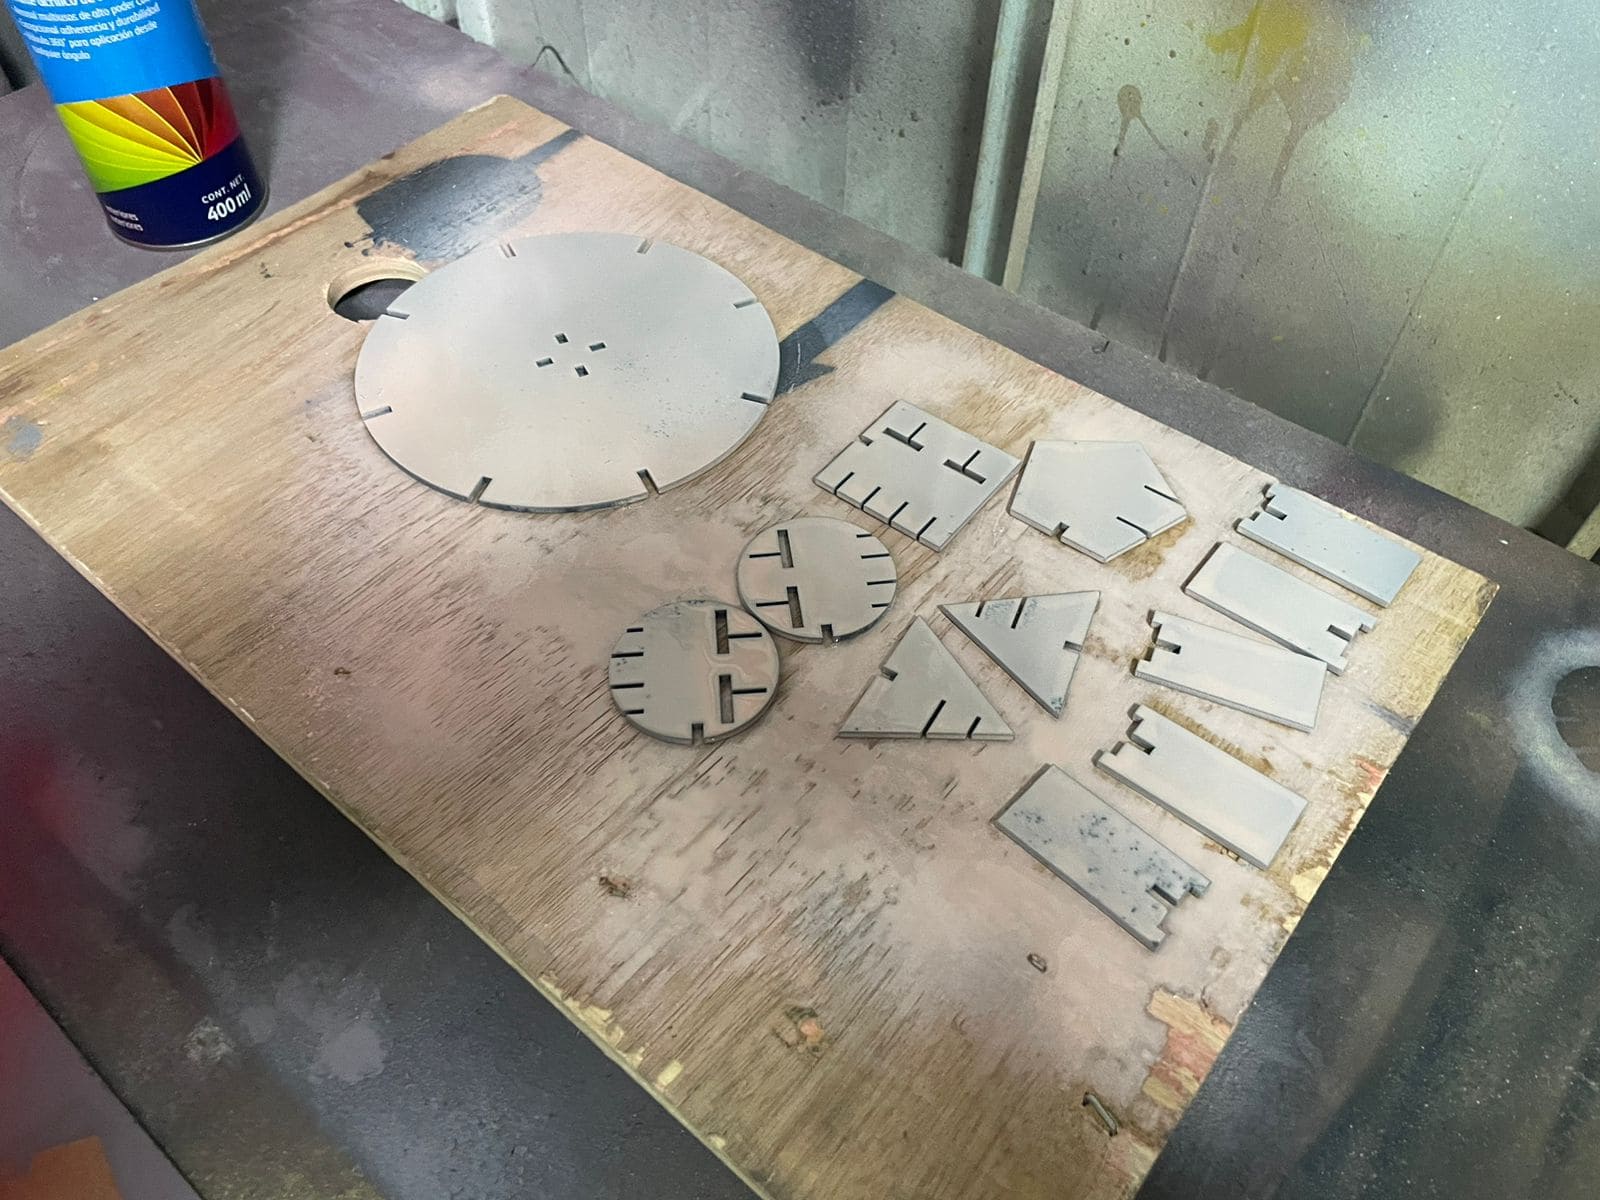
Once I had my file, I went over the machine and started working. First, we need to turn the machine on, so the smoke extractor starts working, also the heat reduction system. I then loaded the file and since there were no engravings and just cuts, there were no need to change the preloaded settings for cutting. I taped the panel on to the machine so it has a more sturdy and precise cut, then I moved the laser to the 0,0 coordinates, which means putting it in the corner of the MDF panel, the laser cutter made the movement all along the perimeter of the cut, and once it was all correct, I close the lid and started the process
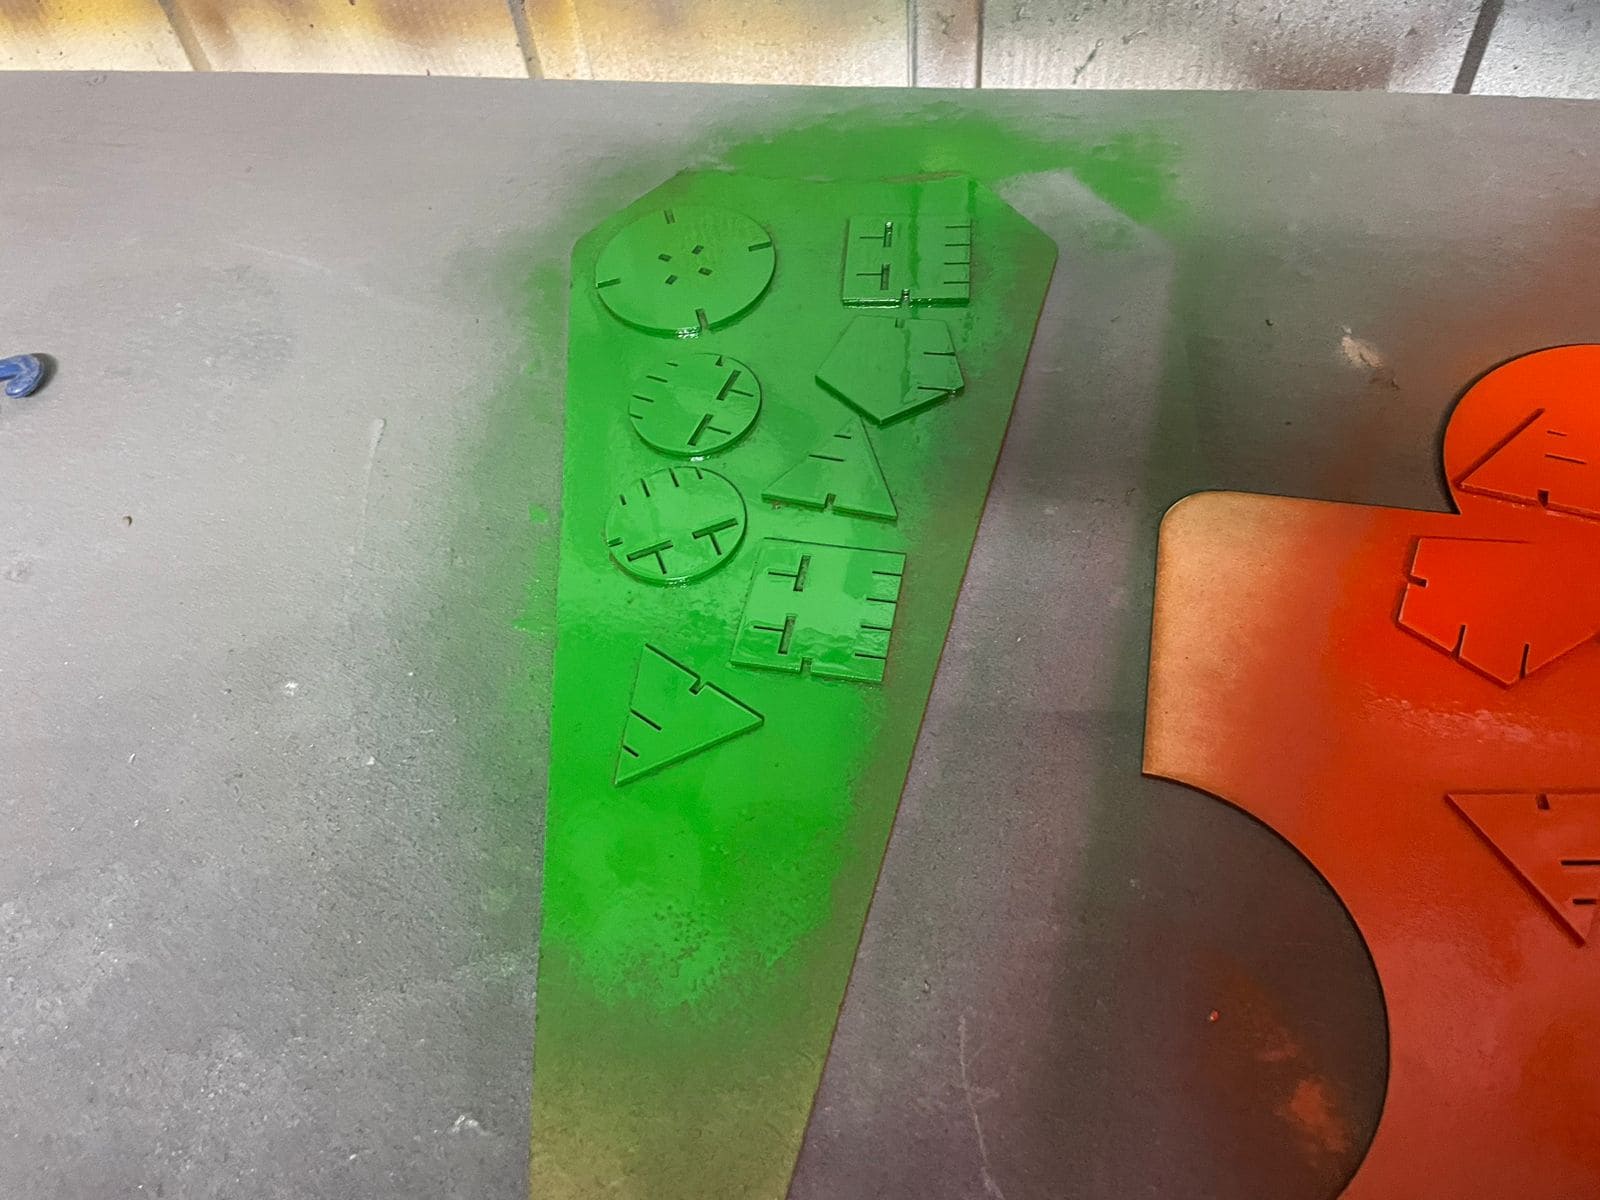
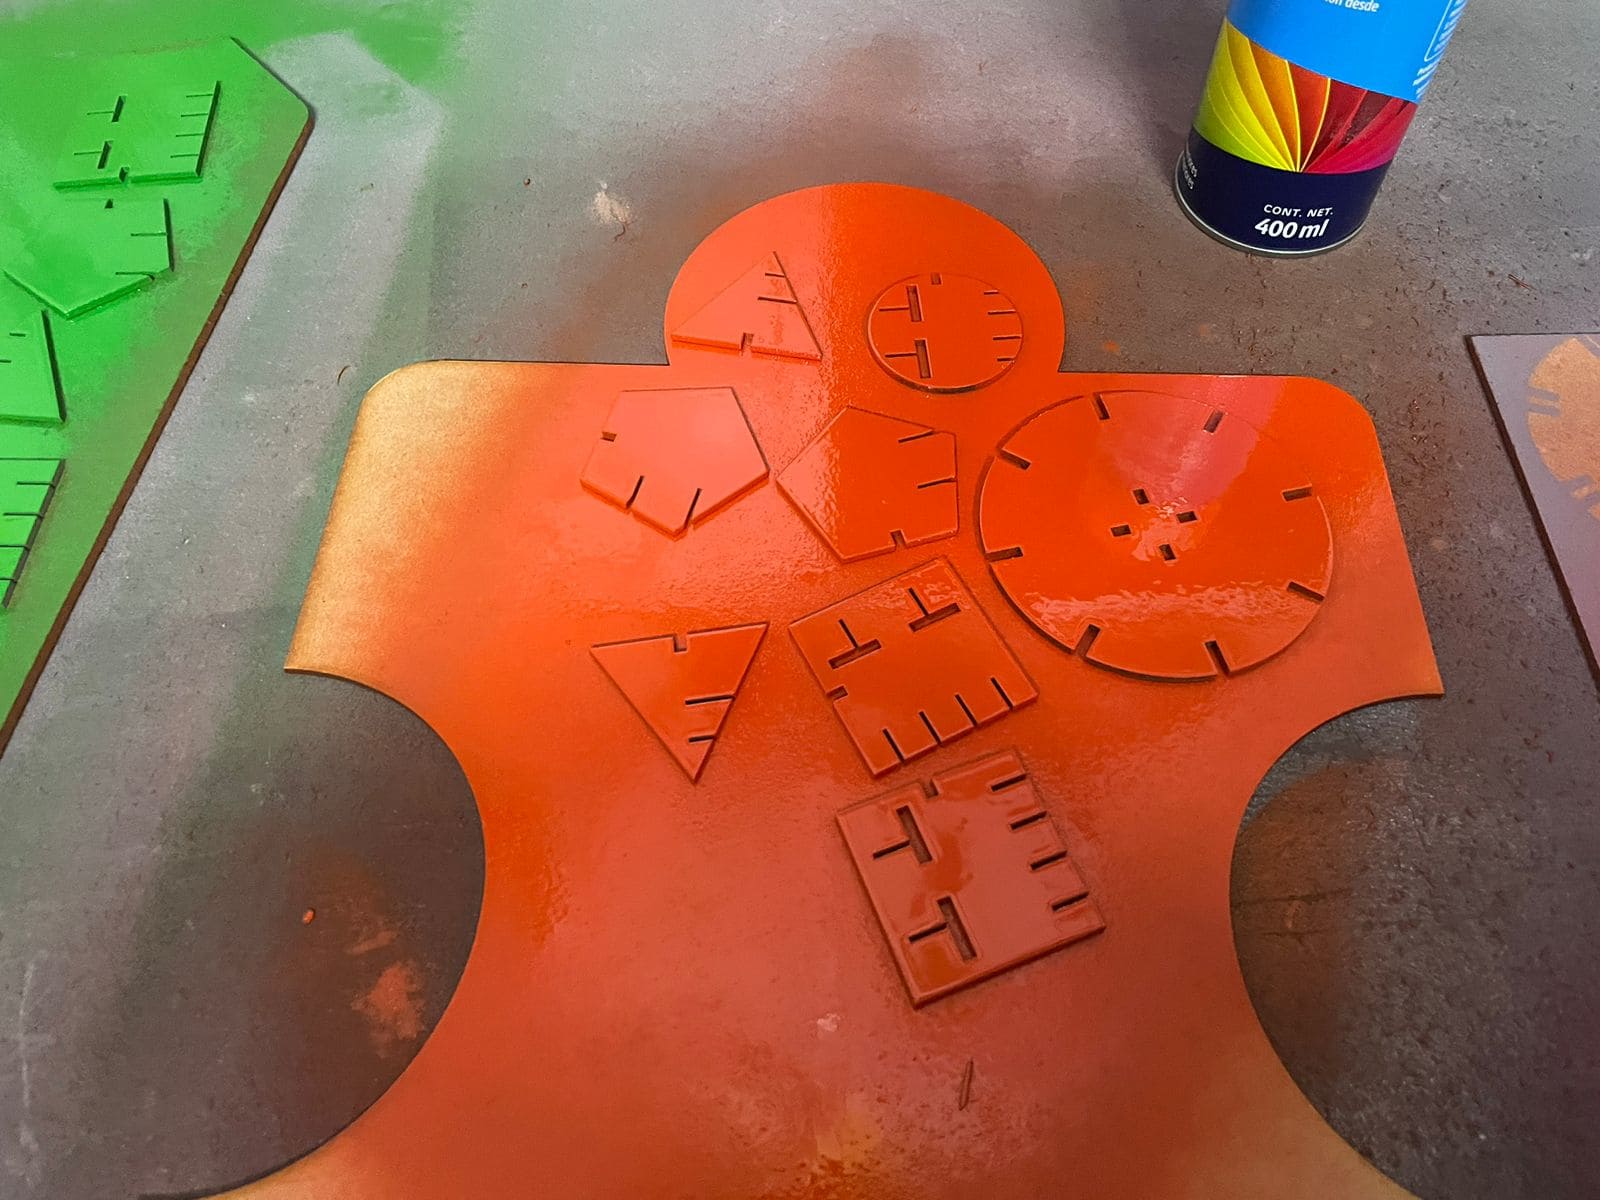
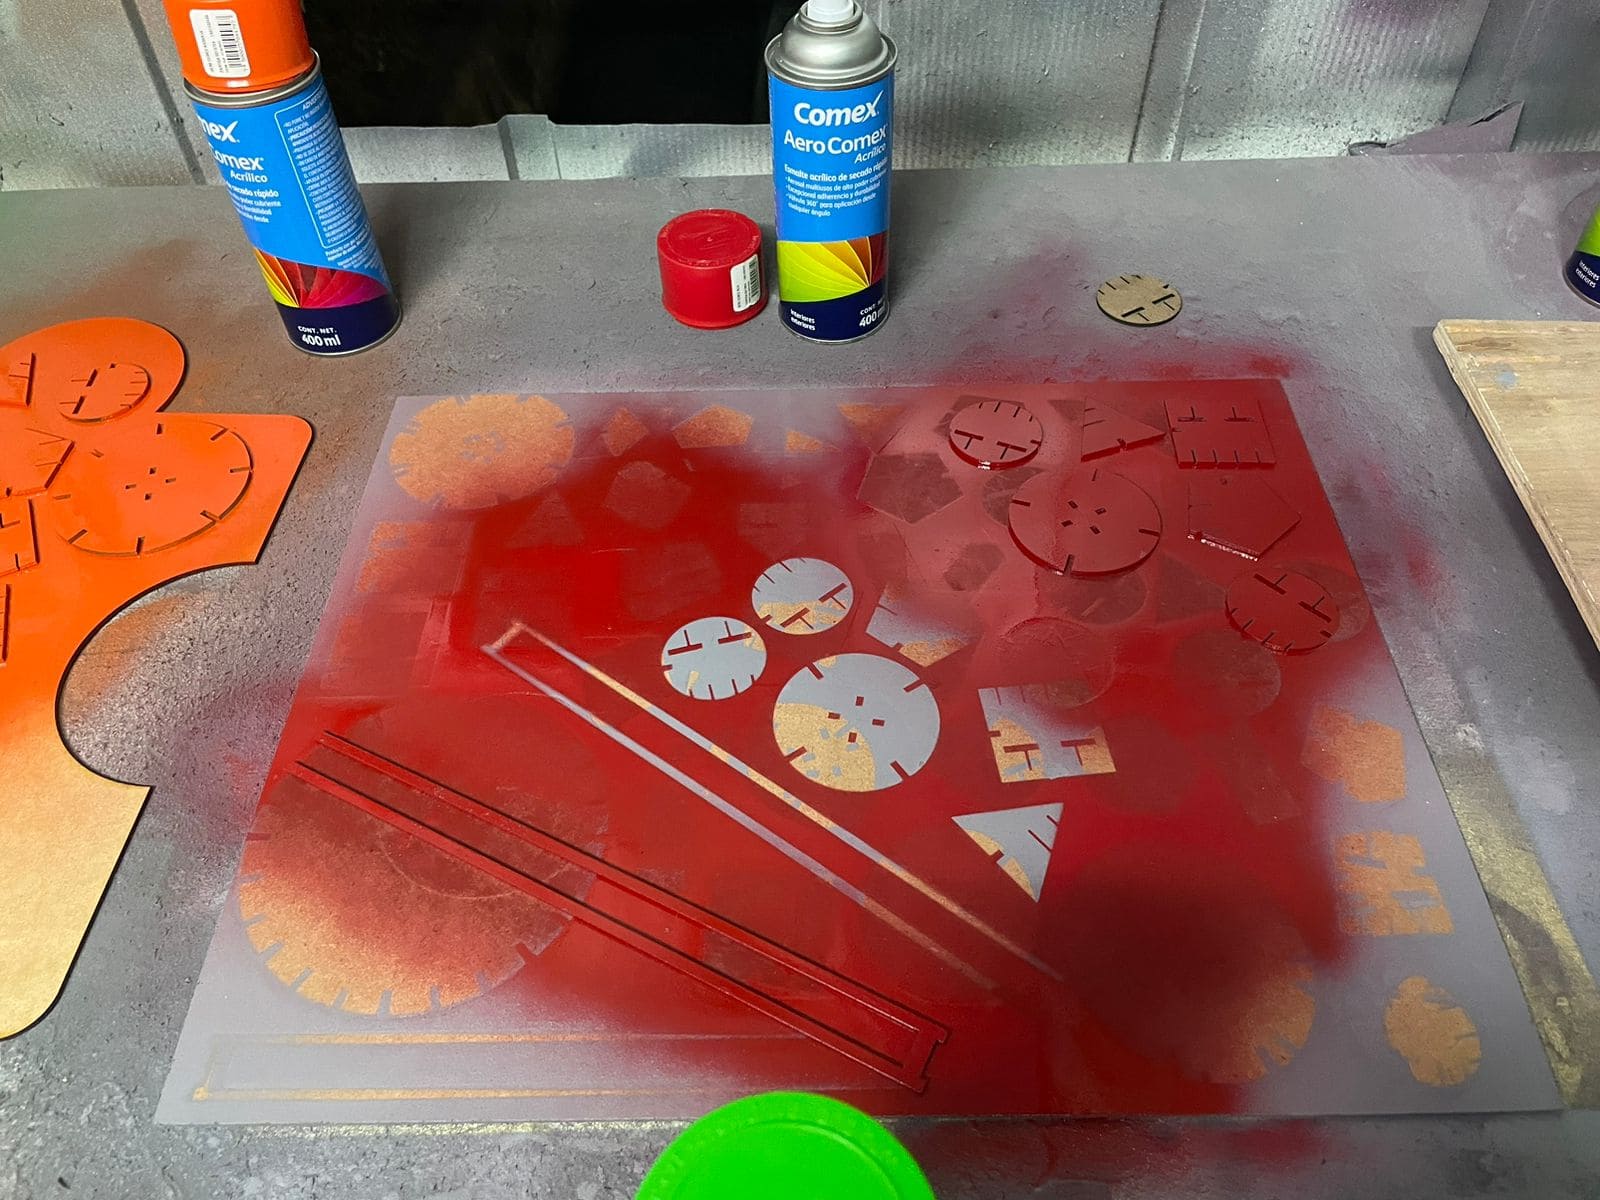
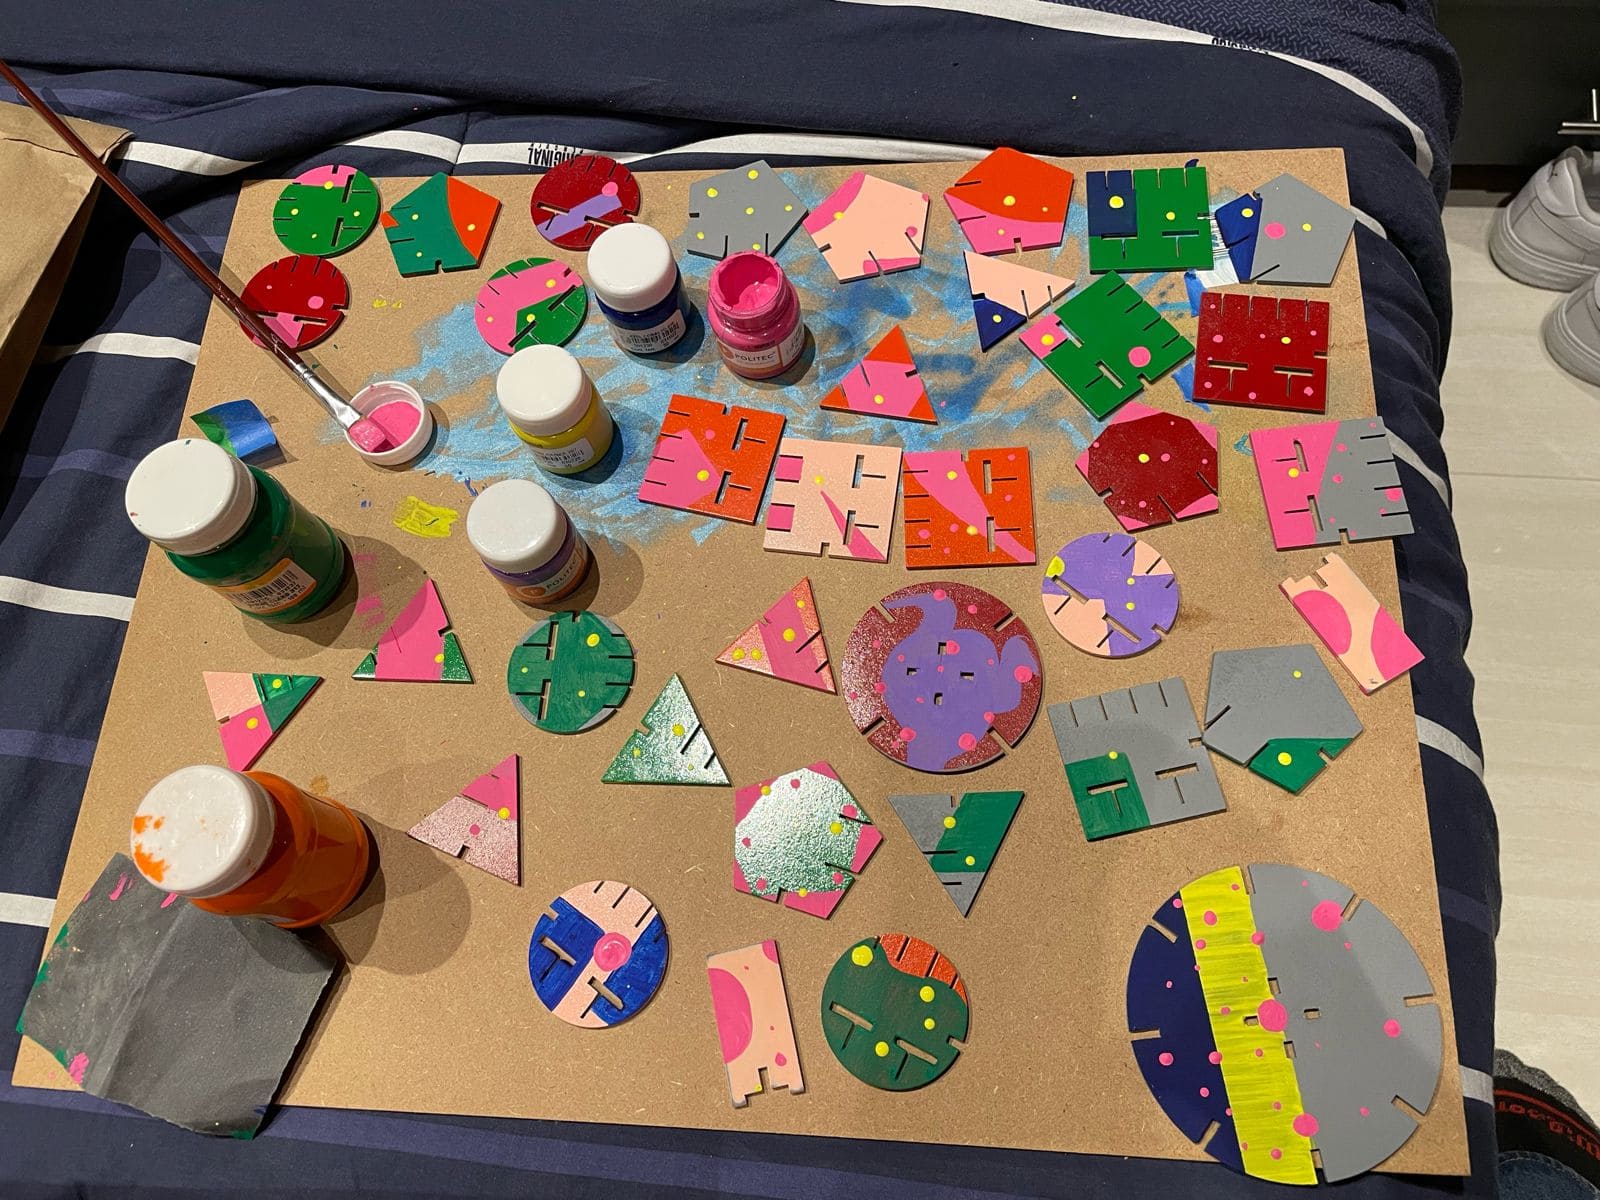
Once I had all my pieces ready, I removed the tape on the pieces that had some and sanded them, so I could start painting! First I coated them all with a few layers of gray acrylic paint spray so it has an even finish, once that has dried, I began with the other colors. I had now finished the pieces, but I quite didn't like how they looked, so I asked my boyfriend to help me fix them, he hand painted them all! I really like the finished look of the pieces, it's fun, artistic, I'm so glad he could help me out.
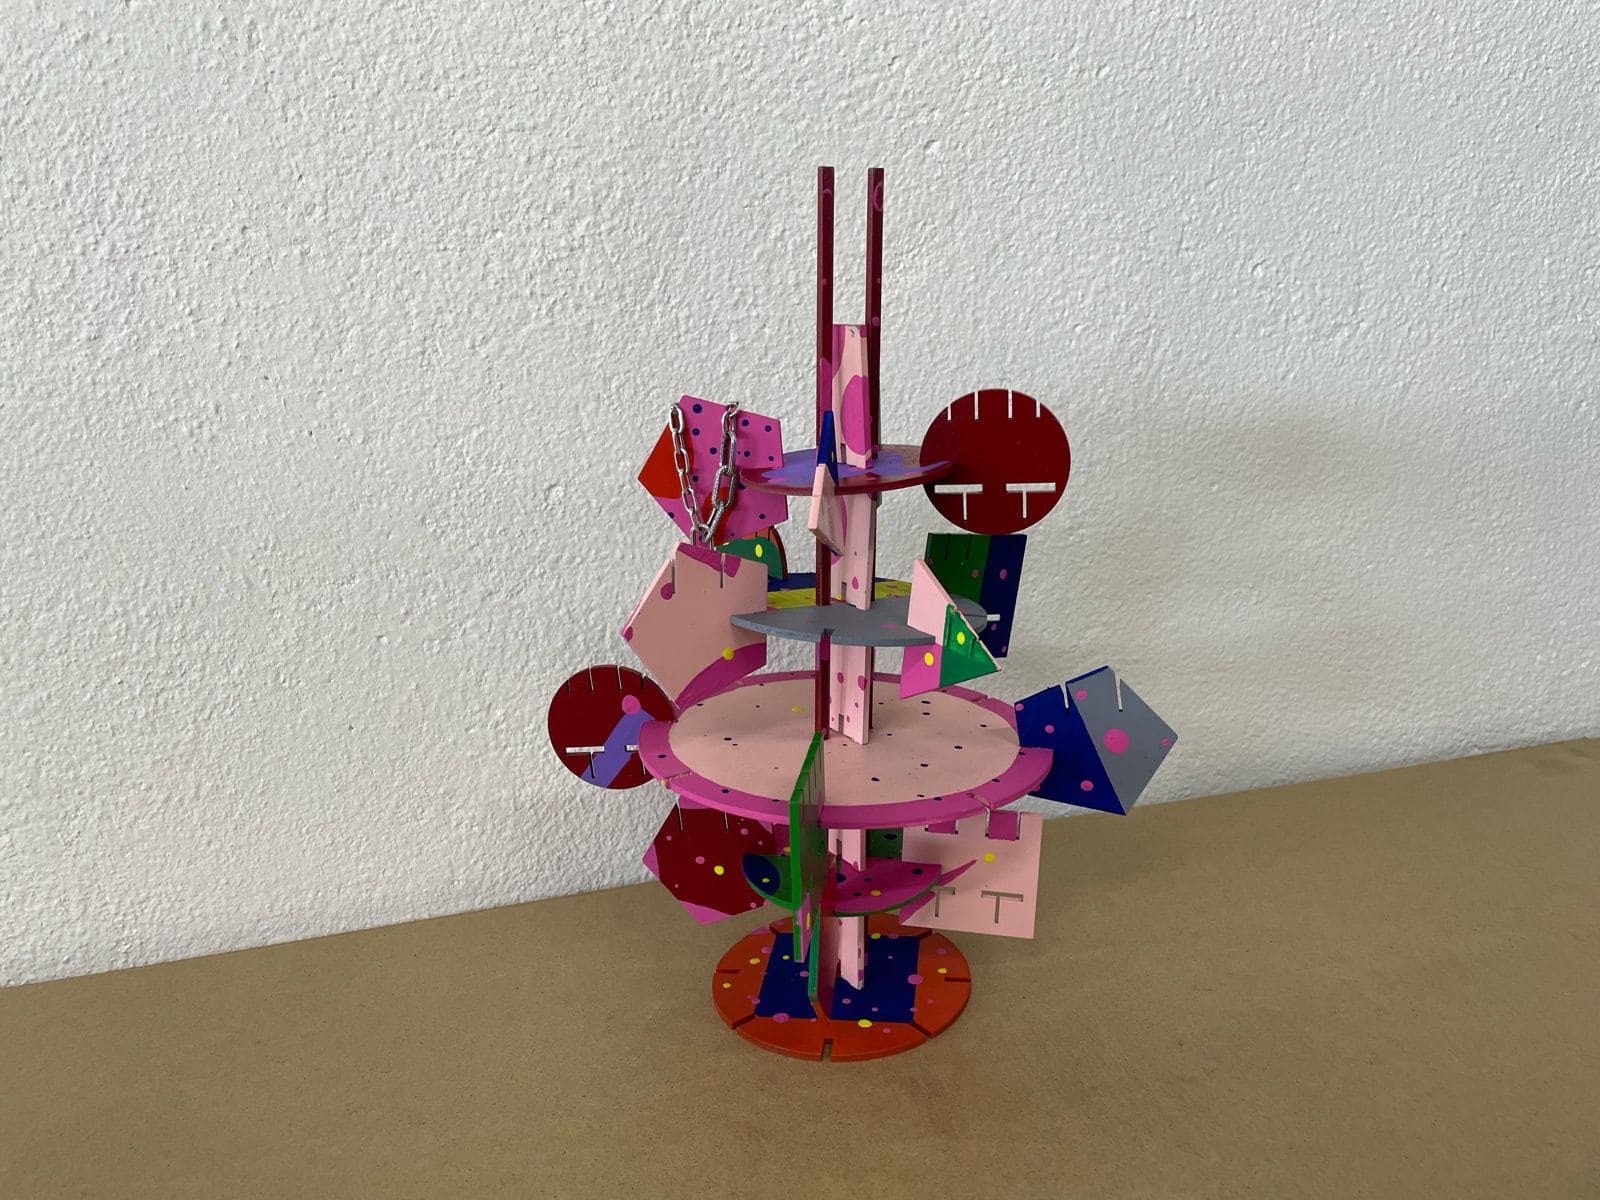
Finished Product
Once all the pieces had dried, it was a wrap! I have my jewelry stand ready to be used and all set up! This was a really fun week, I personally enjoy the design process, creating the shapes, getting the sizes, the color palette, how it's gonna look, everything about the design is always fun! I learned a lot about how to actually use the laser not only to cut, but to engrave, even though I didn't have engraving in my pieces, I was able to see some of my classmates projects. It's truly an exciting experience to see what everyone comes up with.