Learning The Basics
This week I worked on defining my final project idea and started to getting used to the documentation process. You can check out the "Final Project" section to learn more about it!. Starting with learning Git.
Git Download LinkLearning Git
During the initial week, I took on the task of "mastering" Git, as I needed to develop a website for Fab Lab. Despite having limited experience and no foundation whatsoever of HTML and CSS, the journey appeared to be long, and it was. My first objective was to understand the significance of Git. Git is a system for controlling versions that allows for the tracking of changes in files over time. Now that we know what it is, we can continue.
Set Up and Configuration
First thing first, I needed to install Git on my computer and create a GitLab account. That was out of the way quick, now we have to comprehend the initial configuration and the interconnection of Git components, which is going to require a bit more time. I familiarized myself with terms such as commit, branch, and others. My aim was to get comfortable with the essential Git commands. I learned how to "push" off a project, and save changes. As I practiced in a test setup, things like pull, push, and merge started to make more sense.
Visual Studio Code Download Link
First clone
Once our teacher gave us an HTML page template for us to work on, we can then proceed to clone it and upload it to the Fab Academy GitLab. Using “git clone LINK” command to copy and paste the repository to our computer.

Command Table
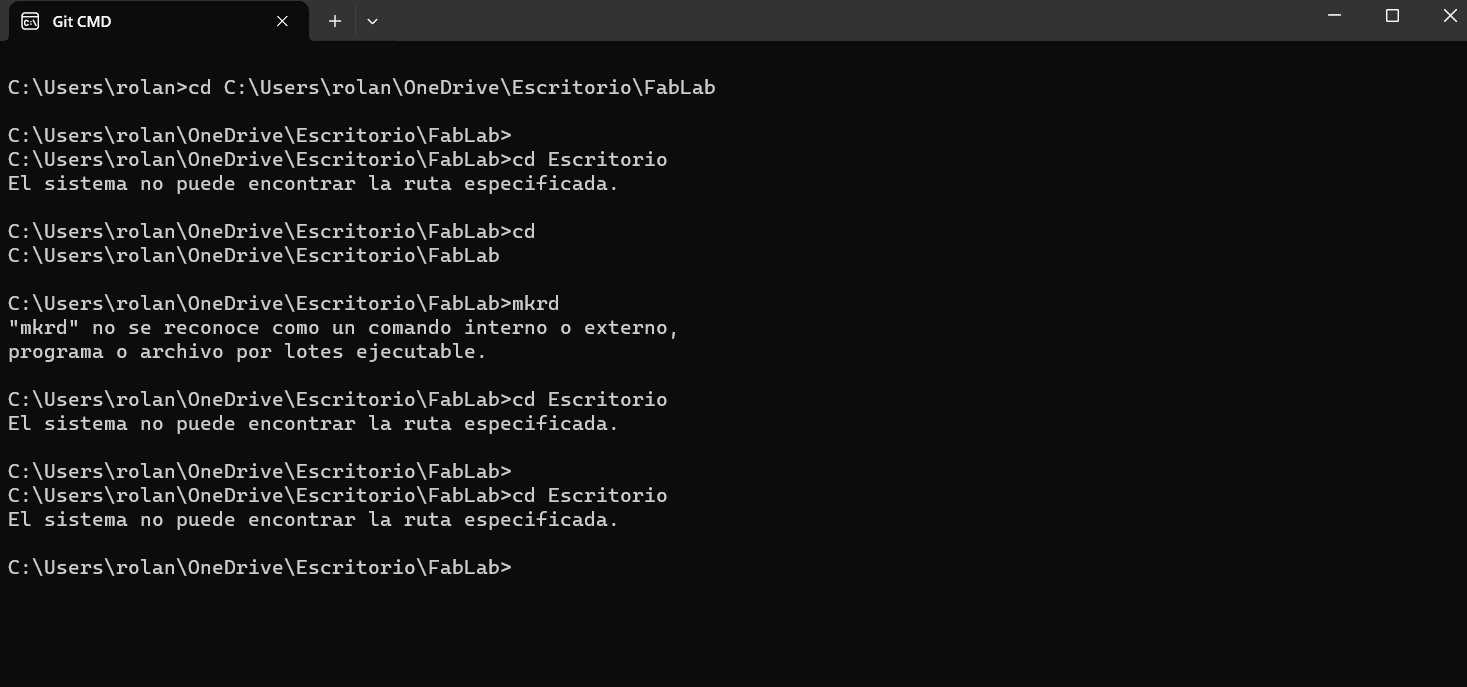
Here are some of the commands you can use to create and edit your page in CMD
| cd | Find a foler | index.html | Create the first page that of the web site |
| mkdir | Create a new folder | html:5 | Generate the basic code to all the pages |
| git init | Create a repository | git status | Know if there's things to upload |
| cls | Clear the previous work | git add . | Add new material to the repository |
The New Page
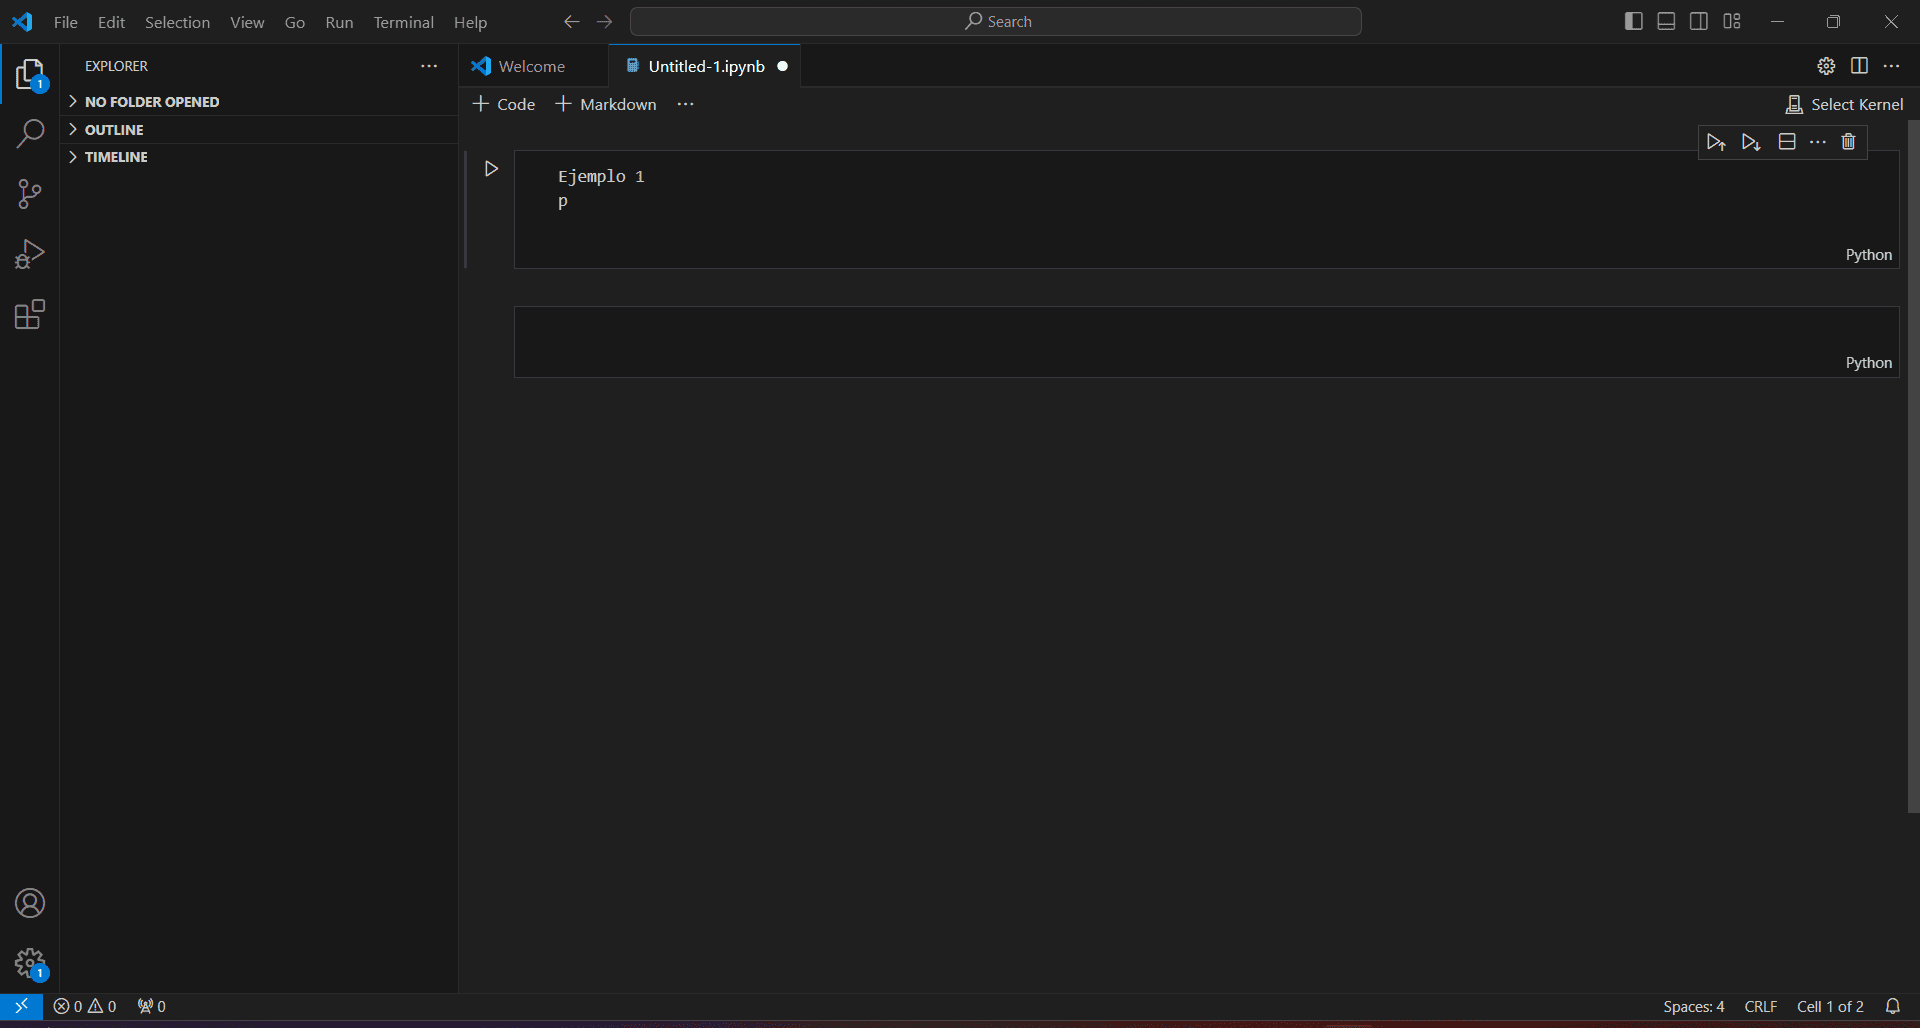
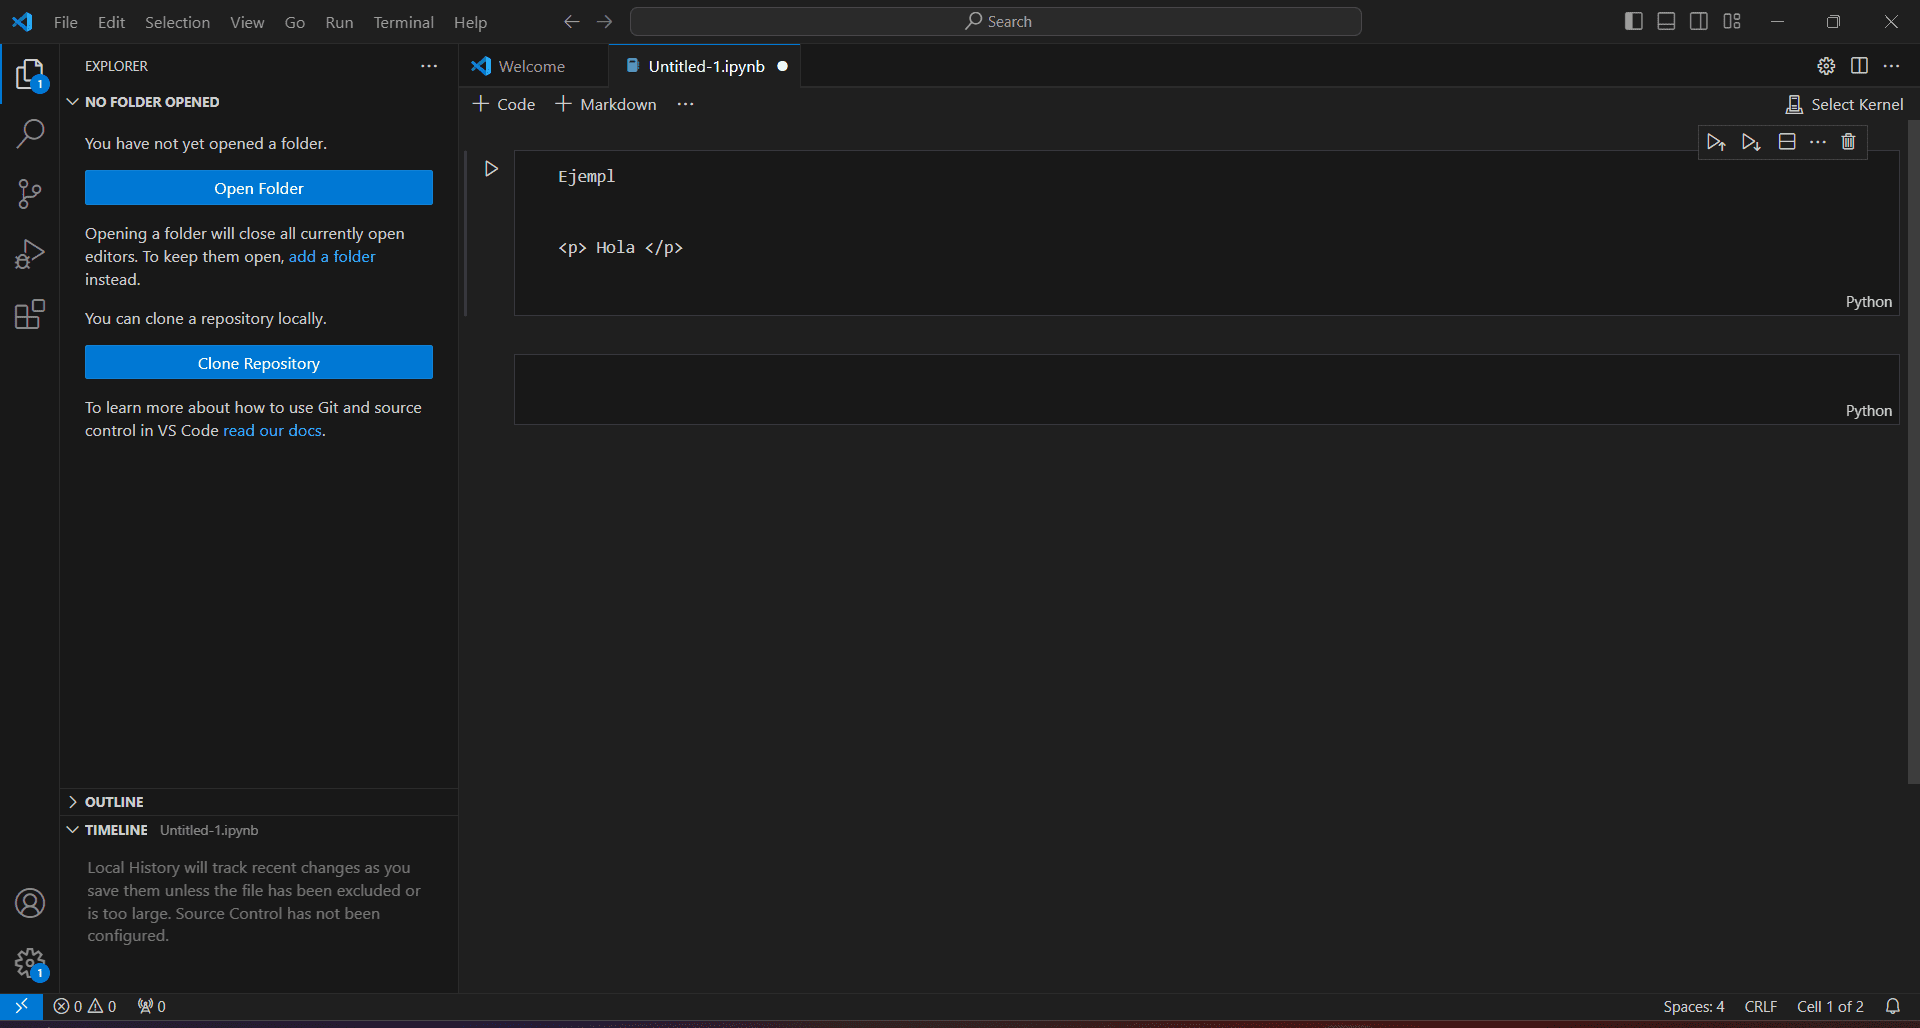
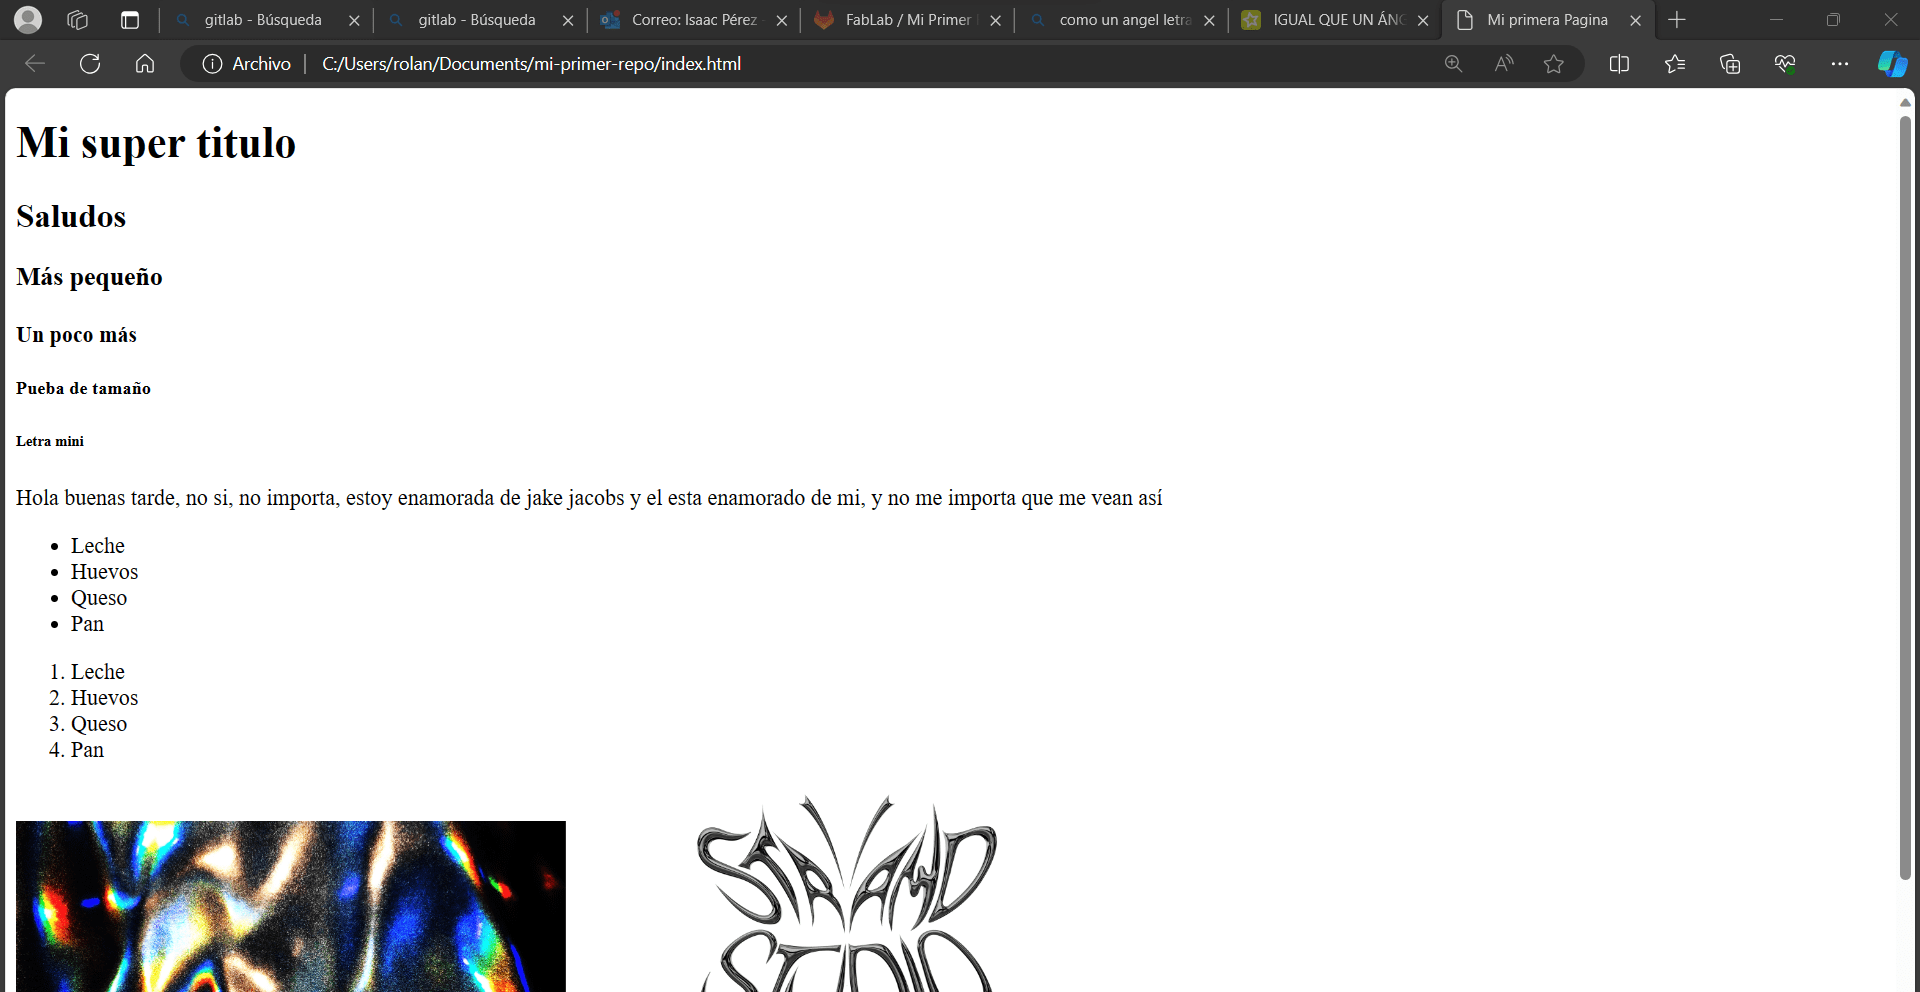
Our teacher helped us by giving us an HTML web template for us to customize and make our own, we then copied and pasted it in our code. But first we needed to learn the basics of creating an HTML page, so we had some exercises for us to practice. Starting by changing the tittle and experimenting with different font sizes.
First, we have to duplicate in our GitLab the template, and then upload them to my Git repository using "git add ." It's very important you leave a space after add. Once uploaded, we have to push it to HTML, using the command "git push" and then in just a couple seconds it's done! Now we can finally customize to our liking
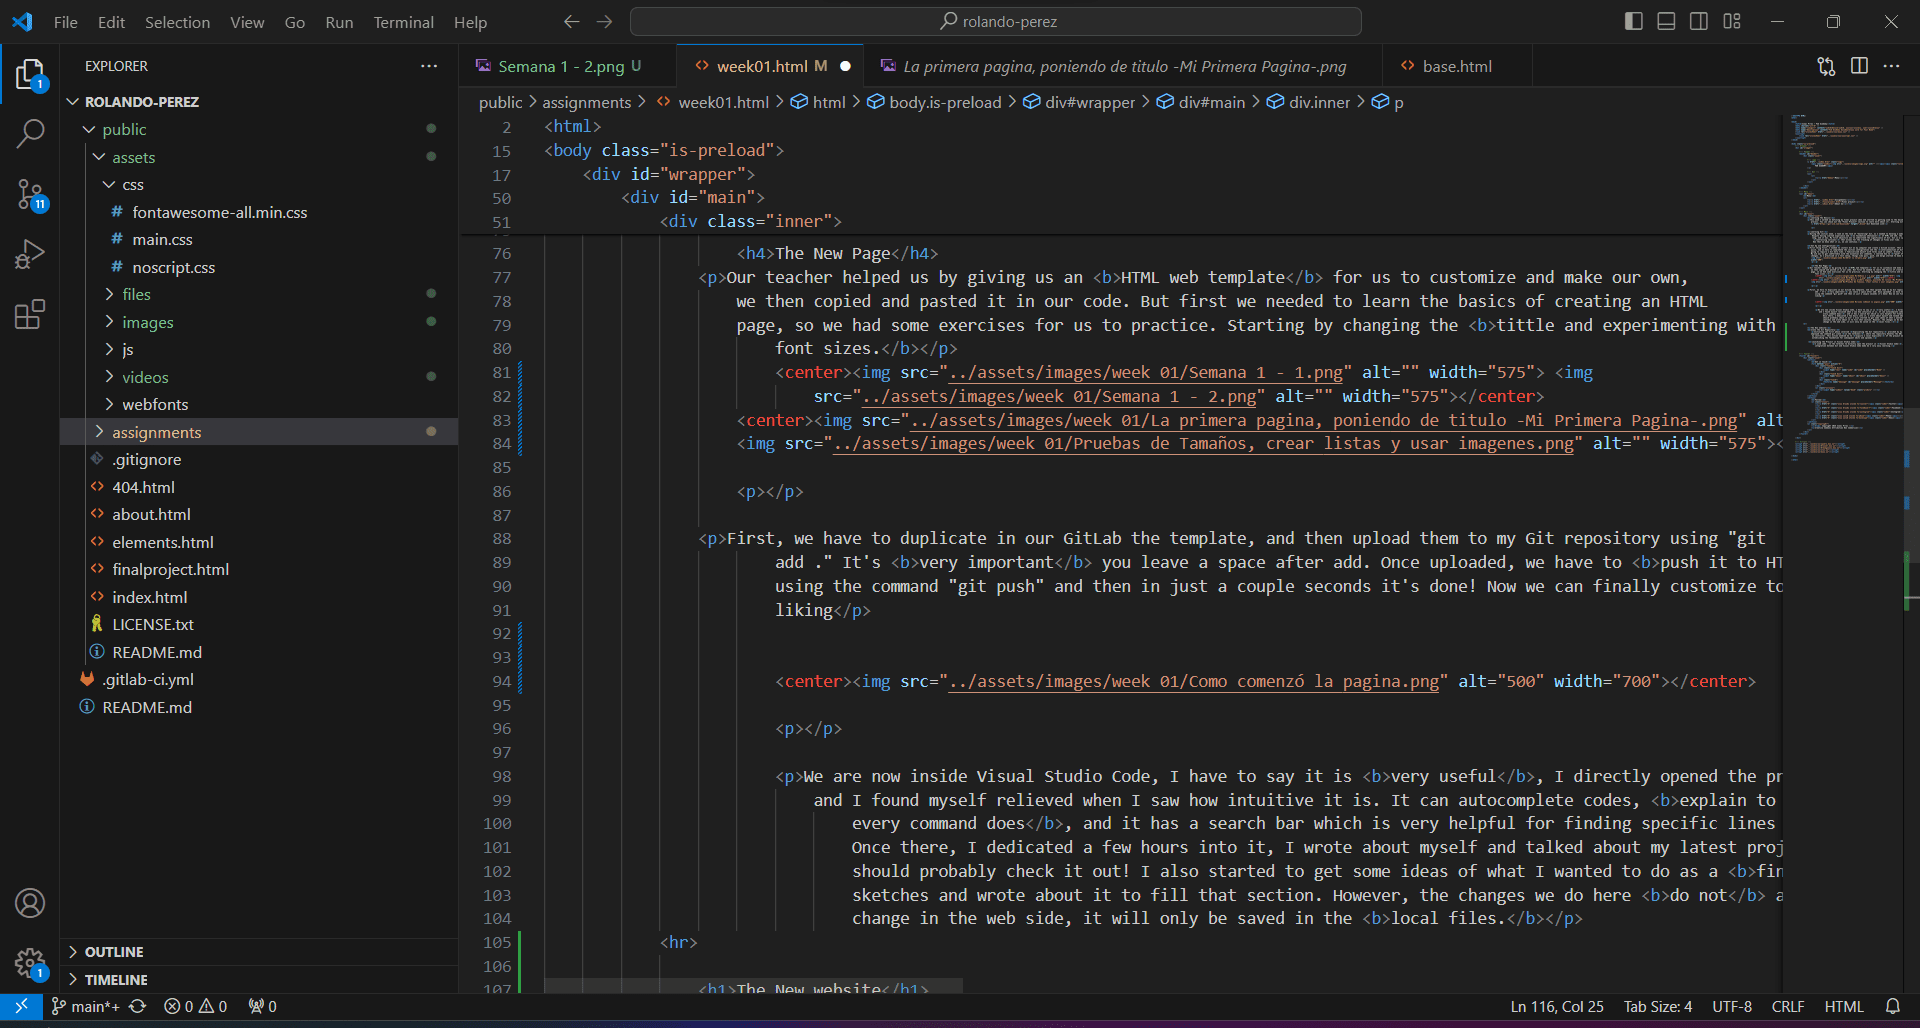
We are now inside Visual Studio Code, I have to say it is very useful, I directly opened the project folder and I found myself relieved when I saw how intuitive it is. It can autocomplete codes, explain to you what every command does, and it has a search bar which is very helpful for finding specific lines of codes. Once there, I dedicated a few hours into it, I wrote about myself and talked about my latest project, you should probably check it out! I also started to get some ideas of what I wanted to do as a final project, made some sketches and wrote about it to fill that section. However, the changes we do here do not automatically change in the web side, it will only be saved in the local files.
Command Table For Visual Studio Code
Here are some of the most used commands for Visual Studio Code to make it your own!
| img src="______.jpg" | Add image | button | Pretty self-explanatory |
| width | Change the size of the element | a | Insert a link |
| controls | Add video controls | ul | Create a list |
| video src="______.mp4" | Insert a video | p | Start a paragraph |
The New website
Cloning Git Repository and Launching the Project
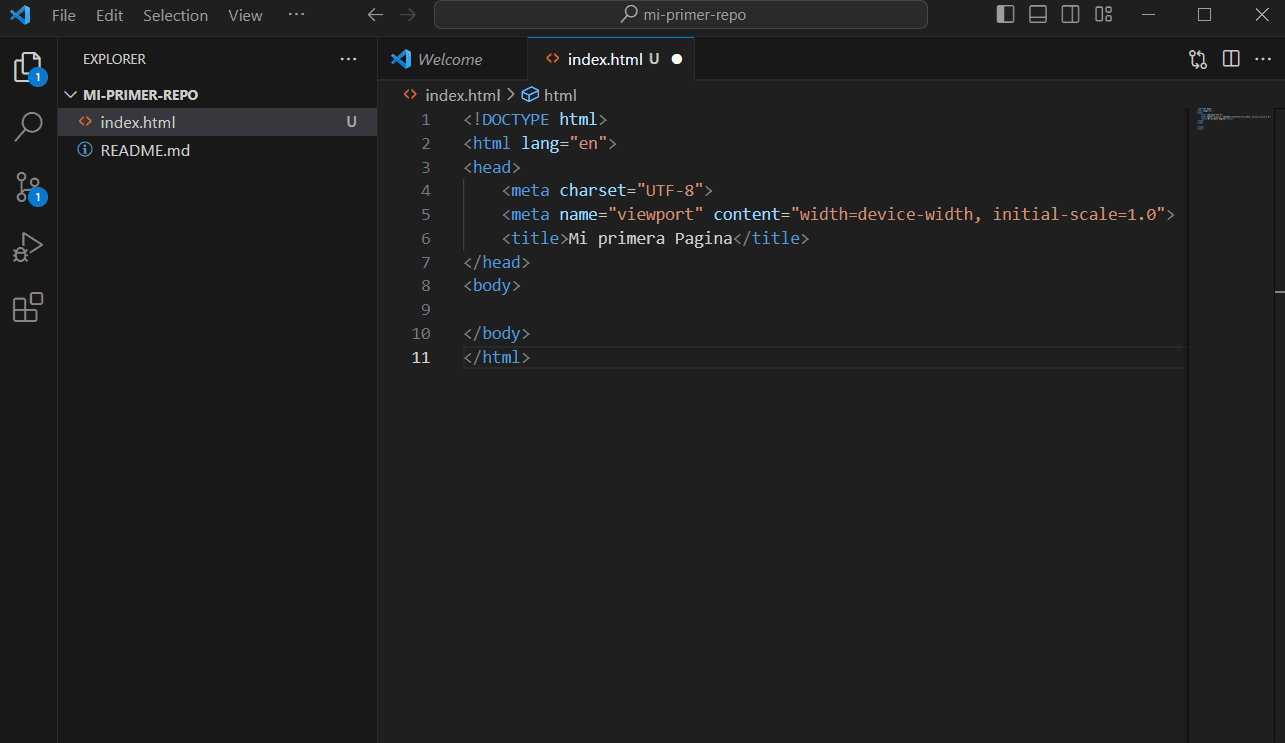
Initiating the first phase involved duplicating the Git repository provided by my instructor. I employed the command git clone in the terminal, where the repository denotes the URL shared by my instructor. This action enabled me to acquire a local duplicate of the project on my computer, establishing the foundation for subsequent edits and uploads. I used code . in the terminal to directly open the project in Visual Studio Code. This integration between Git and Visual Studio Code made me a very easy learning.
Editing and Saving Changes with Visual Studio Code
Having the project open, I got into the source code, Visual Studio Code's interface and features such as syntax highlighting, autocompletion, and debugging. I saved the changes directly in Visual Studio Code using Command S. This crucial step ensured that modifications were accurately reflected in the local files.
Git Operations (Add, Commit, Push, Status, and CD)
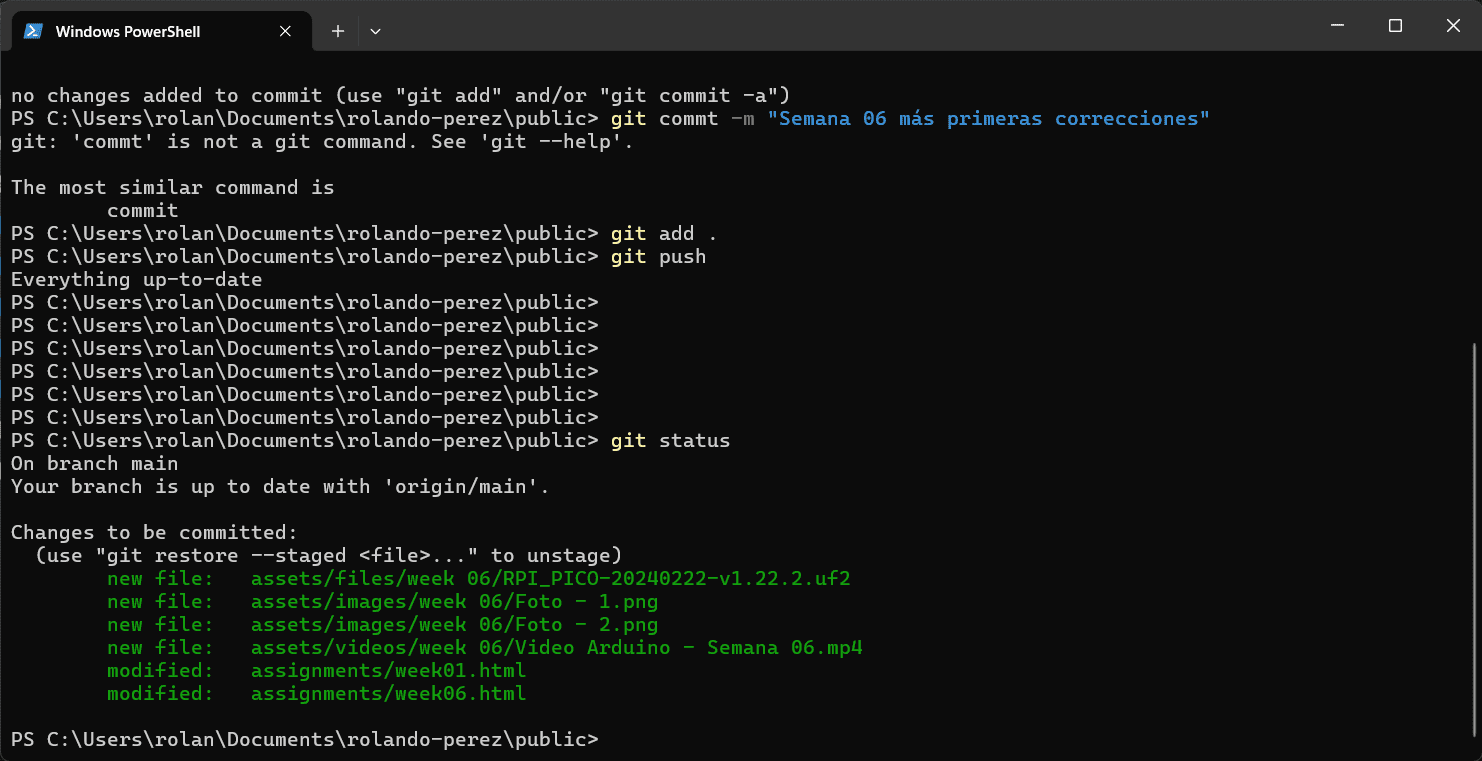
Now that I used the command git add . and added all changes, I can now execute git commit -m "Week 01" to commit the changes and naming them for future modifications. The git status command allowed me to check my changes and identify modified, staged, or untracked files.
Web Programming and Div Elements:
Using the language of web programming, the div tag, short for "division," plays an important role in creating divisions or "containers" in an HTML document. This tag serves as a versatile container to group and structure various HTML elements like: text, images, forms, etc.
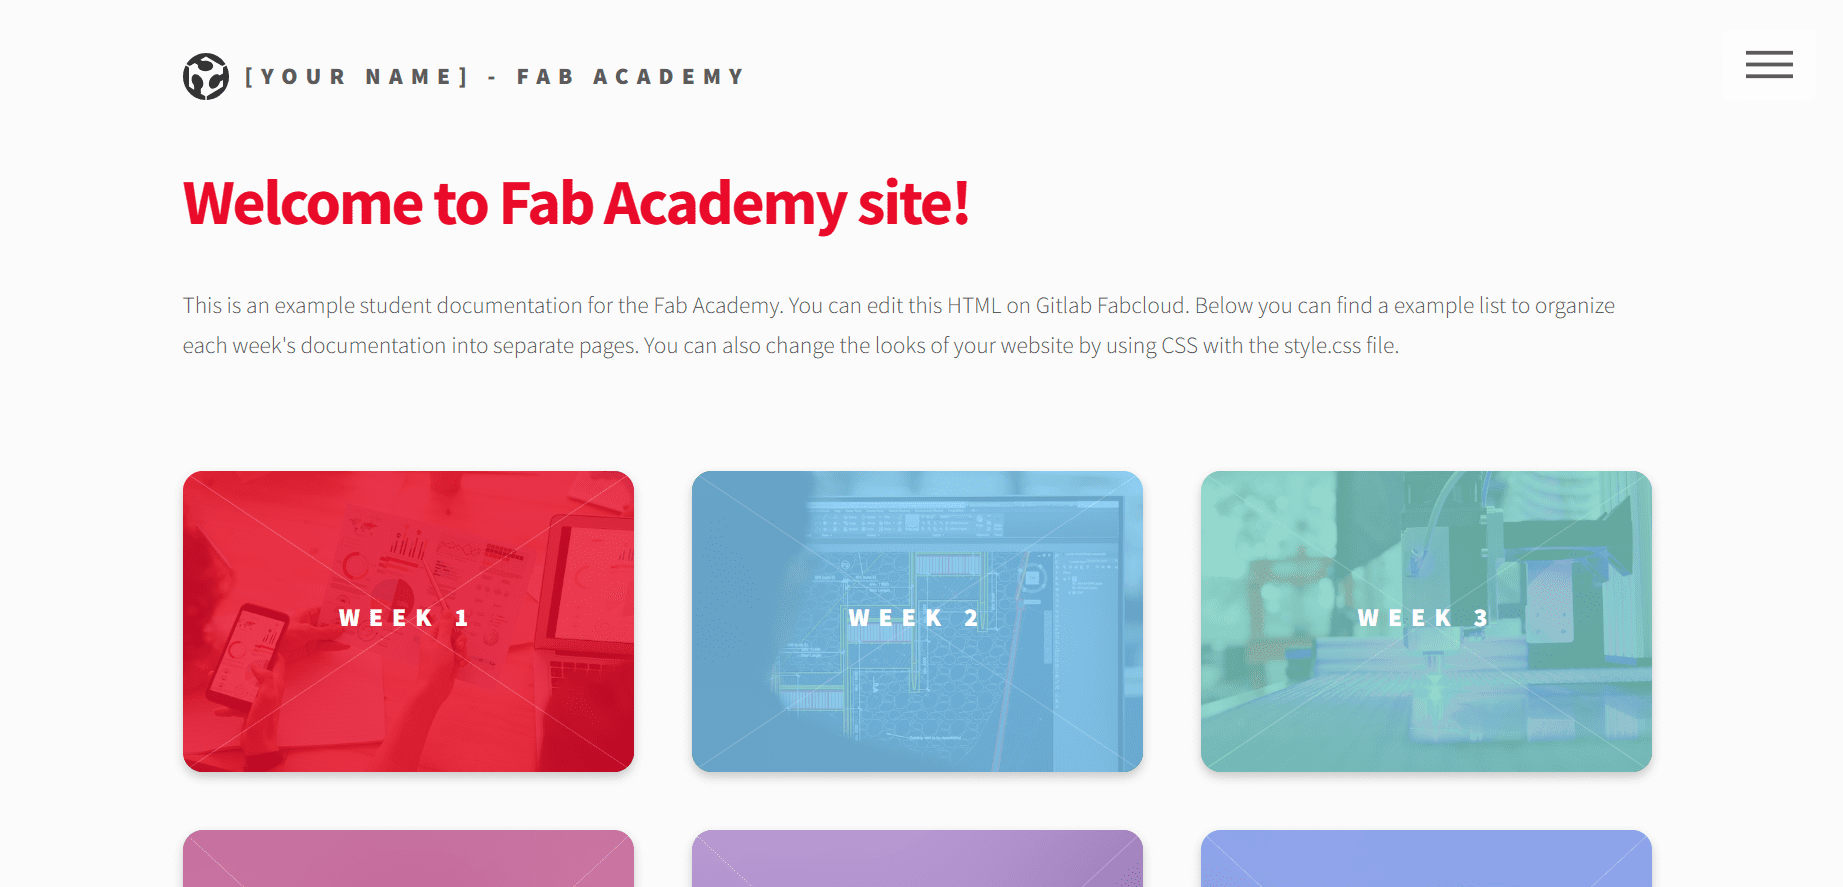
You can create classes or IDs to div elements, and then create them using CSS. To upload to my remote repository, I used git push origin, being now on the web and be seen by anyone!
The use of Git cloning and the utilization of Visual Studio Code was now a successful approach to editing my website. This is now the begging of my learning journey in the Fab Academy, where week by week I will upload my progress and learn everything there needs to be to create almost everythig!