Week 9 Mechanical desing & Machine design
My team : Dune Dreamer
Here is my Group website! take a look at.
Here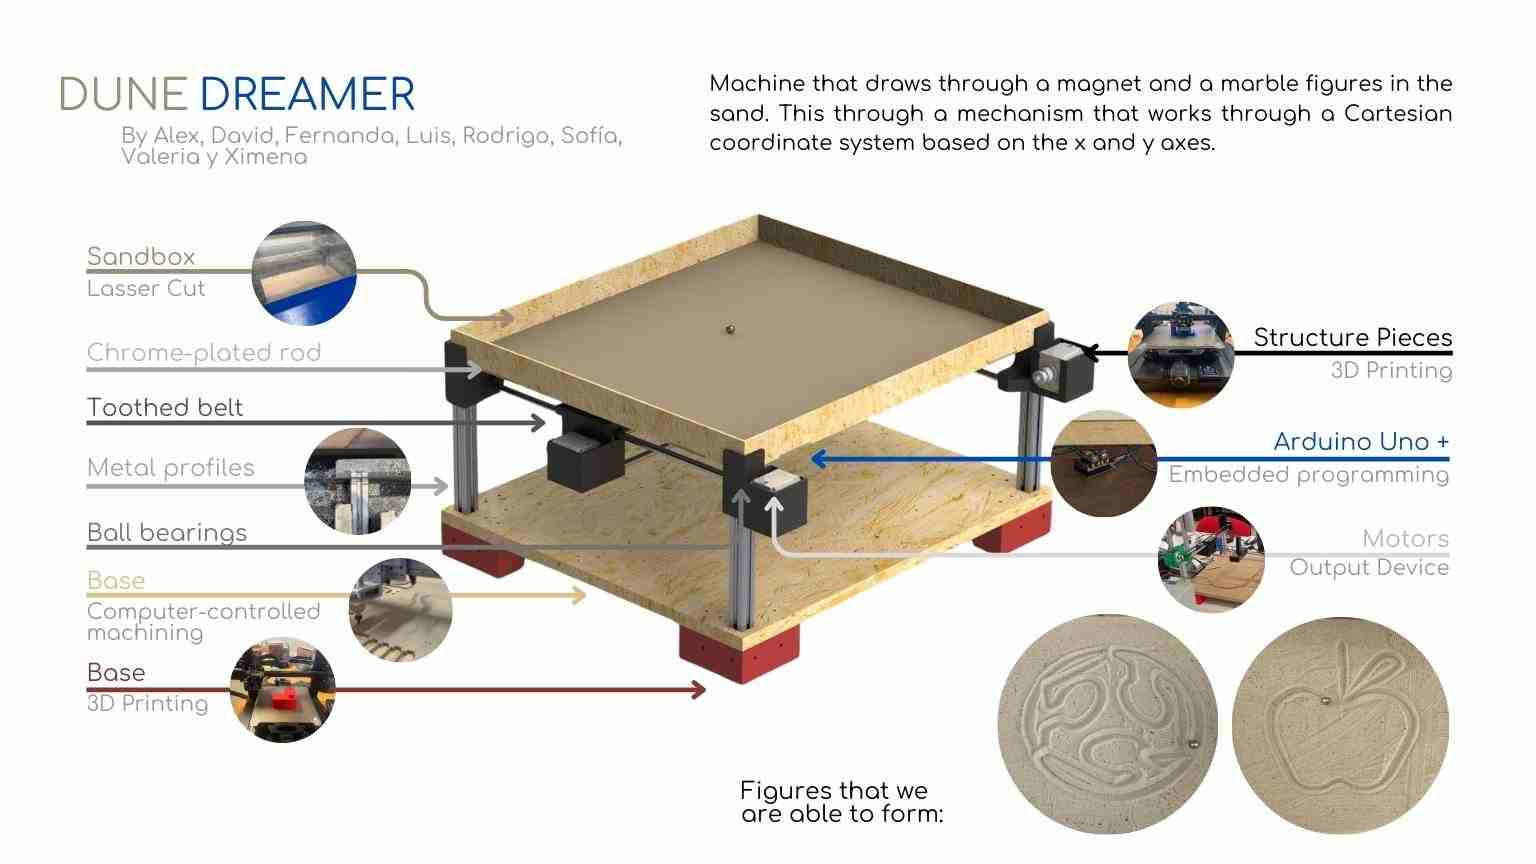
This week, I took on two roles. The primary one was being in charge of developing the teams website, as well as documenting and organizing the entire process. This task was relatively straightforward once I had organized the information my teammates provided. Since they were working on many things simultaneously, I had to assist them to understand their processes. This enabled me to explain everything clearly on the website, ensuring that others could also understand. The second task I completed was designing the lower section of our CNC machine. Specifically, I designed the corner joints for connecting the aluminum profiles and cut the base from a 15mm MDF board.
Web Page Design
My main task was the development of the website. The first fundamental step in this activity was downloading the group page from Fab Academy Puebla 2024. This allowed me to avoid any confusion about how my individual page would look compared to the group page. If I had worked on the group page within my individual page folder, it would have caused conflicts with different classes, styles, and fonts, leading to formatting inconsistencies across our pages. Therefore, I recommend working directly from the group page of the Fab Lab you belong to, so you can simulate from the beginning how your page will look once it’s sent to your local evaluator. This evaluator will be responsible for integrating what you submit into their files, following their styles, classes, and scripts in Java and .cs. Once this initial setup was done, the rest of the work was much easier. I simply collected and documented the information my teammates sent me and added it to the website

Finally i just copy the zip folder with my local instructor.

Machine Design
| Design criteria | |
|---|---|
| Ensure slopes do not exceed 60°. | |
| Round corners to minimize stress concentration. | |
| Limit bridge spans to 20 mm or less. | |
| Maintain a minimum wall thickness of 1.6 mm. | |
| Design all parts to eliminate the need for support structures. | |
To create our machine we decided to use a cartesian mechanism where the system would be only used in a planar dimension (XY) and would have a two step motor for the Y axis and a Single motor for the X axis. To create the design we research for different commercially available machines that already use this style of kinematics like the UltiMaker 3D printer where the printing head moves along the XY axis
My second task was to design the lower part of the CNC machine. While assisting my teammates, I realized that since my CNC knowledge was fresh, it was more practical for me to take on this part. I handled the design and router cutting of the four corner pieces where the aluminum profiles would connect and be screwed to the other four parts. I had done similar work in previous projects, so I was already familiar with the necessary measurements and tolerances for working with 20x20 mm profiles. This made the task easier for me and allowed me to support the team more effectively

Here i add one bolt of the size that we used to verify the correct position of the holes. BUT you dont have to trust in it would be fit perfectly bc you have to ensure their tolerances, normally if you tighten the screws with enough force, they will eventually reach their limit.

Once i finishe the low part i sent it to Alex to finish the next parts.
Final AssemblyThe CNC had the assembly made to make sure that all parts are well aligned. This will be a critical to ensure that at the moment to have the physical assembly all parts will fit and the mechanism will work.
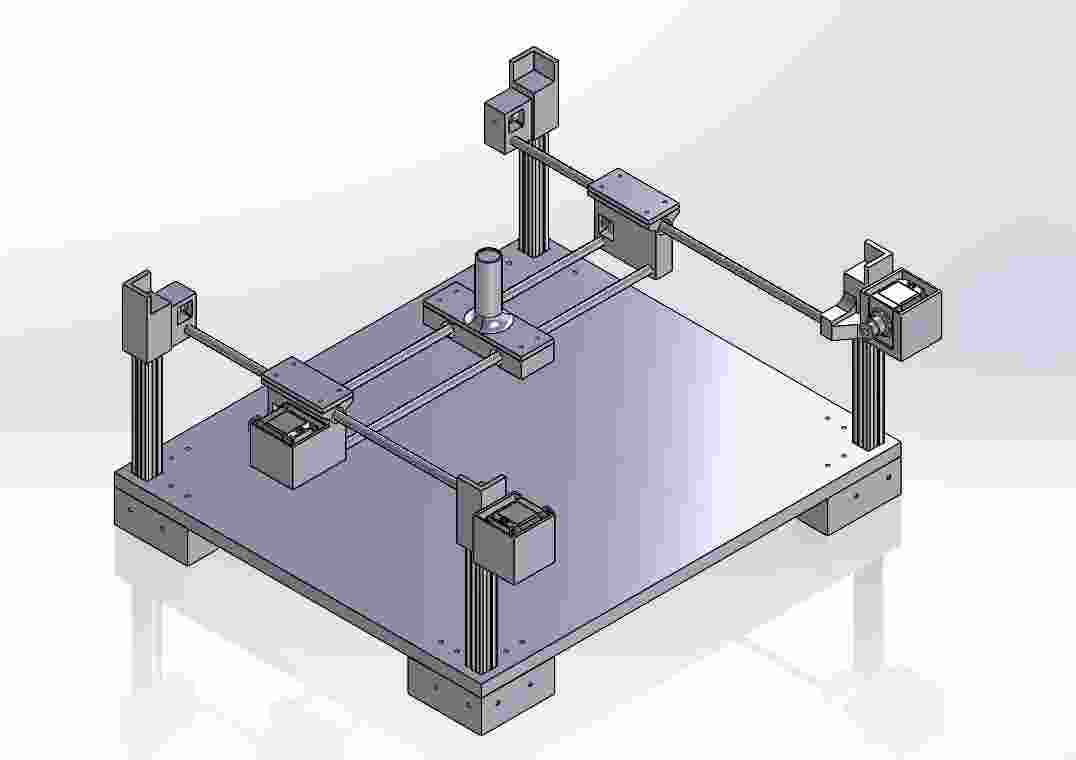

Render
This is a virtual render of our project selecting materials
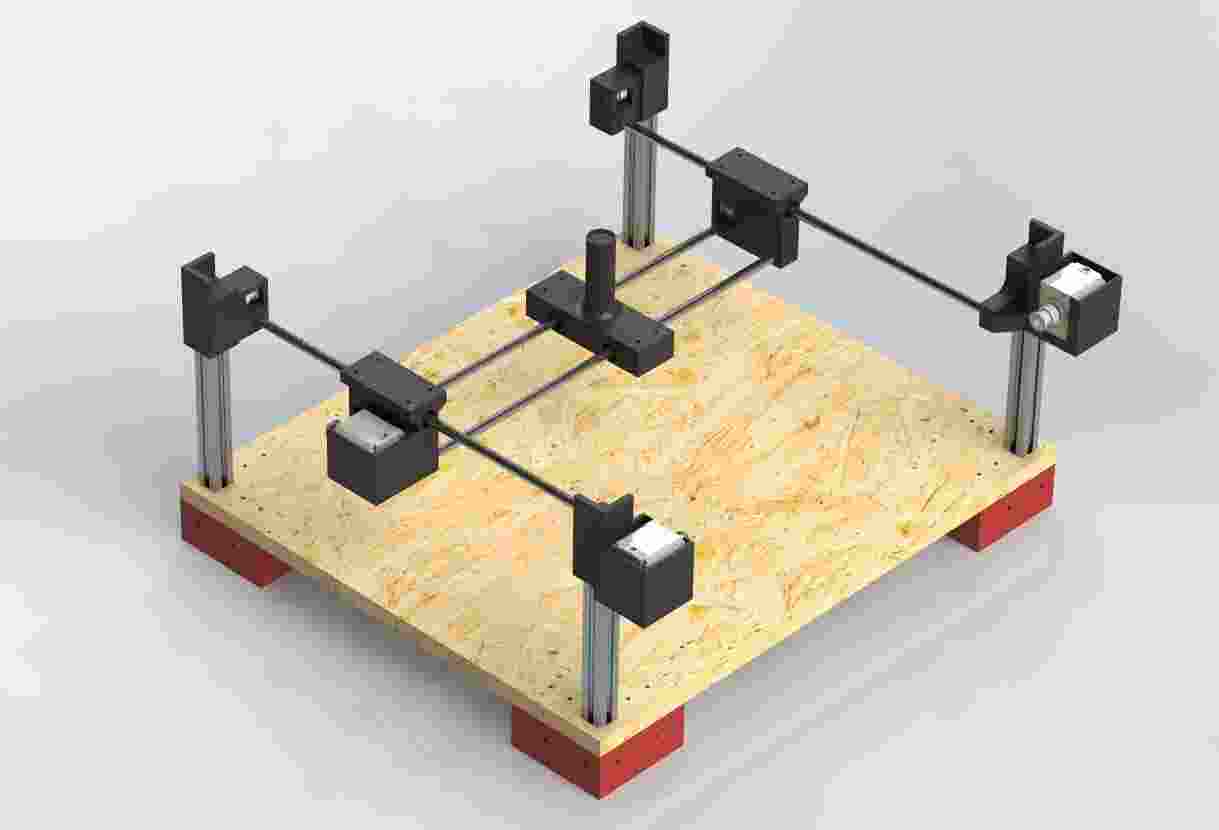
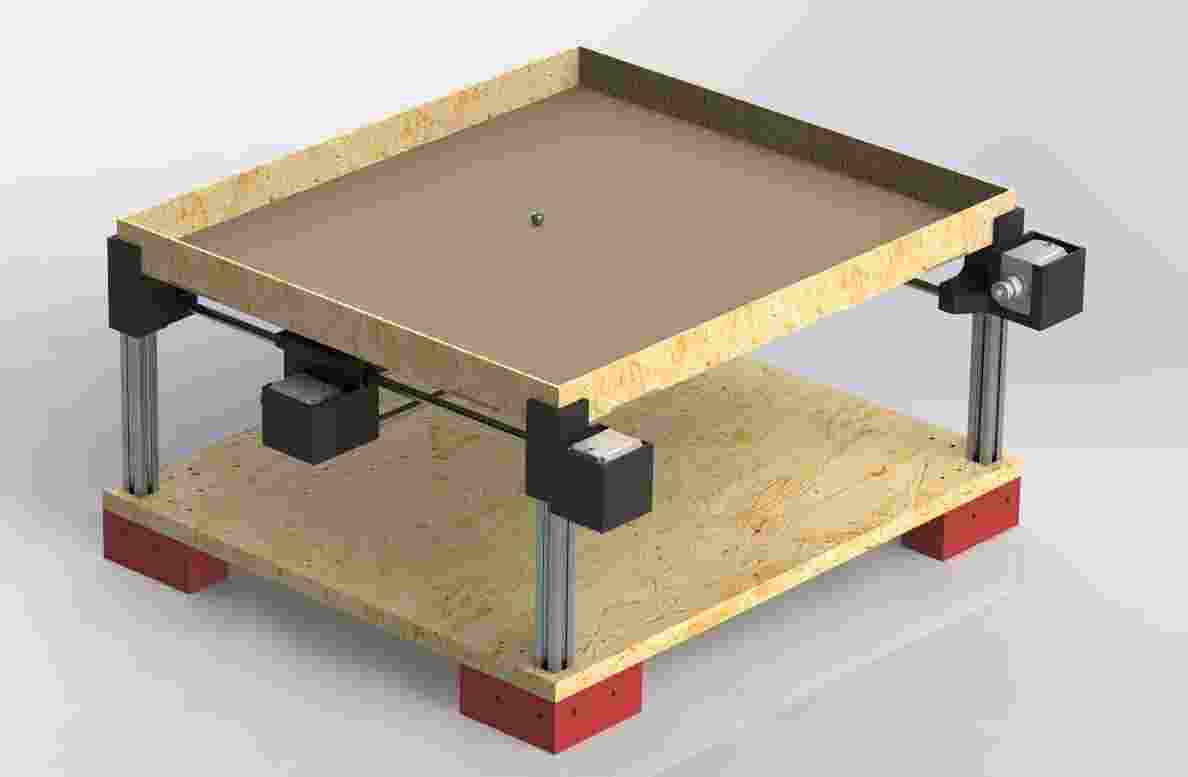
Final results
Here I am, once i finished all our project!
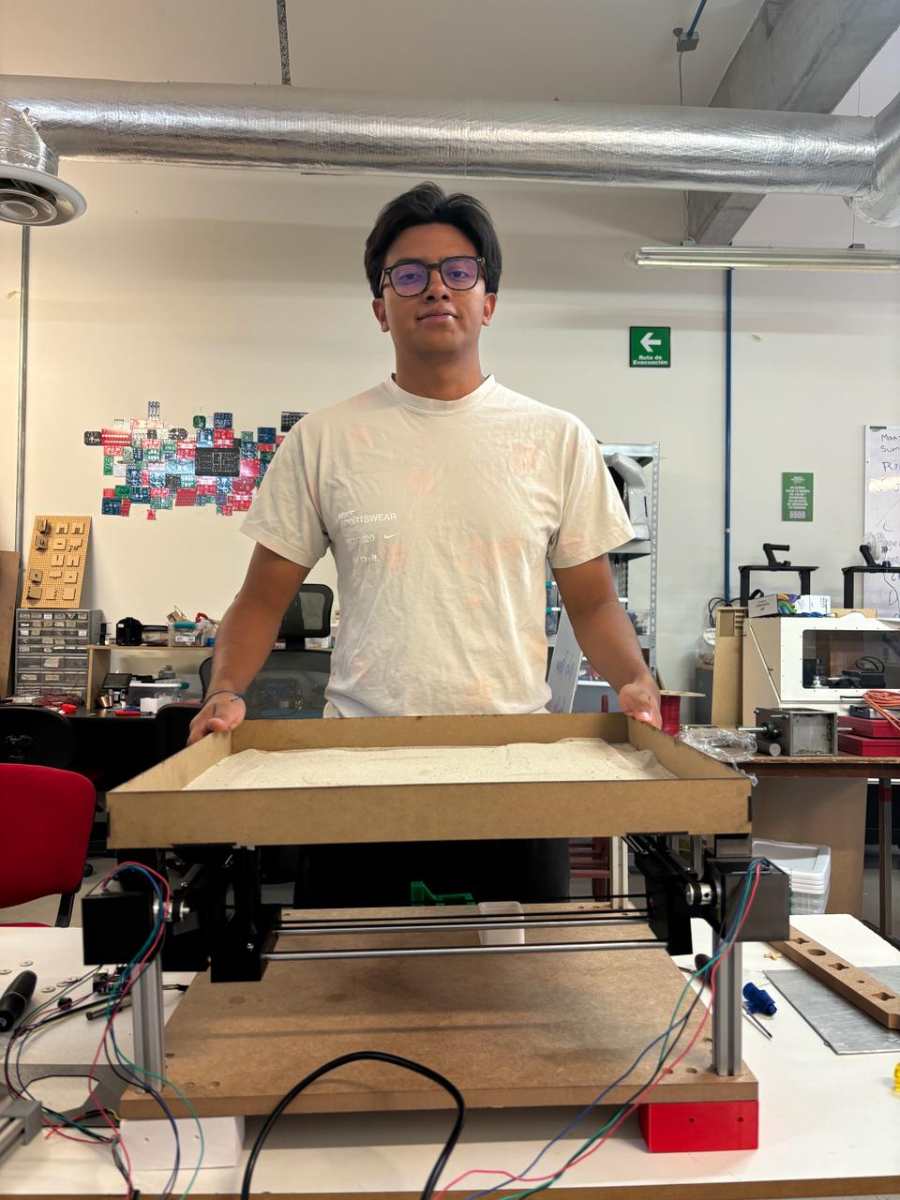
And here is our video of the sand drawing machine. 🙂
What i learned?
What I learned this week is that team projects work much better when developed correctly according to a schedule. Personally, at the beginning, it was challenging to understand what each of my teammates was doing, so I had to spend extra time staying close to them and learning in order to communicate everything properly later on. I also struggled a lot at first with creating the webpage, which is why I recommended copying and downloading the format of the group page. When I started, I was working in my personal folder, where the rest of my weeks' work is stored. However, I constantly wanted to check how it would look, and it was clear that I couldn't see the final version since my libraries, formats, classes, and styles didn’t match those of the group page. Once I made this adjustment, everything became much easier.
