Before this week i had never been in touch with the Git enviroment, so i will try to explain every step i did for you. The first thing is learn how to use git, Due to,understanding Git is essential for efficient collaboration and project management.
What is Git?
Git is a distributed version control system designed to track changes in source code during software development. It enables multiple developers to work on a project simultaneously, making it easier to manage and merge code changes seamlessly.
What is version control, and why should you care?
"Version control is a system that records changes to a file or set of files over time so that you can recall specific versions later. For the examples in this book, you will use software source code as the files being version controlled, though in reality you can do this with nearly any type of file on a computer". For what i learned this week using git i could say it works to keep every version you made while you were designing and programmign your website, keeping every version will allow you compare changes over time, revert selected files back to a previous commit. This is importantly remarkable because along this past week i've been screwed things aroung my website, and i saw a few friends who had a lot of troubles with their websites, and with this option to go back in time, and selected which version you upload you can choose if you want to revert any change or even compare which one are better.
Key Concepts:
Starting a working area
Work on the current change (see also: git help everyday)
Examine the history and state (see also: git help revisions)
Grow, mark and tweak your common history
Collaborate (see also: git help workflows)
Download Git
How to use git
For this step you already have to had your Git Hub account granted by the FabLab. Fist you need to create a new folder in any location (i did it in C:\Users\rgome\Documents\FabLab_roy), then open the Command Prompt, you can search it as "CMD" in the search tool
To navegate in this terminal, you have to know this 3 fast commands: DIR its used for search which documents you have in the selected folder,
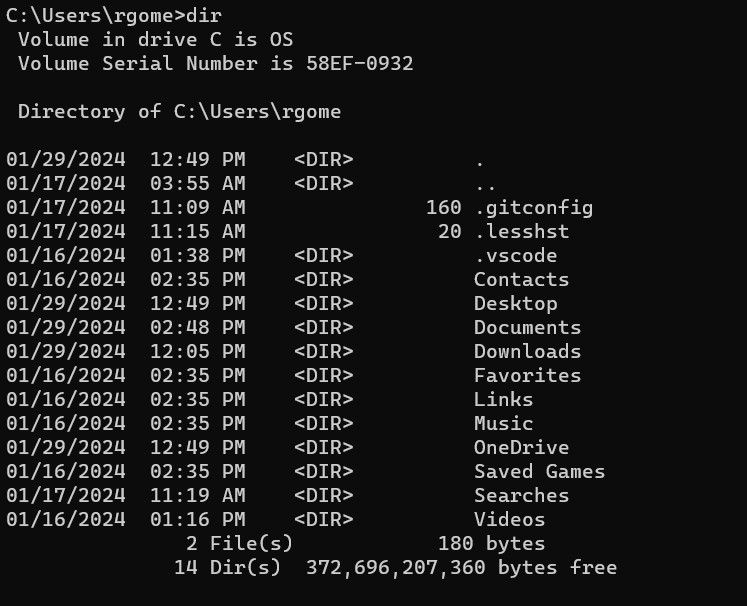
CD its for open the folder selected and navegate in the new route.

and CD .. its for go back in the previuw folder
Git Clone
To upload all your files, into your website linked to your Git repository, you will have to make these follow steps, Clone this url into the folder where you will make all your changes and work of your website. Its important to know that i cloned it with http option instead of using "SSH".
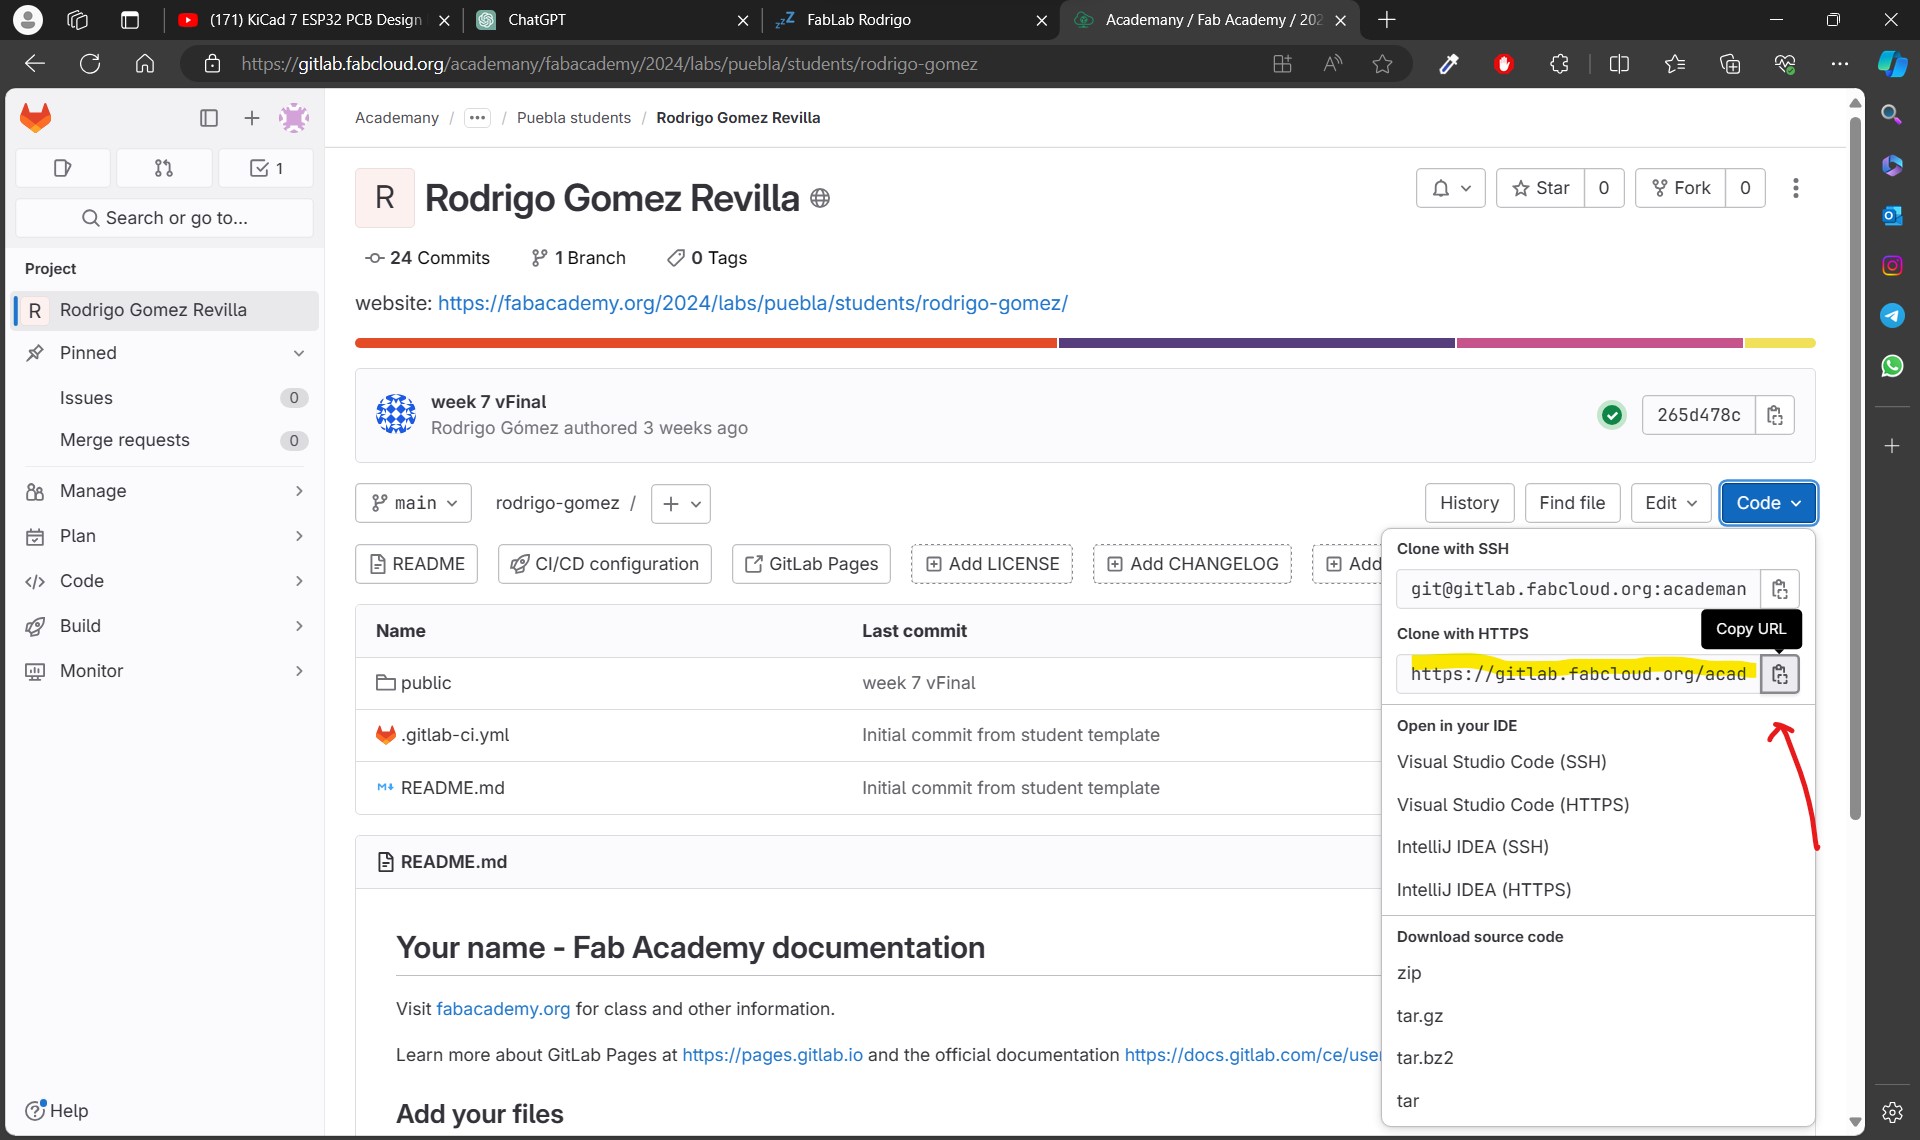
In my case i made a new folder and a new Git Lab account to show how to do it, because i forgot to do it when i did all the steps so practically is the same procedure but with your origanally Git Lab account.
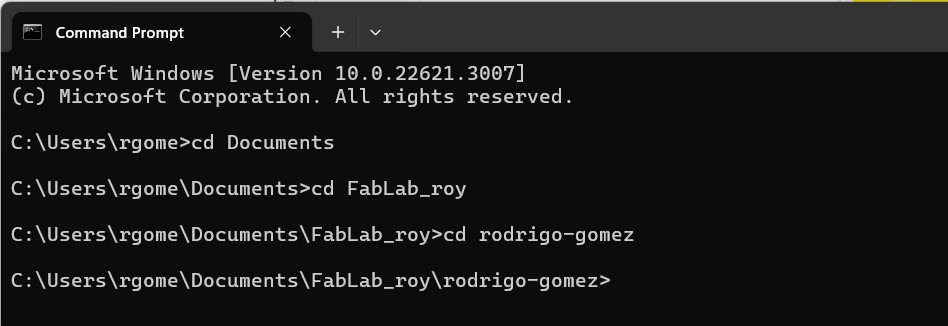
Open your CMD > find where is your folder you're going to use for your website > write "git clone follow the link you already copied.
And you'll see something like that
Now try to move all your files of the website on the selected folder and make a attempt to upload a change using "add . and commit -m". Make sure about dont forget the space between the add and "." it has to seen like the following image.
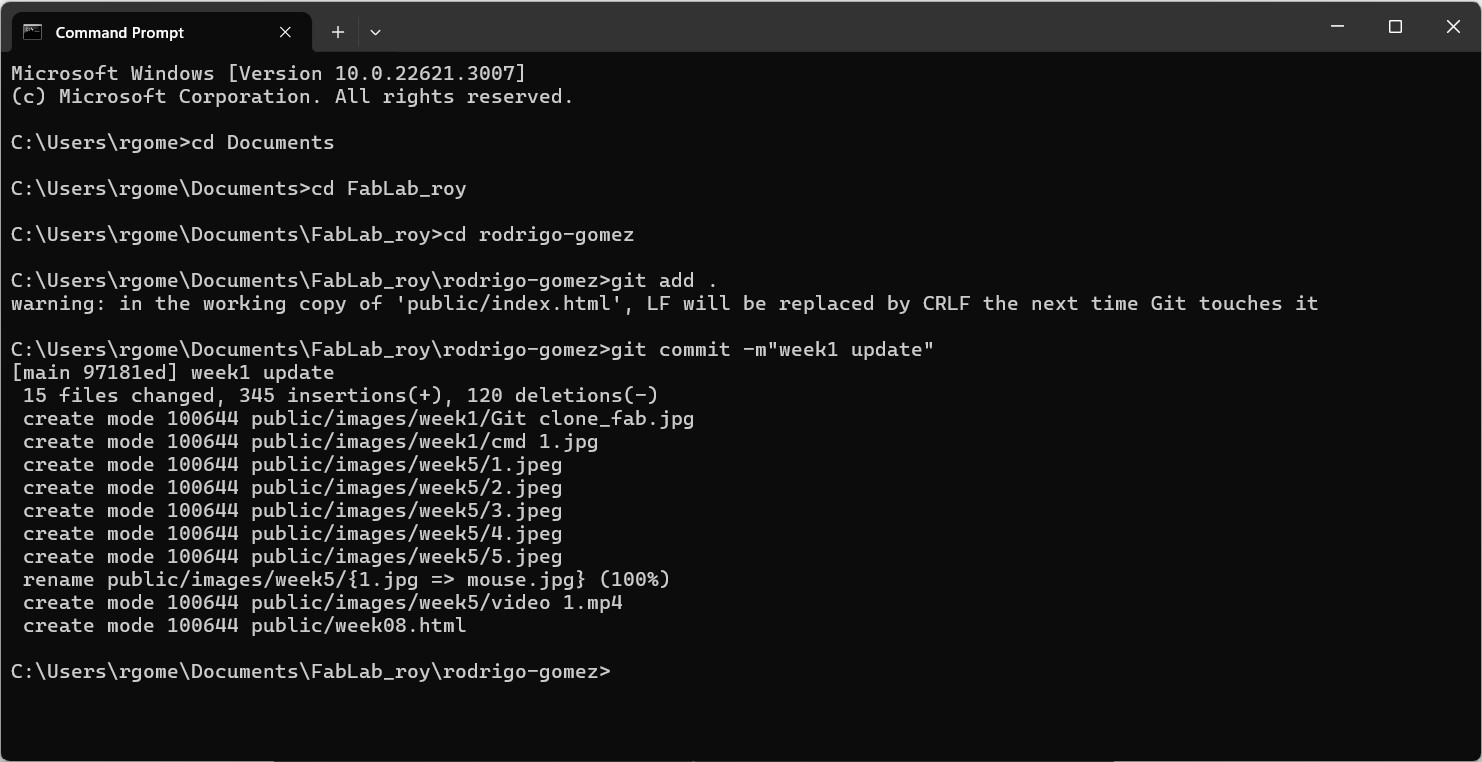
Once you alredy seen all the files had showed in the CMD, write git push to make the upload
The last you can do is verify if it really made the commit and push into your repository so and that's all forks!

Don't forget to use "<>" to open and "</>" to close
This is the HTML structure

To create te image ontop i recommend you use snappify
For choose different sizes of titles :
This is an example how it looks your code using snappify
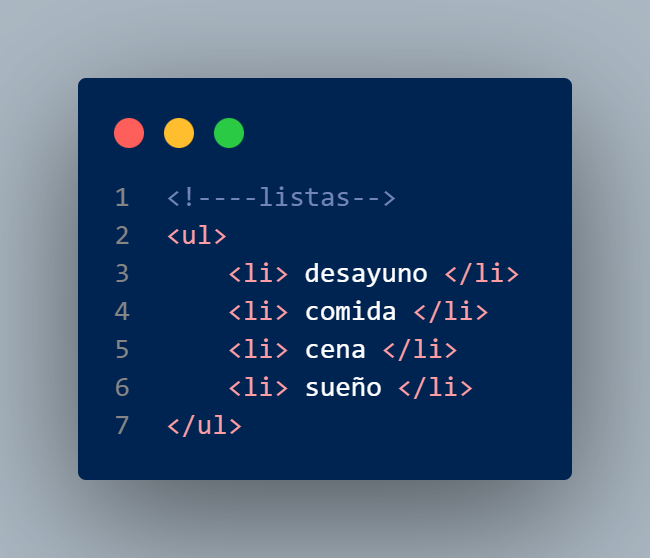
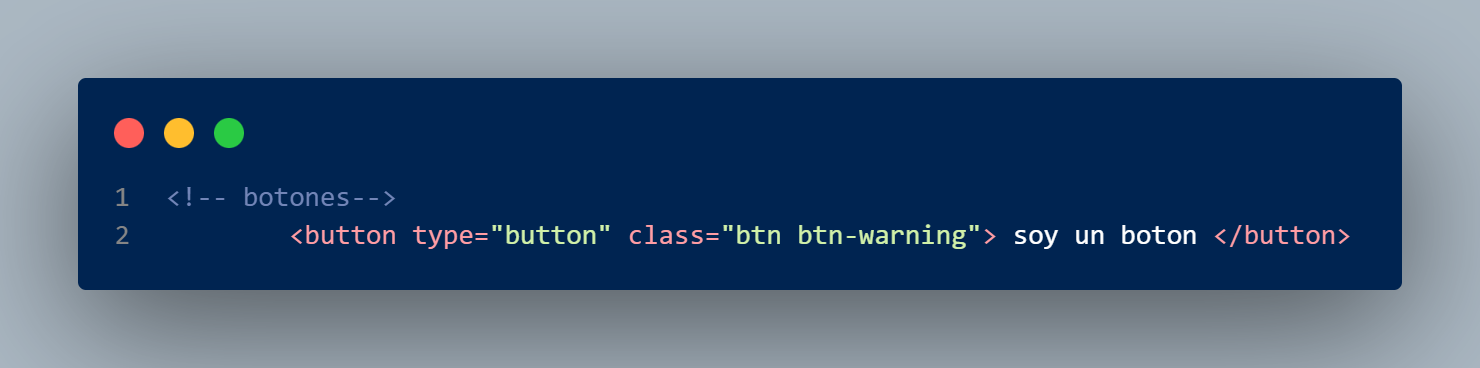
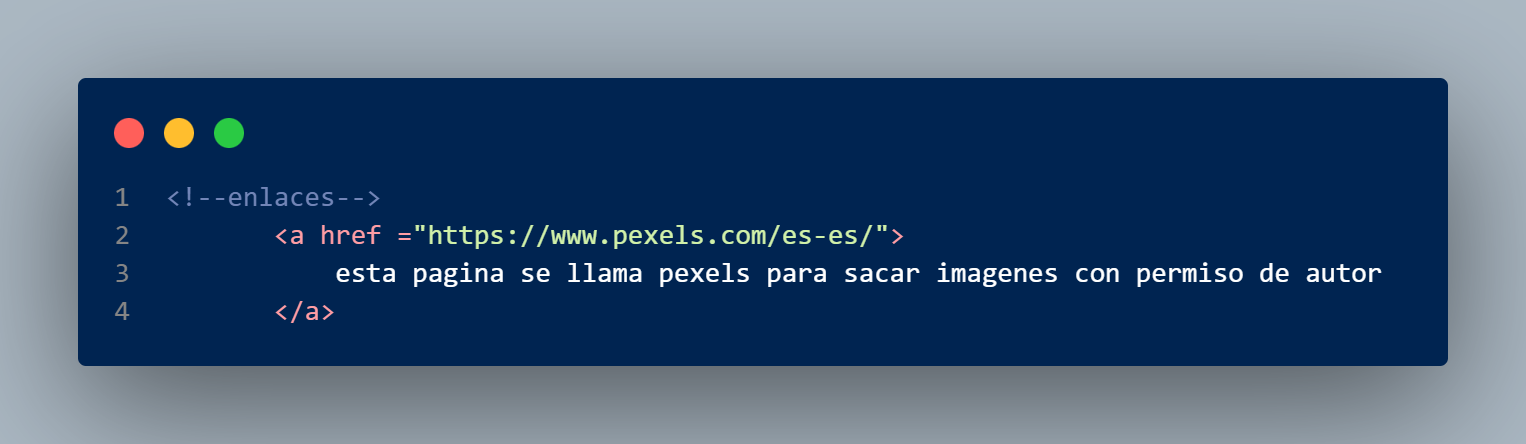
To put list, buttons, links in your website
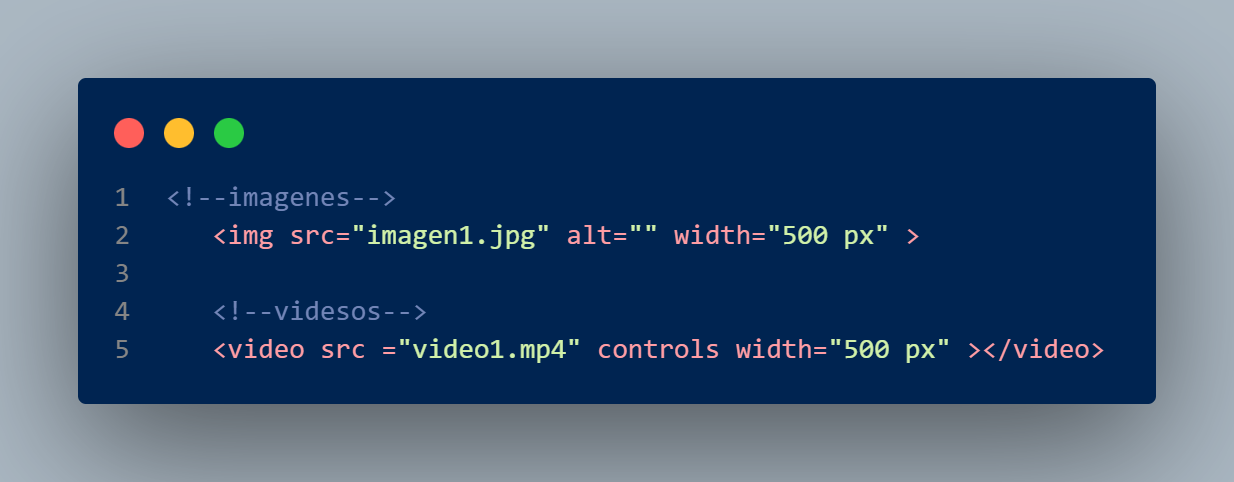
And to agregate images and videos :
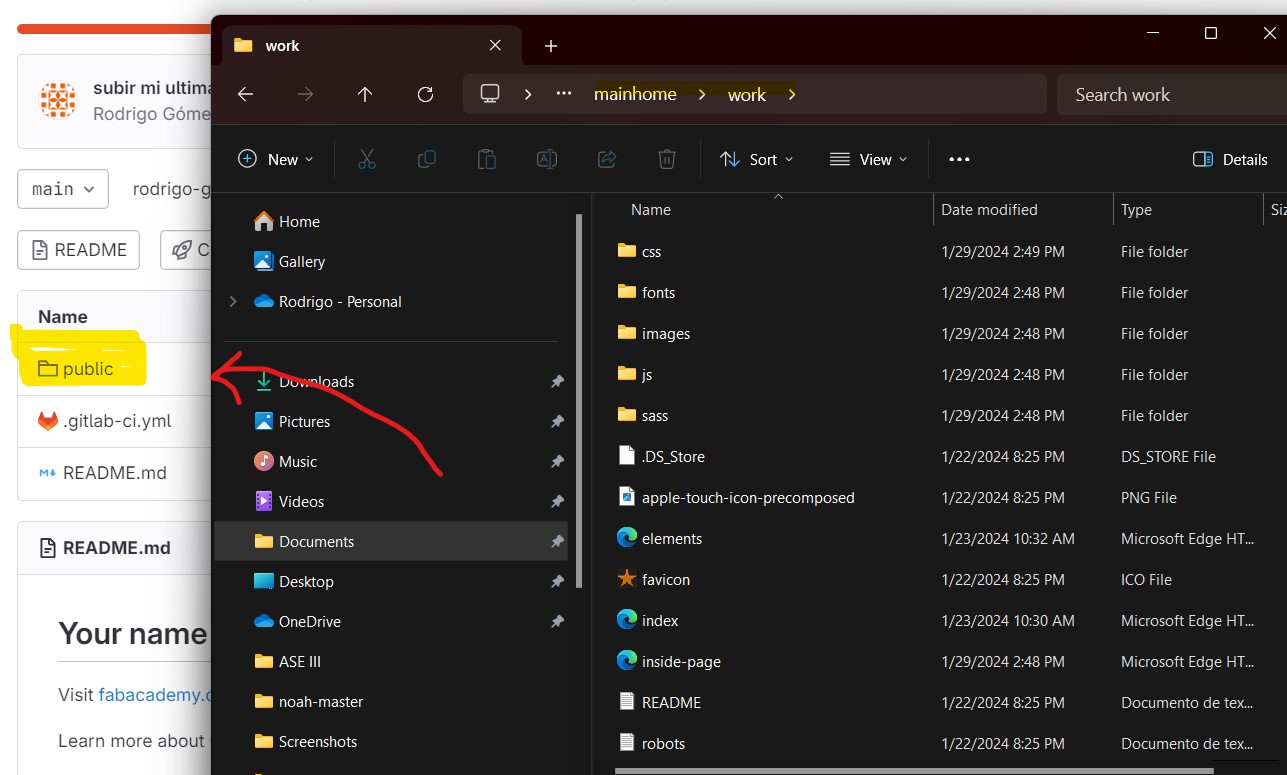
To build my website i decided to look for a portfolio template so i choose these one found it in the following
link , i downloaded it and unzip the folder to moving the files into the public folder in my Git Lab repository.
After that i follow the steps i described before to upload those changes in Git (add. , commit -m, push).
Using the template that i mentioned before, i decided to make a few changes by now, First, i divided and named the 3 requirements of the website for the Fab Academy (The assigments, about me and a Final project) To customize the assigment part, i change the following things :
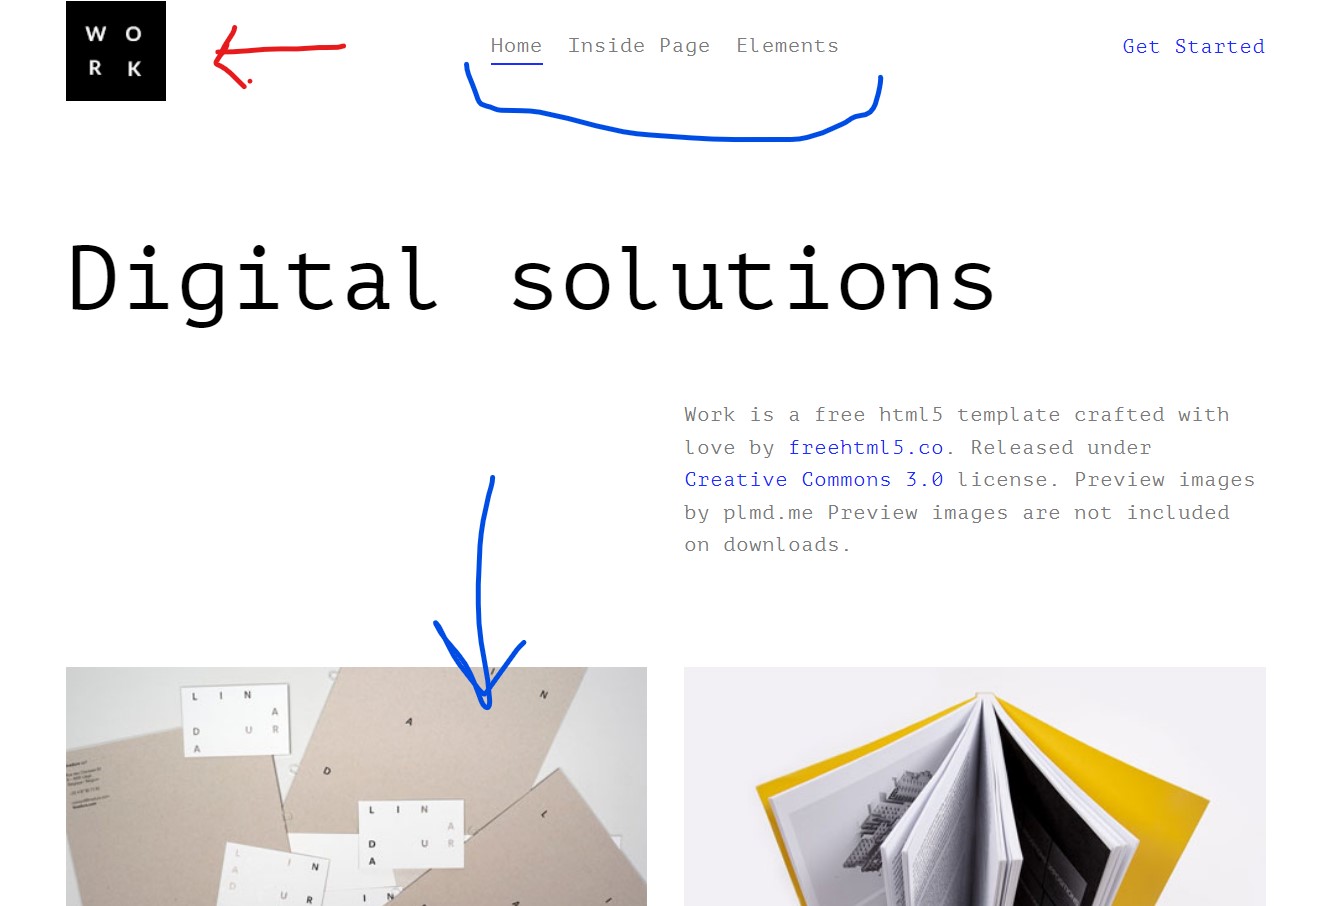
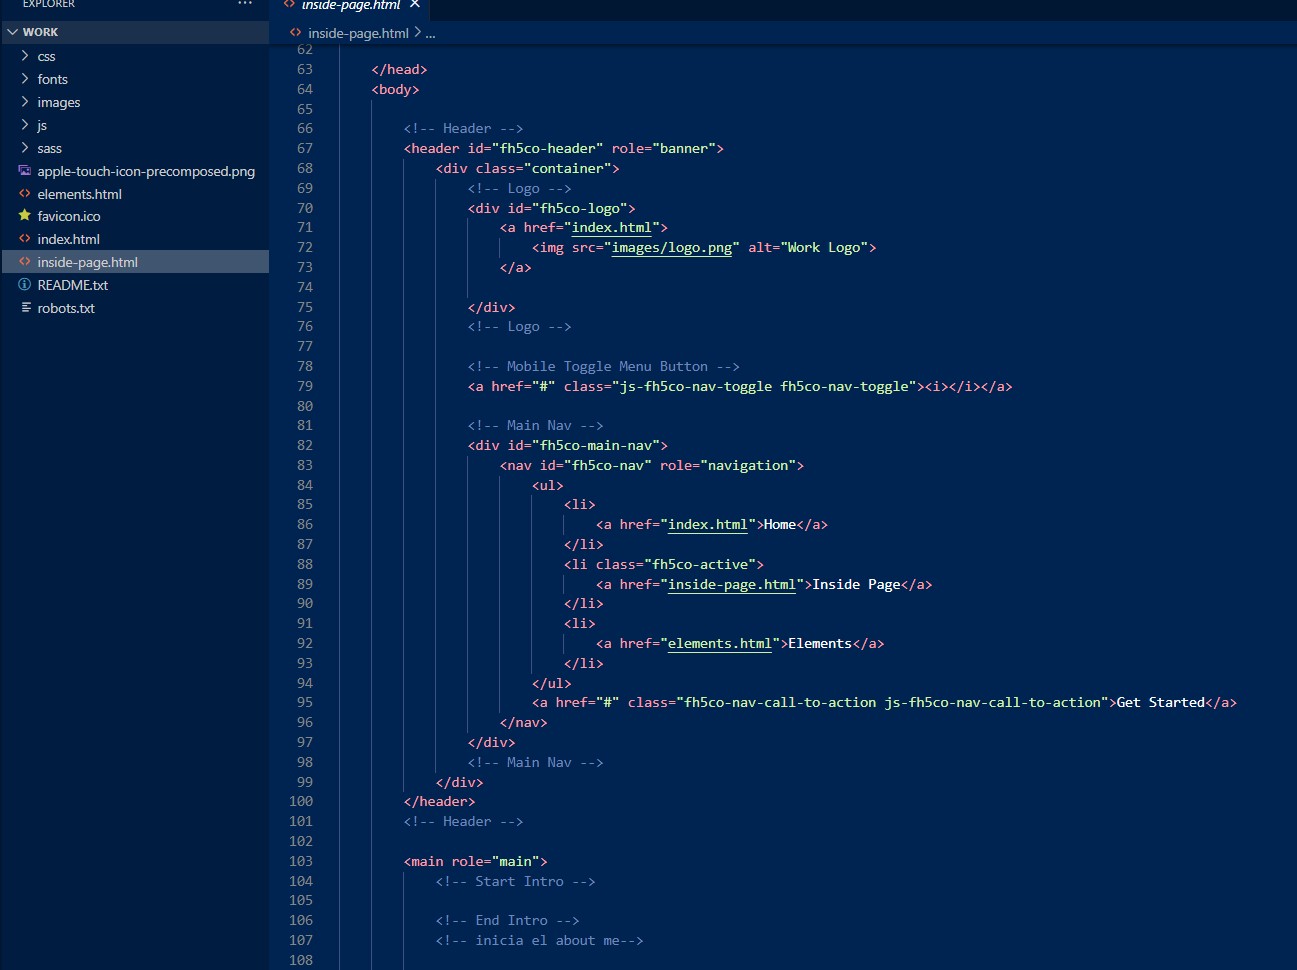
For the about me section i just agregate an image and described some particular things about me. Basically you can play with all the lines of code, deleting and turn it back, and see how it works in the website, try to analyze how it will look your page if you delete something, and once you understood that only edit the things you need in the way you want! In my case i localized the header to modify the tabs i need to lock in my website and just copy what i wrote in the body.
Once i finished to customized myself i upload the commit to my repo.