Kinetic Fashion
Design in motion

The inspiration
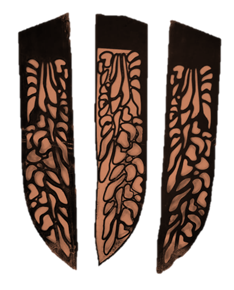
Alexander McQueen | Women's Spring/Summer 2011/ Runway ShowI discovered Alexander McQueen's work in 2011, when he dressed Lady Gaga, and his dresses appeared in the "Hunger Games" movies. The butterfly dress was my favorite. So, to my final project I´ll make a similar garment.
- The pattern of the dress is made up of small pieces with the same figure, resulting in a unique texture.
- I think the chest detail is the most interesting, because it adds volume with three-dimensional figures.
Kinetic Art
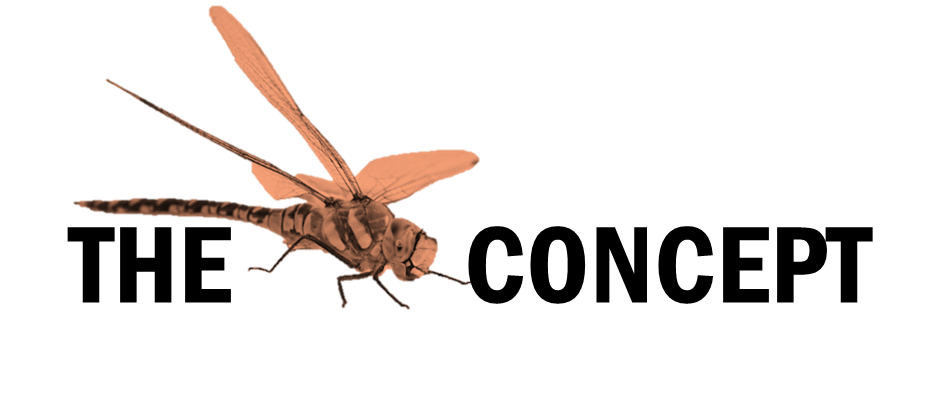
"I like butterflies but, I prefer Dragonflies"
My design will be inspired by dragonflies. Being another flying animal, I can use wings as a creative resource. Initially I wanted to make a kinetic sculpture to exhibit the result at the FAB ART in Puebla, but I was not very convinced. And then, I remembered that in 2019, Iris Van Herpen took inspiration from the kinetic sculptures American artist Anthony Howe for her collection at Élysée Montmartre in Paris for the city's Haute Couture fashion week.So, I think I will make a textile piece inspired by kinetic art
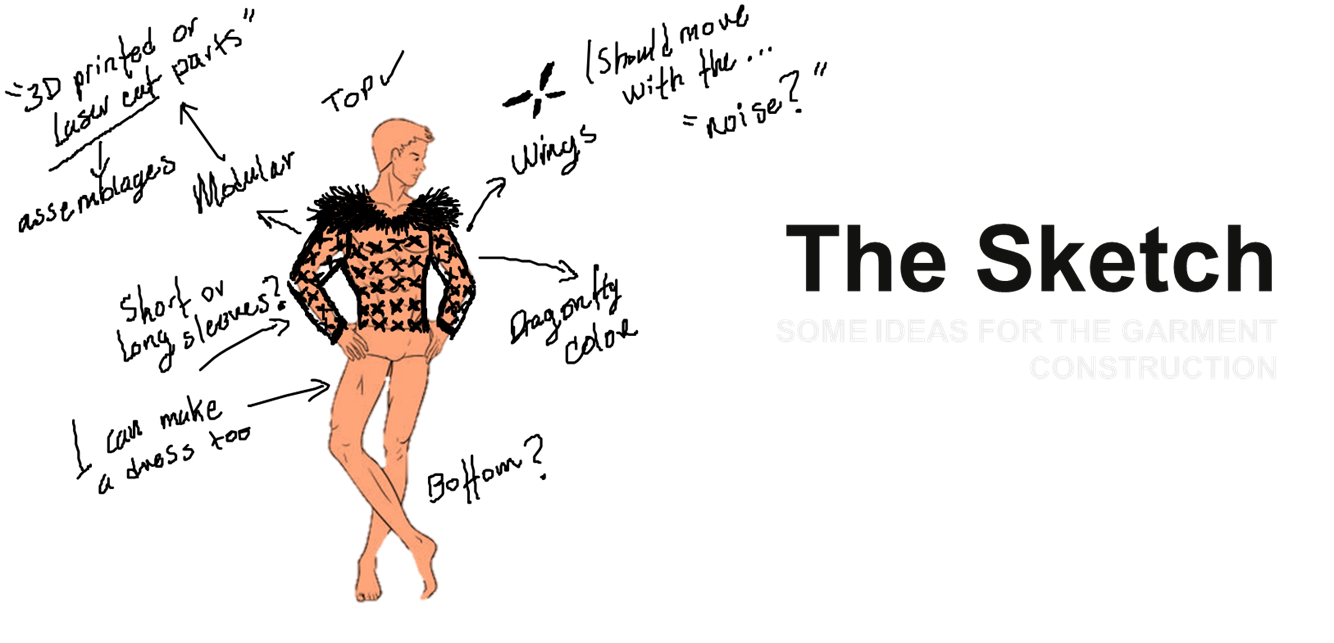
I based all of design on the physical structure of the dragonflies. I started with the sketch of the retractable system, which is integrate with a button, a system of ropes and the wings.
Initially, I wanted that all the wings in the garment it move, but, to the advance of the project, i knew that one system of ropes was not sufficient to move so many wings, so I decided that the ideal series was 2 rights and 2 lefts.
In the second part, i decided that there should be 4 wings in a single piece and that the button should include a spring to create a tension in the wings and oblige it to return to the original position.

Once I figured out the position of the wings on the garment, I started testing different color palettes, inspired by different types of dragonflies. In the end I opted for an orange dragonfly with iridescent details and used black as a contrast to highlight the details and textures of the garment.

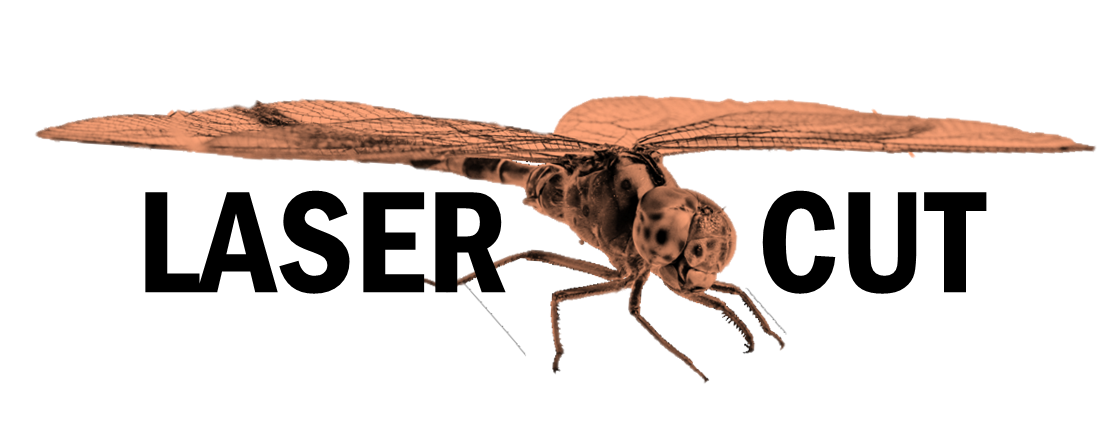
How to use the laser cutter to cut fabric
I used solidworks to design the garment pattern and exported it as a dxf file to cut on the laser cutter.
The measurements of the piece correspond to a size M
If you want to download the file in solidworks Click here
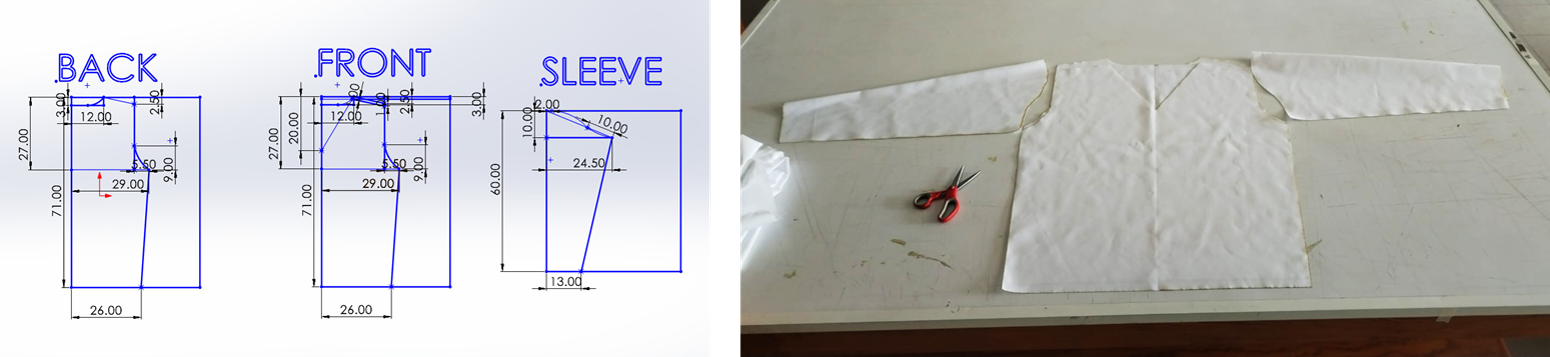
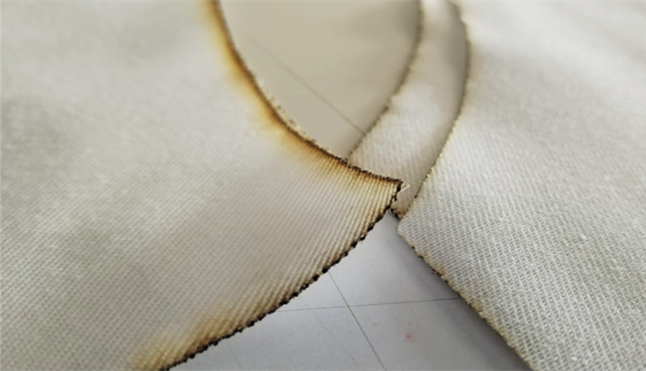
I used white gabardine with 90% polyester, since I had planned to sublimate my own design on the fabric.
NOTE: An interesting fact is that cutting 100% polyester fabric with a laser is very convenient for the sewing process, since the laser cauterizes the edges of the fabric and prevents it from fraying.
To cut this piece, I folded the fabric in half and eliminated the center line so that the laser would cut a mirrored piece and make better use of the space on the cutting bed.
The cutting parameters were:
Max POWER: 32
Min POWER: 22
Work SPEED mm/s: 30
How to use the laser cutter to cut polypropylene
For the cut of the wings, I used transparent polypropylene in the first tests, but it contrasted too much with the color of the final garment,
so I decided to use matte black polypropylene.
The cutting parameters that I used were:
Max POWER: 30
Min POWER: 25
Work SPEED mm/s: 40
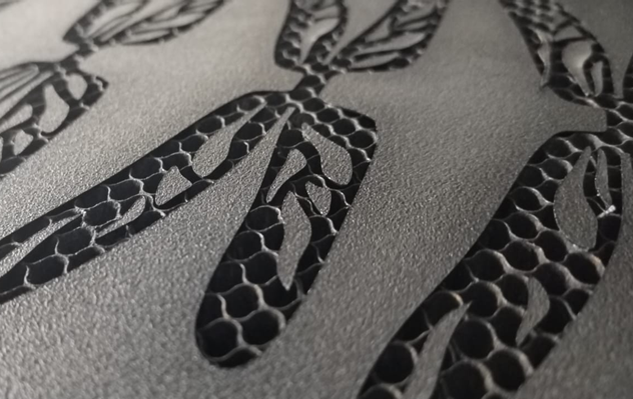
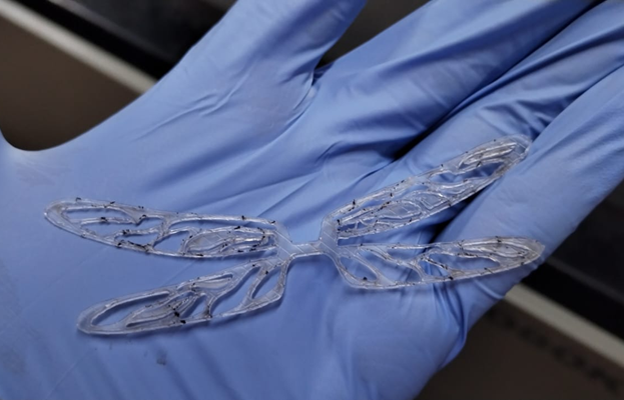
I tried different sizes, but at the end I selected one that was very convenient for the motion test, however, later I had to cut smaller pieces because I was worried about the strength of the servomotors. The transparent and textured polypropylene was more rigid than the black polypropylene, and this was noticeable in the final test.
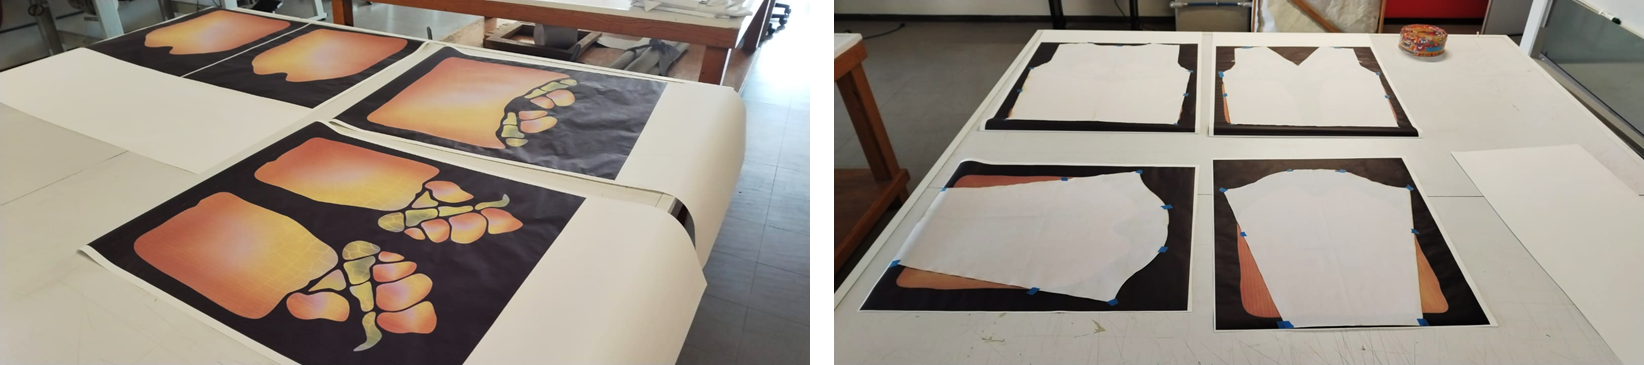
To sublimate the gabardine pieces, I used Wasatch's SOFTRIP program, which allows you to edit the print spooler
The design of the original piece was made in Illustrator in the measurements that corresponded to each of the patterns.

Now, once you open the program, import the image in JPEG in the "WORK" tab and with the right click "Add composition" . In this way, all the images that we add are positioned in print spooler and once you arrange the images to optimize the printing space, you select the "Print" option and the instruction is automatically processed and connected to the plotter.

When I finished the prints, I arranged the pieces of fabric on the paper and secured it with masking tape and pins. That way, you prevent the sublimated design from moving.
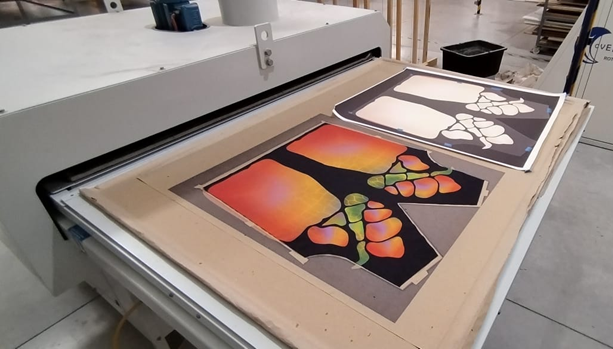
The sublimation machine runs on air, so after opening the air knob, I turned the machine on to heat up to "200".
The video shows the operation of the machine, which is very simple.
TPU, my new best friend
I decided that the garment should have more 3D printed elements in addition to the buttons to attach the wings, so I designed the collars and cuffs of the garment and printed them with TPU to making the pieces more flexible. At the end it turned out to be very convenient, so I used TPU in a color that matched the final garment.
The size of the plate is 25 x 25 cm, so I divided the piece into 3 parts.
If you want download the files in solidworks click down
Front pattern
Back pattern
Sleeve pattern

To fix the wings on the garment I designed a button that helps maintain tension and to ensure the hardness of the piece, I used black PLA.
If you want download the files in solidworks Click here
SEWING TIME
there are warriors with swords and others with needles
I used a homemade sewing machine to join all the fabric pieces in a straight line and changed the needle to a thick fabric needle to sew the TPU pieces. NOTE: 3D printed pieces must be pushed while they are being sewing, because they do not have the same sliding ability as fabric.


It's time to add some movement
To the retractable wing system, I used the same board that I used for my "Networking and Communications" week. So, the original plan was to use a "Master-Slave" system to control 2 Attinys with the XIAO RP2040 but, the system results it was too invasive on the garment.
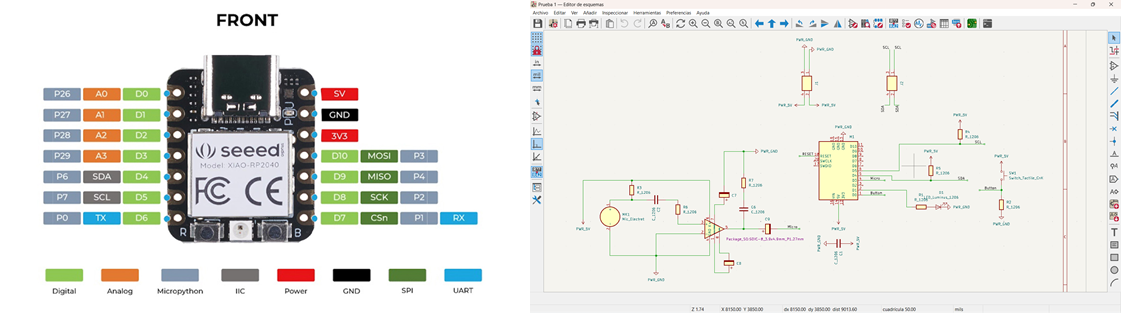
So, i decided to eliminate the two slaves and control everything from the main board, and to do this I had to solder 2 analog pins to the microcontroller that would be used to move the servomotors.
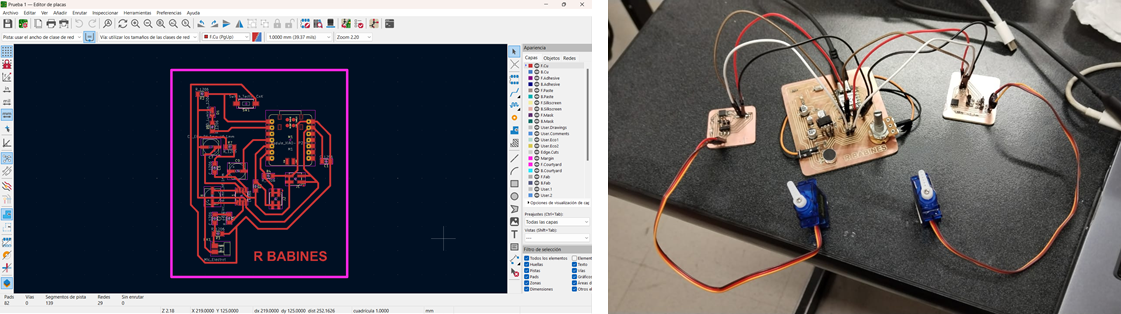
I cut the pcb with the SRM 20 milling machine and I used the servomotors from the previous pcbs for the final design of the system.
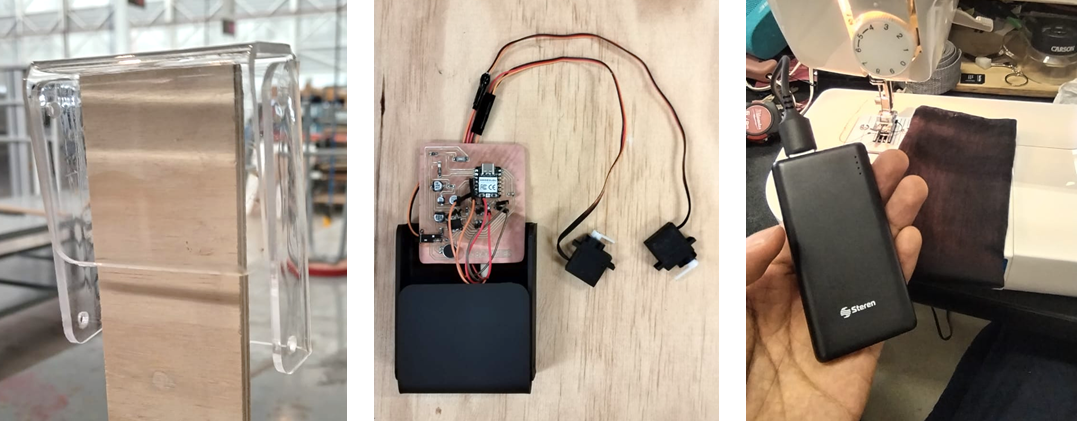
To ensure that the electronic system blended better with the garment, I designed a case that would originally be 3D printed but, seeing that it was very time consuming, I decided to make a design in SolidWorks and cut it out of transparent acrylic, which I folded with a heat gun. heat and later paint it in black.
And since the entire system would be powered by a 2500 mAh Power Bank and the connection would be made directly from the back, I designed a small cover that would add to the garment as if it were a pocket on the front.
This way the system would turn on when the power bank was connected and would not bother the user at all.
Never is too much SOLDERING
I wanted to use threads for the retractable system but it was very difficult to get them through the hose system so, I used "JUMPERS" and soldered them to secure them. It was very convenient, since, the Jumpers have an ideal level of rigidity and flexibility.
I used Arduino to program the XIAO with code that would help me move the servomotors in the same direction and at the same time. And perhaps the movement is not more obvious but, think about it. When an insect stands on you, it does not flap its wings in the same way as when it flies.
So for me, the movement is ideal and realistic, it's perfect!
|
CODE #include Servo.h Servo Raul1; Servo Raul2; void setup() { Raul1.attach(D2); Raul2.attach(D6); } void loop() { Raul1.write(0); Raul2.write(0); delay(1600); Raul1.write(180); Raul2.write(180); delay(1600); } |
It's not magic, just ARDUINOClick to download code |
