Computer-controlled cutting
This week we worked with design, the laser cutter and vinyl cutting. At the FabLab Puebla there are three cutters. I learned how they operate, the security measures and how to handle them myself. The first part consisted of knowing the thicknesses of MDF. Previous tests were carried out on the effect of power and cutting speed to know the effect of these factors on the final result of the piece being cut. All the details of this information are found in Computer-controlled Cutting-FabLab Puebla After reviewing the information and knowing the kerf in the machines that are available, the power used to work will be 50% with a speed of 40mm/min. For each job, adjustments can be made so that the material is not mistreated (burned) and is used.
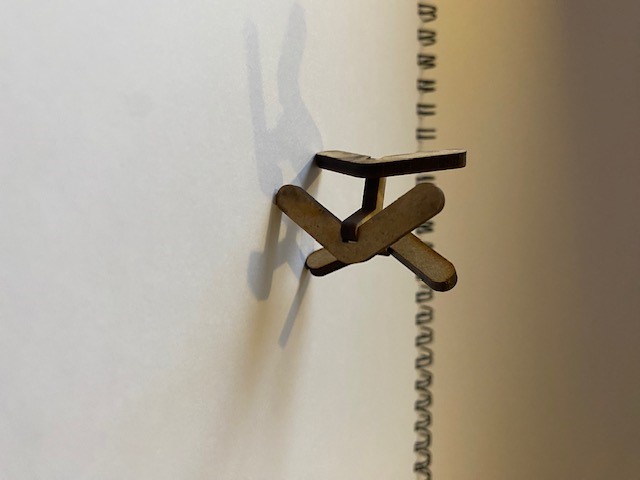
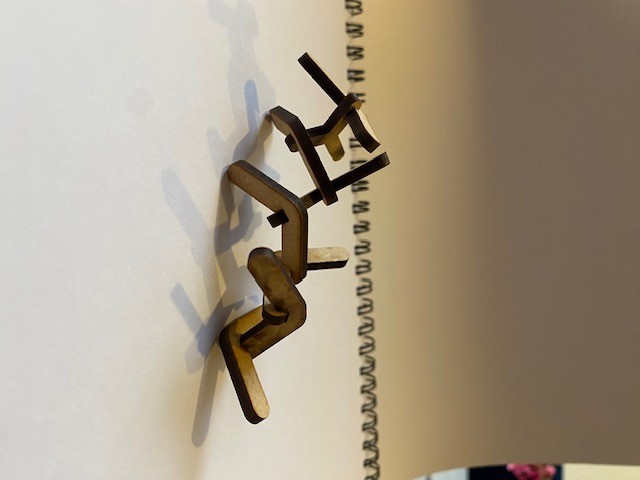
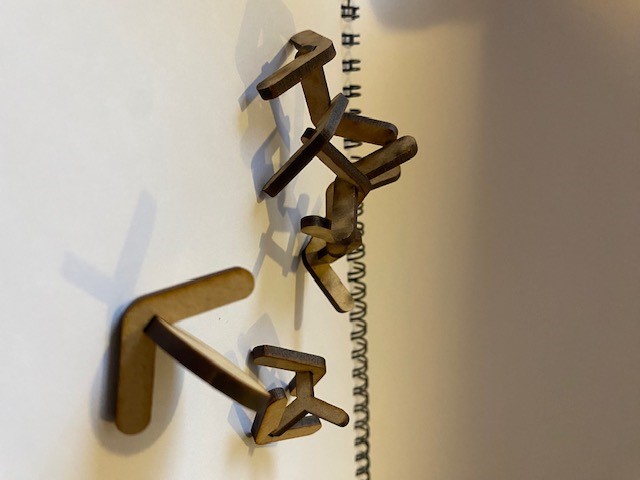
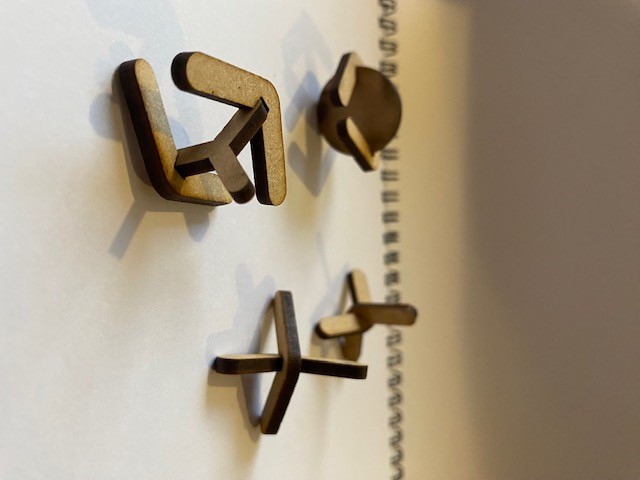
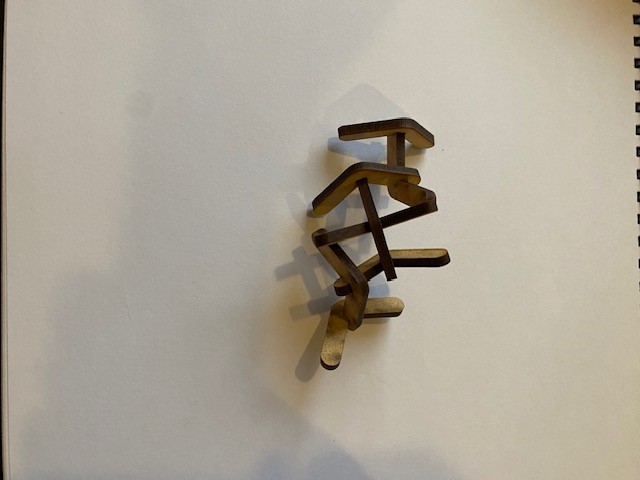
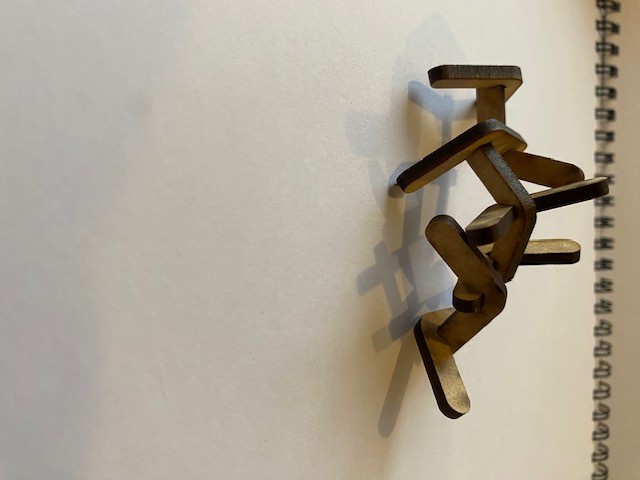
My goal this week was to design structures that could be assembled and disassembled to form new structures. I wanted to work with piecess that would allow me to make basic organic chemical bonds. I started by drawing pieces with 45 degree angles that can be assembled to generate carbon atom structures, for design use solidworks.
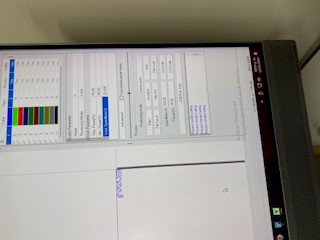
I use the CFL-CMA1390T machine, To begin using it, the fans in the work area must be on. A USB "key" is required to use the SmartCar4.3 program. To turn it on, all the equipment connections are required to be on. The machine has two switches (right side) that must be turned on and the emergency stop deactivated.

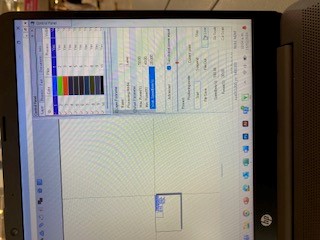
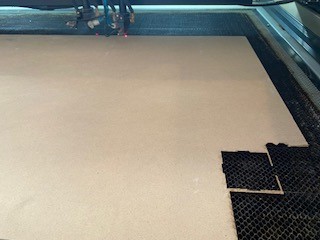

The next step was to laser the piece, for this the arrows in the control area are used to place the laser in the upper right corner. This control allows us to move the laser in the x, y coordinates. In order to set the height, z, it is necessary to do it manually by adjusting the laser nuts with the height of the thickness of the material. for this case 6mm. This machine has two lasers, so you must be careful when only working with laser 1. In this case the design was correct so it was only necessary to start by pressing "star"


Vinyl
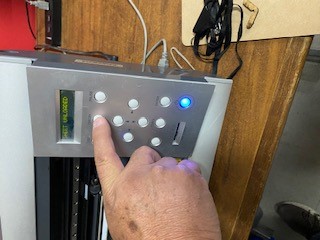
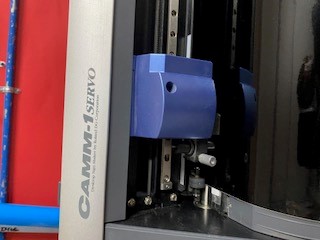
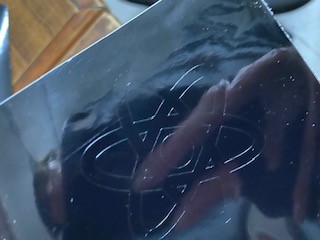
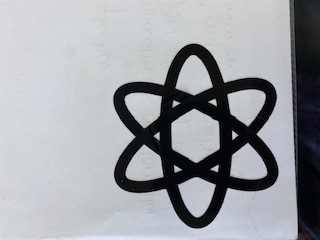
The vinyl cutting was done with the illustrator program. An image was selected and vectorized. The CutStudio program was used. The edited file is imported into this program, necessary measurement adjustments are made. The paper is adjusted from the back of the cutter and placed in the final position with the rear lever to prevent it from moving. The cutter is placed in the original position with the manual controller of the machine, and the process starts.