Model & Casting
For this week’s assignment, I will focus on molding and casting. As part of our group work, I will review the safety data sheets for each of our molding and casting materials. I will also create and compare test molds using each material and evaluate the differences between printing and milling molds.
Model Design
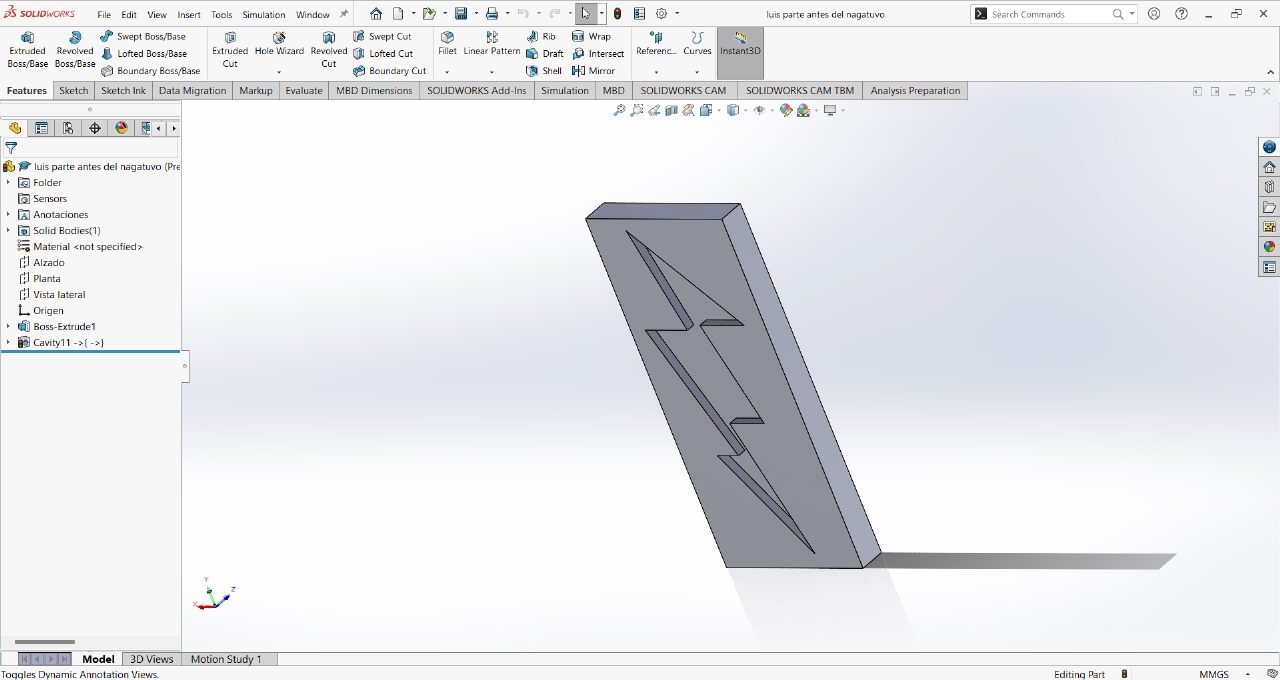
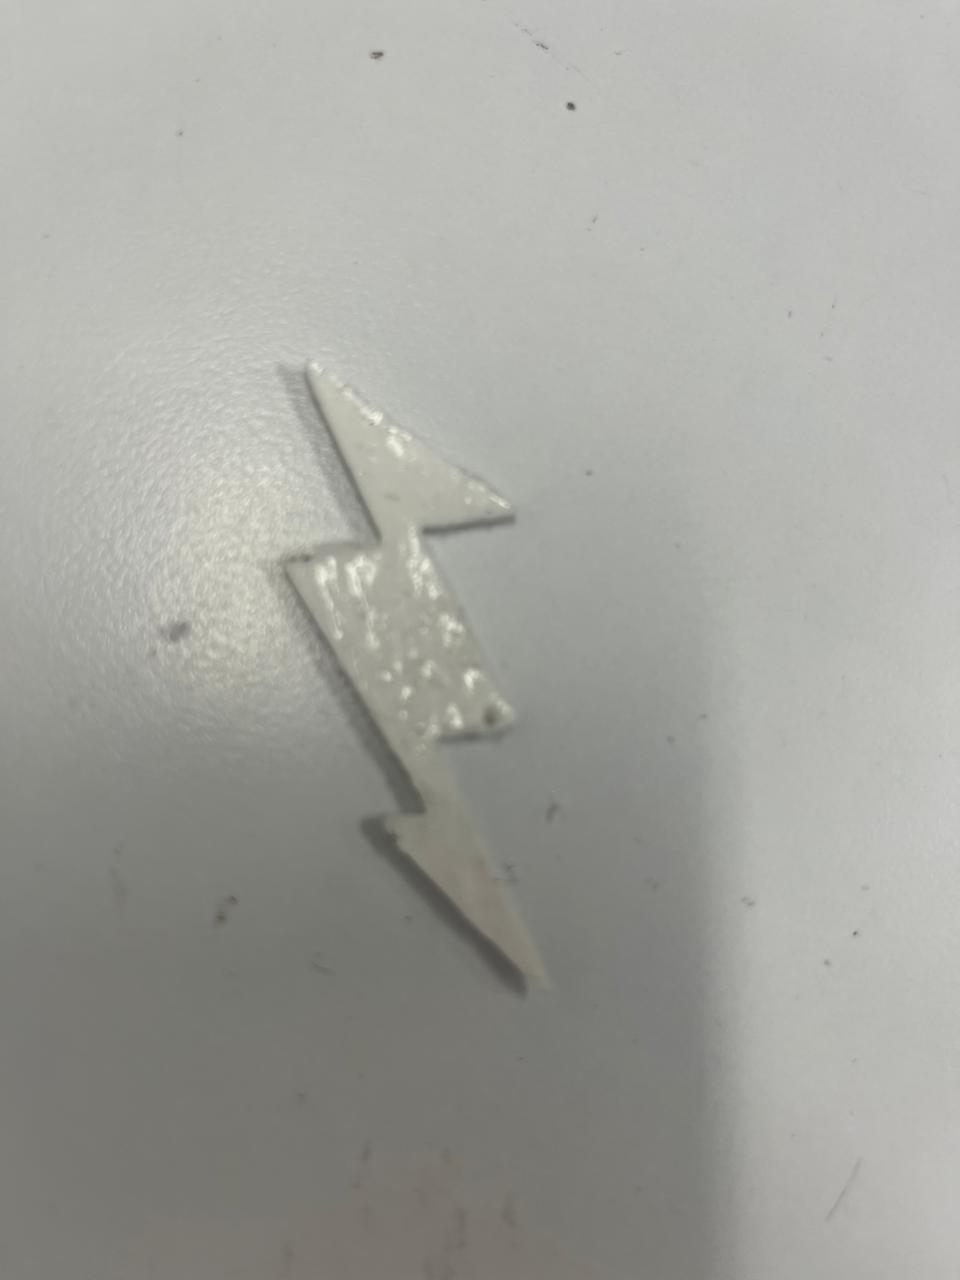
To create the design, I didn't complicate things. Since it was new and challenging for me, I decided to go with a simple design. So, I made the logo of my favorite superhero, Flash (I actually just made the lightning bolt).

Once we have the design, we create the negative to make the mold.
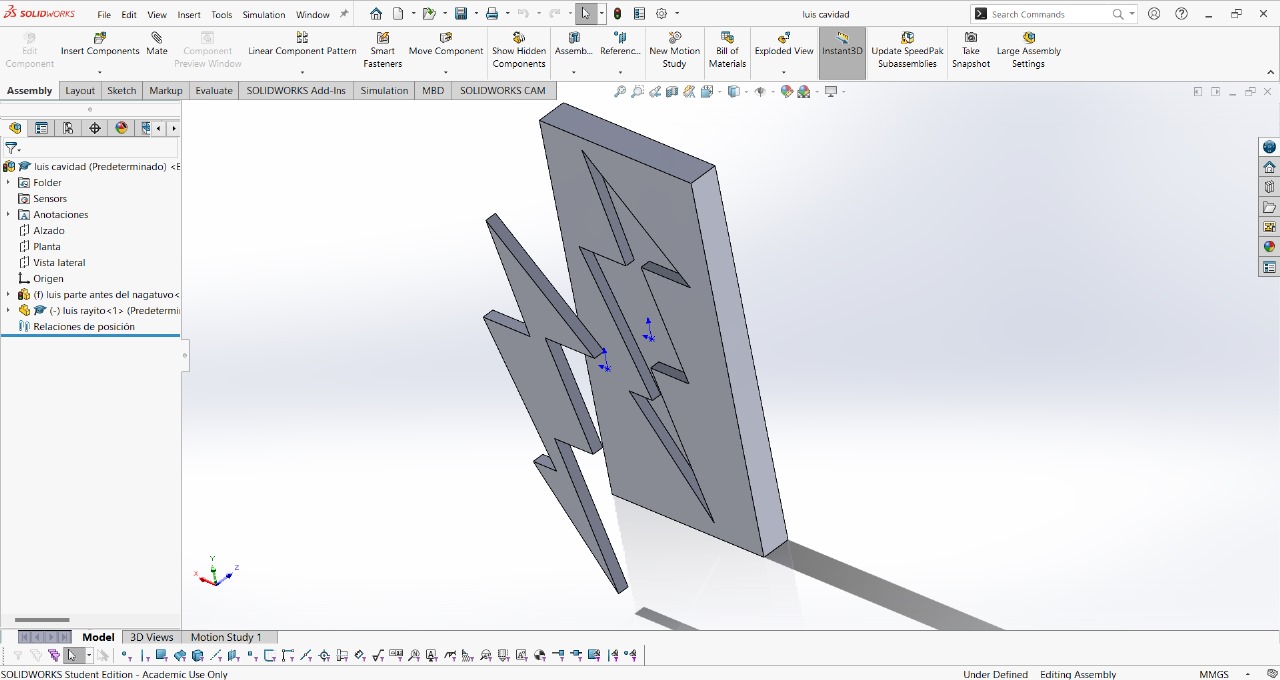
Then we print in 3D with PLA the model
Casting
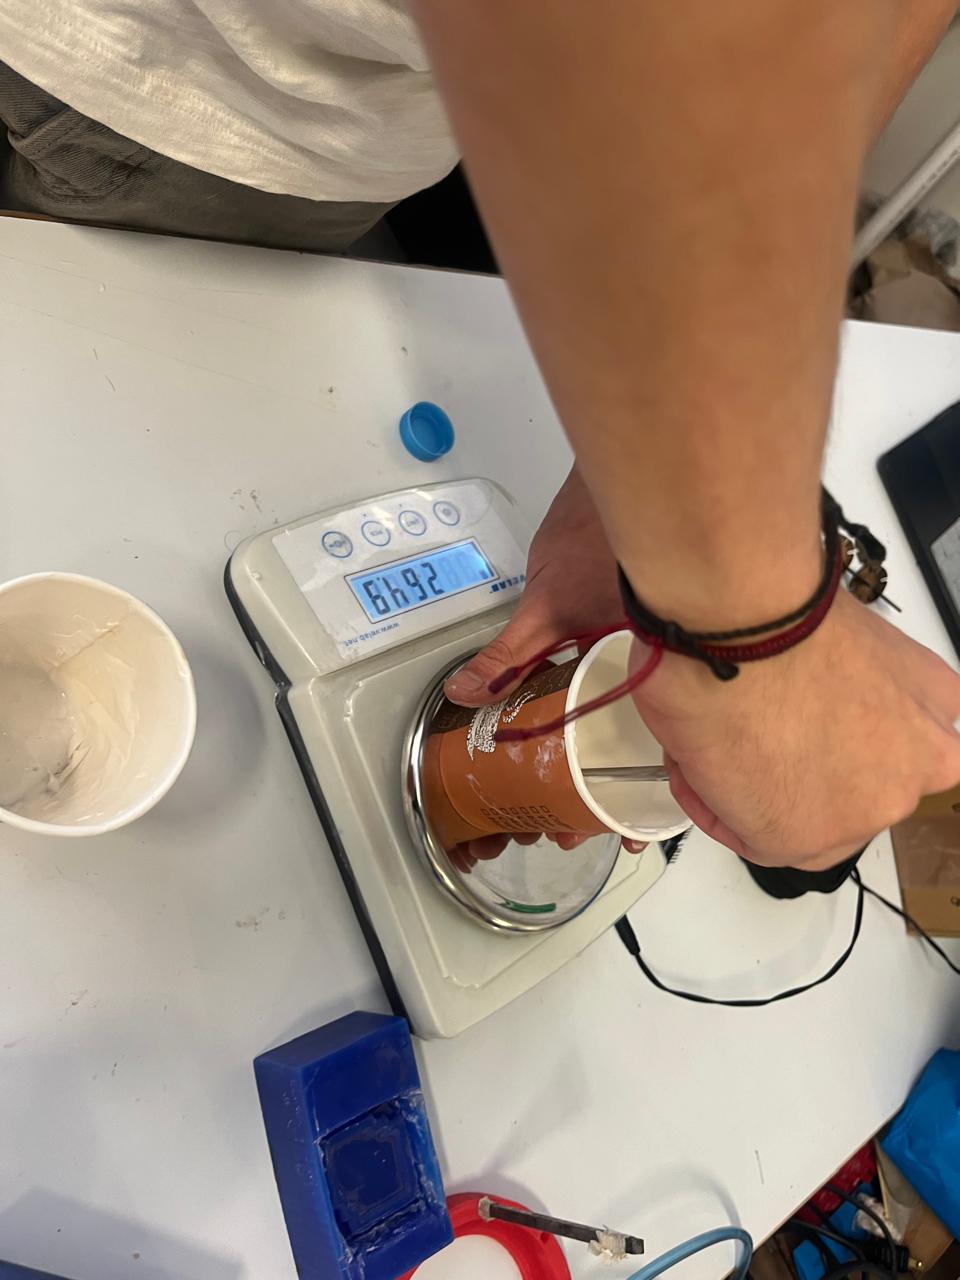
I decided to make my piece out of silicone, so after creating the mold, I poured the silicone solution. For this, I used Smooth-On Silicone 3030, parts A and B, in a 10:1 ratio, respectively. A scale is needed for this.

To determine the weight, we will measure the volume of the piece's interior, resulting in a weight of 1.2g. Therefore, we will start by pouring 1g of Product A.
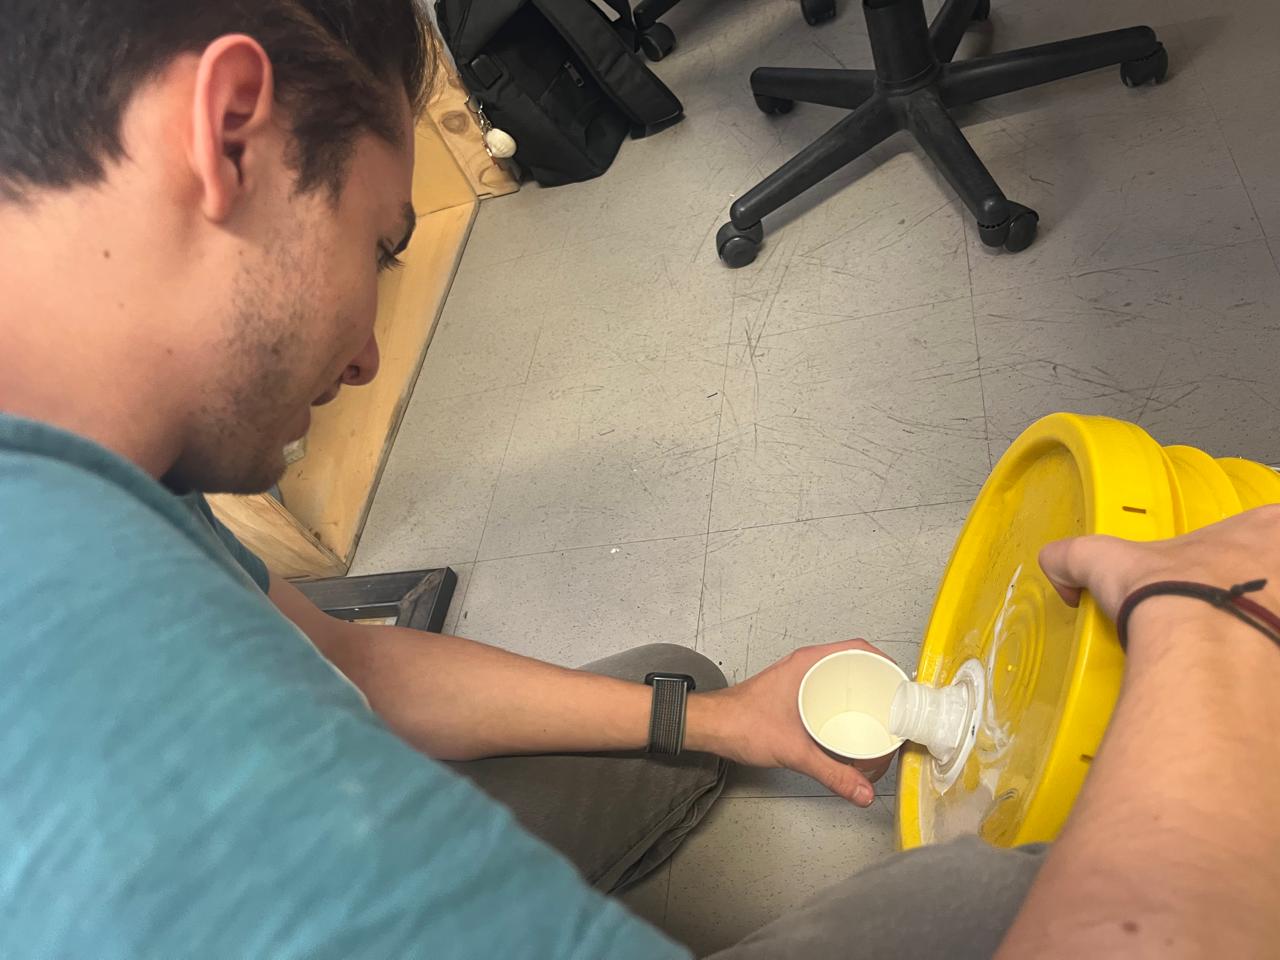
Then we need .200g of product B
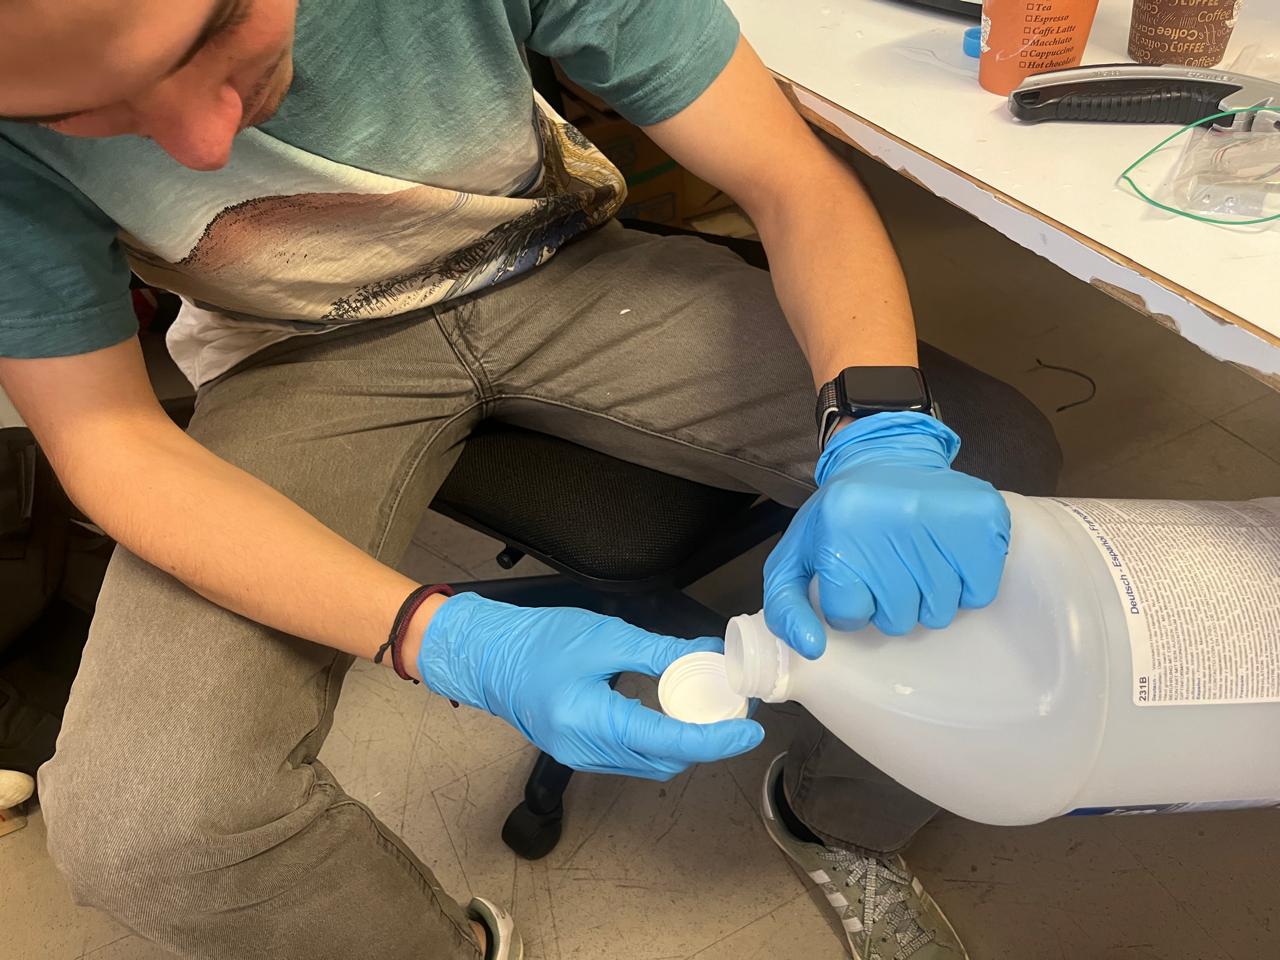
Once both products are poured, we need to stir for a good amount of time until the solution becomes somewhat viscous.
Once well mixed, we pour it into the mold.
Let it dry and wait one day...
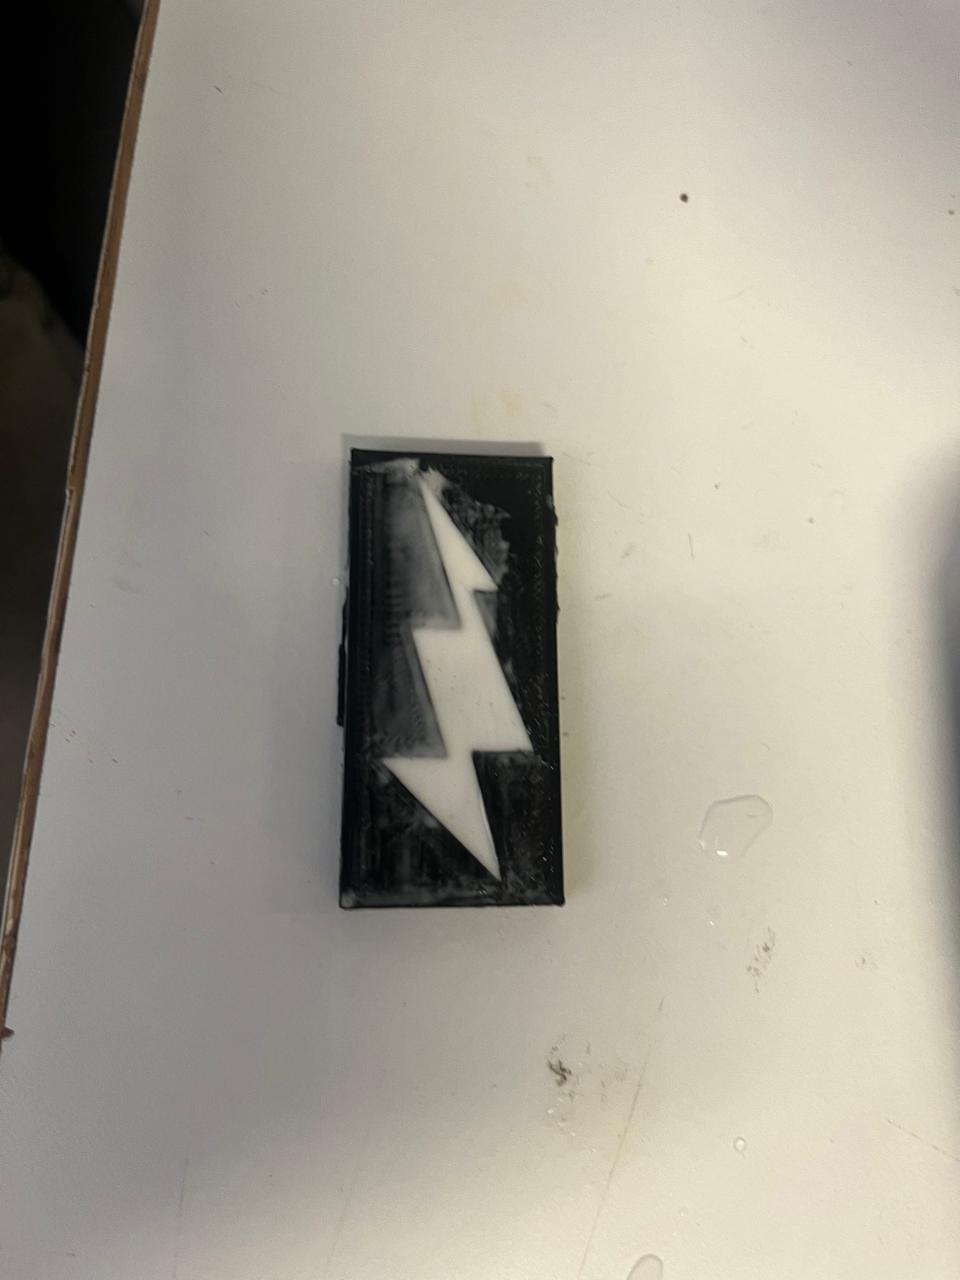
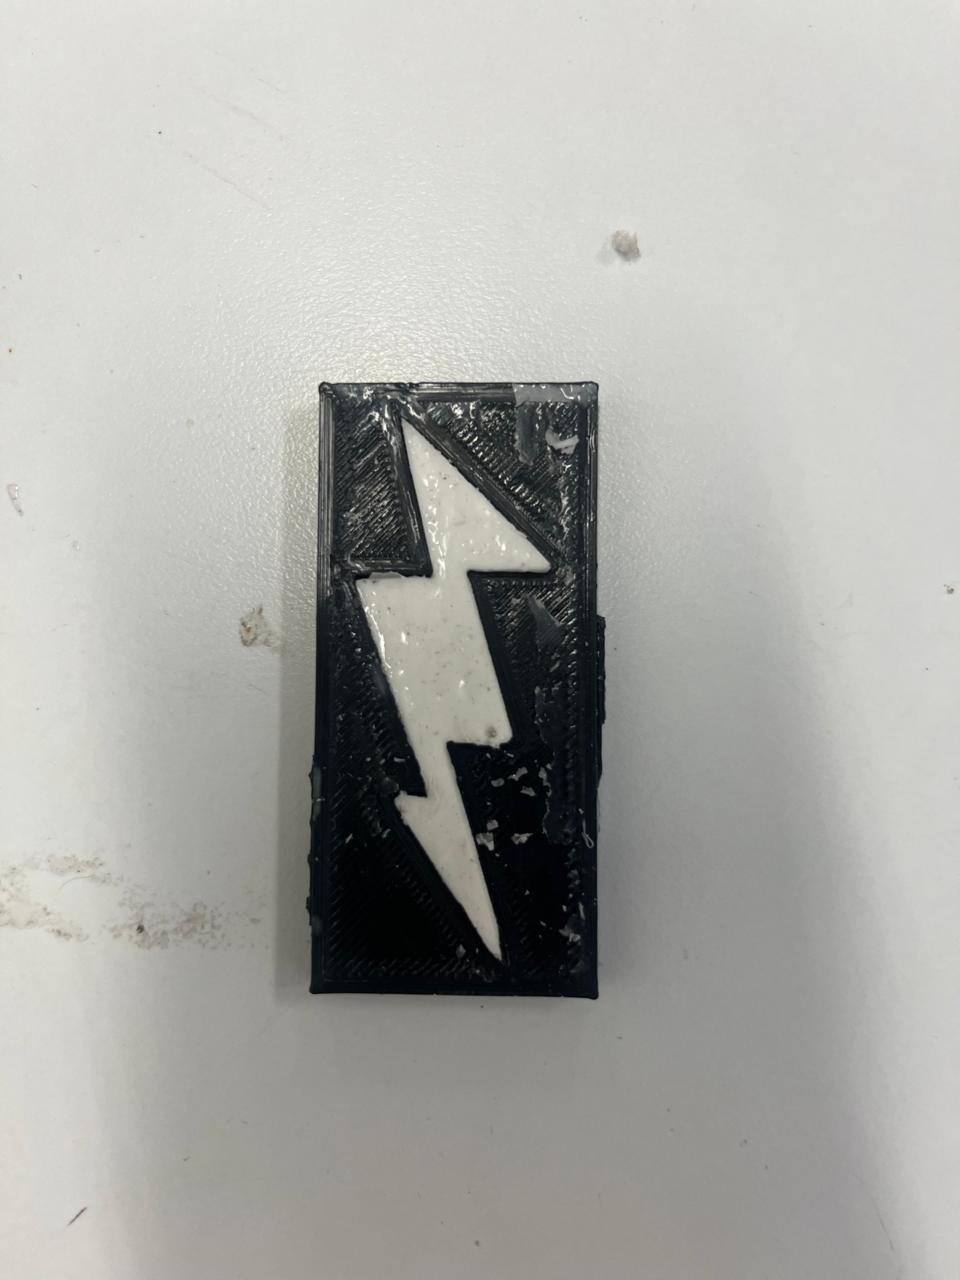
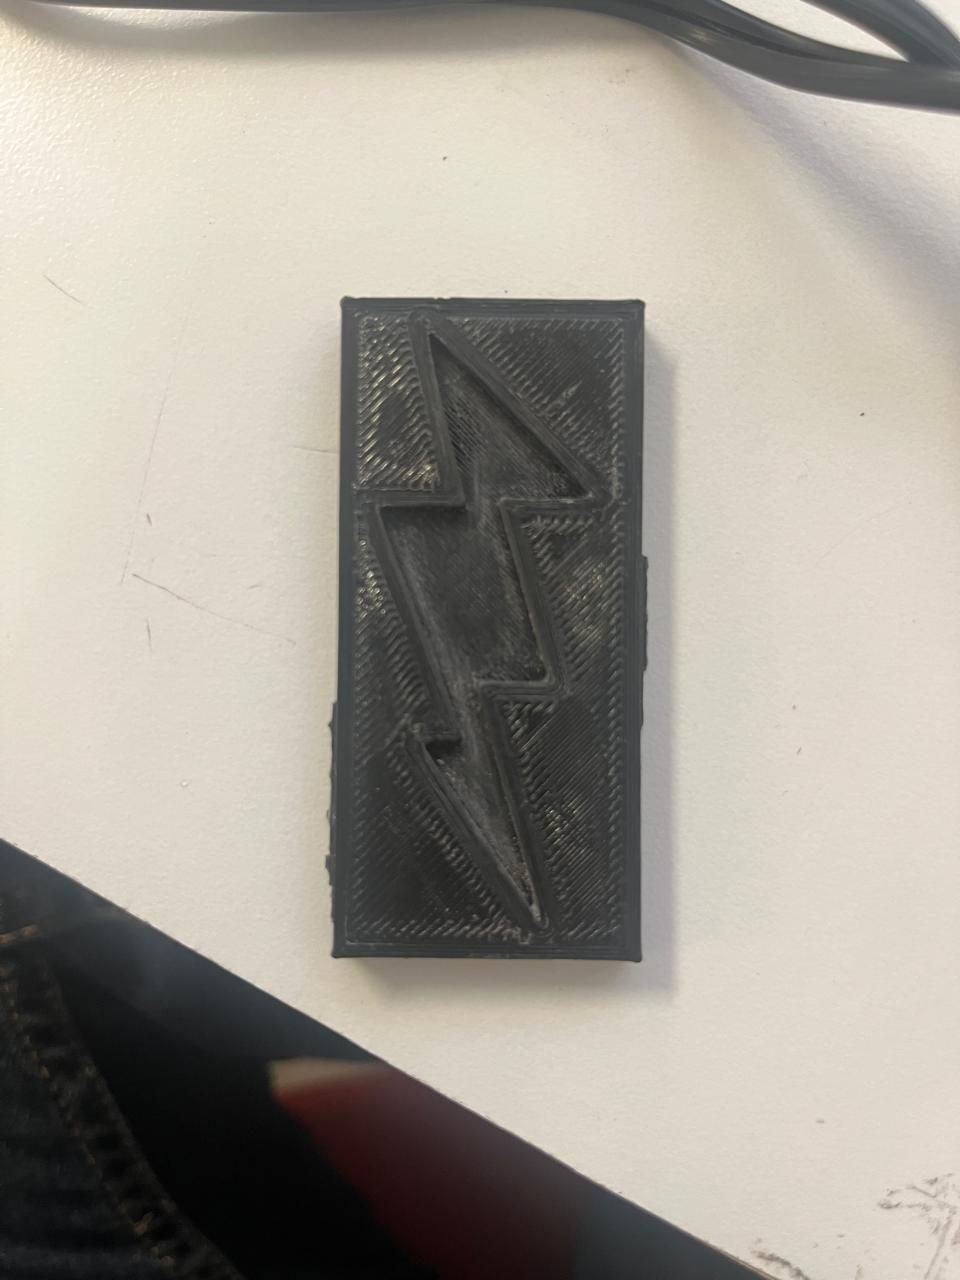
Final Result
| Problem | Solution |
|---|---|
| The piece was too thin. | Made the negative of the mold deeper when designing. |