Mechanical design & machine design
THE DUNE DREAMER
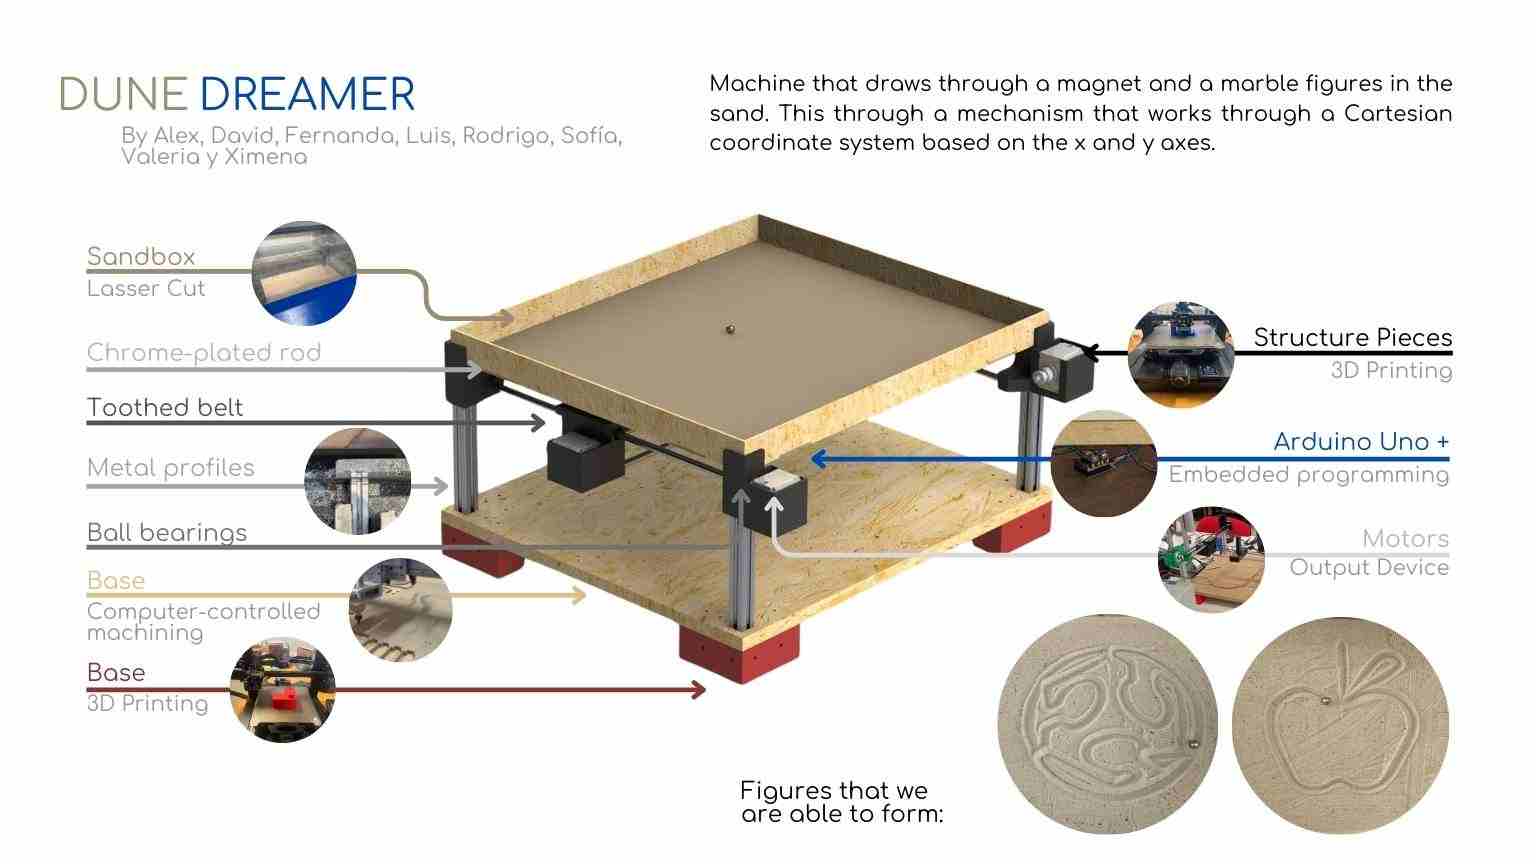
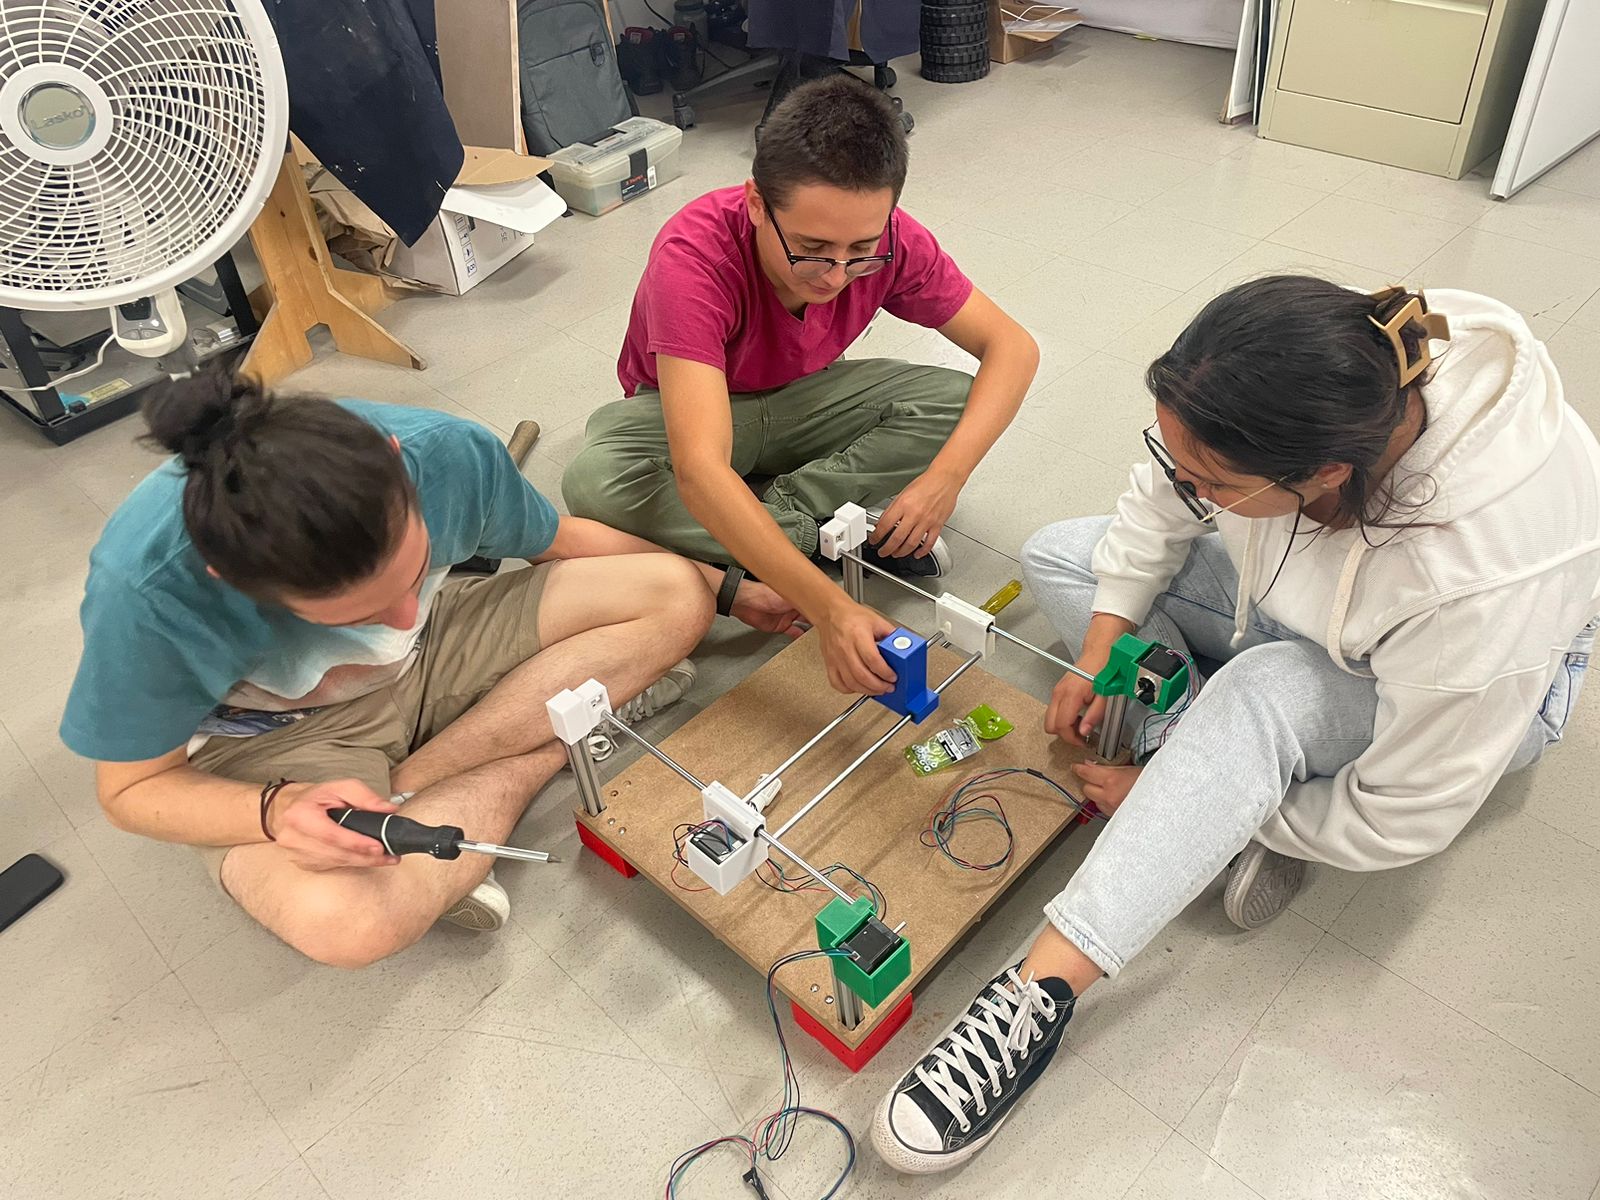
This week, we were assigned a team to design, build, assemble, and program a CNC. This task was a challenge for all of us since we didn't know each other before. We had to learn to work as a team with colleagues who weren't even from our degree programs. The goal of building this CNC was to employ the skills acquired in previous weeks and apply them to a team project. Our team chose to make a CNC that draws in sand as a decorative piece initially. As the project progressed, we came up with ideas to potentially create molds with the sand and produce pieces using some other technique in the future.
My job in this proyect
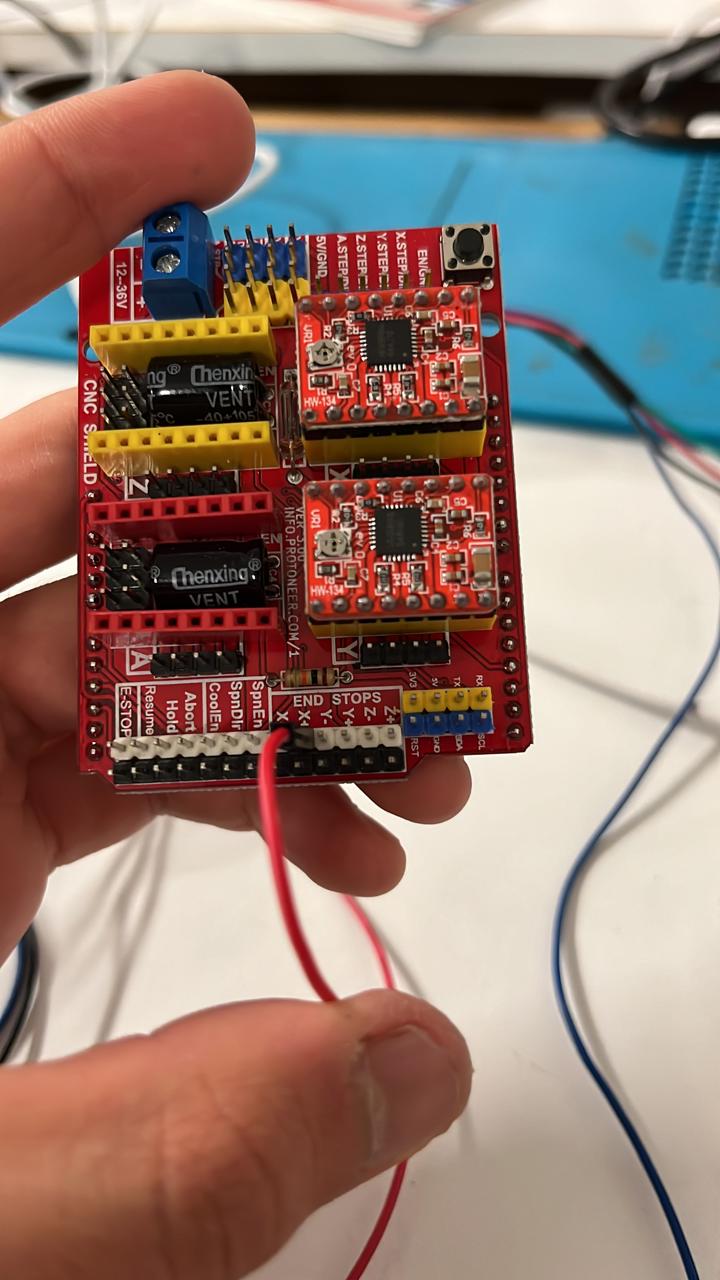
In this project, I engaged in multitasking, assisting in the assembly of the printer and programming the Arduino using the Arduino shield for grbl to control the motors. We are now ready to conduct thorough testing on the motors using an Arduino setup equipped with a shield. To facilitate this process, we will use Universal Gcode Sender (UGS), an open-source software platform known for its comprehensive features designed to communicate with advanced CNC controllers.
Installing the grbl Firmware on the Arduino
Download grbl:
You can get the latest version of grbl from the official GitHub repository.
grbl GitHub RepositoryInstall grbl on the Arduino:
- Open the Arduino IDE.
- Go to Sketch -> Include Library -> Add .ZIP Library... and select the grbl ZIP file you downloaded.
- Open the grbl example from File -> Examples -> grbl -> grblUpload.
- Select your Arduino board and the correct port from Tools -> Board and Tools -> Port.
- Upload the sketch to your Arduino board.
Connect the Arduino:
- Connect the Arduino to your computer using a USB cable.
- Open Universal Gcode Sender.
Select the Communication Port:
In Universal Gcode Sender, select the COM7 port, which is the channel through which the Arduino communicates with the PC.
Select the grbl Firmware:
Ensure the firmware selected in UGS is grbl, which is essential for interpreting g-code.
Establish the Connection:
Click the 'Connect' button. If the connection is successful, the software will indicate it is ready to receive commands.
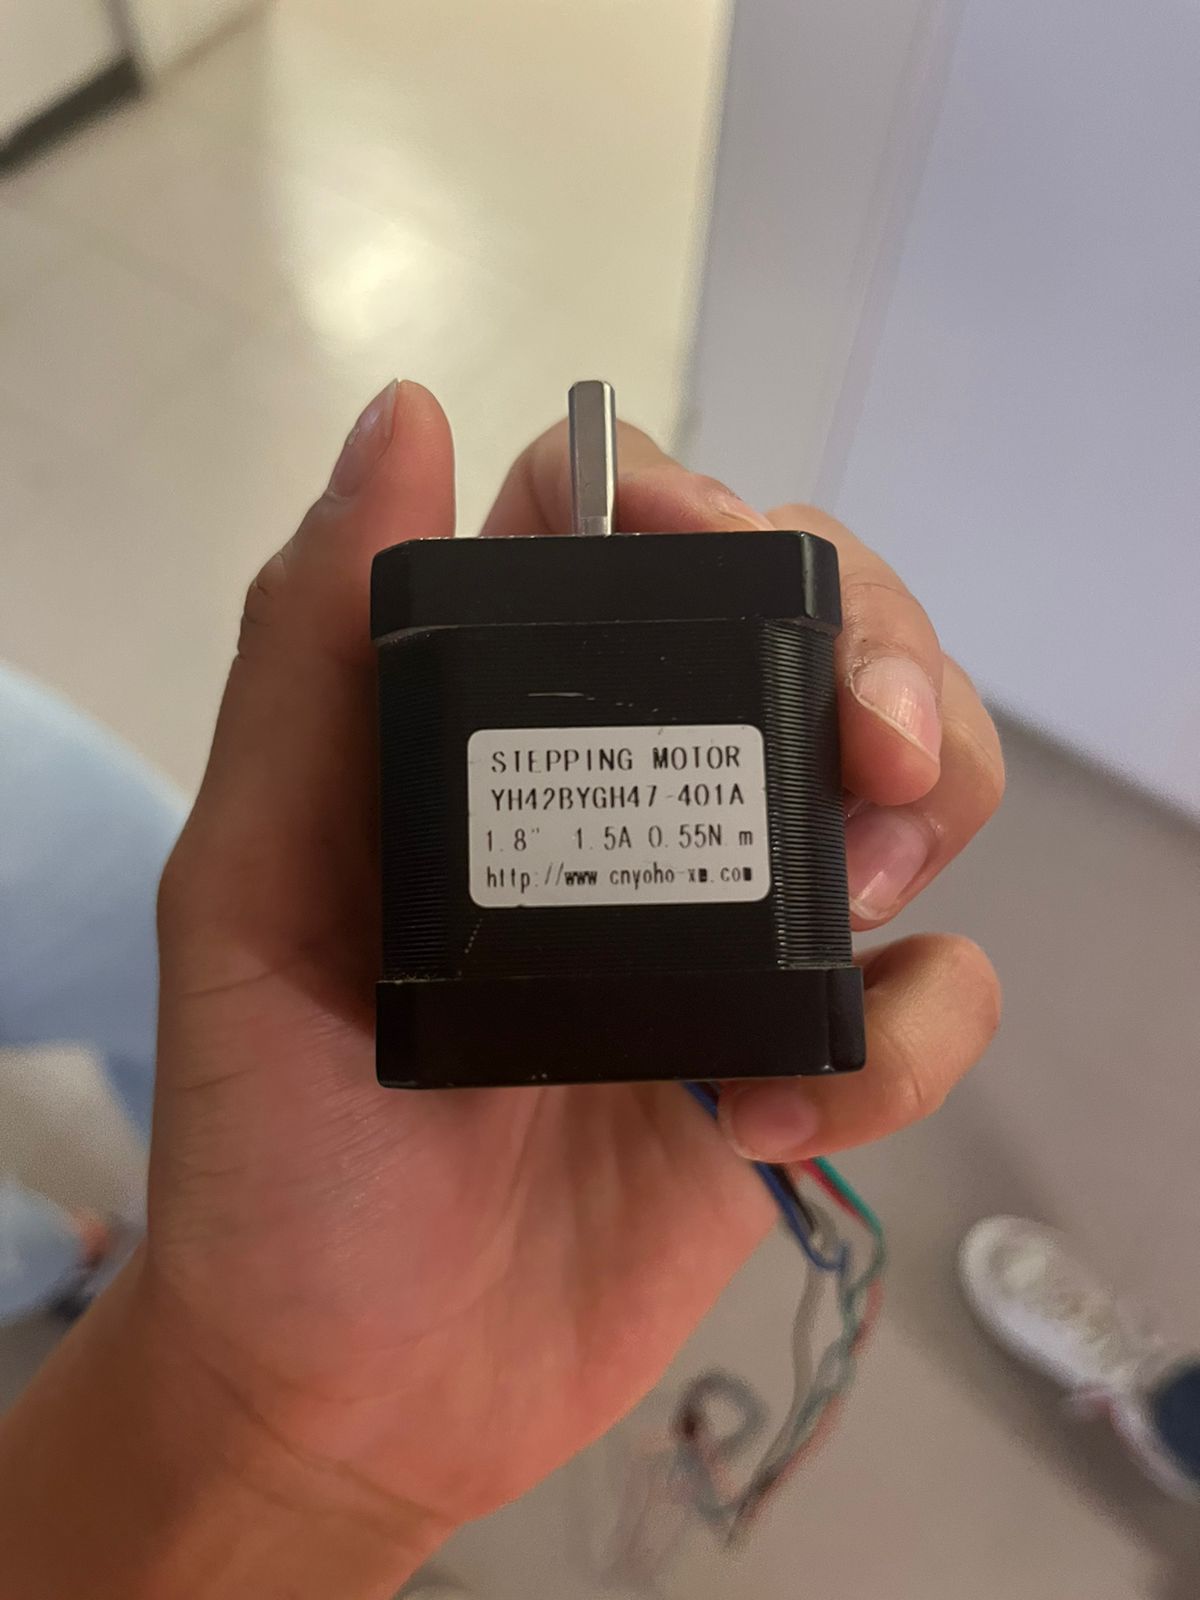
Testing the motors
With the connection established, I proceeded to test the CNC machine’s motors using Universal Gcode Sender. I sent specific commands to move the motors and ensure everything was working correctly.
Writing Arduino Code for Testing the Motors
To conduct basic motor tests, I wrote an Arduino program to control stepper motors connected to the shield. This code allowed me to control two stepper motors connected to the shield on pins 8-11 and 4-7, respectively. The program moved the motors forward and backward 100 steps with pauses in between Here’s the code I used:
Direct Interaction with Universal Gcode Sender
With the connection established and the grbl firmware running, I sent movement commands through Universal Gcode Sender to test the motor movements. Some of the commands I used included:
- Move the X axis:
G0 X10(This command moved the X axis 10 units forward). - Move the Y axis:
G0 Y10(This command moved the Y axis 10 units forward).
I entered these commands directly into the UGS interface to test the motor movements and ensure everything was functioning correctly.
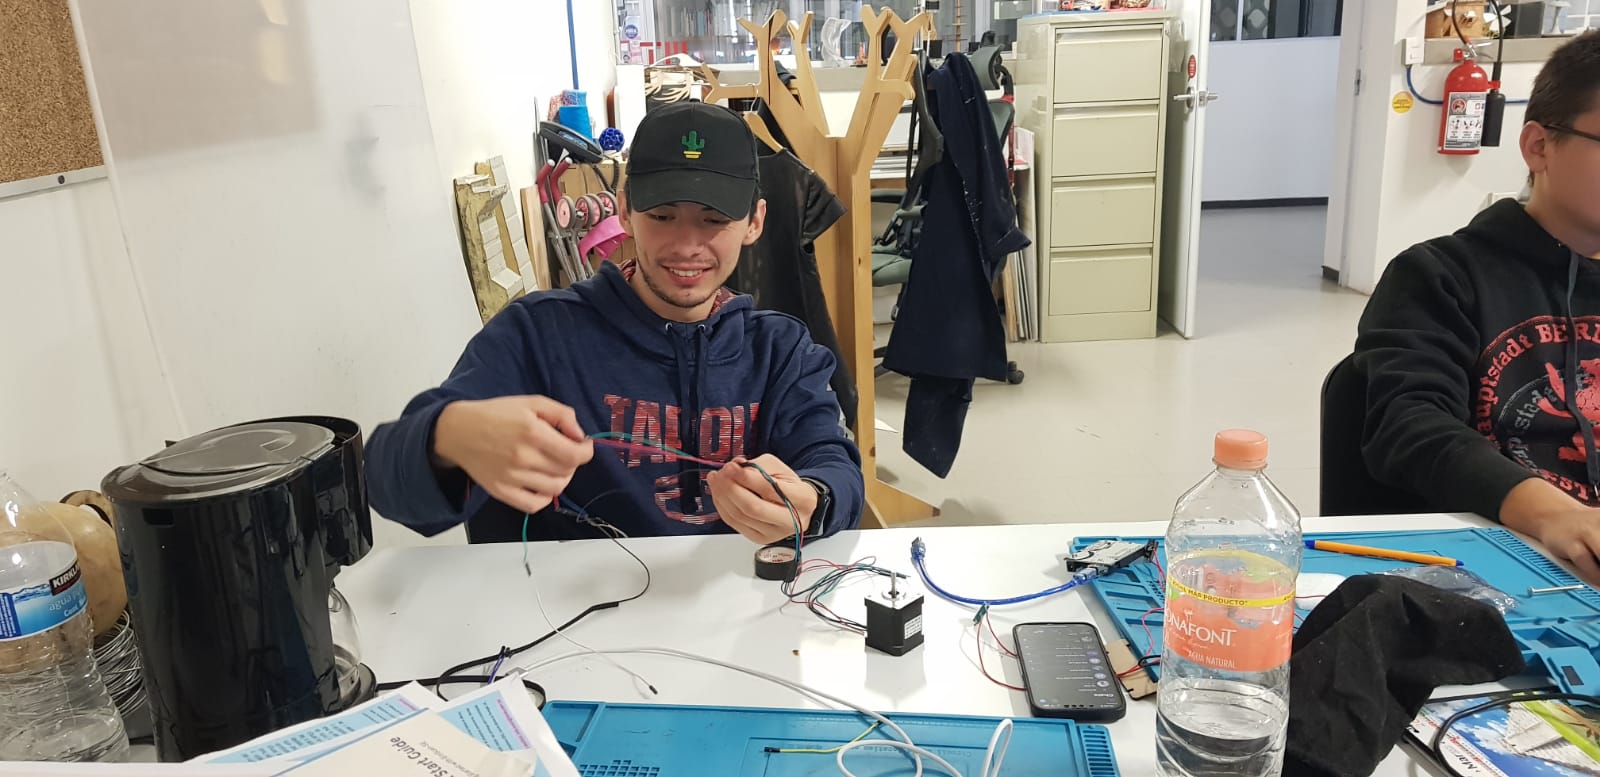
Assembly
As the deadline approached, my team was having trouble with the assembly of various components. To ensure we met our deadline, I decided to step in and assist with the assembly process.
Final Result
Conclusions
By following these steps, I was able to conduct comprehensive tests on the motors using the Arduino, shield, and Universal Gcode Sender. This multitasking effort, from assembly to programming and testing, was a crucial part of the project’s success.
What can we improve?
At one point in the design, we wanted to implement an acrylic sheet with LED lights so that when the drawing was made, it would light up and make the design more attractive. Due to time constraints, we couldn't implement that design, but it could be a good improvement.