Computer-Controlled Machining
GROUP ASSIGMENT
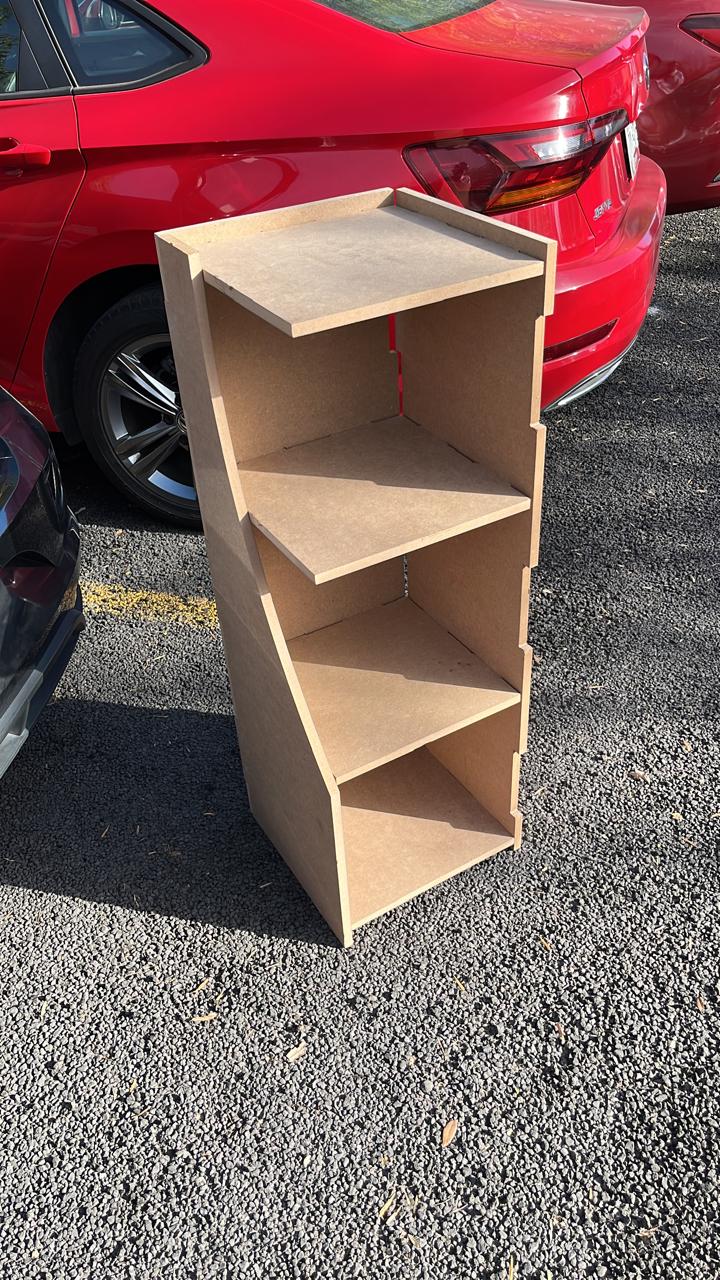
I sincerely consider that this has been a challenging week, for the first time I have designed a piece of furniture and cut it on a CNC machine, this week's challenge was to make something large on a CNC machine (more than 1 meter) on the days I was thinking about what to do, I noticed that my room did not have enough furniture to put my decoration so I decided to do something. Searching the Internet I found a piece of furniture that caught my attention, so using a reference image I decided to replicate the model and change some things to my liking.
The challenge of this piece of furniture was that need to be assembled under pressure without using any type of glue or screws
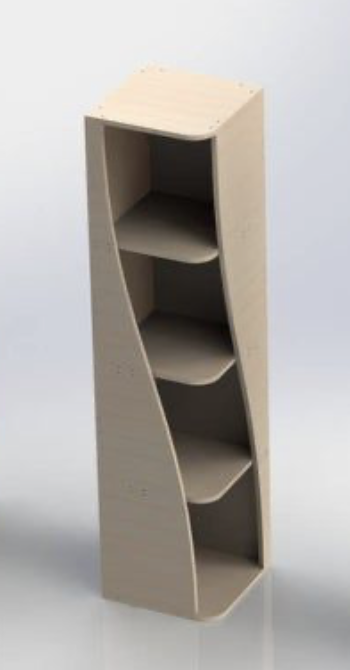
Inspiration model
Let's sketch!!
The sheet I used was 1.22mm x 2.44mm x15mm MDF wood and taking that measurement I decided to make the furniture 1050mm high x 350mm wide and between each drawer there is a space of 350mm so that there are 4 spaces to put my things
This was the first sketch handwrite

And this is the Sketch I made in Fusion
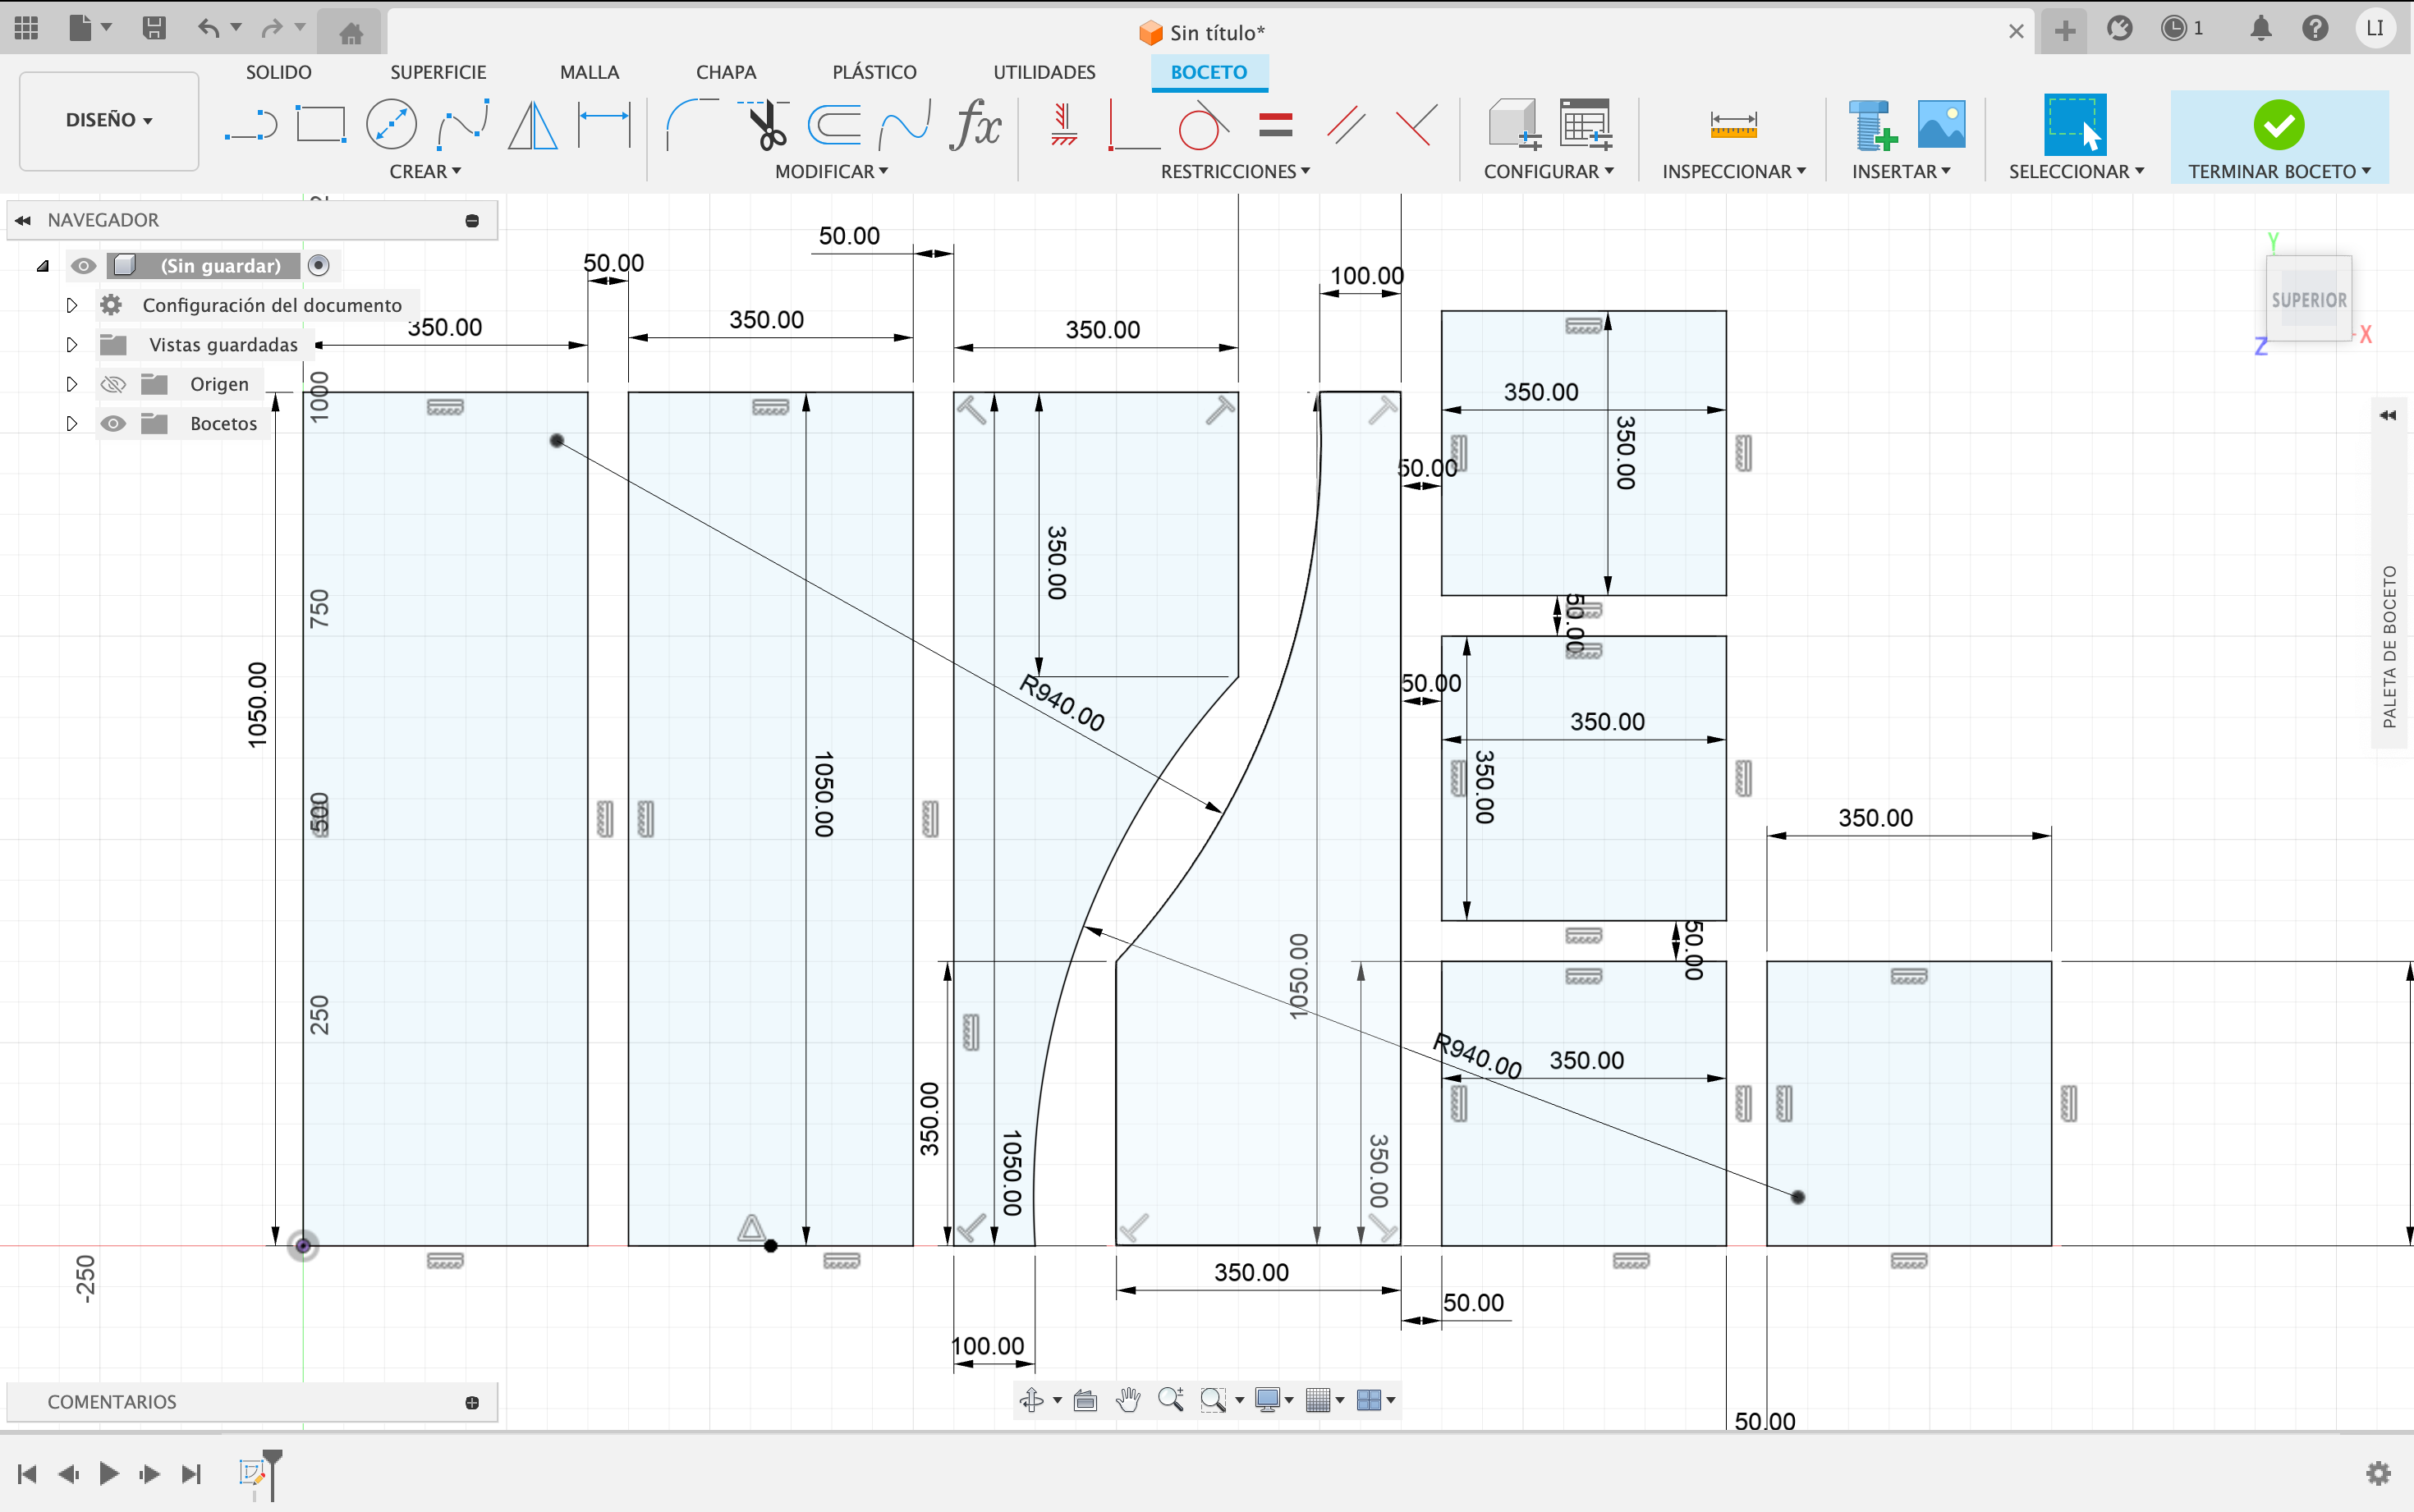
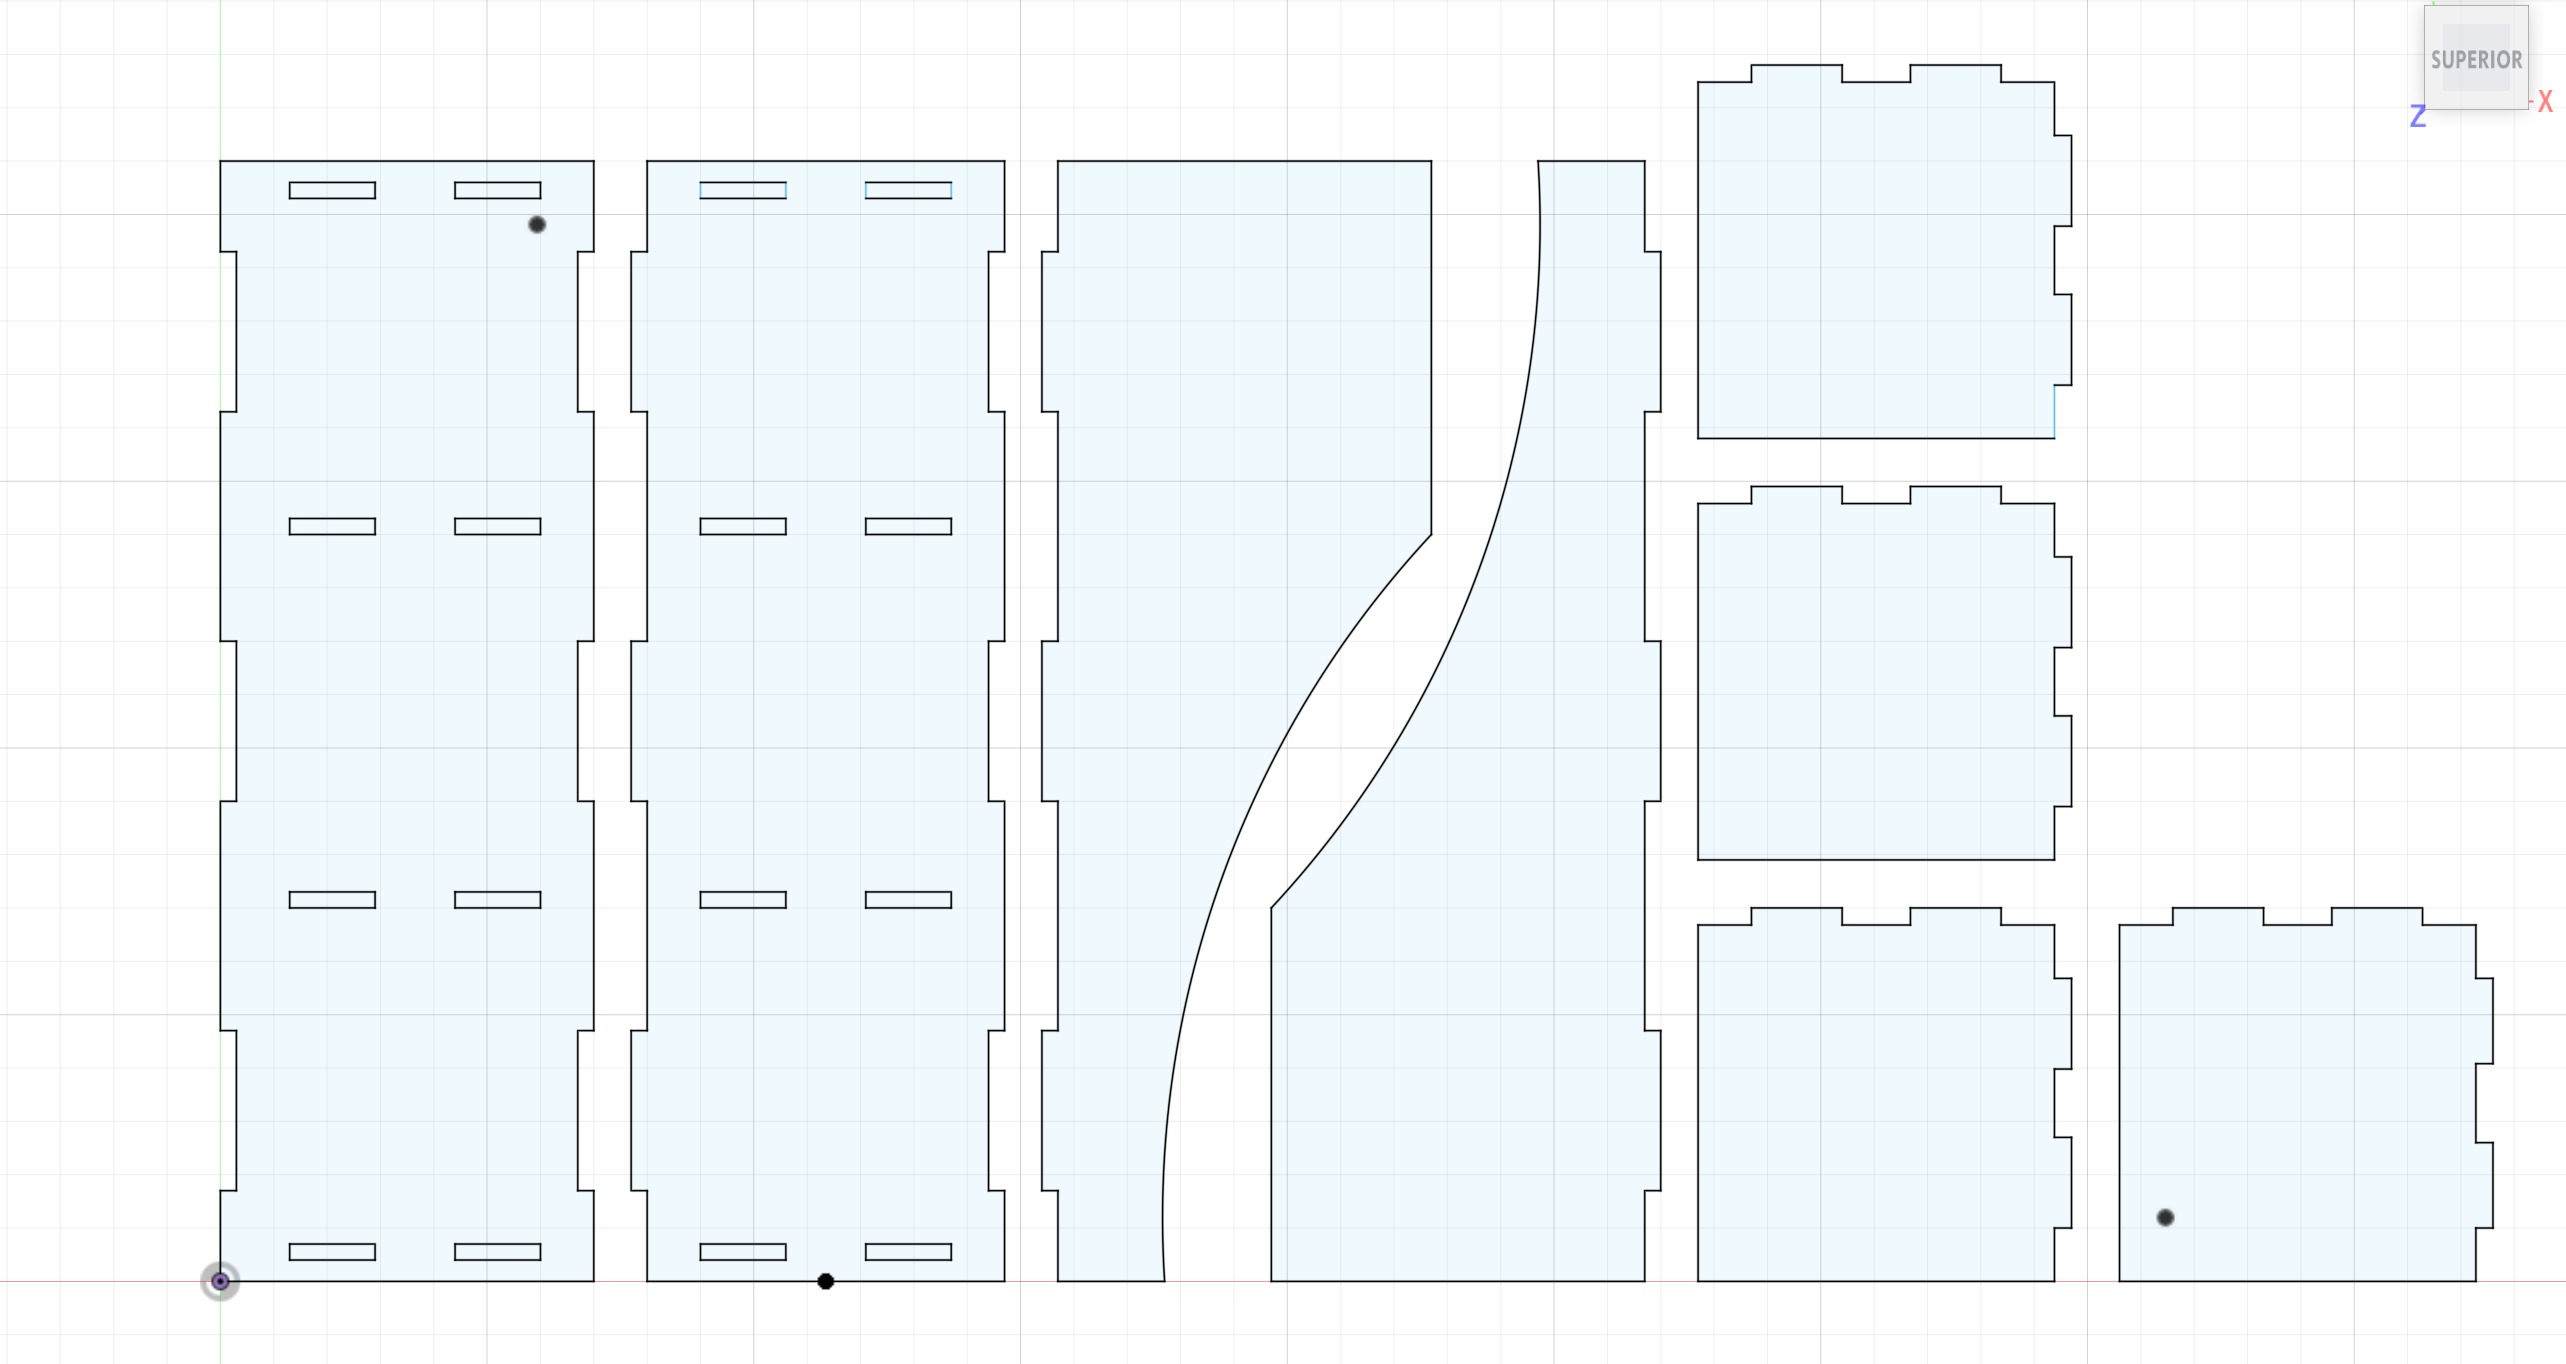
Once the base was done, I made the respective modifications so that it assembles under pressure.
After having exported in dxf format, open it in the Vcarb pro program, this program will be generating the G code for the router. It is a CNC design and machining software developed by the company Vectric. It is designed for users who want to create 2D and 2.5D designs and then translate those designs into machining instructions for CNC machines, such as CNC routers.

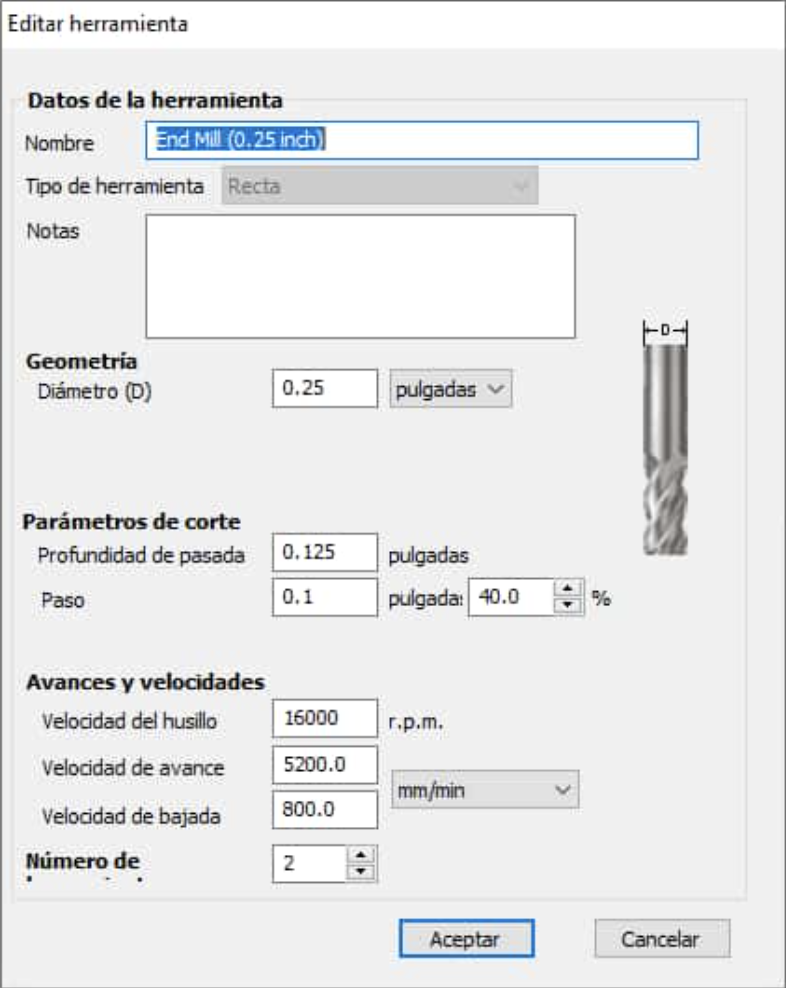
Since our part is already vectorized, we select the machining that we want to perform on our router. In this step we will also set all of our tool parameters for a 1/4 inch cutter at 16,000 rpm and a feed rate of 5200 mm/min.
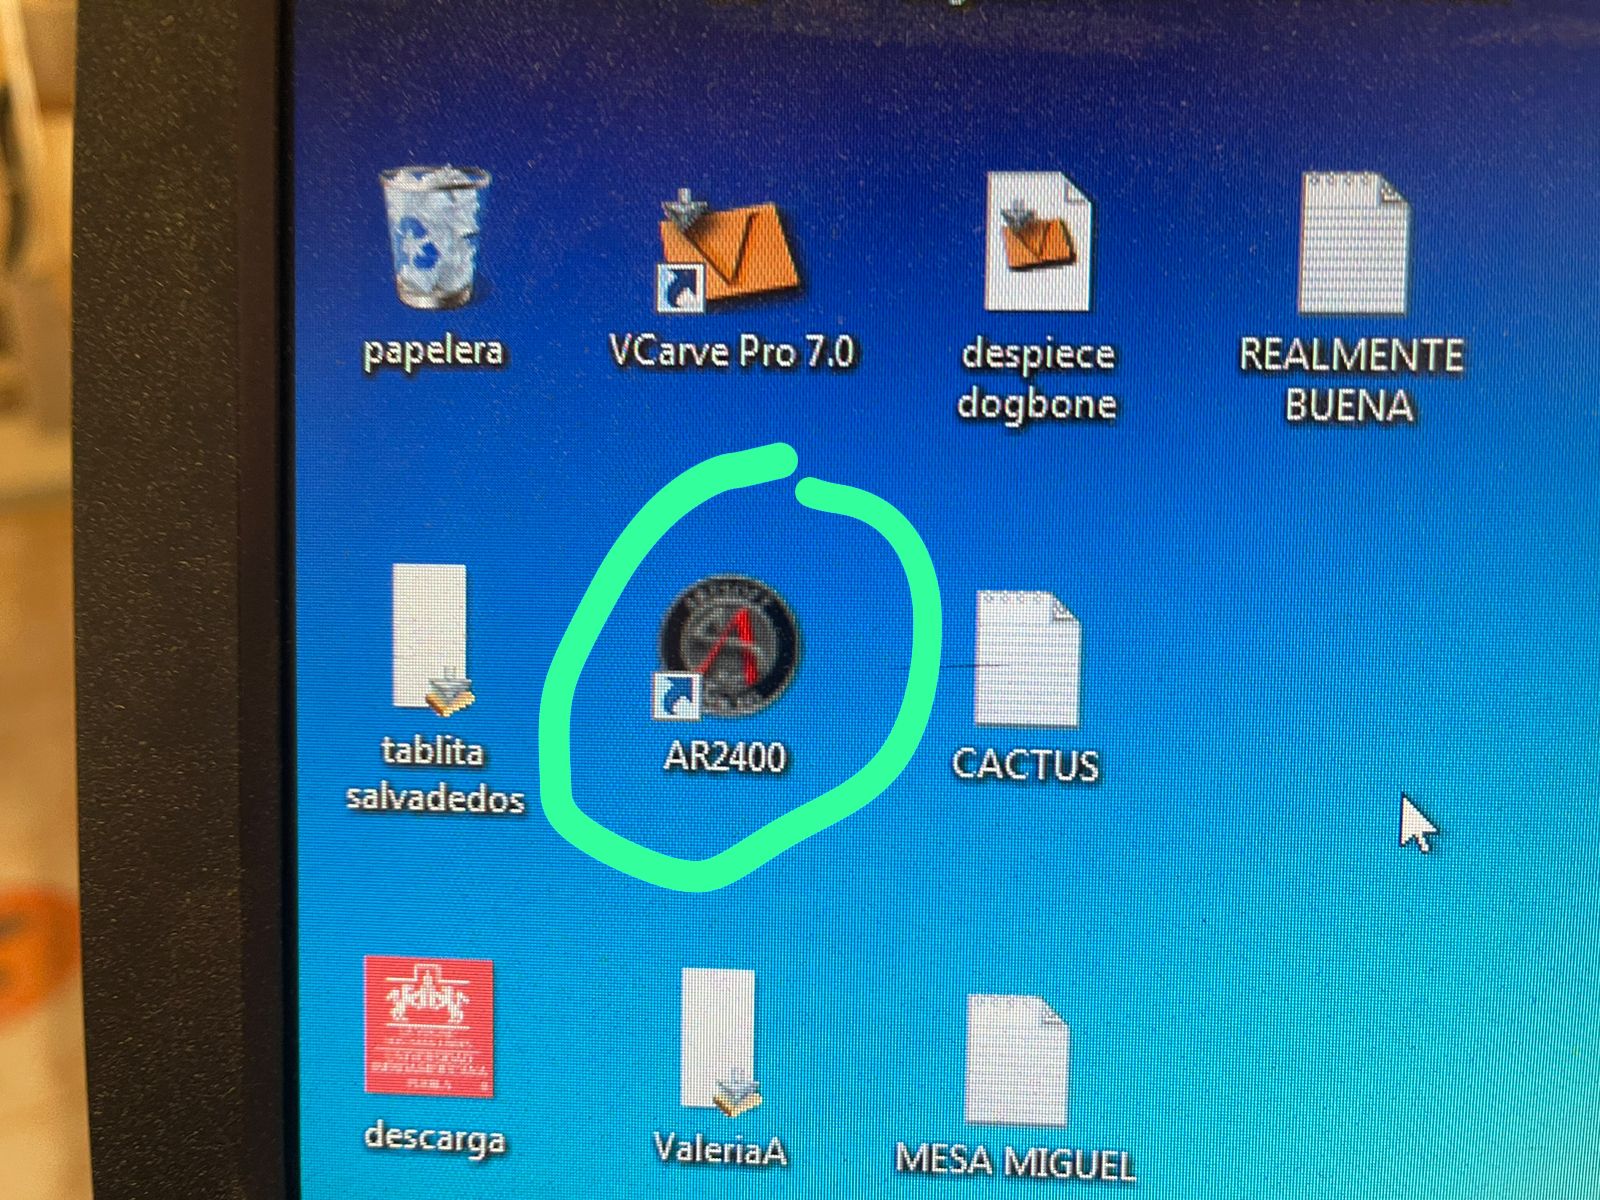
The software that this router uses is the AR2400 and in this program we will define the origin points 0 on the X and Z axes, once the origin points are defined the CNC machine will start working
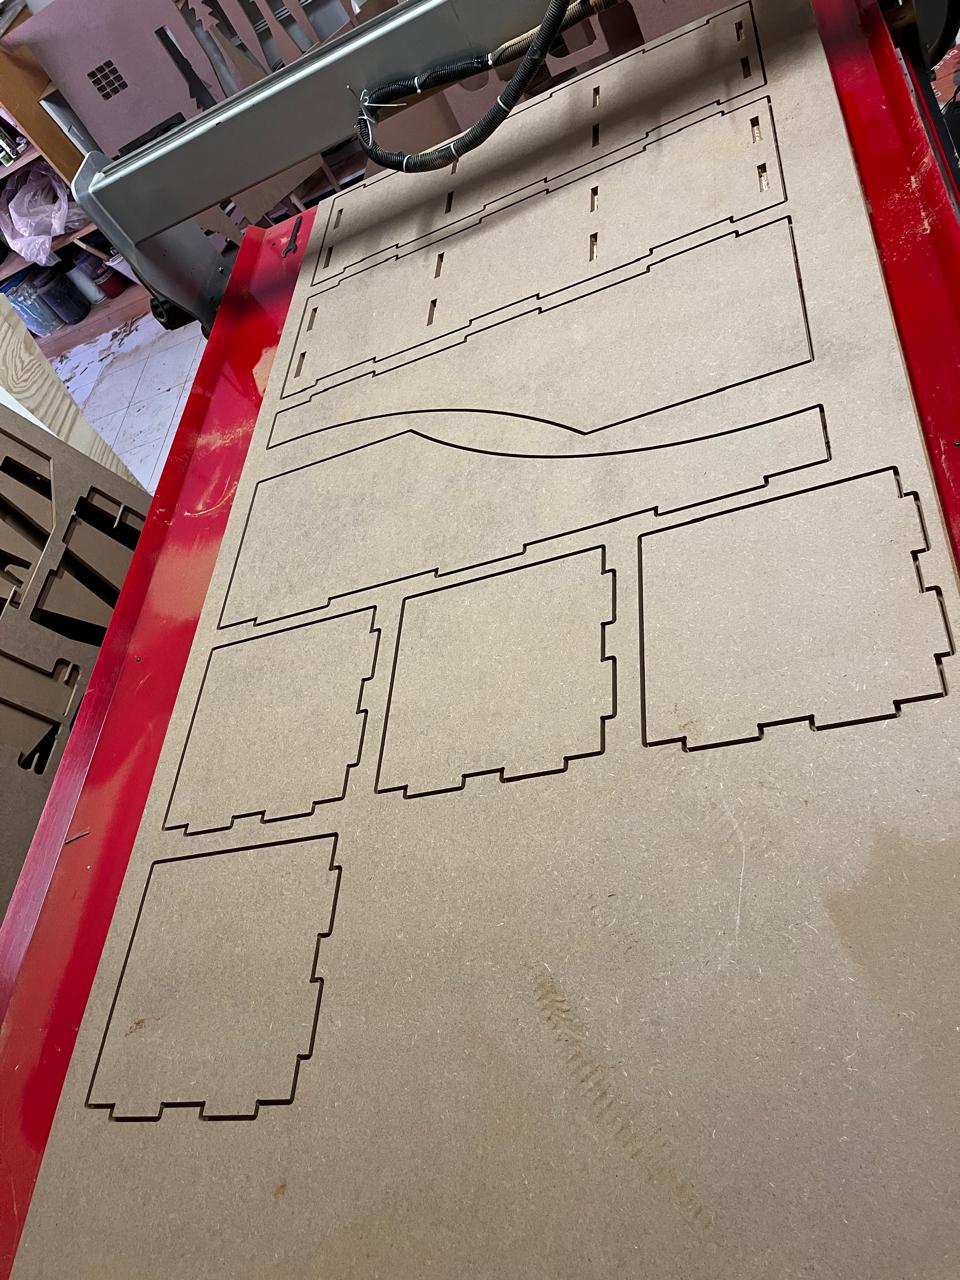
Machining process
After 25 minutes it's done!
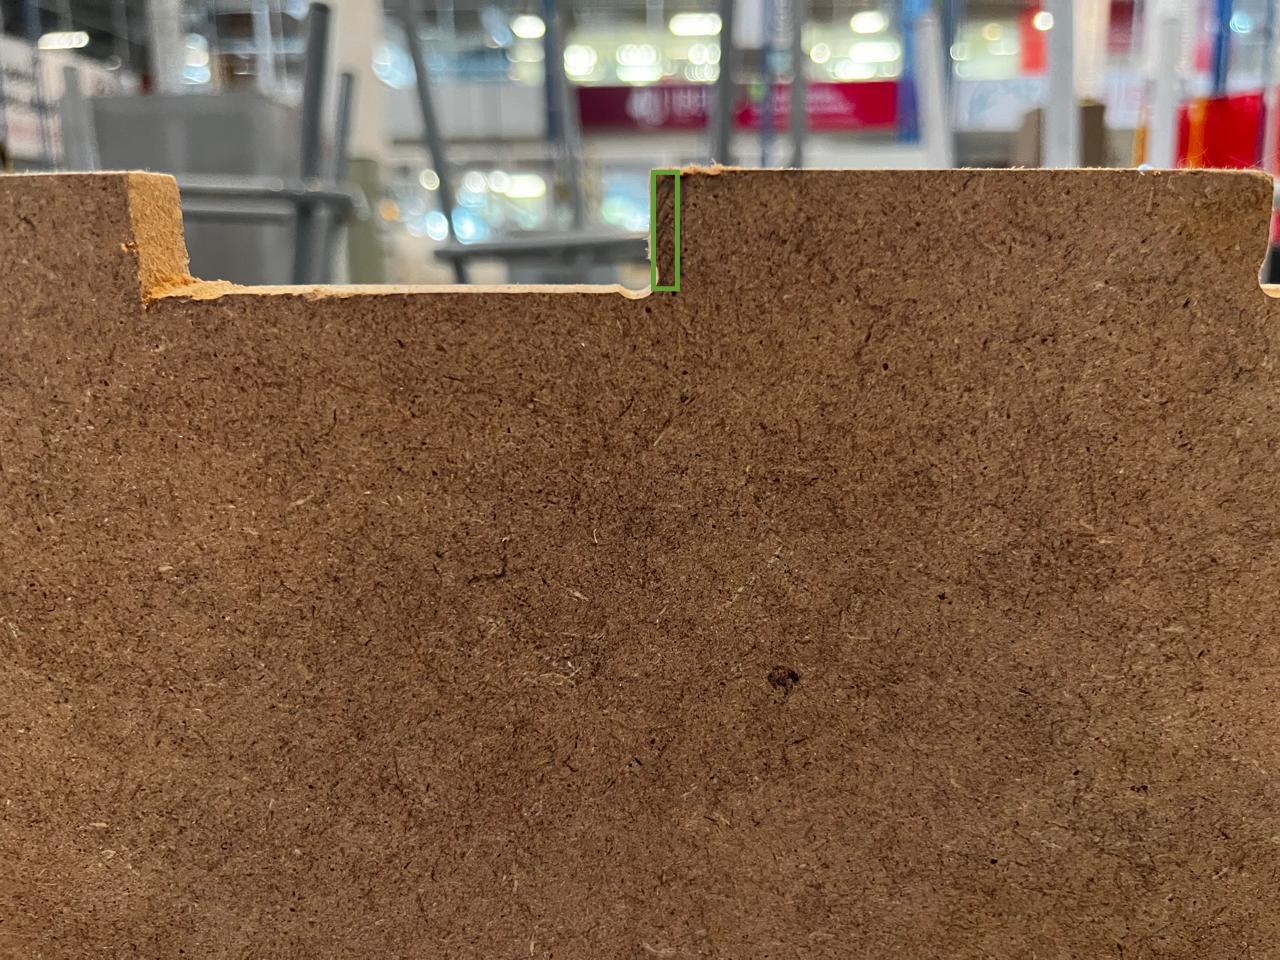
Some design problems...
After machining, I realized that I exceeded the tolerances in the holes so that the shelves could be bonded, they were very large so I had to mark the excess with a pencil and with a small fretsaw to cut it
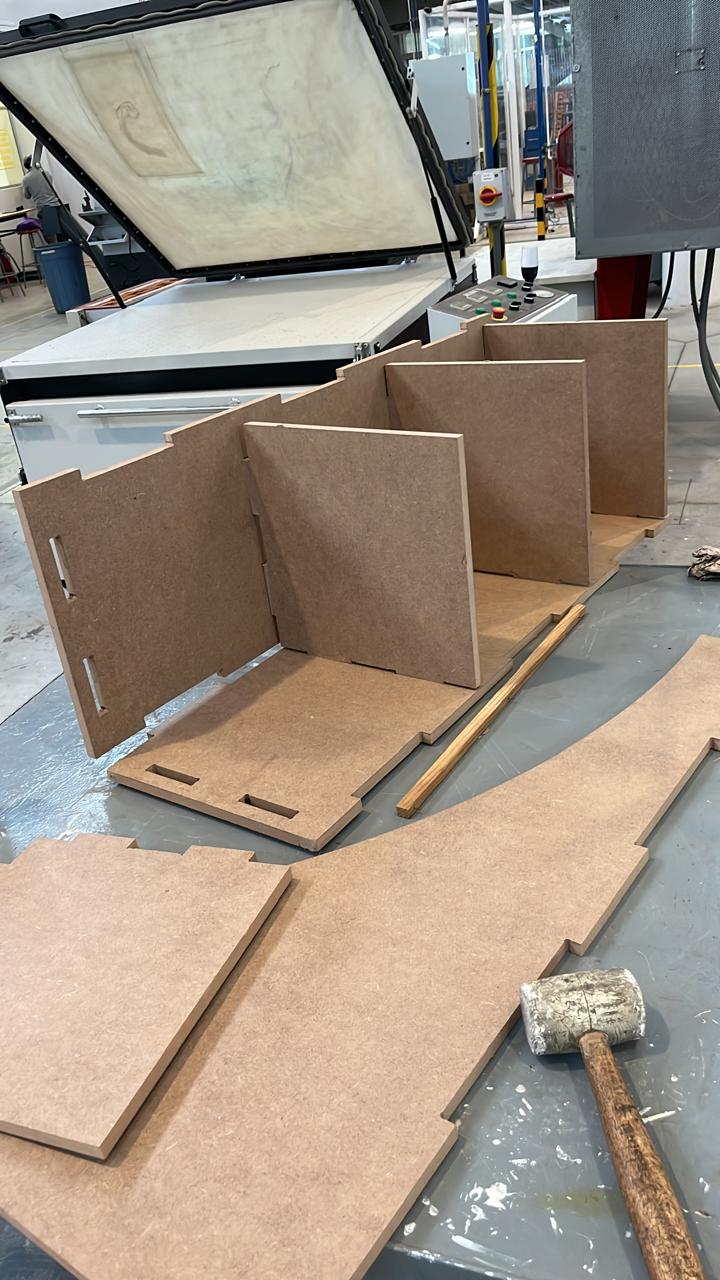
Assembly part
This part for me was the most fun, after having fixed the mistake and cutting everything to size, the moment of truth arrived, trying to make everything fit correctly and for that I used a rubber hammer so as not to hurt my pieces. I started by putting two walls together (which is where the shelves are connected to the walls) once joined I proceeded to put the shelves and it was a success.
I made one extra part with the curvature in case something went wrong with the other, I had the idea of putting it upside down on the side of the missing wall but I wasn't convinced so I left that wall empty
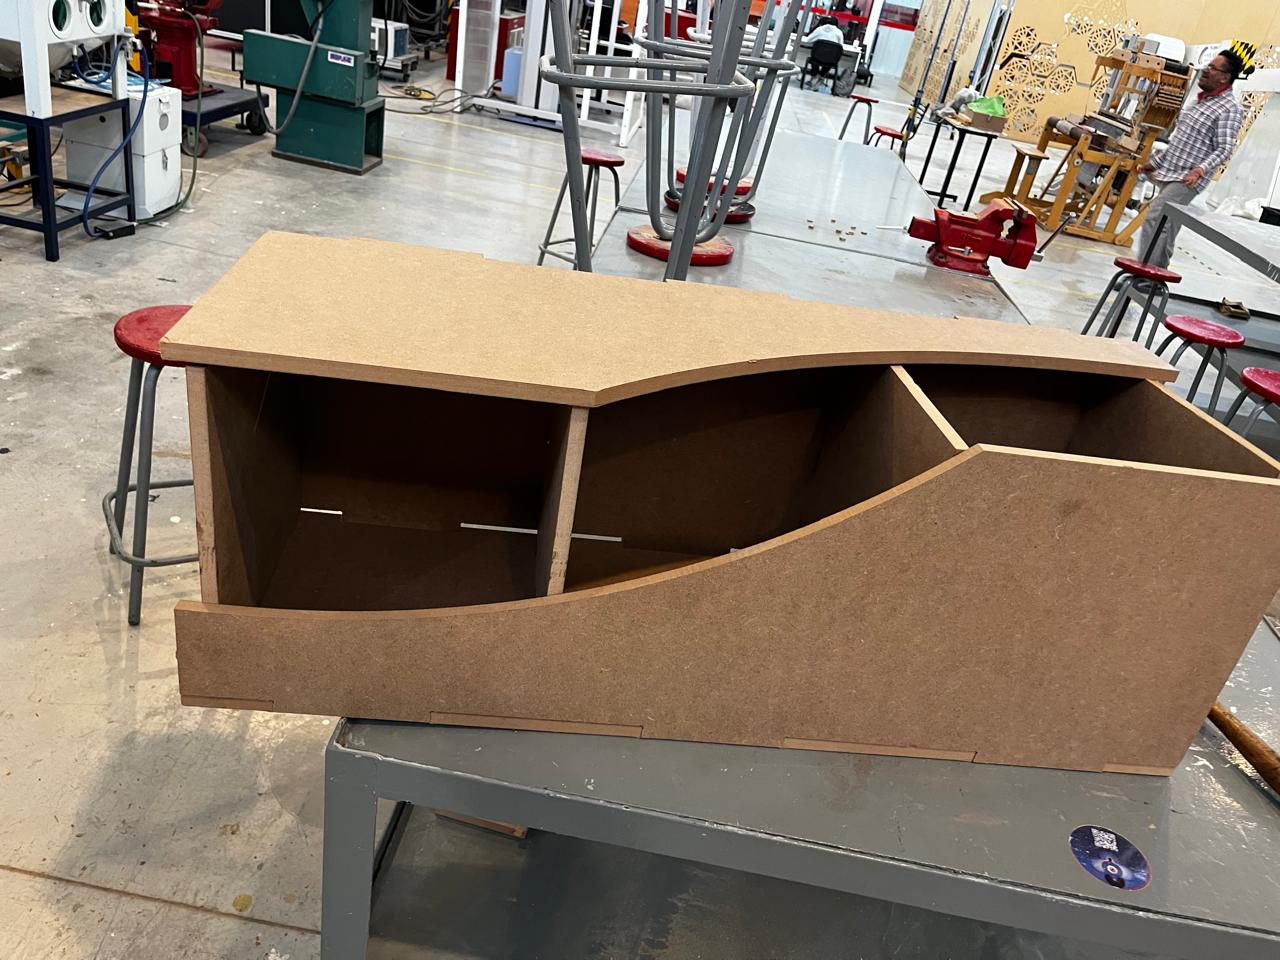
Final result
As a final result, there is a functional piece of furniture that goes very well with the decoration of my room, it is not as stable as I thought since it lacks more support on some walls but I am very happy with the result