Computer controlled cutting
This week covered how to use cutting machines, specifically MDF and Vinyl cutters. This is the first time I have used this type of machinery and material, but very excited to learn. There were complications that could not be satisfied in time and the expected design of the parametric construction kit, since when exporting the file to dfx the pieces were resized, but there was an enriching learning in how to design a parametric kit and physically carry it out in laser cutter
GROUP ASSAIGMENT
Vinyl
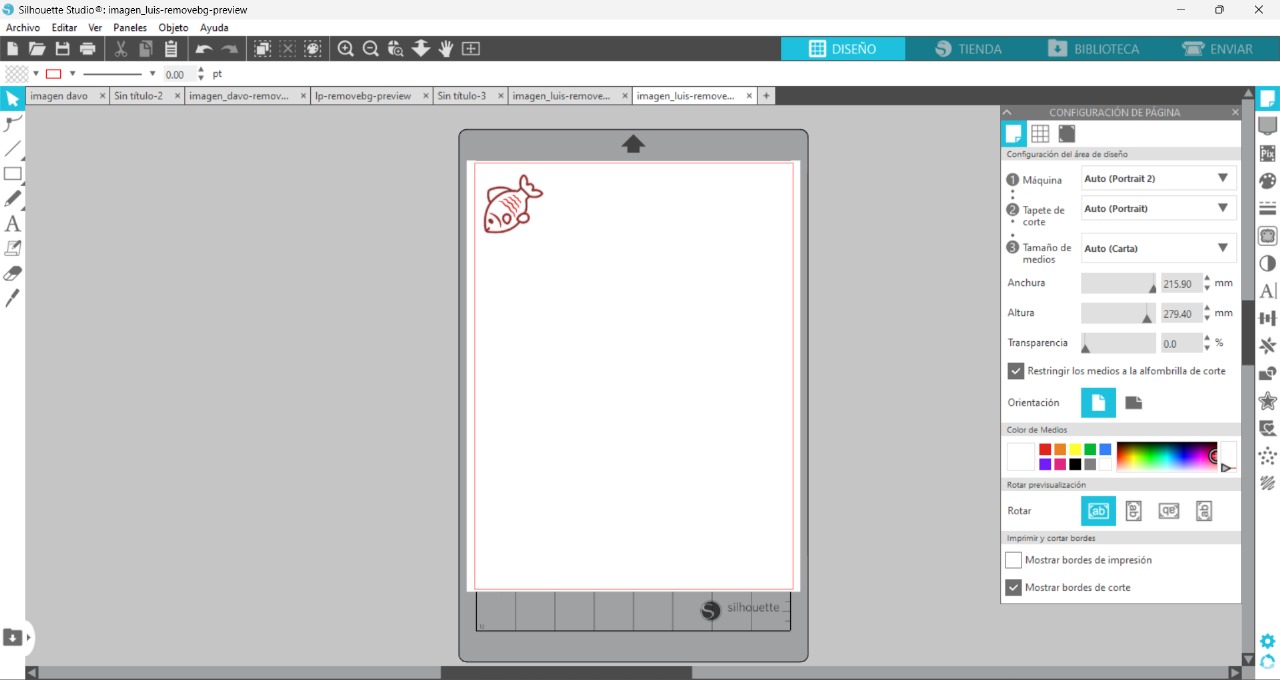
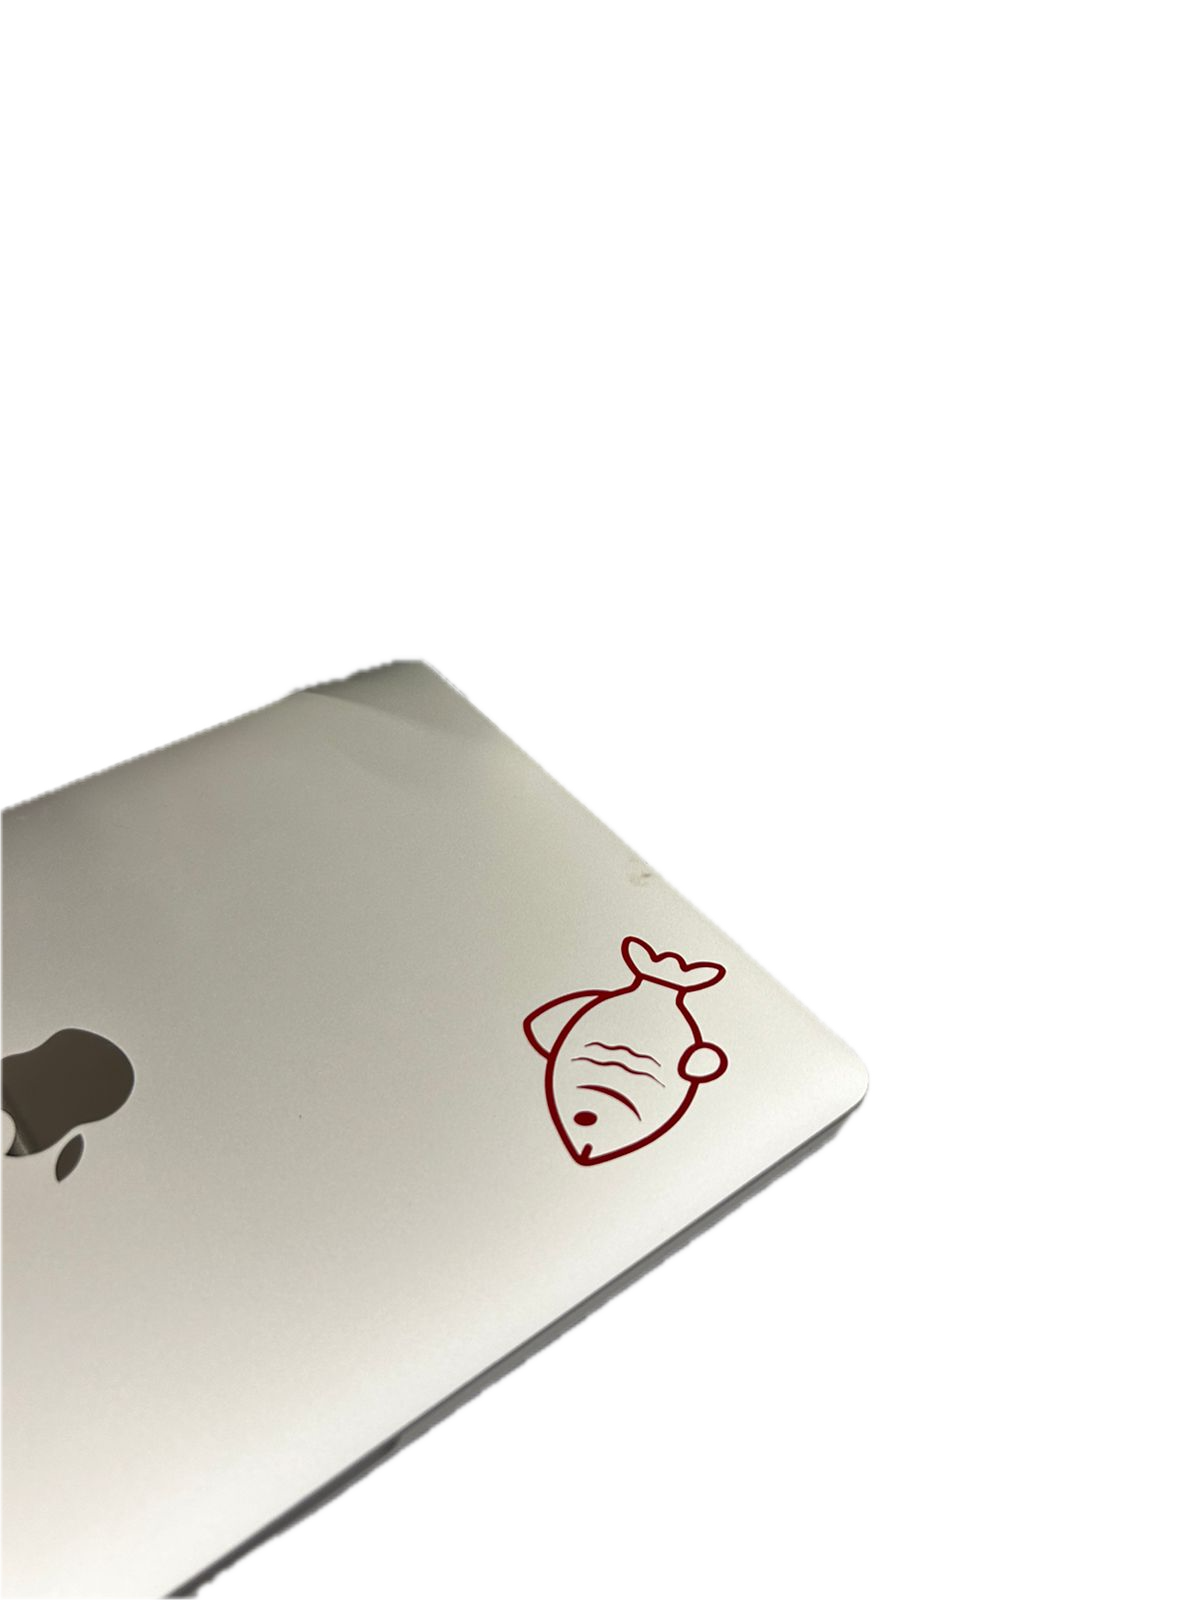
This is my first time cutting vinyl, and it was easier than I expected. My design idea was to make a sticker to put on my computer, so I used a design I had printed before for my nephew of a fish

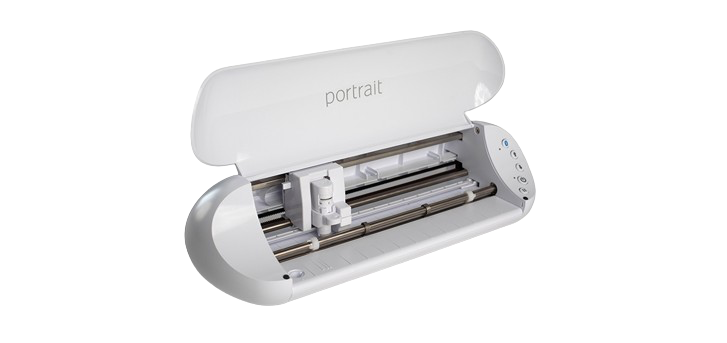
Silhouette Portrait 2
The Silhouette Portrait 2 is a compact and versatile electronic cutting machine. It is ideal for cutting a variety of materials such as vinyl, paper, cardstock, and more. Thanks to its compact design, it is perfect for small spaces. The Portrait 2 is easy to use and offers precise cuts, making it ideal for both craft enthusiasts and small businesses.
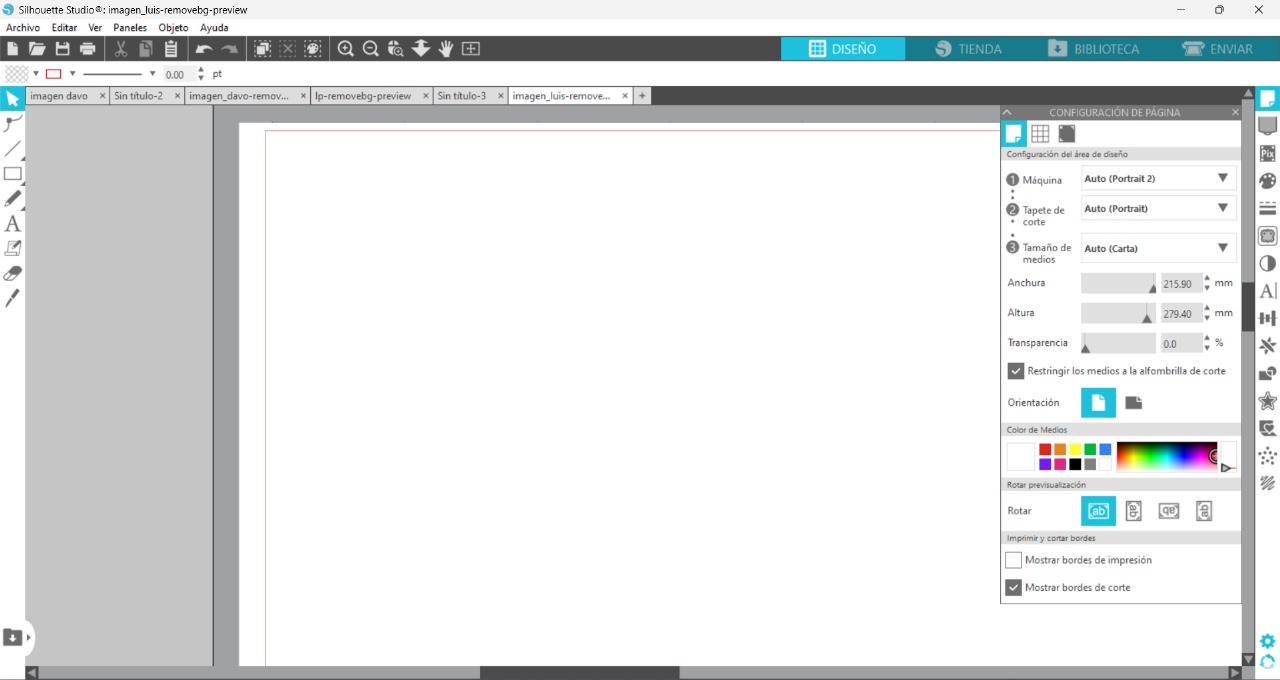
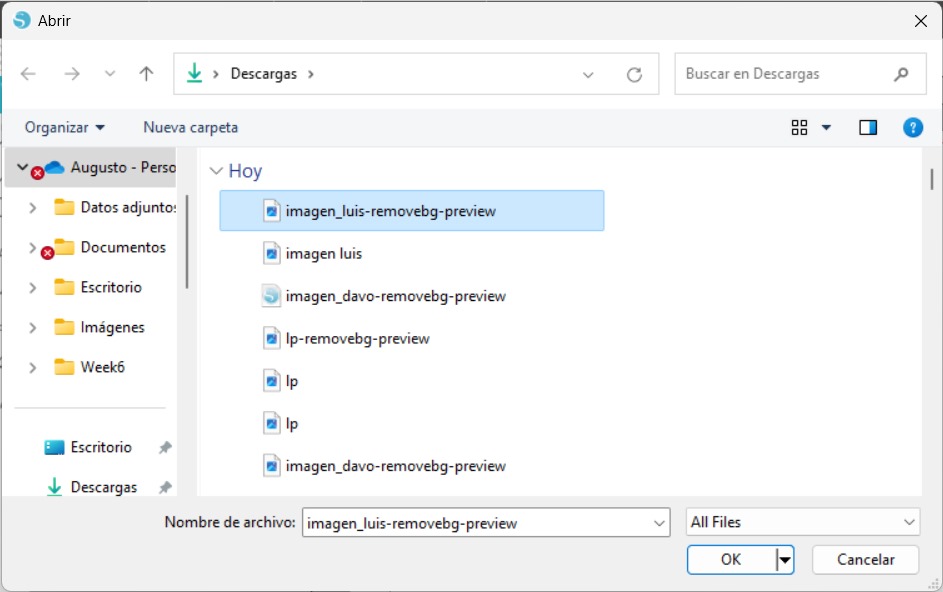
First we open the Sillhouette Program and charge the image
Then we resize the image I don't want my sticker too big so the dimensons will be 55mm x 55mm
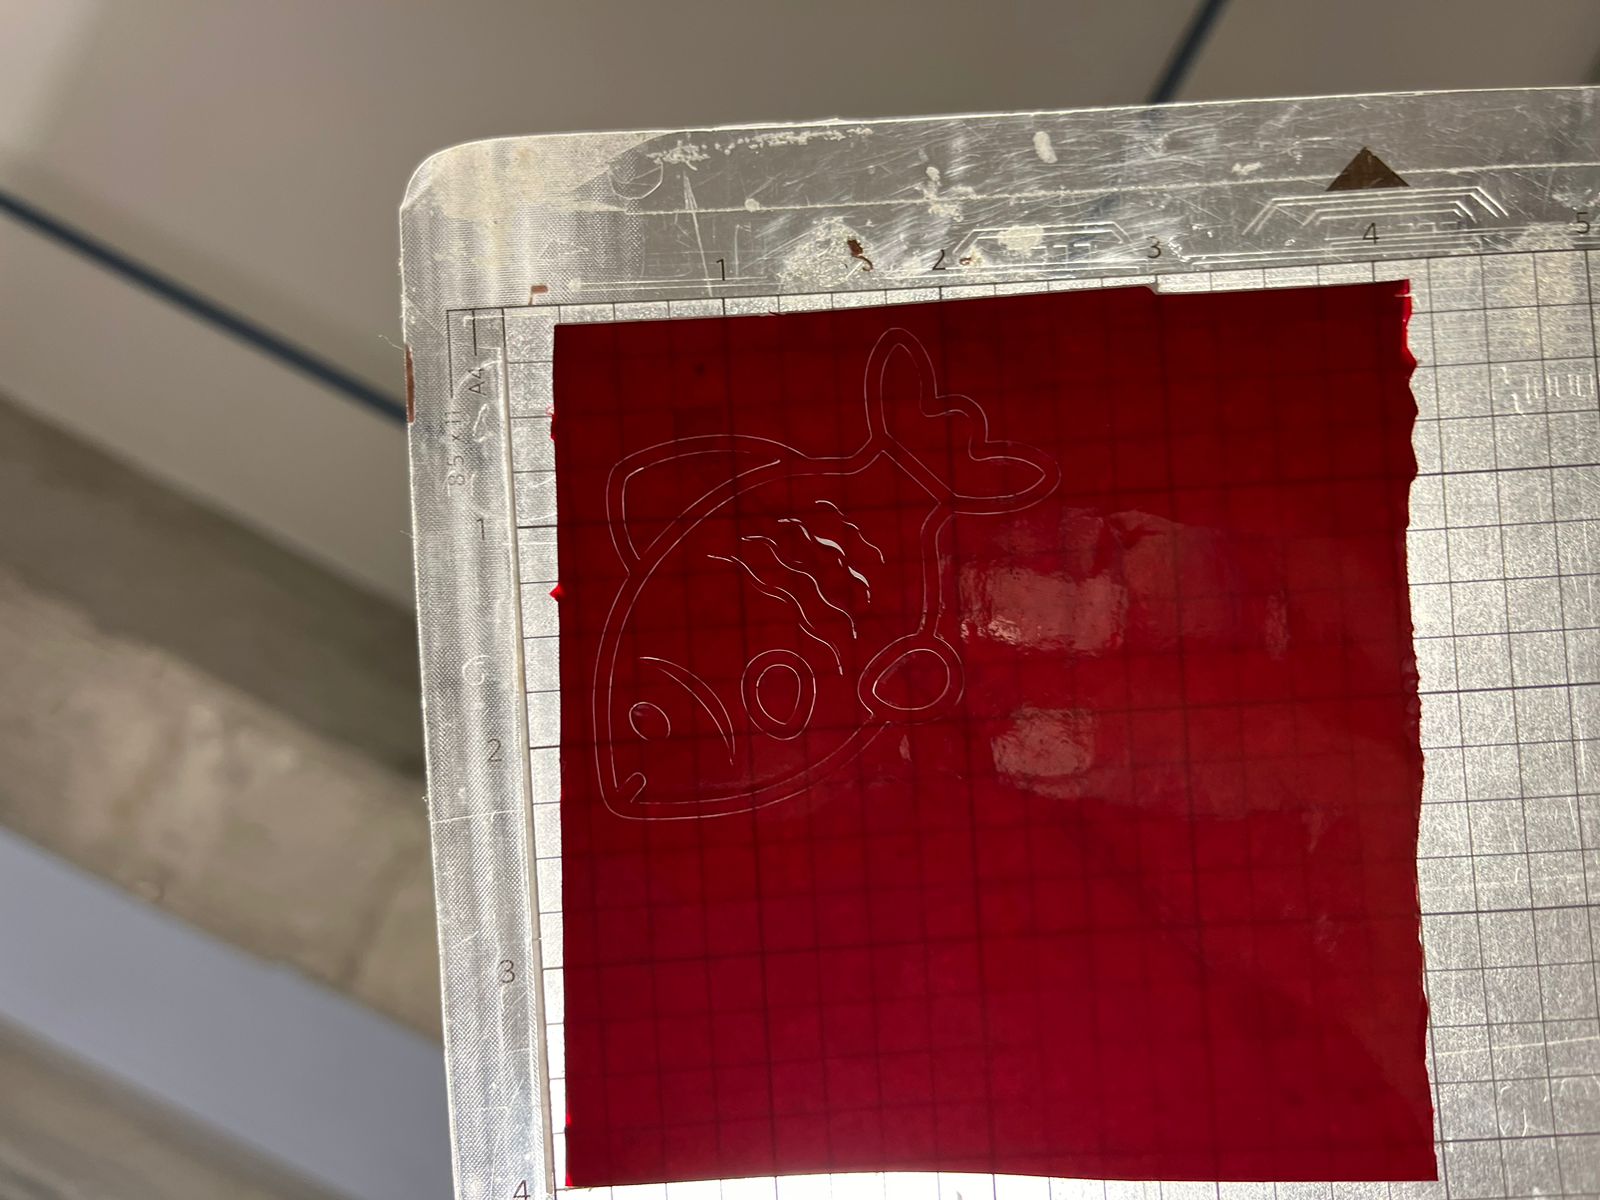
Now we stick our piece of vinyl; my sheet is 10cm x 10cm.


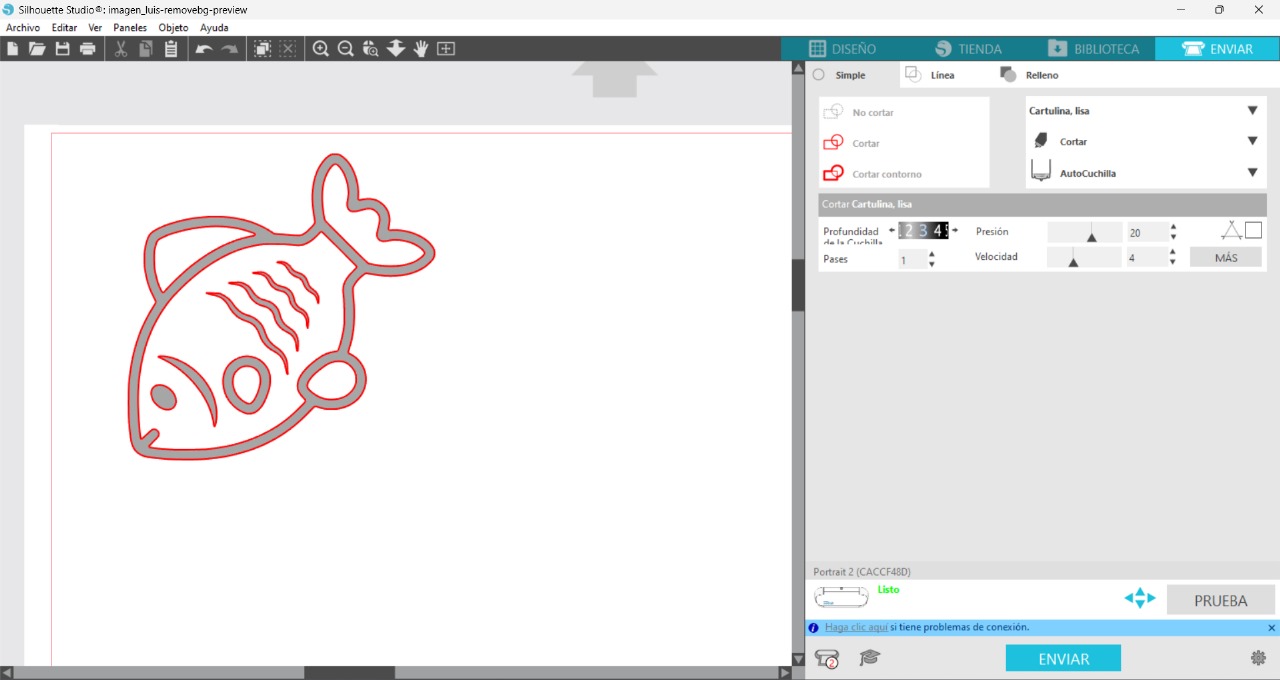
We press send and the cutting will be starting
Once finished (it took approximately 2 minutes), if we hold the cut against the light, we can see the cuts with the figure. Then we stick it on the laptop :)
2D parametric design
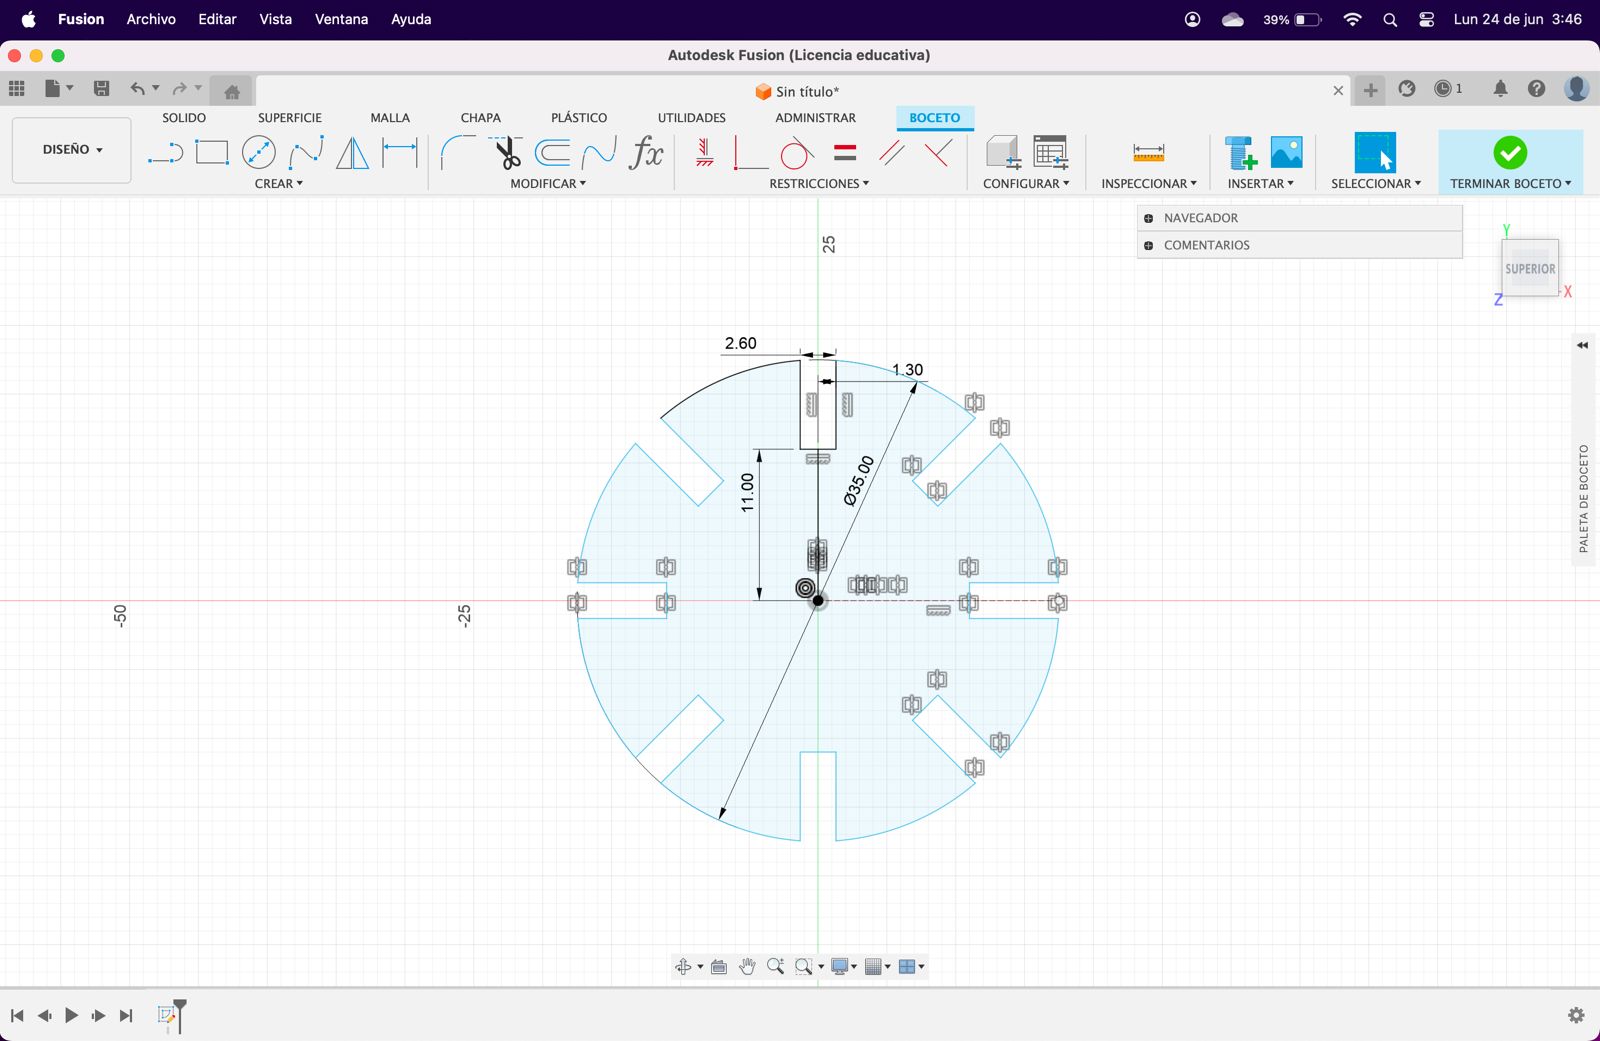
To create my parametric model, I decided to make wheels that could connect to each other. I made my slot 2.60 mm wide to ensure they fit together properly.
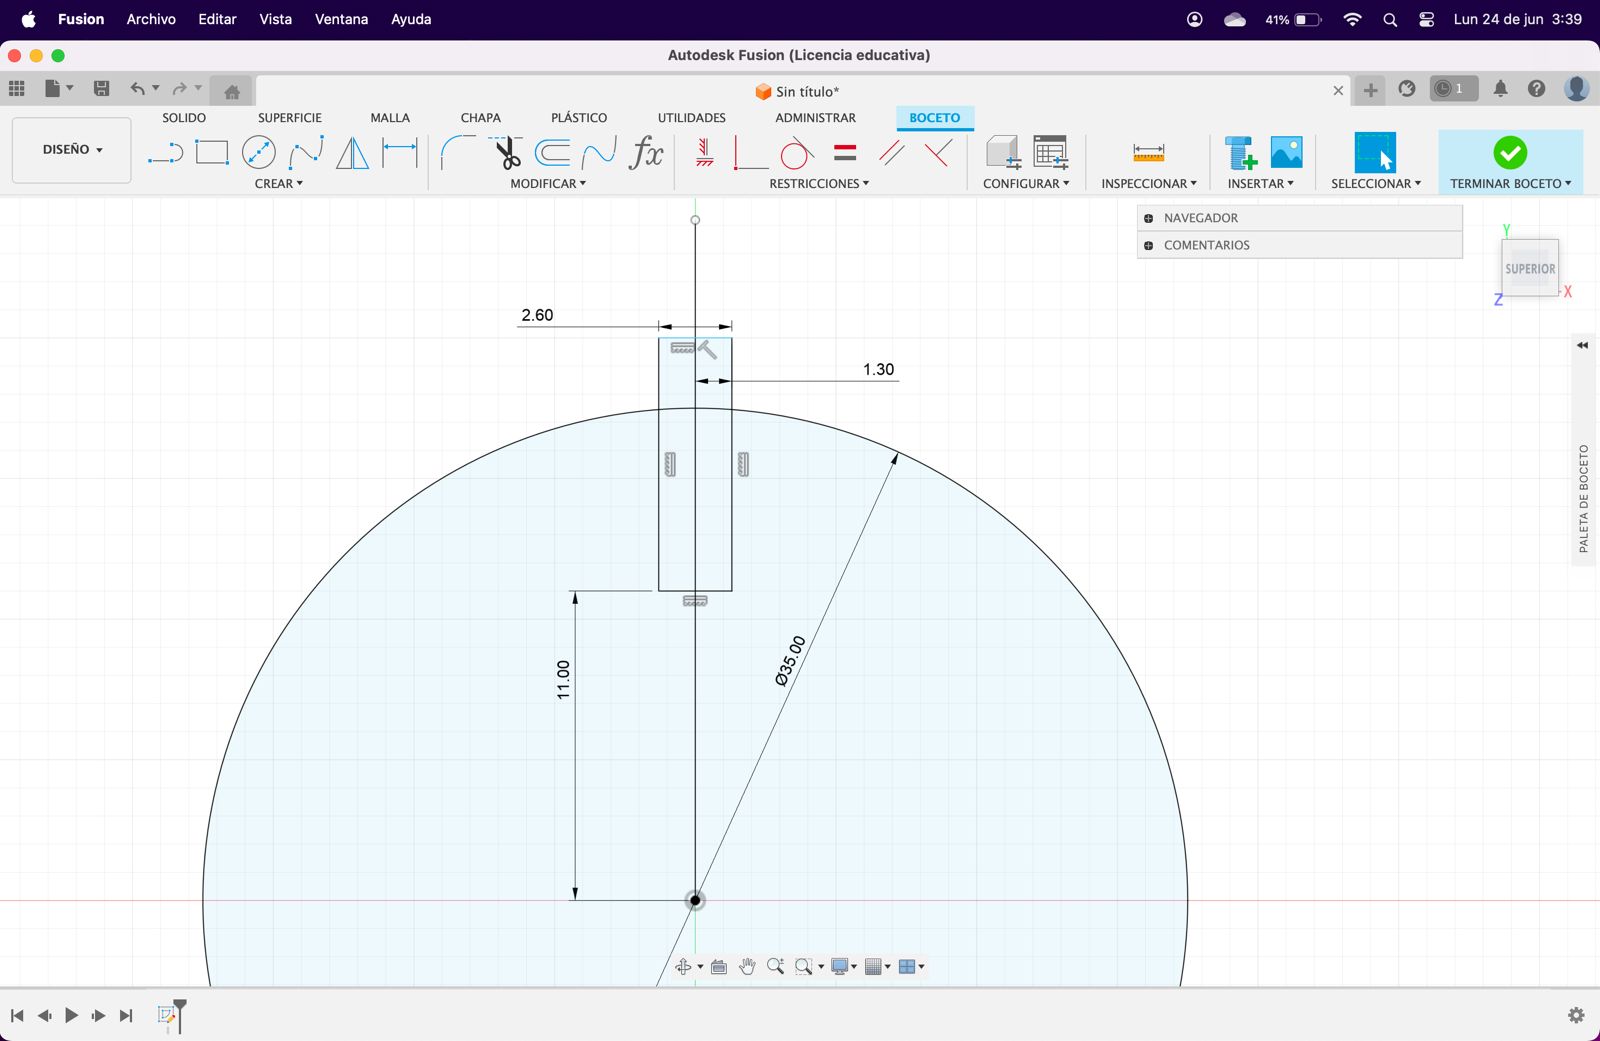
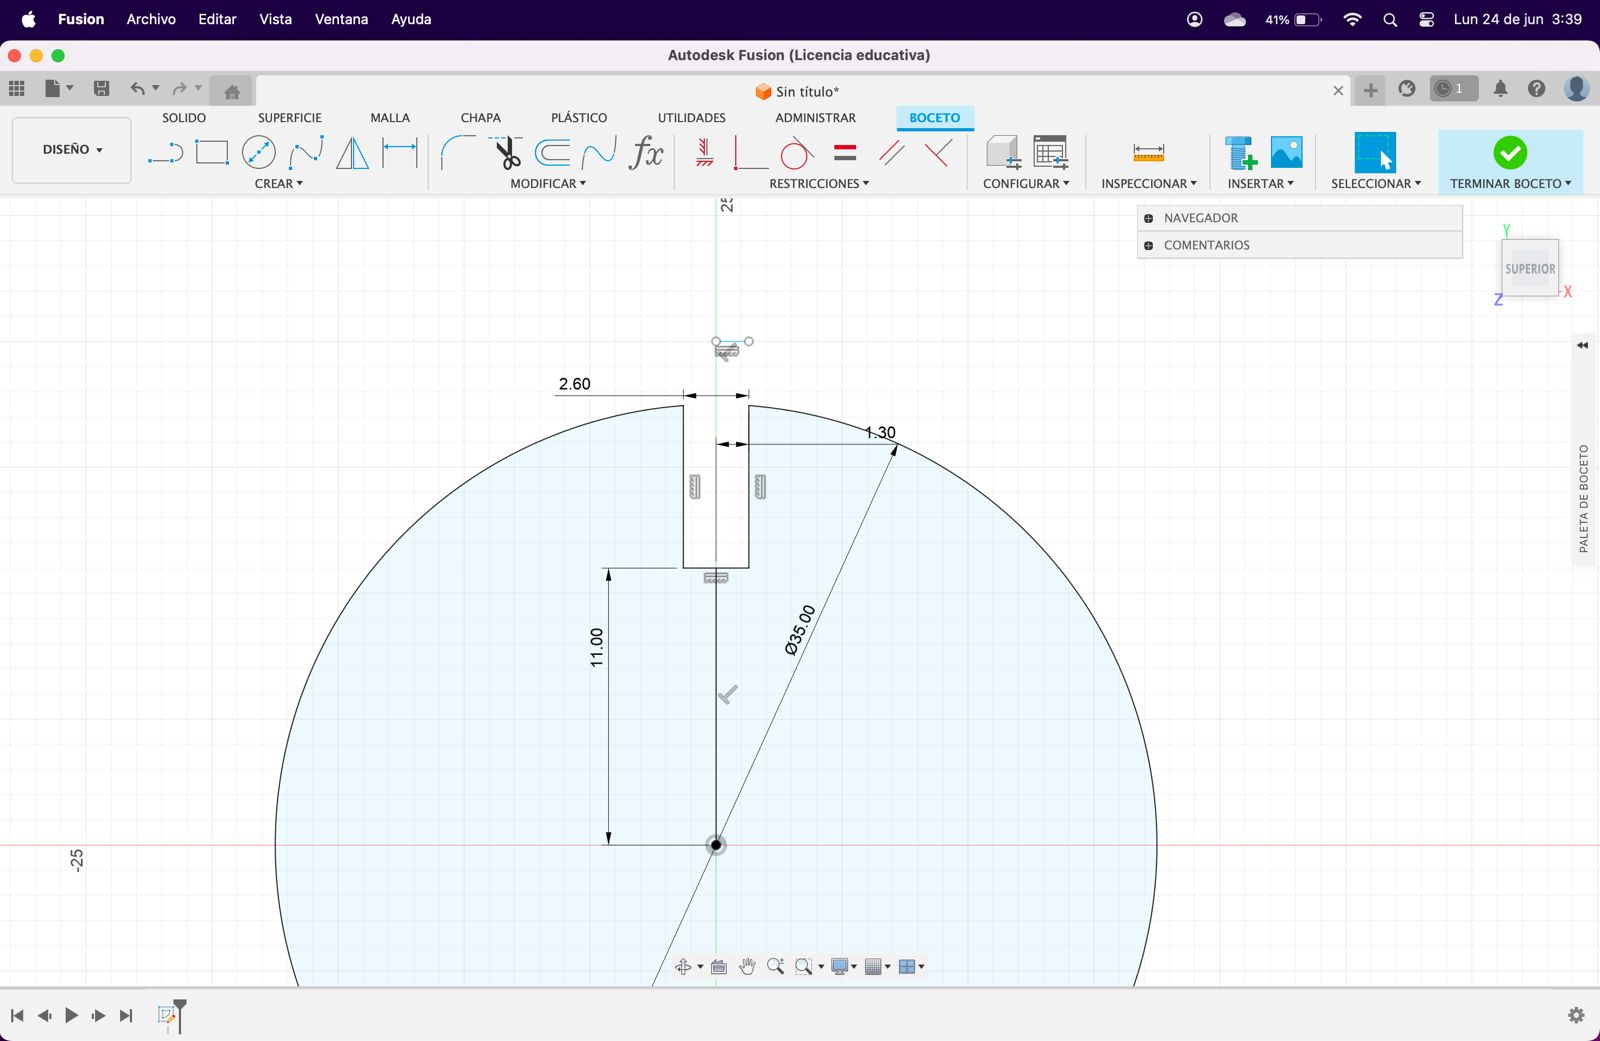
In this section, we will create the parametric model by adding 8 slots around the circumference.

Laser cut
The laser cut that we have here is the CFL-CMA1080K

Maximum Cutting Depth: 9 mm
Cutting Speed: 0-36000 min/mm (May vary depending on the material)
Cutting Thickness: 0-25 mm (May vary depending on the material)
Resolution: Up to 4000 DPI (typically between 600 DPI and 2000 DPI)
Minimum Configuration: Characters 2 x 2 mm and letters 1 x 1 mm
Positioning Accuracy: 0.01 mm
Operating Temperature: 0° to 45° C
Operating Humidity: 5% to 95% non-condensing
Power Consumption: 1250 Watts
Voltage: 220 V / 60 Hz
Port: USB 2.0
Flame Retardant: Included
Weight: 260 Kg (573.2 Lbs)
Dimensions: 1.6 x 1.17 x 1.39 m (63" x 46" x 55")
Engraving Area: 991 x 787 mm (39" x 31")
Maximum Material Thickness on Cutting Table: 6.5" (165 mm)
Maximum Material Thickness with Table Removed: 7.5" (190 mm)
Laser Type: CO2
Laser Power: 100 W
CO2 Laser Cooling: Water-cooled with temperature regulation
Laser Alignment: User-adjustable
Once we have our design, we need to obtain the USB key to run the program. We open the program and load our DXF file.
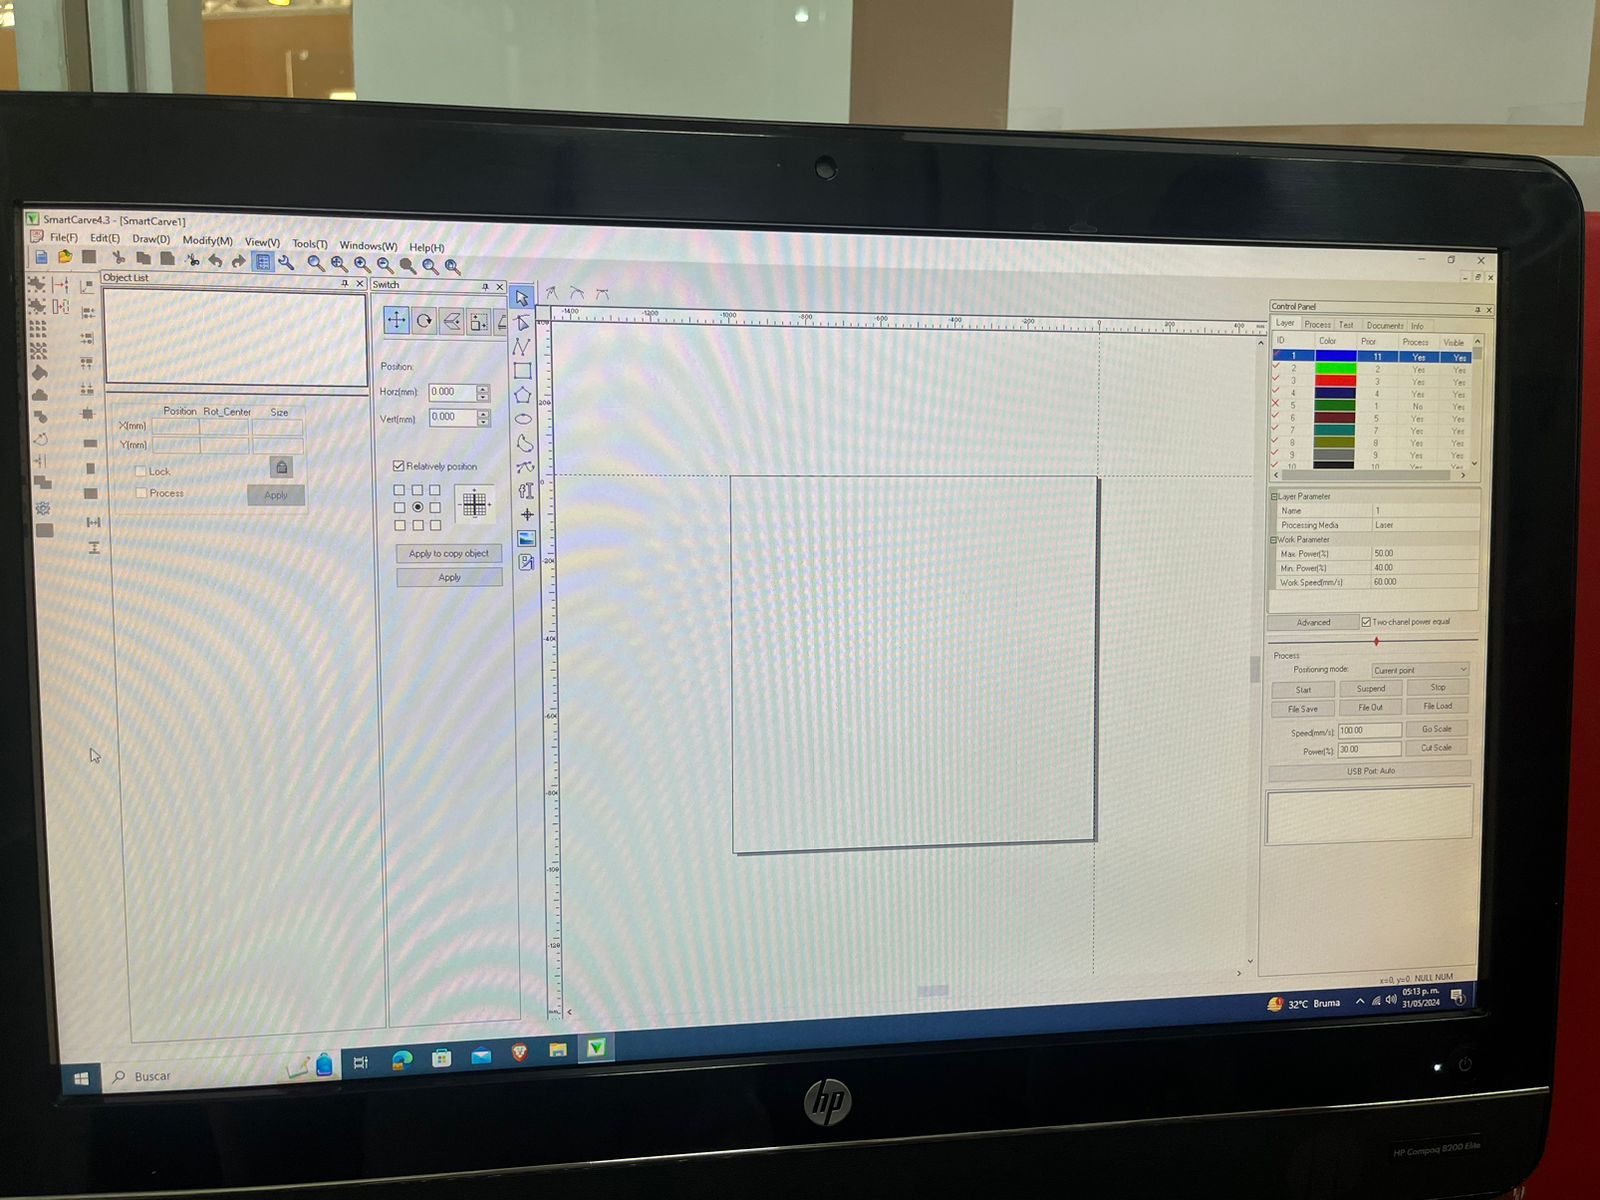

We press Go Scale and it's going to delimit de surface cutting, then click cut and it will be starting
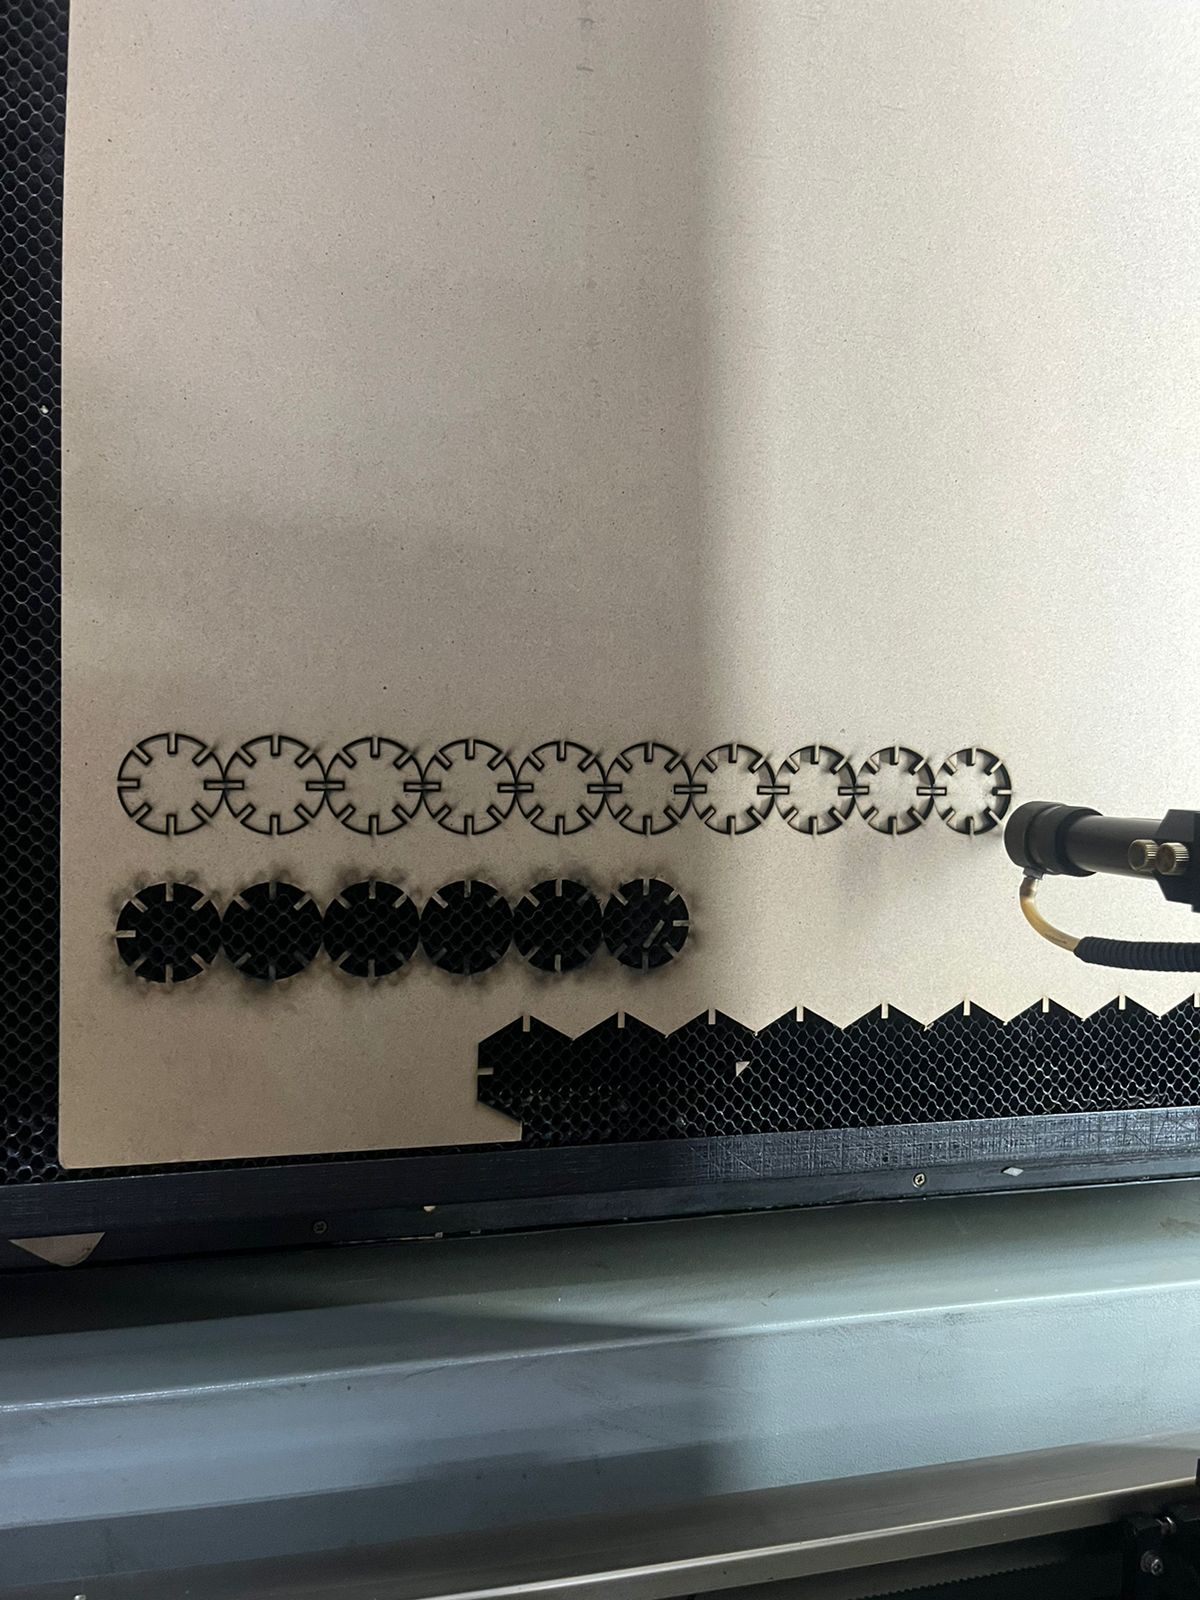
This is the final result of the cutting
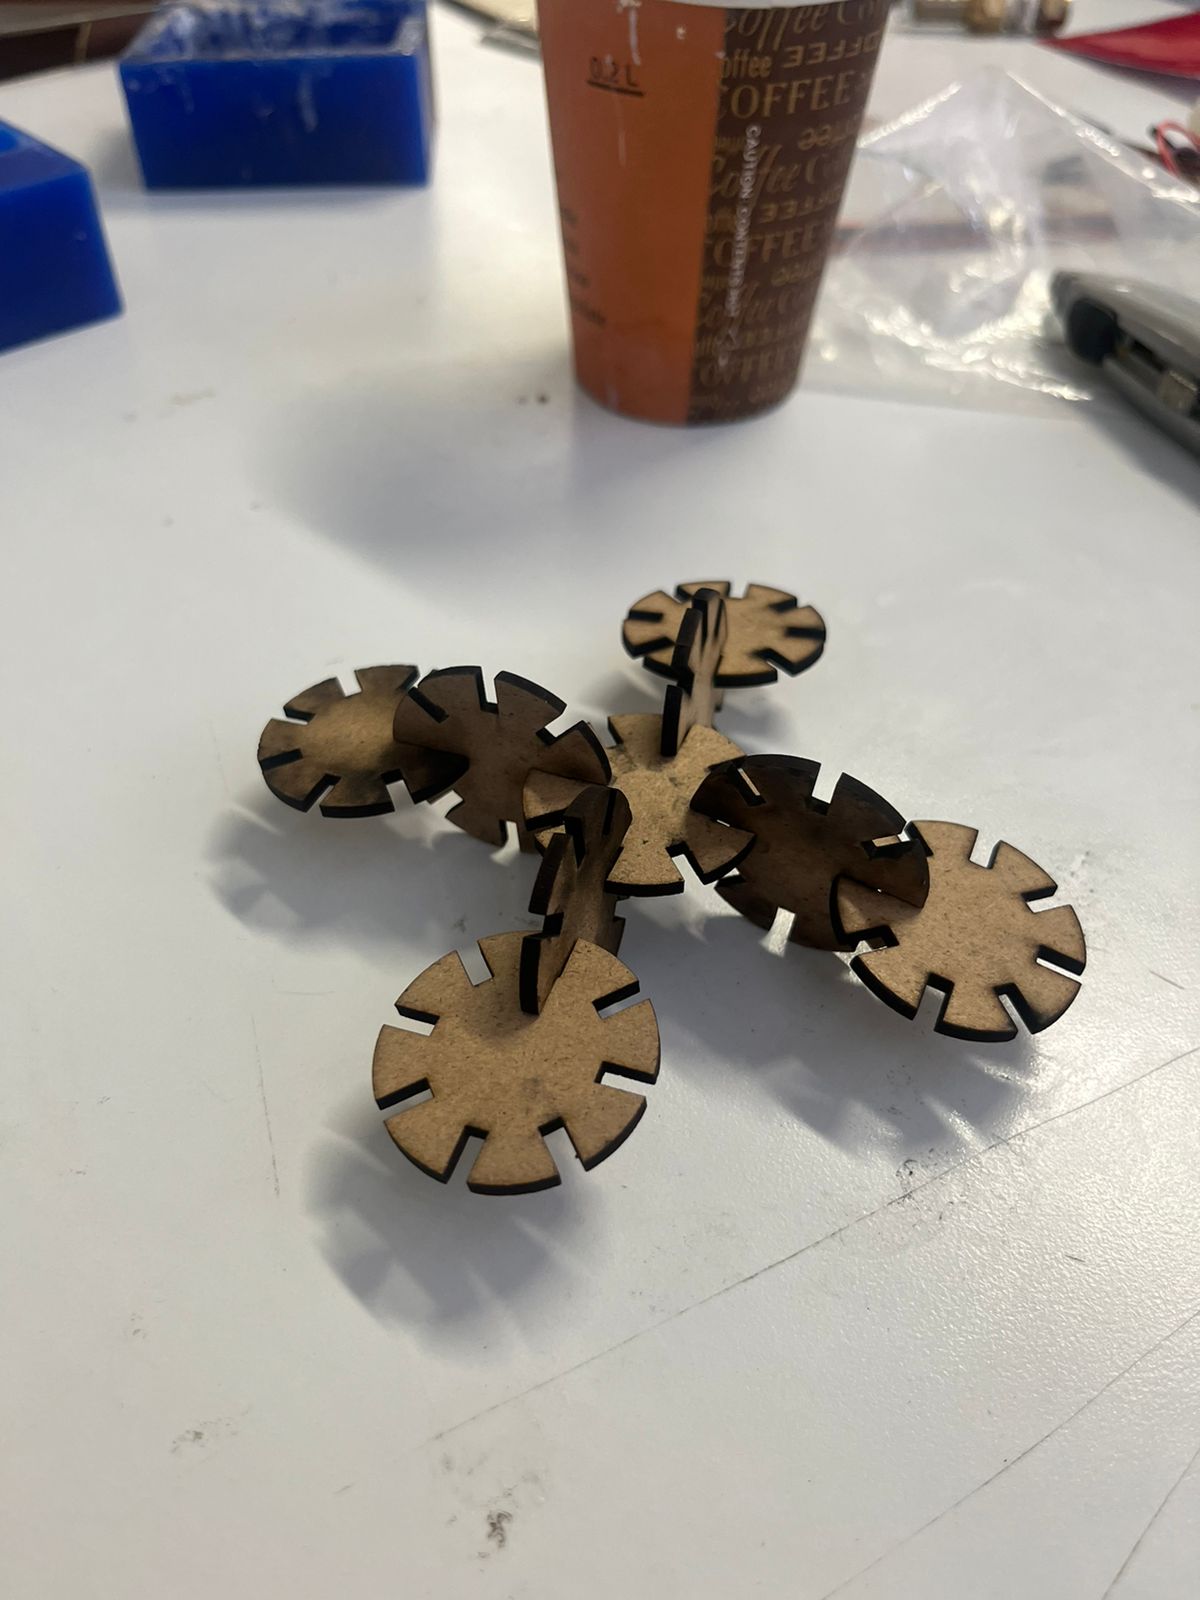
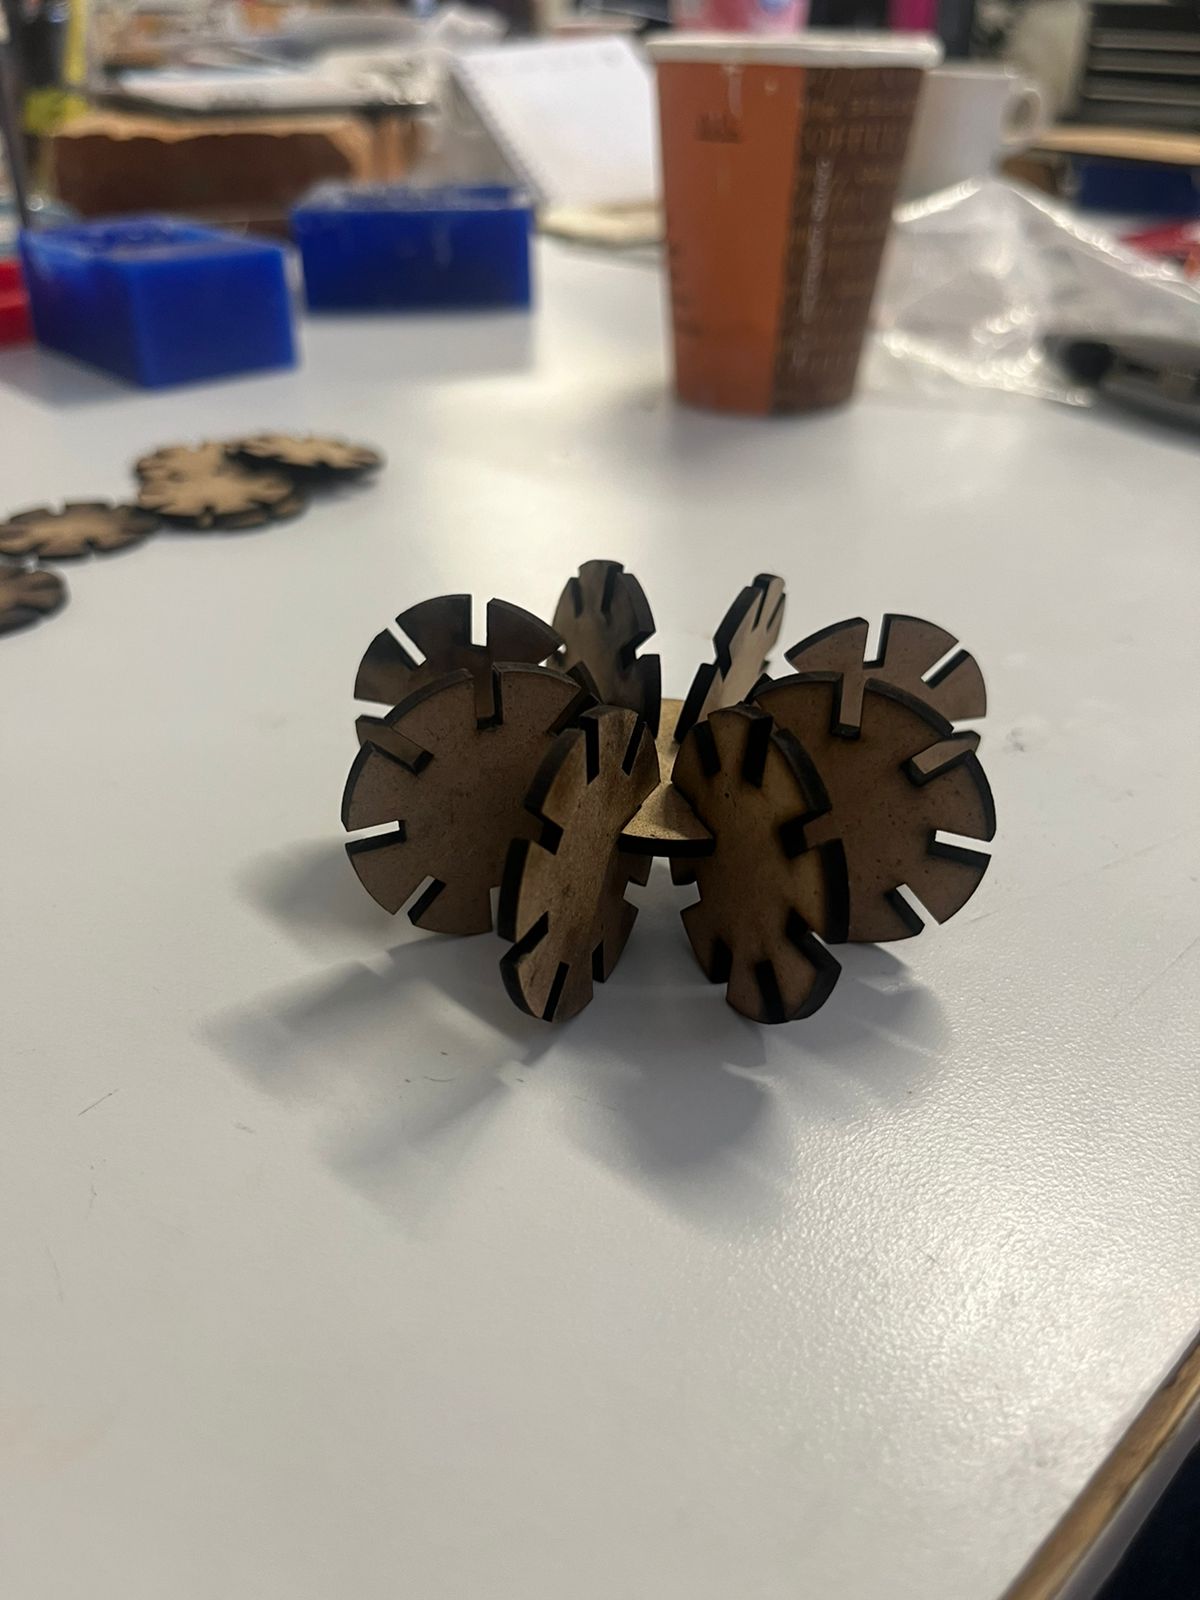
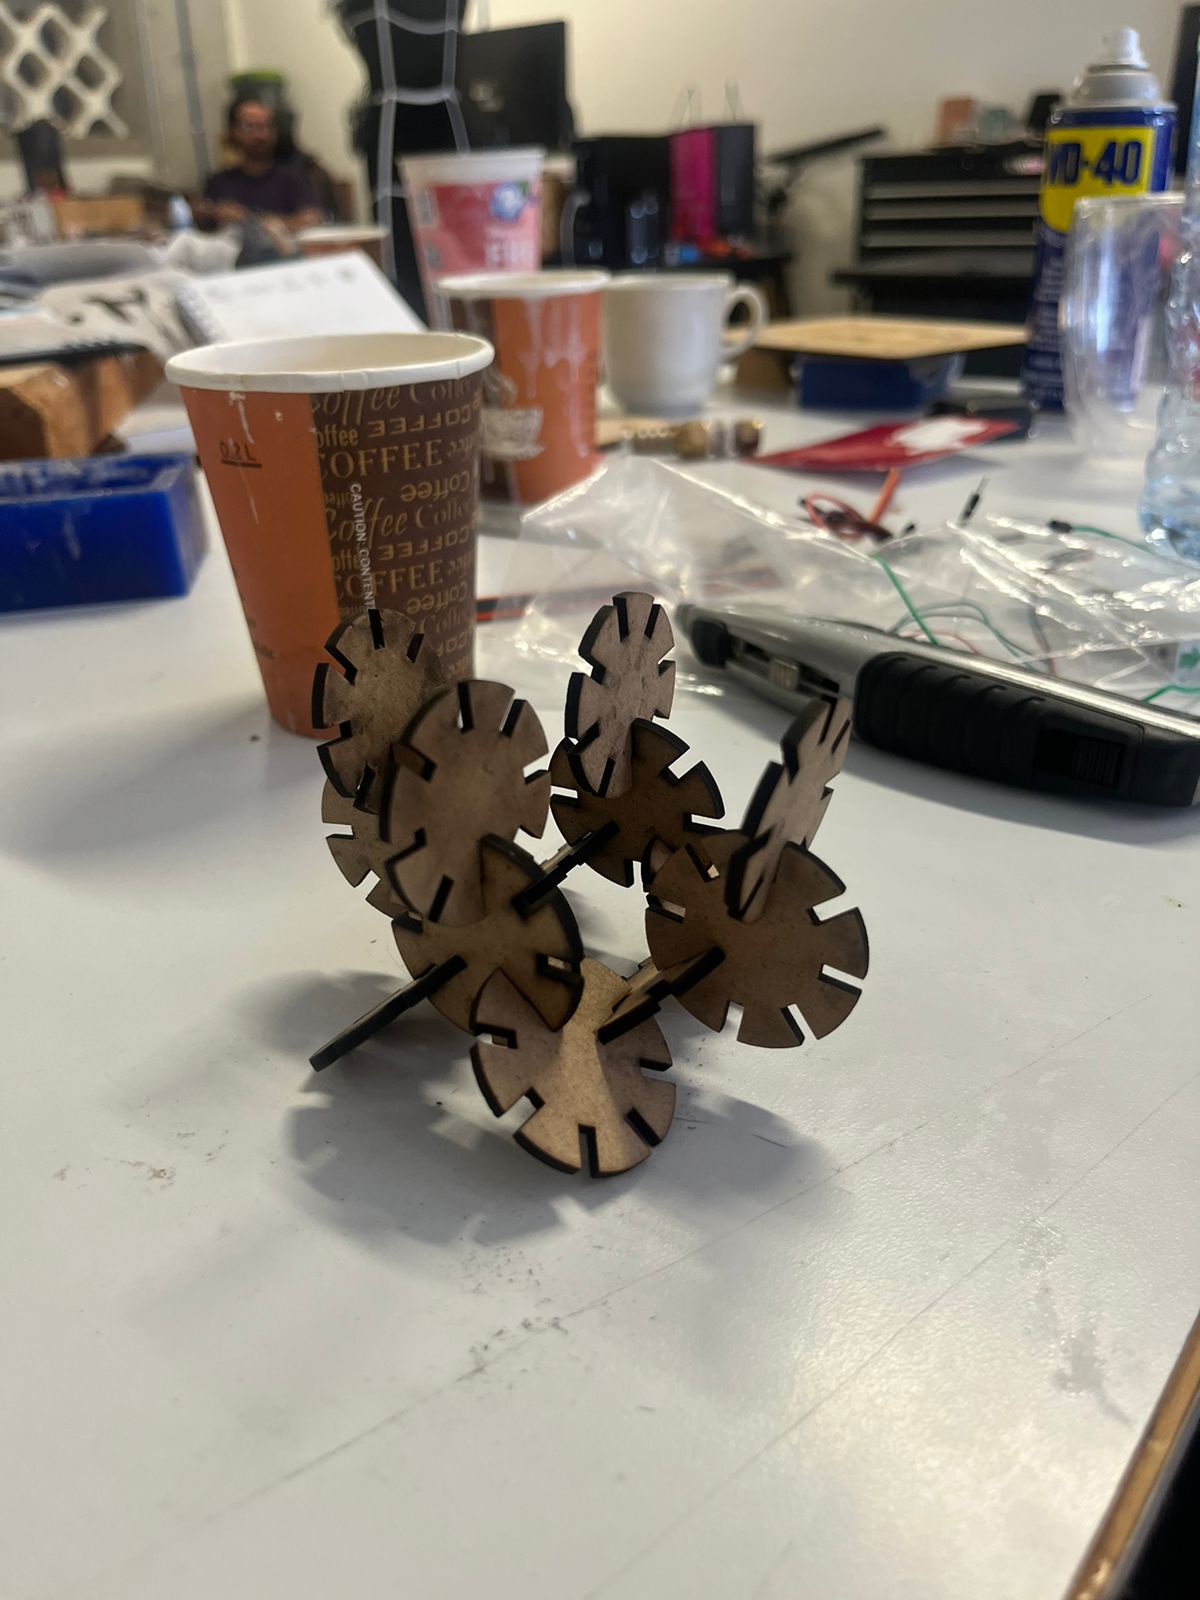
Assembling
For the assembly, I was able to create 4 different figures, and I consider the results to be good.