Project management
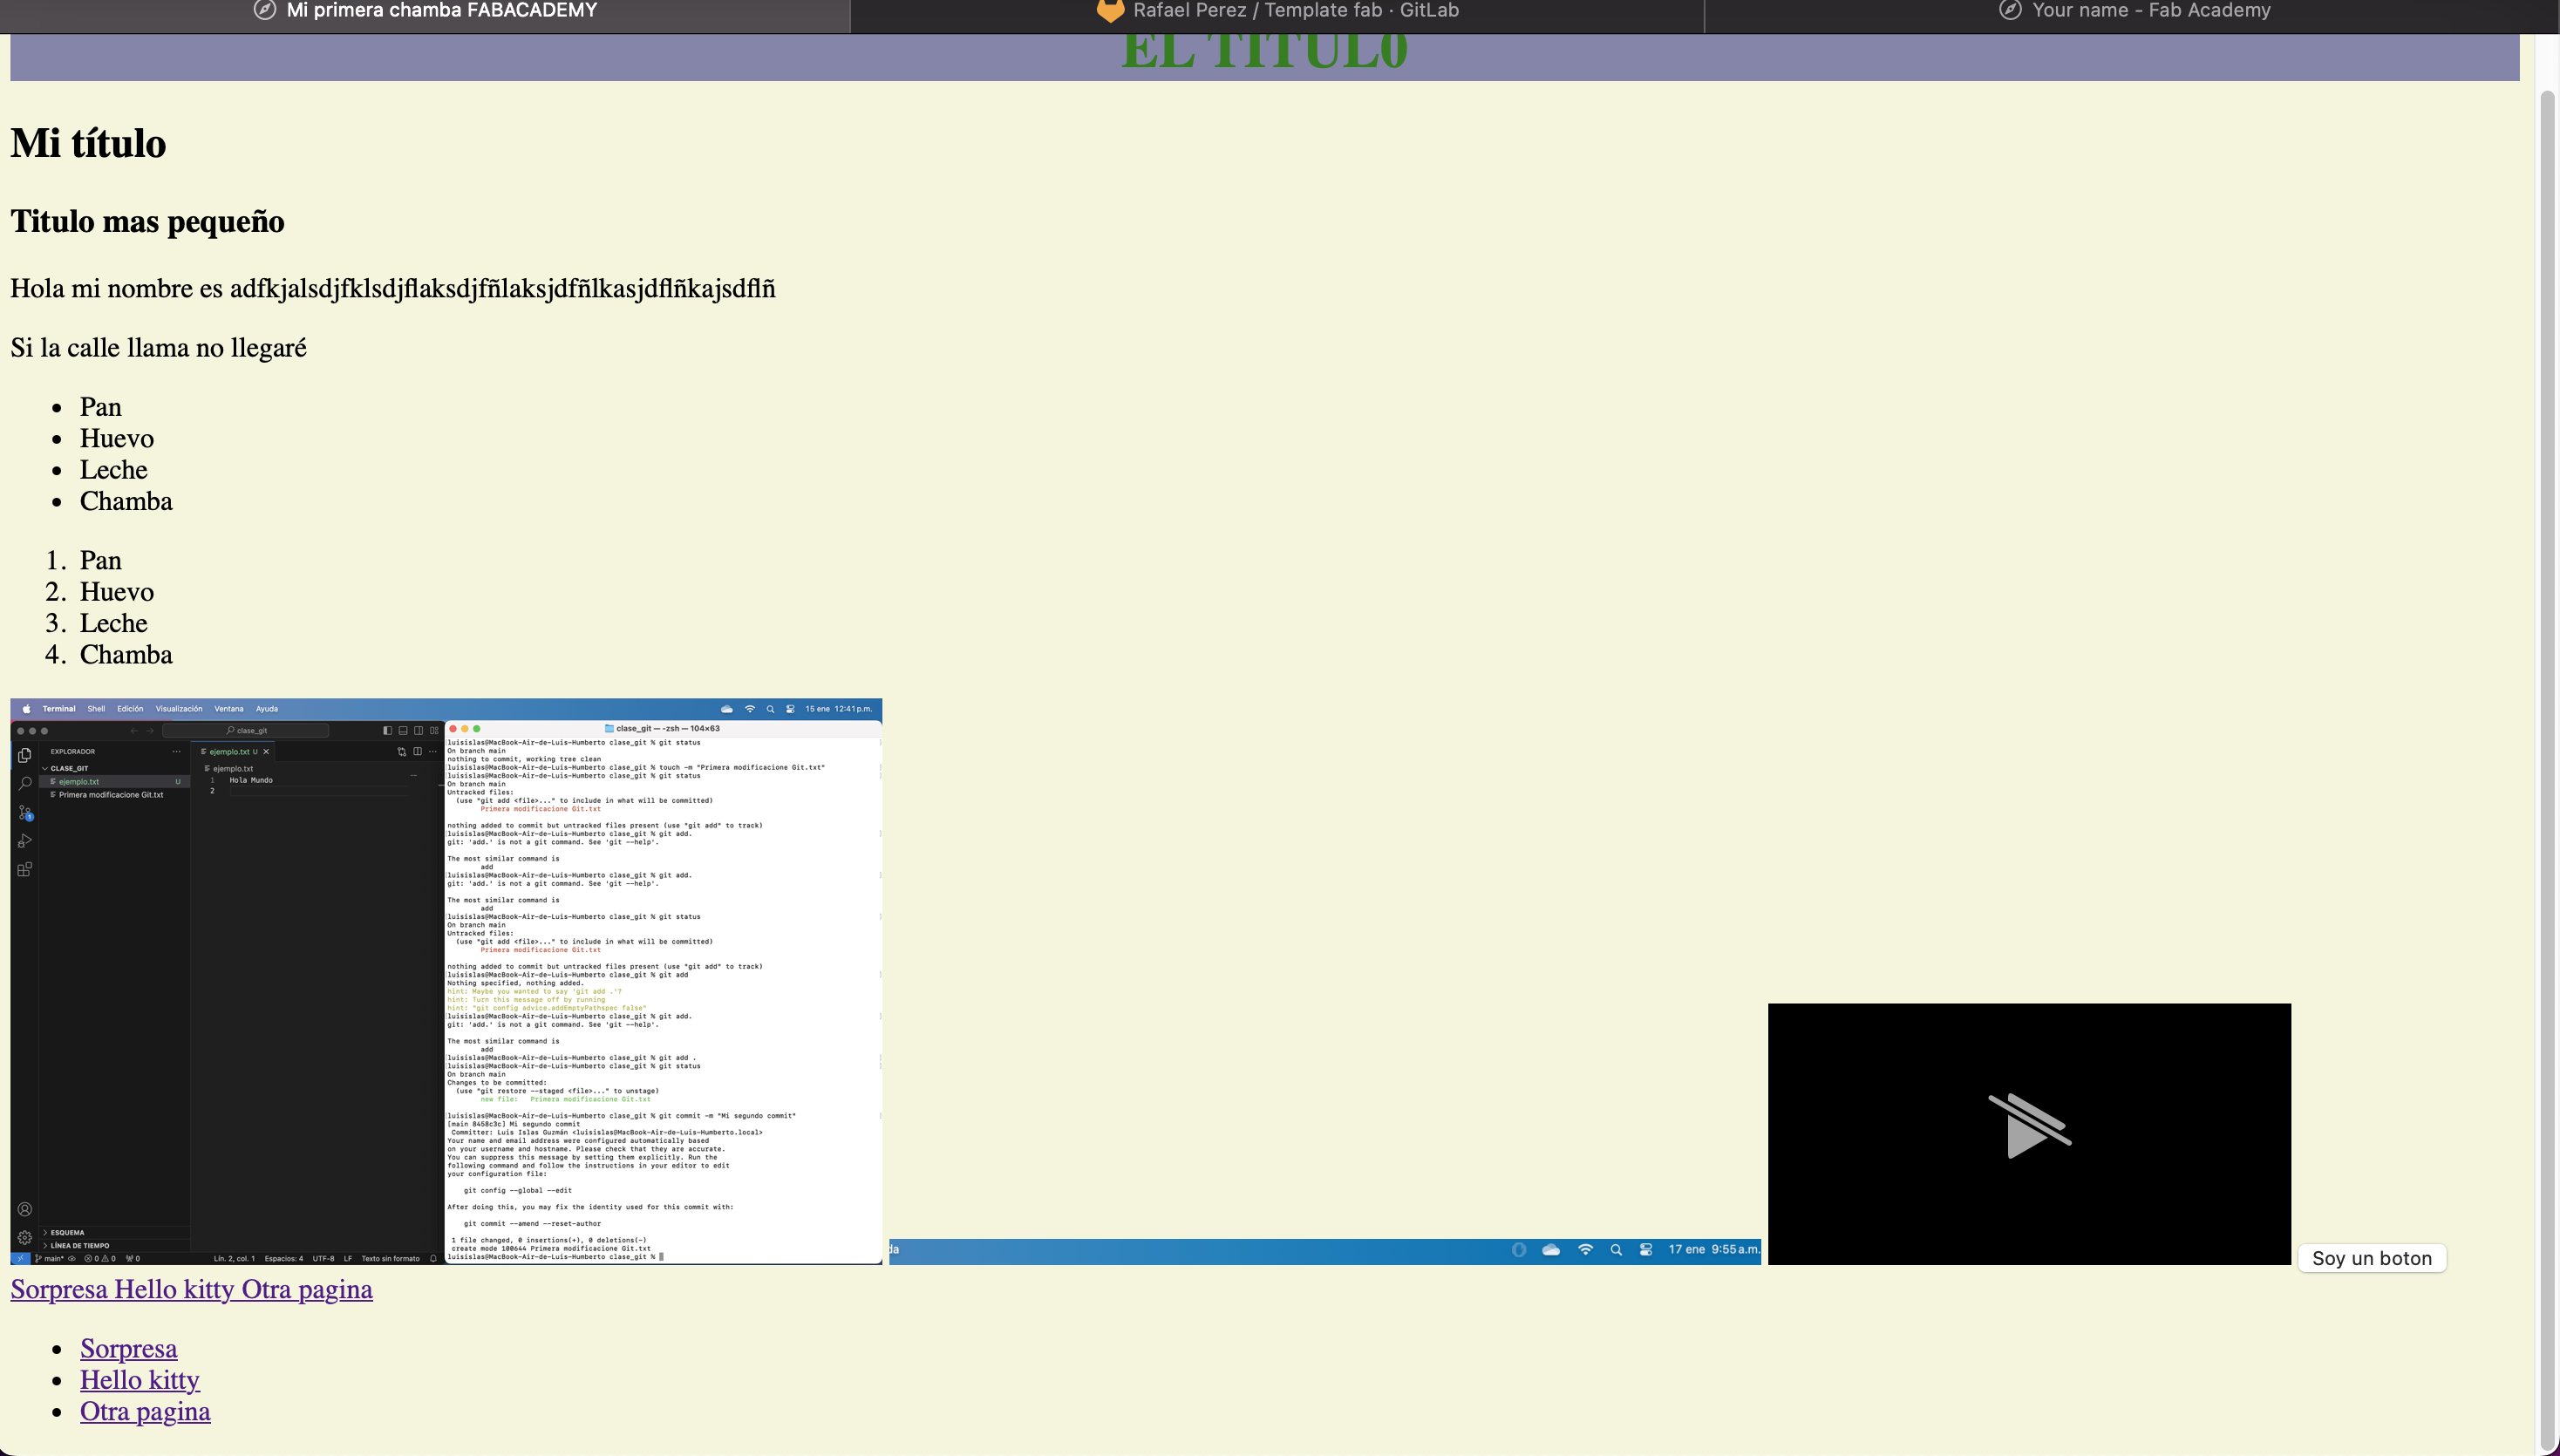
This week I worked on defining my final project idea and started to get used to the documentation process. Likewise, we created our own website using HTML and then learned how to manage repositories in Git and be able to upload our page.
website
As a first step in creating our website, we learned how main tags work in HTML. To become familiar with this language, we created an index as a practice.

Basic HTML Tags
| Tag | Description | Example |
|---|---|---|
| <!DOCTYPE html> | Defines the document type and version of HTML. | <!DOCTYPE html> |
| <html></html> | The root element of an HTML document. | <html>...</html> |
| <head></head> | Contains meta-information about the document. | <head>...</head> |
| <title></title> | Defines the title of the document. | <title>Page Title</title> |
| <meta> | Defines metadata about the document. | <meta charset="UTF-8"> |
| <body></body> | Contains the visible content of the web page. | <body>...</body> |
| <h1> to <h6> | Define headings, with <h1> being the most important. | <h1>Heading 1</h1> |
| <p></p> | Defines a paragraph. | <p>This is a paragraph.</p> |
| <a></a> | Defines a hyperlink. | <a href="http://fabacademy.org/2024/labs/puebla/students/luis-islas">Link</a> |
| <img> | Defines an image. | <img src="image.jpg" alt="Image description"> |
| <ul></ul> | Defines an unordered list. | <ul><li>Item</li></ul> |
| <ol></ol> | Defines an ordered list. | <ol><li>Item</li></ol> |
| <li></li> | Defines a list item. | <li>Item</li> |
| <table></table> | Defines a table. | <table>...</table> |
| <tr></tr> | Defines a row in a table. | <tr>...</tr> |
| <th></th> | Defines a header cell in a table. | <th>Header</th> |
| <td></td> | Defines a cell in a table. | <td>Cell</td> |
| <br> | Inserts a line break. | <br> |
| <hr> | Defines a horizontal rule. | <hr> |
Once we learned the basic labels, our instructor gave us a template where we could guide ourselves and modify it to our liking to have a website that is more personalized to our criteria. We focus mainly on 3 sections: index, about me and final project, resulting in what can currently be seen in these sections
Index Code
GitLab
After having created our website and customized it, we use a tool called GitLab, which is a version manager in the cloud that is directly linked to FABACADEMY.
As a first step, we have to create a repository in gitlab, which I did it in a folder called luis-islas using the following command:
- git init

Ready! Once our repository linked to FAB ACADEMY has been created, let's get to work creating a website in the repository using the previously modified template.
The next command to use is:
- git add
This command is used to add our files, modifications, changes, moves, etc. to the Git repository

The next command to use is:
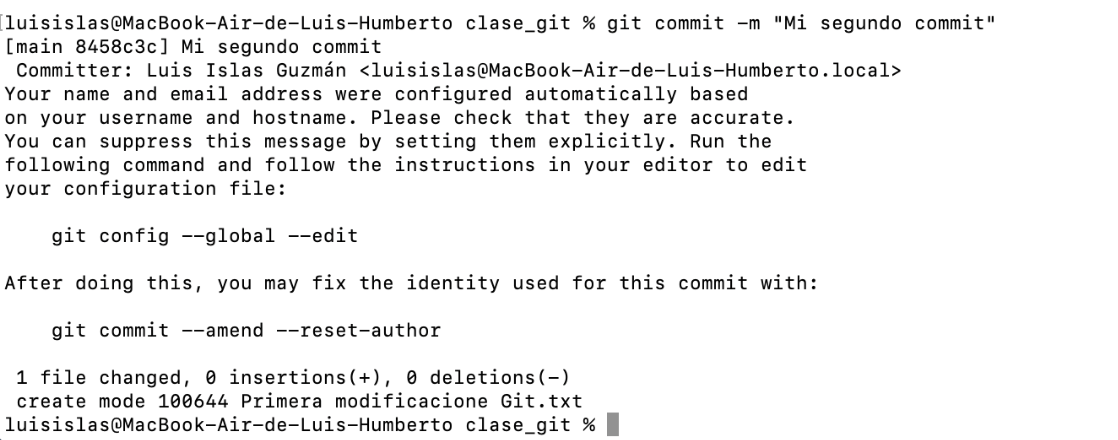
- git commit
This command is used to commit changes made to the local repository. After making modifications to the working files, "git commit" was used to store those changes in the repository history along with a descriptive message explaining the changes made.

Finally, as a final command we have:
- git push
This command will help us upload all the changes made to the repository

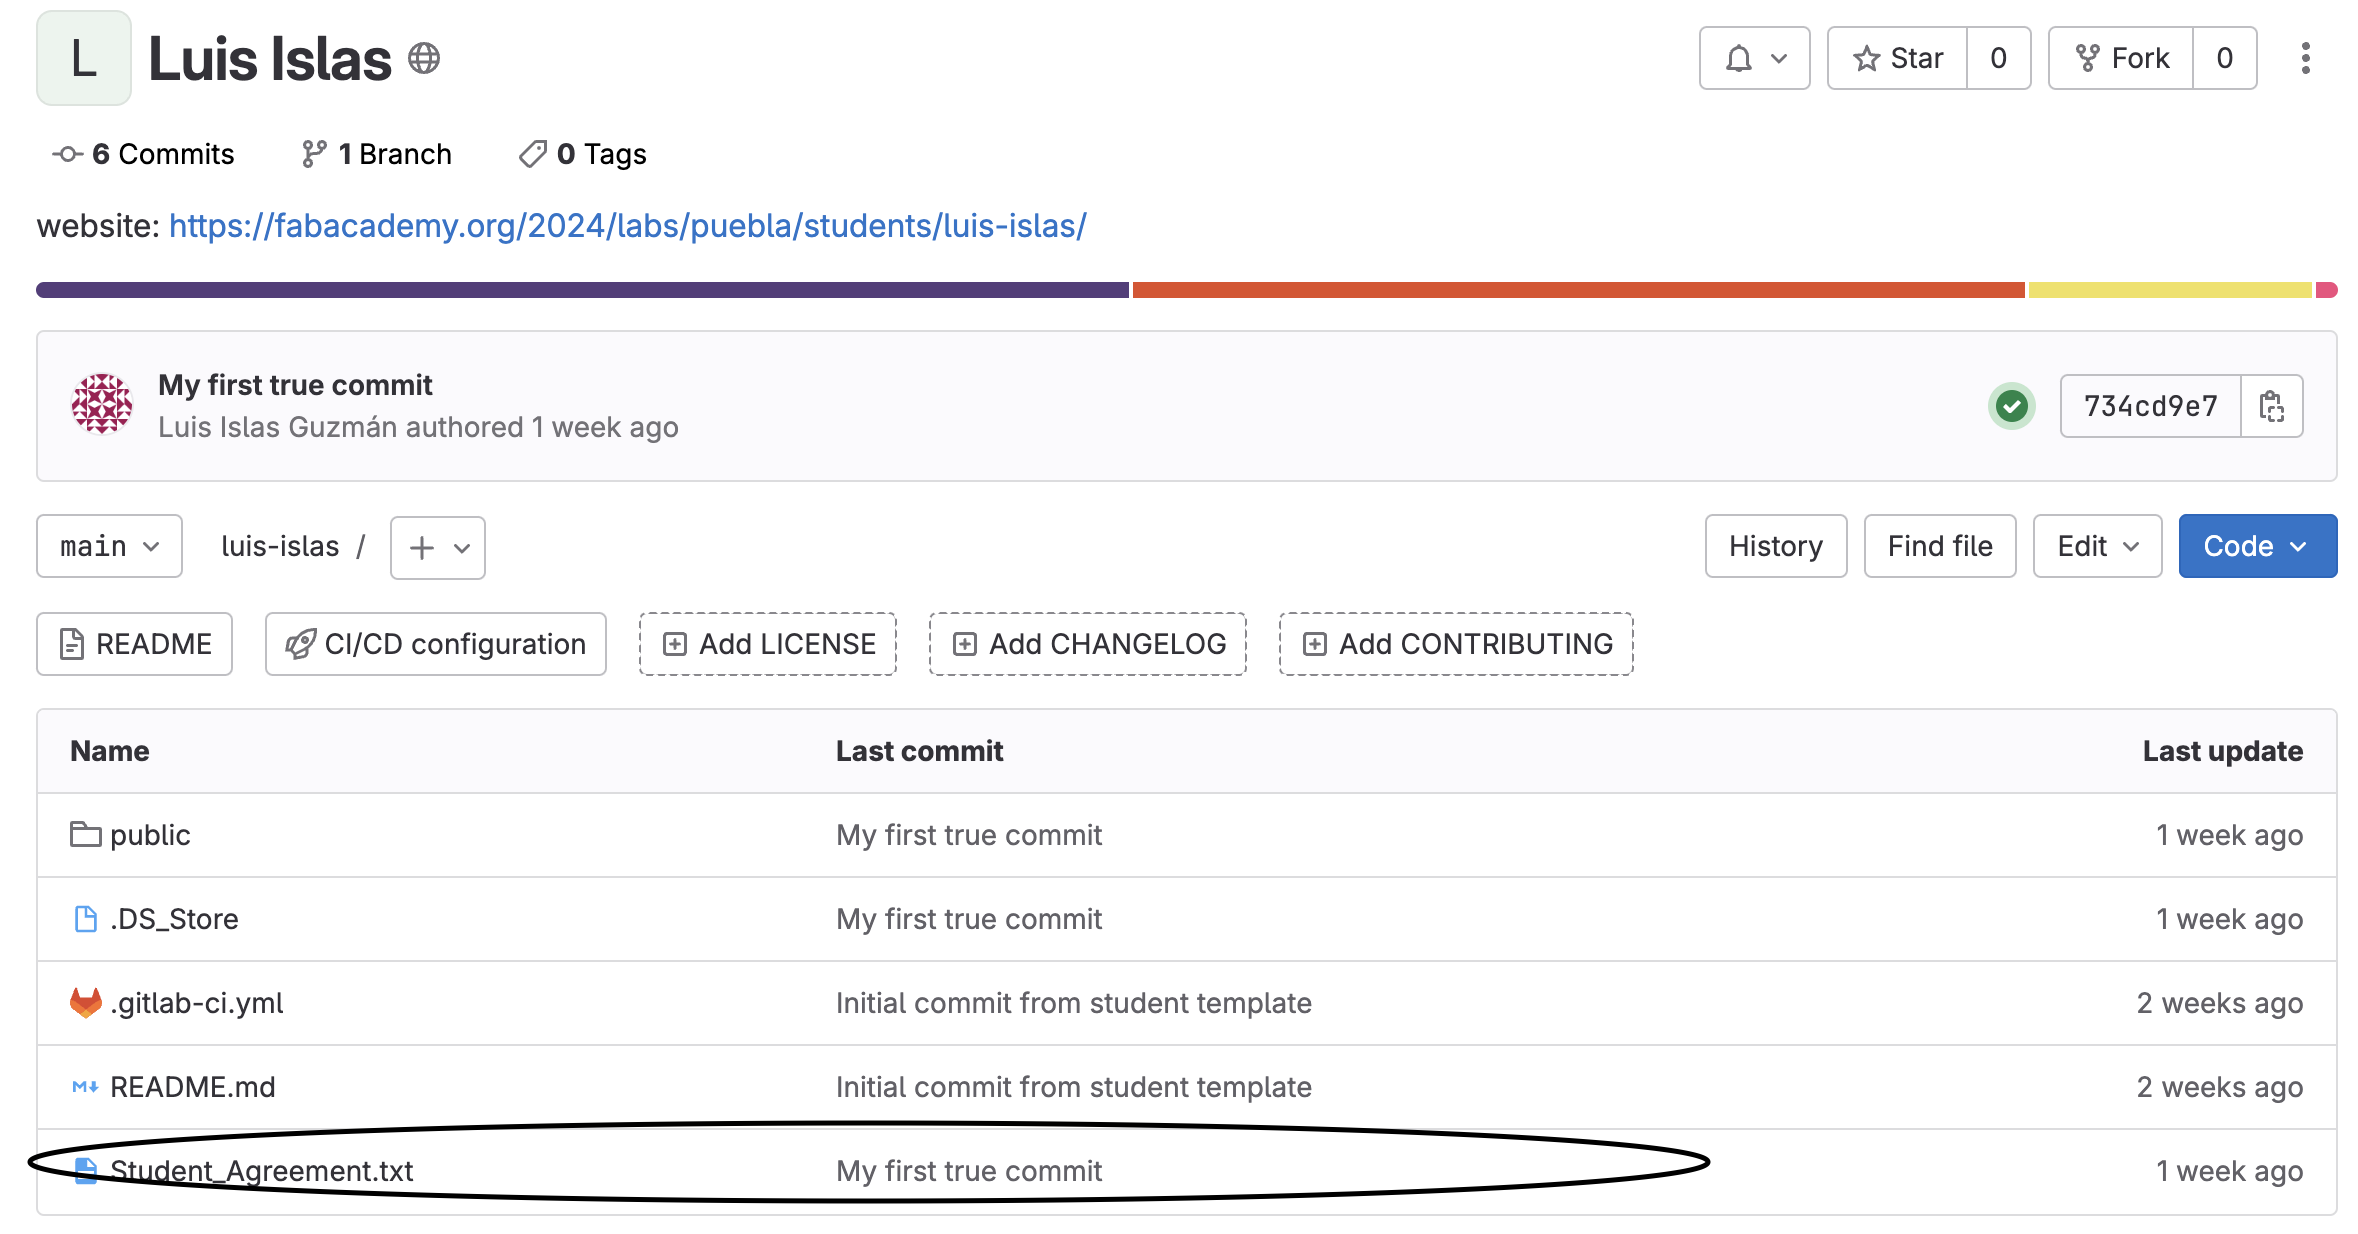
As a last step, to check if our files have been uploaded correctly, we go to the gitlab link to check if the files are already up. We can notice that the files have been uploaded.

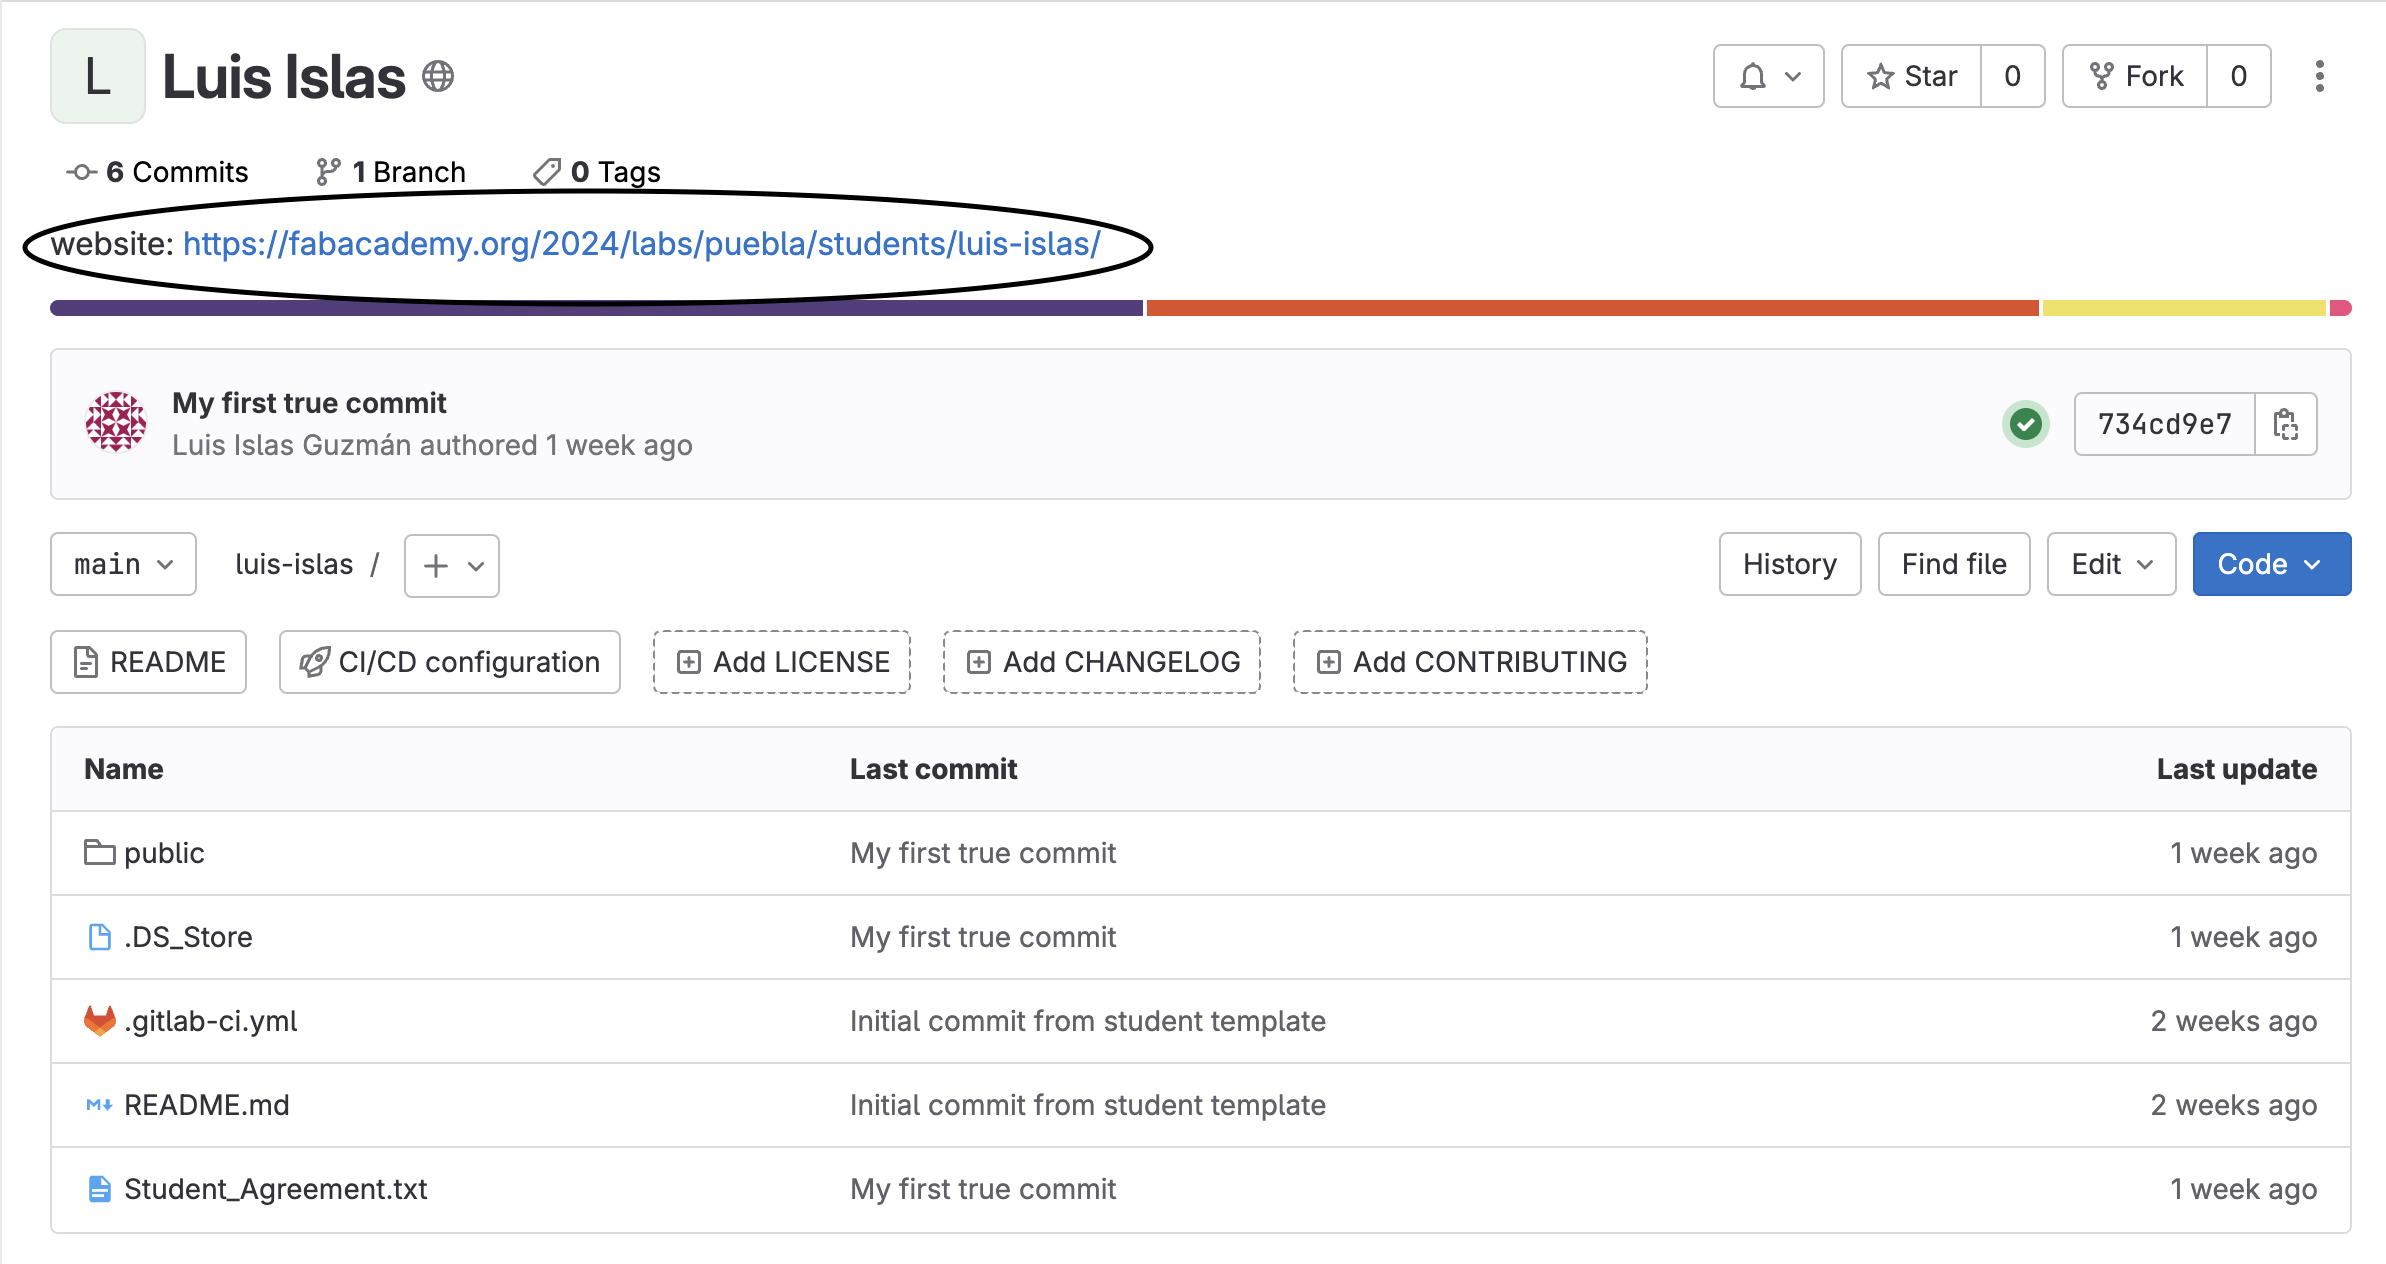
To see the changes reflected, we enter this link where we can see the web page in the cloud

