15. Wildcard Week
For this free week, I decided to take one of the courses offered by the instructors to learn how to use a robotic arm. This allows me to improve in the field of my career related to automation and future classes I take. Additionally, it is something that interests me a lot, and I have wanted to control one since I was a child.For the practice, I will use the programming tools provided by the robot, such as its remote control. Additionally, I will use the RoboDK program to move it.
Industrial robots
Industrial robots, such as those from KUKA and Universal Robots (UR), have revolutionized modern industry due to their precision, flexibility, and ability to work in hazardous environments.
Main Applications:
- Production Automation: High-precision welding and assembly of components.
- Handling and Palletizing: Efficient movement and organization of materials and palletizing.
- Material Processing: Cutting, polishing, painting, and applying uniform, high-quality coatings.
- Inspection and Quality Control: Visual inspection and functional testing to ensure quality standards.
Benefits:
- Increased Productivity: Operate 24/7, boosting production.
- Improved Quality: High precision and defect reduction.
- Safety: Perform dangerous tasks, enhancing workplace safety.
- Flexibility: Adaptable to different tasks and can collaborate with humans (cobots).
- Cost Reduction: Minimize errors and long-term operational costs.
university robots
One model of the university
One model of the university
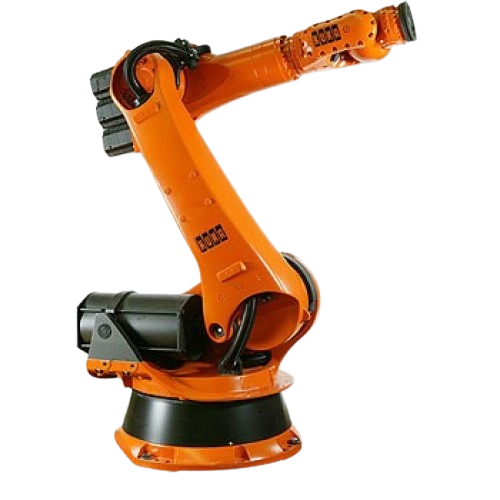
KUKA
- Technology: Industrial robot
- Reach: 2033 mm
- Payload: 30 kg
- Repeatability: ±0.06 mm
- Weight: Approximately 665 kg
- Mounting: Floor, ceiling, or wall
- Protection Class: IP65 (robot arm), IP67
- Controller: KUKA KR C4
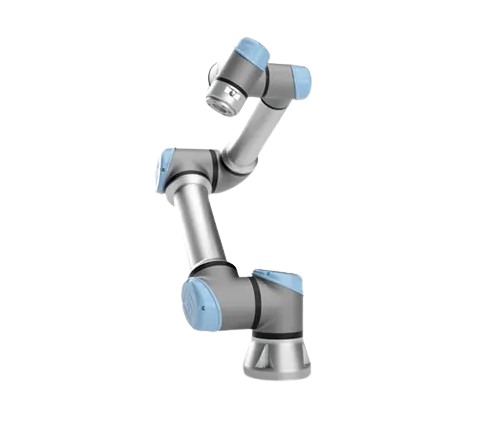
Ur5e
- Technology: Collaborative robot (cobot)
- Reach: 850 mm
- Payload: 5 kg
- Degrees of Freedom: 6 rotating joints
- Repeatability: ±0.03 mm
- Weight: 20.6 kg
- Power Consumption: Approximately 350W
- Communication: Ethernet, Modbus TCP/IP
for this practice
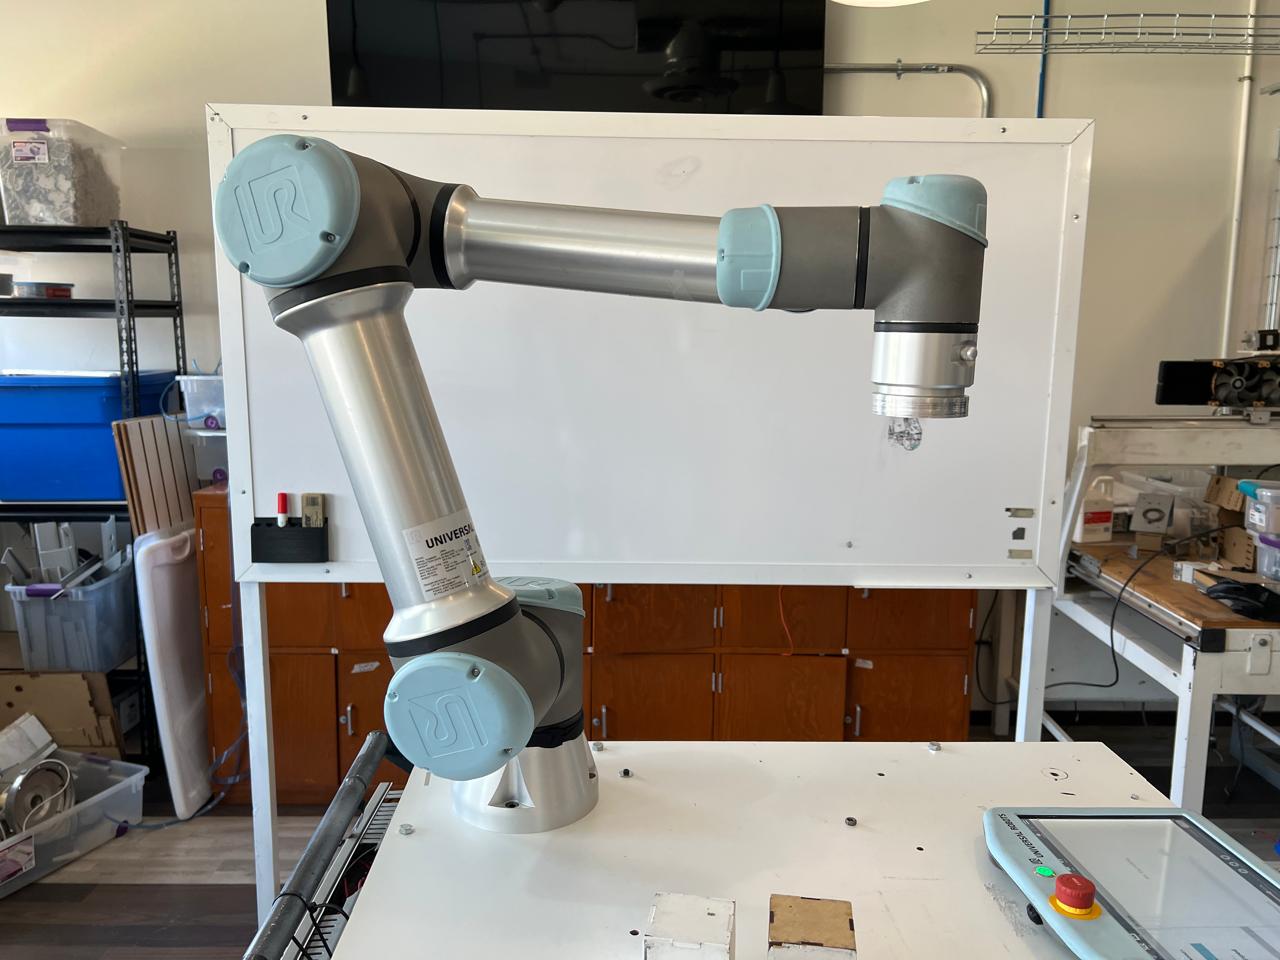
For this practice, I will use the UR5E robot available in the university's automation lab. I will use this robot because, in my opinion, it is more practical and safer for me to use, as I have never controlled a robotic arm like this before. It will also serve as practice for me to learn how to properly use larger robots like the KUKA in the future.
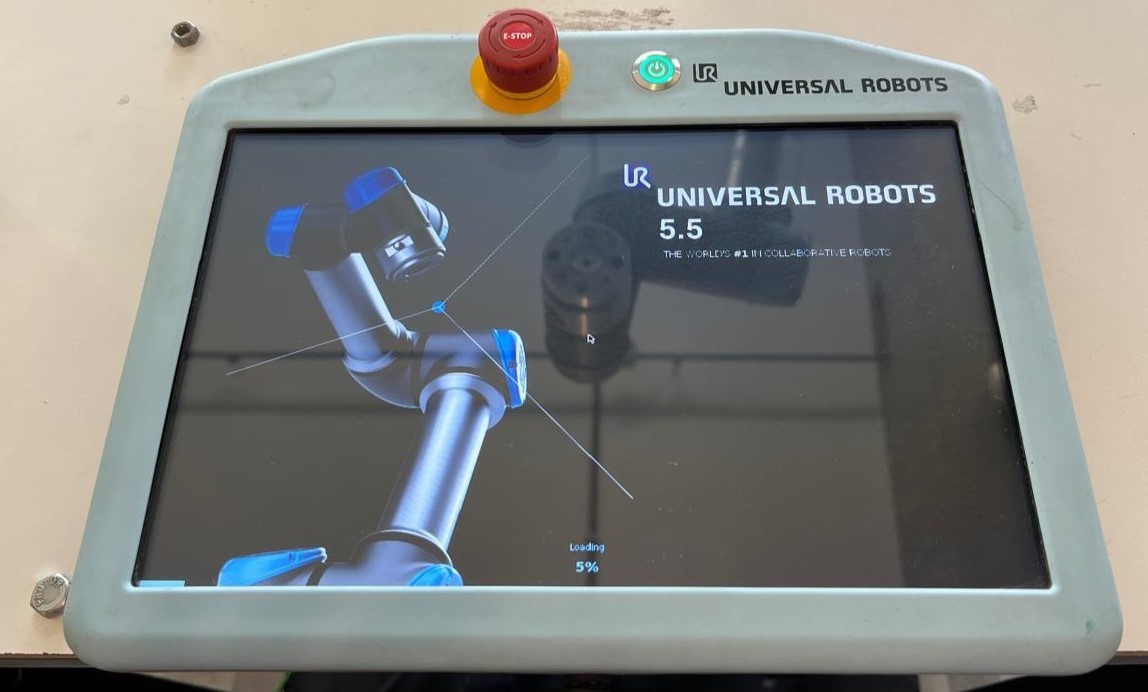
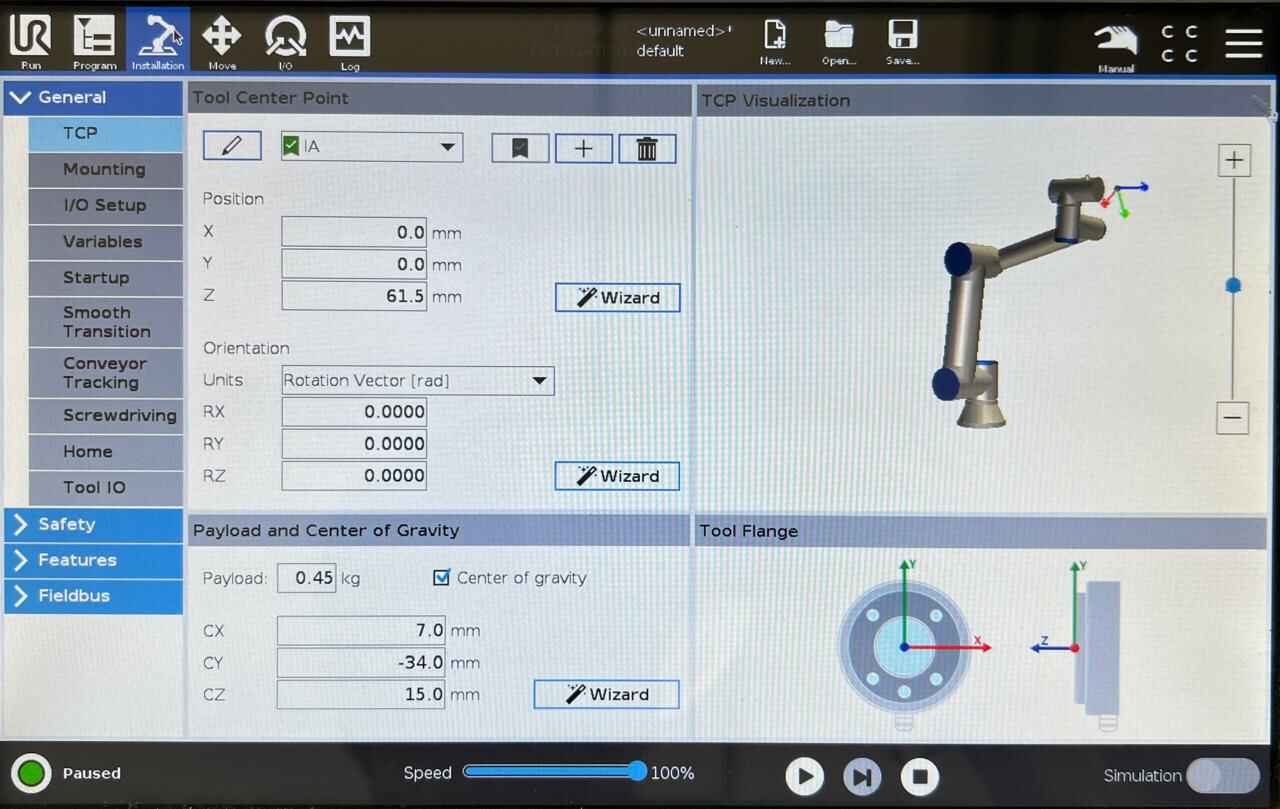
robot ur5e
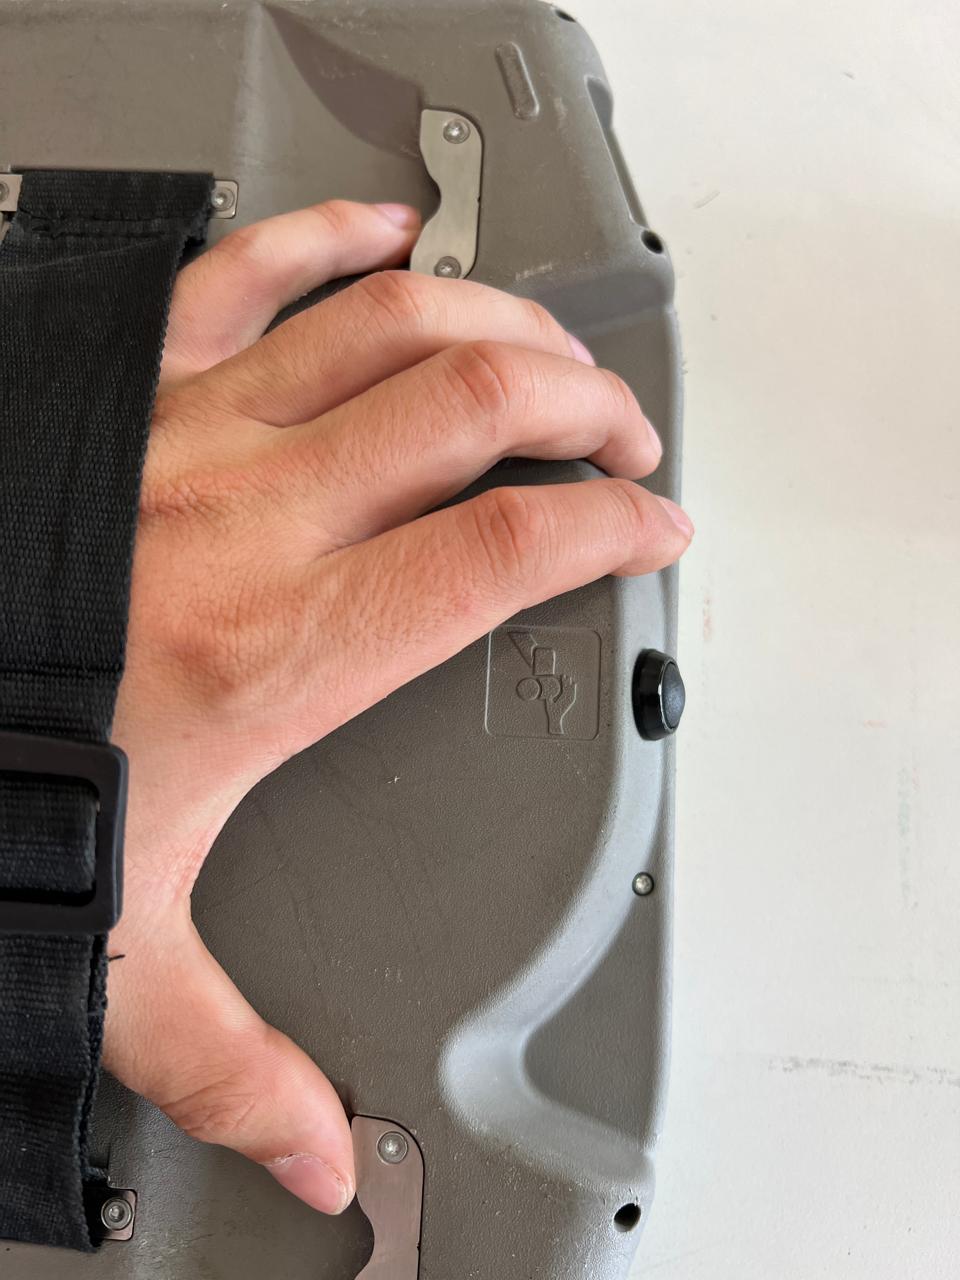
Here you can see images of the UR-5E robot that I will use for this practice. The arm is bolted to a mobile cart, which is quite heavy and allows us to move it for different practices. Additionally, I will explain a bit about the controls and how it can be operated.


EXAMPLE
Next, I will show two examples of how to move the robot using the tools available with the robot.
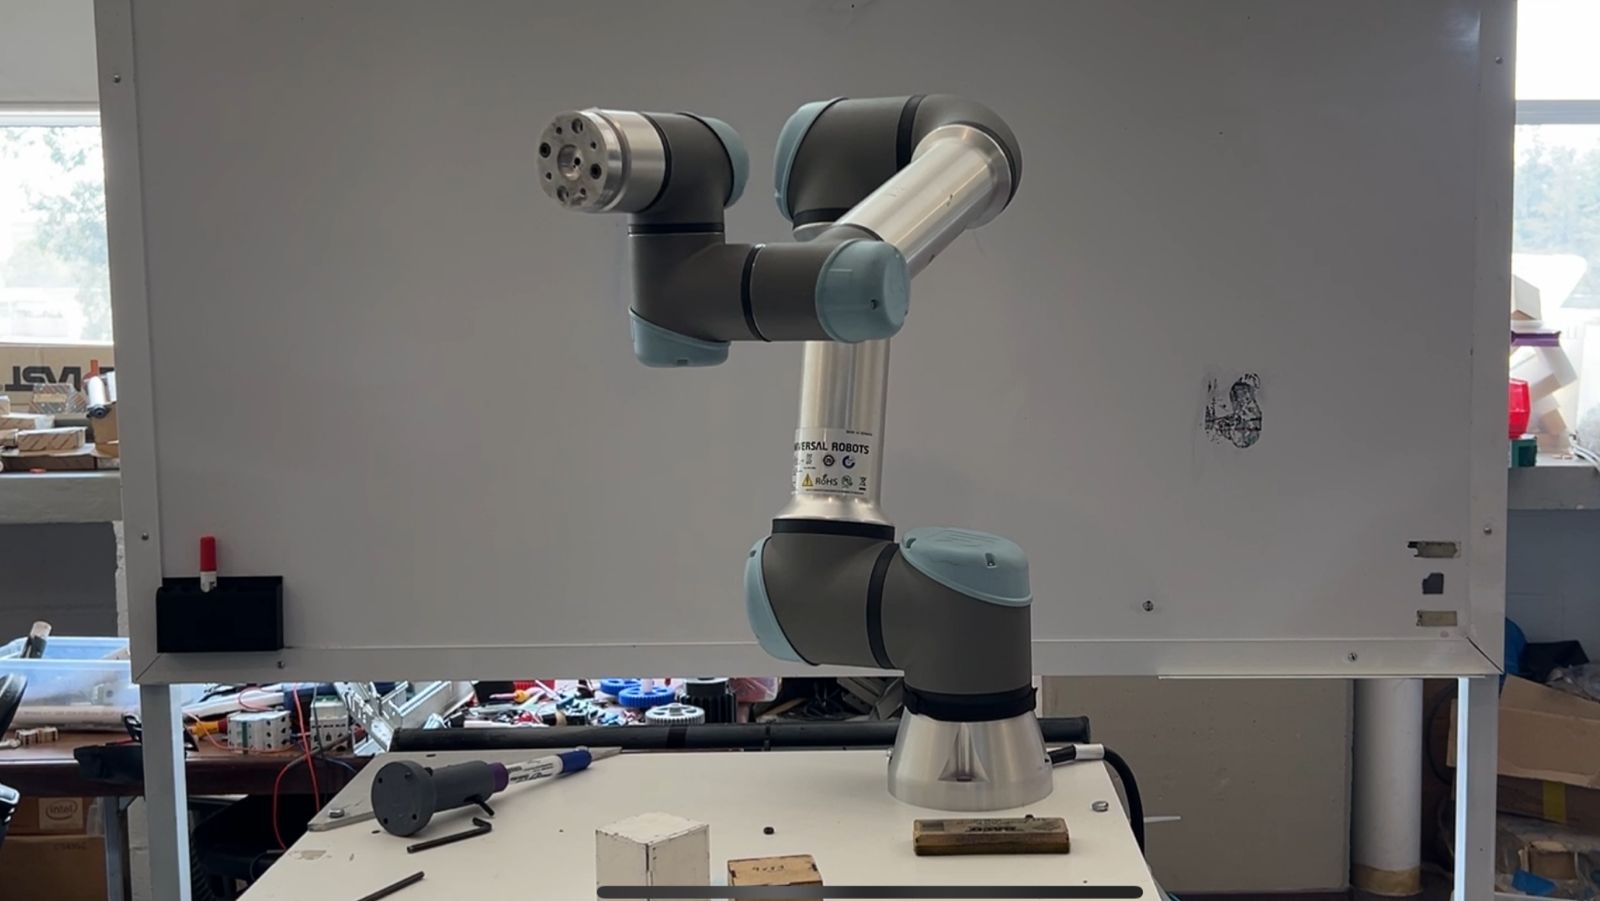
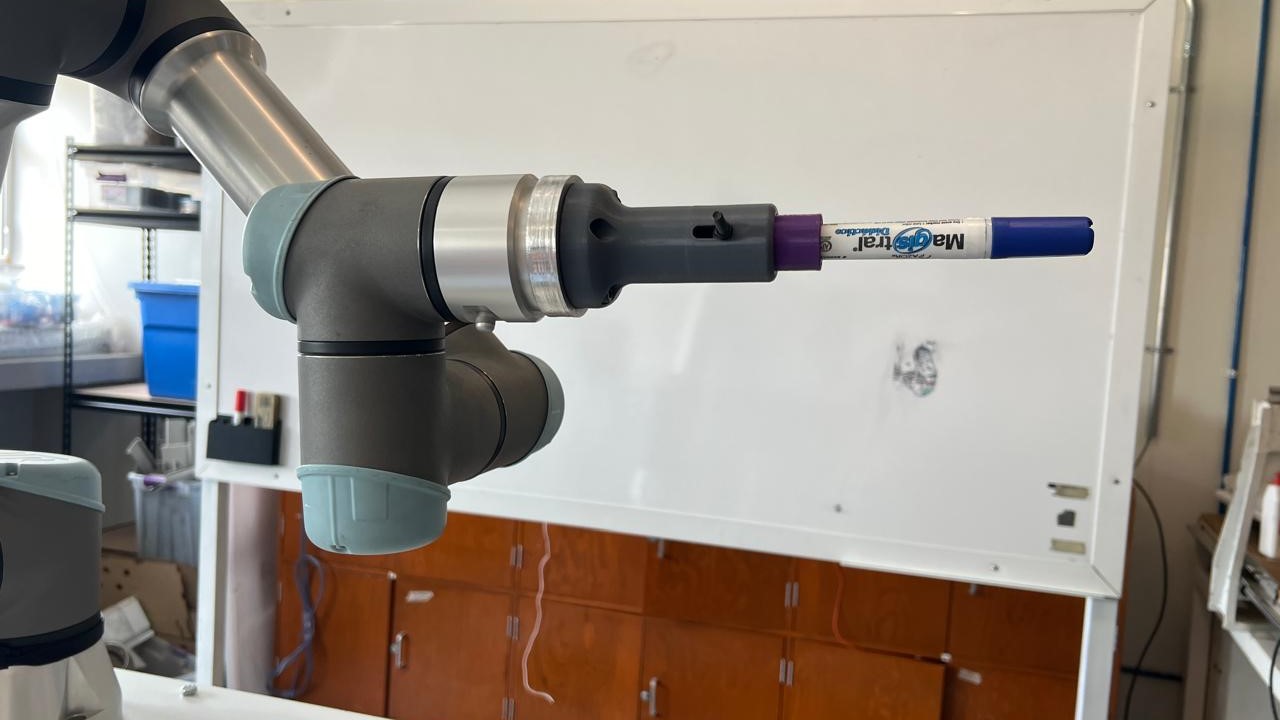
addition
I added an attachment to the robot to hold a marker. This tool is used for various exercises and to draw on a whiteboard.
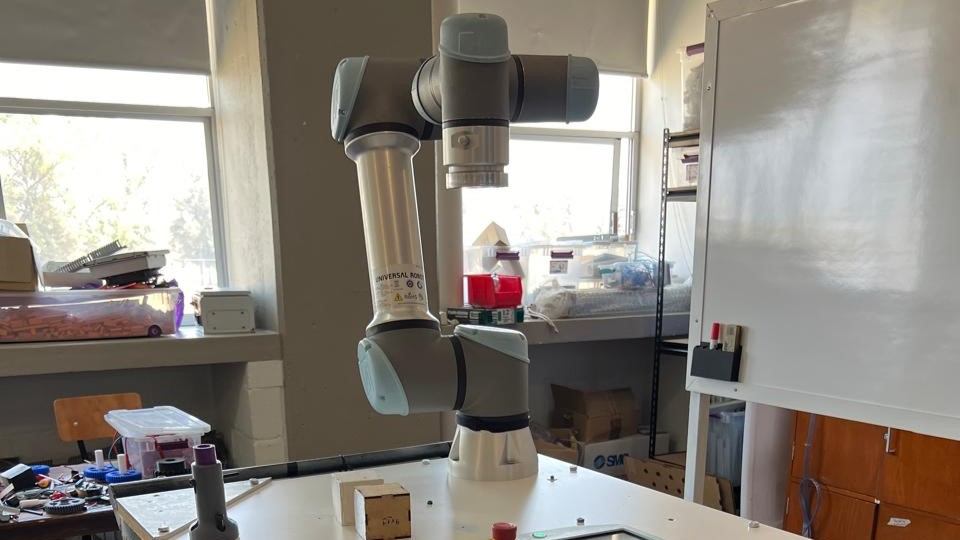
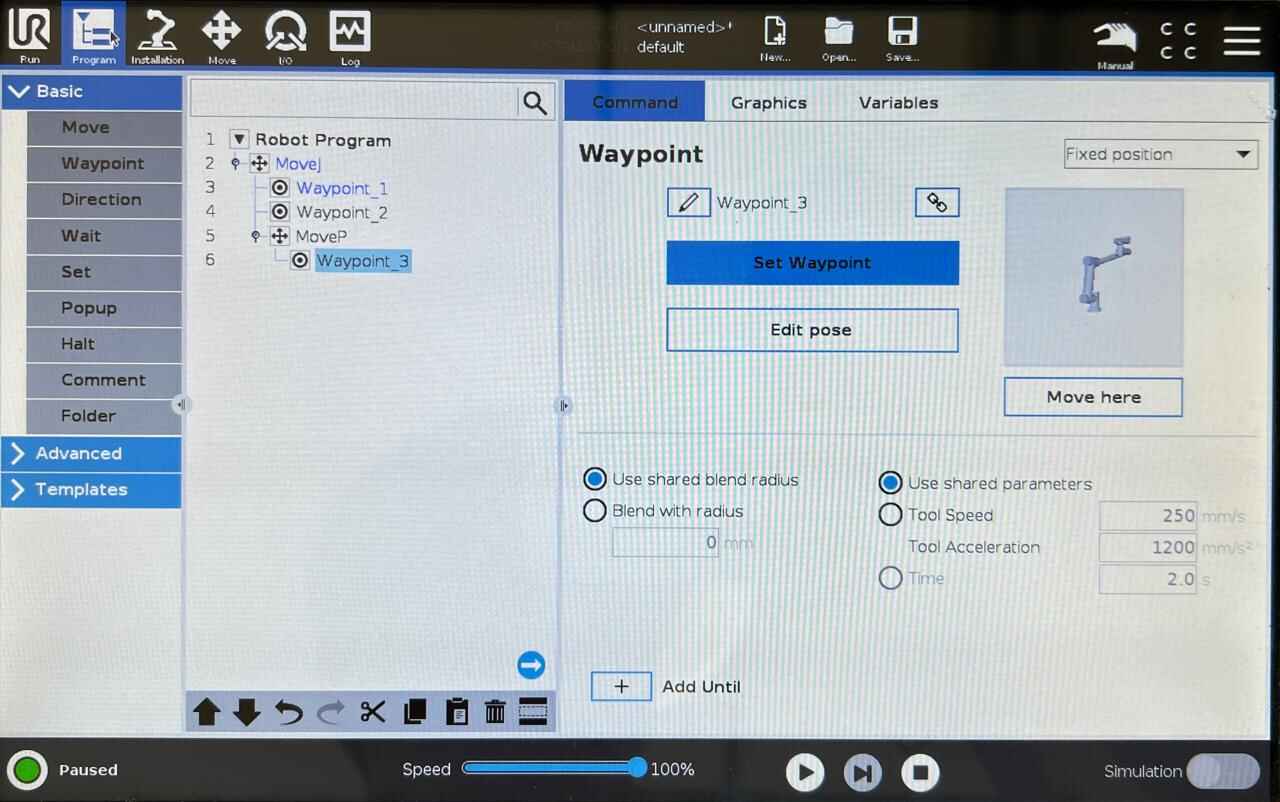
manual
You will draw something on the board by manually moving the robotic arm point by point. With the help of the programming window, you will save the points to make a square.
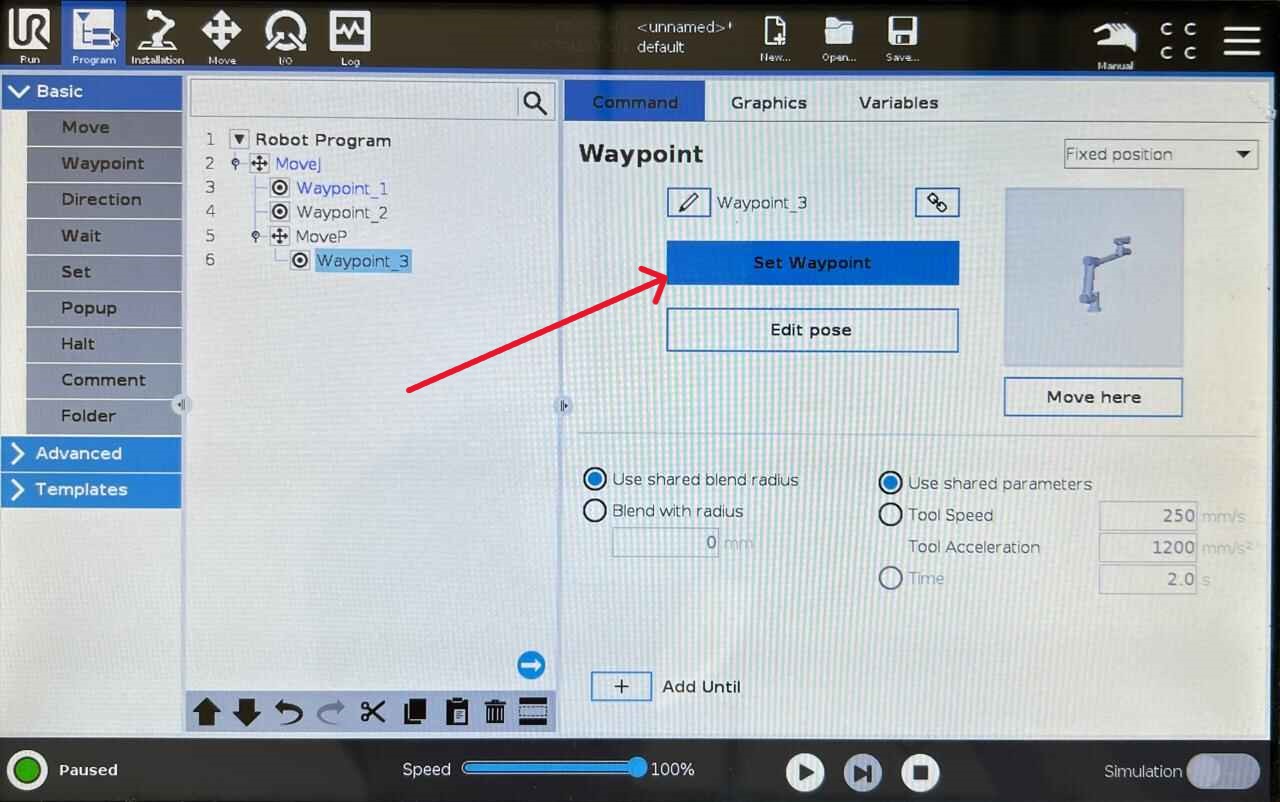
Next, you will see the complete figure and the simulation with the saved points.
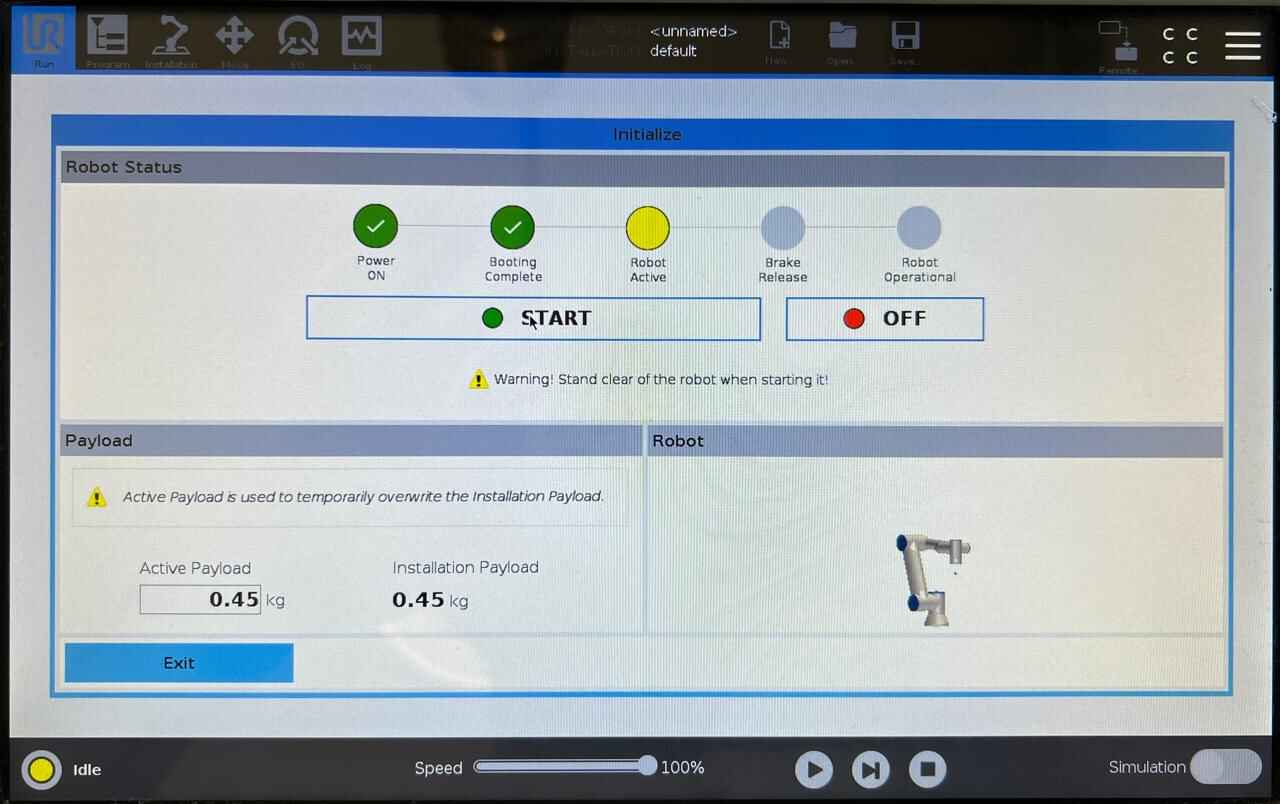
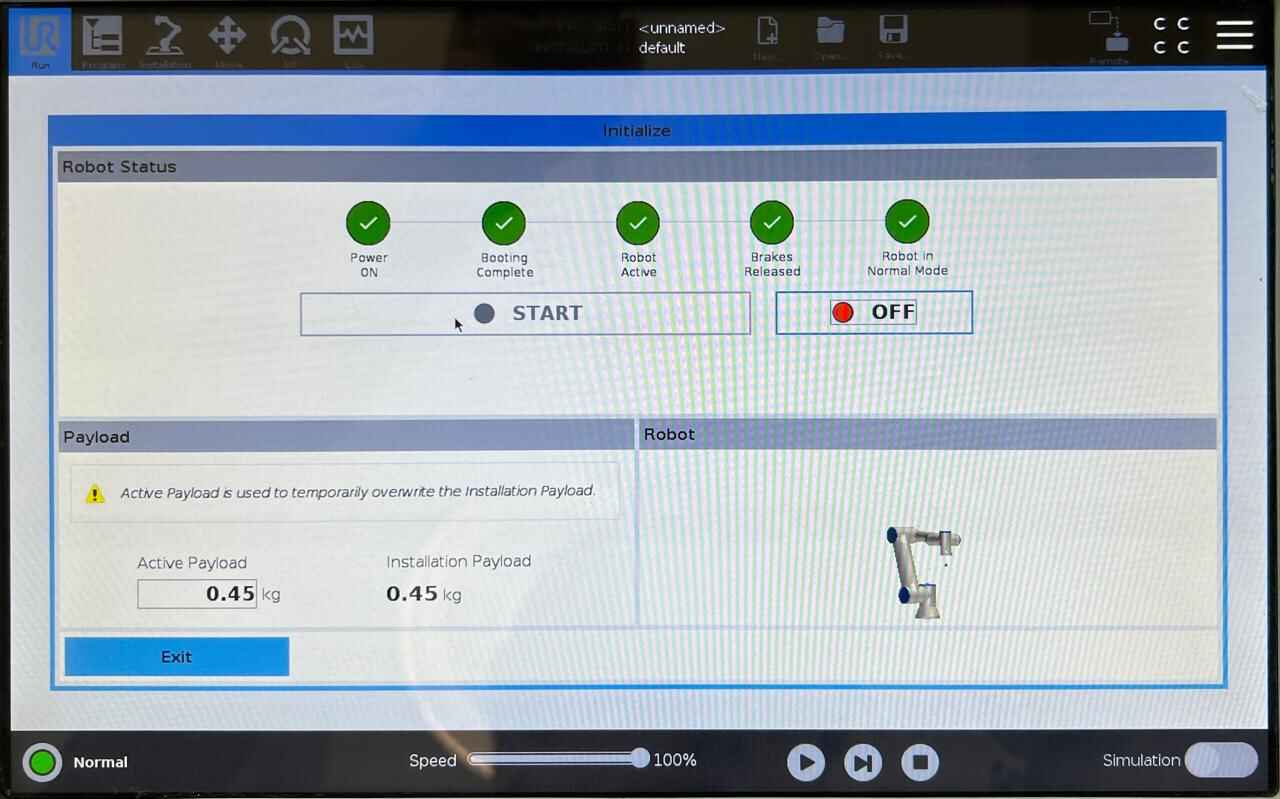
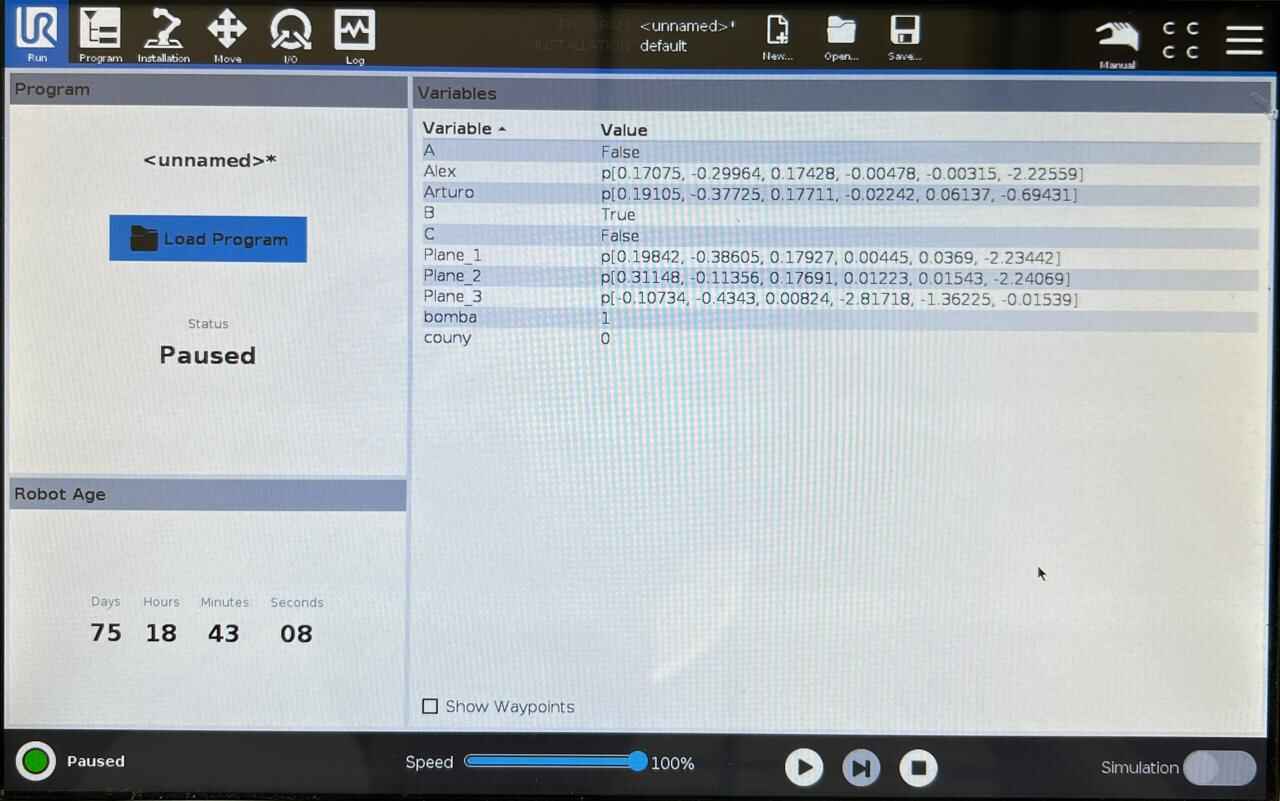
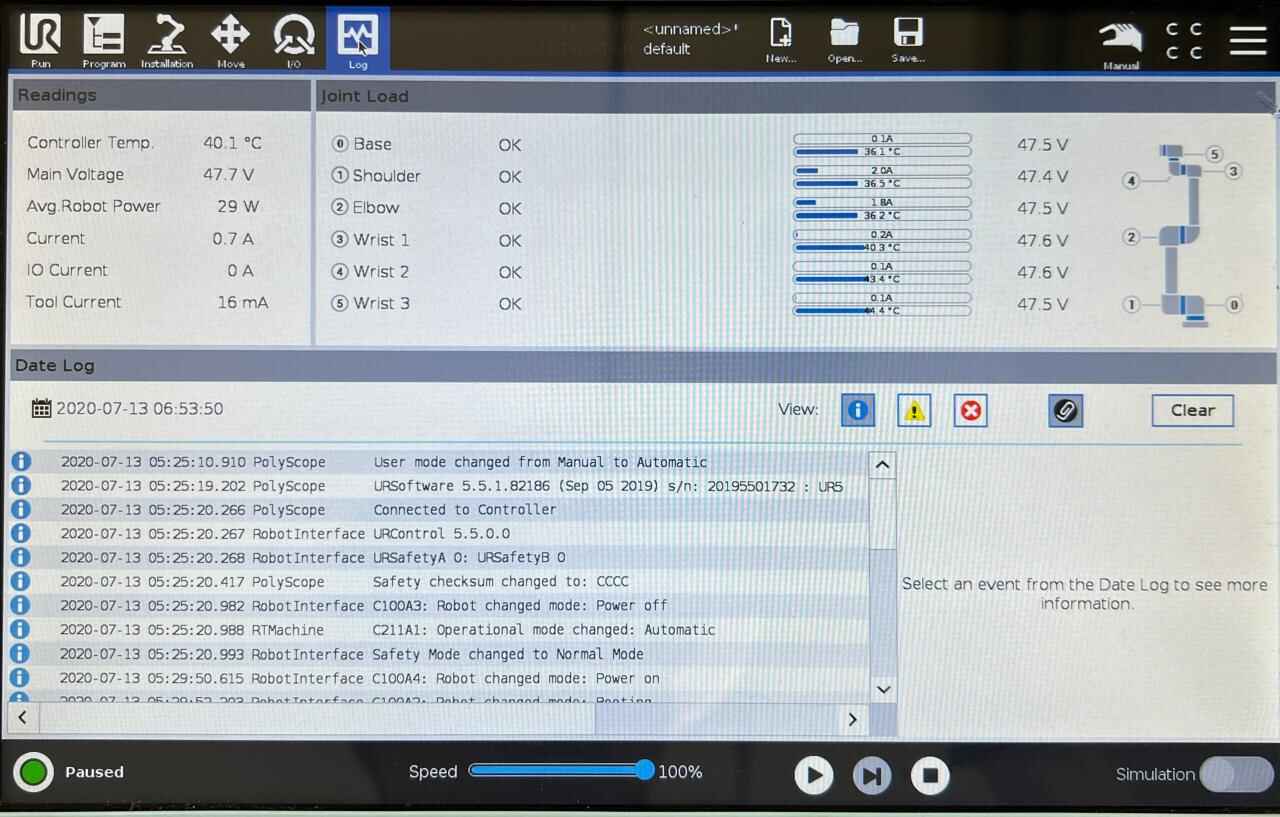
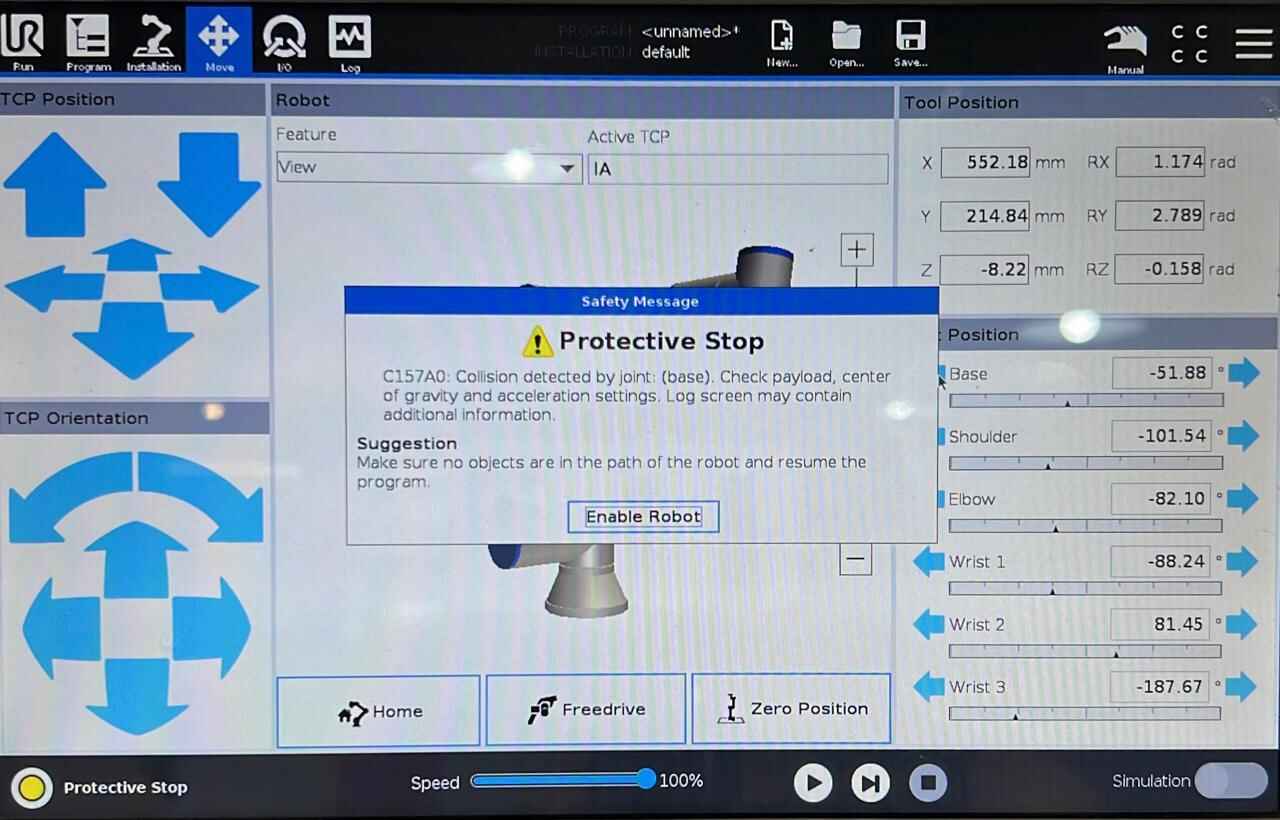
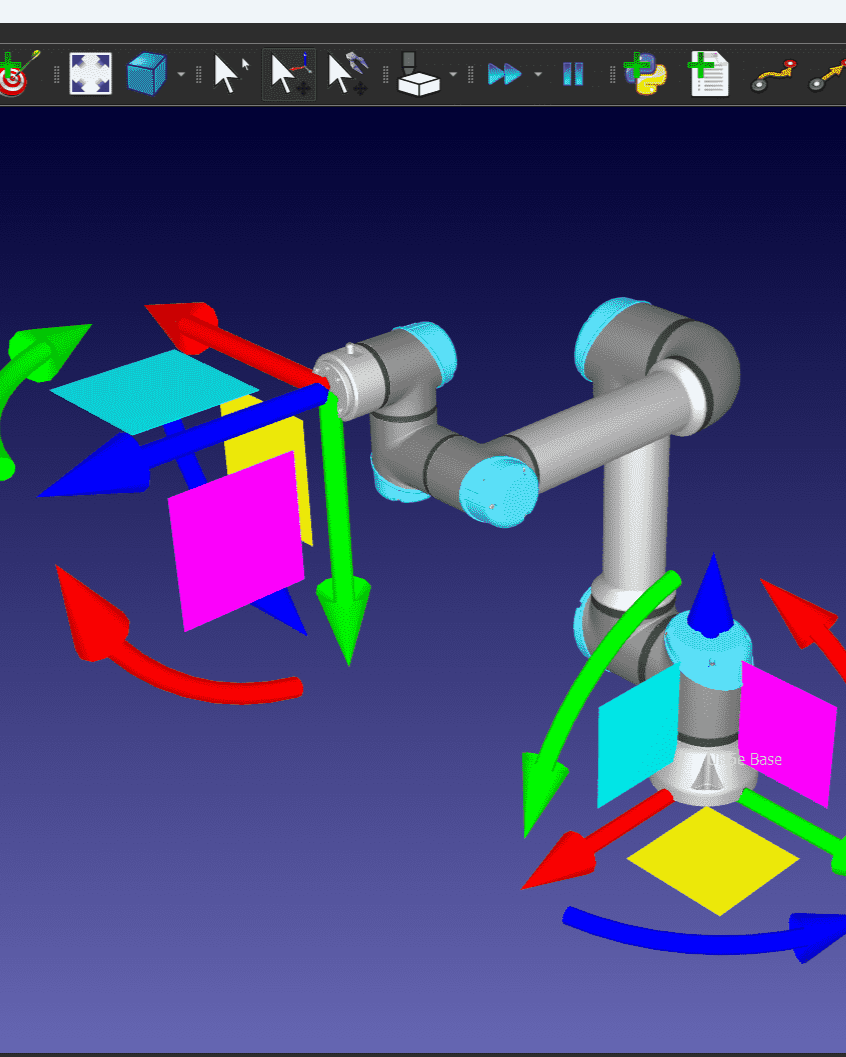
ROBOT INTERFACE
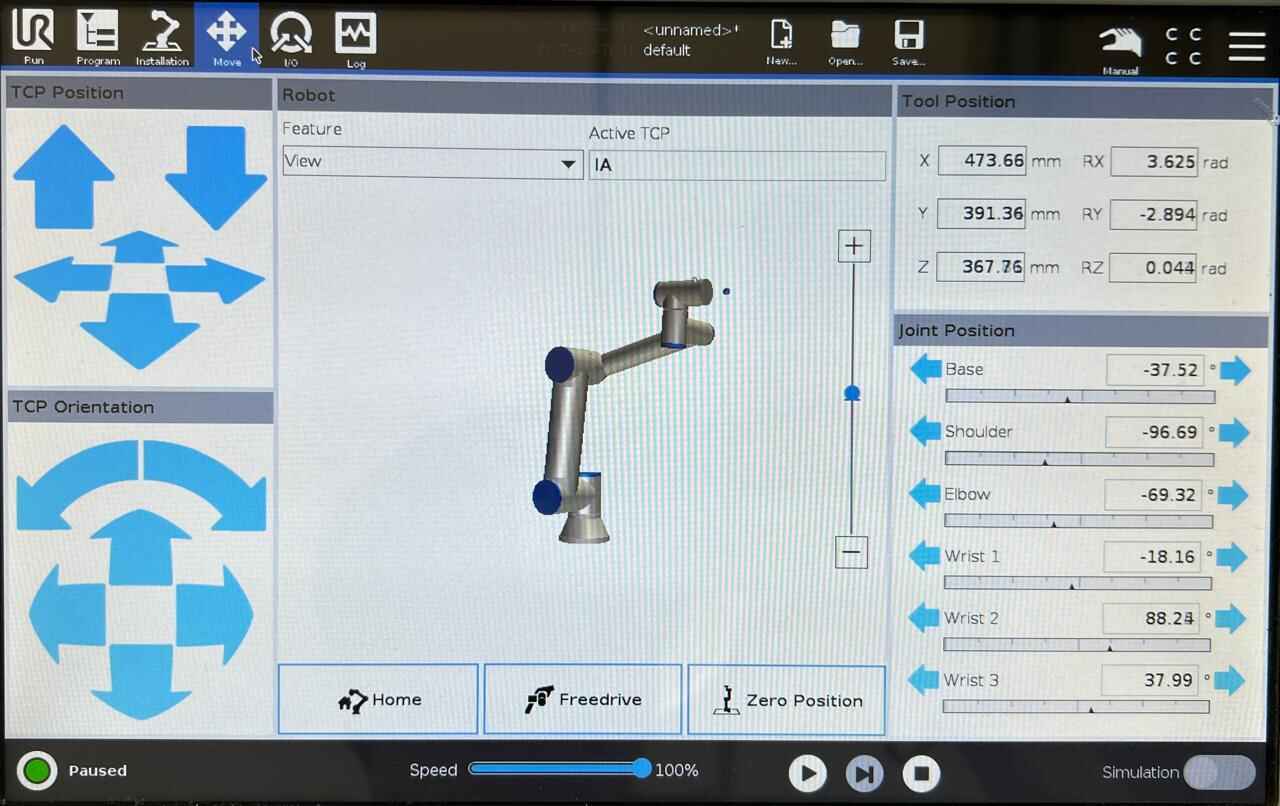
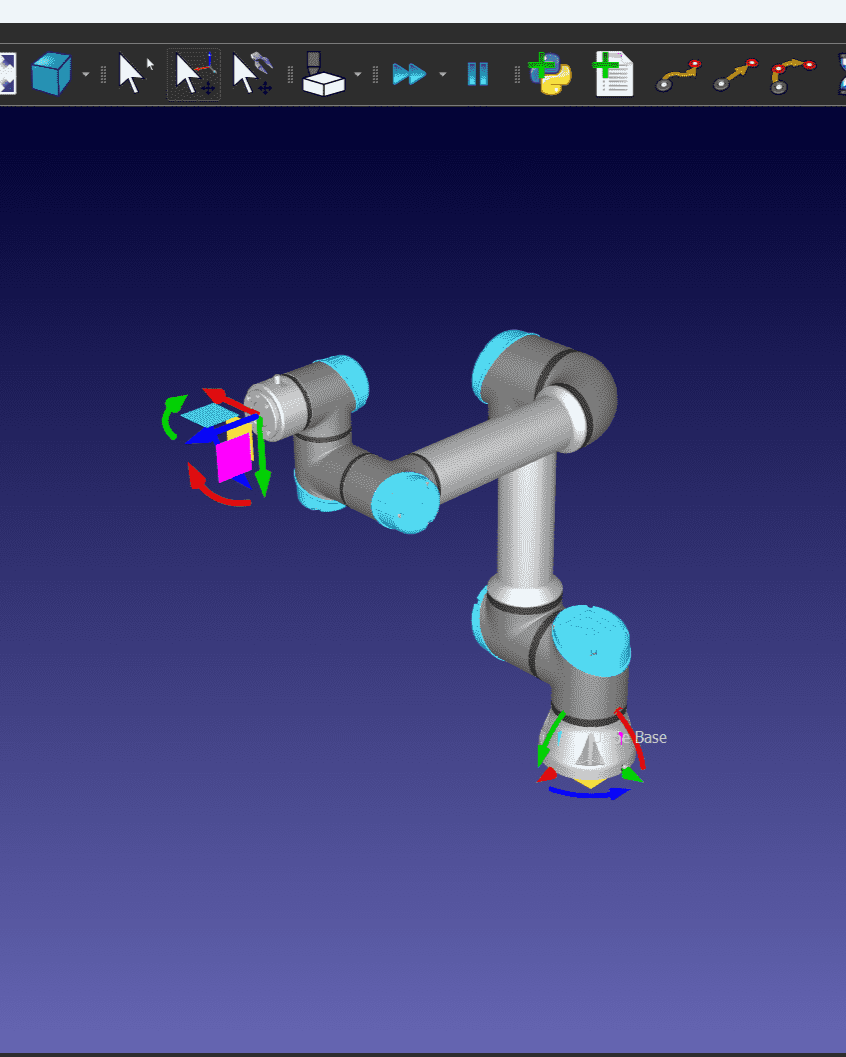
Here, I will move the robot using the movement window and save the robot's positions. This way, I do not physically manipulate the robot.

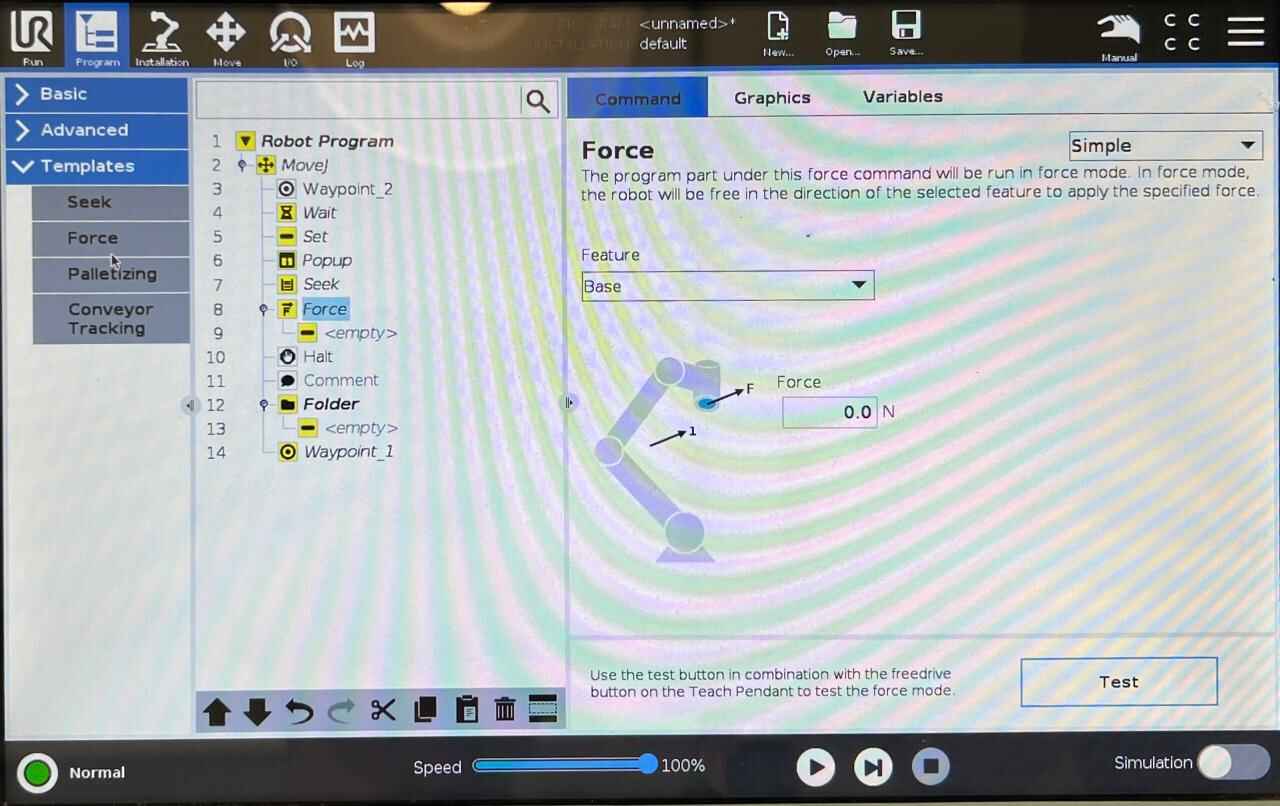
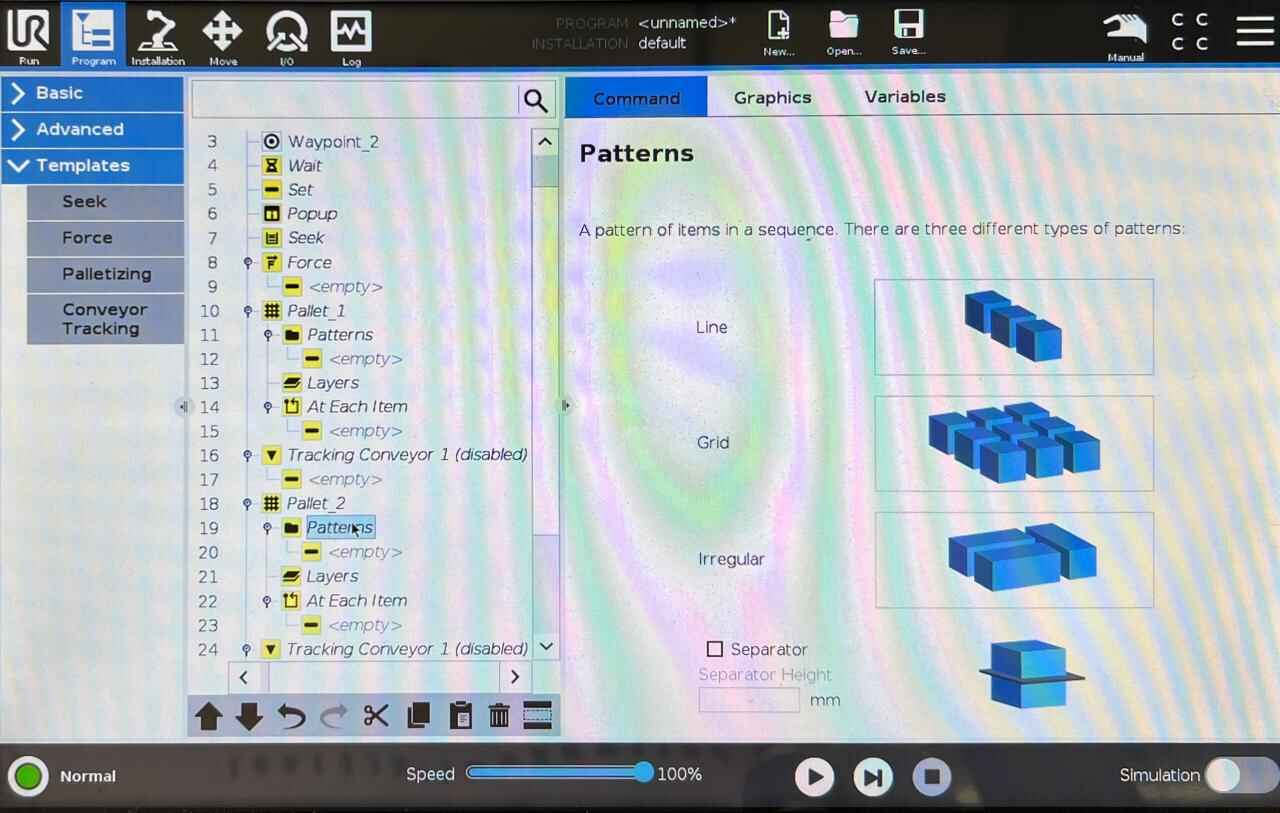
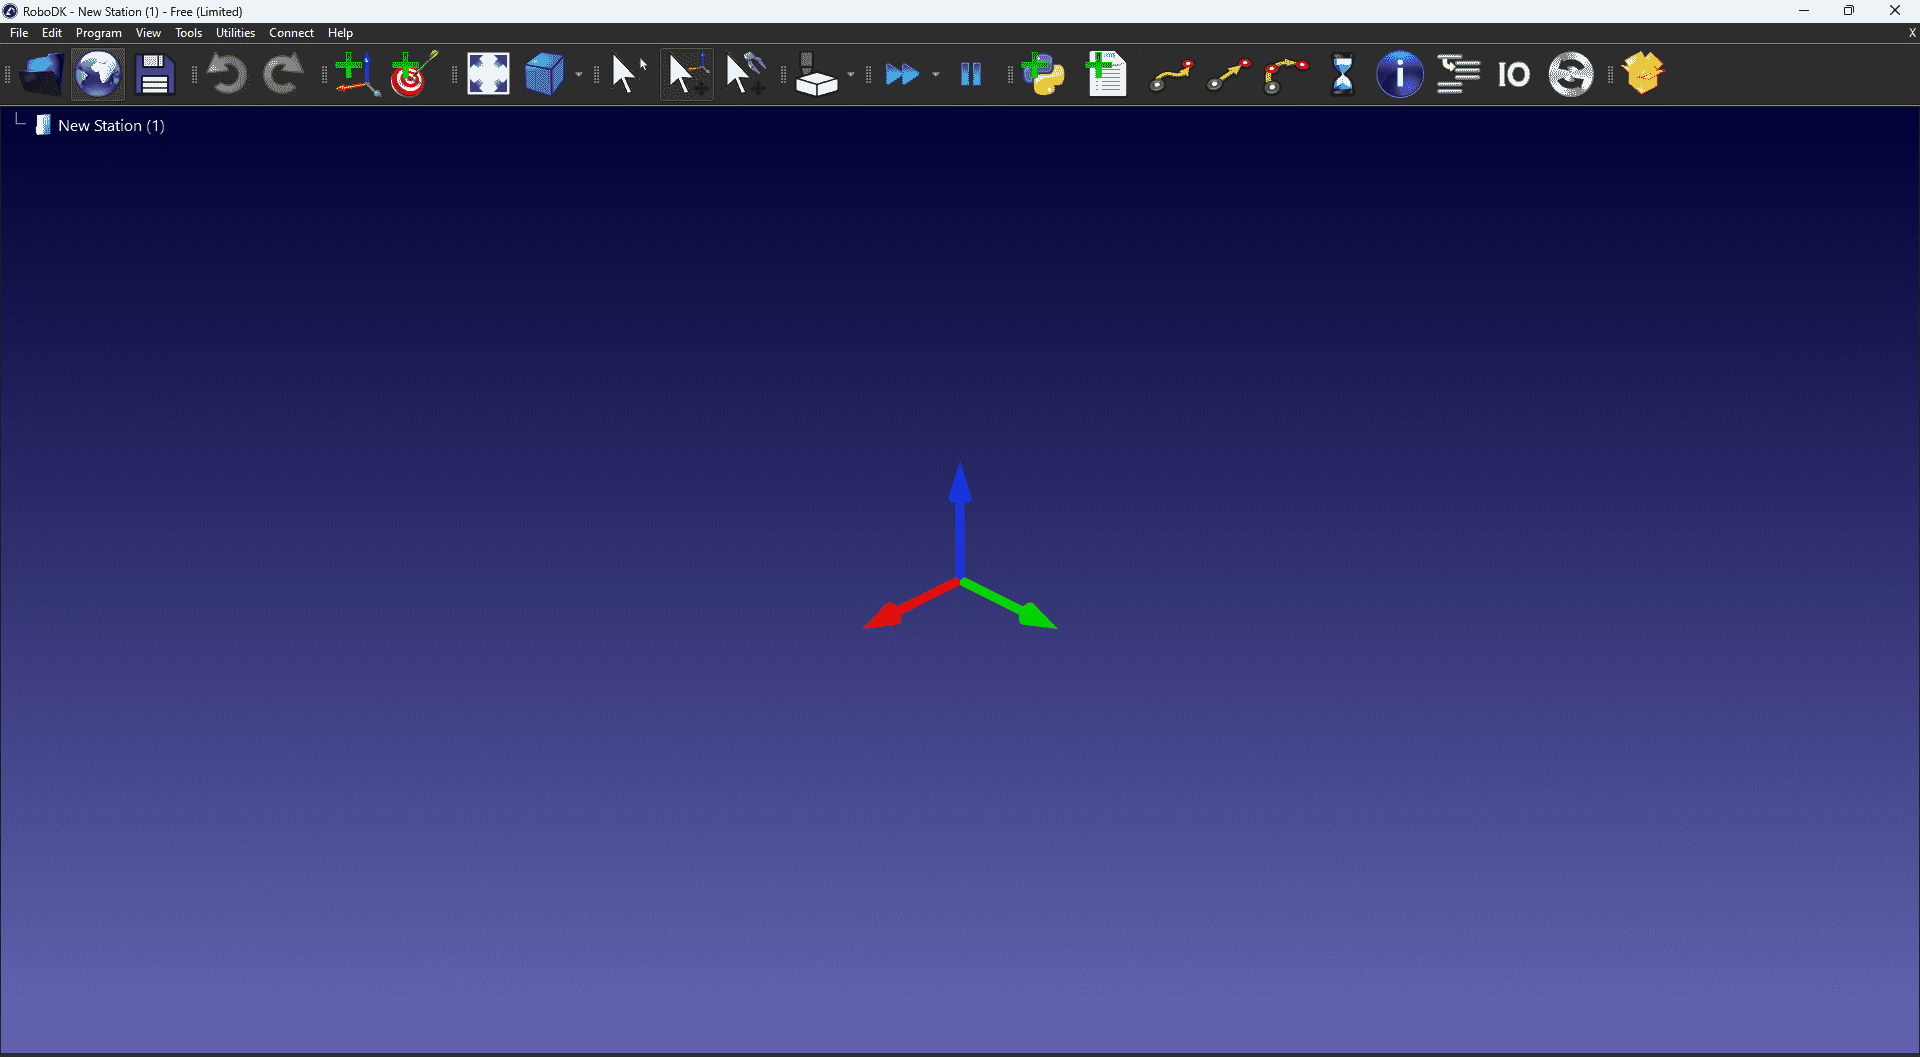
PROGRAM

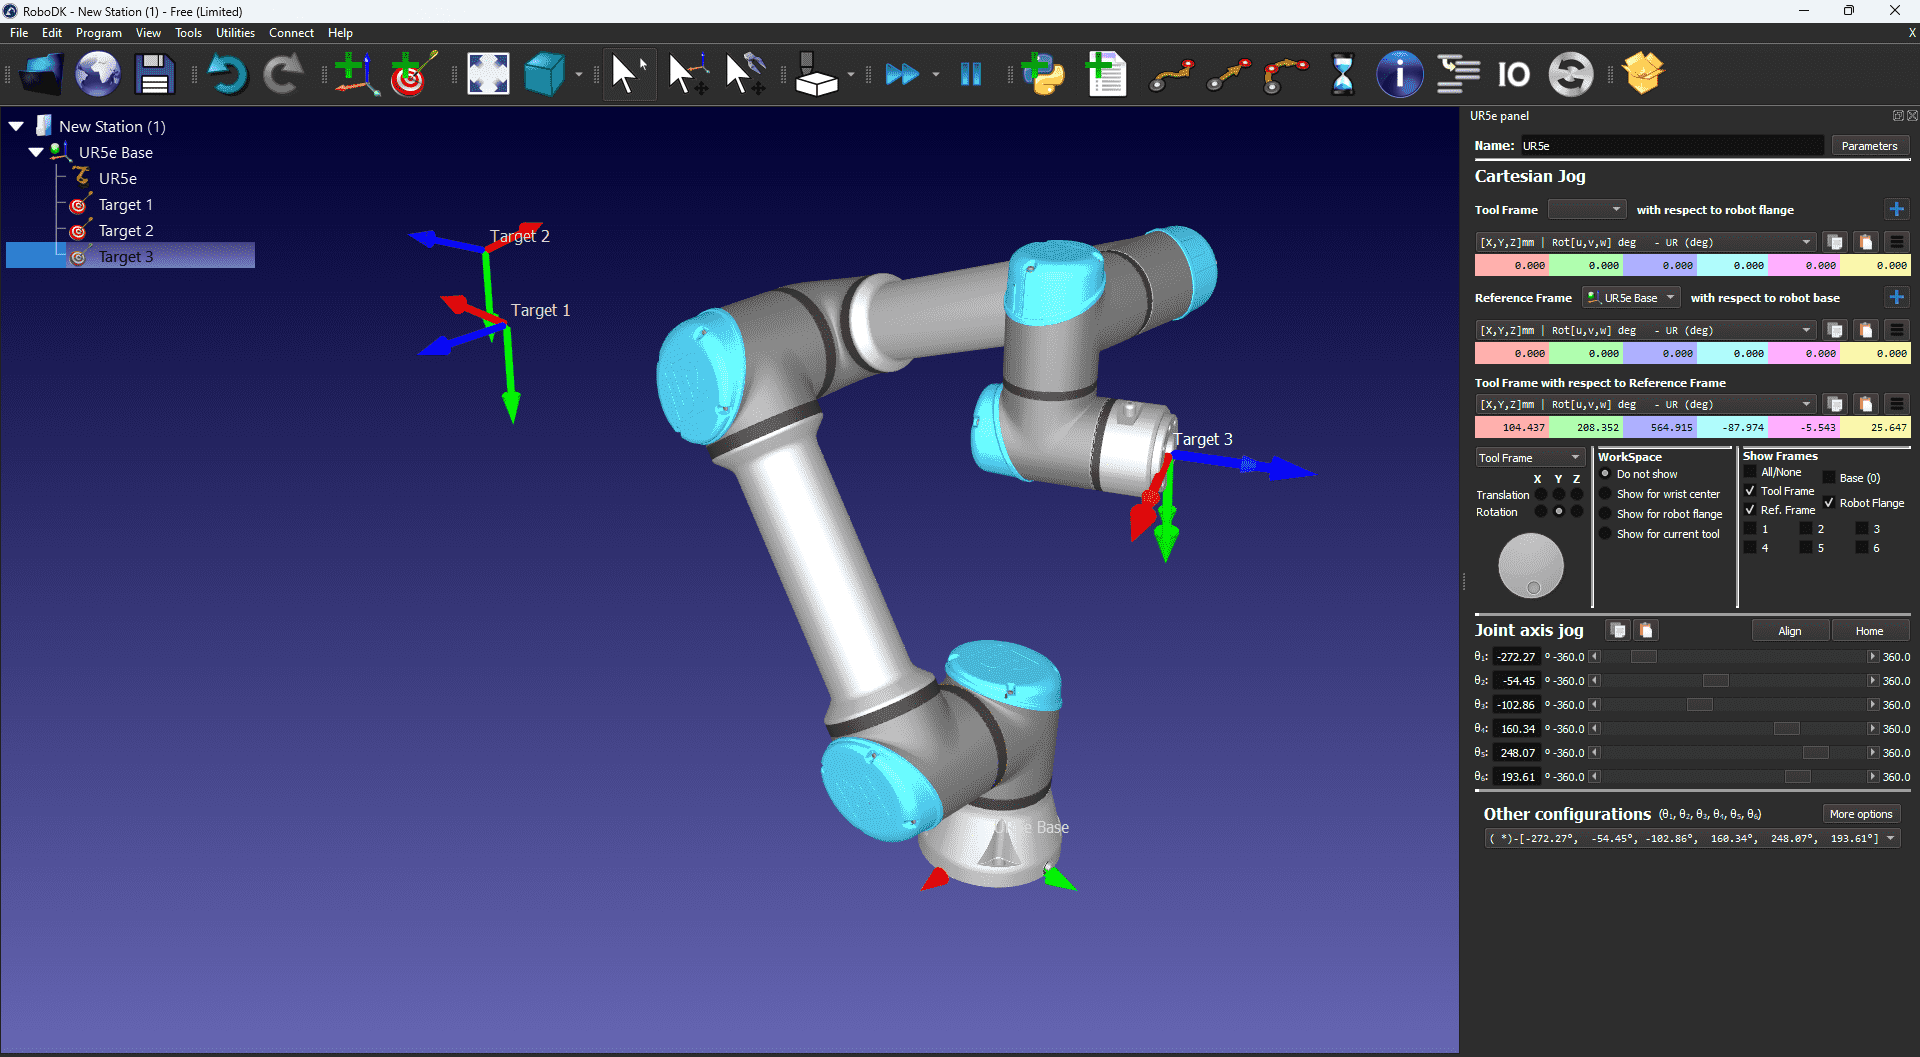
ROBODK

 |
Open file or document. |
 |
RoboDK program library. Here you find the robots. |
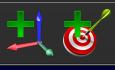 |
Tool to add a reference and a tool to add a target for the robot. |
 |
New program |
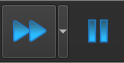 |
Program playback and pause. |
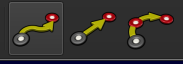 |
Types of robot movement |
EXAMPLE
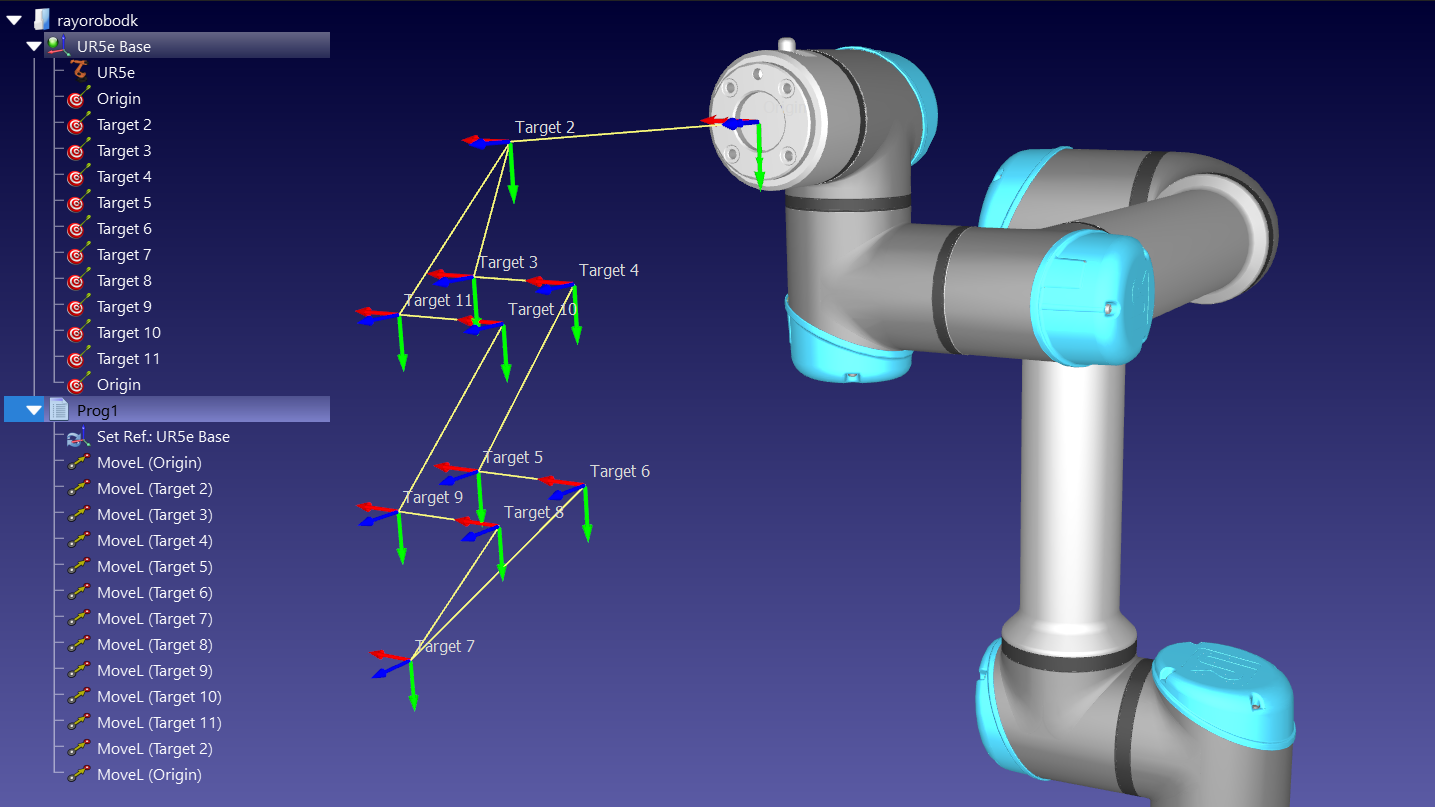
Next, I will show an example using the program to generate a figure with the help of the marker. Using the menu to move the robot, I will add targets to save the robot's positions. By selecting the target, I will choose the type of movement for the robot to move in that way.
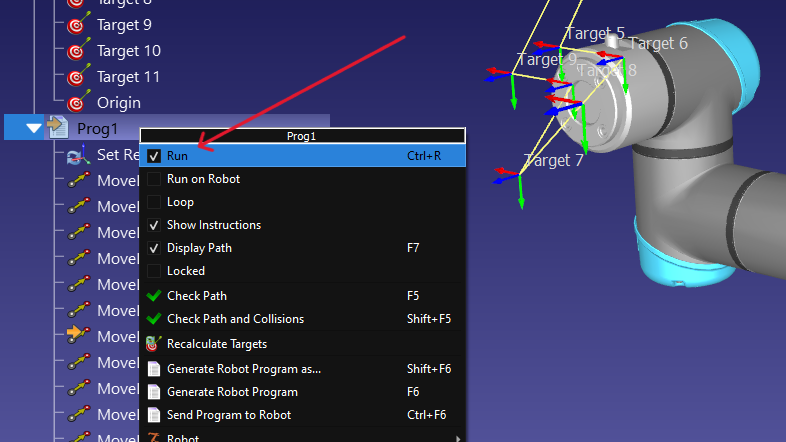
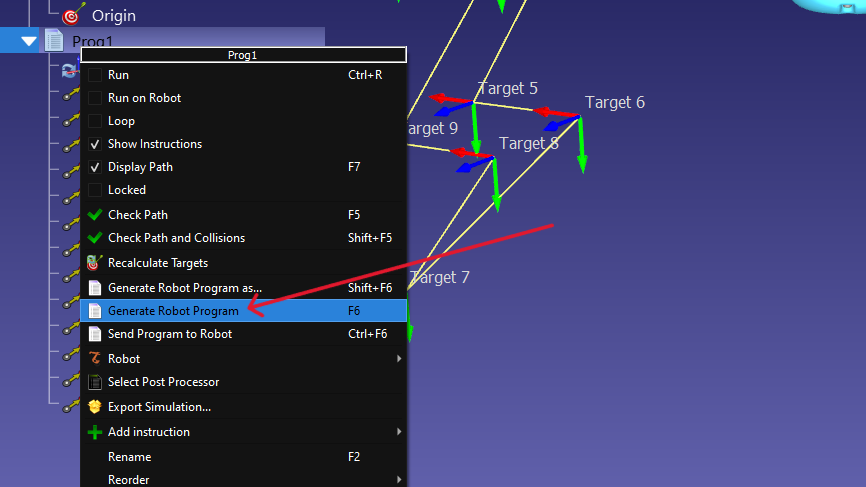
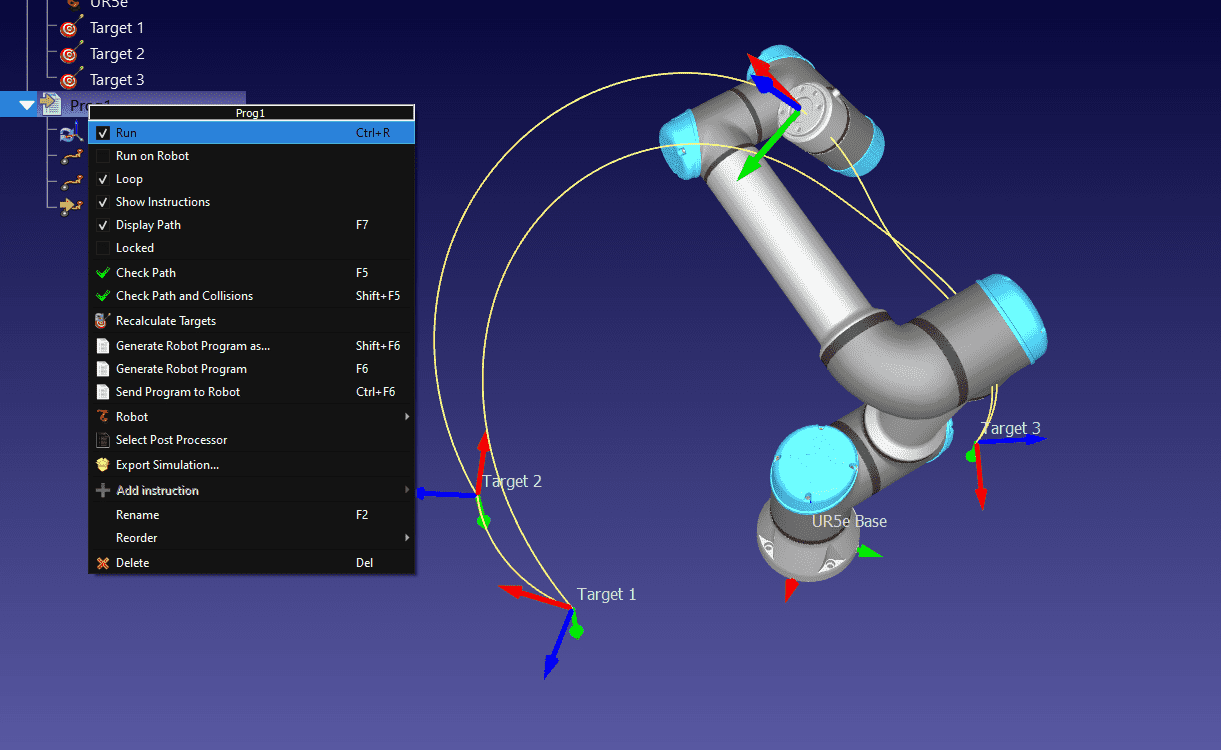
With all the robot positions saved in the program, I can see a simulation of the robot by double-clicking on the program. To export the code and upload it to the robot, right-click on the program and select "Generate robot program."FILE