12.Molding and Casting.
For this week, in the Fab Lab course, we were asked to manufacture molds for producing parts. There are many ways to make molds; in my case, I will be using a wax block to create a mold of silicone to obtain solid parts. GROUP PAGE .
First, I will explain a bit about the characteristics and uses of molding and casting.
Molding
Molding involves pouring a liquid or malleable material into a mold where it cools and solidifies, taking the mold's shape. Commonly used materials include plastics, metals, and ceramics. Types include injection molding, blow molding, and compression molding.
- Mass production of plastic parts (toys, packaging, automotive components).
- Manufacturing complex metal parts in automotive and aerospace industries.
- Creating ceramic products (dishes, electrical components).
Uses of Molding:
Casting
Casting primarily refers to the use of metals, which are heated to their melting point and poured into molds to cool and solidify. Molds can be made from sand, metal, or ceramic and can be either permanent or disposable.
- Producing large metal components like engine blocks and machinery parts.
- Manufacturing jewelry and decorative objects.
- Creating complex-shaped industrial tools and parts.
Uses of Casting:
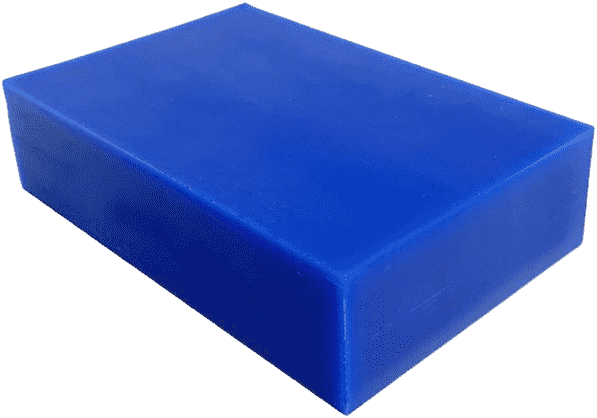
wax carving block
A wax carving block is a solid piece of wax used to create detailed models in jewelry making and sculpture.This type of wax is specifically formulated to be easy to carve and work with, allowing artisans to sculpt intricate designs with precision.
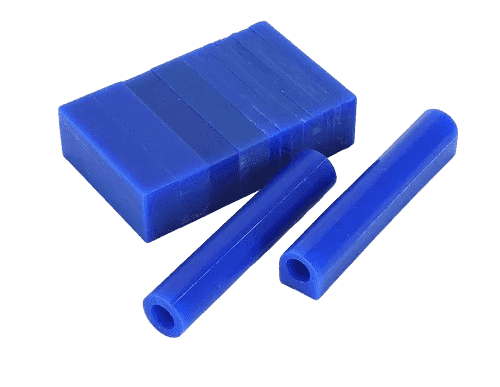
- Composition: A mix of natural and synthetic waxes.
- Properties: Malleable and hard, easy to carve without breaking.
- Forms: Available in blocks, bars, cylinders, and sheets.
Characteristics:
- Jewelry: Create detailed prototypes of rings, earrings, and other accessories.
- Casting: Used in lost wax casting to produce precise metal pieces.
- Art and Sculpture: Carve small sculptures and artistic prototypes.
- Industrial Prototypes: Create detailed prototypes of parts before mass production.
Uses:
Mold silicones
Mold silicones are materials specifically designed to create flexible and durable molds that can replicate objects with great precision. They are used in a variety of applications, from jewelry making to industrial prototyping.
- Flexibility: Easy demolding of complex objects.
- Durability: Reusable without losing detail.
- Heat Resistance: Suitable for casting with metals, resins, and plaster.
- Precision: Captures fine details of the original model.
Characteristics:
- Model Preparation: Clean and mount the model in a box.
- Silicone Mixing: Mix the base and catalyst according to the instructions.
- Silicone Pouring: Pour over the model, eliminating bubbles.
- Silicone Curing: Let it cure according to the recommended time.
- Demolding: Remove the mold and demold the original model.
Usage Process:
for this project
In this project, I will use a wax block with dimensions of 10x10x10 centimeters and a CNC router for carving the block. For the design, I was inspired by chocolate dinosaur molds I found online, and I searched for 3D models to use in my mold.https://www.printables.com/@BMoArtist
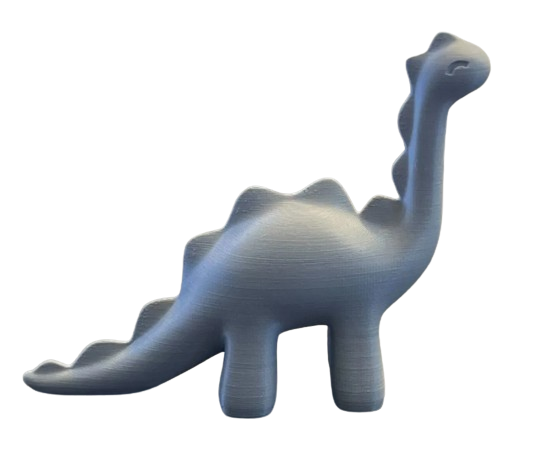
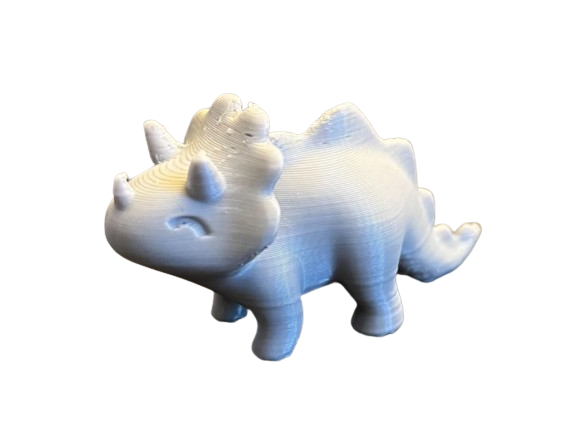
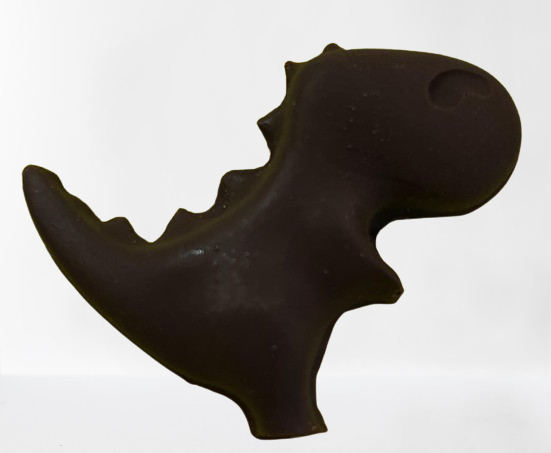
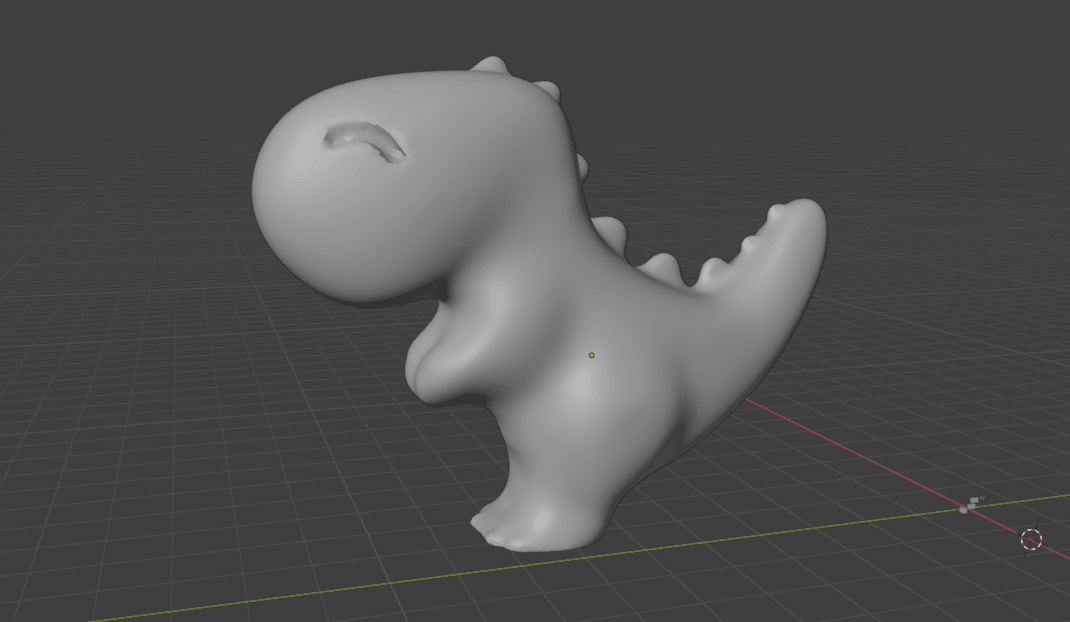
I found two designs that I really liked, but I felt I was missing a T-Rex. So, I decided to model it in Blender.Using the sculpting tools, I modeled the T-Rex until I achieved a design I liked.
design
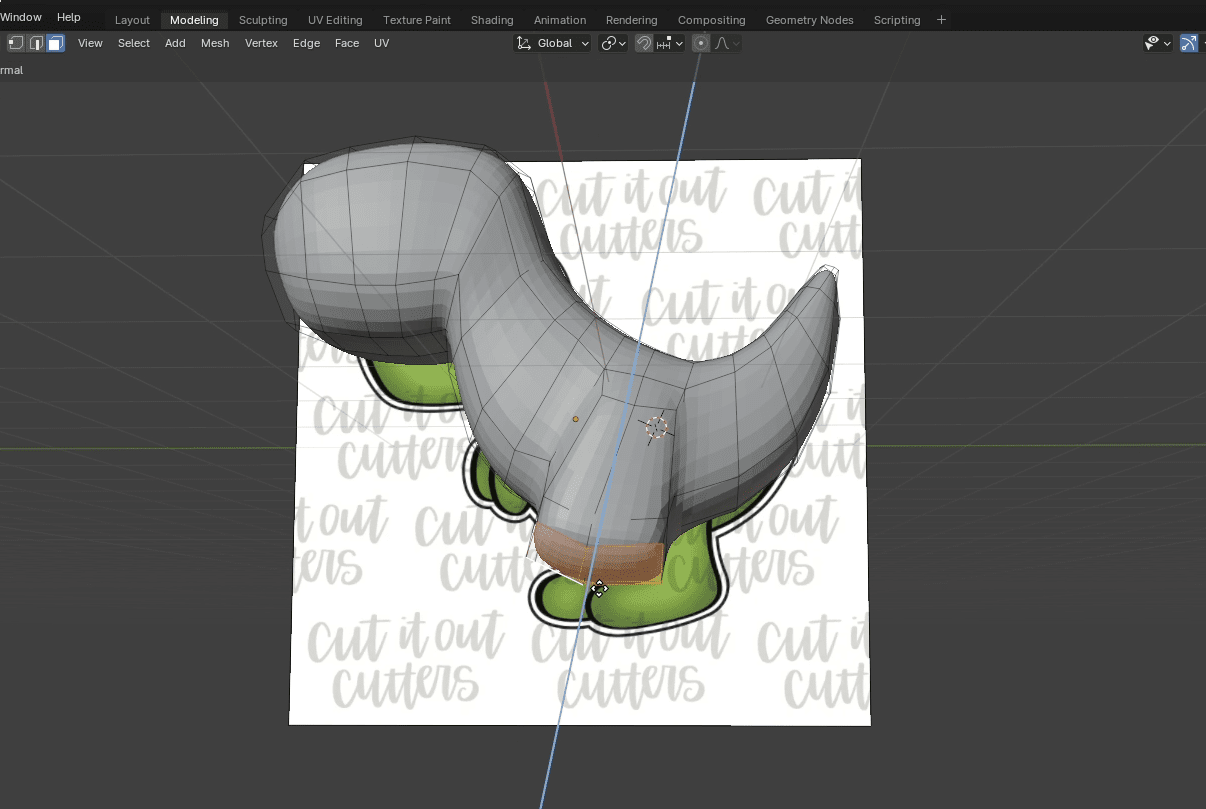
The following describes the process for modeling the T-Rex in Blender. First, I created a plane with the main silhouette of the T-Rex, which I then extruded and shaped using nodes. Once I had a structure that was quite similar, I used the sculpting tool to add details and achieve a better finish, including the eye and the tail spikes.
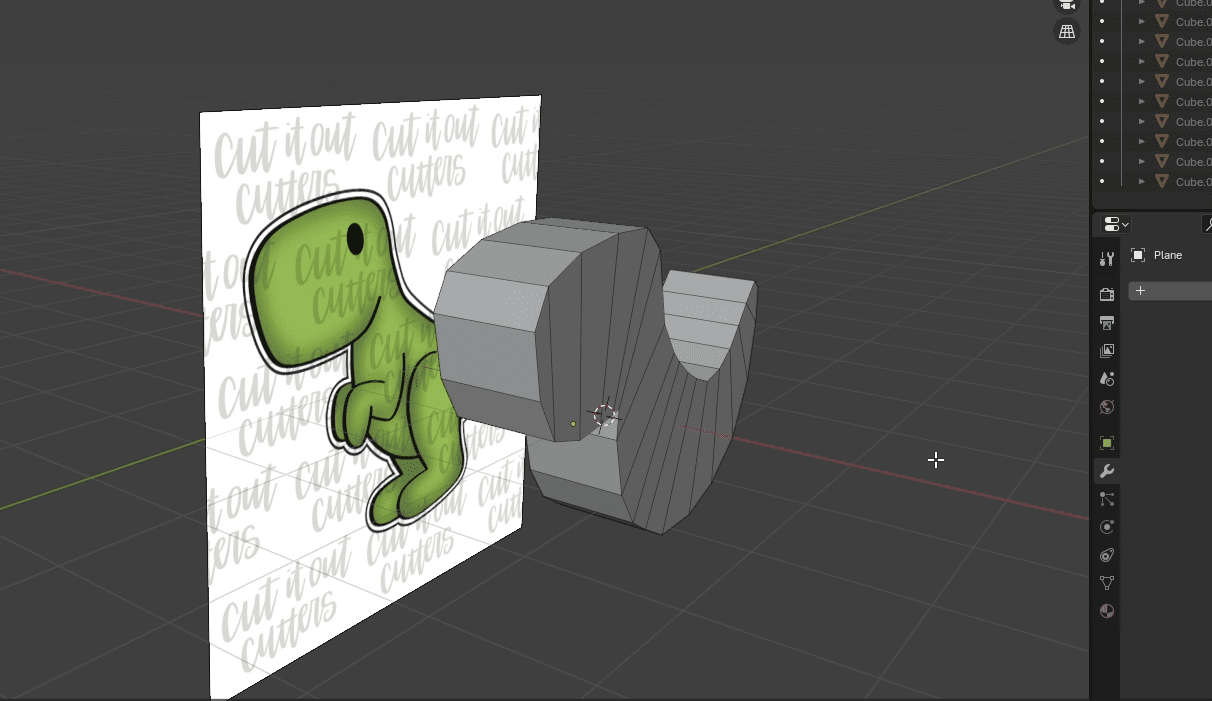

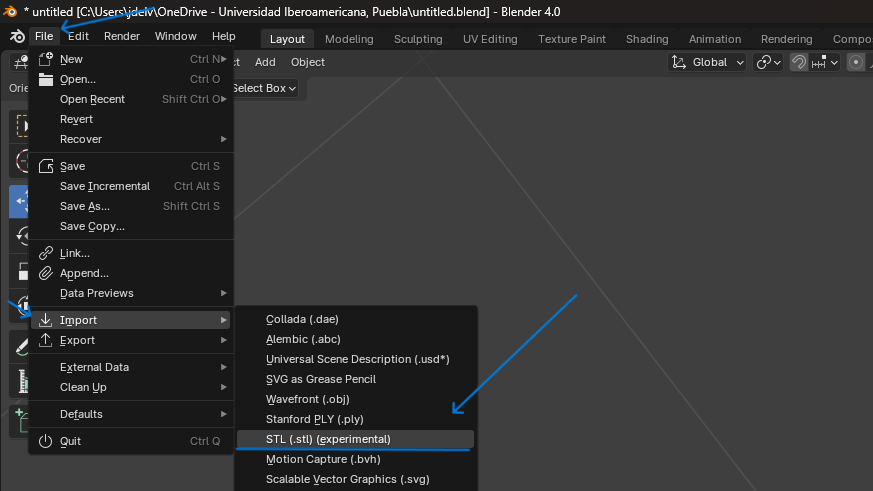
To add the other two models I downloaded from the Internet, go to File, Import, STL. Once the models are imported, I had to remove the locks where the pieces could get stuck and carefully extract them.
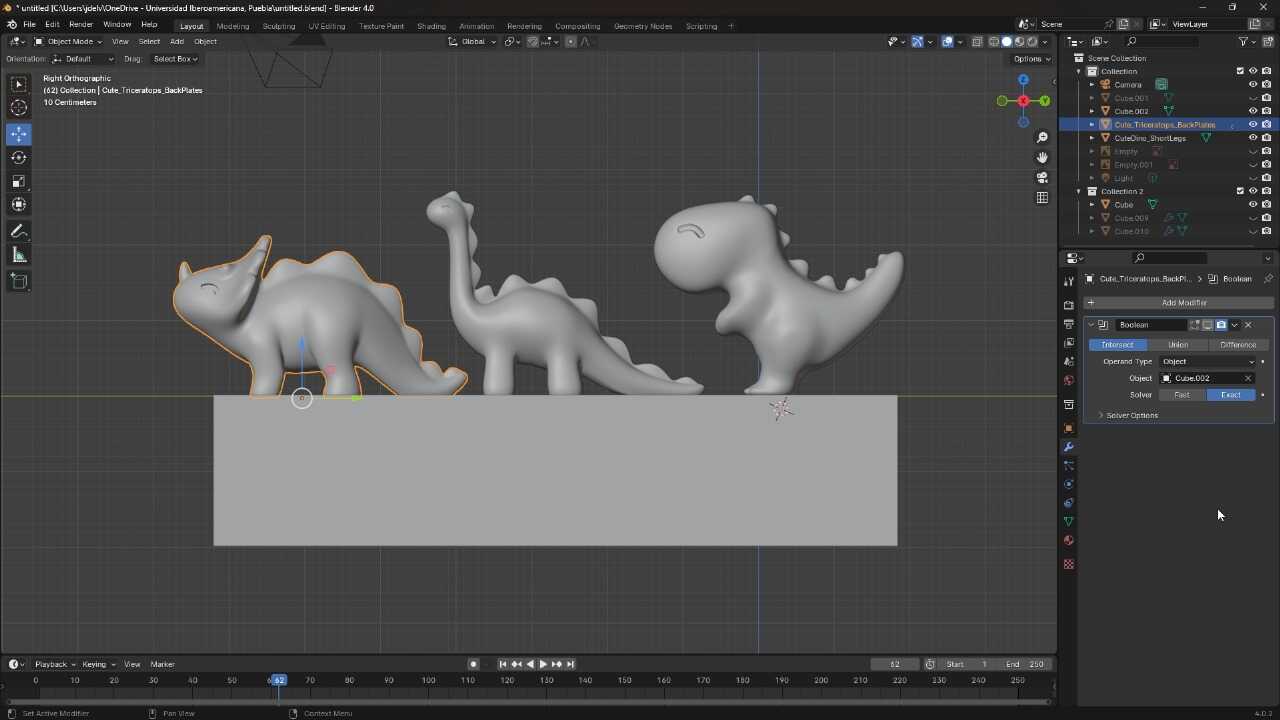
I created a block with a recessed part matching the measurements of the wax block, and using the boolean tool, I combined the block and the dinosaurs to obtain the mold into which I will pour the silicone.
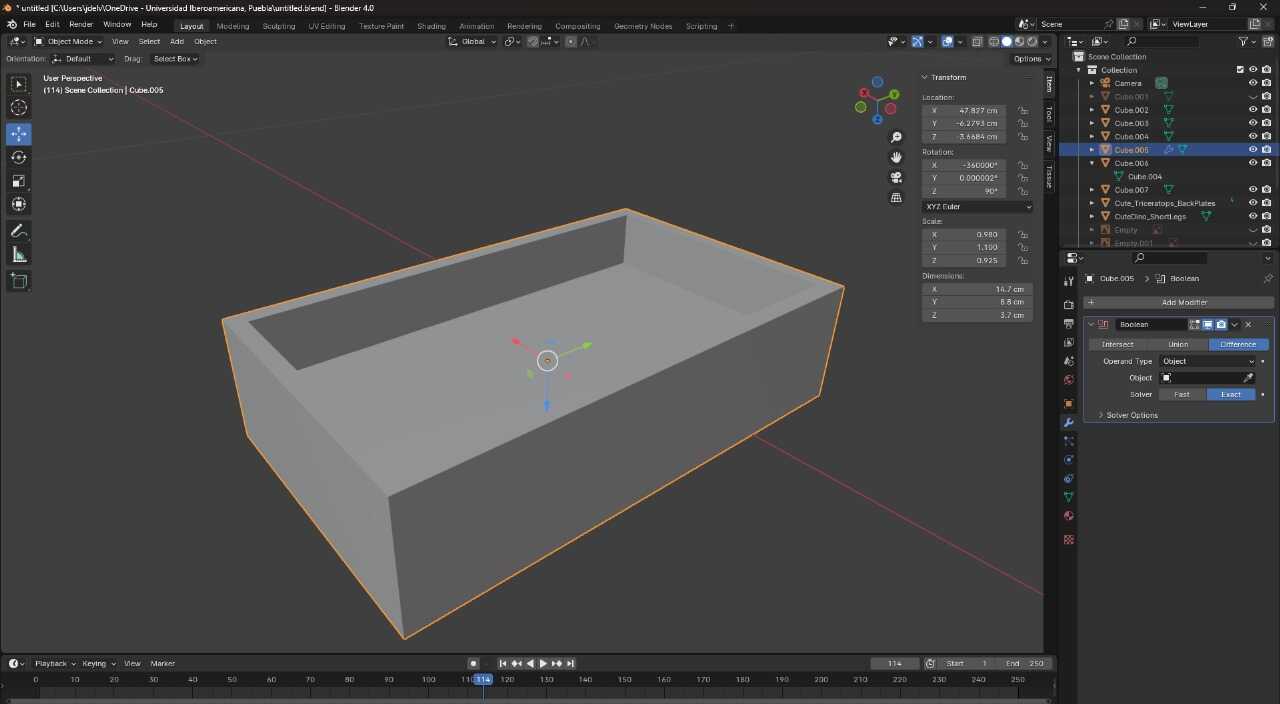


Here you can see a render of the final result of the mold.BLENDER FILE
manufacturing
Next, I will describe the process, tools, programs, machines, and everything I used to create this mold.
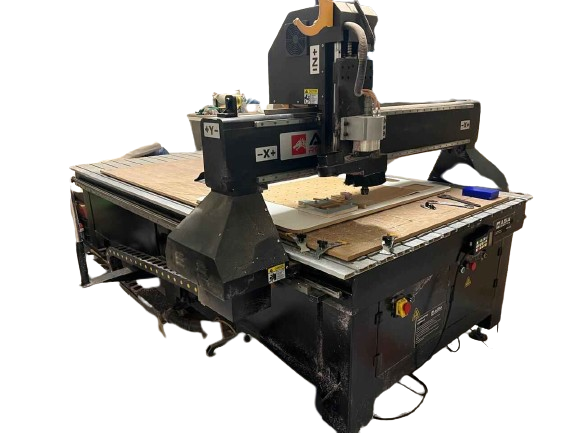
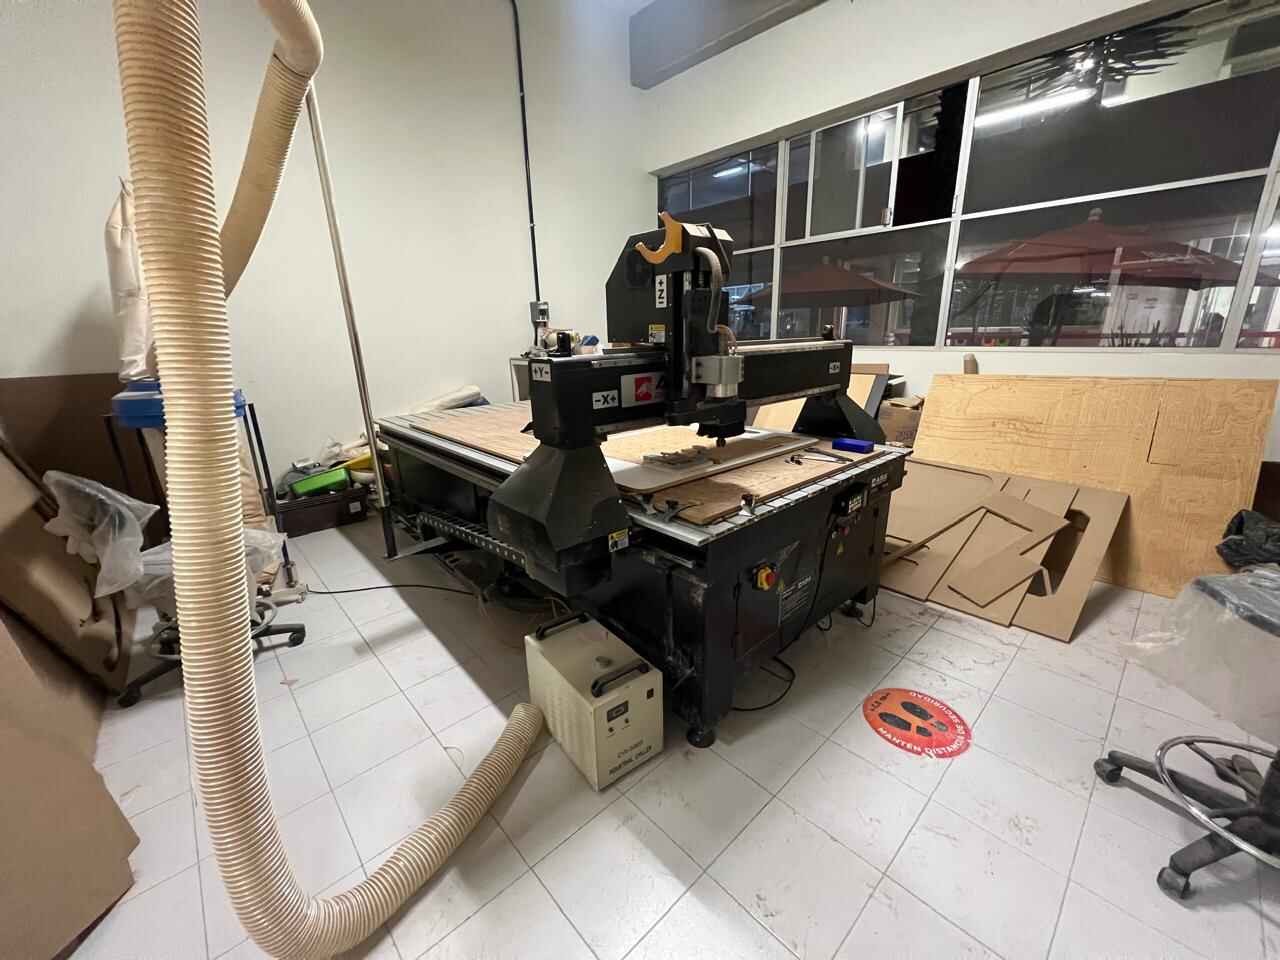
Machine
CNC router
- Machine: Asia Robotica shop-1325
- Motor Power: 4 HP at 24000 rpm's
- Power Supply: 220v/2F/3.5KW
- Dimensions: 3 x 1.8 x 1.7 mts
- Material Fixtures: Nails

program
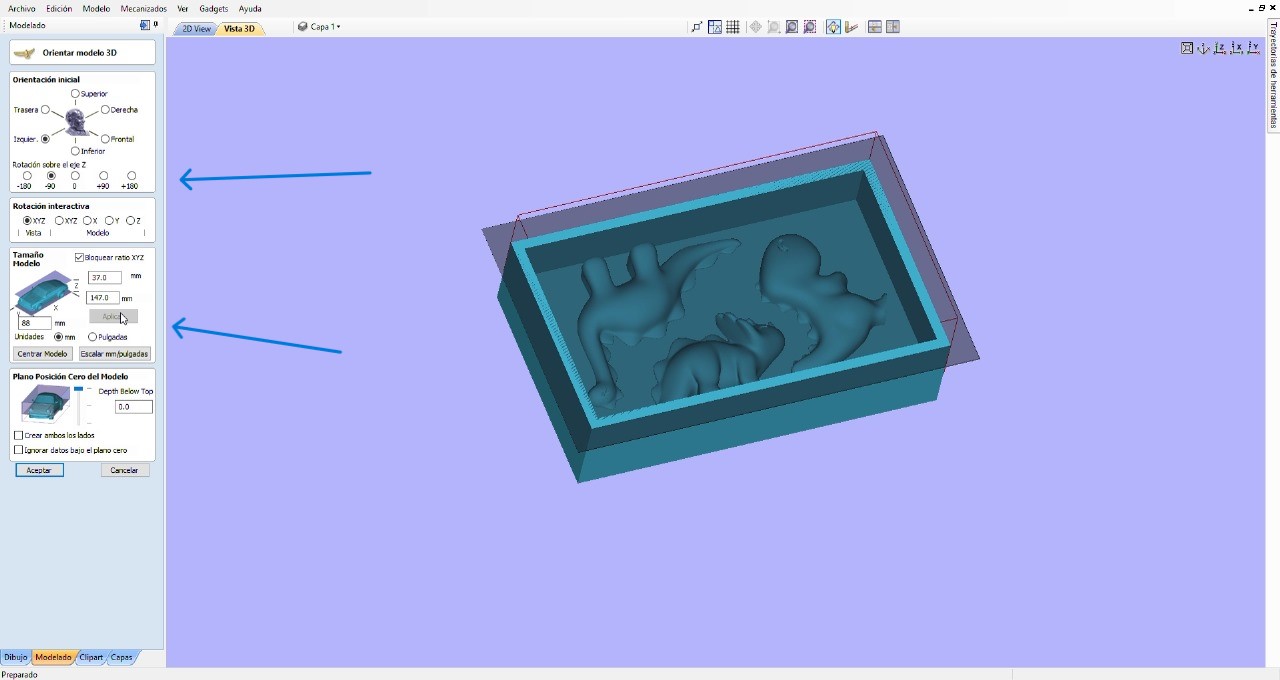
The program I used is Vcarve , which was already explained in week 7. However, this time we will use its 3D parts tool. As soon as we open the file, we will load the measurement of our STL model. Then, we will import our STL file and position it using the visible tools.

In the machining operations tools area, we will first use the roughing function to remove the most material, and then we will use the finishing tool.

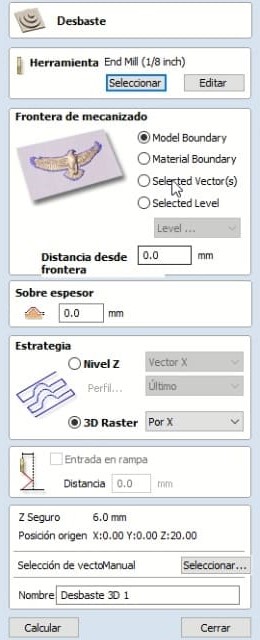
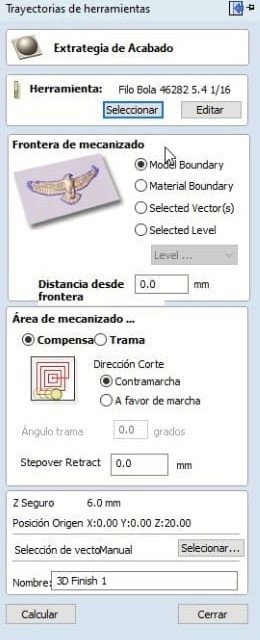
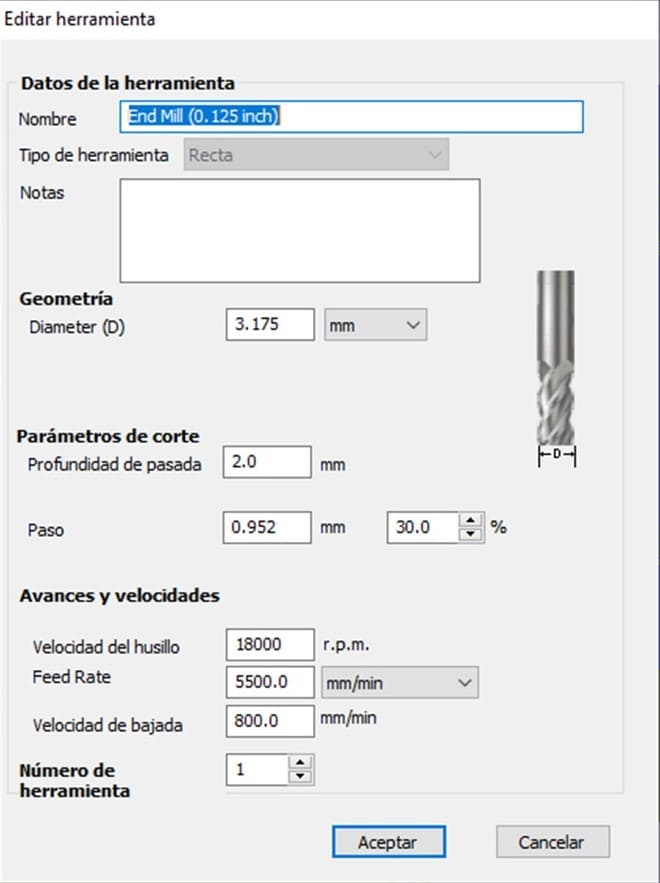
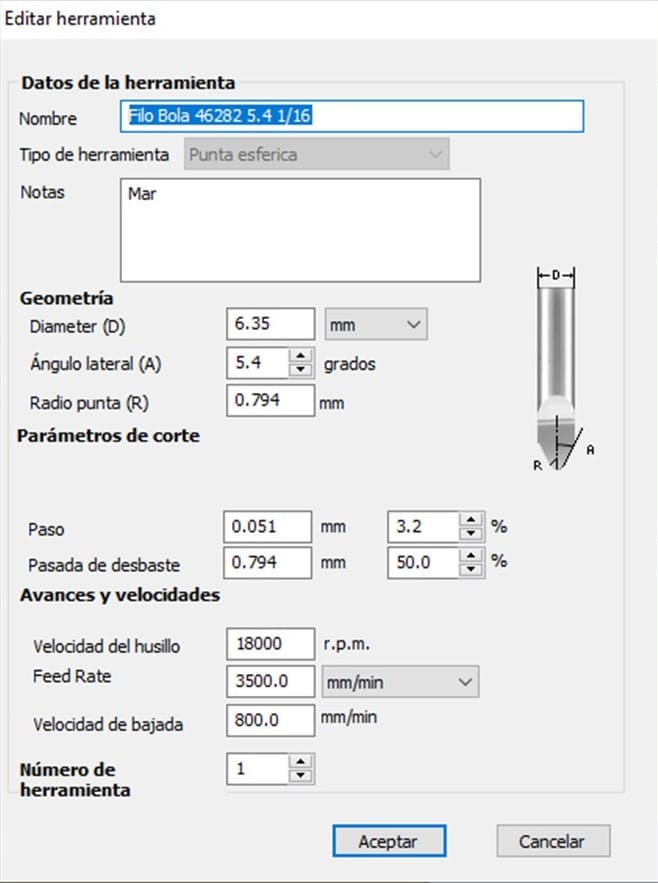
These are the two tools we will be using for this job. The first will be responsible for removing the most material. The second will handle the finishing. You can see the measurements and speeds that were used.
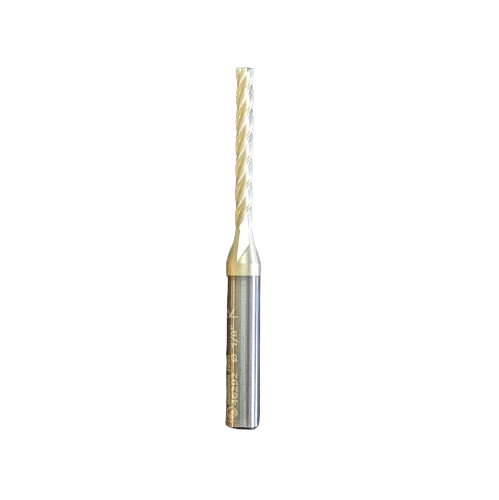
End mill
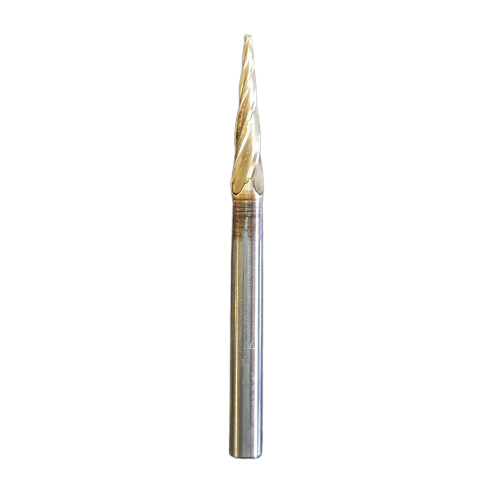
milling ball
wax mold
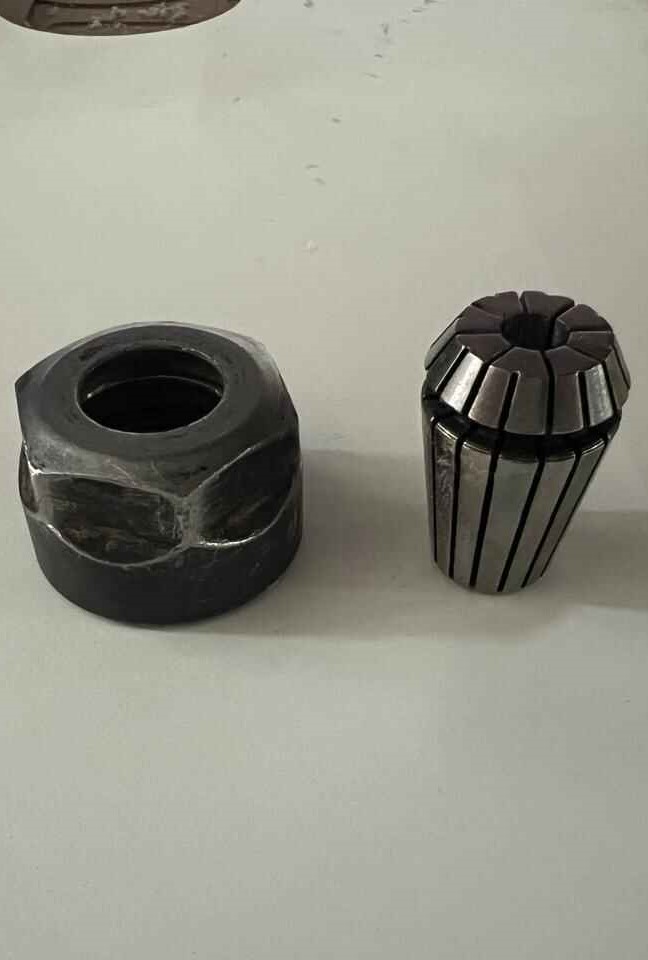
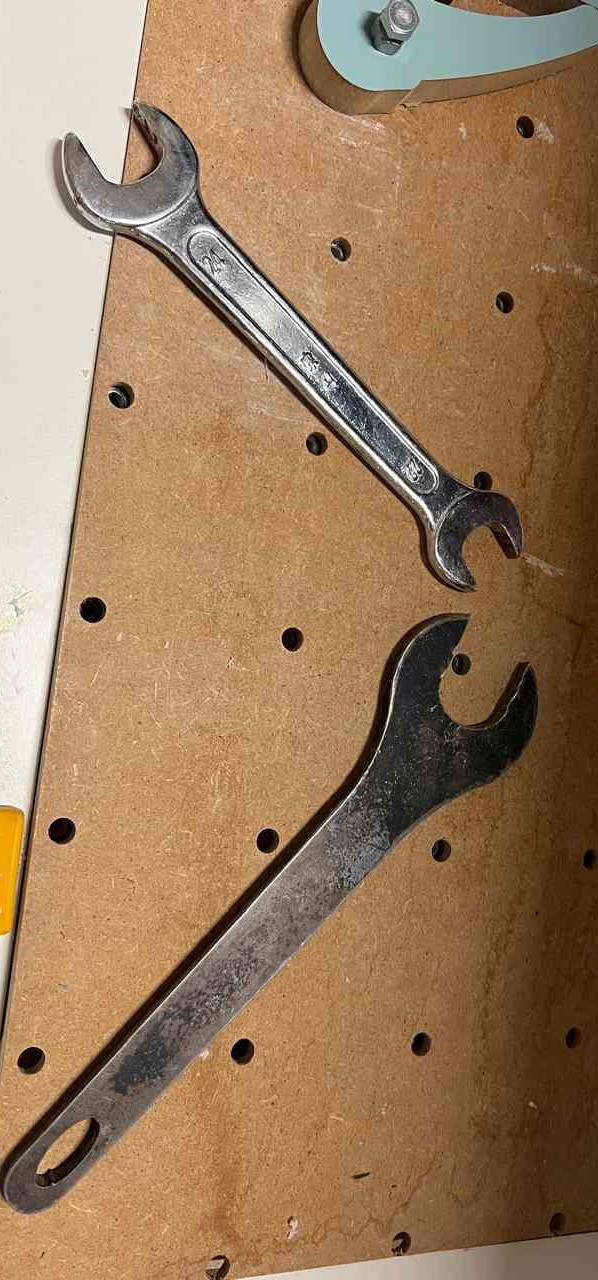
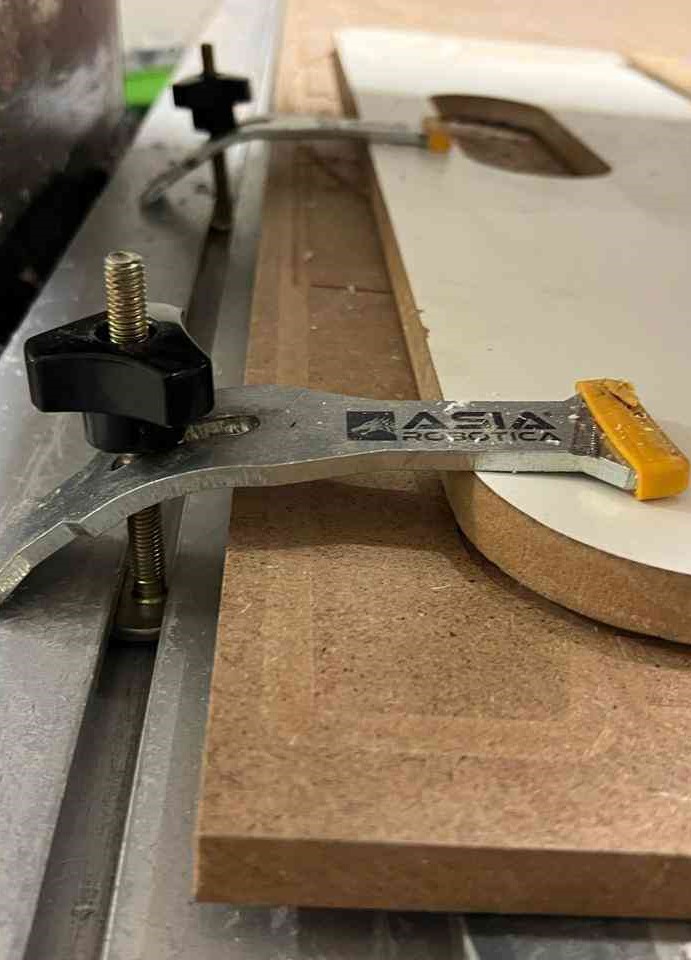
With the help of the wrenches, I placed the first tool for roughing. Additionally, using a clamping system that the machine has, I secured the wax block so that I could start the program.
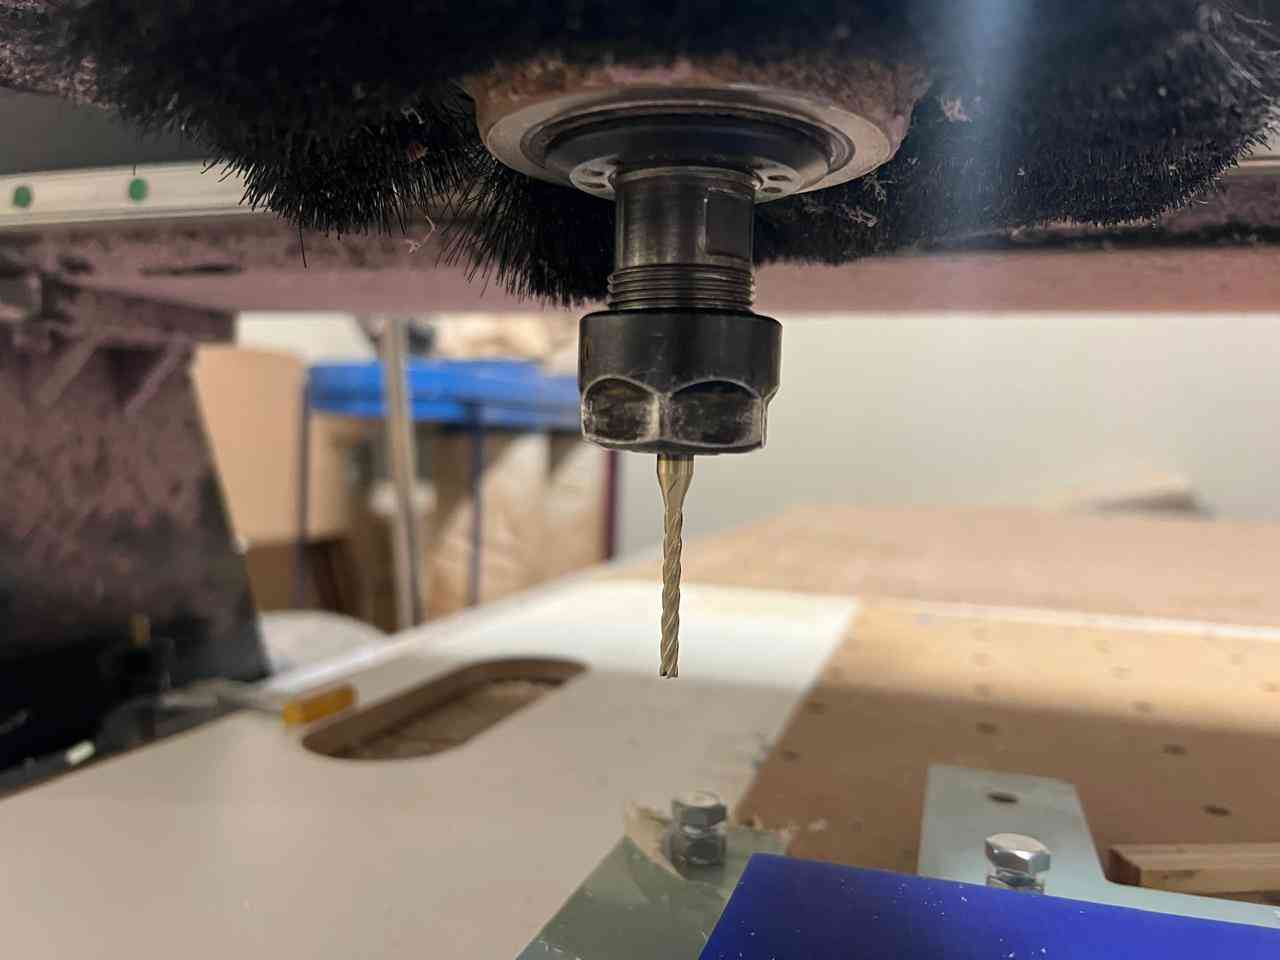
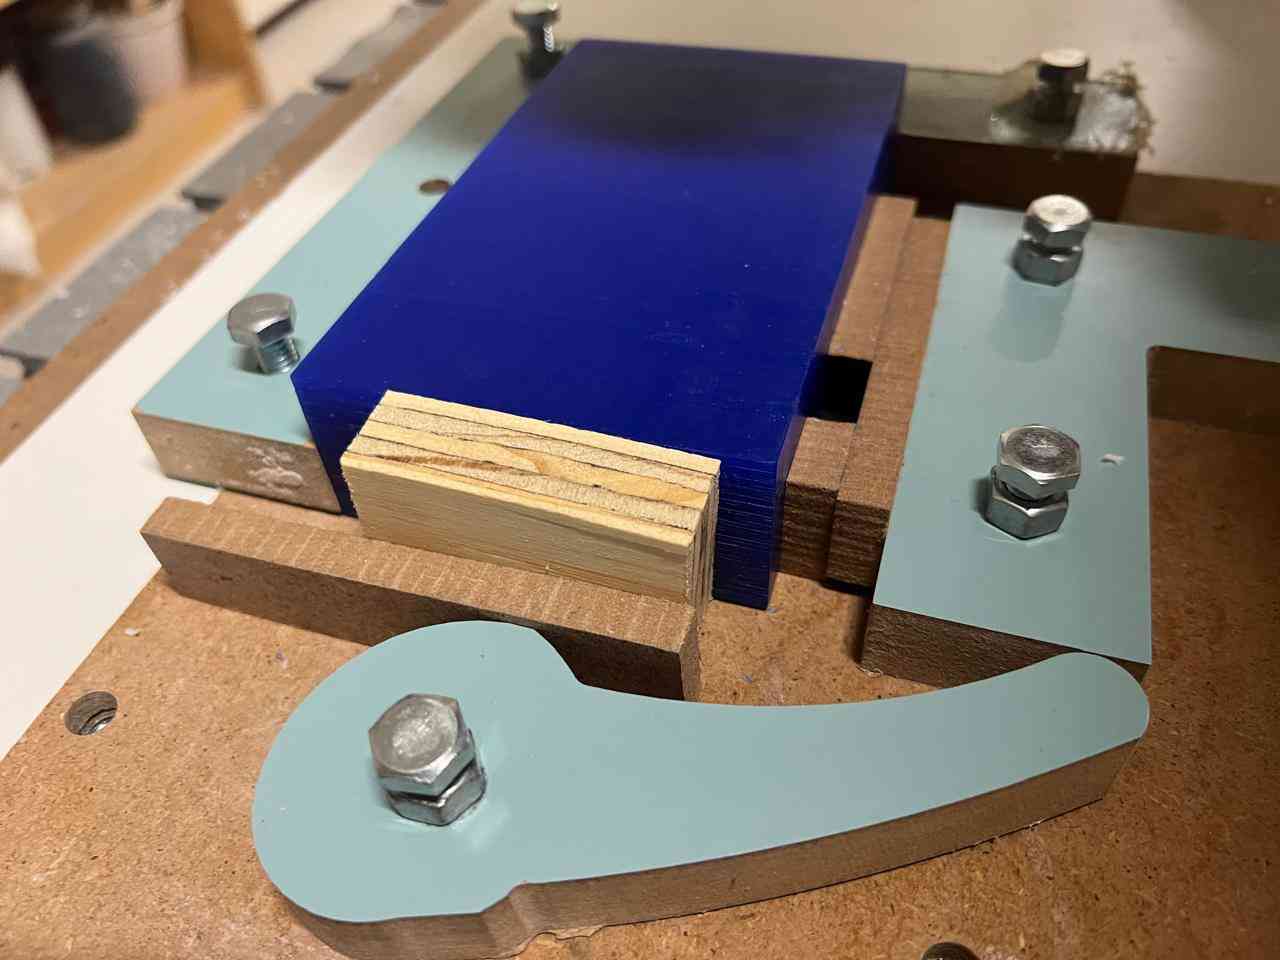
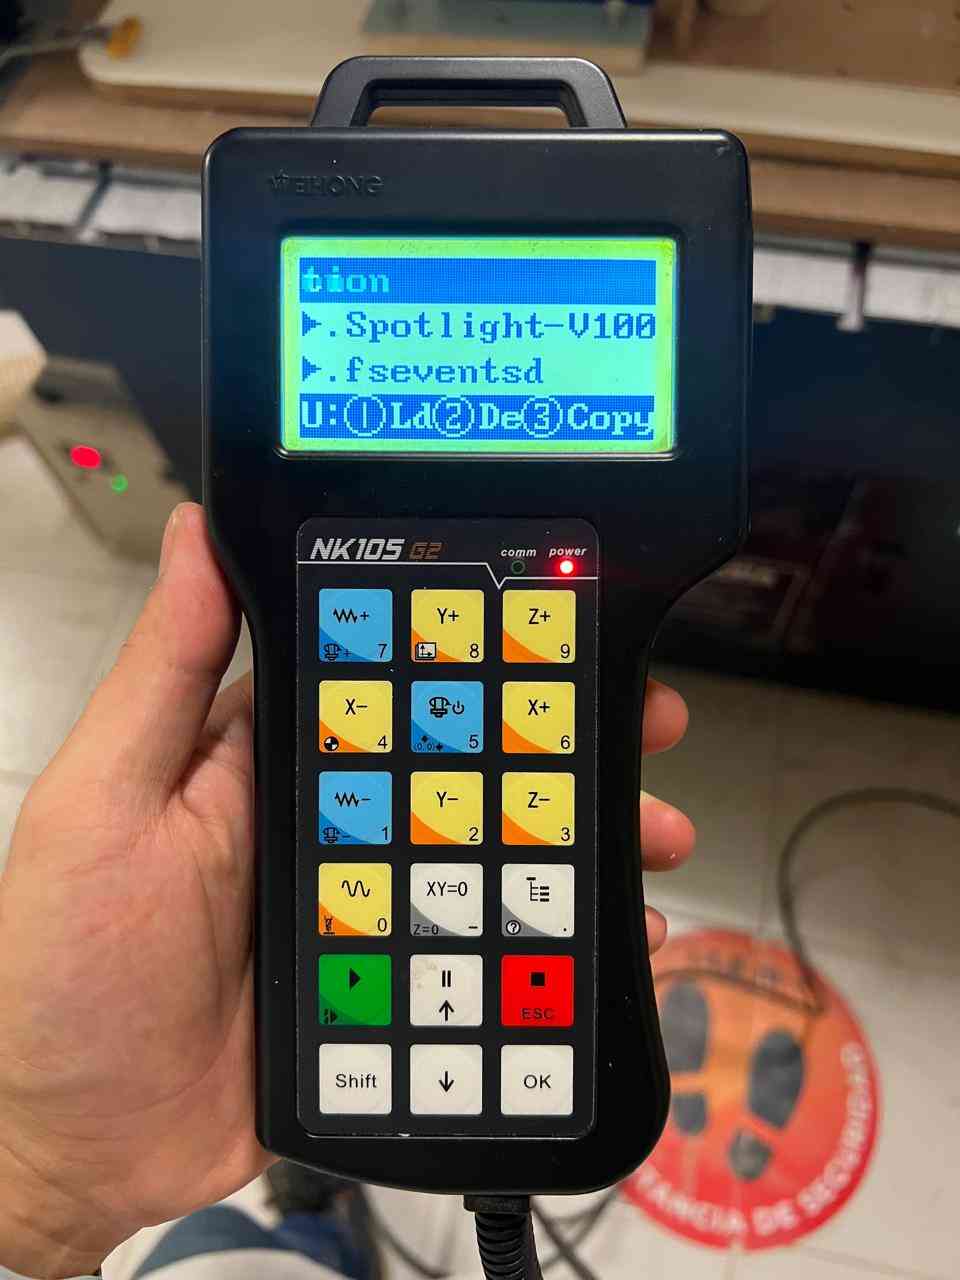
With the help of the control, I loaded the file and positioned my tool in the bottom left corner, which will be my zero point, and ran the program.
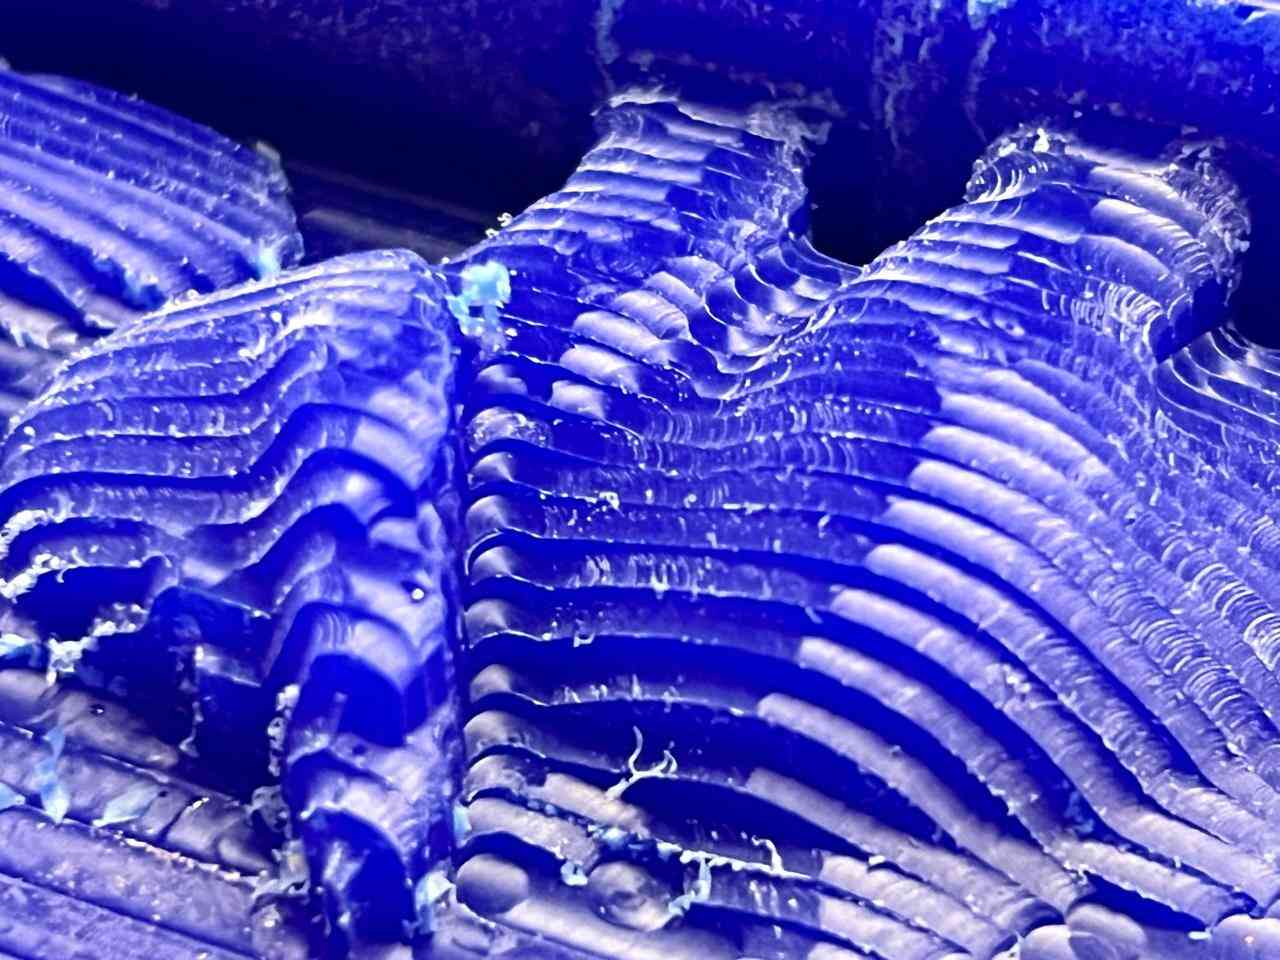
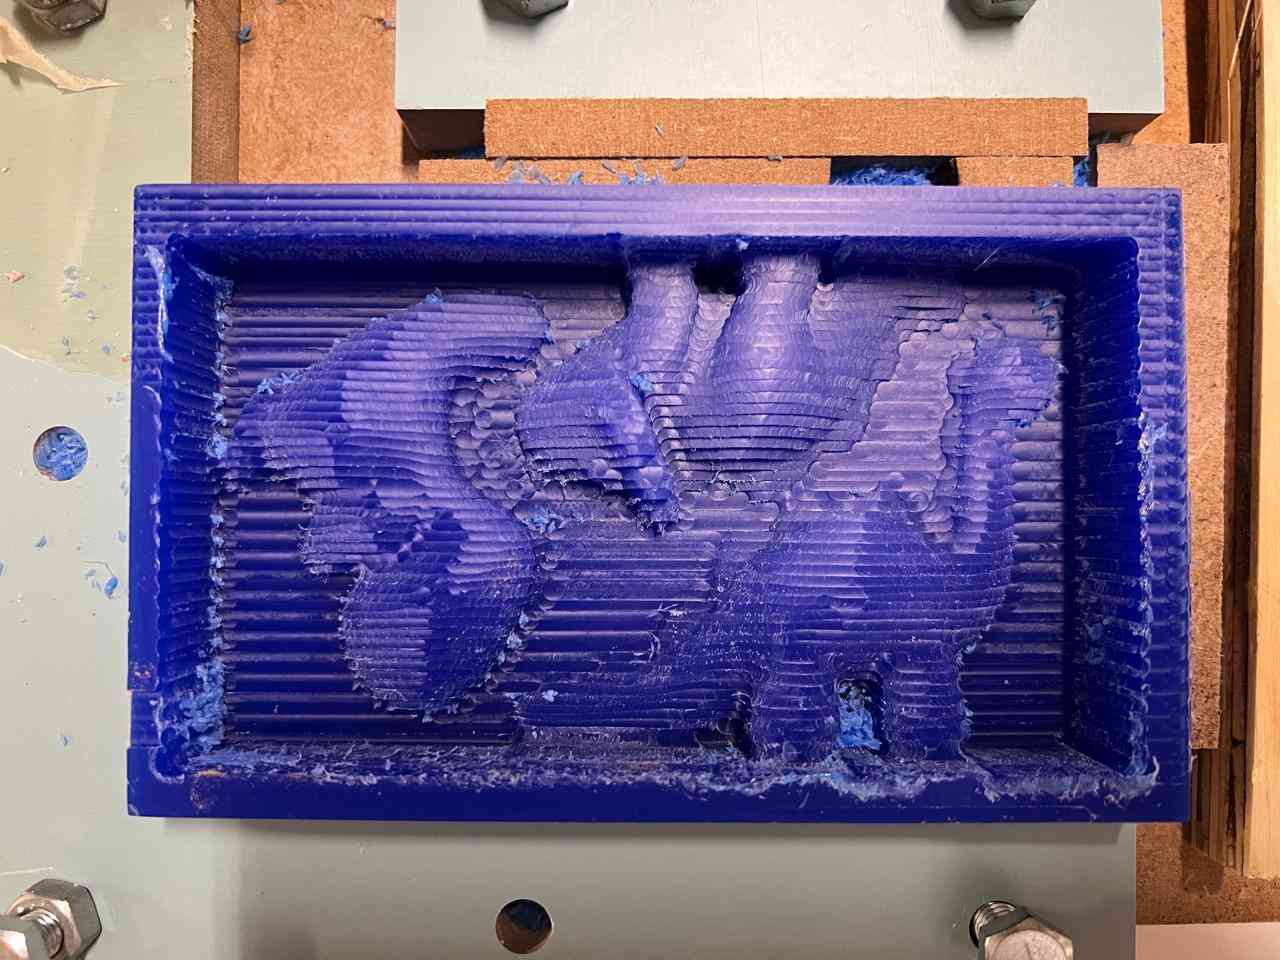
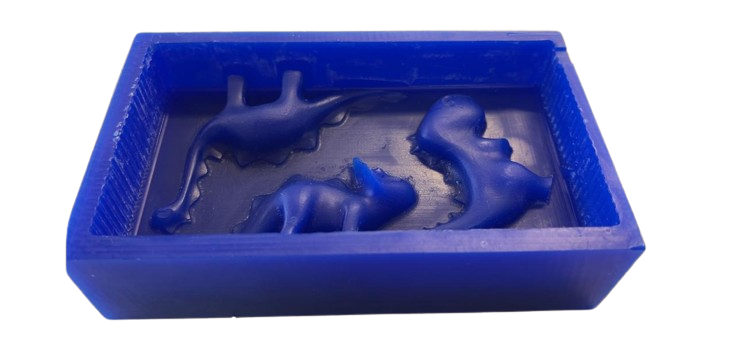
Here you can see two images of the roughing finish. At the bottom you can see the final result of the fine finish
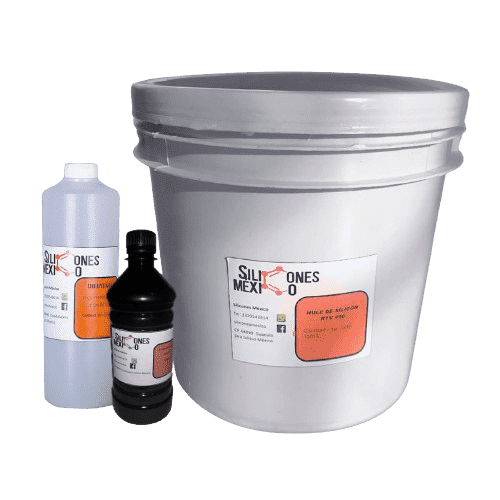
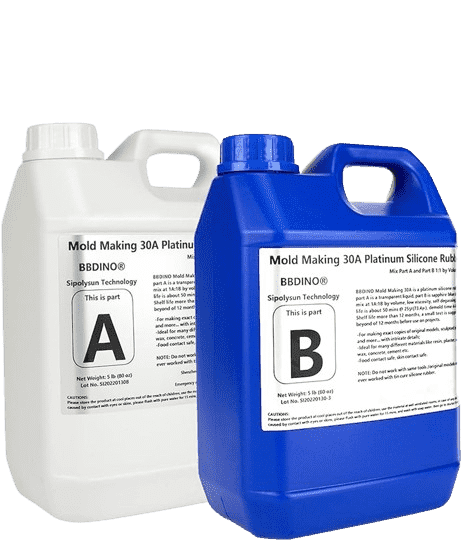
silicone mold
For the silicone mold, I will be using the following materials. The silicone I will be using for this practice is not food-grade, as the food-grade silicone we had ran out. The chocolate pieces I will make will not be edible. Datasheet of silicone
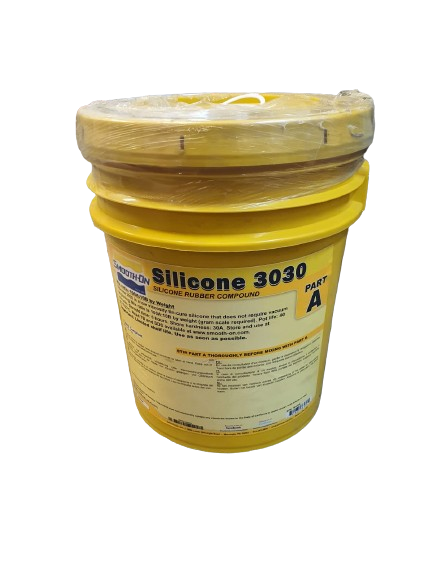
silicone 3030 a
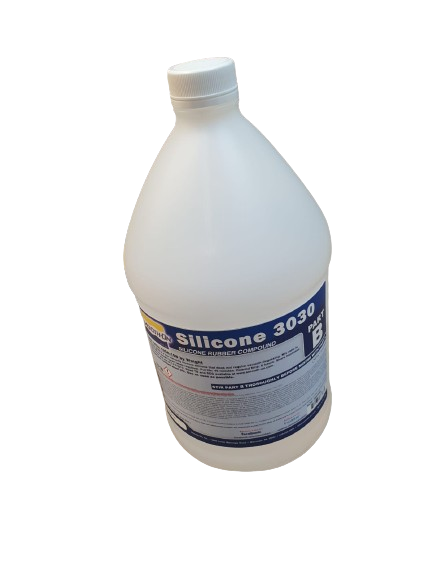
silicone 3030 b
paper cups
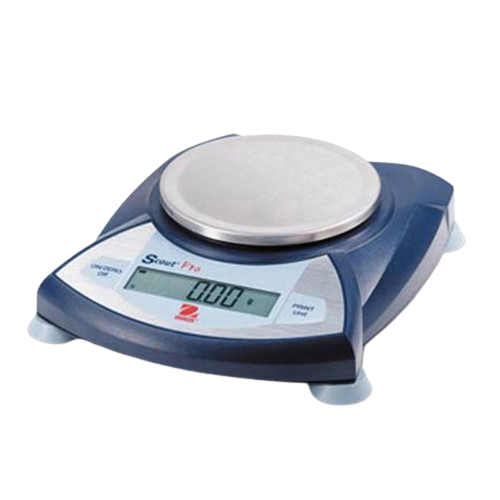
weighing machine
The silicone I used has a 10 to 1 ratio, component A to B. For my mold, I used a total of 200 ml of component A and 20 ml of component B. Mix well for 10 minutes and then pour it.
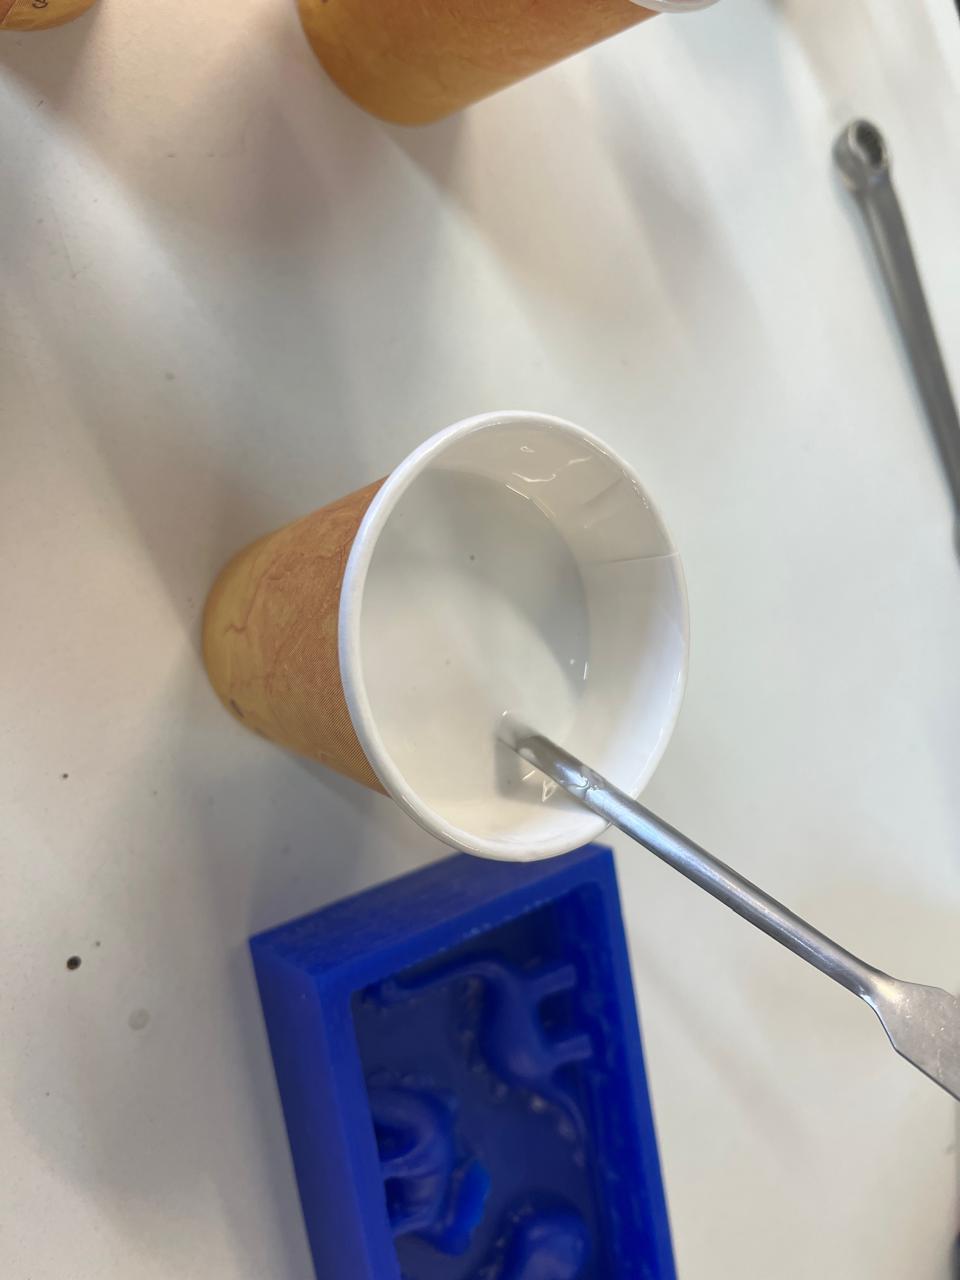
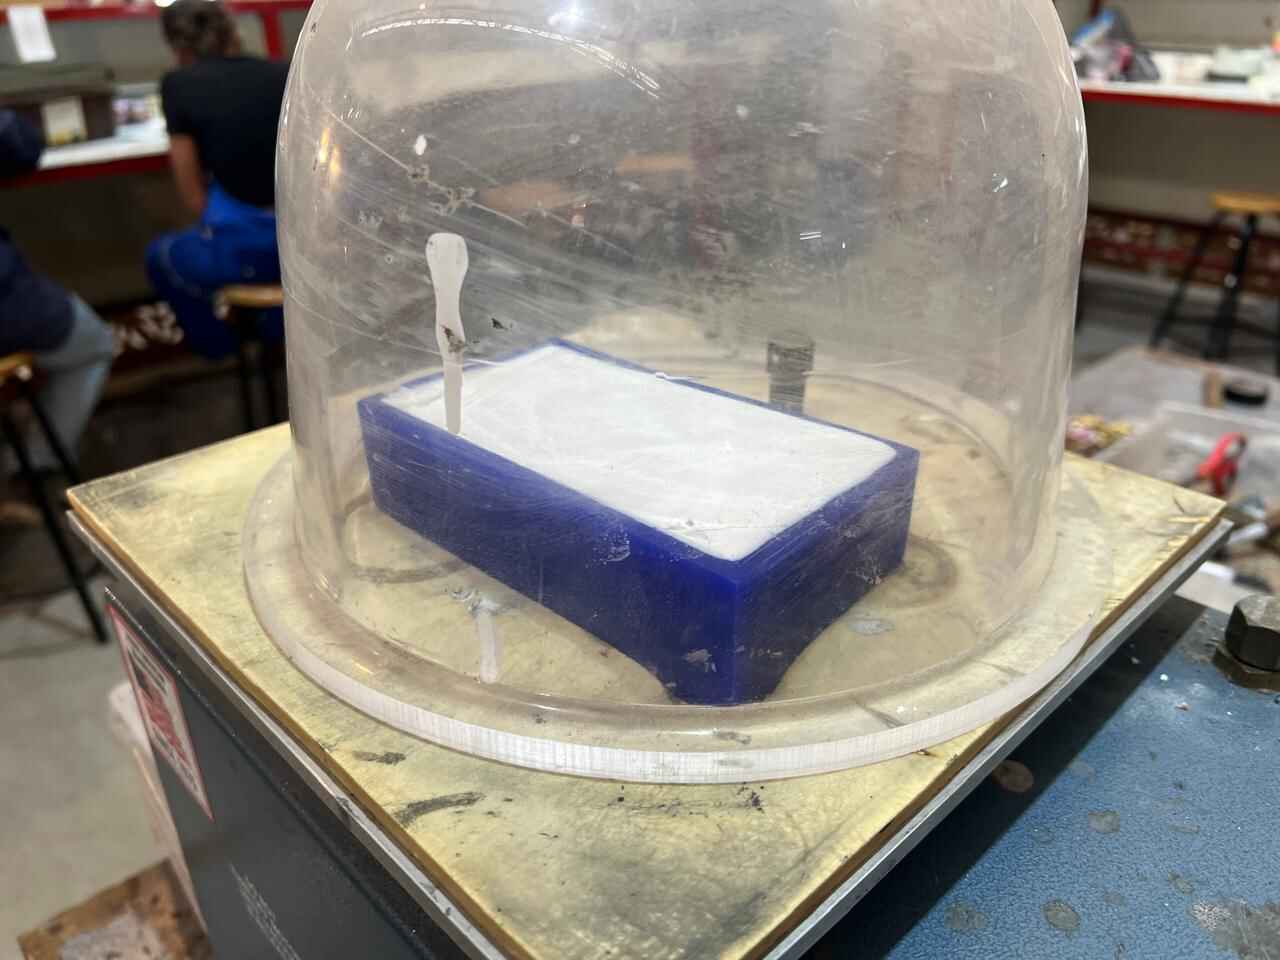
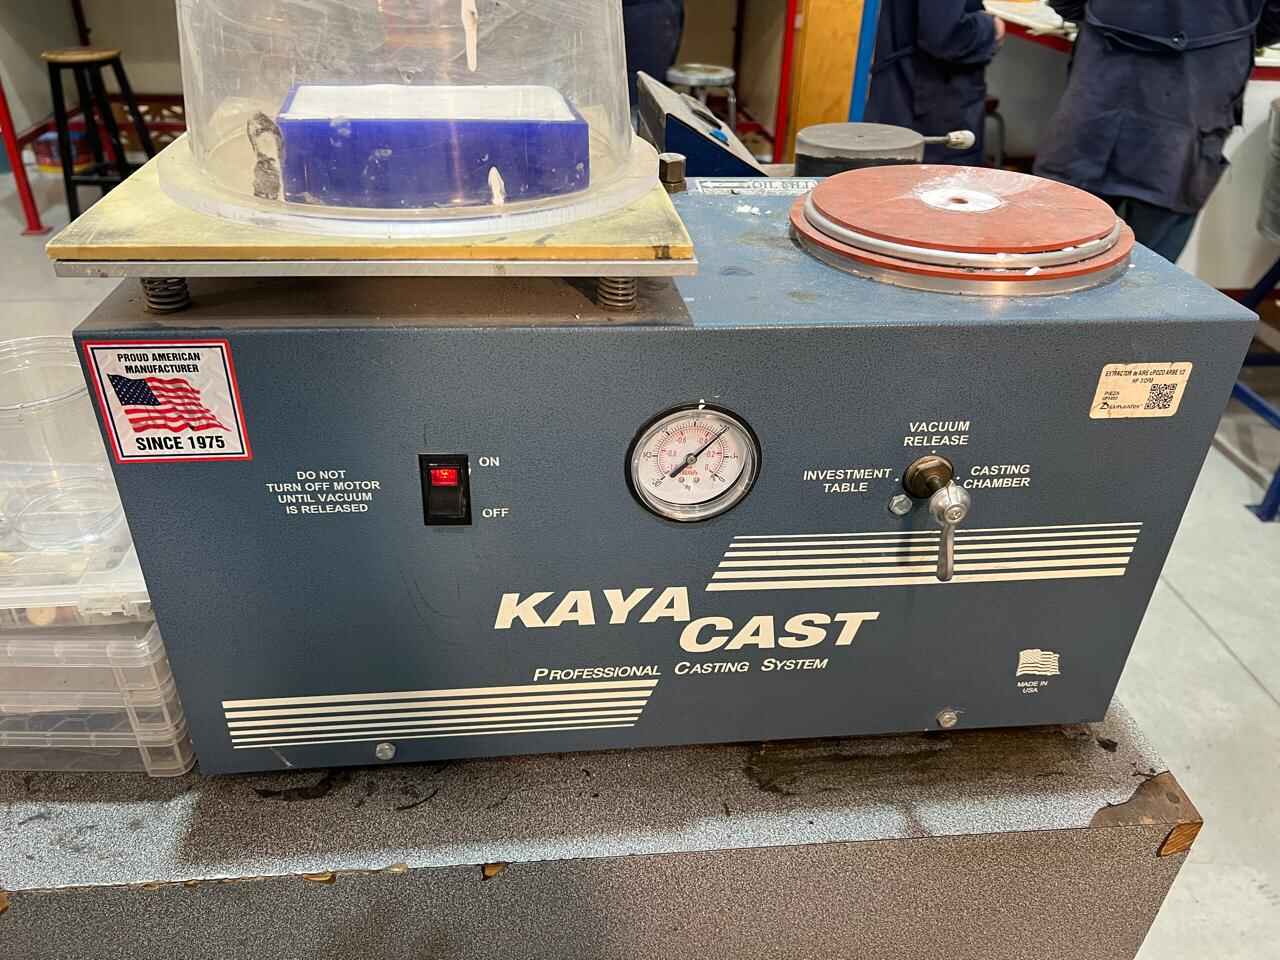
I used a vacuum chamber to eliminate as many bubbles as possible, being careful not to let the silicone overflow.
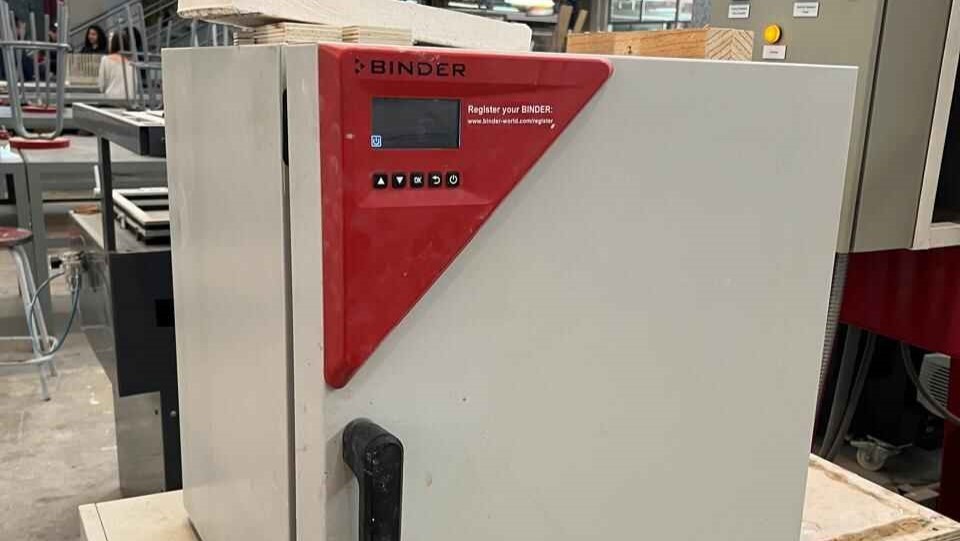
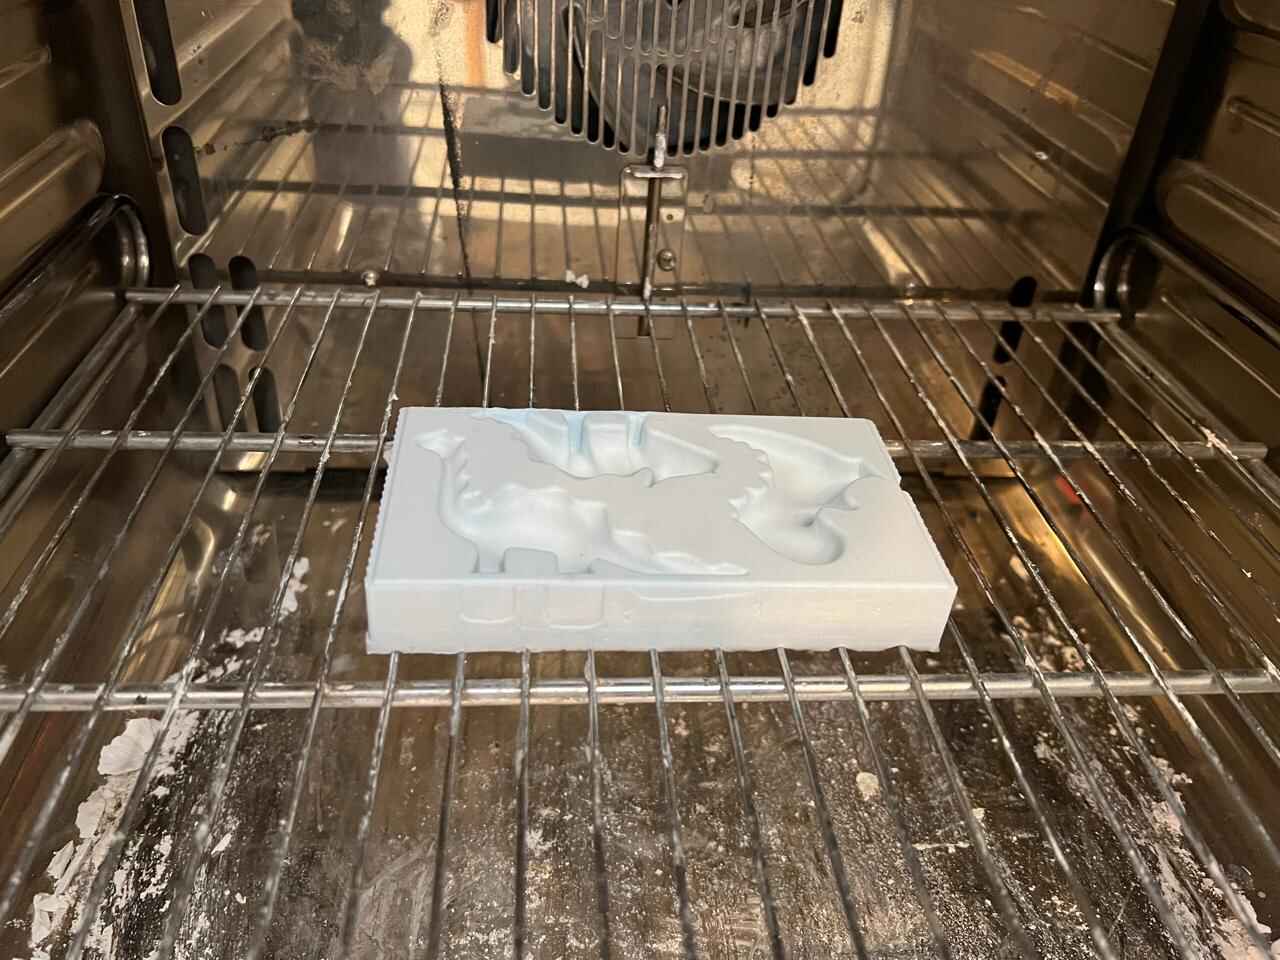
I let the mold rest for 24 hours, then proceeded to cure it in an oven at 60 degrees Celsius for 5 hours to remove as many alcohols from the mold as possible.

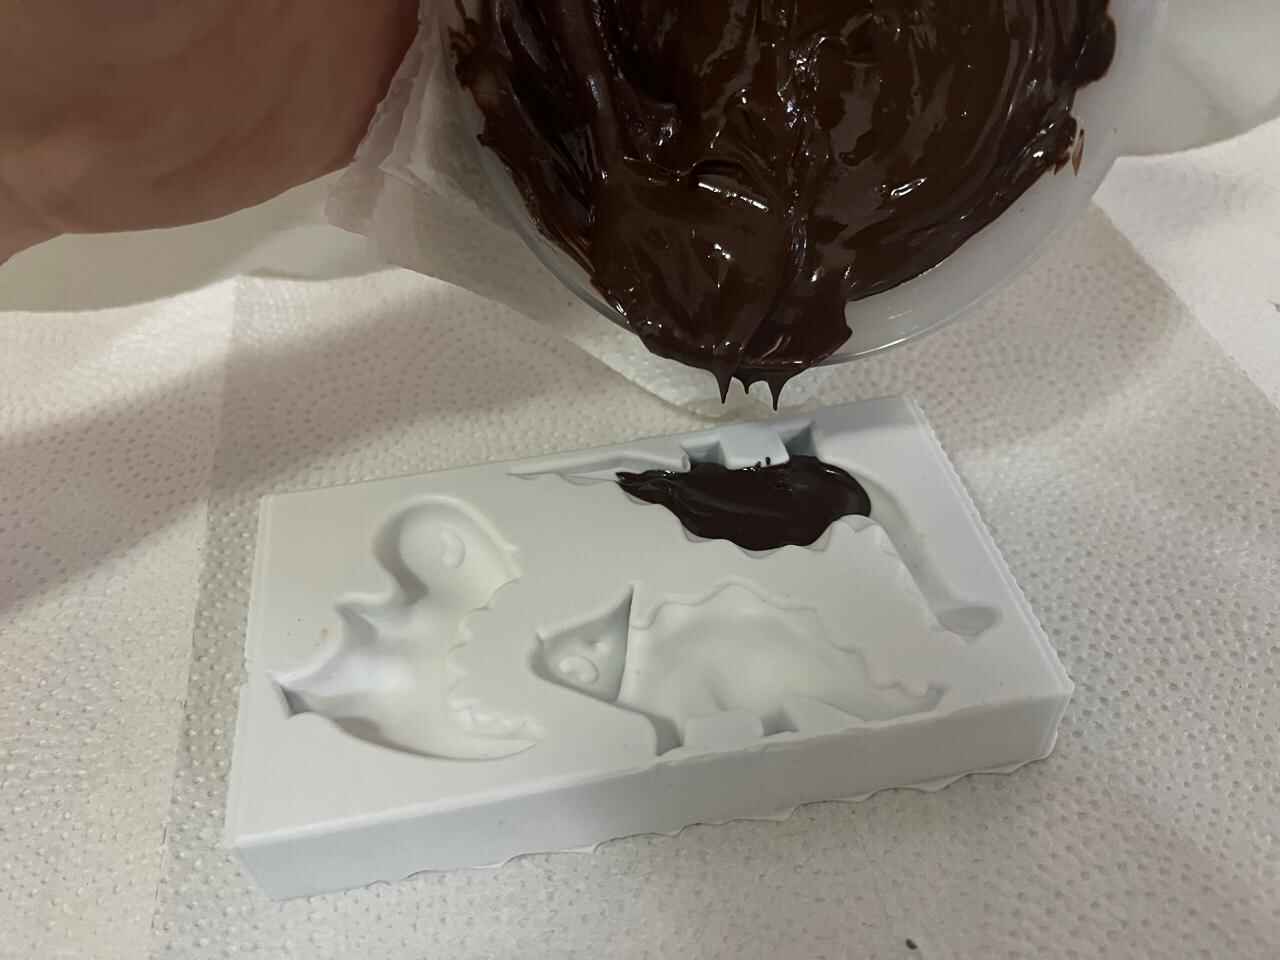
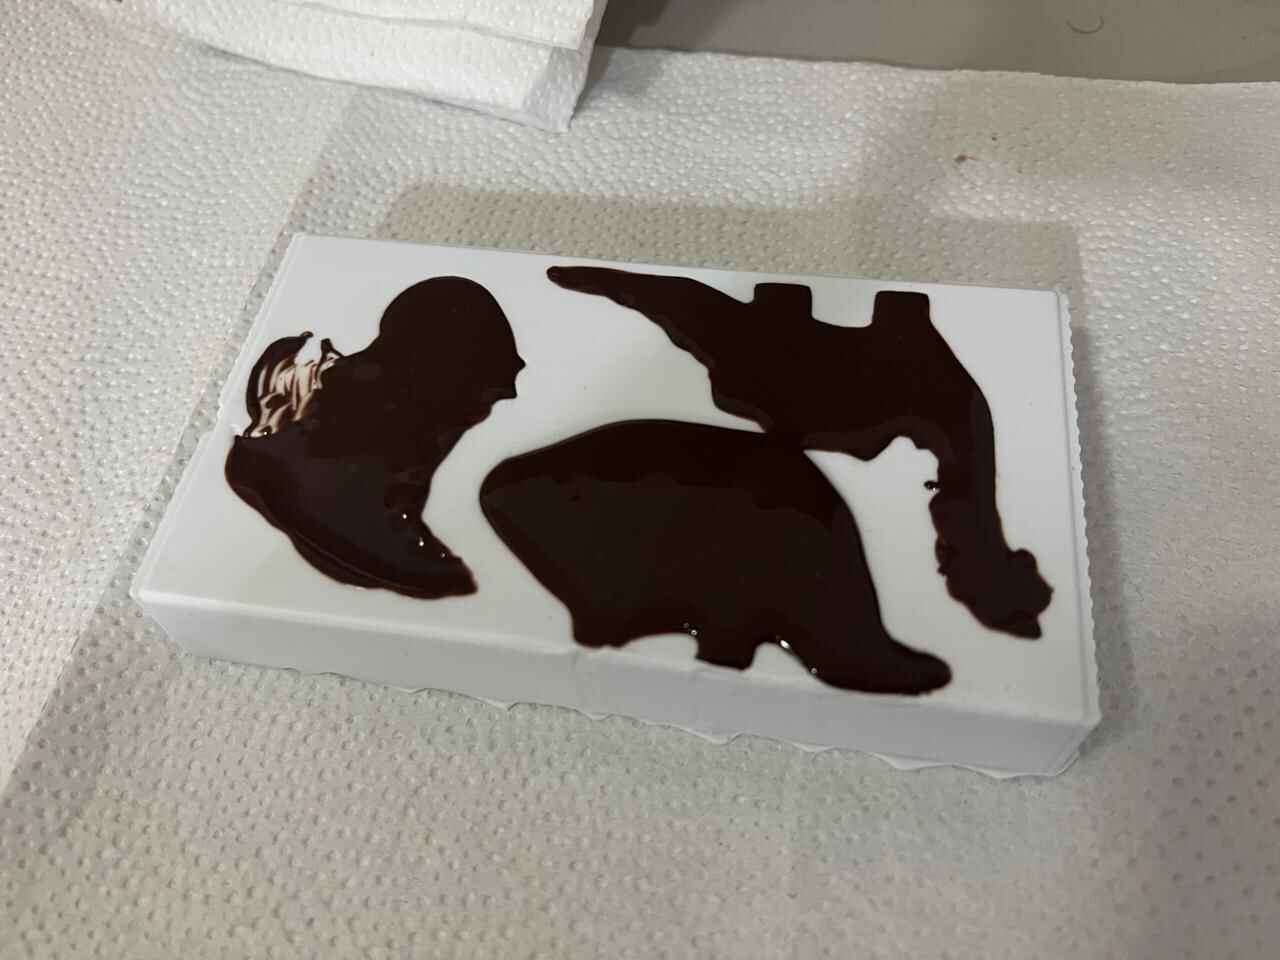
With the mold ready, I placed chocolate in a double boiler to melt it, then poured it into the mold. I stored it in the freezer and waited for it to cool.
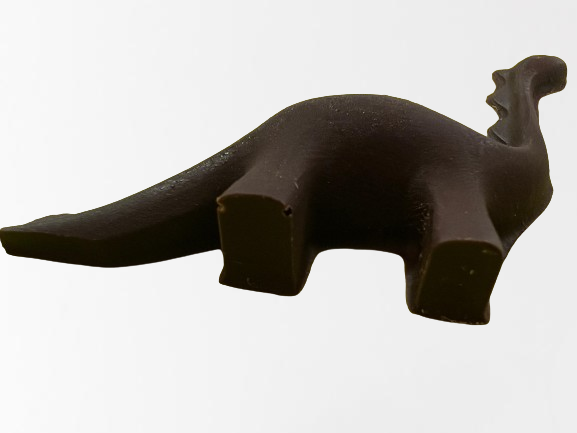
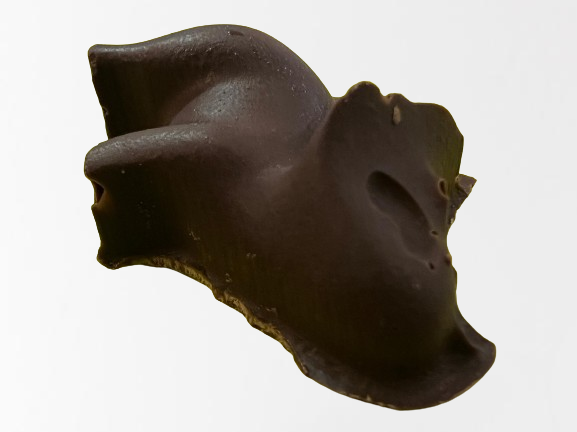
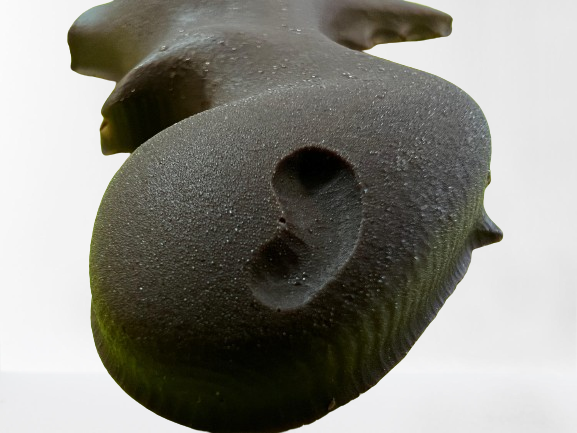
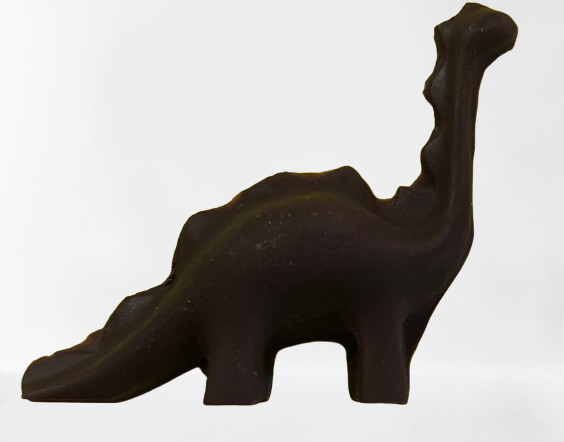
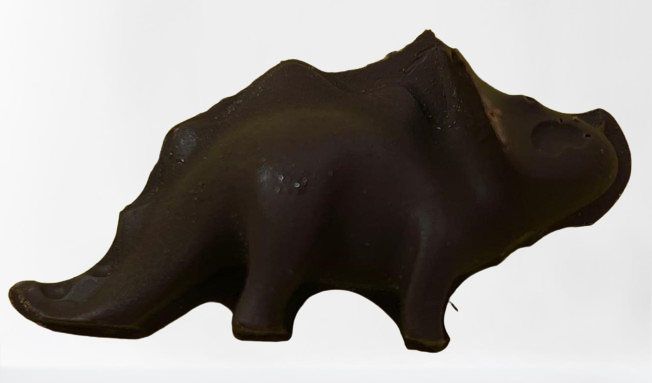
result
Here you can see the final results of the three chocolate pieces. The finish is very smooth, although you can also see some small bubbles.