

12. Molding an Casting
For this week assigment, we are creating our own molds out of 3D pieces to cast them into a different material.
For information about different processes and materials on casting, check the Molding and Casting Fab Ibero Puebla´s Page
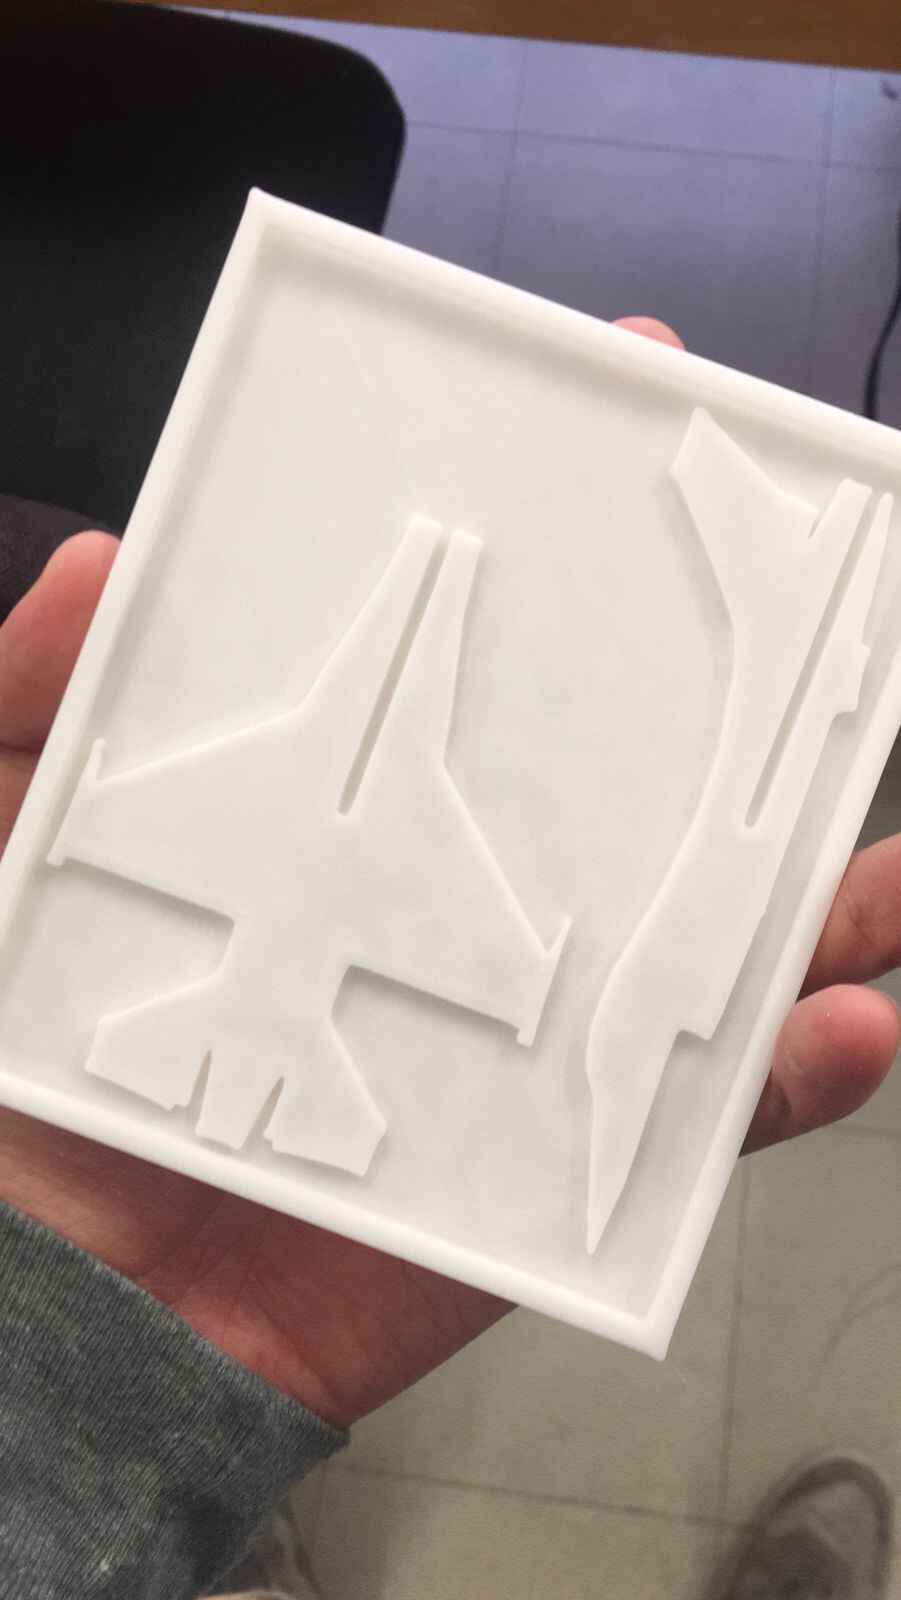
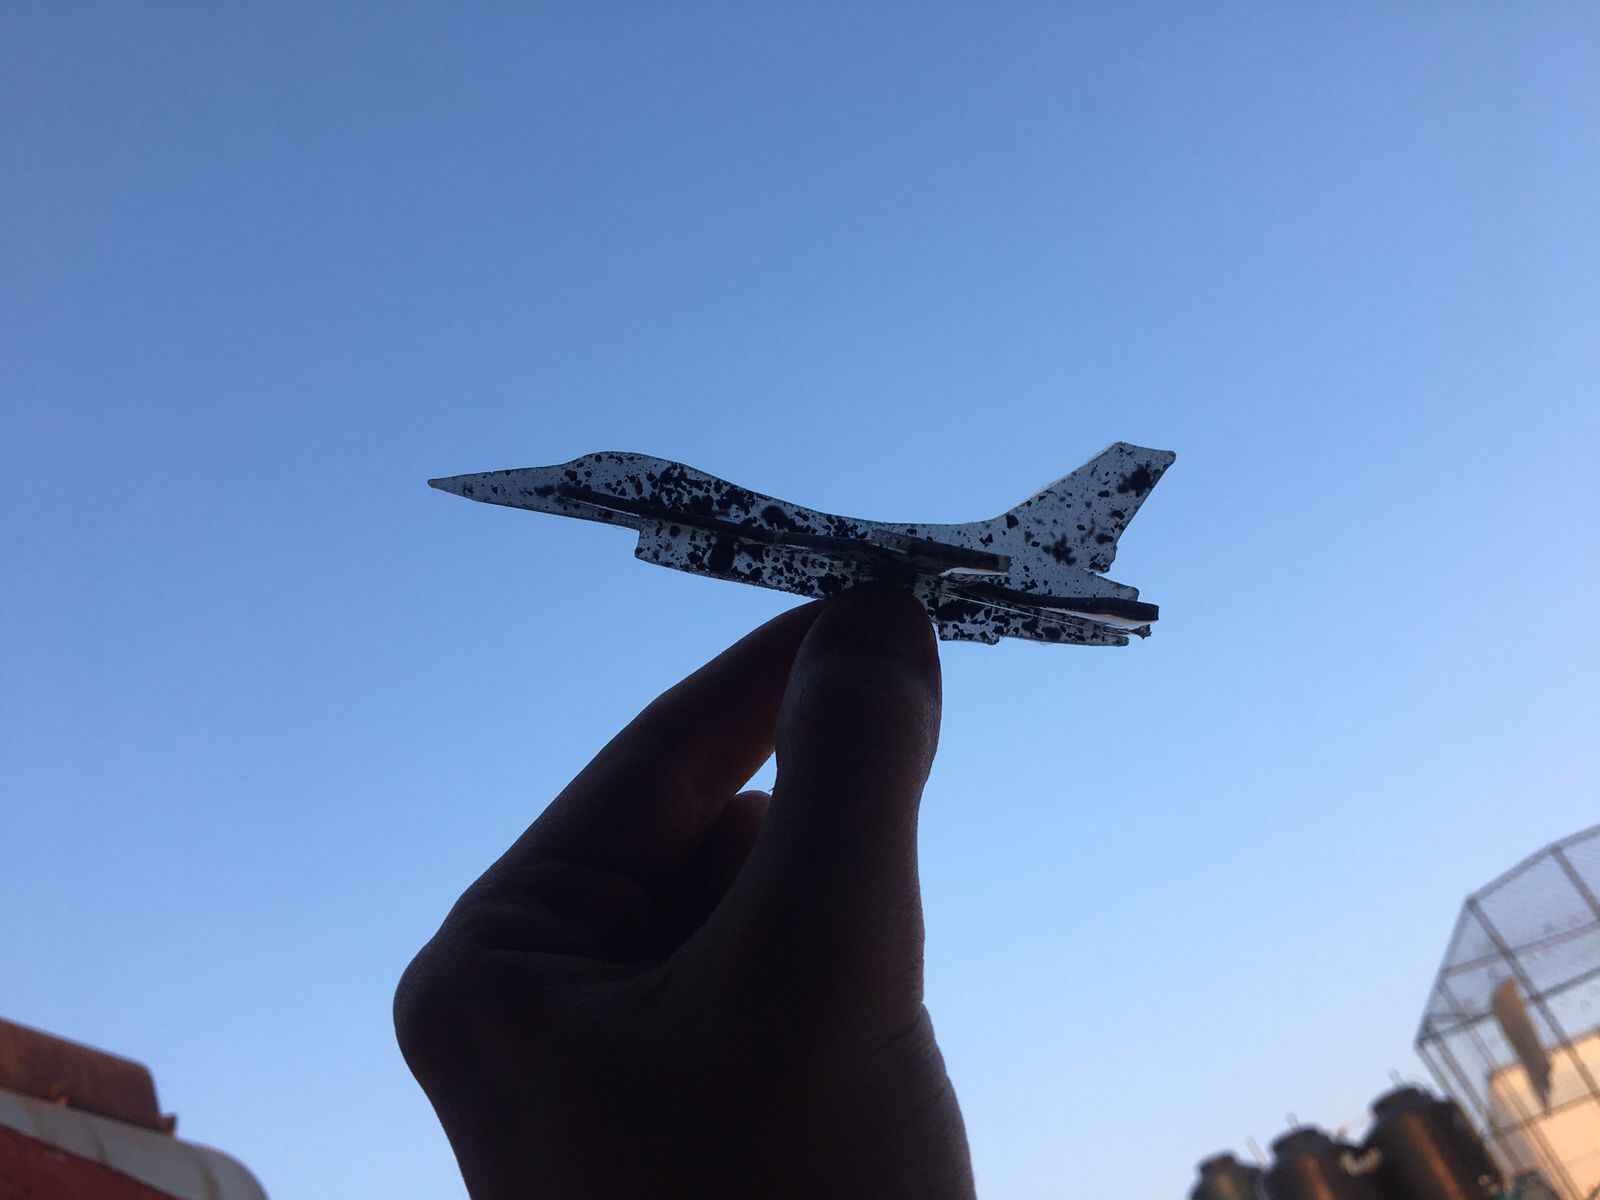
Since I clearly don´t have any imagination left, we are doing (you guessed it) another fighter plane. In reality, I was browising through Thingiverse to find something I would like to cast, and nothing really caught my eye until I found this:
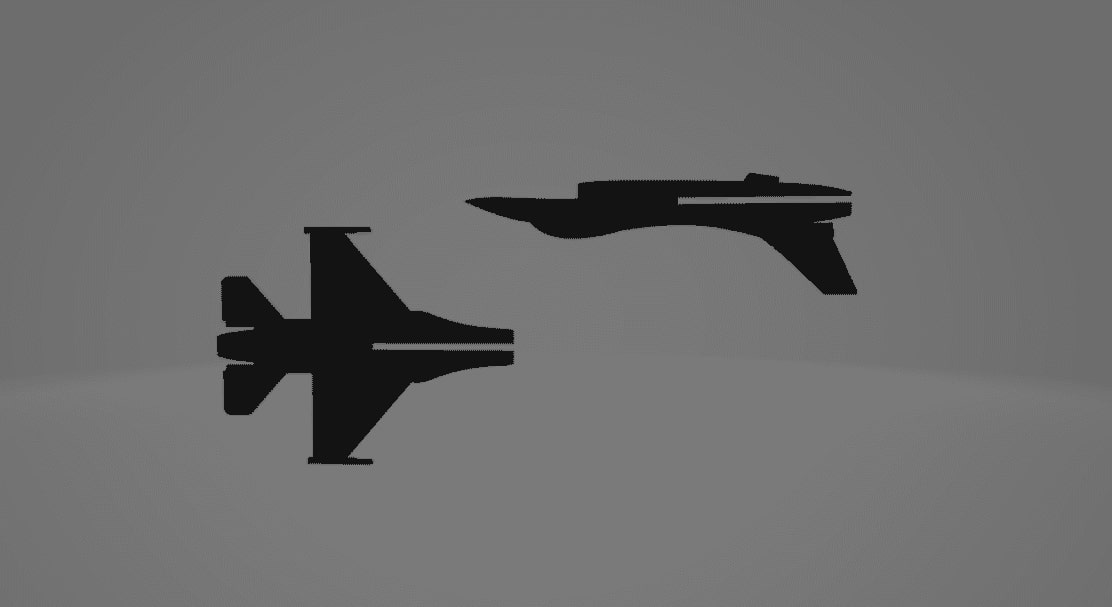
It´s a neat 2 part cast that fit joins to create a cool mini F16 jet.
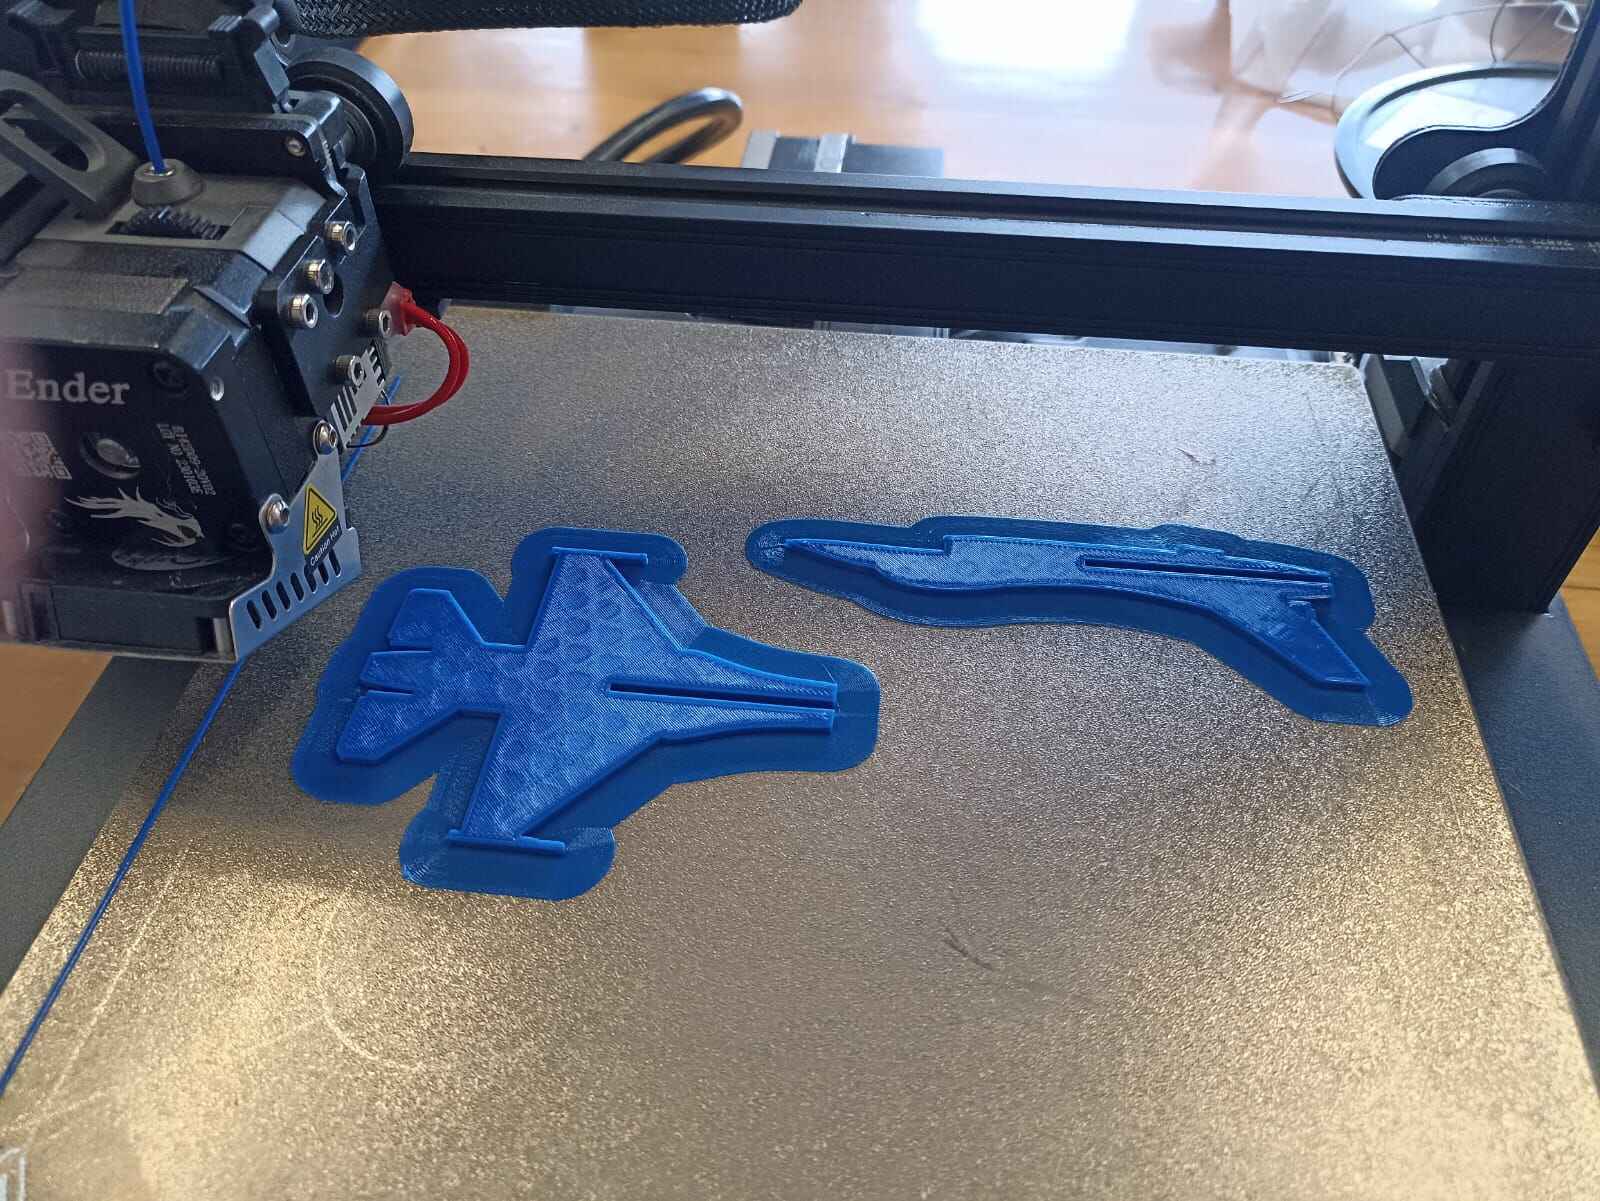
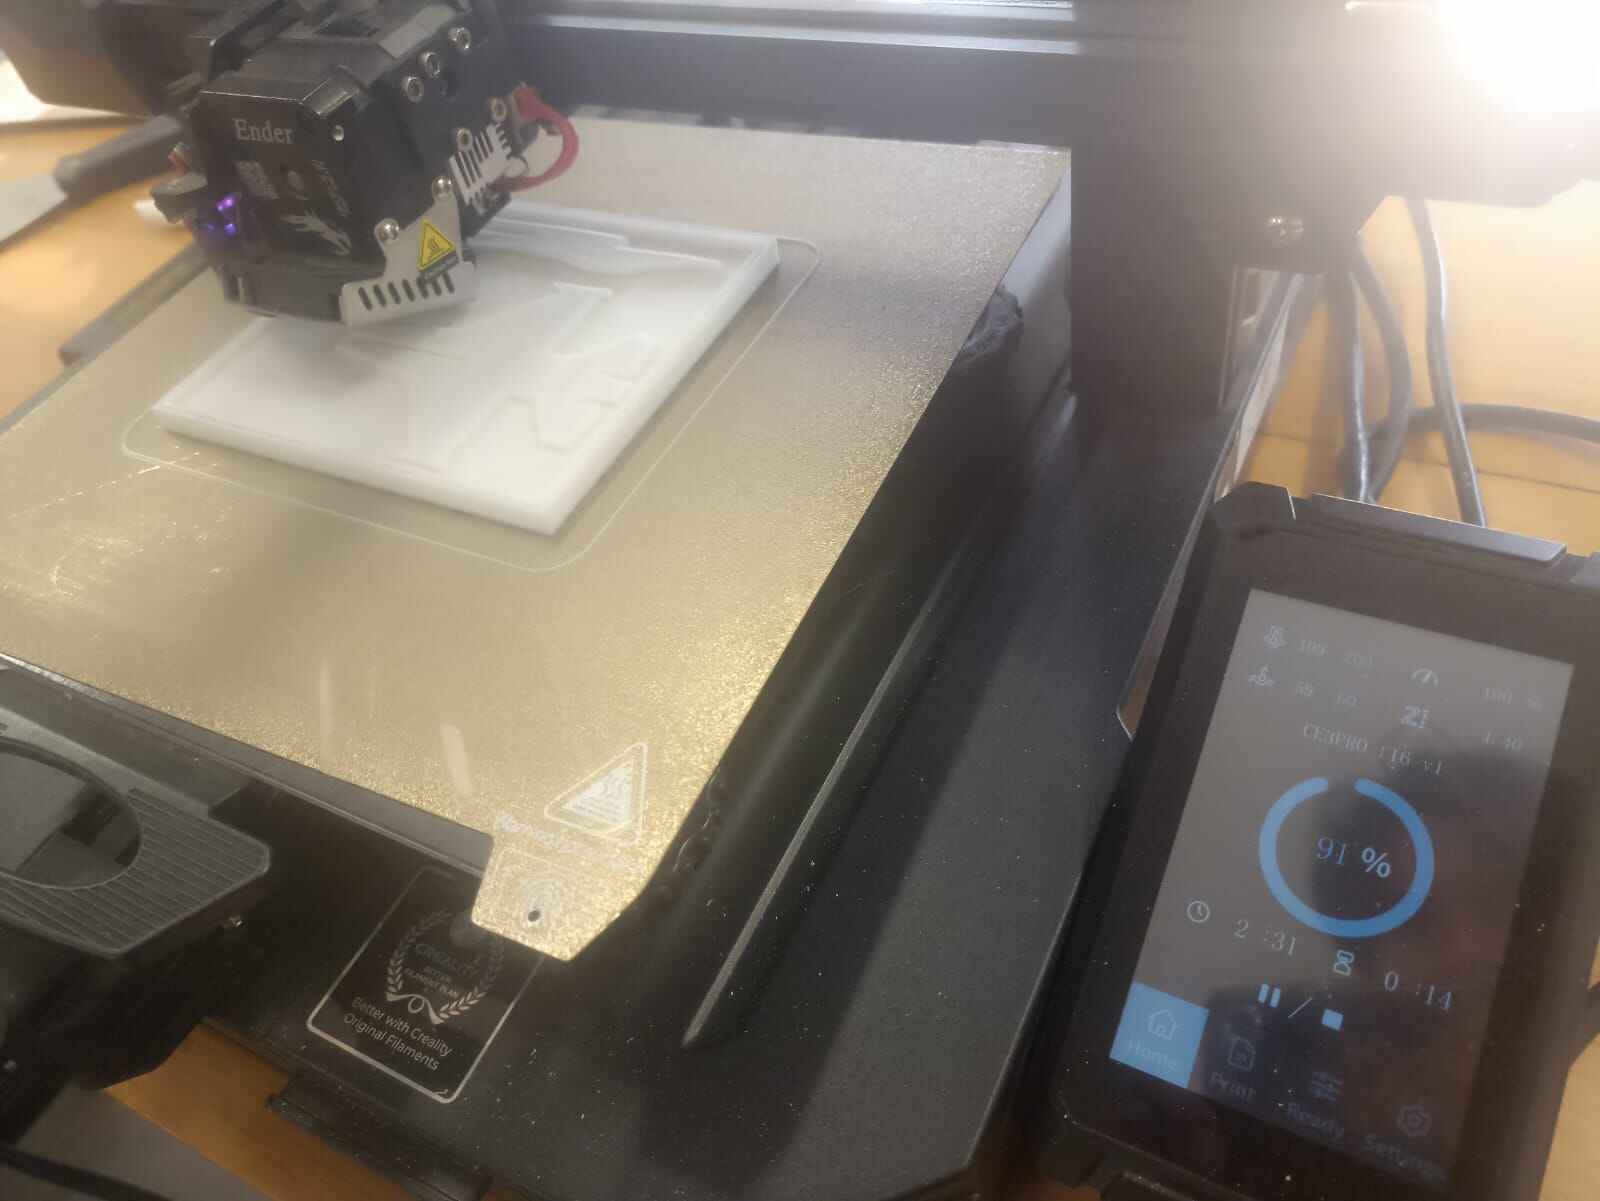
So first I wanted to 3D print the piece directly to see if there were any modifications or considerations when doing my mold. Turns out it was a perfect fit

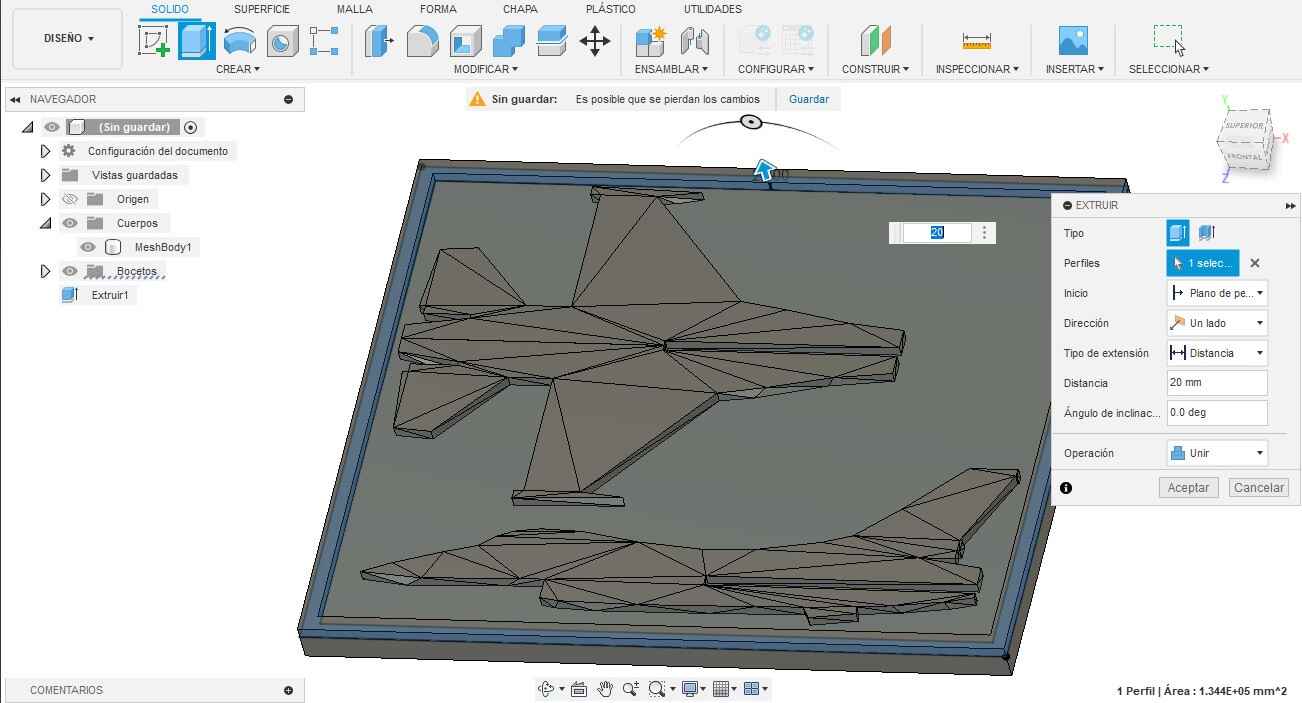
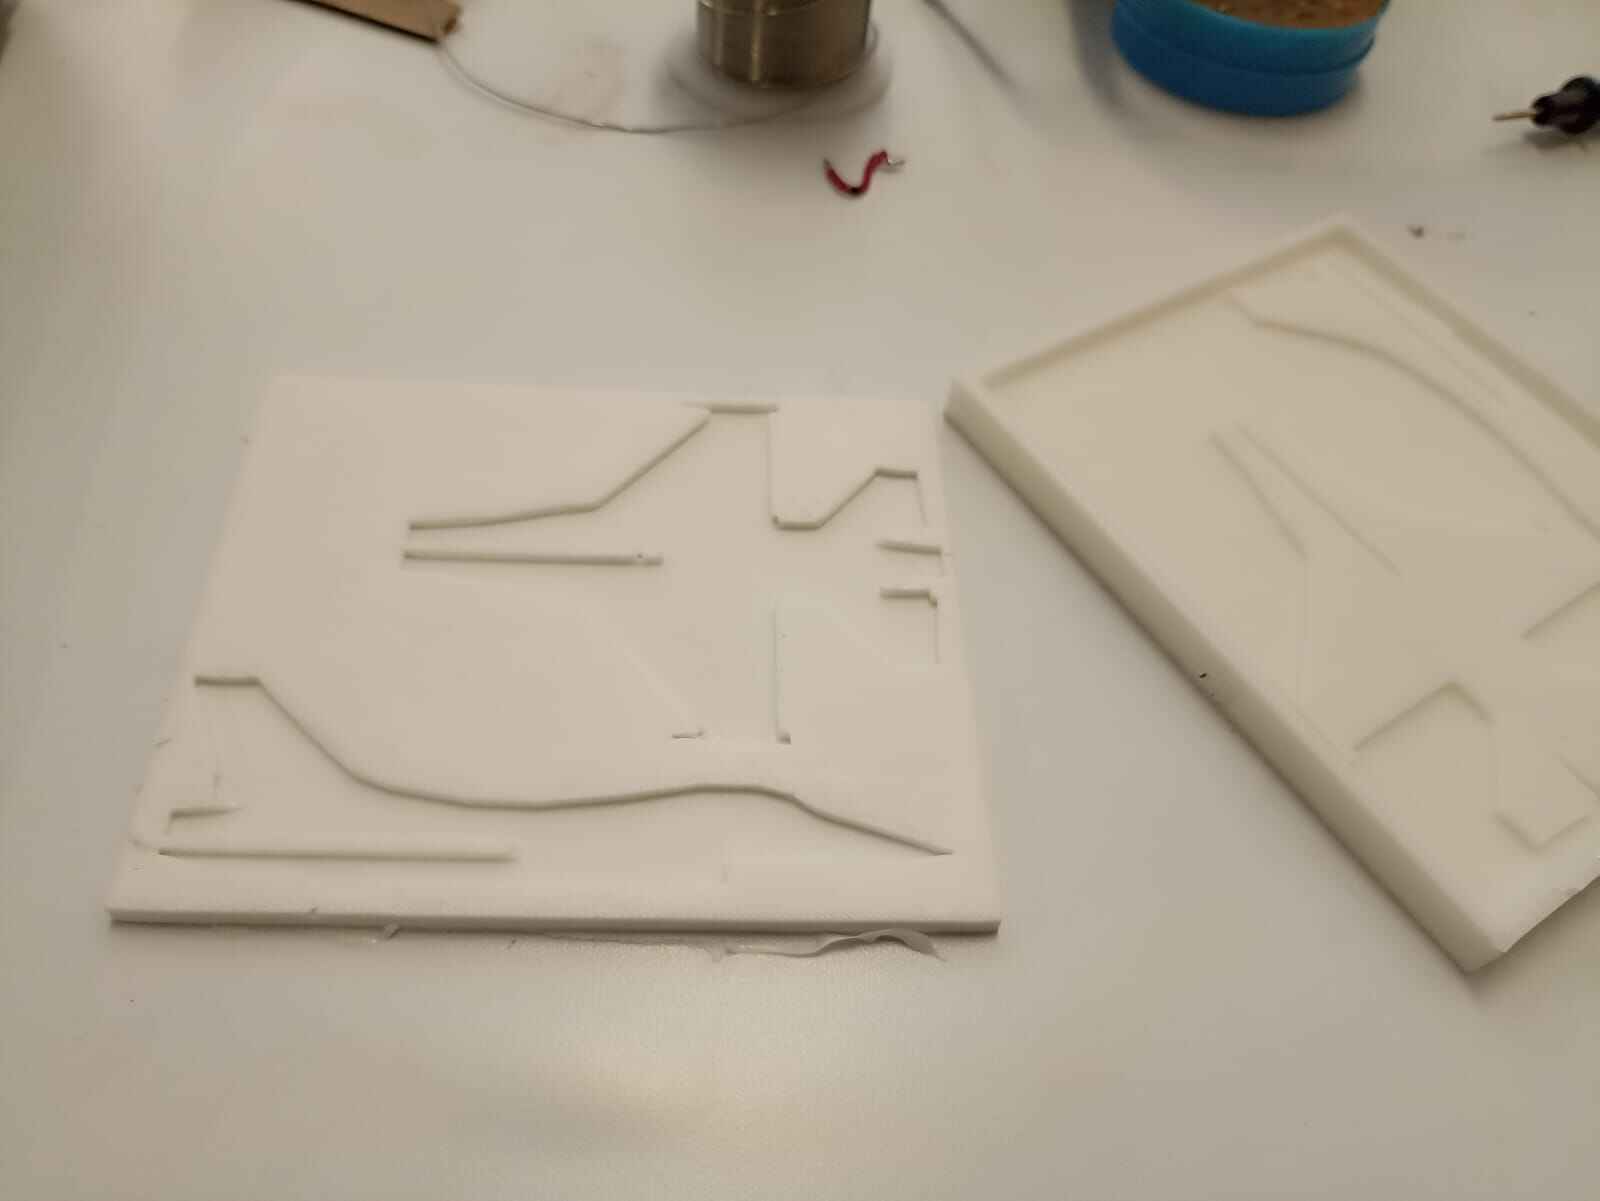
So the next step, I designed the countermold to house the silicon mold itself, I did it on Fusion360 by just compacting the pieces as close as possible and adding walls around them
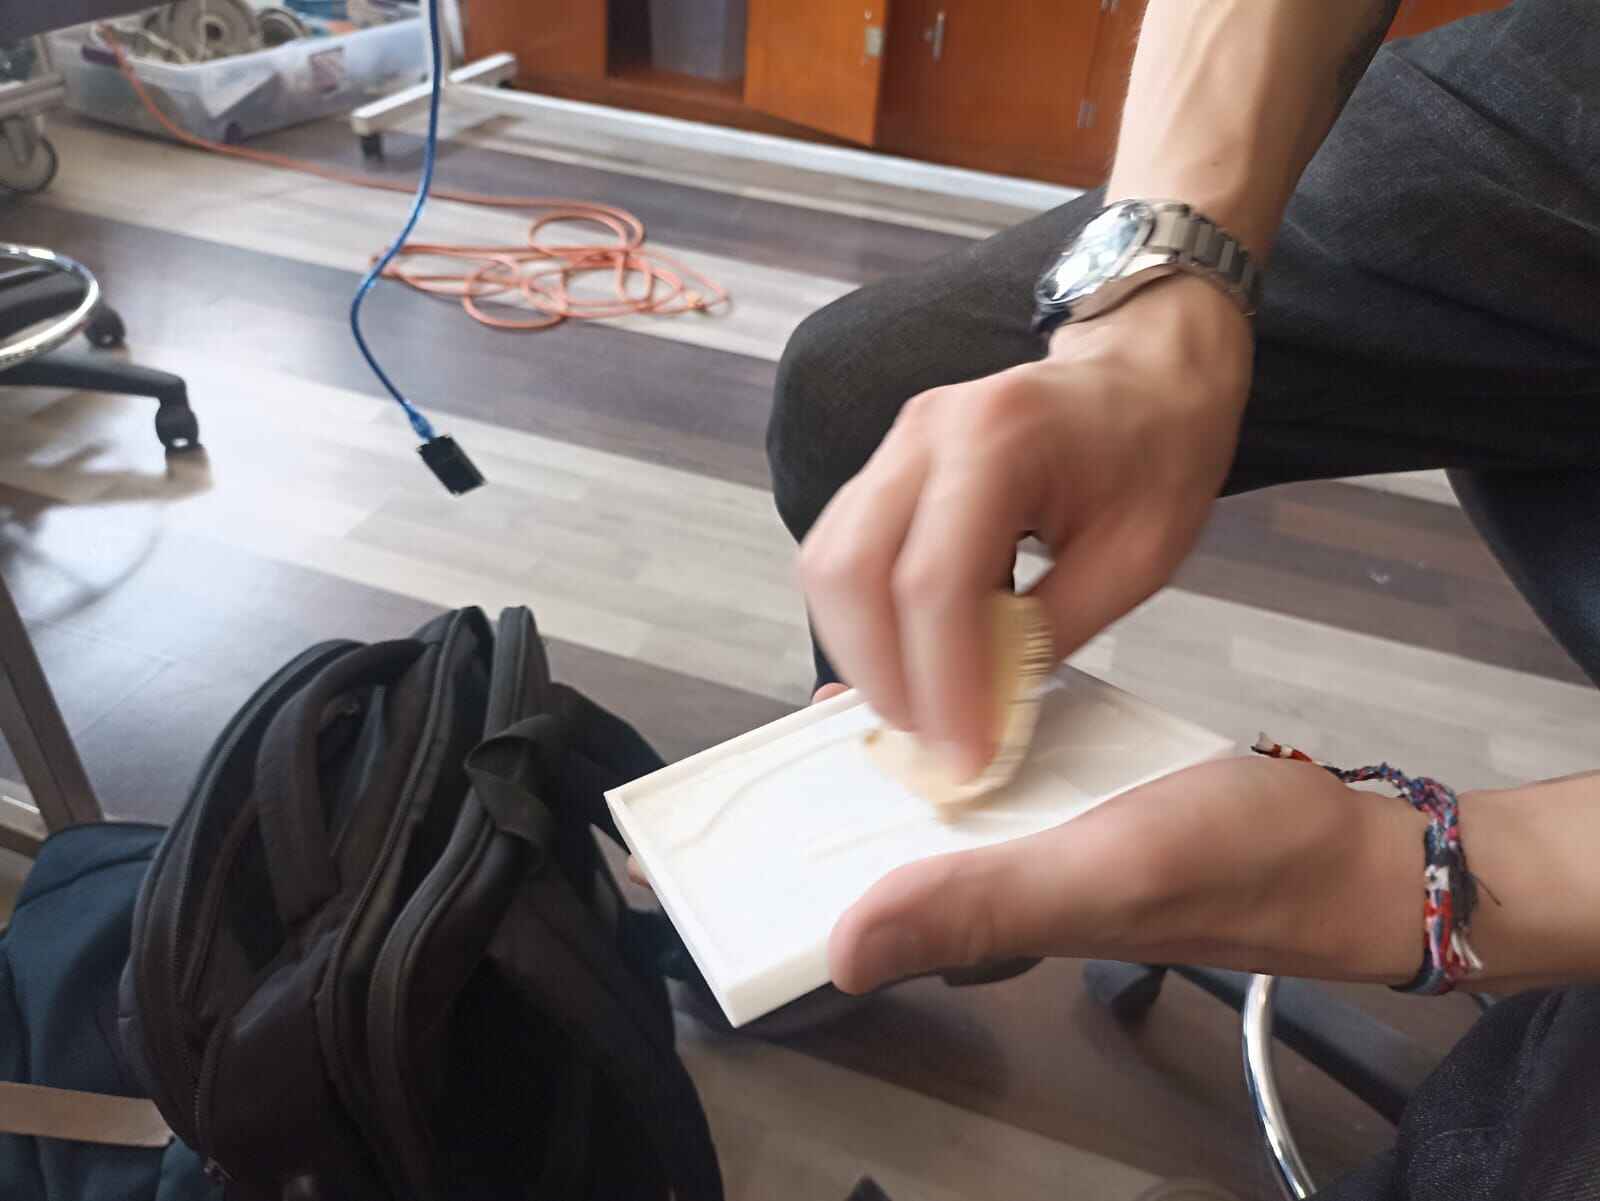
Now, we were advised not to do our countermold in convencional PLA 3D printers since the idea of the cast is to have a smooth finish, and filament 3D printing always leaves an uneven finish on your piece even if you print it in high quality. So our other alternatives were either resin printing or CNC machining it with a drillbit.
The issues with the resin printer was, basically, there were no resin left in the lab since everyone printed their countermold this way. And I was also seeing mixed results with the drilling method since the pieces weren´t always as smooth as desired, and most drillbits even broke during the process. So the alternative we came up in the Lab was printing it with regular PLA filament and sanding down the roughness of the printed piece to achieve a smooth finish (or as smooth as possible).
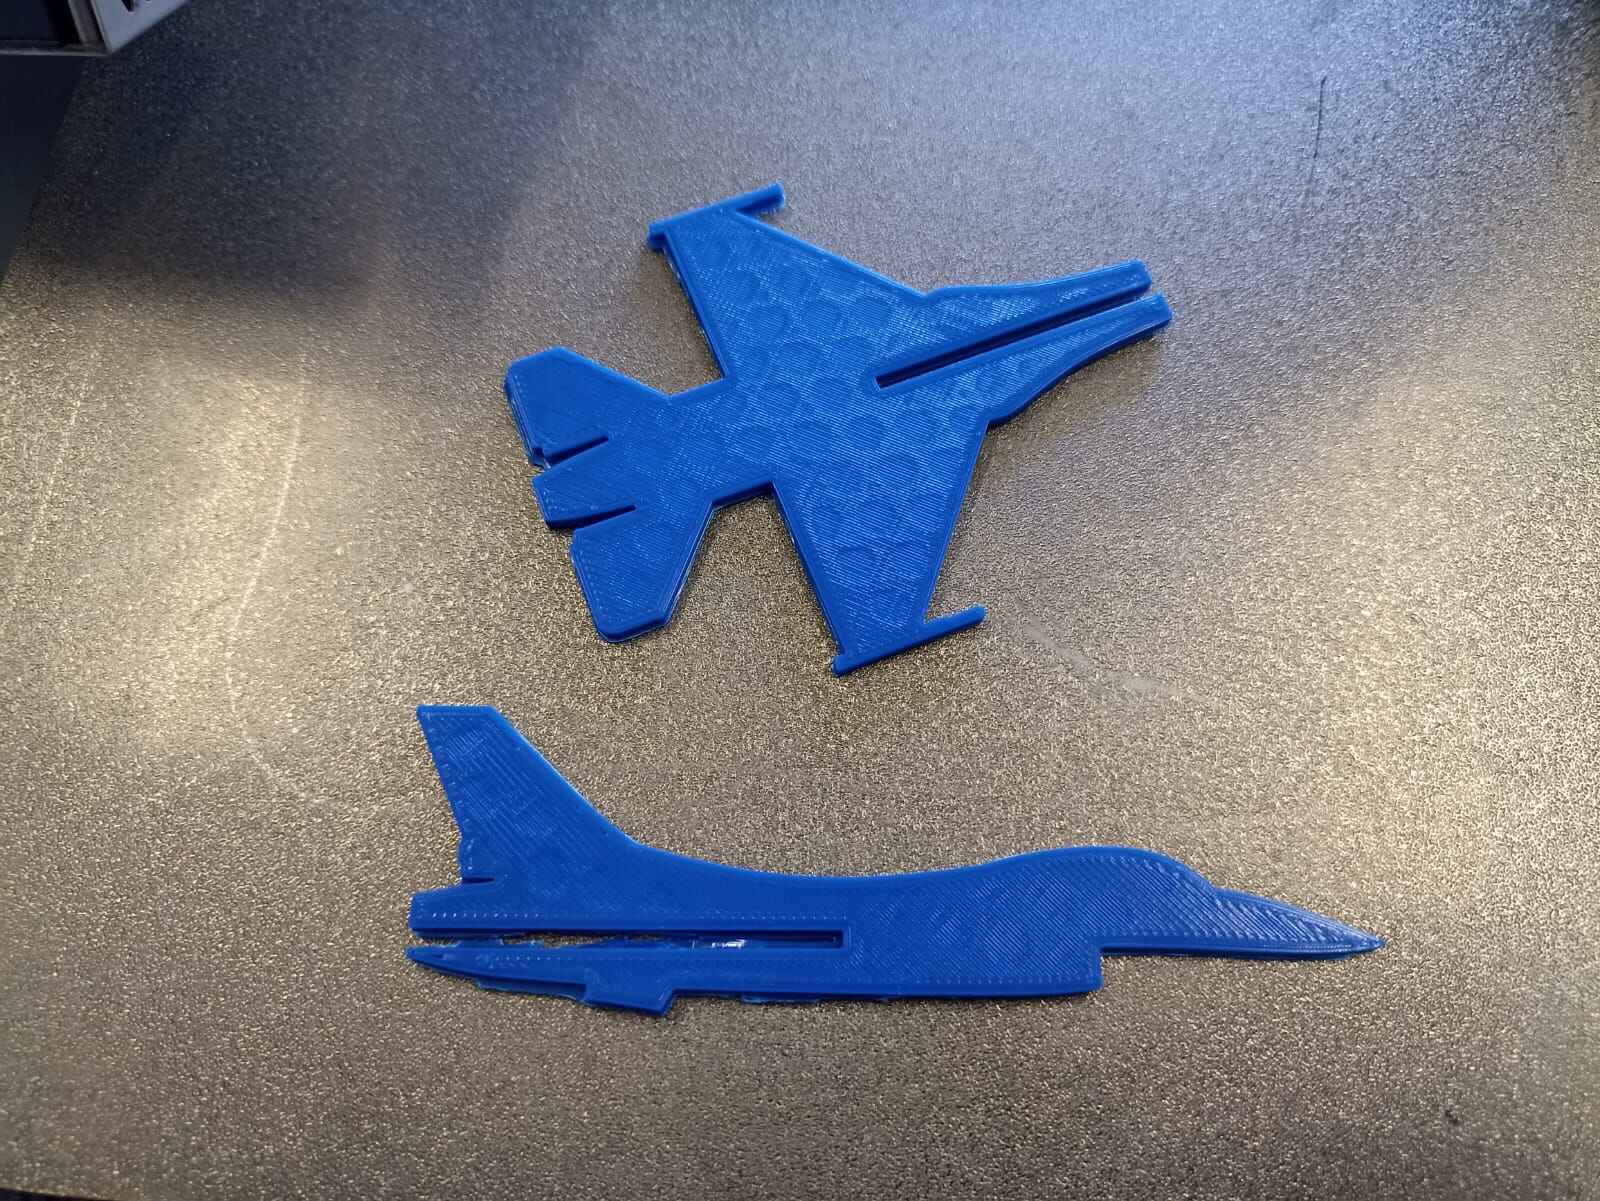
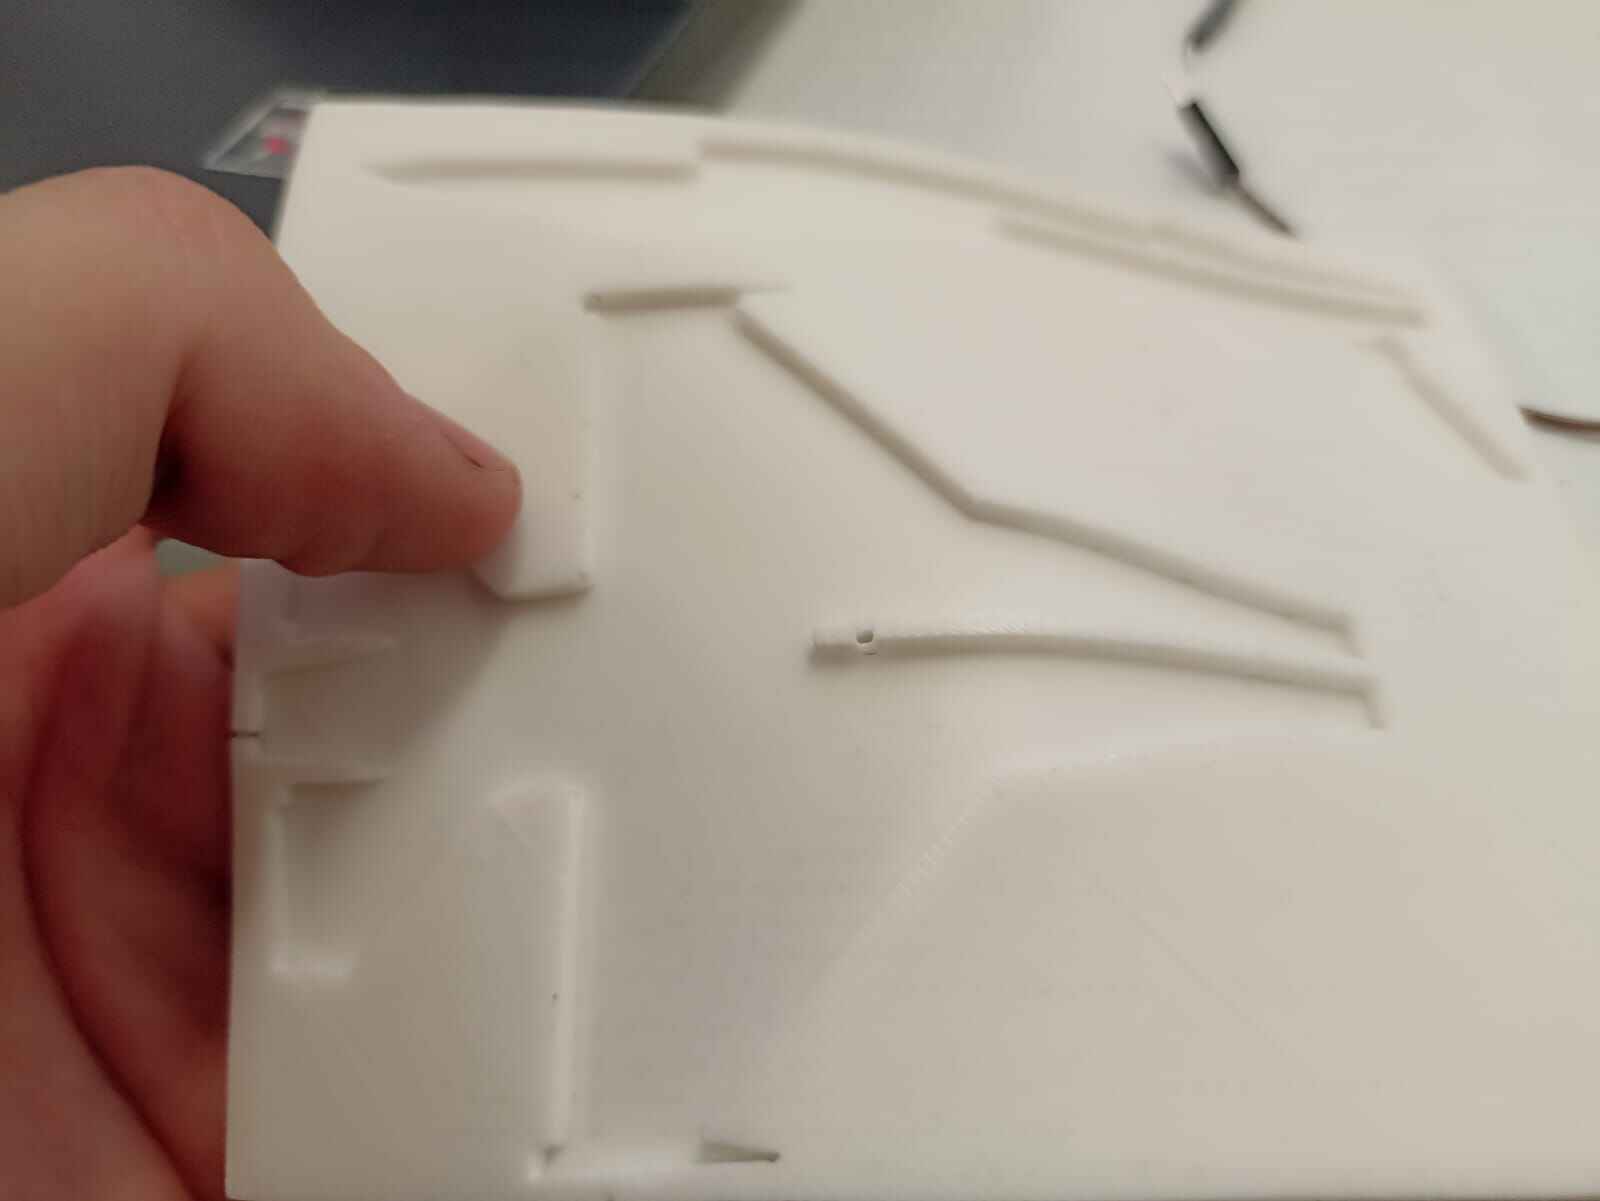
I also tried focusing on having as smooth of a 3D prints as possible. I lowered the printing speed from 200 mm/s to 50 mm/s. Increased the nozzle temperature to 115°, and set the infill percentage to 30%. All this in the effort of having as little roughness as possible.
The countermold came out very decent, at least enough to let us do the cast without major defects. So I did in fact spend a considerable amount of minutes and sweat getting the countermold as smooth as posible...
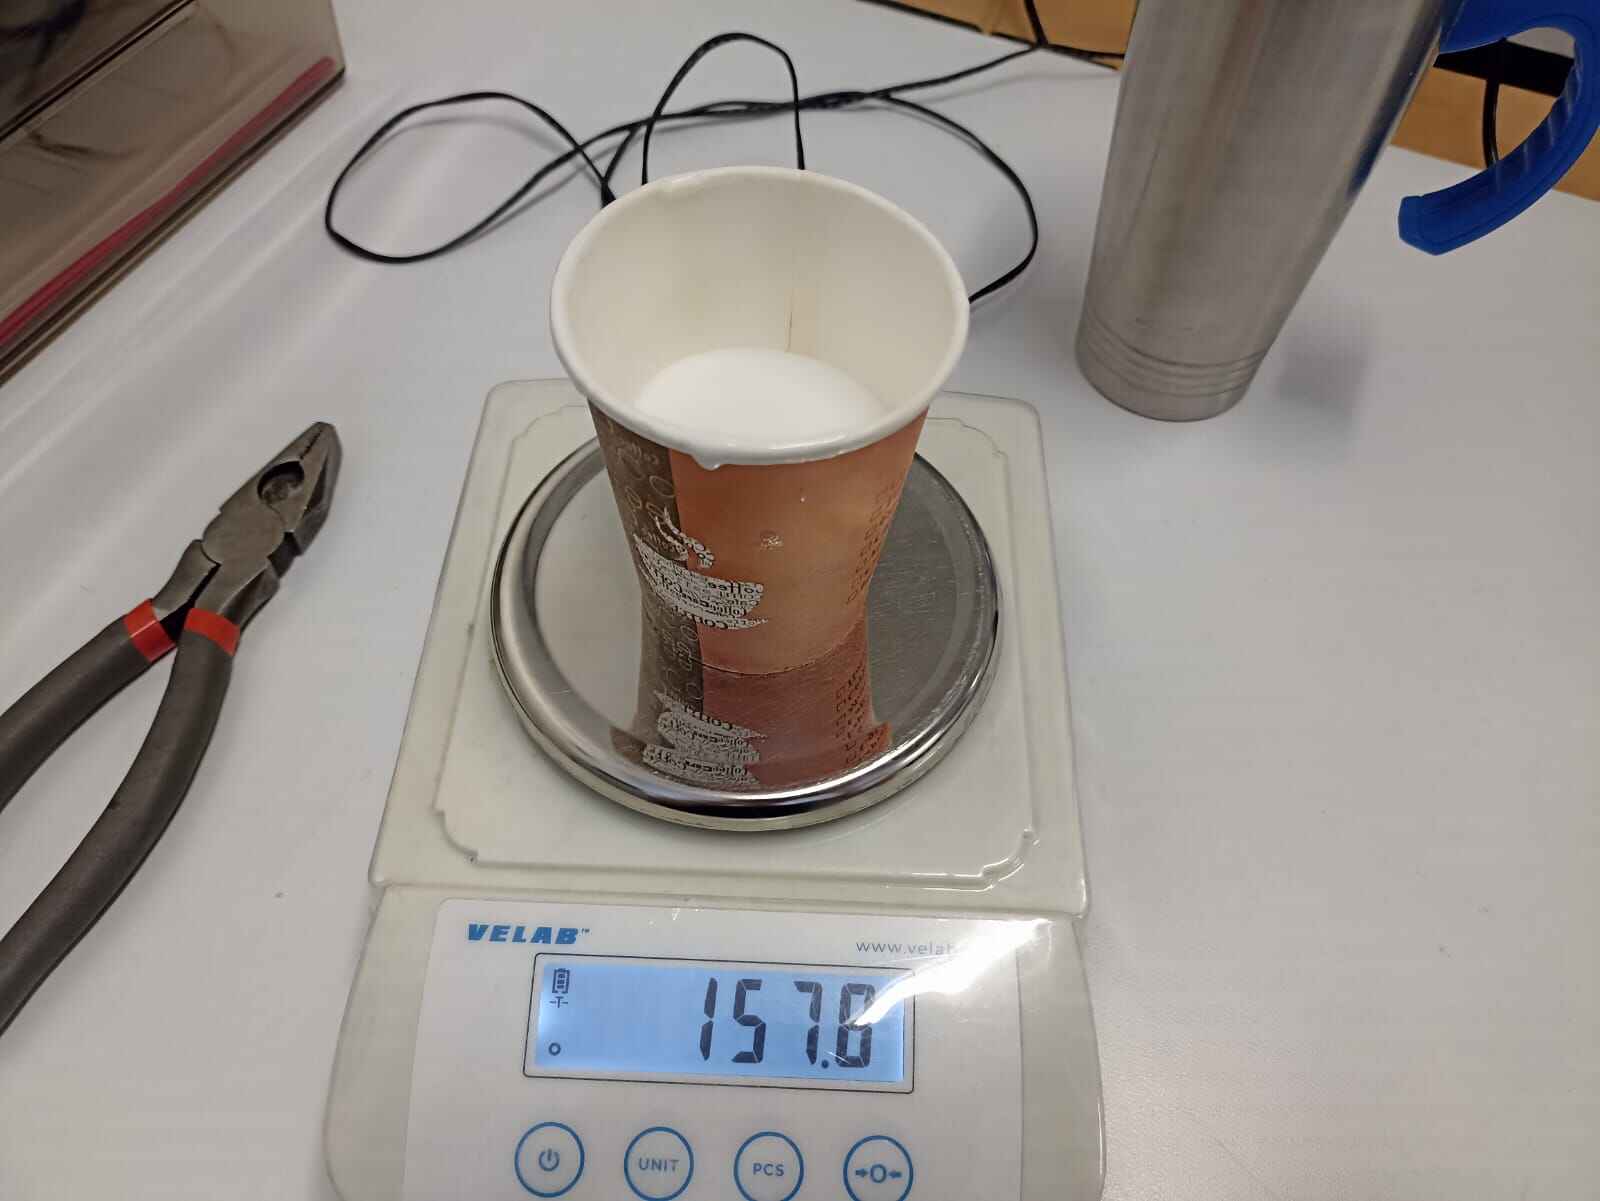
To create the silicon mixture, we used 157 grams of silicon and 15 grams of a catalyzer, as we were advised by a professor to do a 85% to 90% silicon and 10% to 15% catalyzer mixture by weight. Also, this is way to much silicon for one countermold, since some other classmates wanted to do their silicon countermold aswell, we decided to do a single big batch.
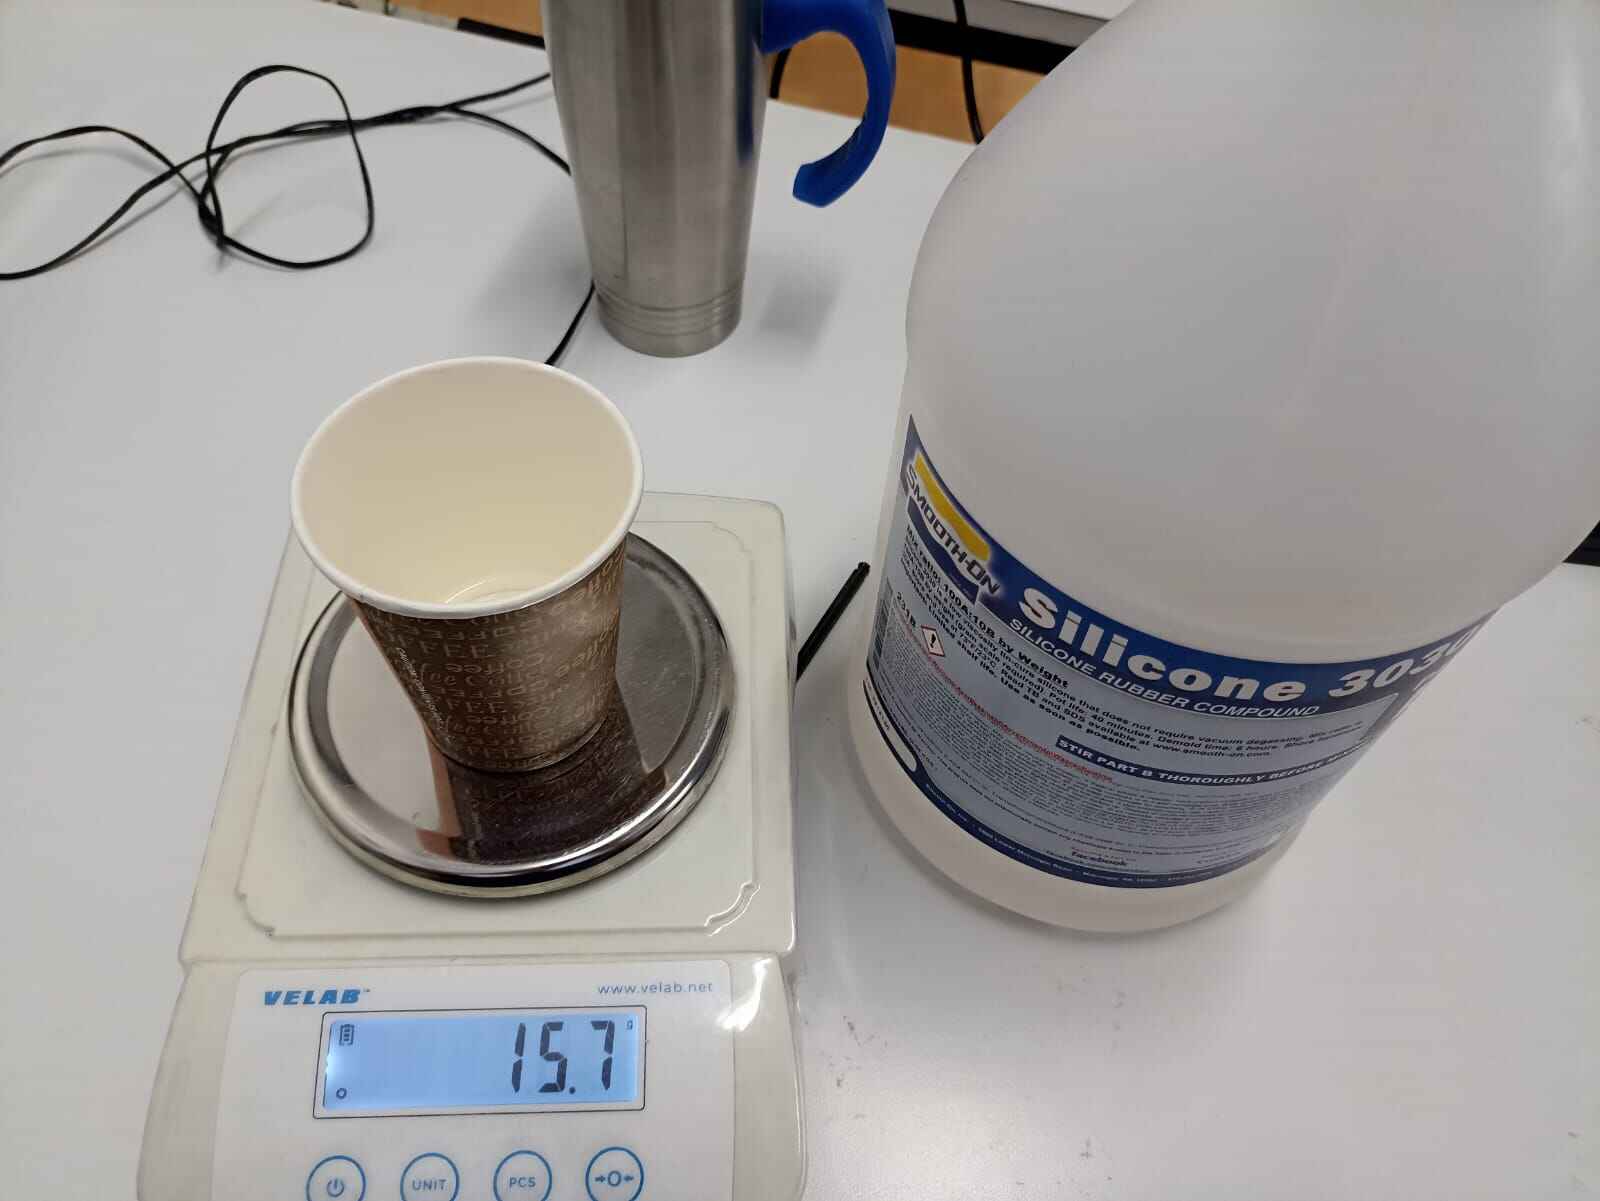
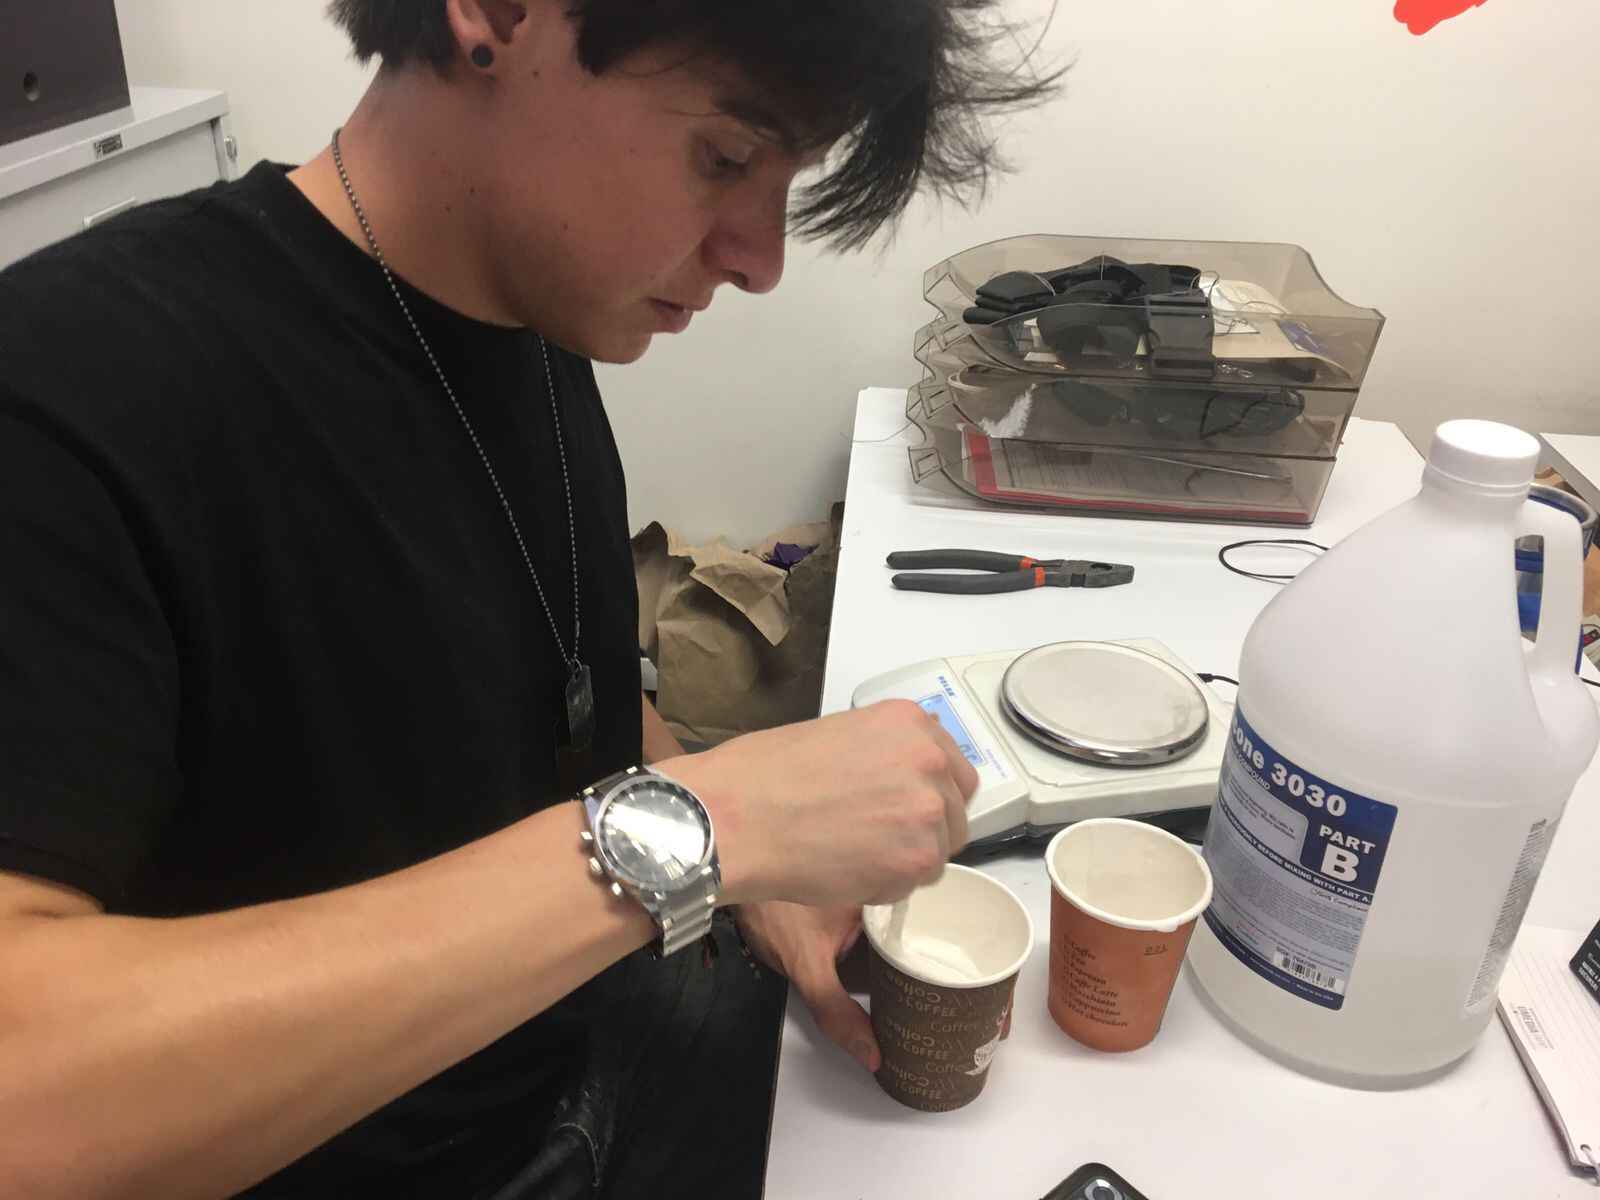
The next step is mixing the batch very, very well. For about a continuous 5 minutes.
After that, we can pour the silicon mixture into our countermold, and letting it dry for a whole 24 hours.

Once it´s fully dried and solid, we can take our mold out
As you can see, some little air pockets got stuck underneath the silicon even though I shaked and tapped the silicon before drying in an attempt to get all the bubbles out. A professor told me it was probably because I poured the mixture all around the countermold instead of adding it slowly in a single strand. Even though it looks ugly, it did not have an effect on the cast itself so it´s not that big of a deal.
Resin Piece
For the actual cast piece, I will be using T100 resin with it´s catalyzer

The ratio is 2:1 resin to catalyzer. In my case, I did it by volume. Once combined, they have to be mixed continuously for about 10 minutes, making sure everything is stirred correctly. I added charcoal to the mix to give it a black tint.
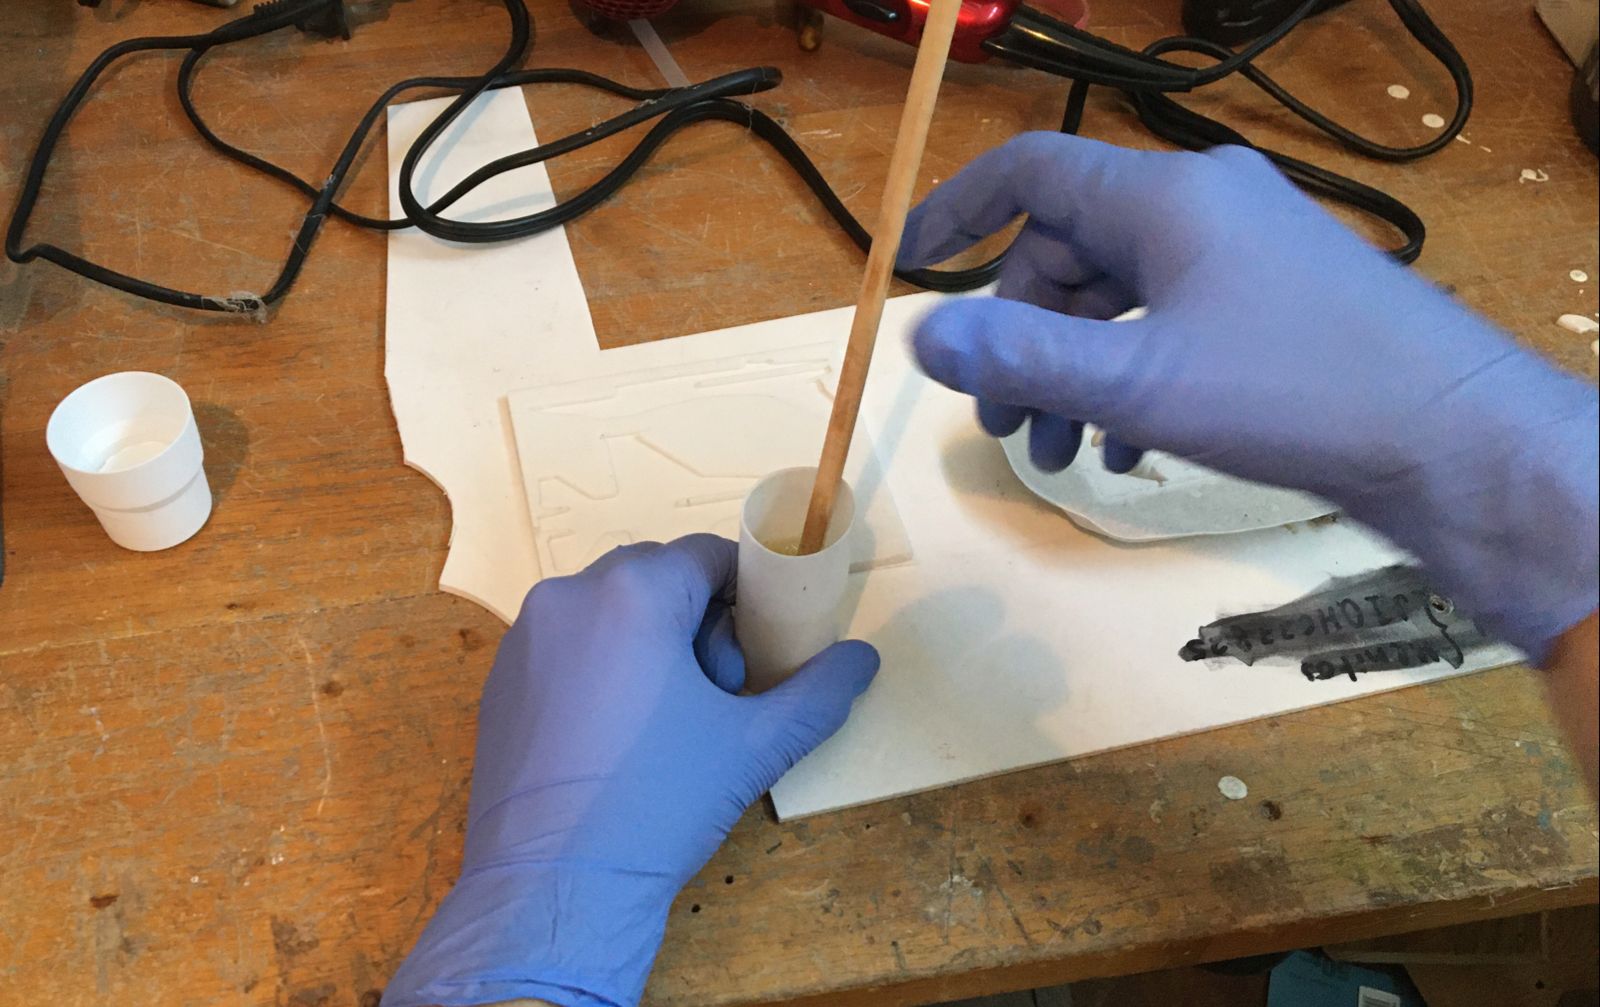
We pour the contents onto the mold very slowly to prevent any air bubbles to get trapped. I did it on a single strand like my professor told me to avoid having missed spots like the countermold.
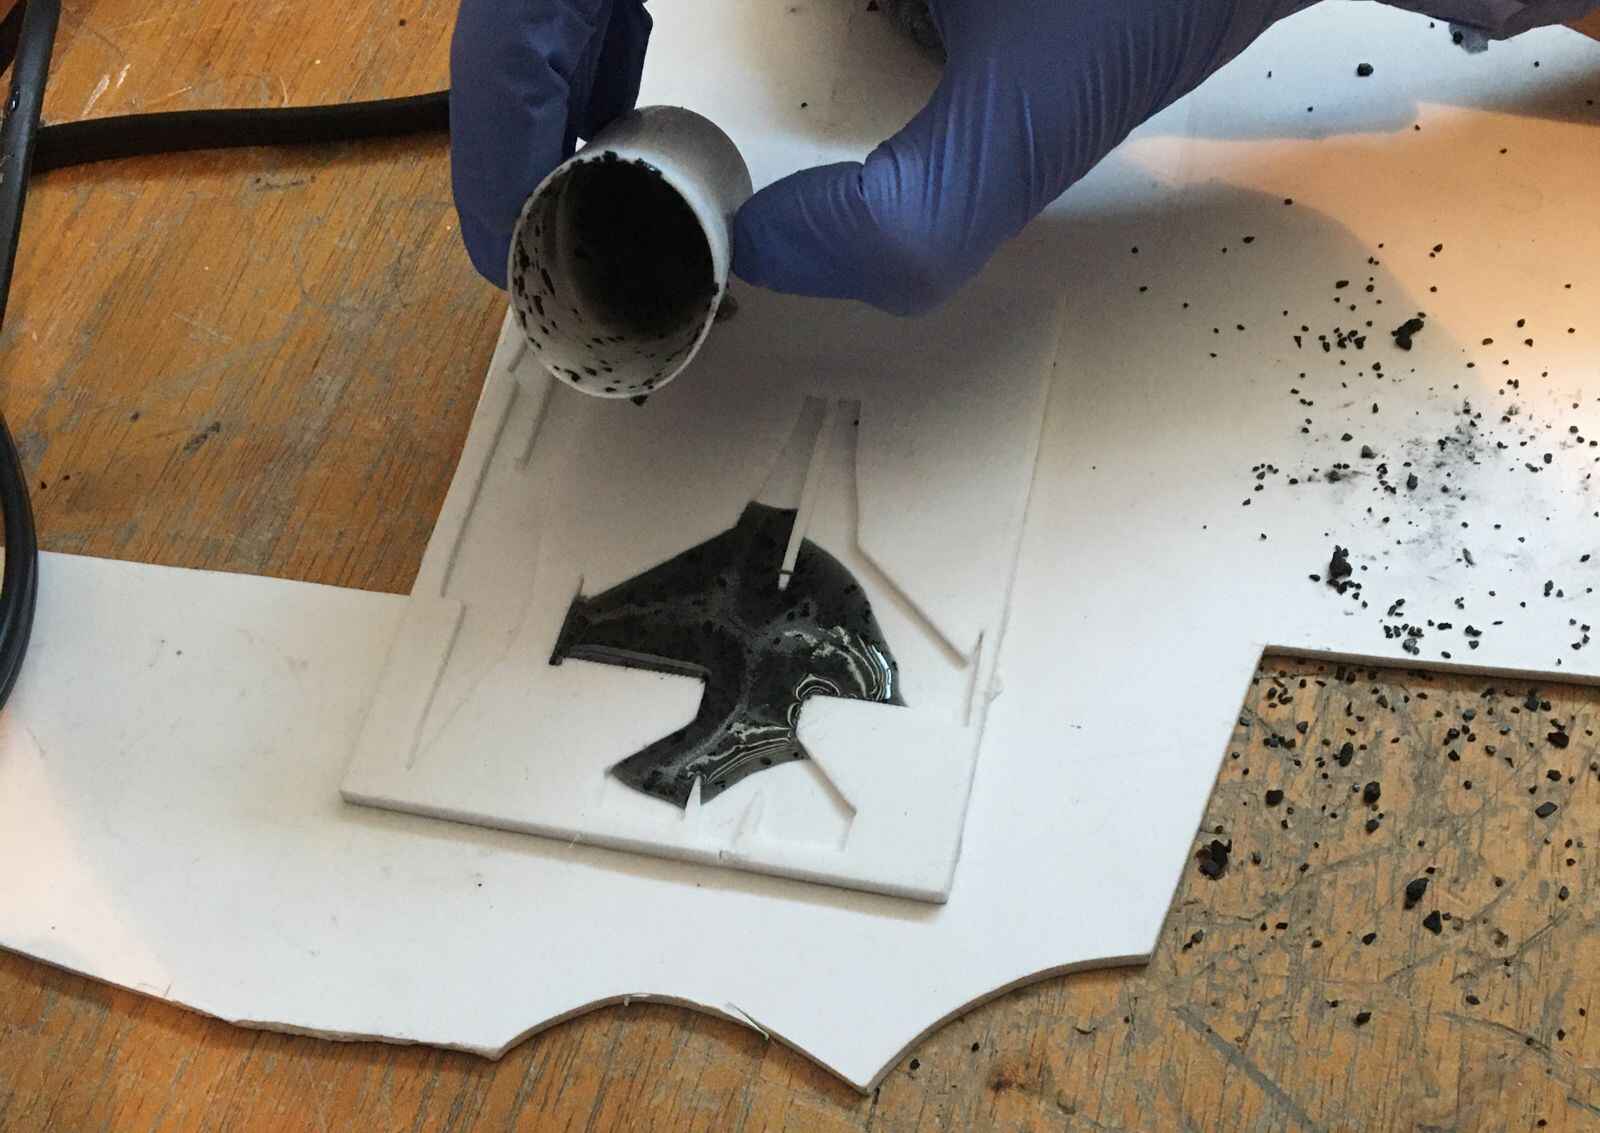
After letting it dry for about 5 hours, this is the result:
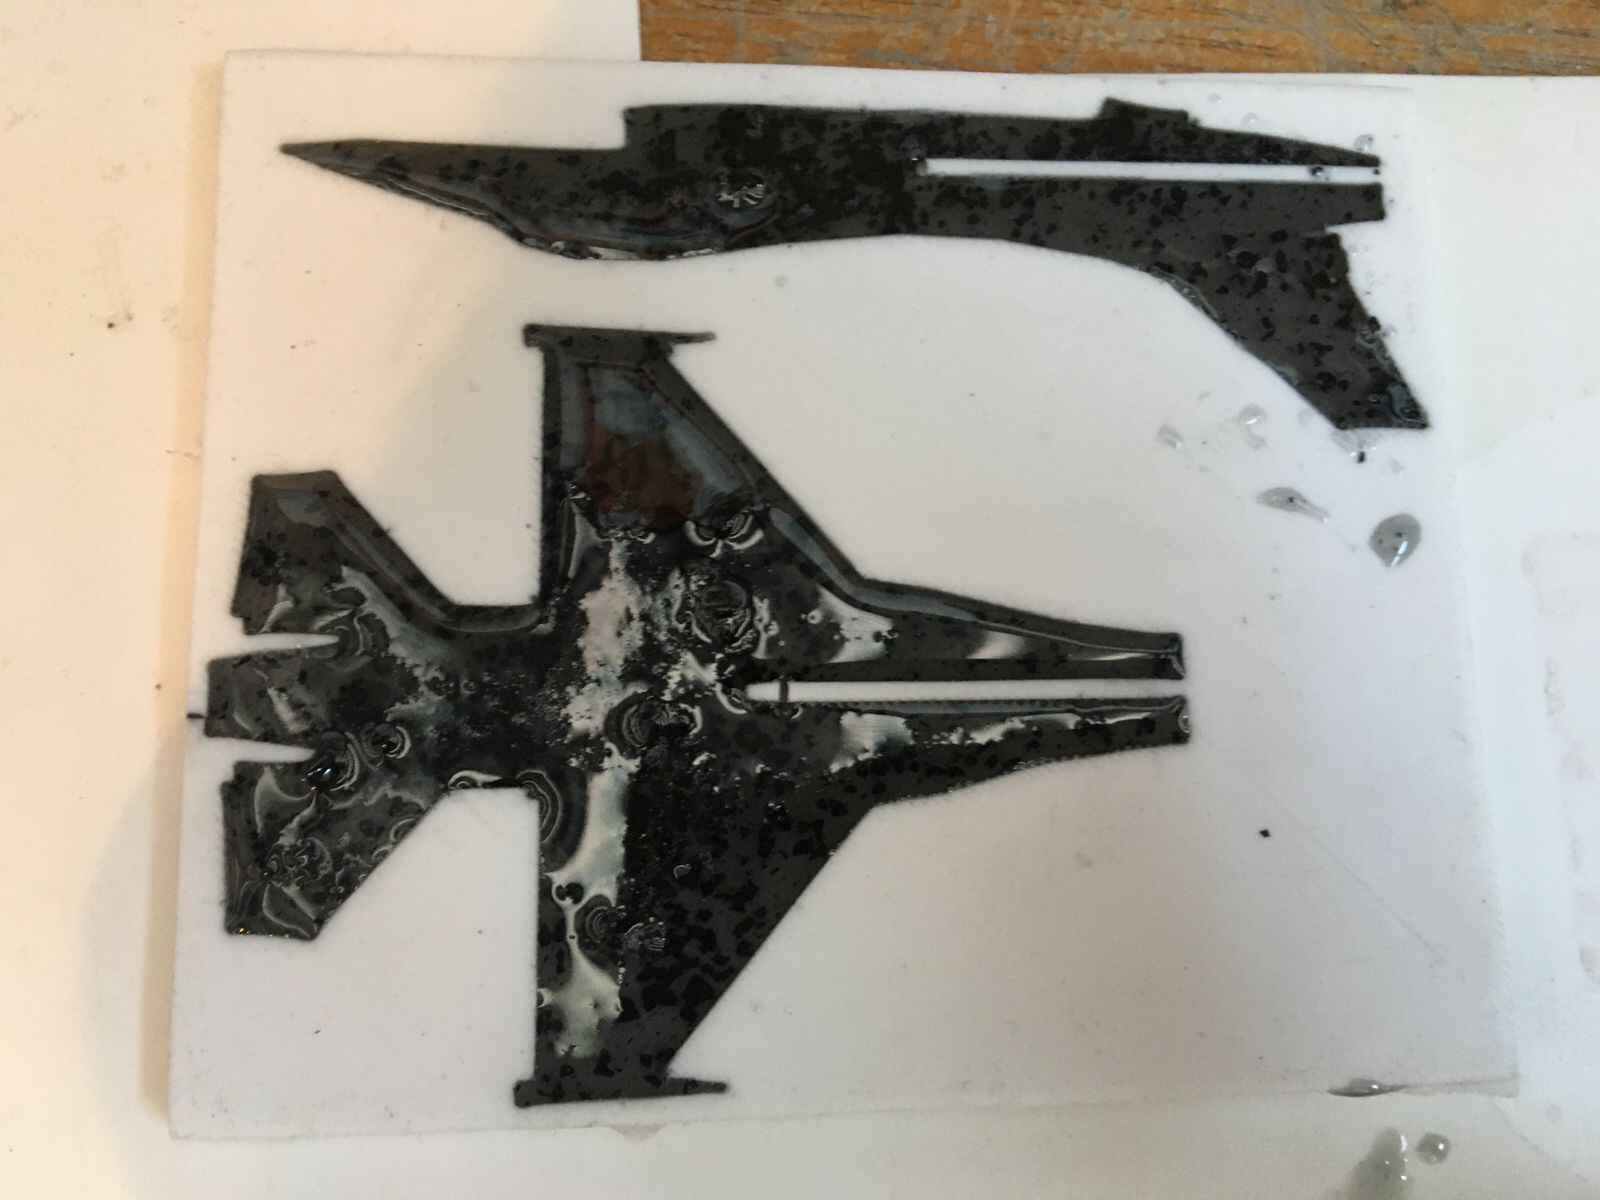
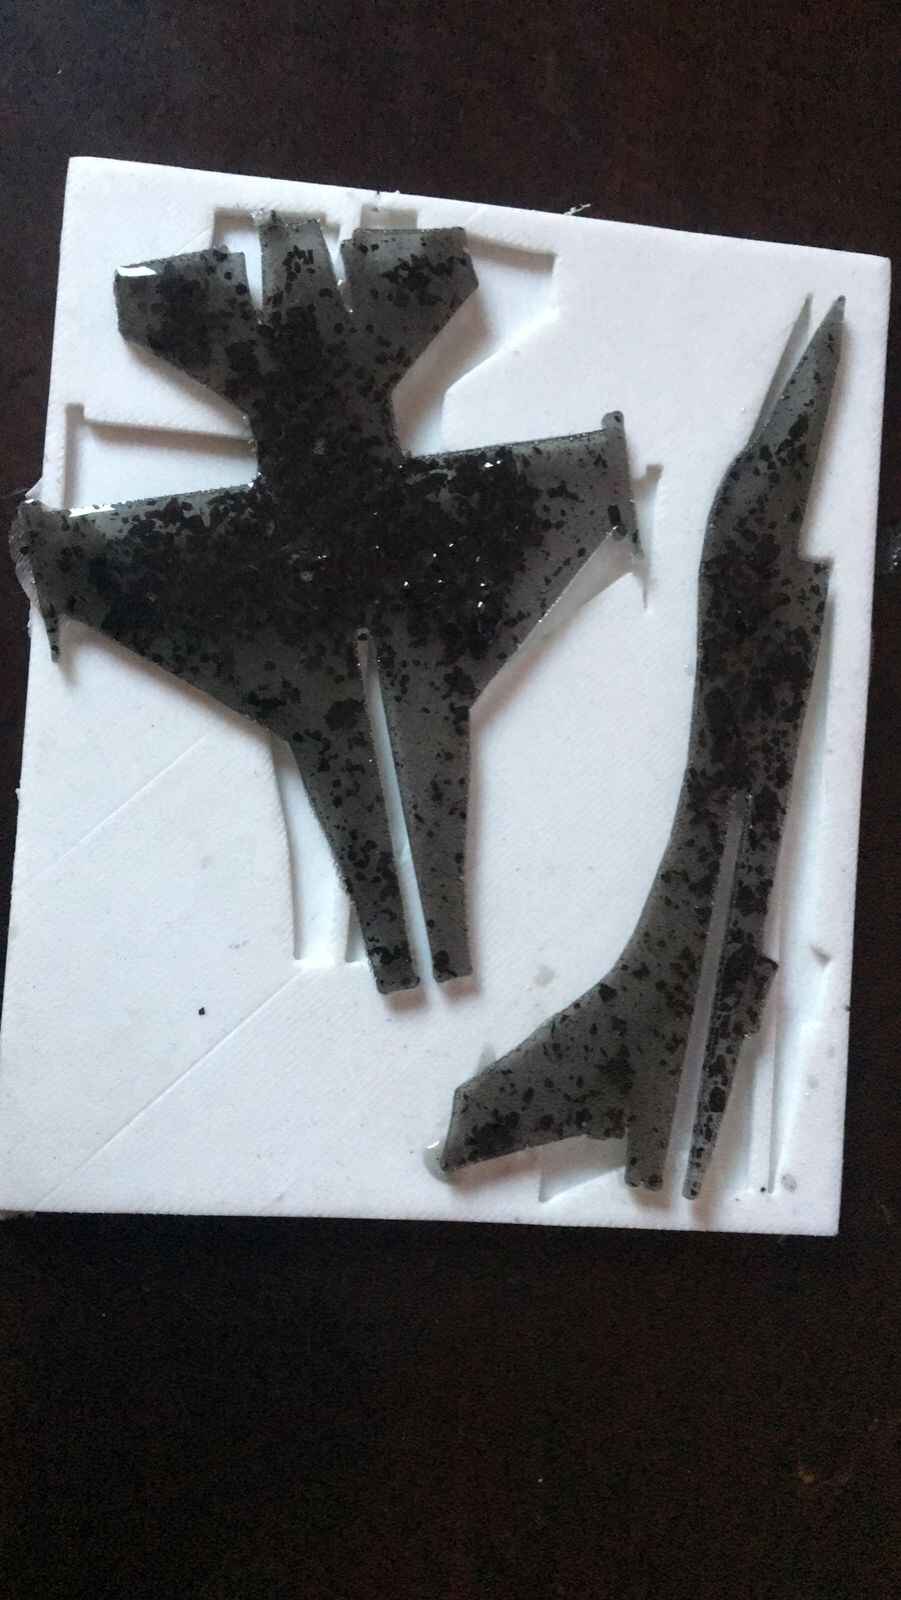
The charcoal didn´t fully dissolve into the resin, leaving visible chunks inside, but it is just a visual thing, should not affect the cast itself.
But otherwise, the cast came out pretty smooth, and the fit between the pieces was great too.
Conclusions
Even though I had a pretty good result with the cast, I still dislike having it done with 3D printing, but doing with other methods was very difficult due to the circumstances on the lab. I was actually suprised on how quickly the countermold solidified. I believed it would take at least a day if not 2 to fully cure. So molds are probably a very good altenative to produce a big quantity of pieces in a short ammount of time.