10. Machine Design
For this week´s assignment, we have been tasked with building a CNC machine of our choice! This is a team assignment that we had some extra preparation time due to the complexity of the project itself.
We started off by gathering together with our group that was picked by our Fab Lab instructors, there were 8 of us in total so we could hand out the multitude of tasks we had ahead of us in a pretty efficient way.
The first part was chosing what type of CNC machine we where going to build. We brainstormed a bunch of ideas as we did not have a clear idea of what we could possibly do. Out of the many ideas we came up with, the one we most like was a biomaterial 3D printer. One of our teammates is a university professor in biotechnology and she introduced us the the idea of gel like materials that could harden when added with a specific aqueous solution. So a 3D printer that extrudes this material with an atomizer that would spray this solution onto the material could be an option. This sounded like a good challenge to build so we concurred on it.
To start off with the planning, we had to consider all the challenges and parts this printer would bring. So as a mechatronics engineer student, I have some knowledge on how 3D printers and CNC machines work, being clear and honest I have never build one, but I am familiar with most, if not all, mechanisms that make up a 3D printer. So I started by sharing what I thought would be the possibilities and considerations.
This started by chosing between a carthesian and a delta printer. We debated on the pros and cons of each type while sketching what components we would need. Followed listing the parts and mechanisms needed to achieve our goal. This is how the aftermath looks like, don´t worry if you don´t understand my drawings, as I don´t remember what they meant either...
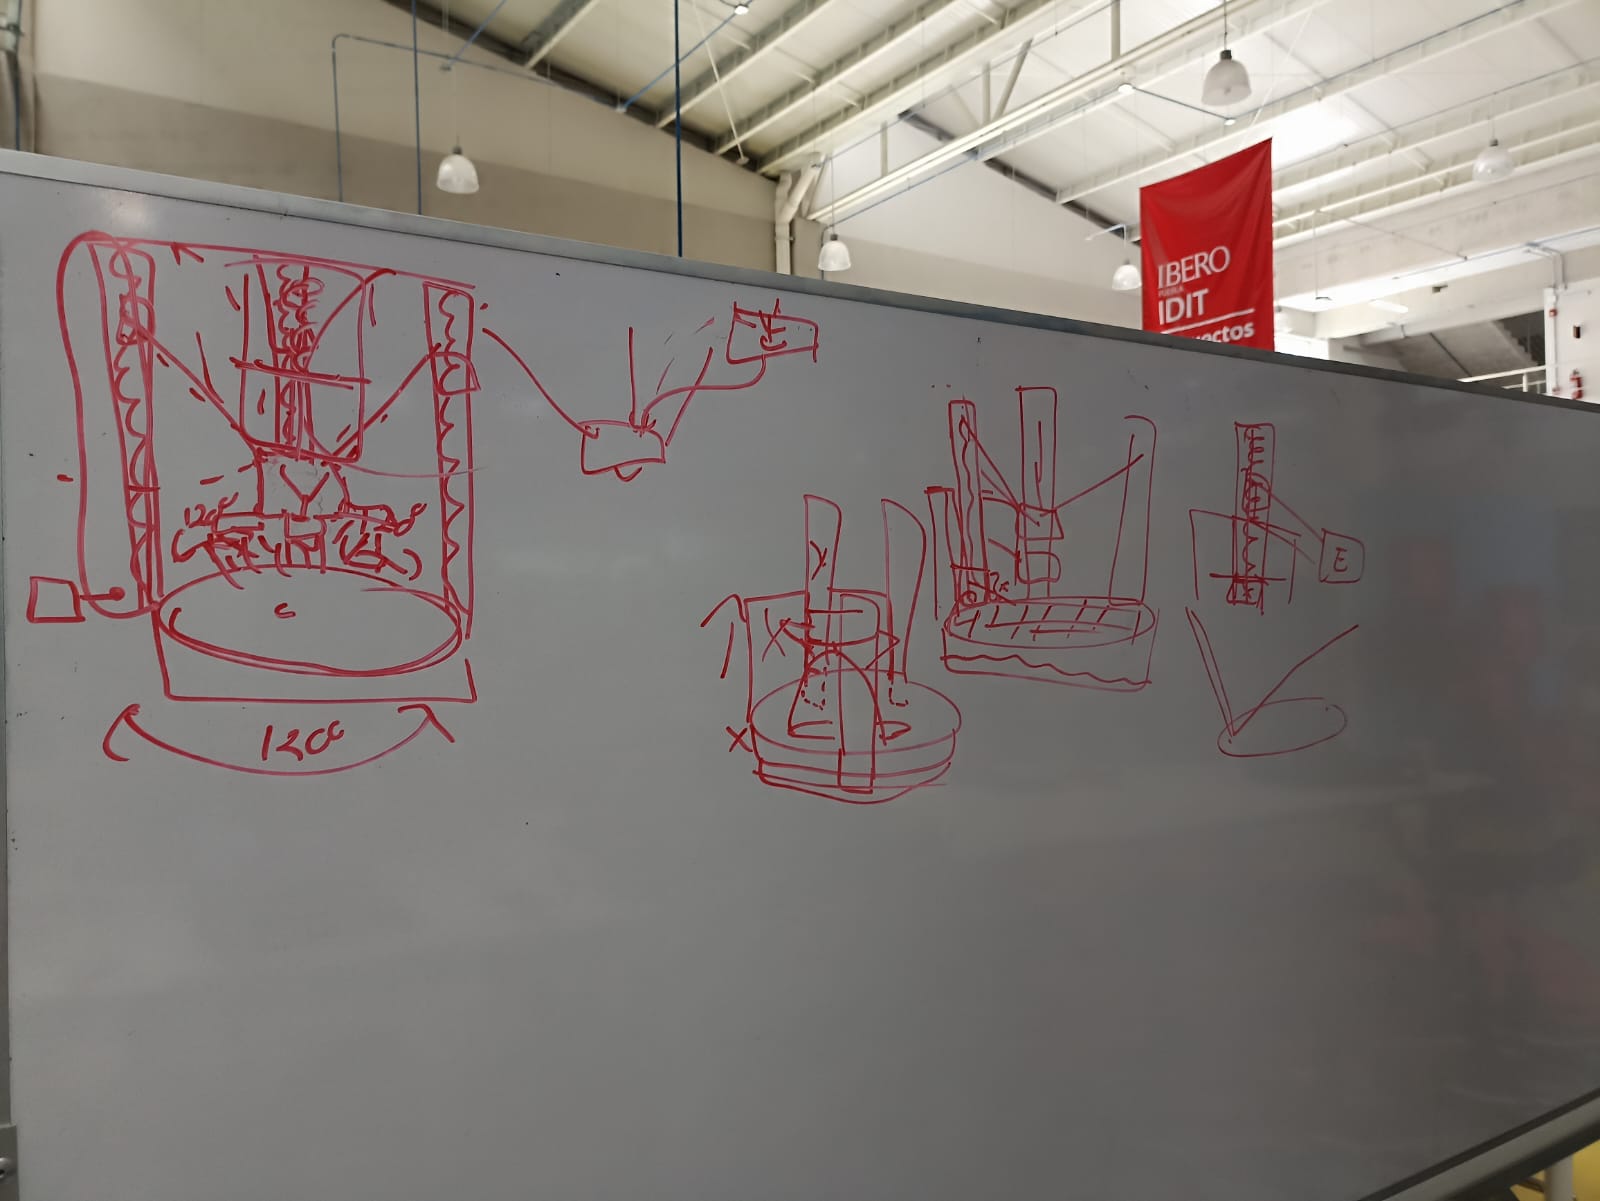
At last, we choose a carthesian printer as it was easier to code and the design is simpler comparted to the delta configuration. This lead to the distribution of the tasks we had to perform each
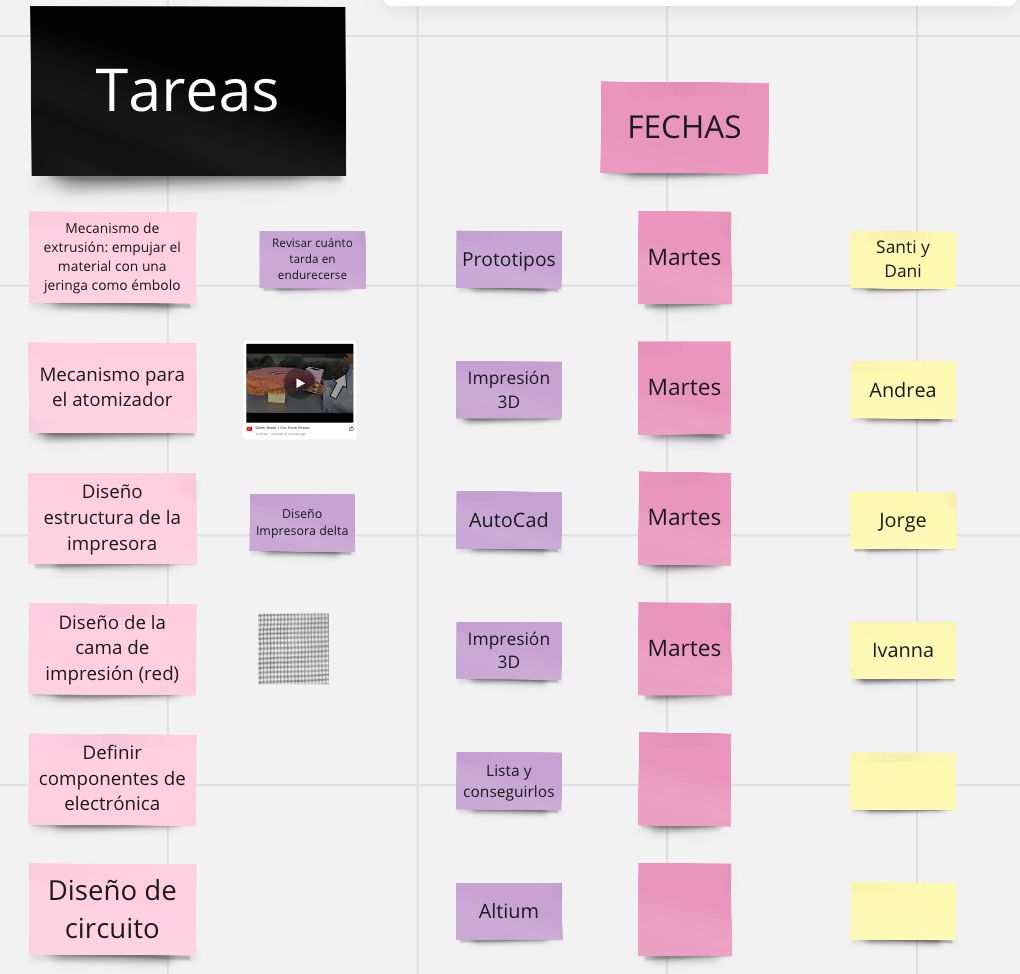
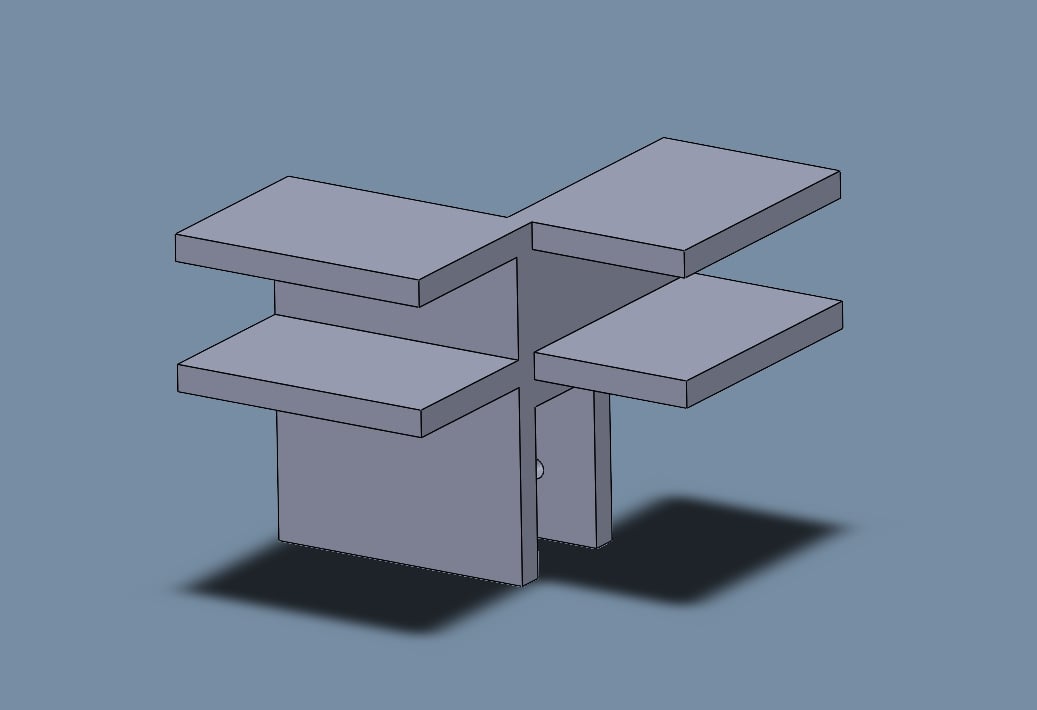
What follows was helping each other complete it´s tasks as we came together many times to follow up with the work we had. I design an MDF joint for the corners of the printer, ultimately we went with a different design, but that´s part of prototyping
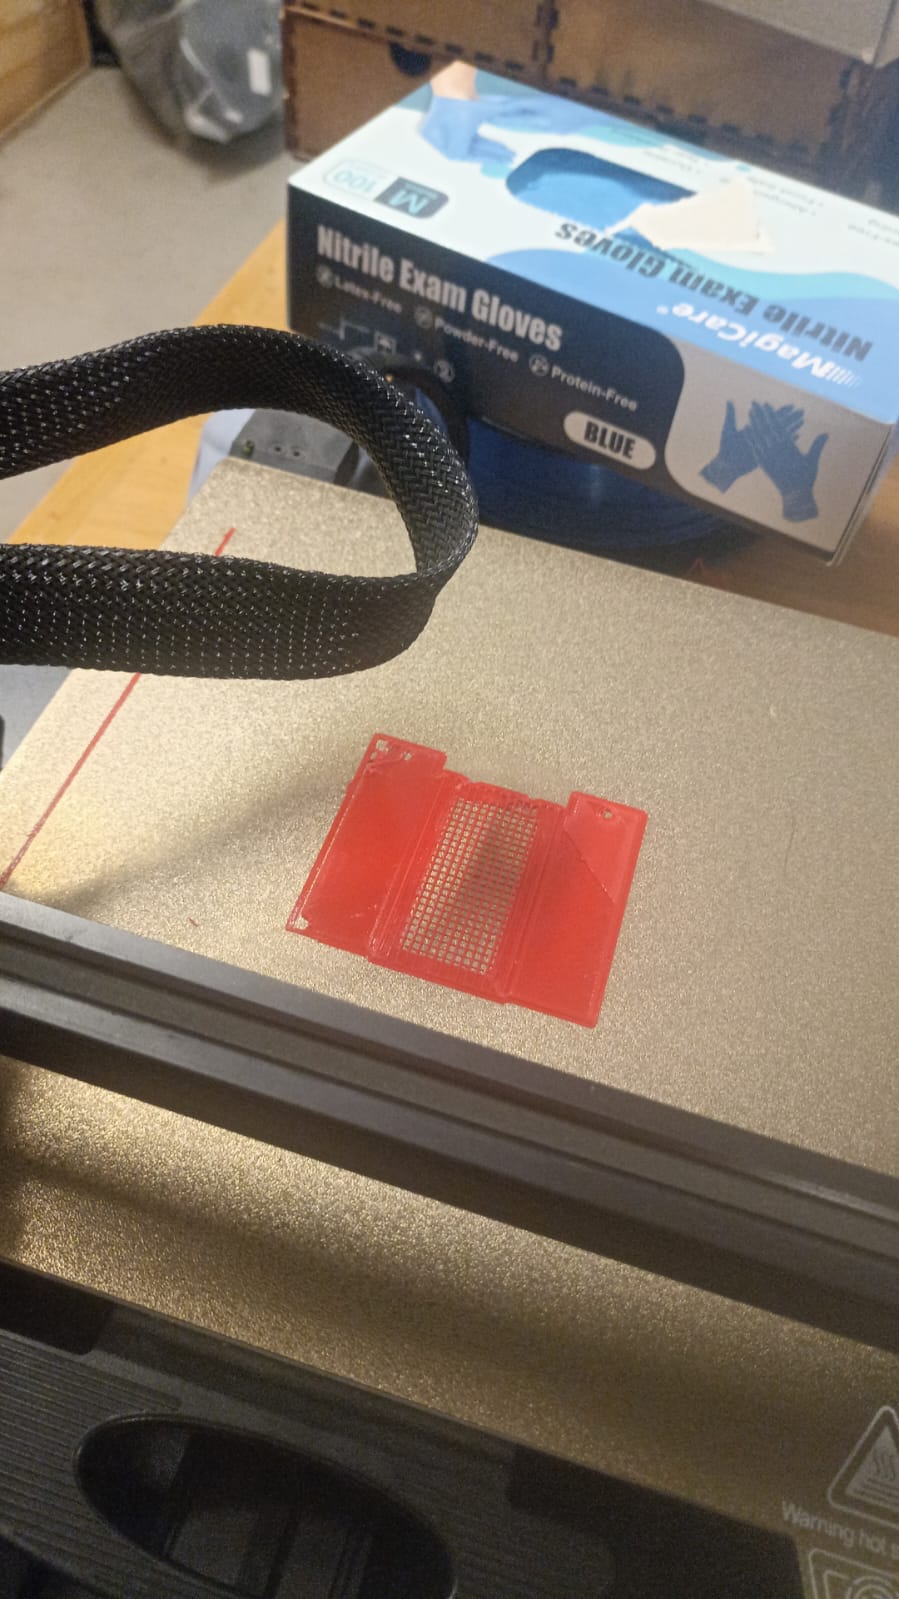
We also had some issues with a 3D design that for some reason could not be printer. So I thinkered with the parameters of the 3D printer to make the print succesfull
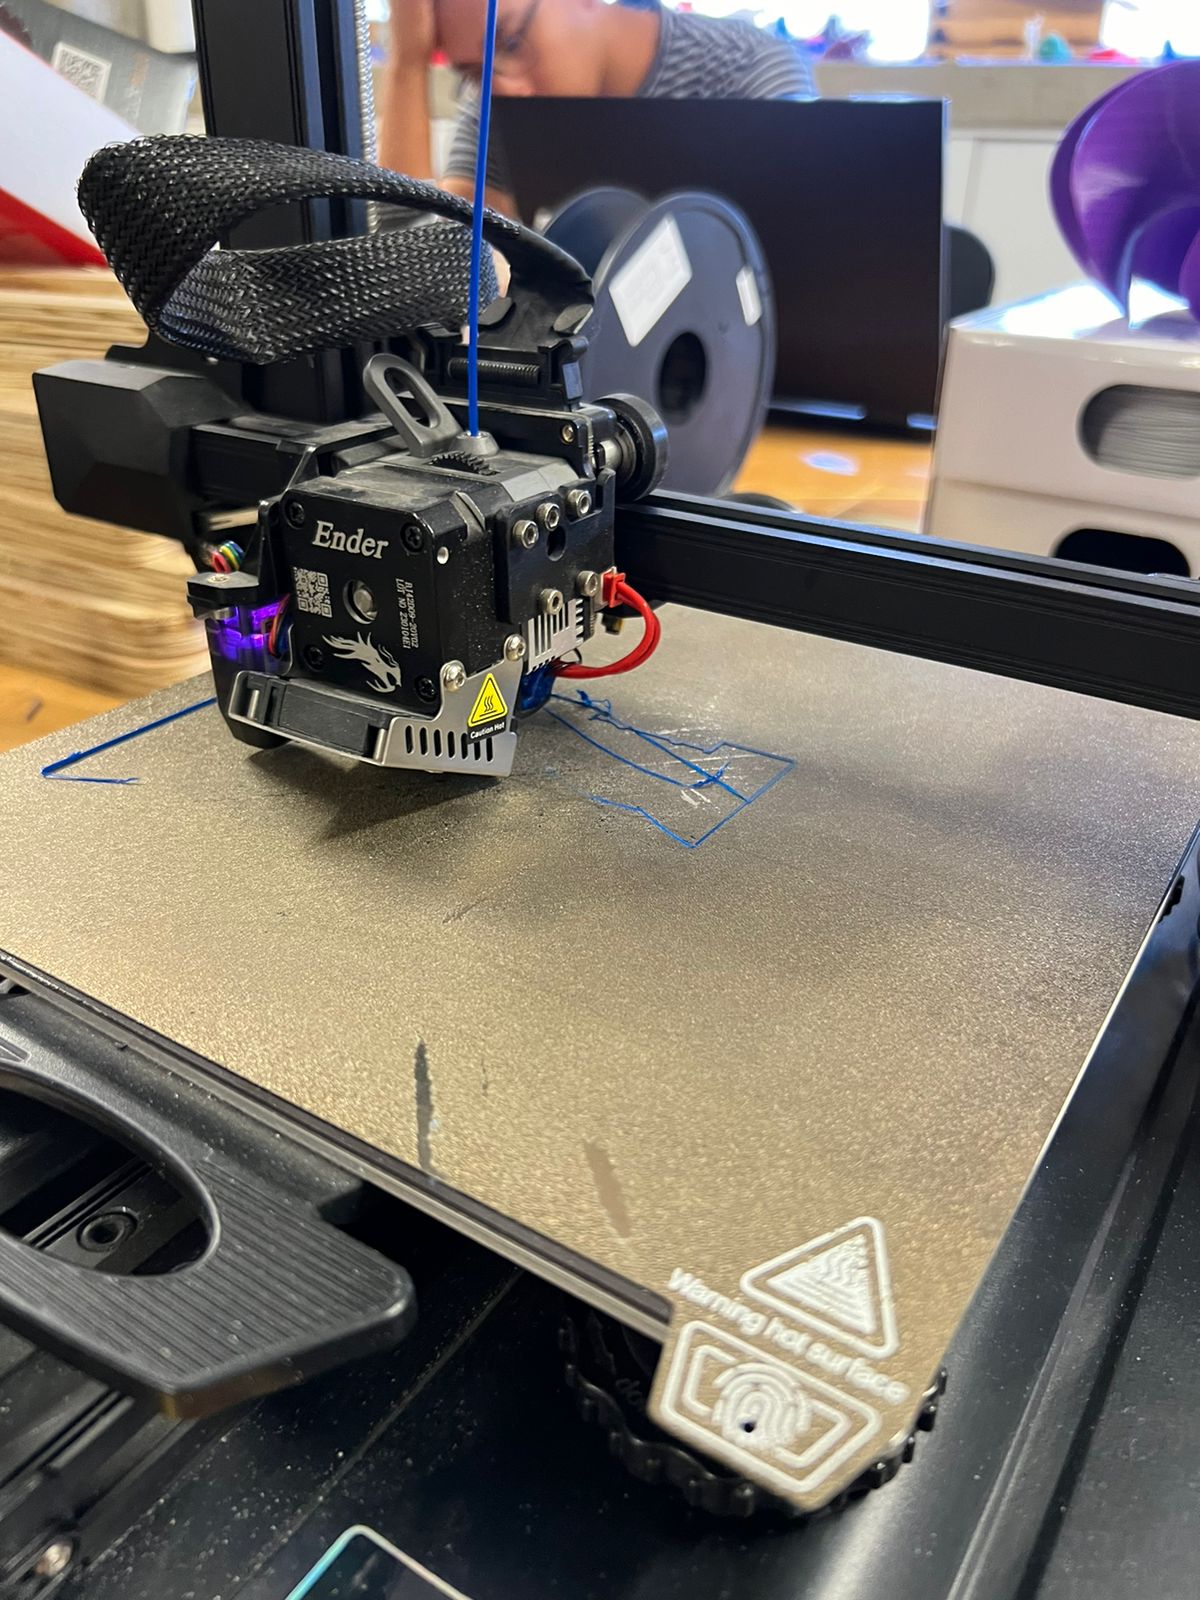
After trying for some time and many attemtps (and a bunch of wasted PLA) we had to change the design either in shape or printing parameters as it would keep failing.
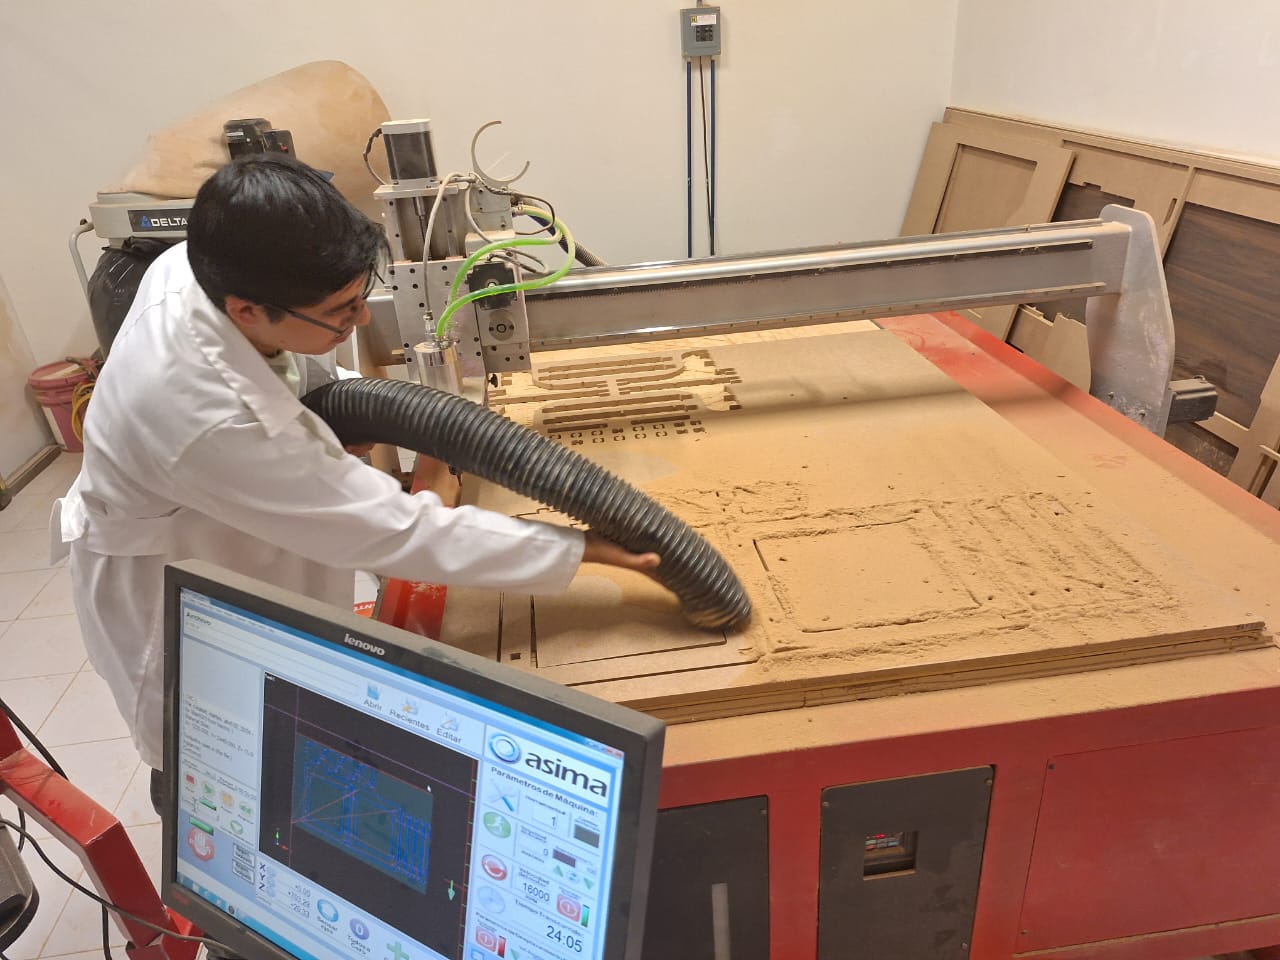
The main structure was made with 15 mm MDF cut in the CNC router
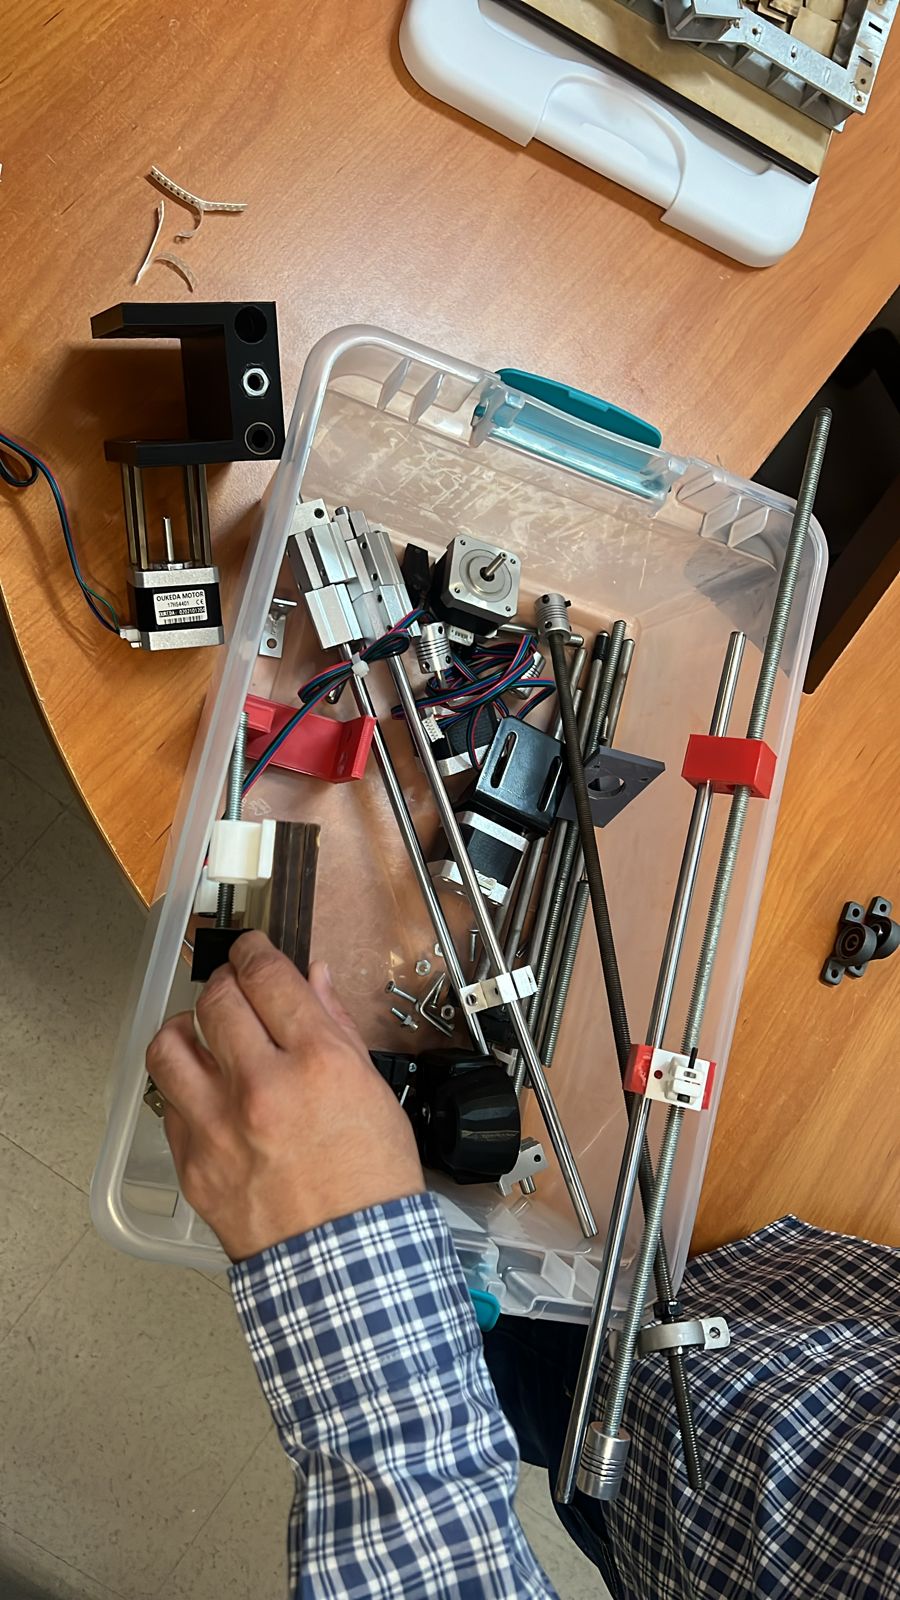
So we come to the main assembly. Our professors gave us a box with most of the materials we would need for the printer, like endless screws, stepper motors, sliders, etc.
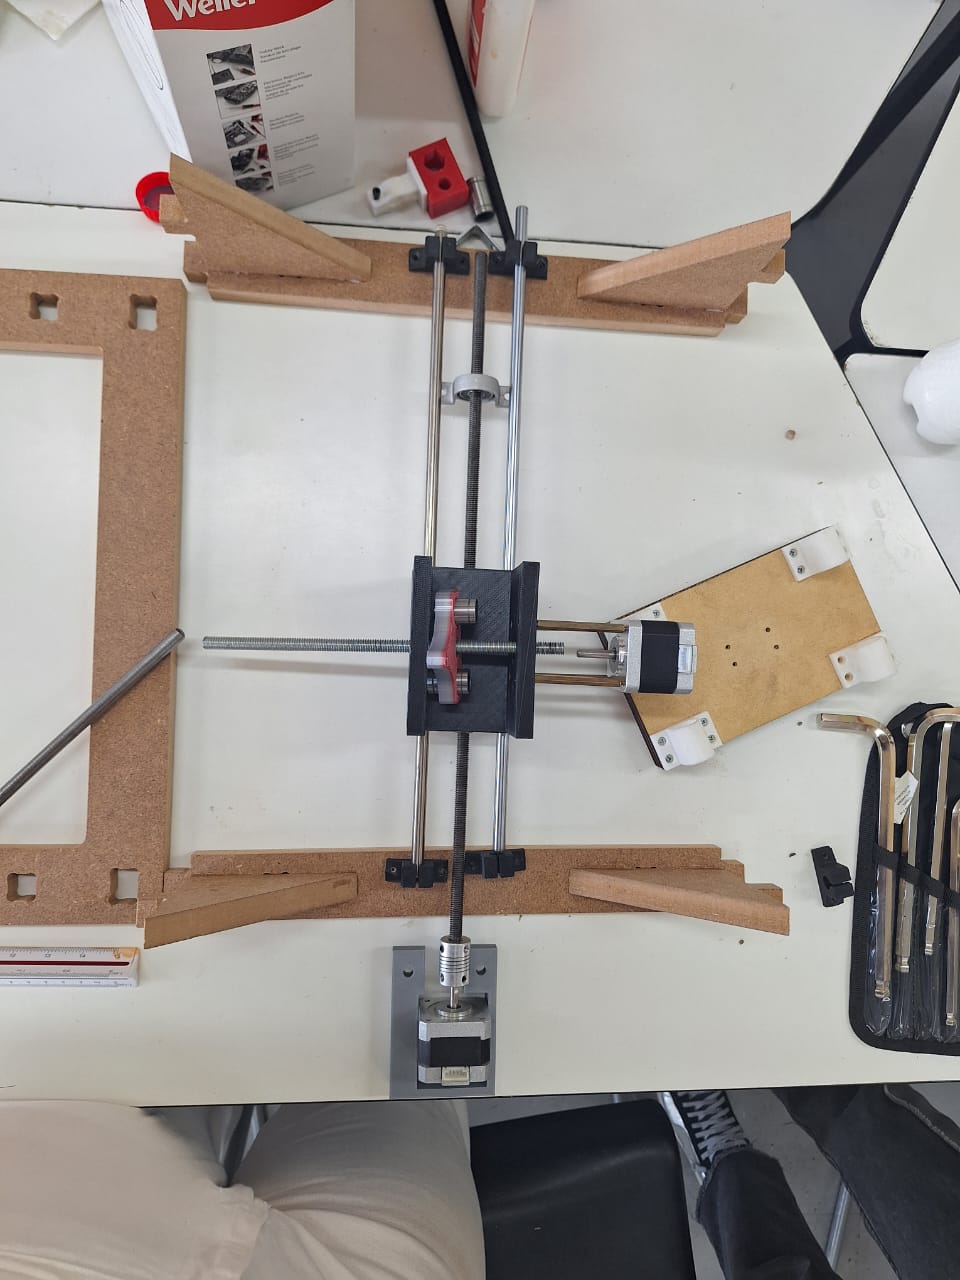
With the structure build, we had to fix the motors and the sliders. Making holes with a Dremel drill and buying screws that would fit the holes in the mounds to hold the pieces to the structure.
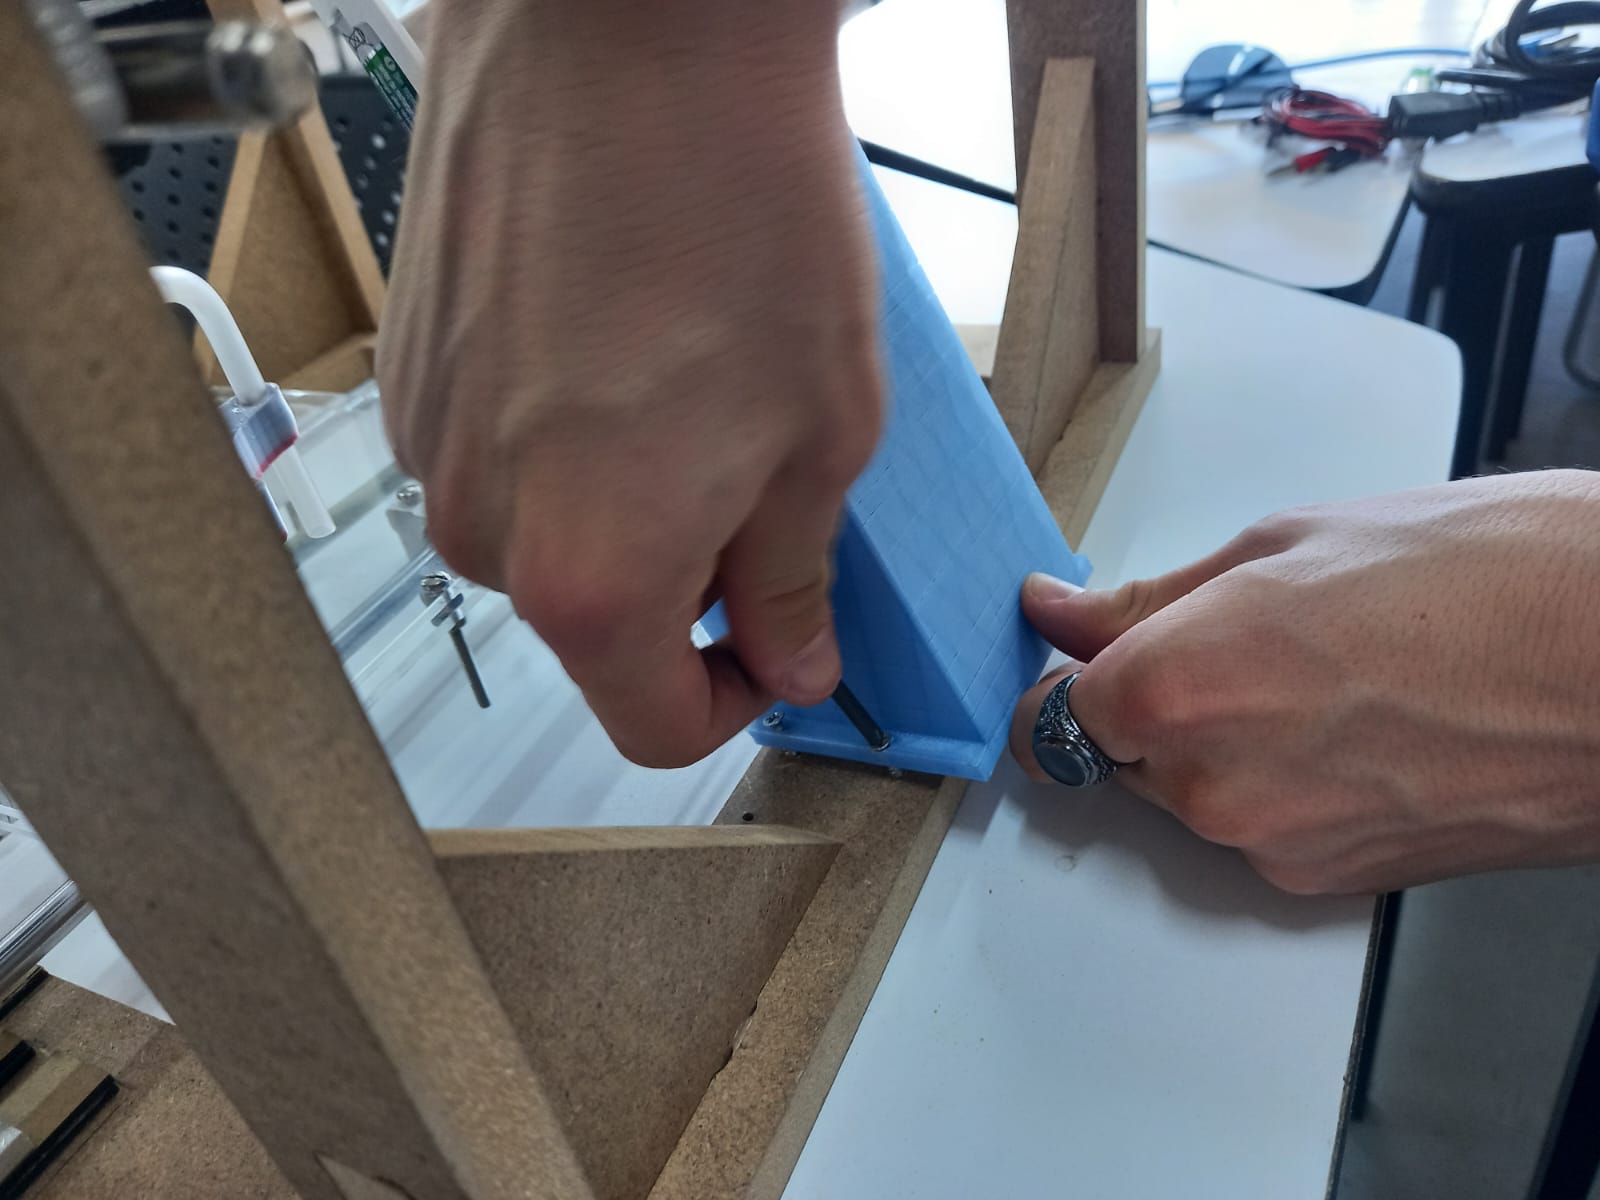
After some trial and error, we had the final assembly with the motors, extruder, sprayer, bed, electronics and more.


