

6. Embedded Programming
More XIAORP2040
For this week´s assignment, we are doing our own code on the XIAO RP2040 we made on week 3 in electronics production. With the main objective of taking sensor data from outside, and process it to output signal to a visible component. For this explanation, we are doing a very simple circuit; a water level sensor with some leds.
We are coding once again in Arduino, keeping the same settings in the board and port, just like mentioned in week 3.
For more information about the architectures of different programs, and how they are applied to each specific purpose, you can check the Fab Ibero Puebla´s page on embedded programming.You will also get a quick guide on more complex programming, and comparison on different coding languges.
Water check, literally...
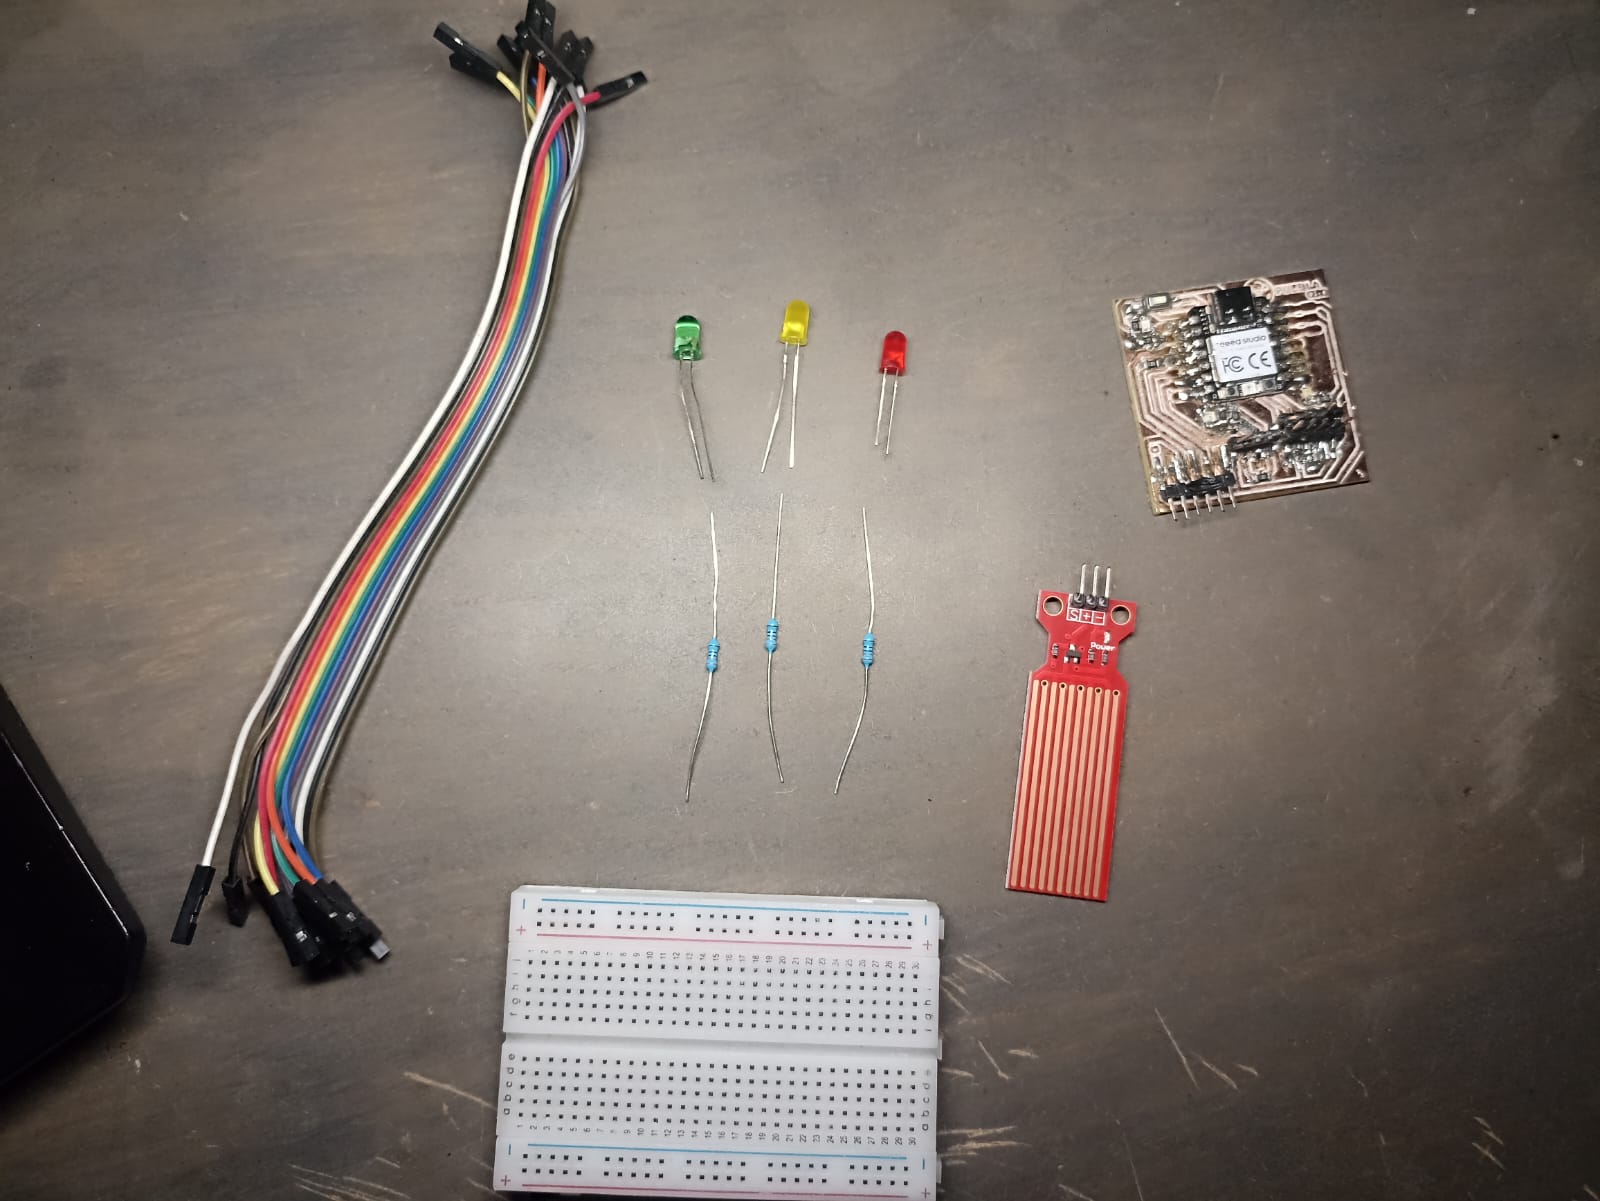
So for this practice, we are using the following materials to create a water sensing program with leds depending on the water level:
- XIAORP2040 Board
- 2 Leds
- 2 330ohm resistors
- Jumper Cables
- Water sensor
- Breadboard
Now, for the pin connections, let´s look at the XIAO, pin diagram:

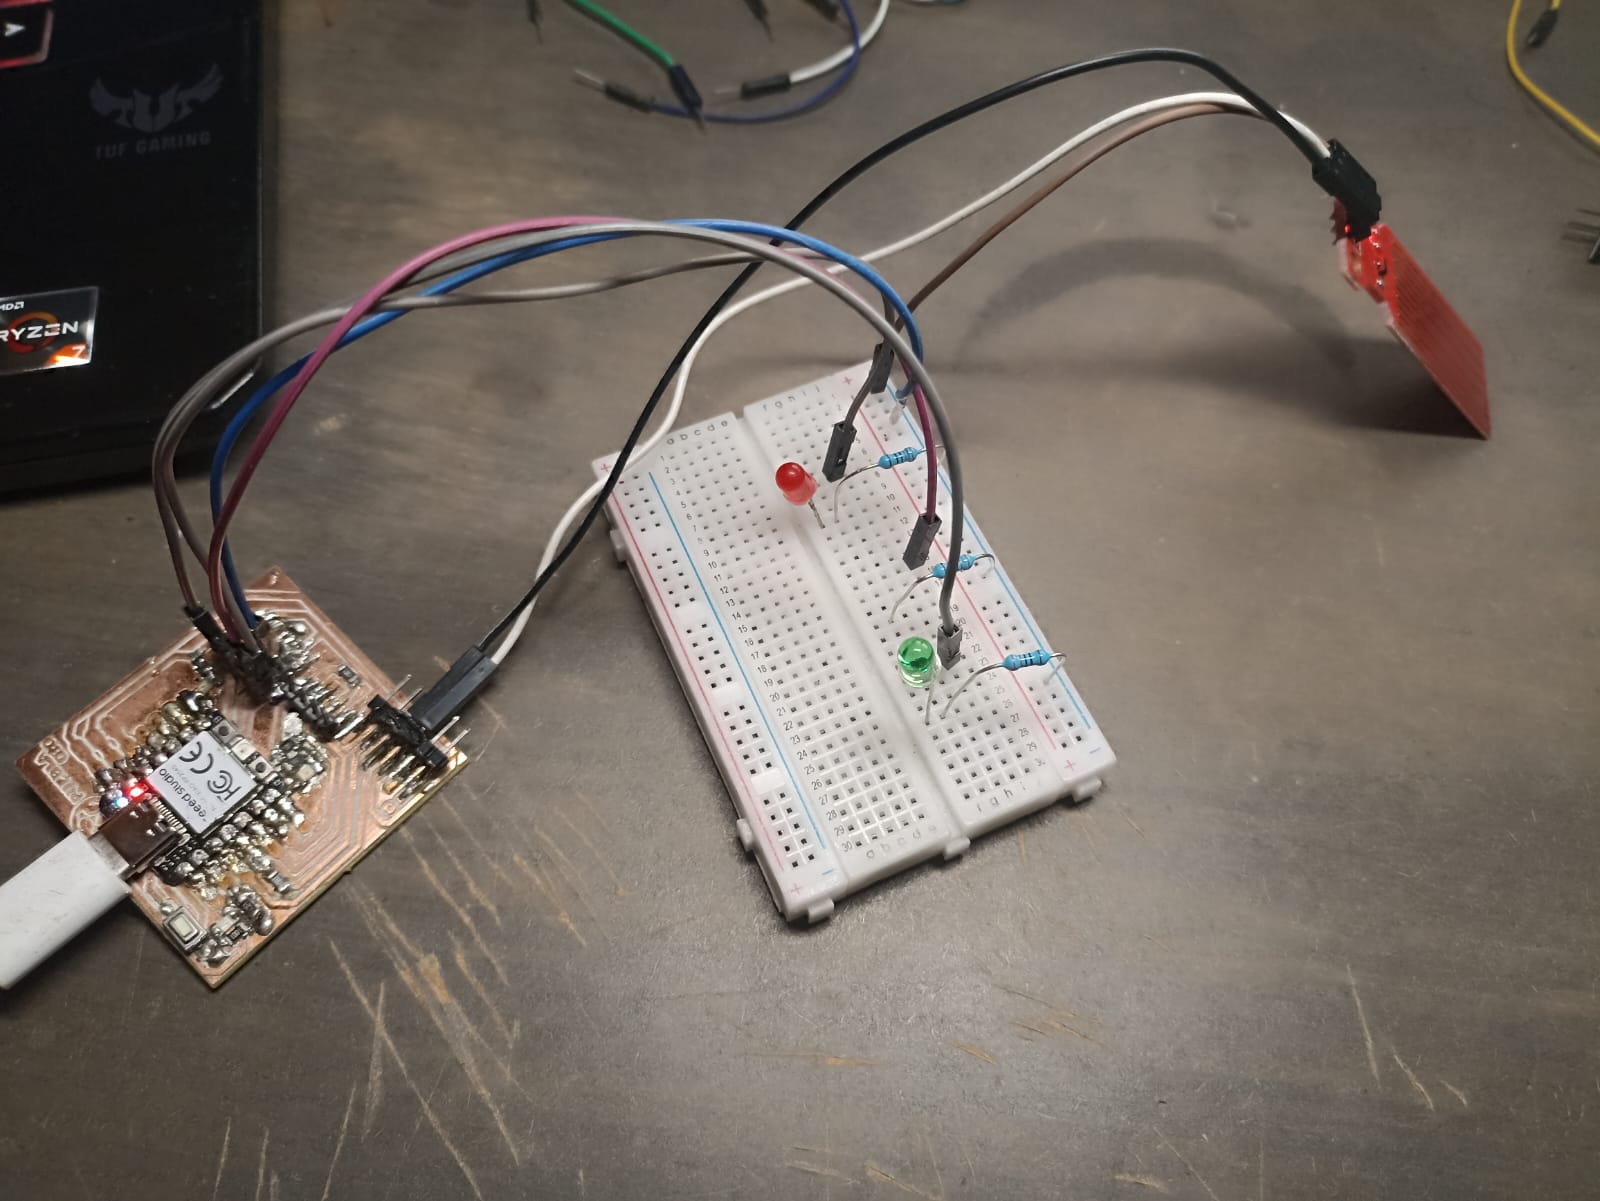
We are gonna need the GND pin for both the leds and the sensor, we can connect those in parallel. The 3 and 4 pin are both digital outputs, we will connect them to one led each. The 5v will go to the sensor, and for the data reading, we are using the A2 pin for an analog input. It should look something like this:
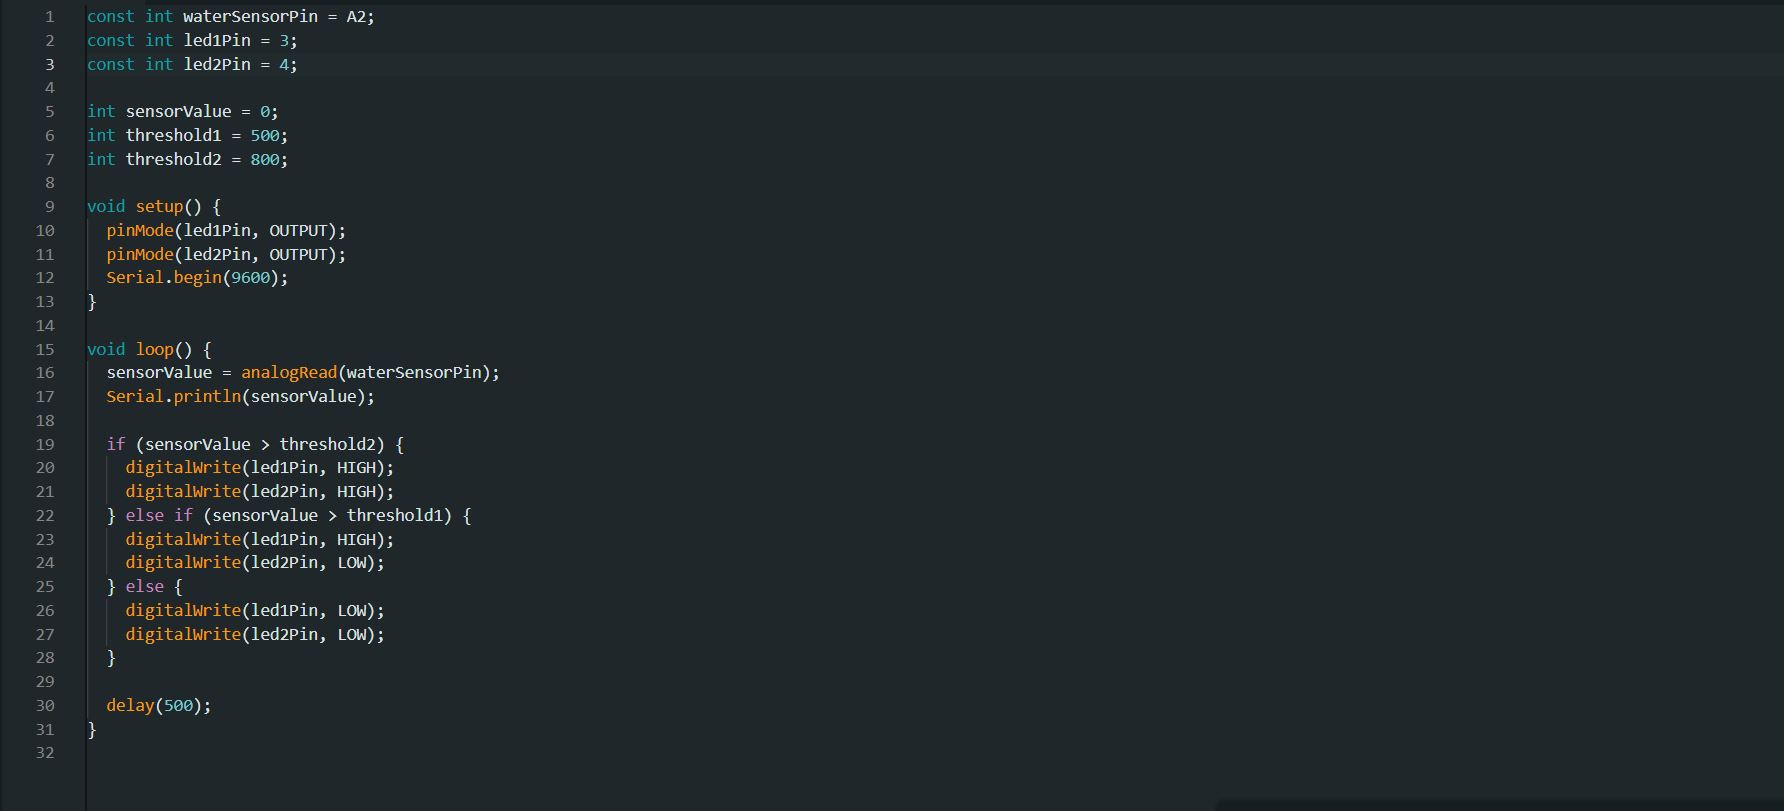
The code is an if and if else function that turns one led pass a threshold, and turns both leds pass a second threshold.
Finally, we can add the sensor into a water container to check how it reads the water level:
Conclusion
Although I am not a fan of the in house PCB we´ve created, it´s probably good enough to test out very simple sensors and circuits in a smaller, more compact area. Also the water sensor was a little complicated to use since the values shown on the IDE weren´t as accurate as the physical water level, but for a test I think it´s sufficient.