

5. 3D Scanning and Printing
Printers for everyone
For this week´s assignment, we are doing everything 3D related. First off by having a look at 3D printing itself and then all the ramifications that go along with it.
First let´s look the printers themselves. Here at Fab Ibero Puebla we have a variety of printers to chose from, all with it´s unique characteristics that complement different necessities depending on the required outcome of the project
Probably the most used and the one that we will be focusing on is Fused Deposition Modeling, or FDM. This is where a filament (PLA and ABS is commonly used for this printers, however there is a biger variety of options aswell) is heated to it´s melting point then finely extruded through a nozzle that can go from a height of 0.05-0.4 mm in each layer, again, depending on the brand and type of printer.
For our purposes of quick prototyping, this form of 3D printing is arguably the best choice we can go with. This is because we can do very customizable pieces from 3D CAD softwares, thus printing somewhat complex objects (as long as the print does not fail, of course.), and for low volume production, it is very cost and time efficient. The issues we can run into this type of technology is mostly the surface finish, as depending on the parameters and materials, we can have mixed results. This include rough fnishes on our pieces, skipped layers, crooked parts and mostly, printings that go haywire mid procedure and you may need to restart a piece that had already been on the machine for hours! (Been there, done that)
The most commonly available 3D printer at our Fab Lab is the Ender 3 S1 PRO. It´s a very capable and reliable printer:
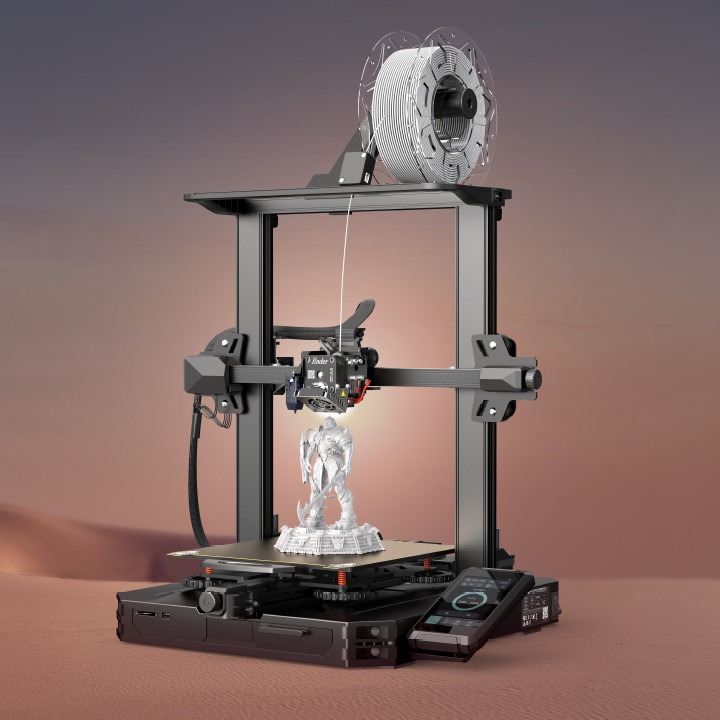
- Printing Technology: FDM
- Build Volume: 220x220x270 mm
- Printing Speed: 150 mm/s
- XY resolution: ± 0.1 mm
- Layer Height: 0.05 - 0.4 mm
- Nozzle Temperature: Up to 300° C
- Supported Materials: PLA, ABS, PETG, TPU, PA, WOOD
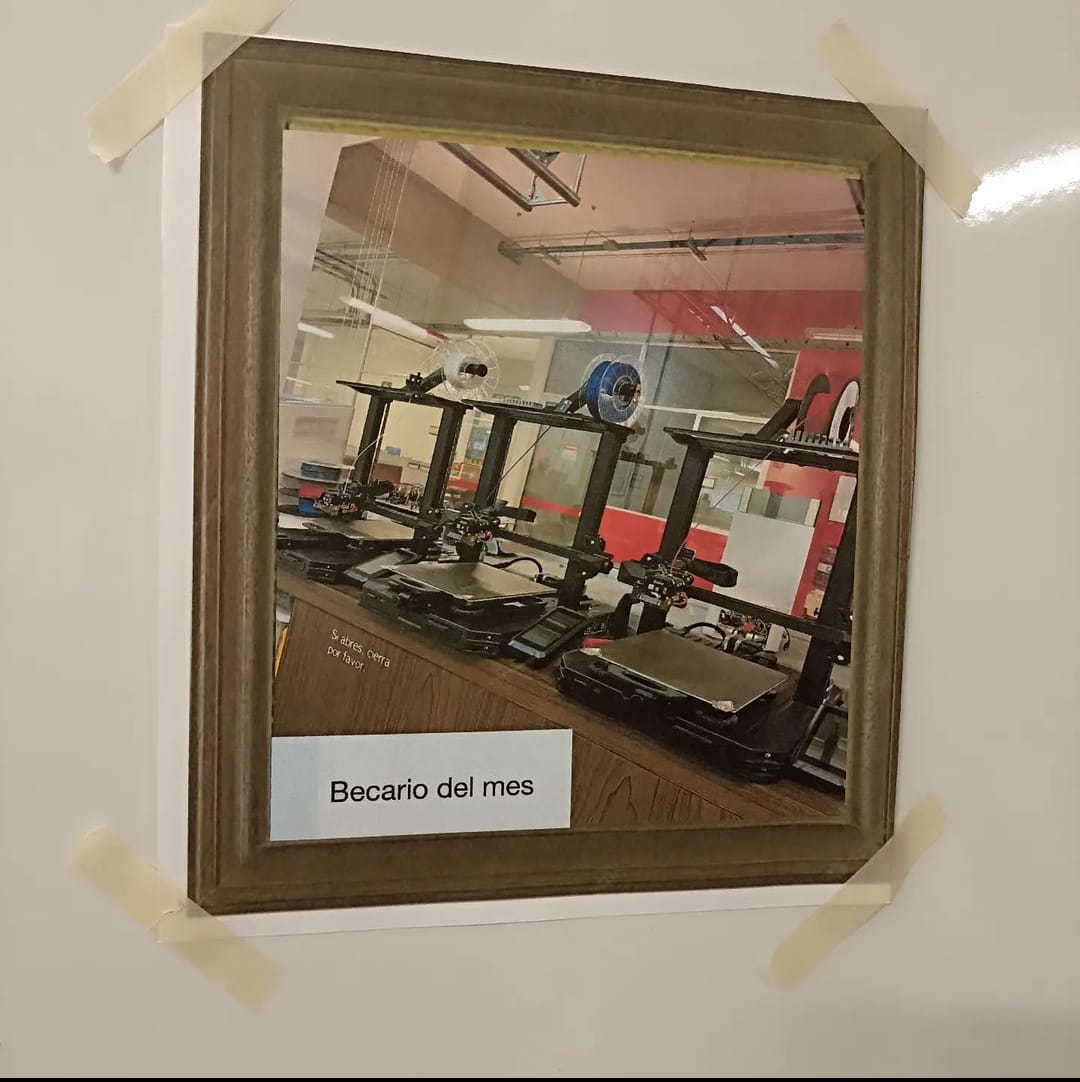
Matter of fact, they are so reliably and hard working, here at Ibero Puebla, they earned the title scholar of the month!
For more information about the printers themselves and whater paremeters they are tested to, you can go to the 3D Scanning and Printing Fab Ibero Puebla´s page about 3D printing for more technicalities
Plane boring...
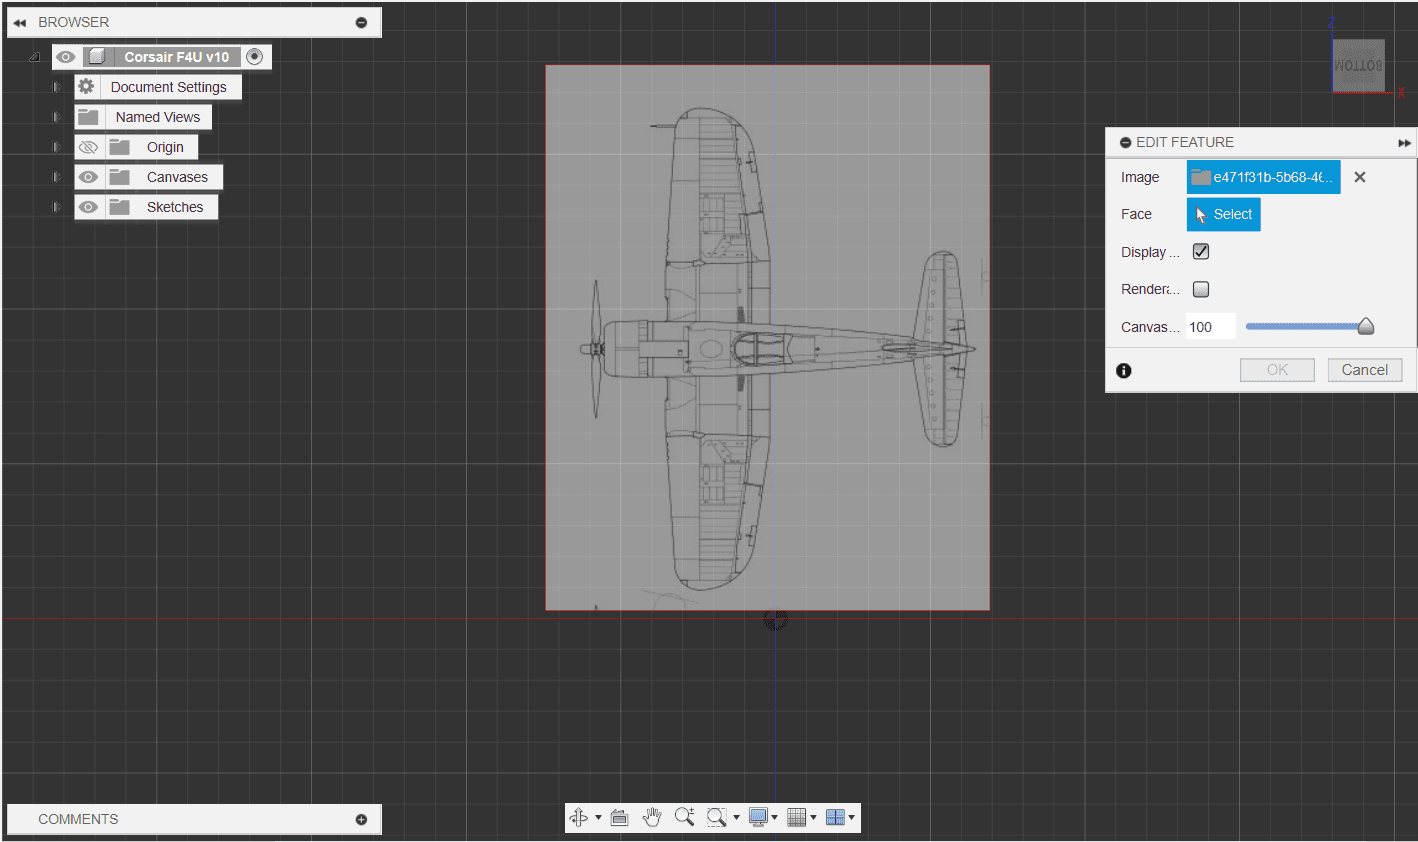
Before thinking about printing, we need to design something first, so to do a topic I have never ever worked on this website, I´m chosing a plane! The Change Vought F4U Corsair, my favorite plane of all times. I´m doing this design in Fusion360 aswell and I´ll go quickly on how I made this design
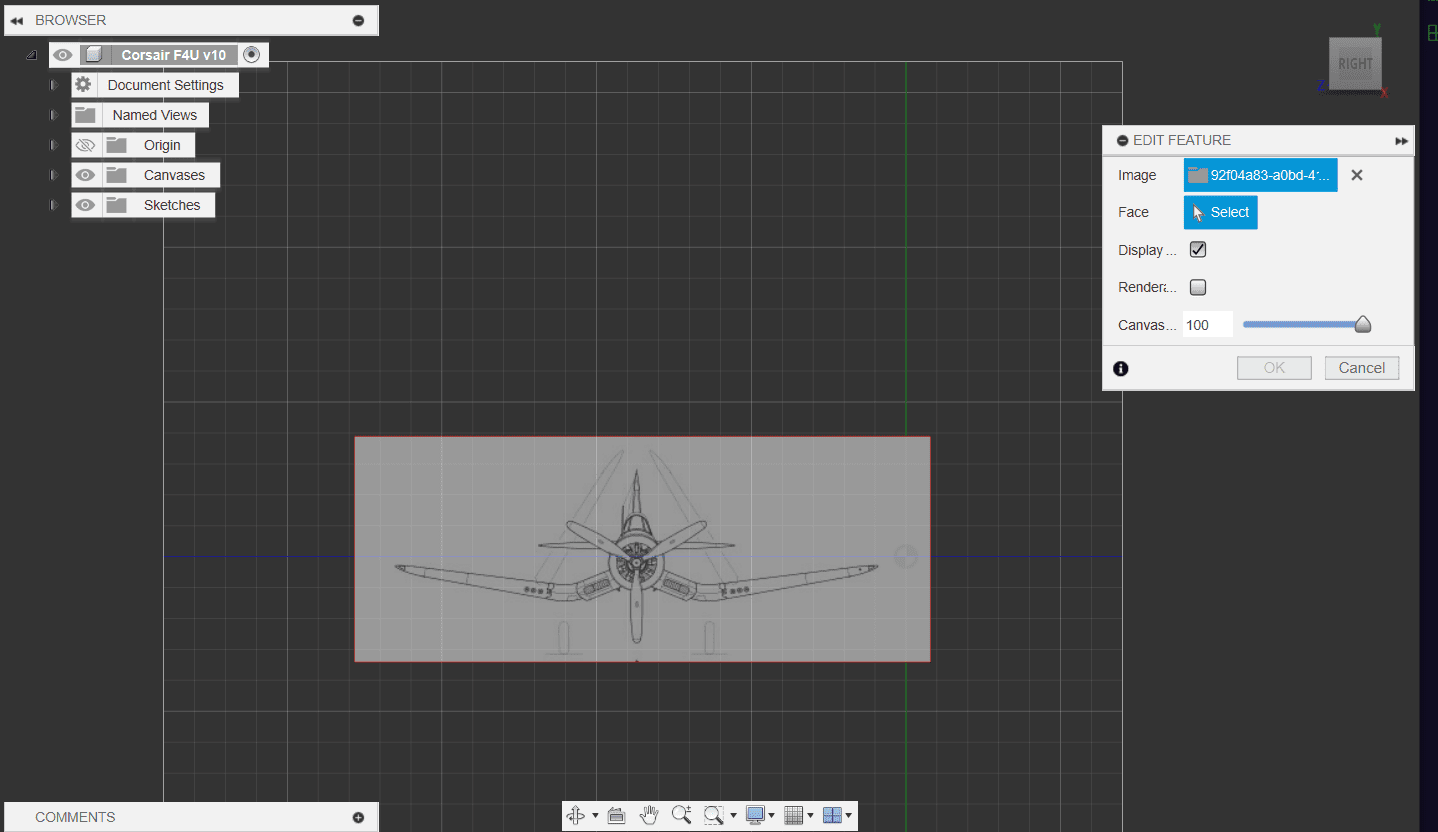
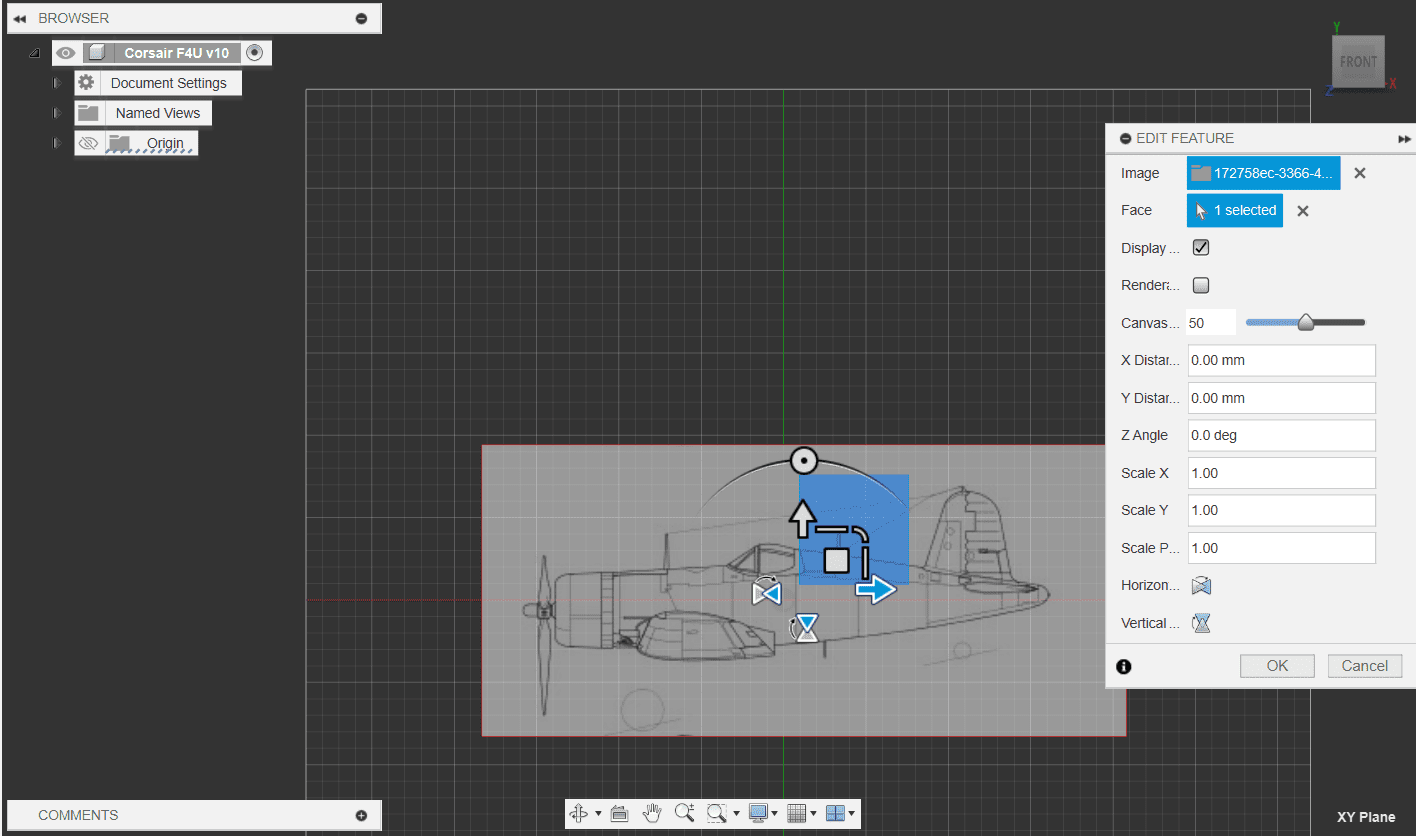
I started just like I did the fuselage on the CAD introduction: taking the top, side and front view of some blueprints, align them on the X,Y,Z axis, sketch their outlines, extrude and extrude cut accordingly:
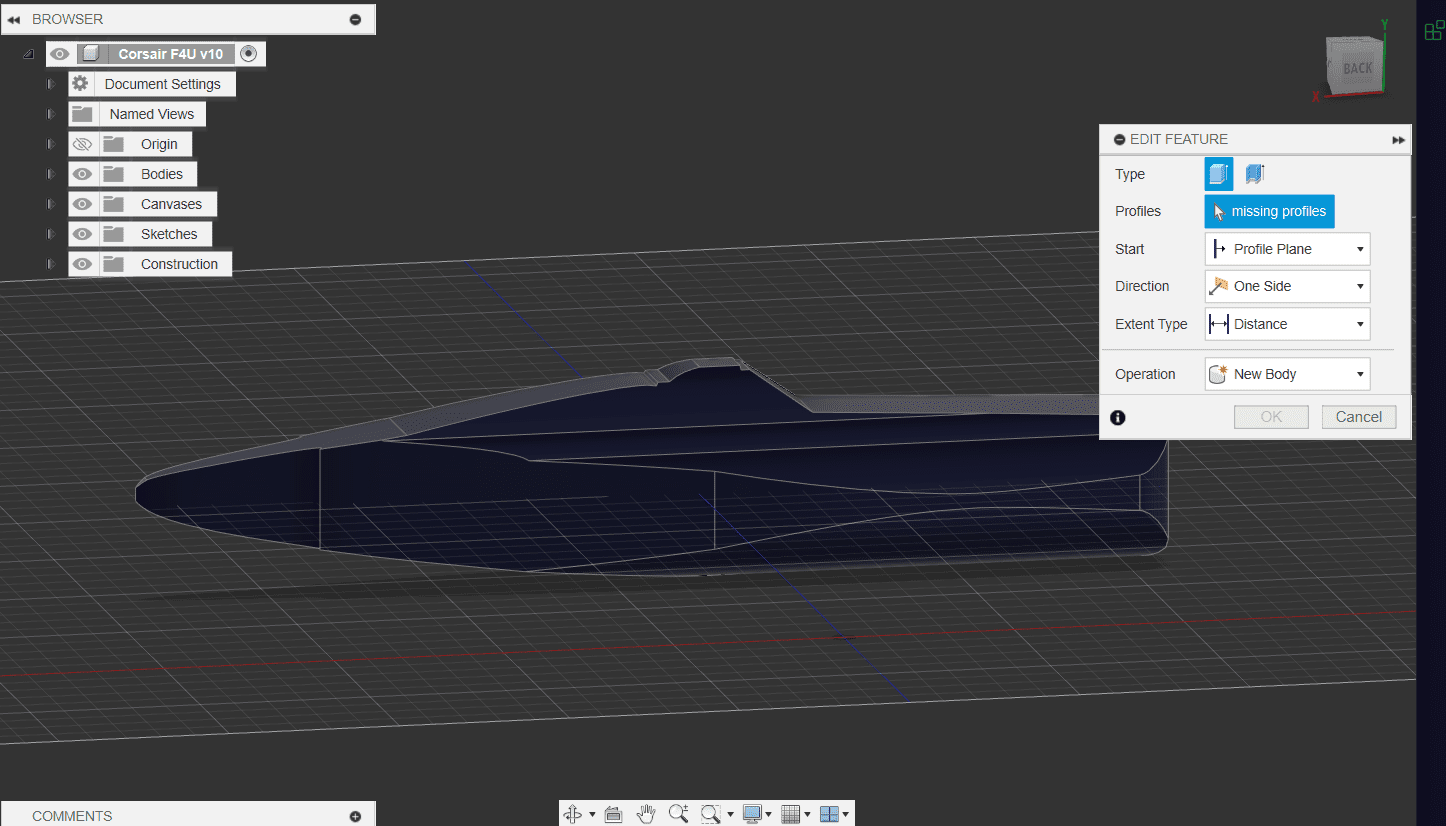
So that the base fuselage looks like this:
Adding the wings, tail and rudder:
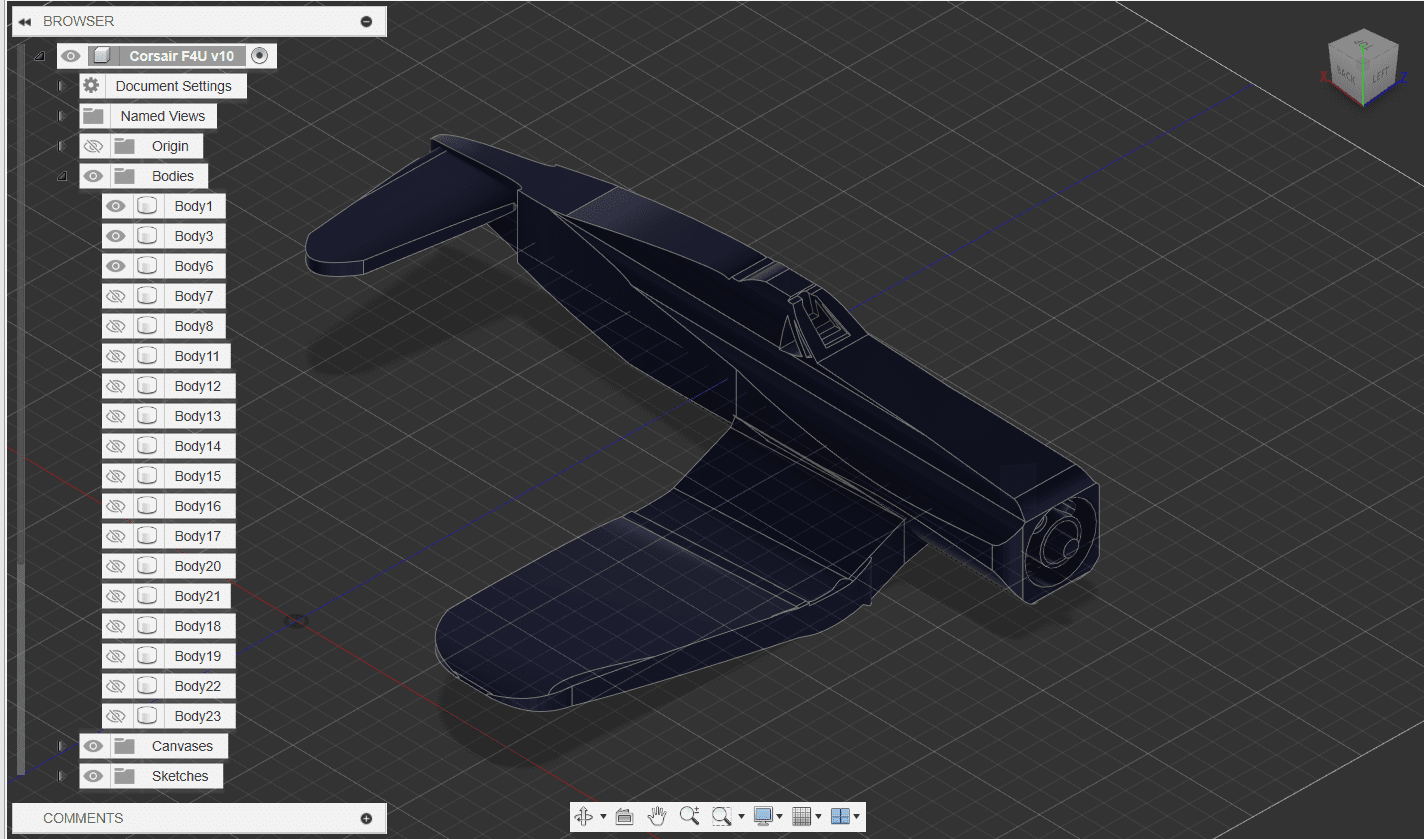
Doing a mirror to this bodies and adding the extras like the propellers and motor:
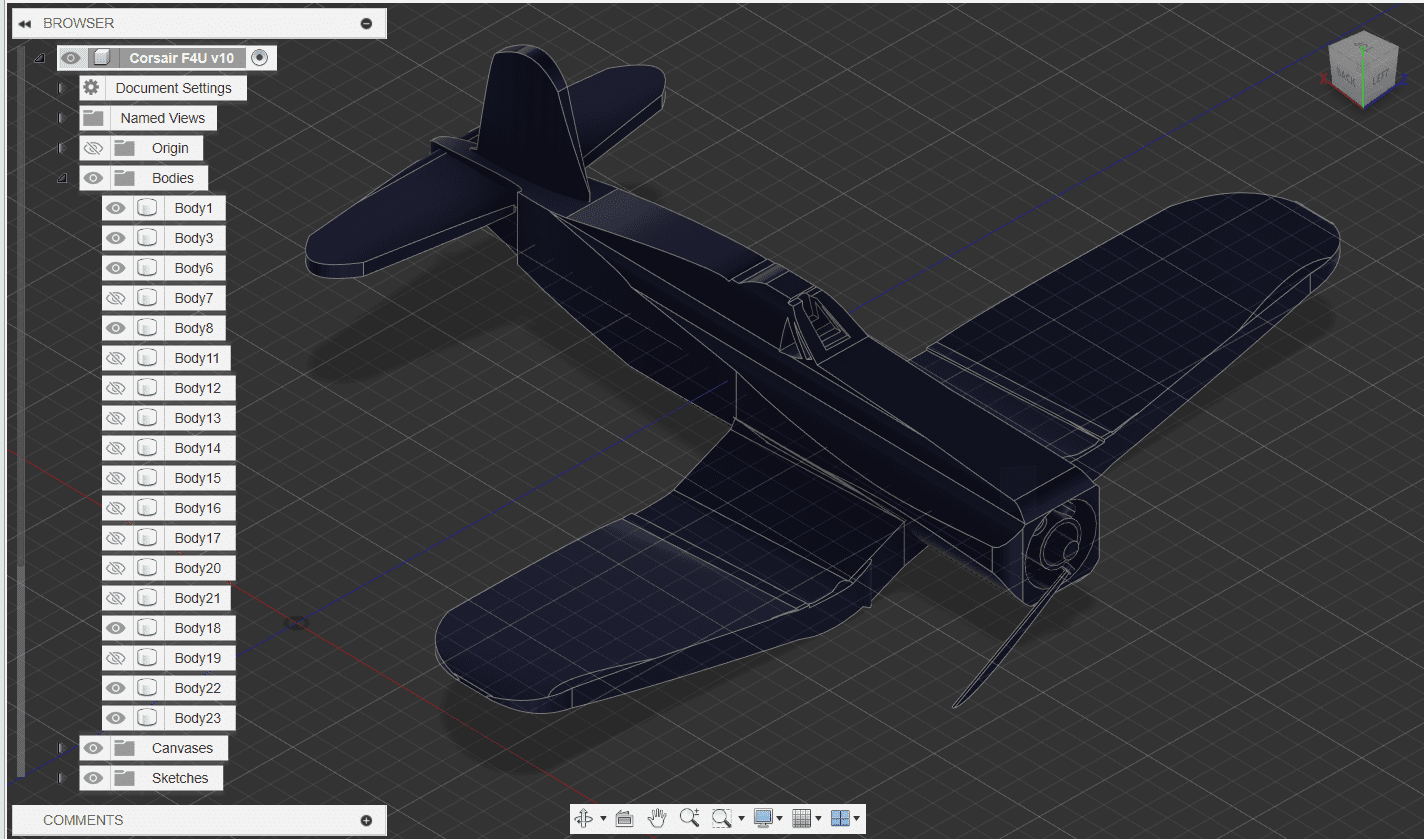
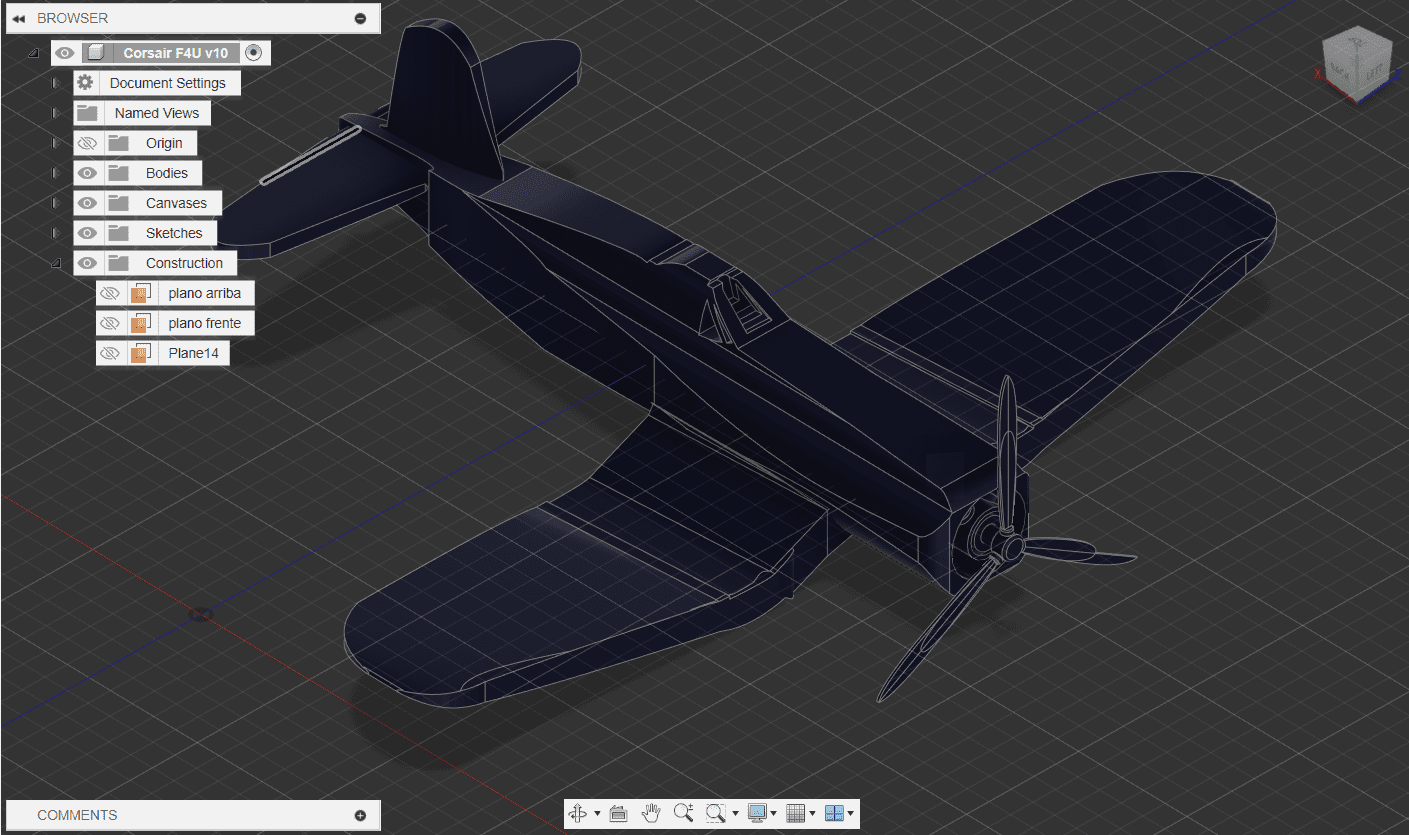
And so the STL file should look like this:
Printer´s code
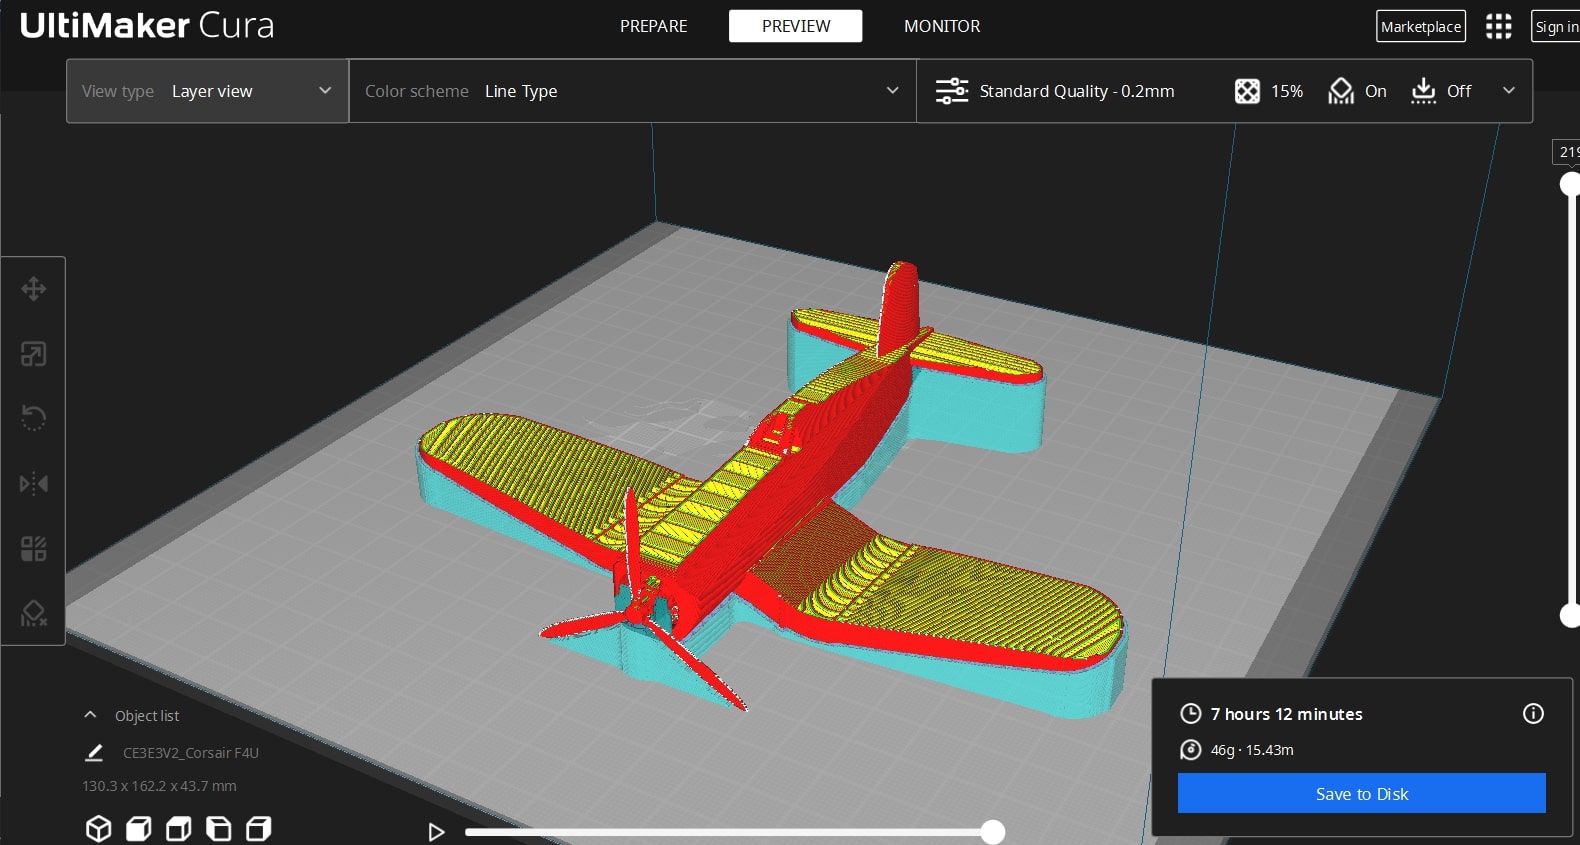
Now, the next thing we need to do is get the "G Code" from our 3D model; a format that the printer can actually read and follow certain user given parameters to print the model. The program I´m using is UltiMaker Cura
This will allow us to give the paramters we want for our piece.When you open your STL in Cura, it´s likely that it may be placed in a wrong angle, or it may be too big or small for your needs.
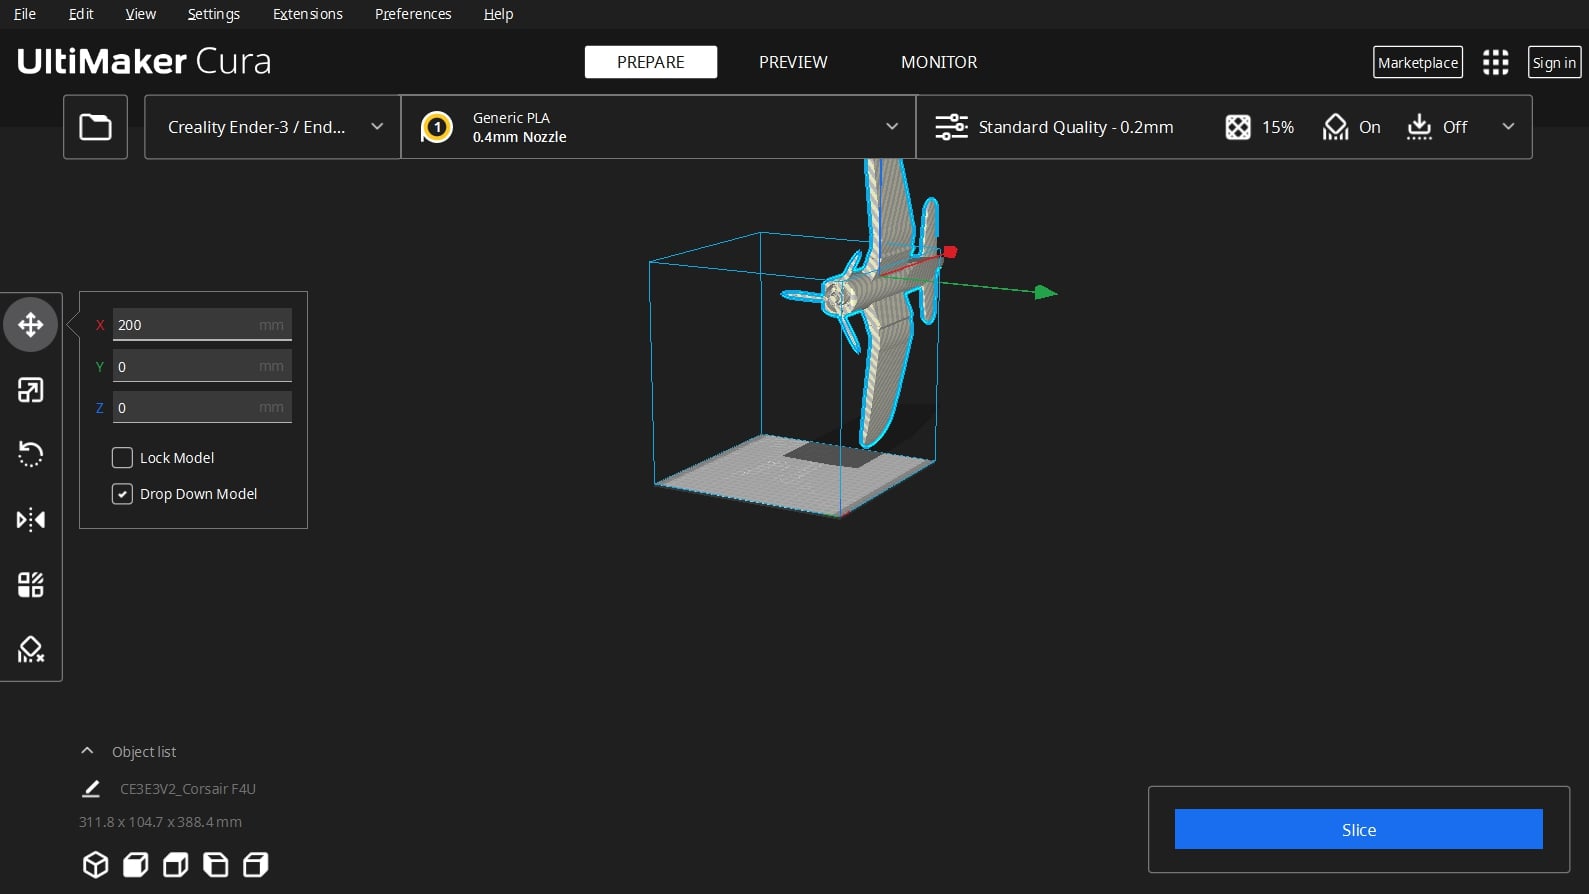
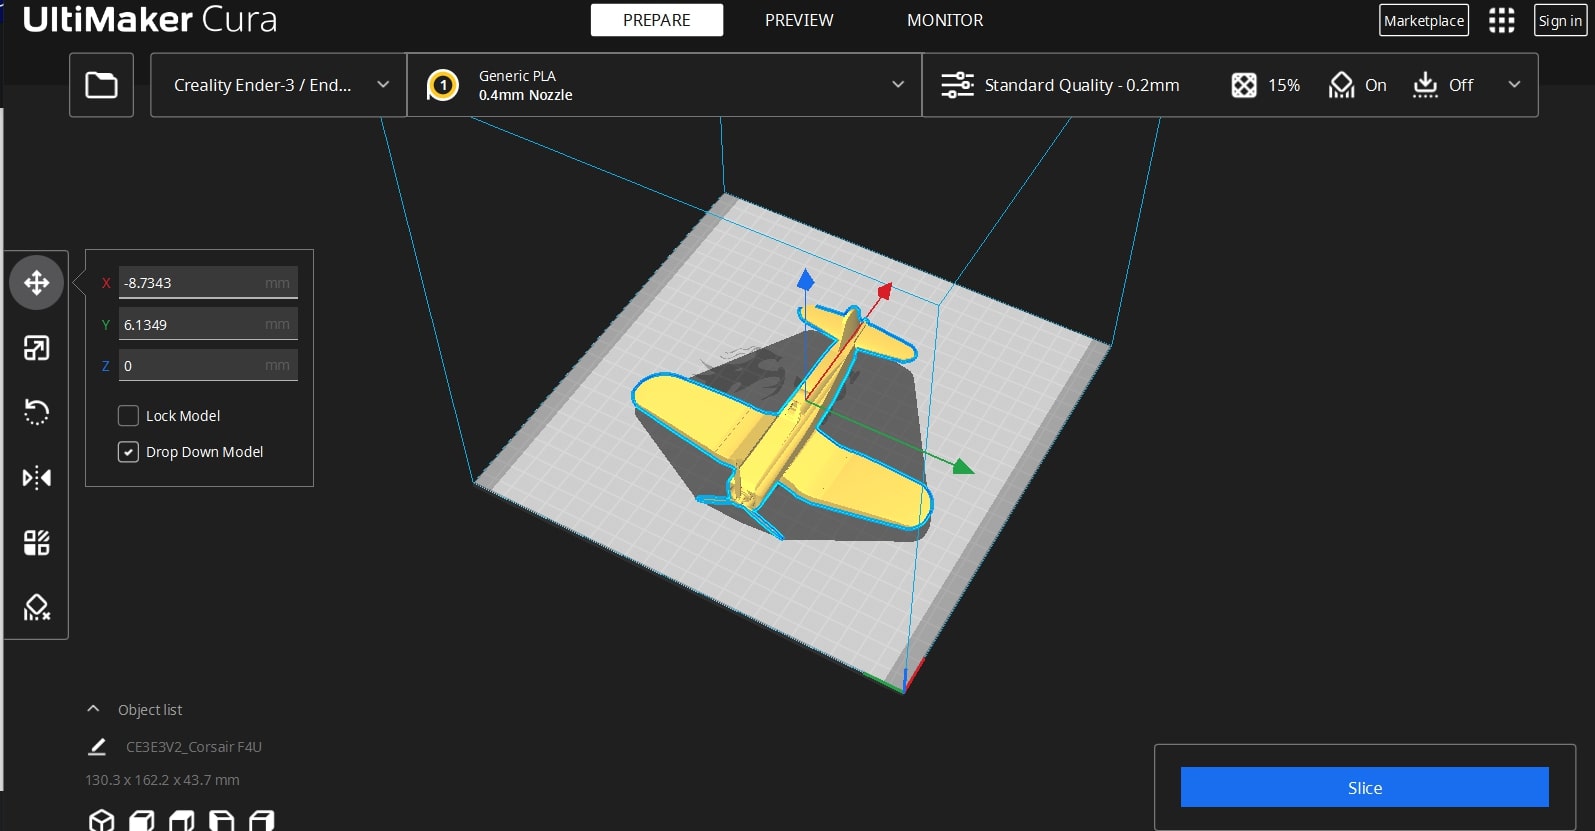
On the left side menu, you can move, rotate and scale your piece to your liking; ideally it has to look something like this:
Then we are setting the parameters for the print. Again, this will depend on your printer, material and personal preference, but this is a decent parameter to get a print.
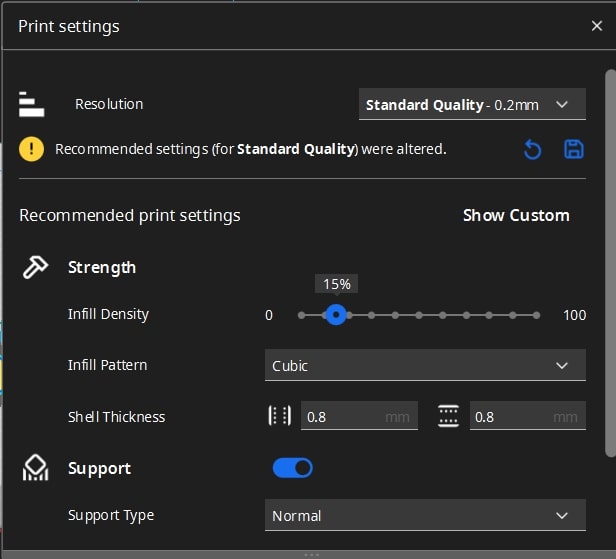
Lastly, click on the Slice box and then preview, this will give you the time, and weight of the print depending on the parameters given, you can always go back if you want to change something, if not, save the G Code to your computer
Ender 3 Pro and I
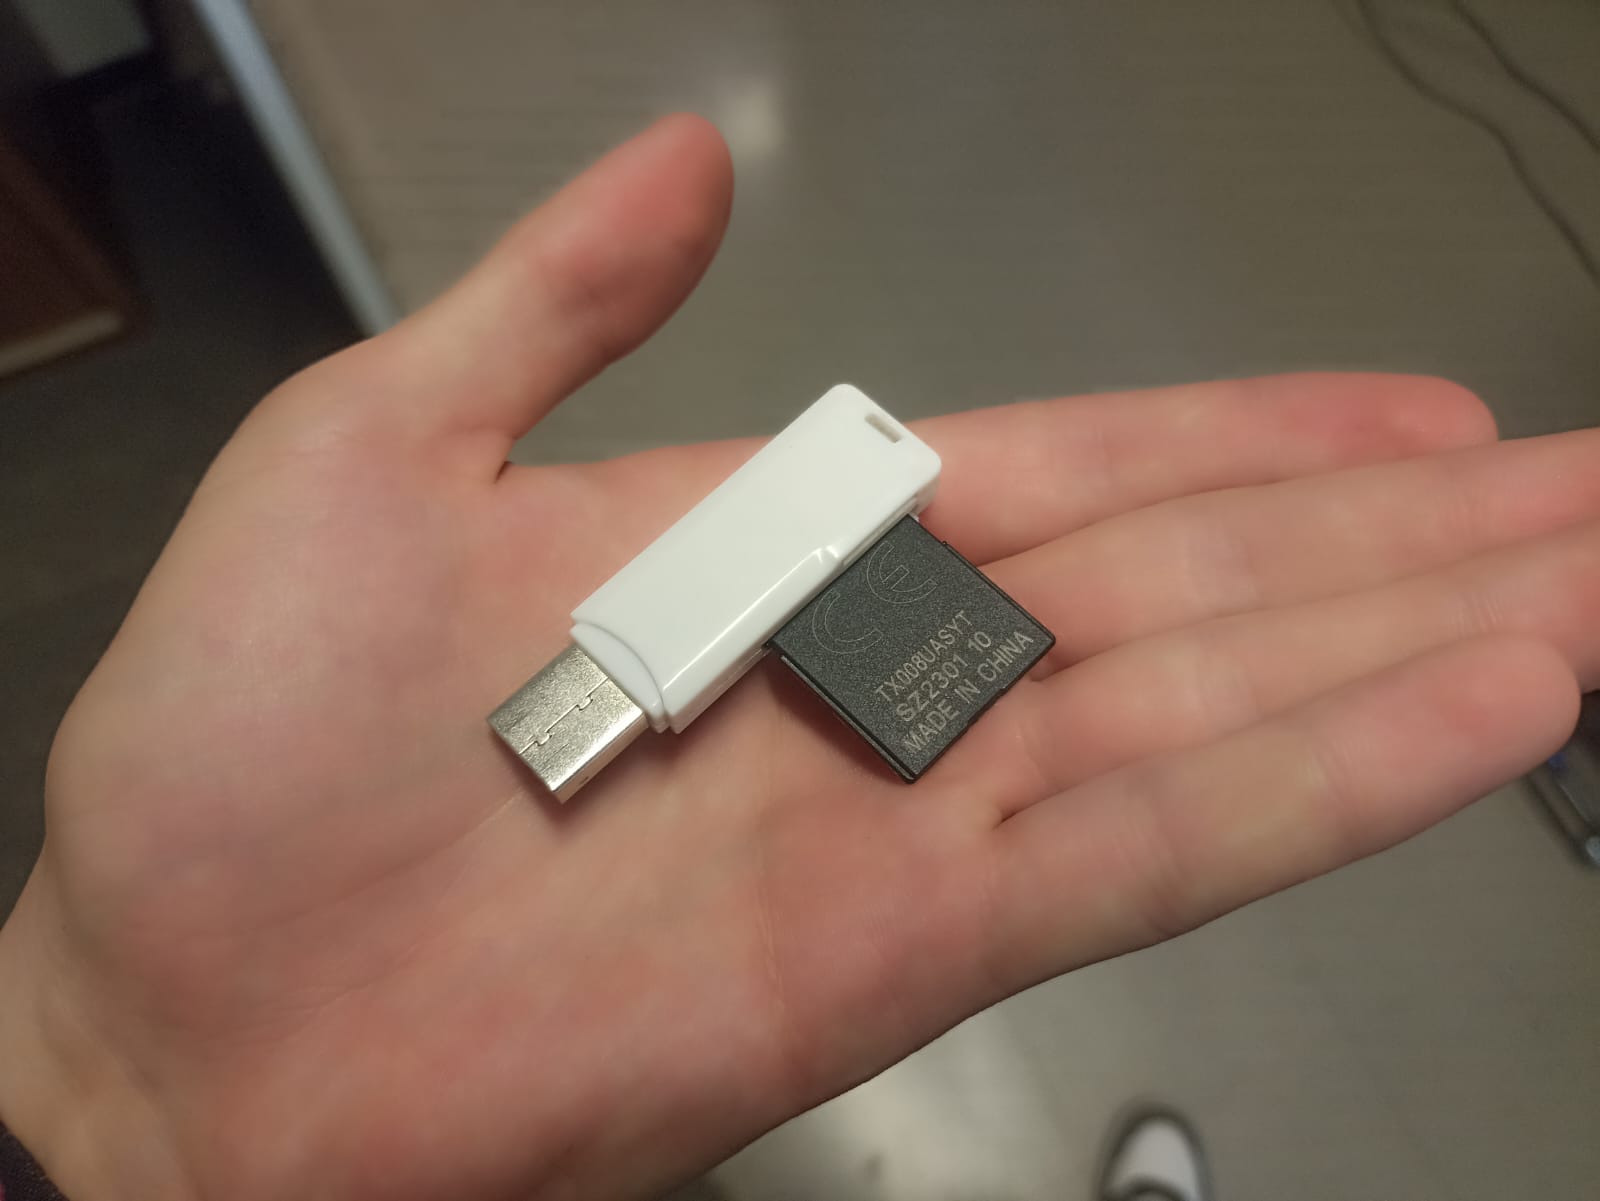
The Ender printer that I´m using reads it´s file through a SD card, so I needed it along with an USB adapter
When we select the file on the printer, it needs the temperatures parameters and calibrate the zero for the printing. The recommended extruder temperature for this printer is 200°C on the nozzle and 65° on the bed. Zeroing this machine is automatic and will be the first thing it does when starting the print. And off it goes:
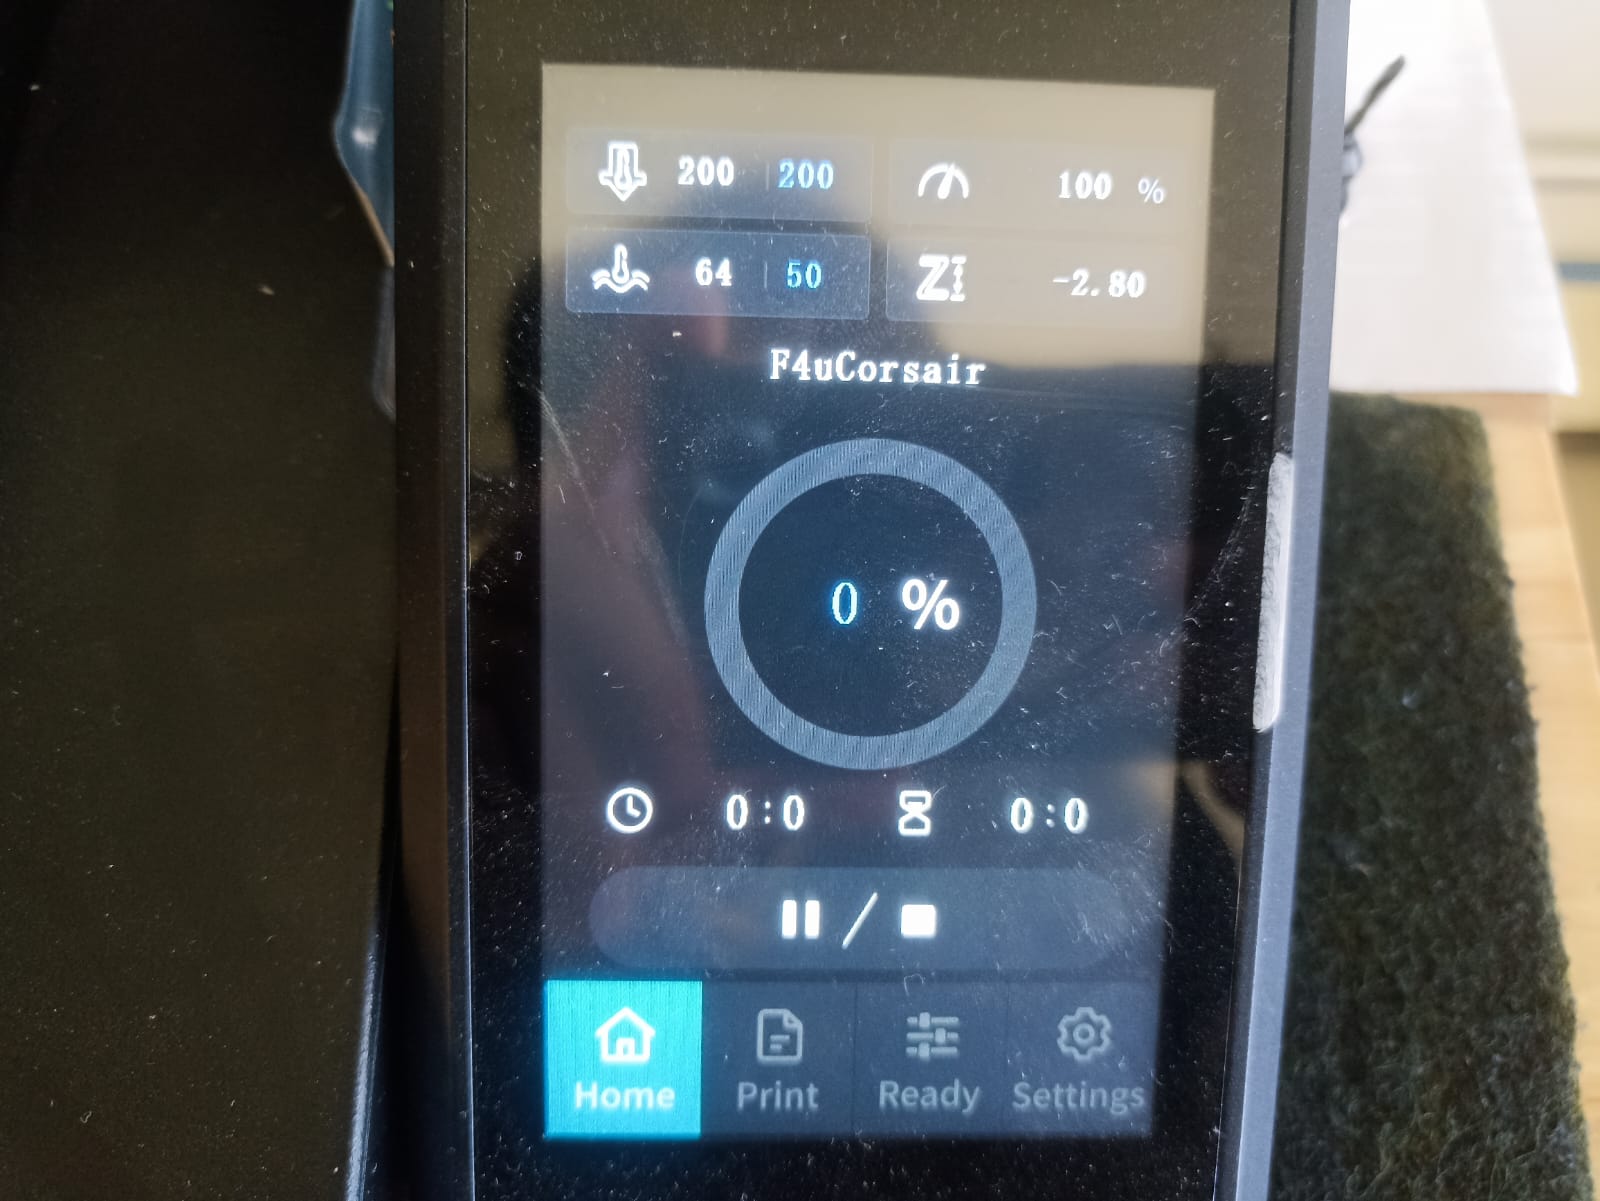
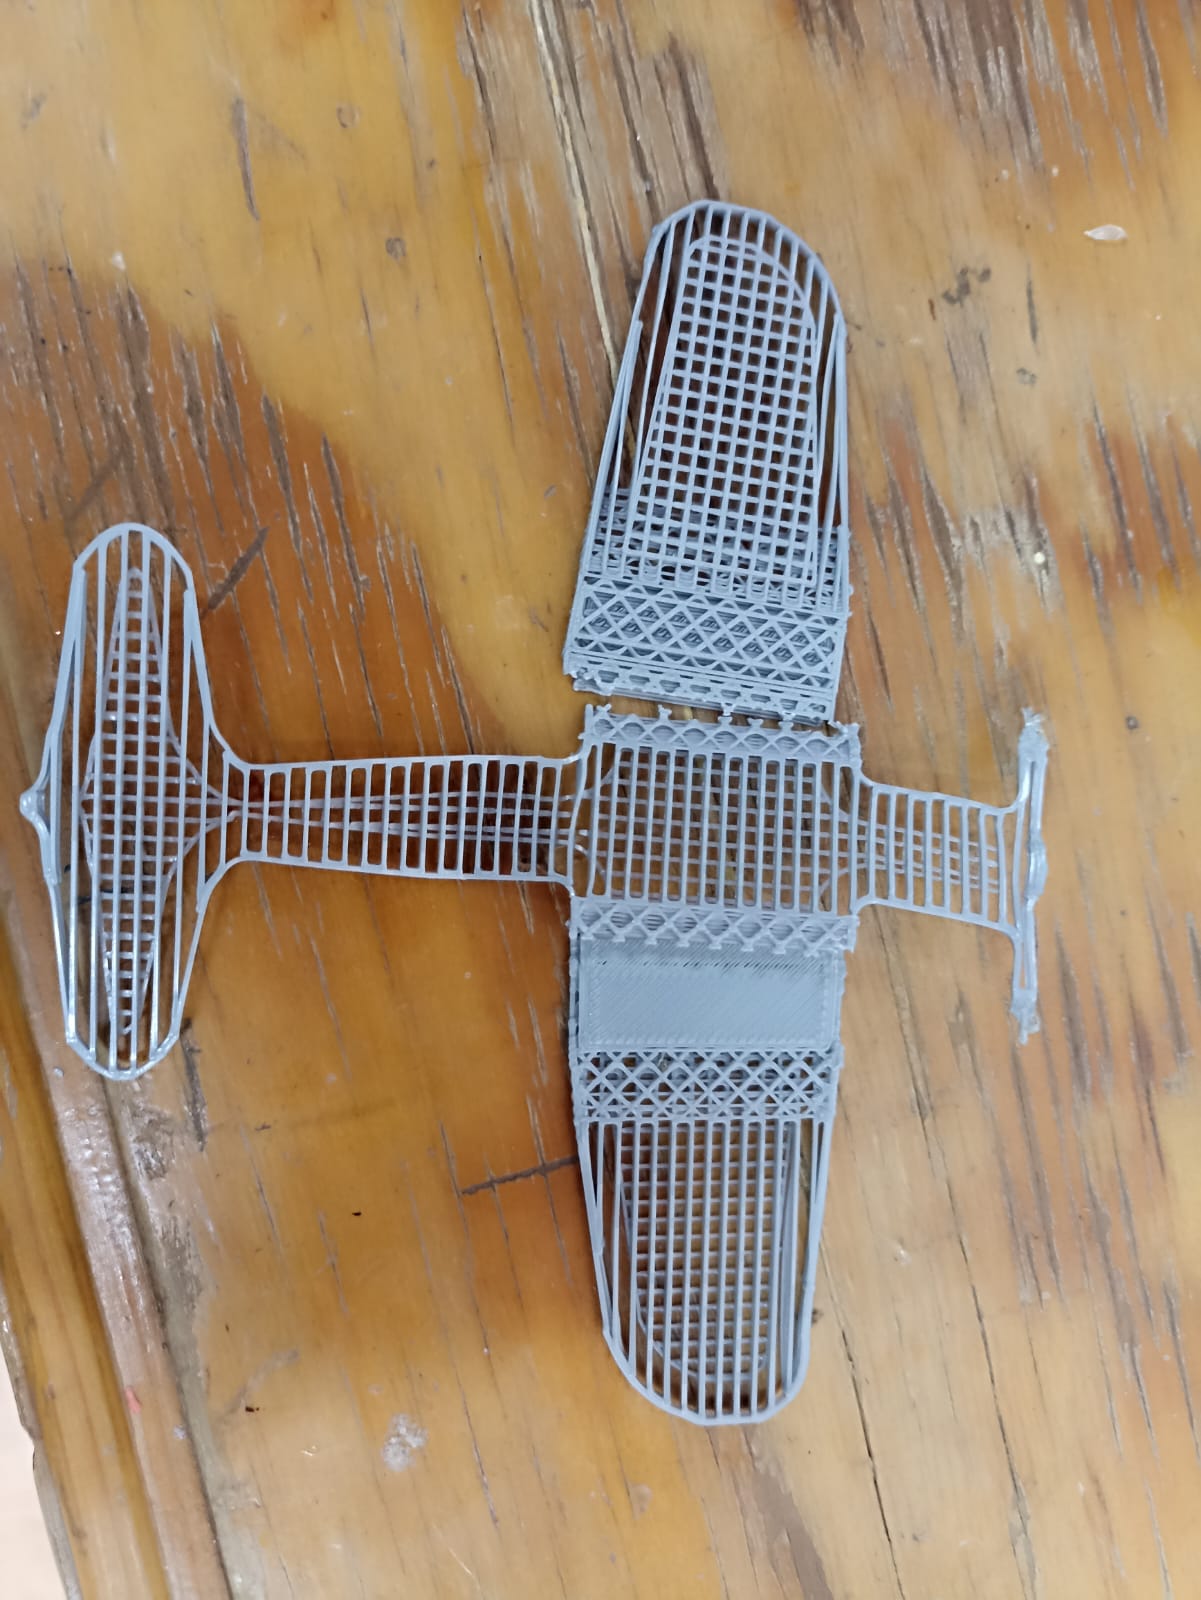
Sooooo..... Another mishap. Apparently the printer did not record my bed temperature at 65° that I set up, and kept the 50° default temperature. This caused the front to stick up from the bed after about 30 minutes and later on unstick the whole piece from the bed. I accidentally broke the wings but here is the progress it had before I had to shut it down and start again:
.... Let´s try again, shall we? This time I made sure the bed temperature was preheated to exactly 65° C before starting the actual print. And this time it did it without any issues:
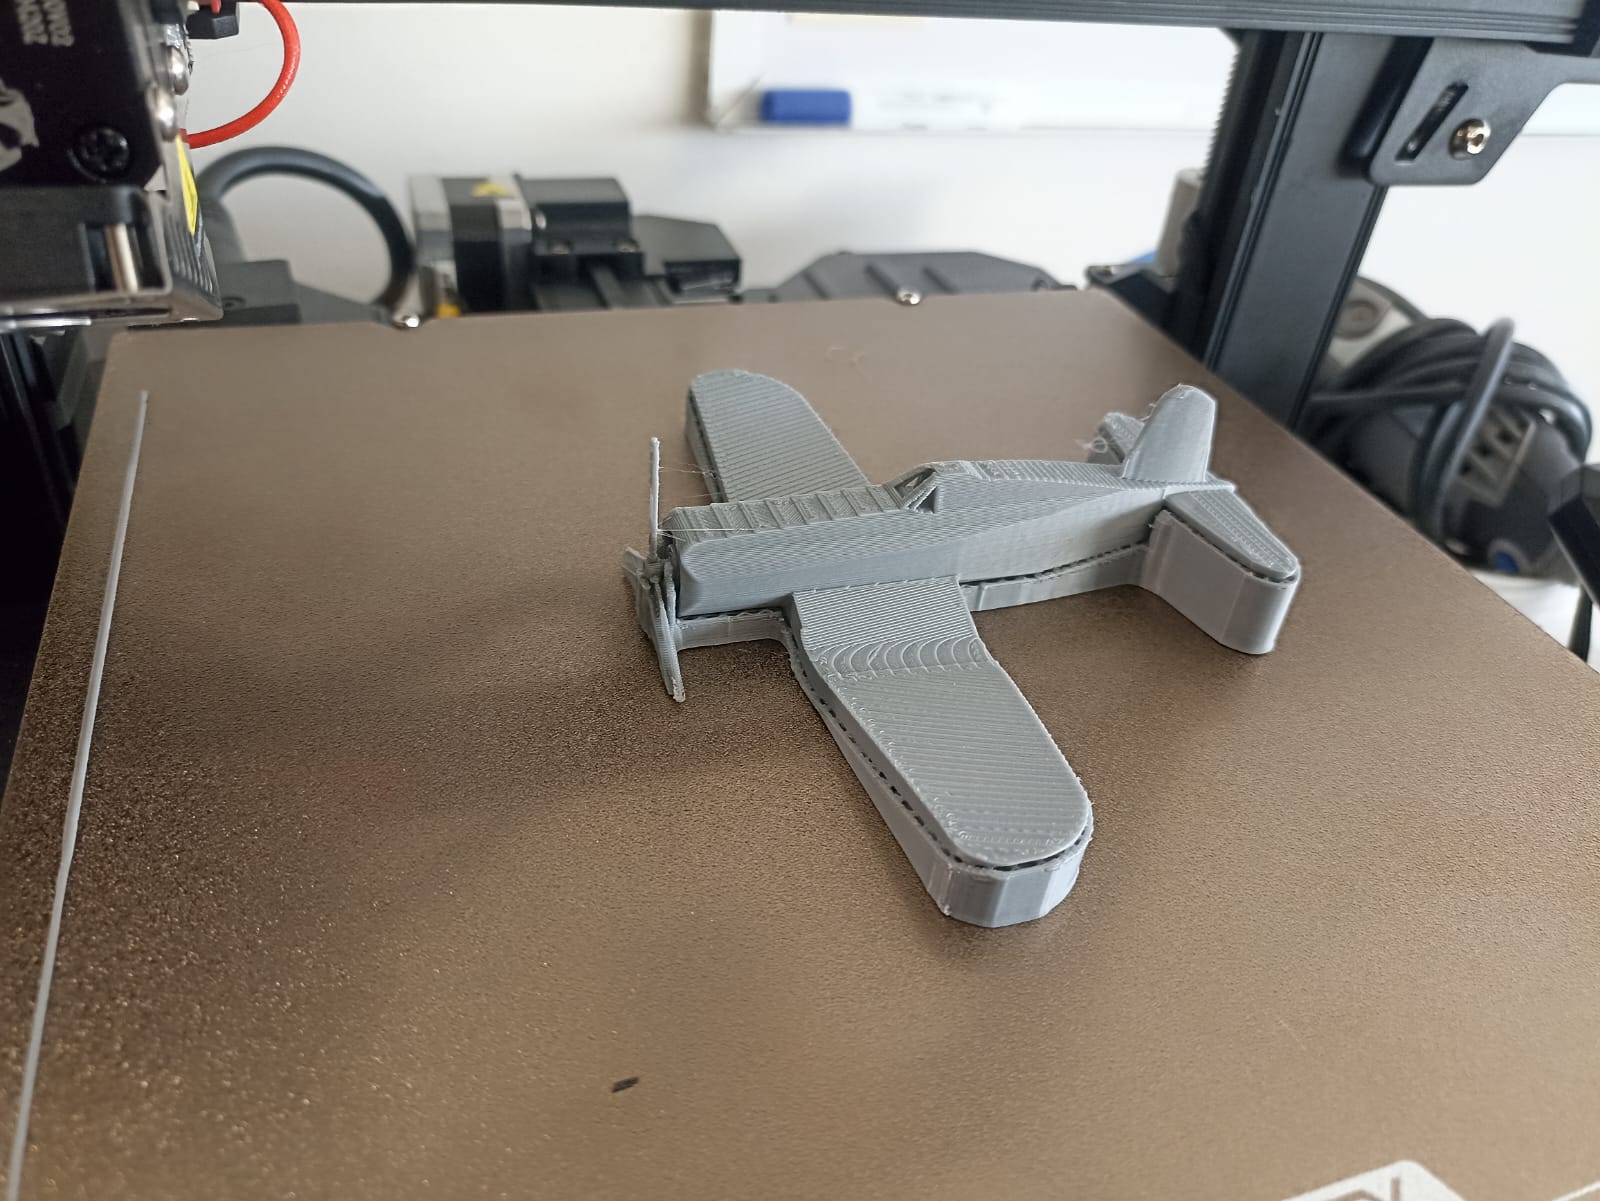
As you can see, the bottom of the piece is full of supports that we added on Cura, those need to be removed usually with pliers, just making sure not to break the actual solid piece. Here´s is a little timelapse of me doing so:
And here´s the final result:

Now, a common issue I see when starting in the whole 3D printing environment, is what I call "over engineering". This is because a lot of people will 3D print parts that could be made with other processes that would be faster and/or cheaper. I get it, 3D printing is fun, and probably the best tool we have for quick prototyping, but sometimes this blinds people of other methods to achieve a finished product.
For example, I would argue that my plane here is a very good candidate for 3D printing, since doing it with any other process would leave me with a worse finish or straight up would not be possible to produce. But thinks like boxes, which can be made with quick MDF laser cutting, are generally overlooked and straight up tossed into the printer. But again, that´s my opinion :)
The future is now: 3D scanning with a phone...?
Off to 3D scanning. Although we have 3D scanners at the Lab, I was interested on something I was mind blown about: scanning with pictures/video on your phone. Our professors gave us a variety of options for this kinds of apps, but I went with Polycam, it should be downloadable from the App Store and Play store. Although it is a suscription base memeber ship, but it has a 7 day free trial option so we can test out the capabilities of this technology.
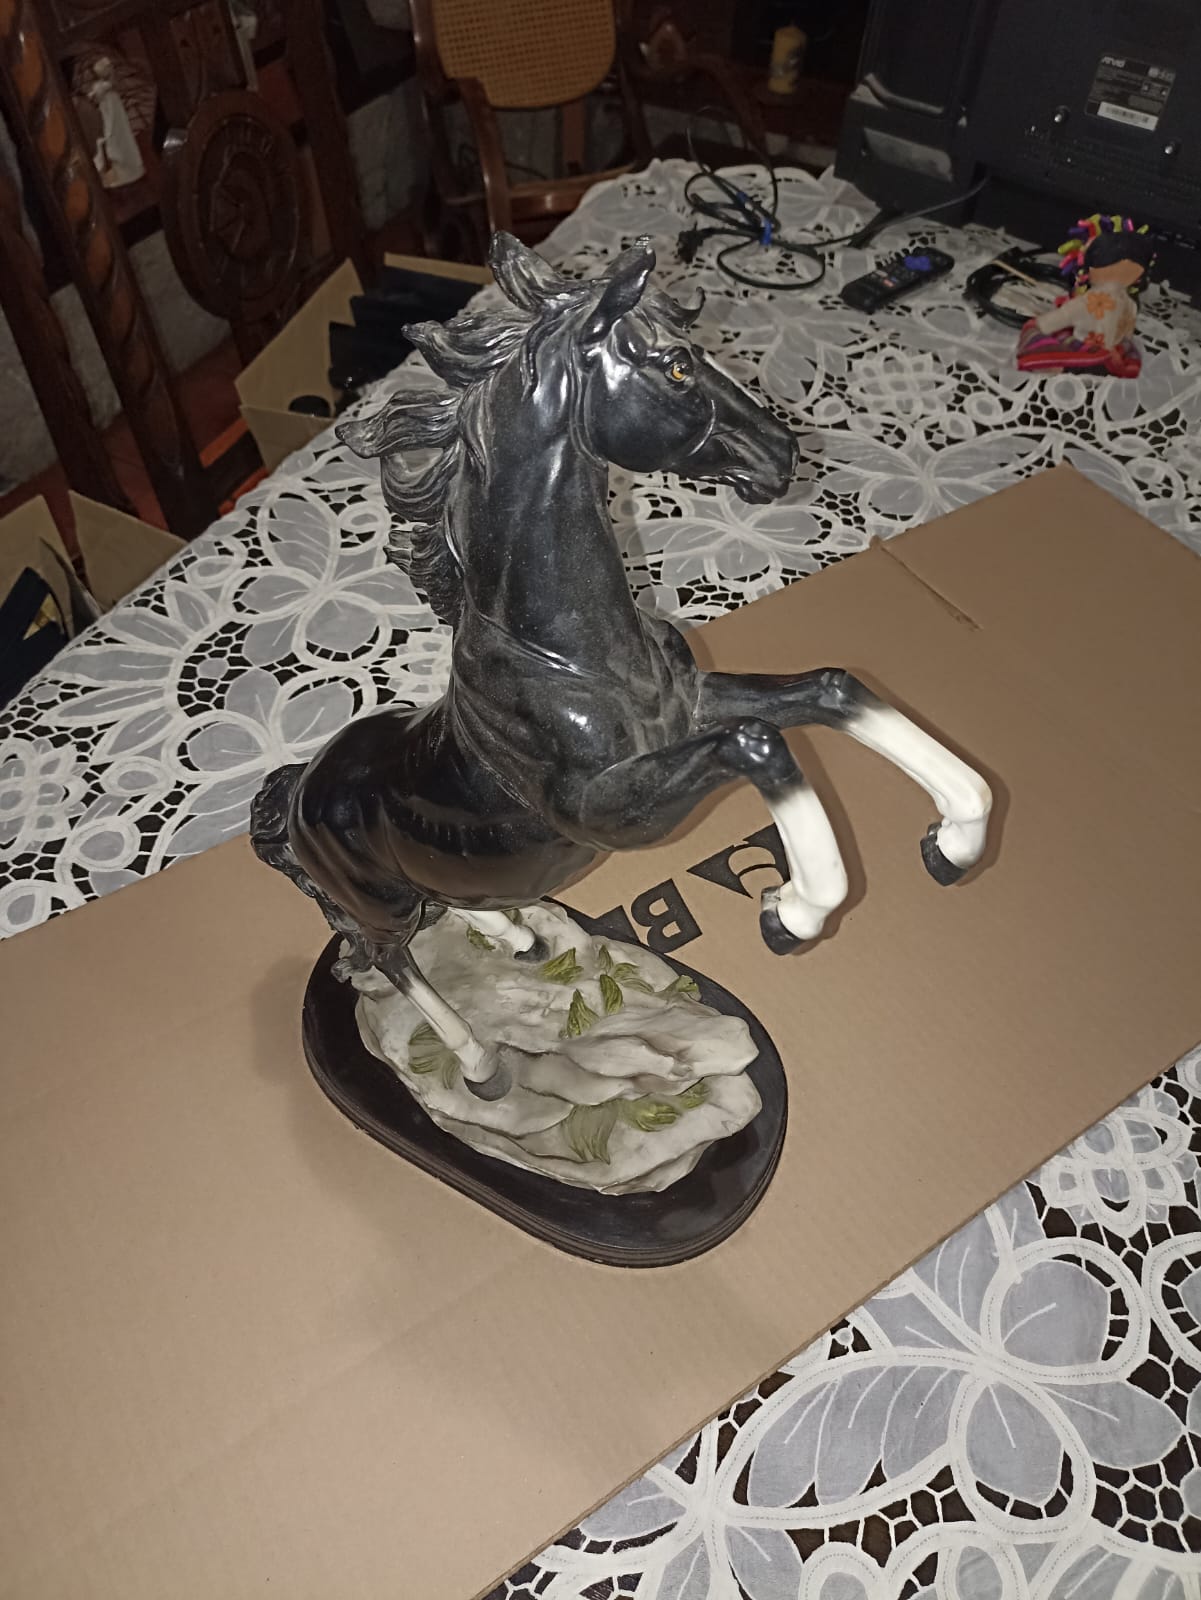
I decided to take a horse sculpture from my sister to test it out. It has a general smooth body but also it has some details, so I wanted to test how accurate this app could get to replicate my physical piece. Here is what I´m working with:
To create your 3D piece, you lay your piece in the most neutral background possible (in my case I tried some cardboard, but I should probably had chosen something like a white cloth) And either manually take as much pictures around all the angles of the piece, or a video-sort that automatically takes pictures periodically, which is what I chose.
This app works by combining 2 different types of technologies: LiDAR and Photogrammetry. LiDAR (Light detection and Ranging) uses laser pulses to measure the distance from the sensor to the object, getting the depth and creates 3D maps of objects. Photogrammetry takes all of those pictures and creates the 3D model using pattern recognition to create the geometry.
After uploading your piece, it takes some time until it shows you your finished assembly. It has a visualizer and an option to download it, I chose as STL.
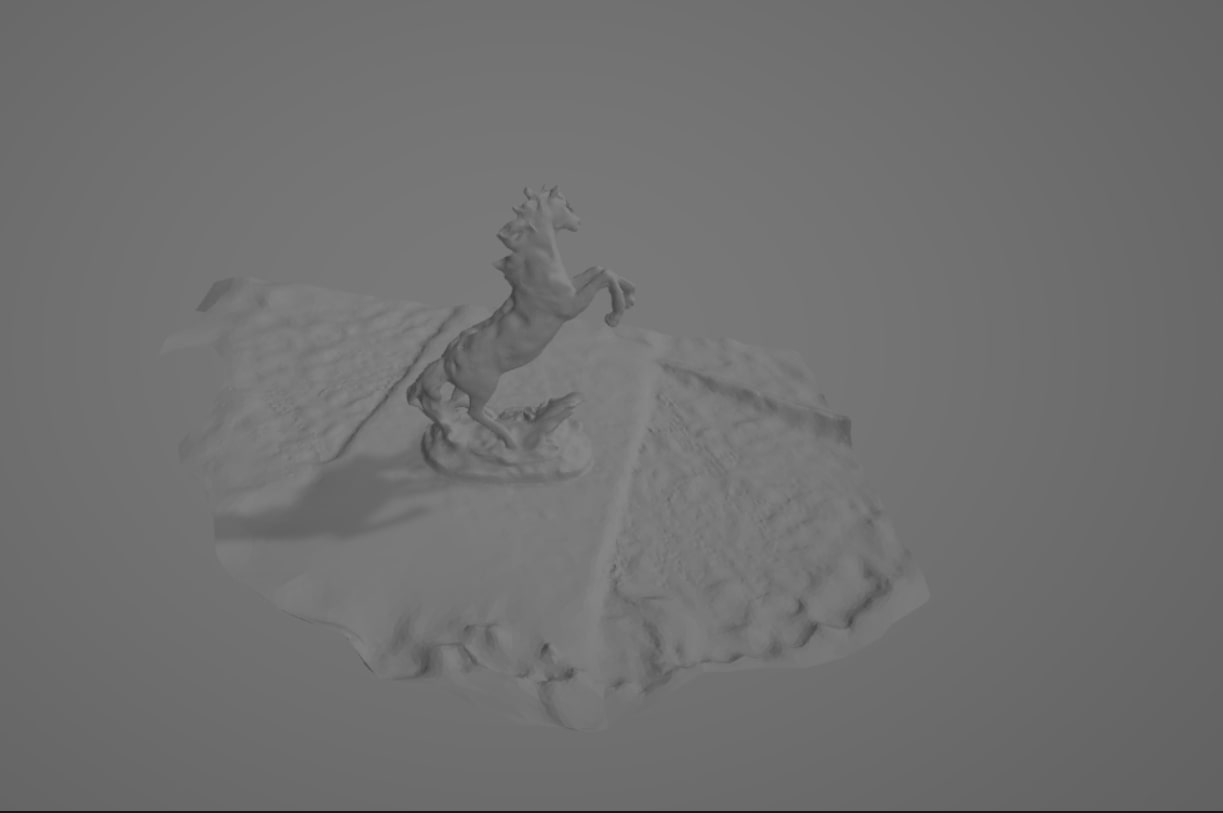
I was very, very suprised with the result. I didn´t even saved it in the maximum resolution and it had an impressive ammount of detail for being such a big and complex piece, the only problem is it also rendered a big part of the cloat and cardboard underneath, so to have it look a litte nicer and avoid issues with size when saving it in Git, I decided to trim the mesh using Fusion360. I added a plane around the height I wanted gone, and with the plane cut tool, I could give it a more decent size
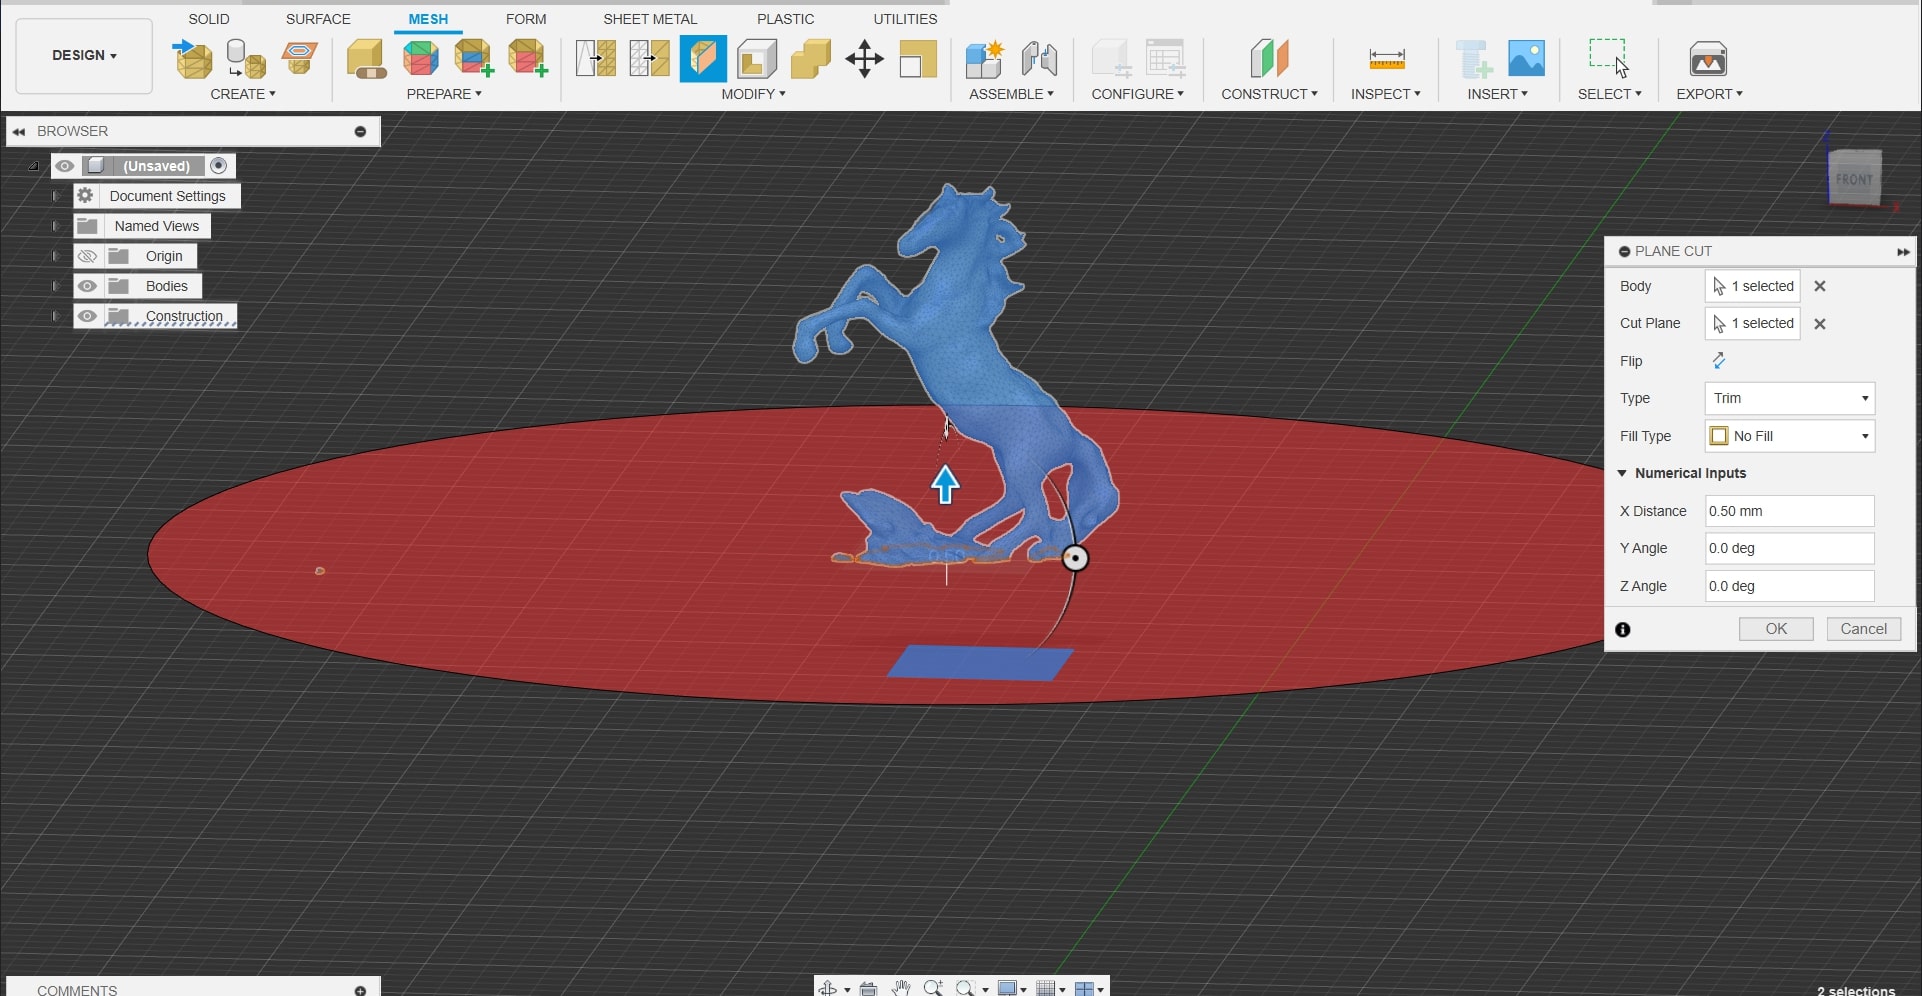
This is the final product:
This app is a very interesting proposal for 3D scanning, it is easy, versatile and creates very high quality products with just your phone and 10 minutes of work. It obviously has it´s drawbacks like needing high processing power, creates very heavy files and the results can vary depending on the parameters of your piece and your devices. But overall this type of technolgy has given us an alterantive to bulky and time consuming scanning.
Conclusions.
As previously mentioned, 3D printing our most effective tool in building things for ourselves. This is a technology that has a lot of advantages if mastered and applied correctly. Also I am honestly suprised with how far our phones have gone about being designing tools and how we can incorporate this type of technology into amazing projects. I was unaware this type of apps even existing, nevertheless, providing an awesome result.