3D Scanning and Printing
3D printing
Designing the piece
 At first, I didn't have any idea of what to design because everything that came to my mind could be easily made without a 3D printer.
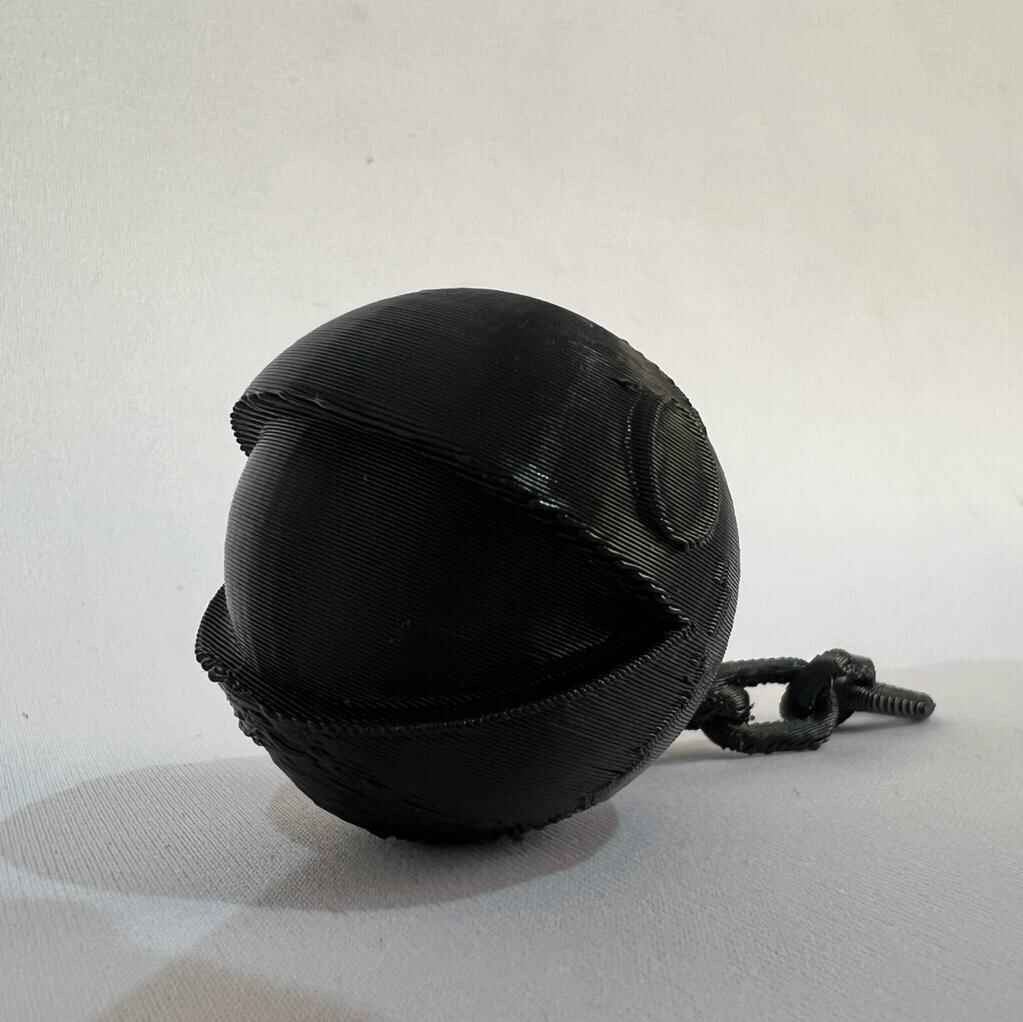
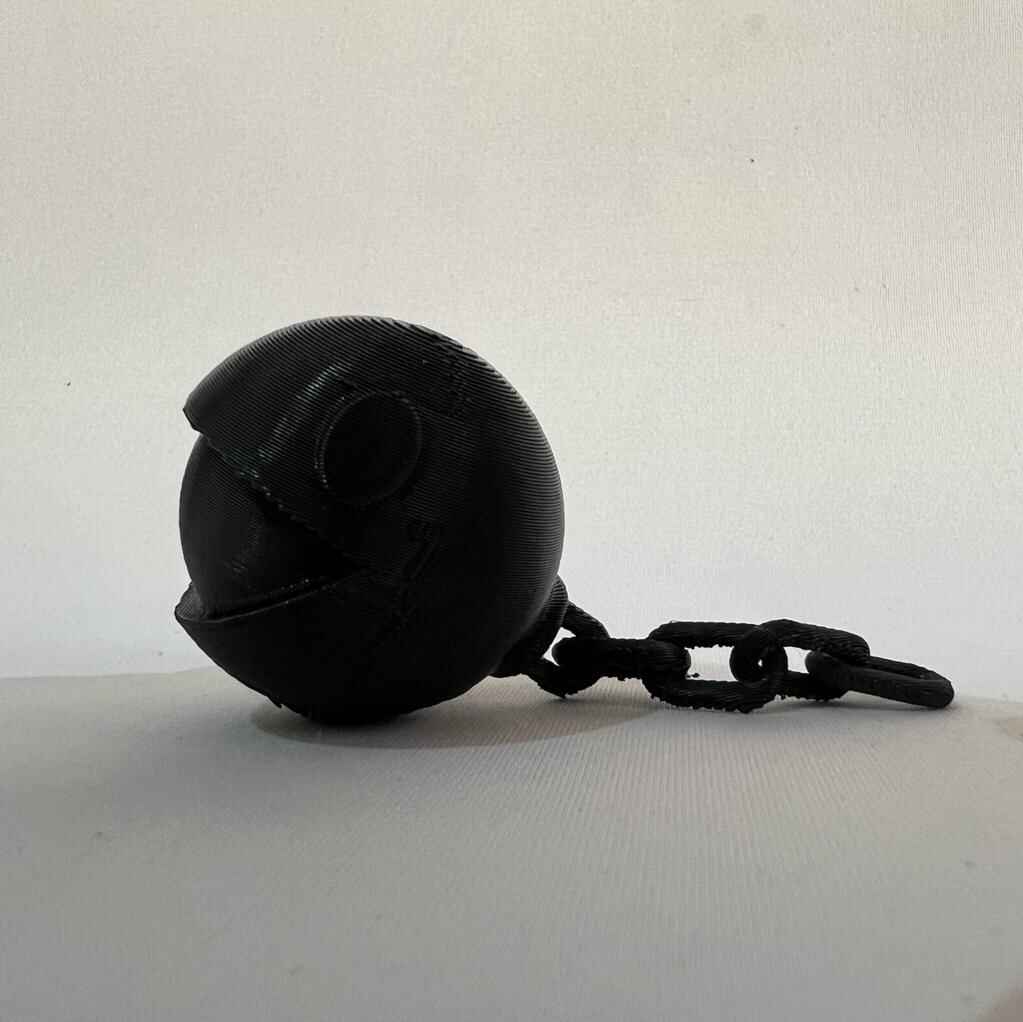
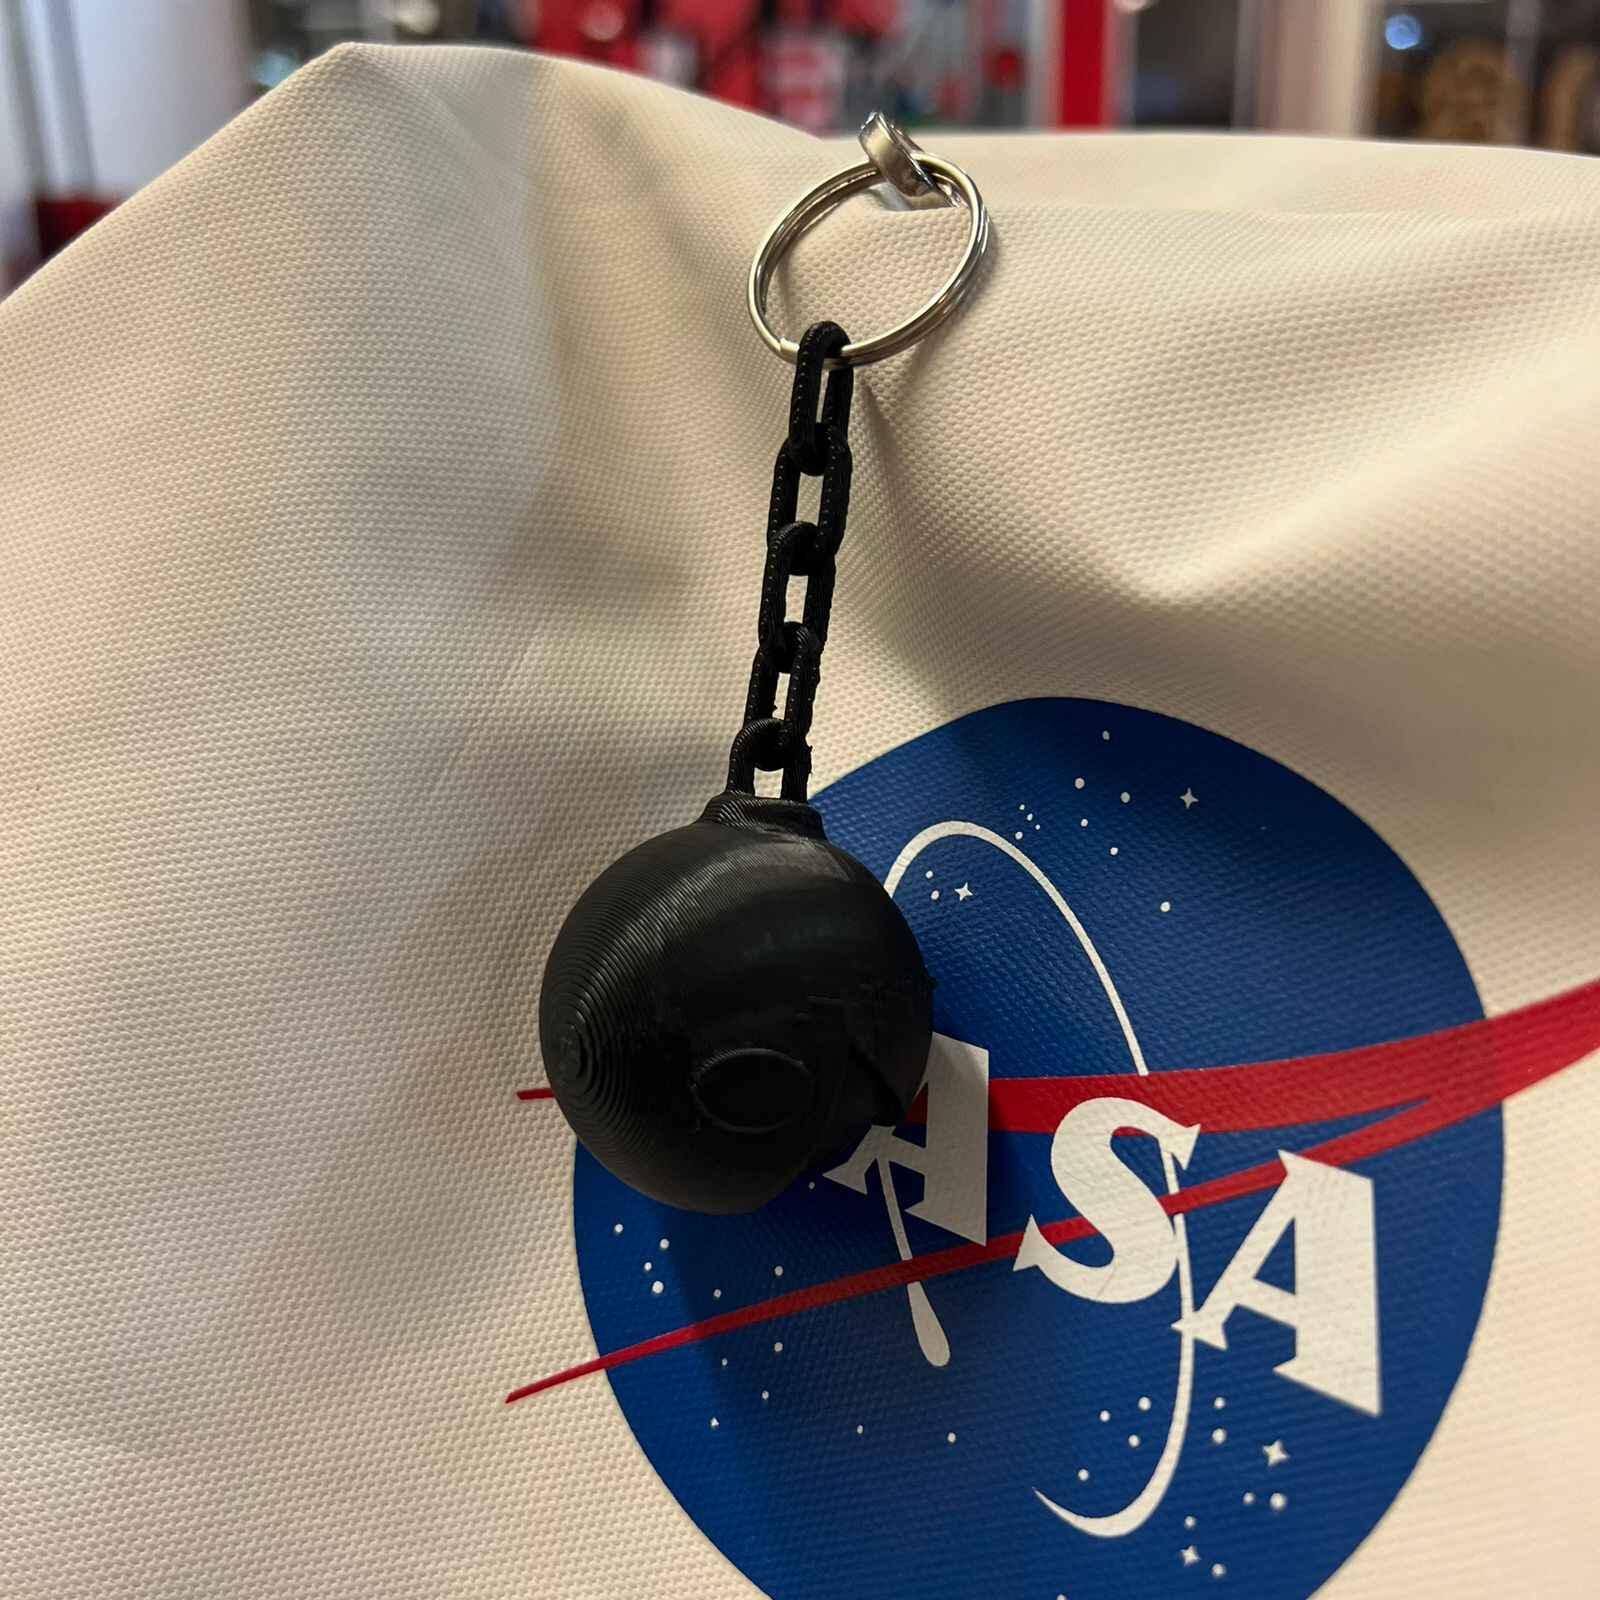
Until I came up with the idea of design a Mario Bros character, Chain Chomp. The reason I design this character is because it has a
chain that can't be easily done on other machines.
At first, I didn't have any idea of what to design because everything that came to my mind could be easily made without a 3D printer.
Until I came up with the idea of design a Mario Bros character, Chain Chomp. The reason I design this character is because it has a
chain that can't be easily done on other machines.
Thanks that I have a good idea of how 3d design softwares work, in this case SolidWorks. In general, it was not that hard the design this character, the only part that took me some time was the designing of the eyes because I forgot how to extructe something in a spherical shape.
Once I finished the disigned, I saved it on a .stl format because it is the type fo files that our nect program supports.
Learning how to use the 3D printer
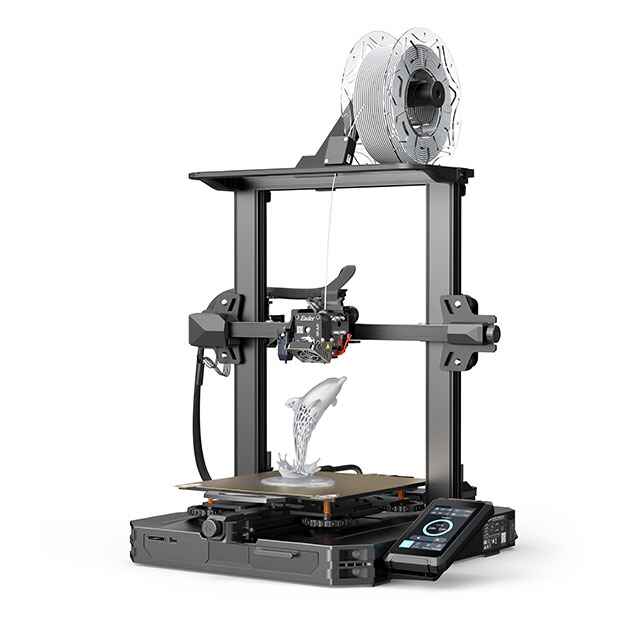
On our group assignment we learn that here, at Fablab Puebla, we have arround 27 3D printers, from use-friendly printers like the Ender 3 and the Sindoh 3DWOx, to resin printers like the Elegoo Mars 3 and the Formlabs Form 1. The 3D printer I was going to use was the Ender 3 S1 PRO because I think is a good 3D printer for a beginner like me.
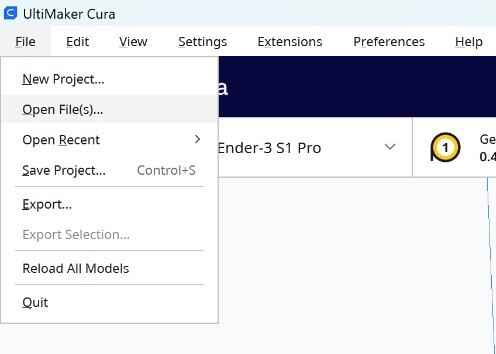
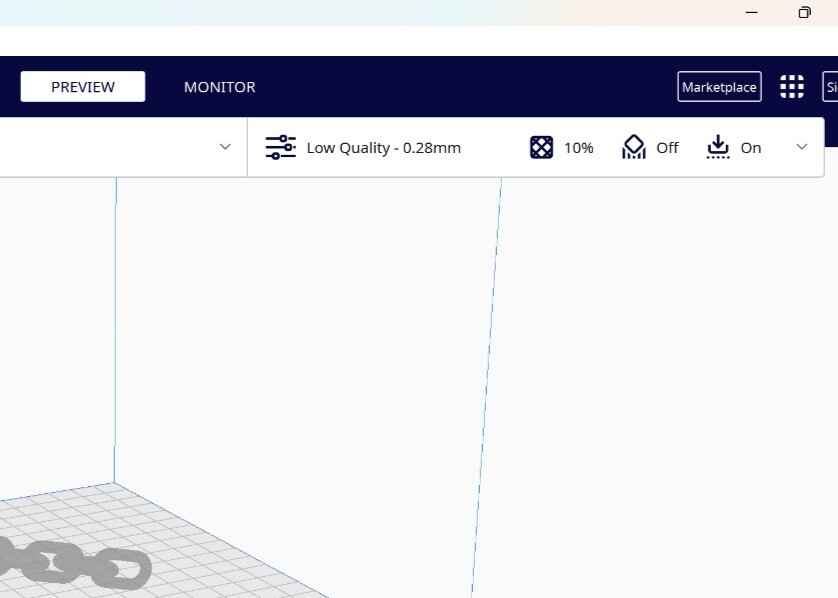
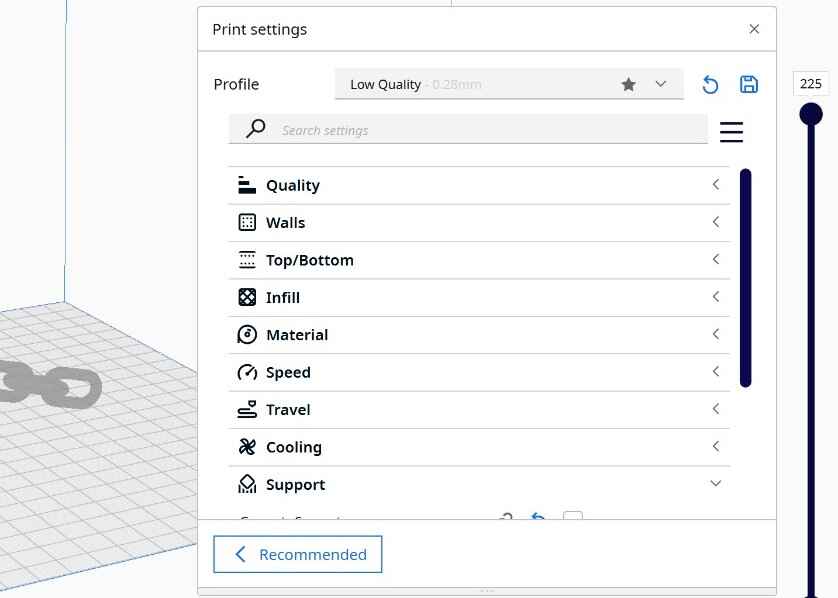
Once I had the .stl file and the 3D printer I was going to use, it was time to convert this .stl file into a .gcode file. For this, I'm going to use the program UltiMaker Cura.

This was not my first time using Cura, fortunately I already know what parameter works and which ones does not.
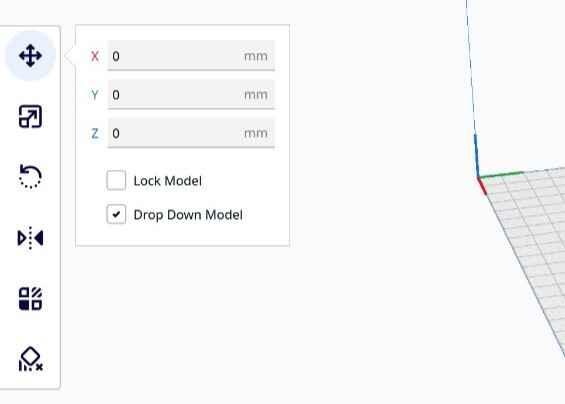
The reason I used those parameters was becuase 110 mm/s is the fastes speed I we can use without losing a lot of quiality in the piece and we wanted to be printed quick because we had a limited time to use the 3D printer. I used a lightning fill beacue it was the one that less filament uses.
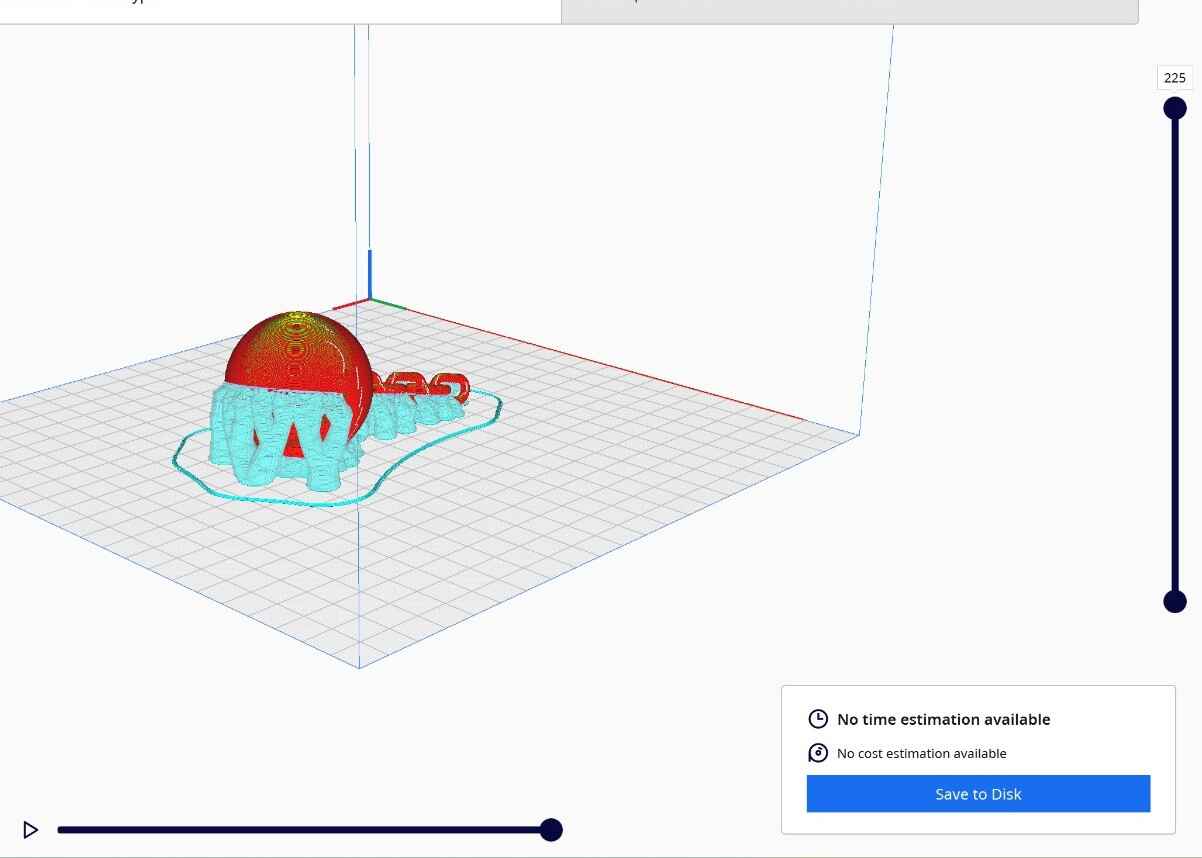
I also used the tree supports and, althought they used more filament, its easier to remove them from the piece than normal supports and lastly I used the raft plate to prevent the piece from moving while its being printed.
When you click on "Save to Disk" on Canva it will save you a .gcode file, this files are the ones that 3D printers used. G-Code files specifies where to position the extruder, horizontally and vertically, how much to heat it and how to arrange the filament, among other things.
Finally go to your 3D printer select your .gcode file and just wait to the printer to finish. Try to check once in a while how your printing is going to see if everything its in order, if not analize what happened, most of the time the mistake comes from the preparation of the .gcode.
Photoshoot
3D Scanning
Testing the apps
There are a lot of apps for 3D scanning, I tested a lot of them, Scandy pro, Ar code, Qlone 3d but, the ones that gave me the best result were Polycam and 3d scanner app. I needed to pay a membership to download the files one the first one so I ended up usign the second app.

Scanning the object
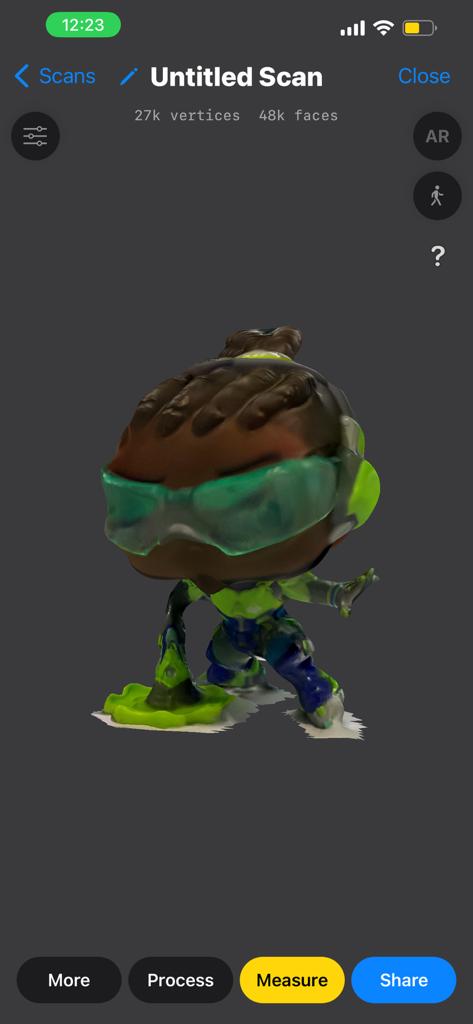
Now that I chosed the app I'm going to work with it was time to scan. I used a Funko POP of one of my favorite heroes of my favorite game, Lucio. I thought it was a good idea because it is a relative small object and it has a pretty unique figure and it was going to be a challenge for the app.
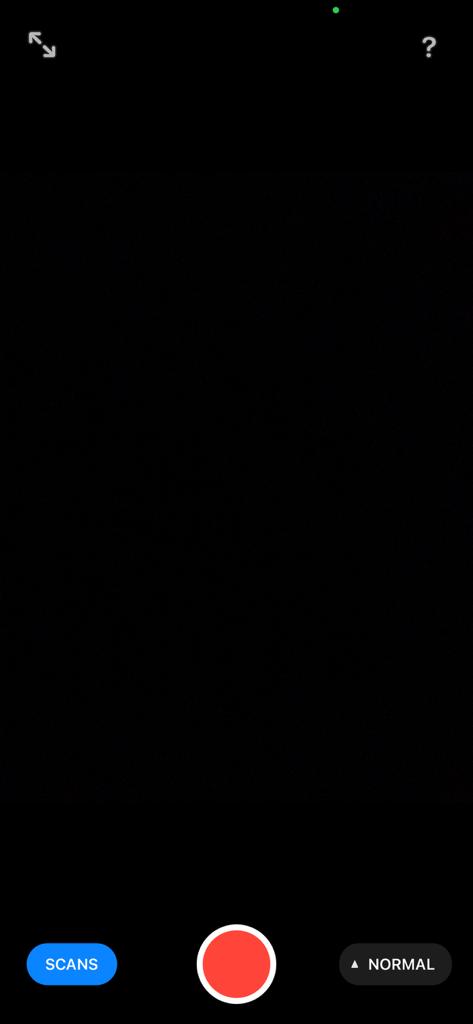
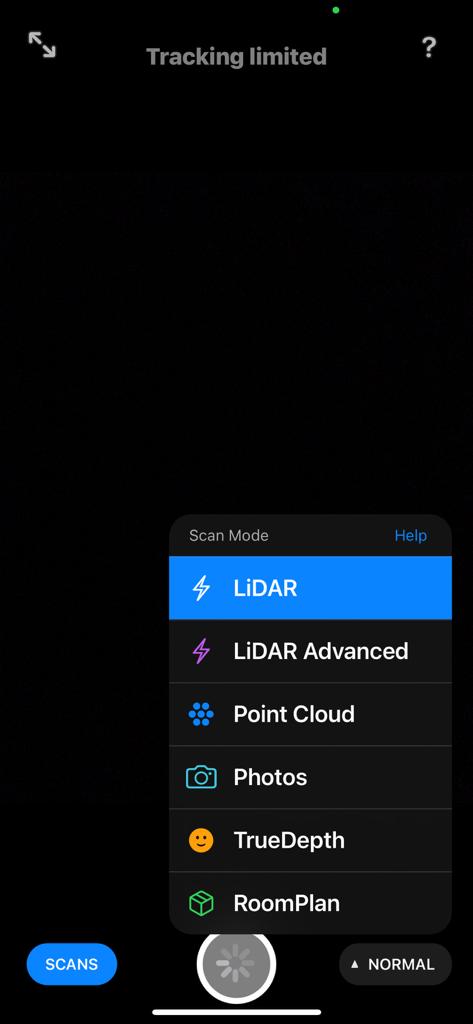
The app is pretty easy to use, the fist thing you see when you open it its your camera. Select the bottom-right corner buttom and choose "Photos" mode, a tip to scan easier is to activate the Auto Capture so you just have to worry in moving our phone. You can decide the time between each photo by sliding the circle.

The scan turn out pretty good. To have the .stl file just click the "share" button and selecting STL.
Printing
Once I had the .stl file I went into UltiMaker Cura to convert it into a .gcode file and print it. The printing turned out pretty good, the only problem was to remove the support.
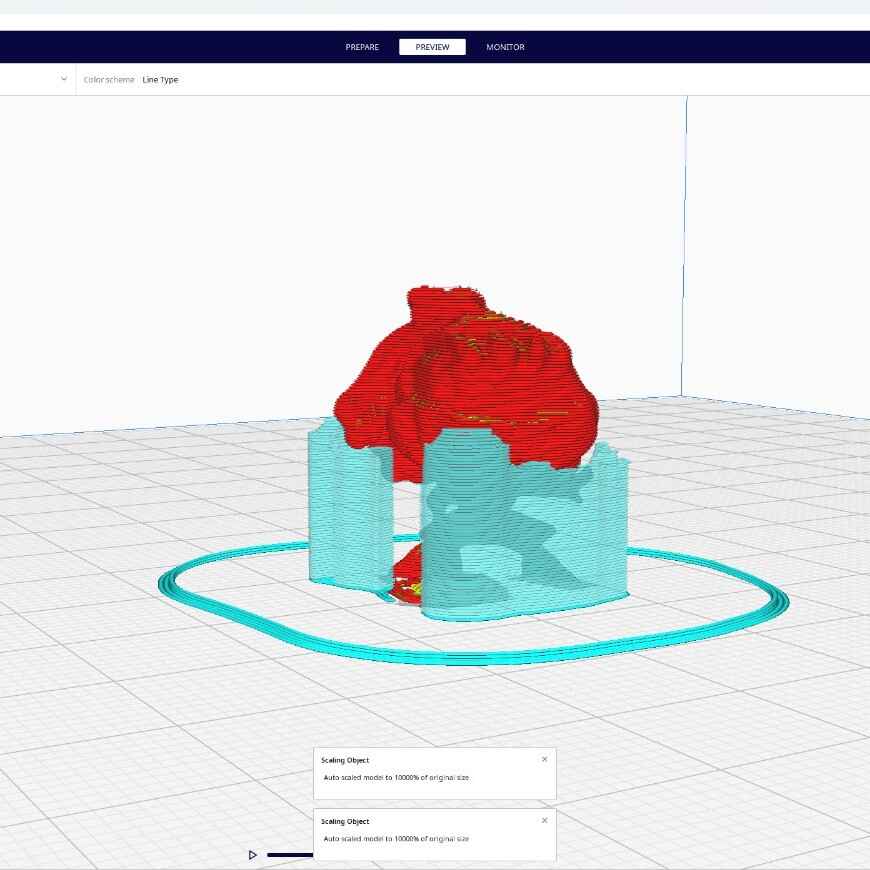
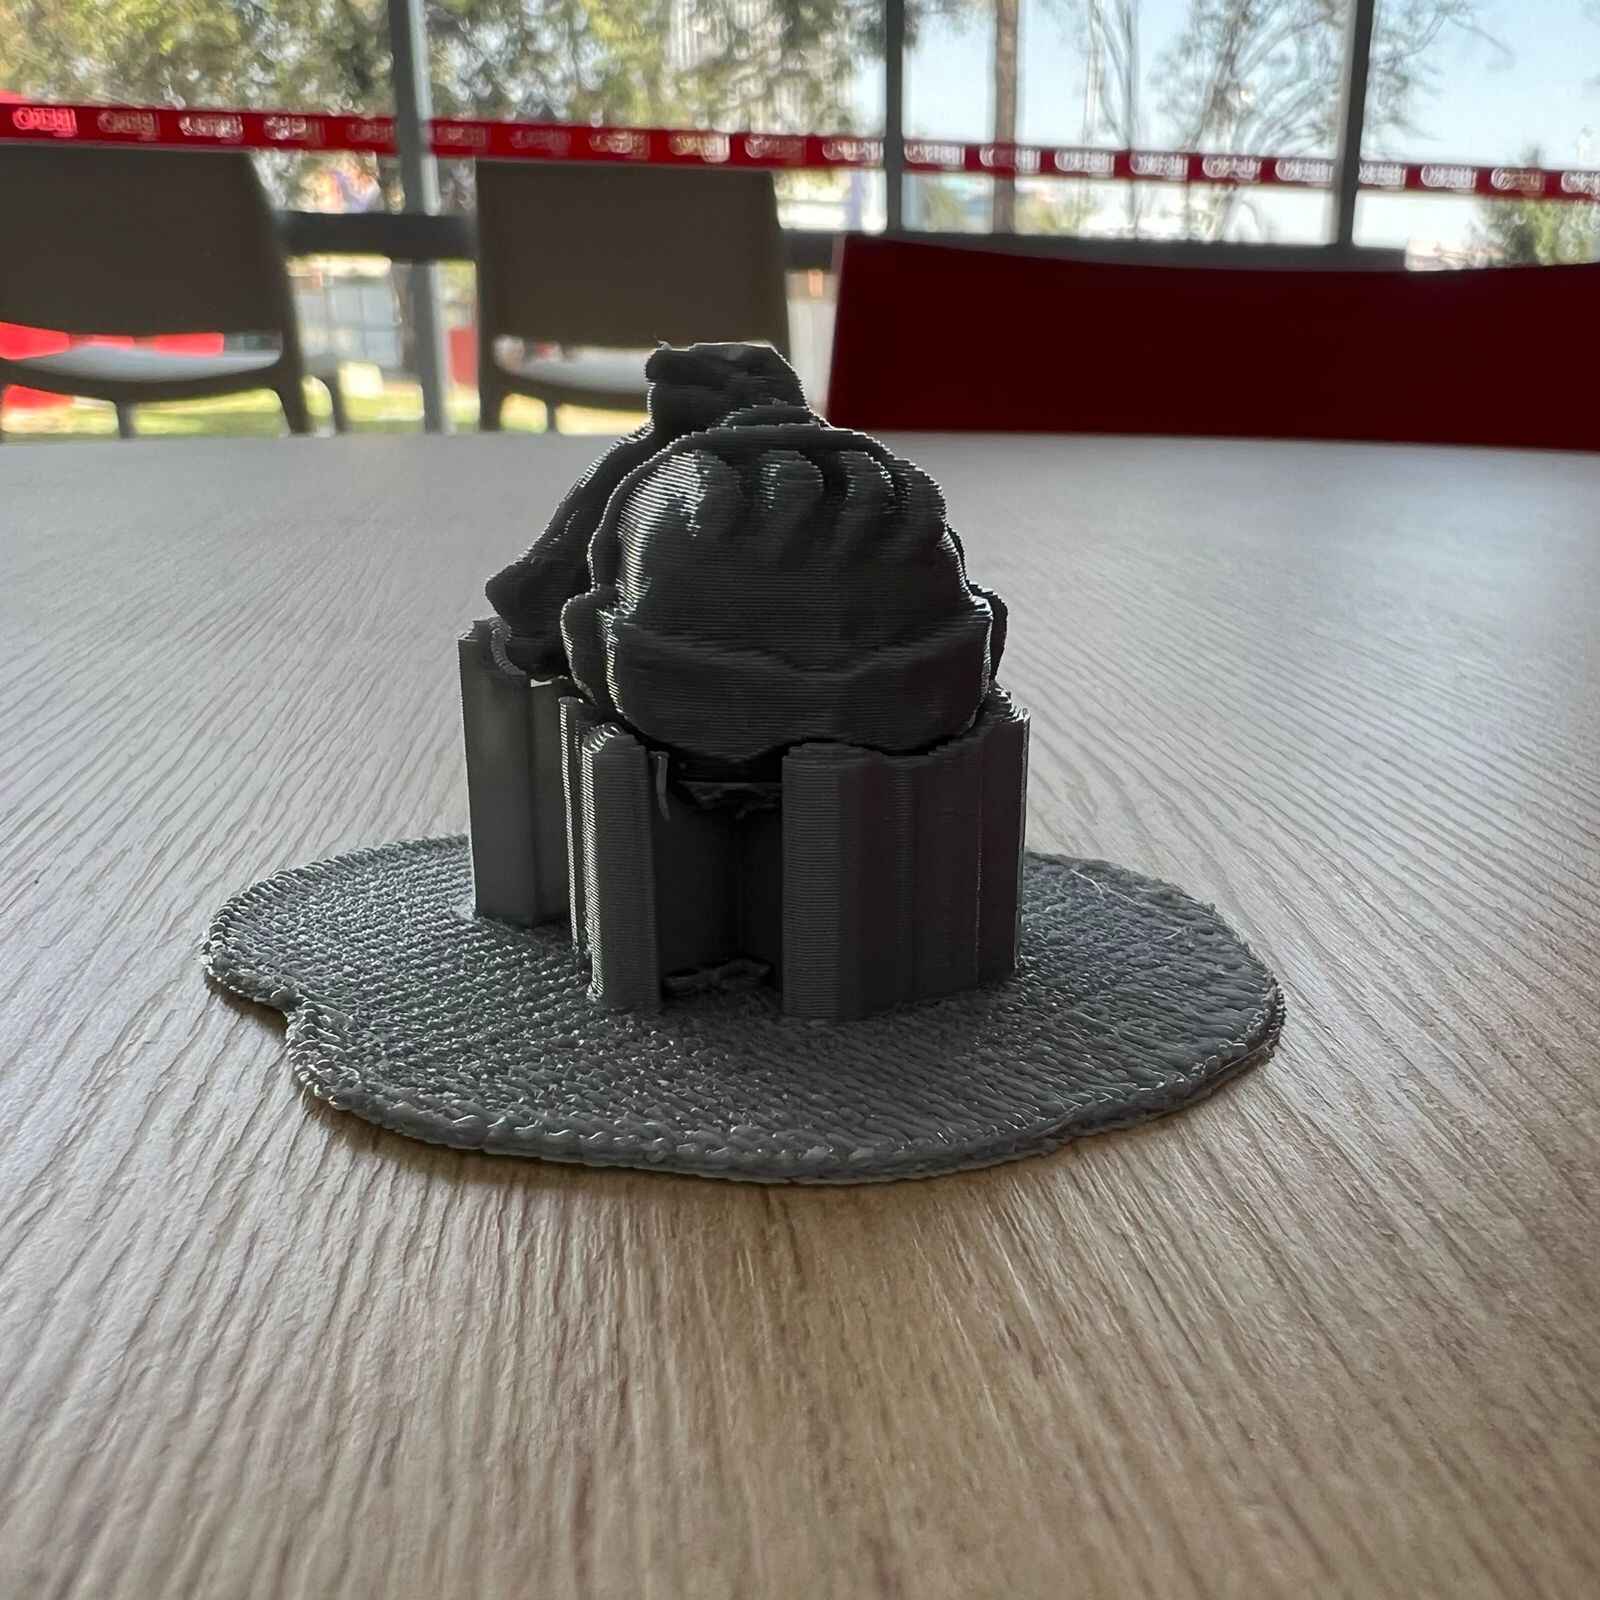
Sadly when removing the supports one of the arms broke, something I fixed by using Kola Loka.
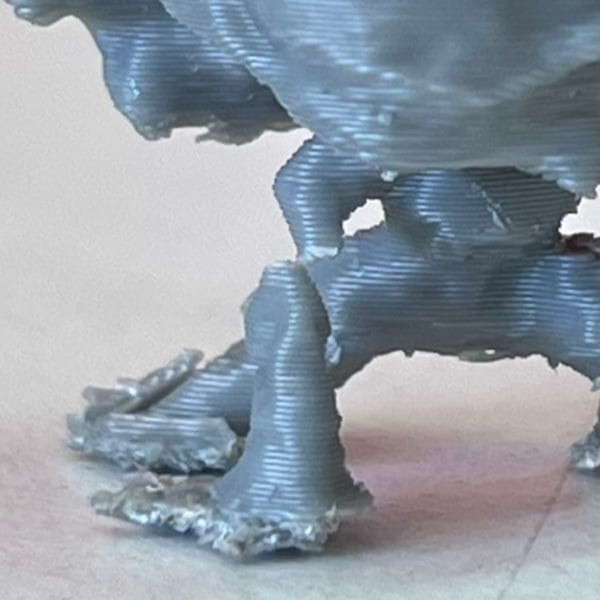
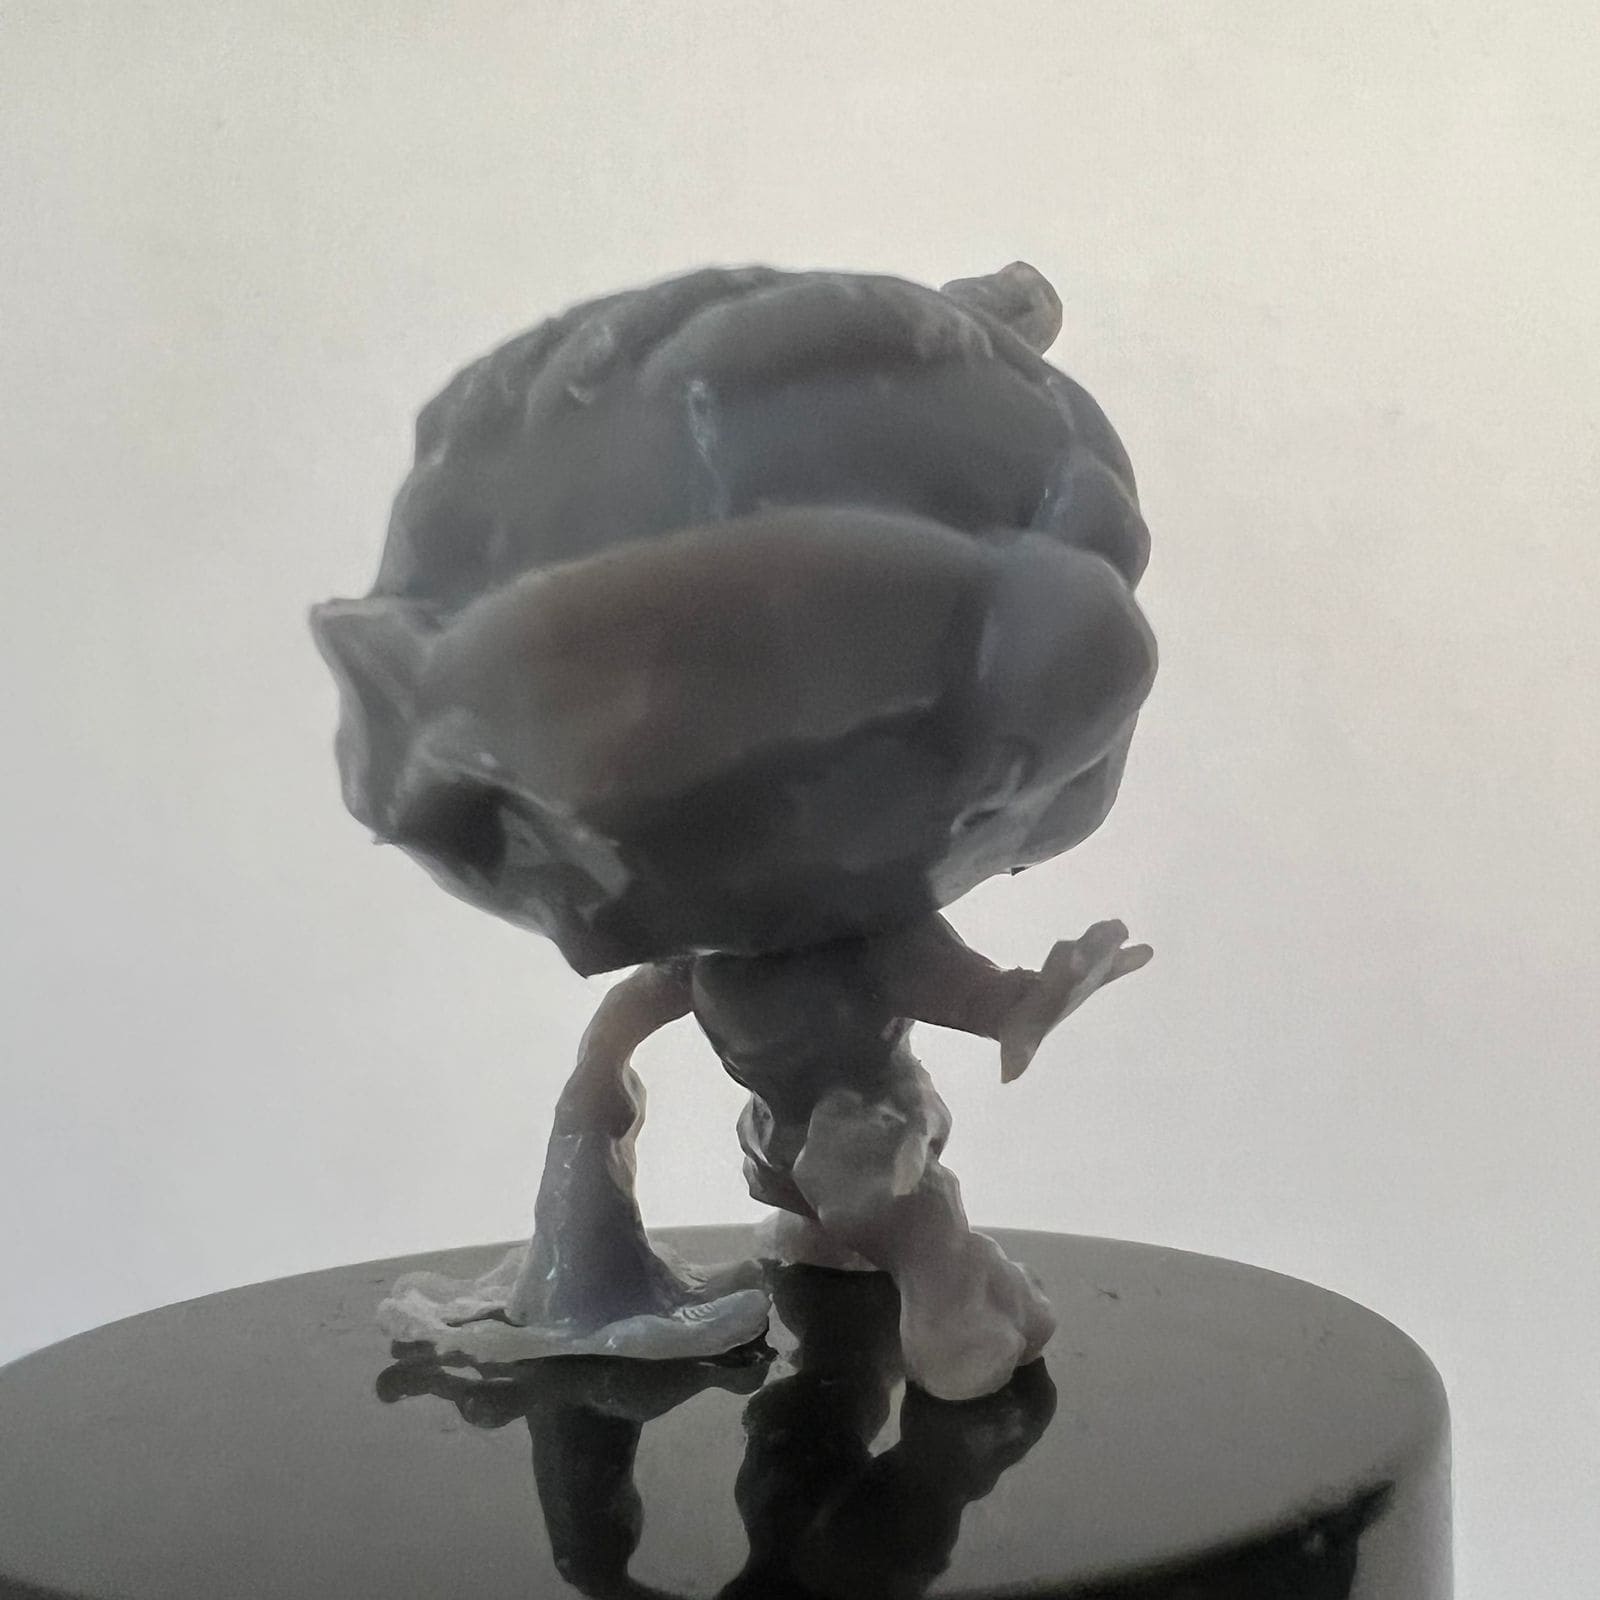
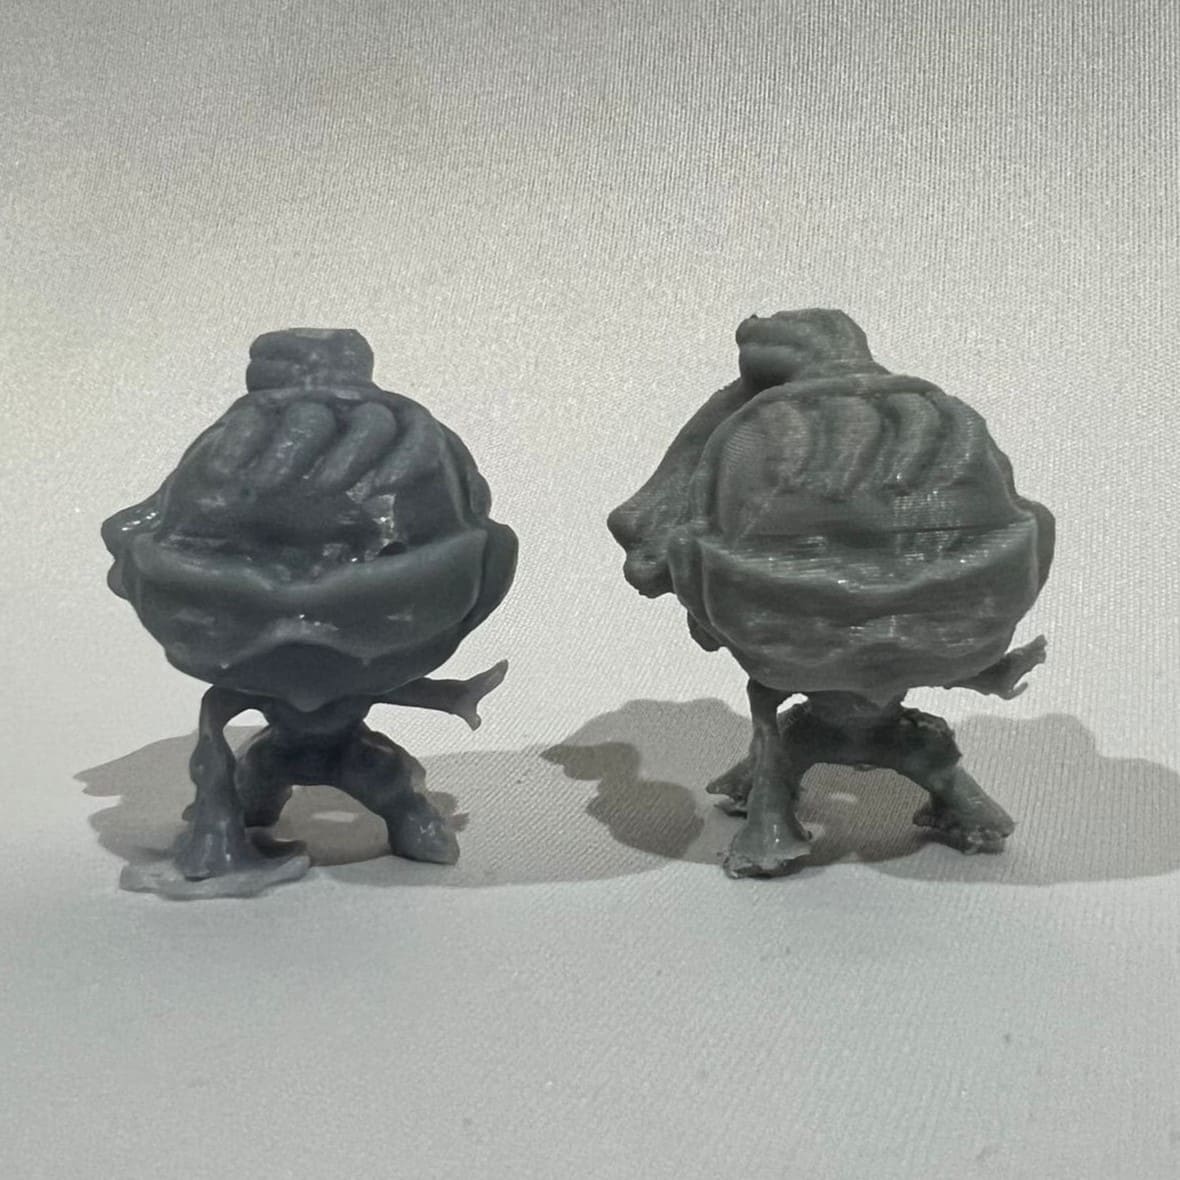
Result
Here are some photos of the results.
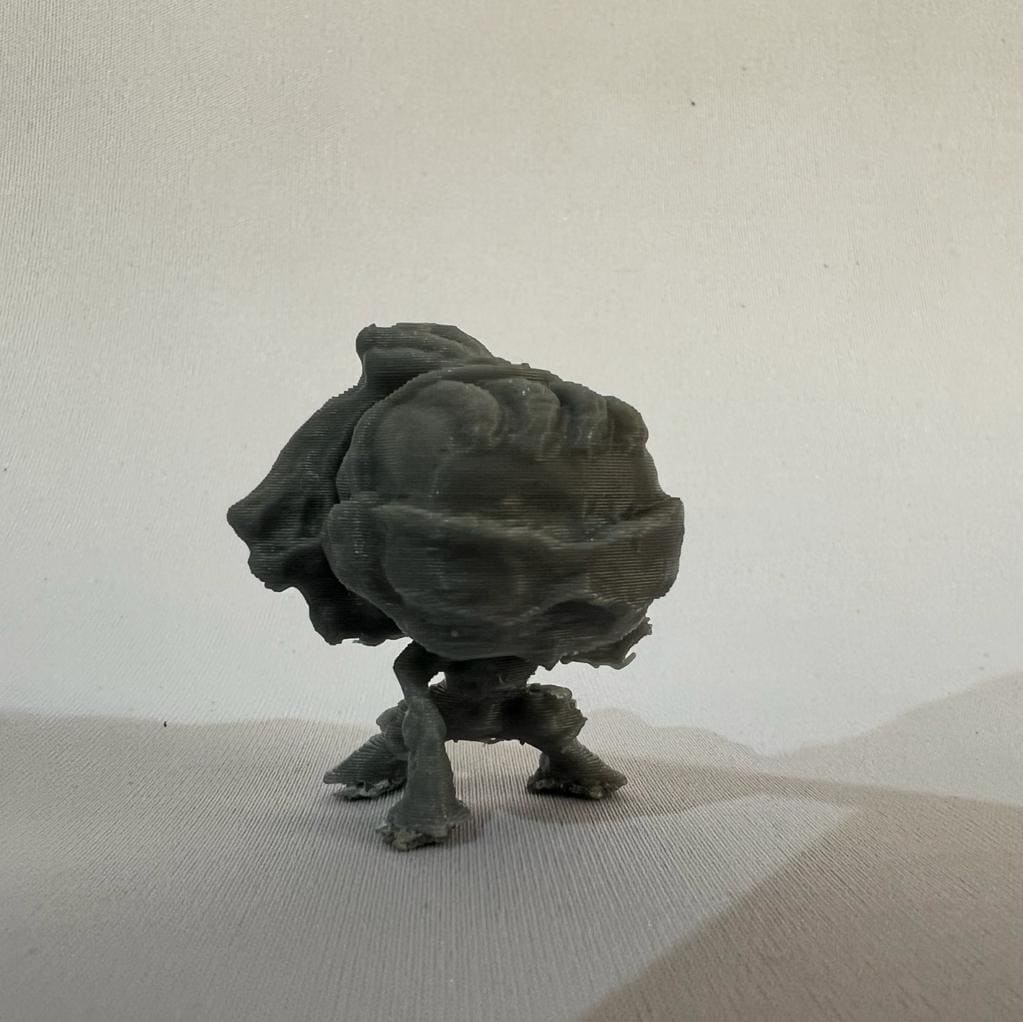
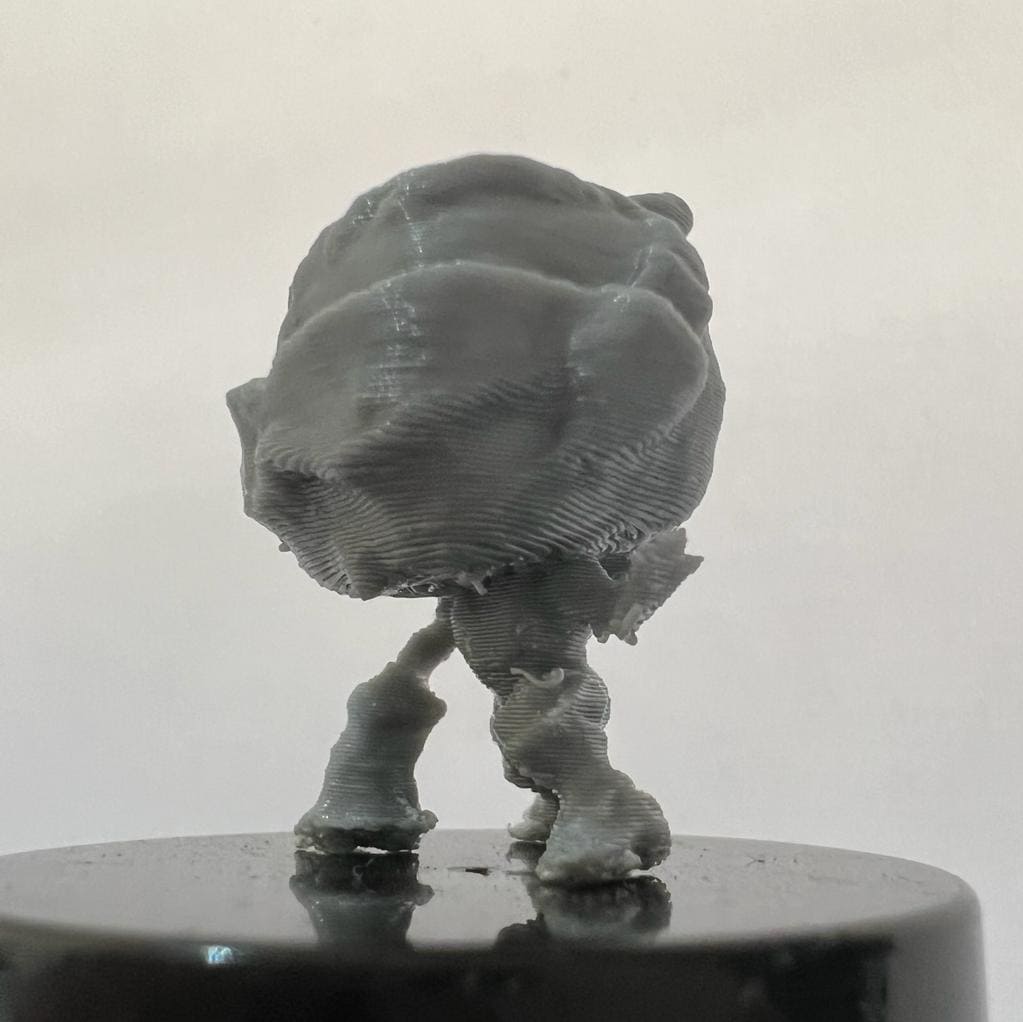
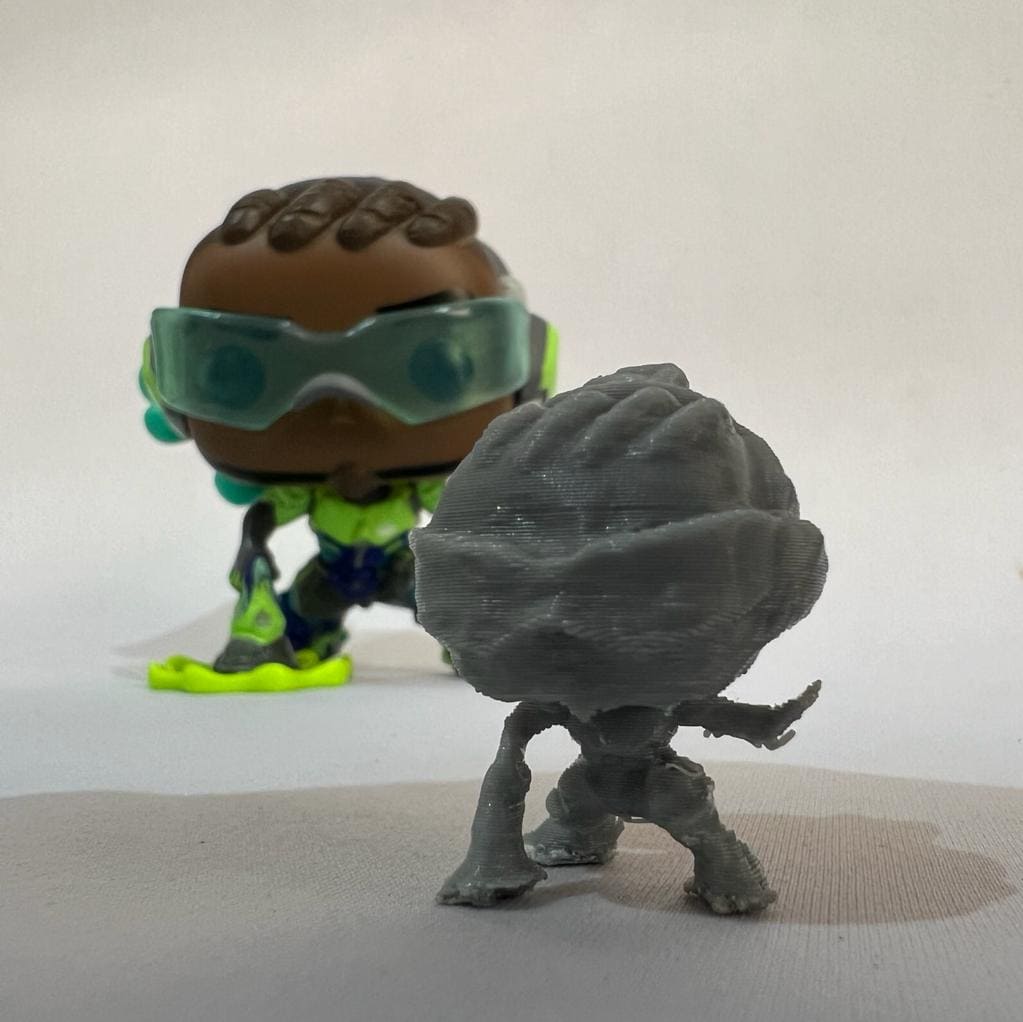
A friend of mine, Emma, gifted me a 3D printed Lucio but with resin. You can see that theres is a big difference between printing with PLA and resin, the resin one gives a better result.