Computer controlled cutting
This week assignment consisted in learning about computer controlled cutting, we had three tasks to do, our first group assignment and two individual assignments.
Laser cutting
The laser cutter
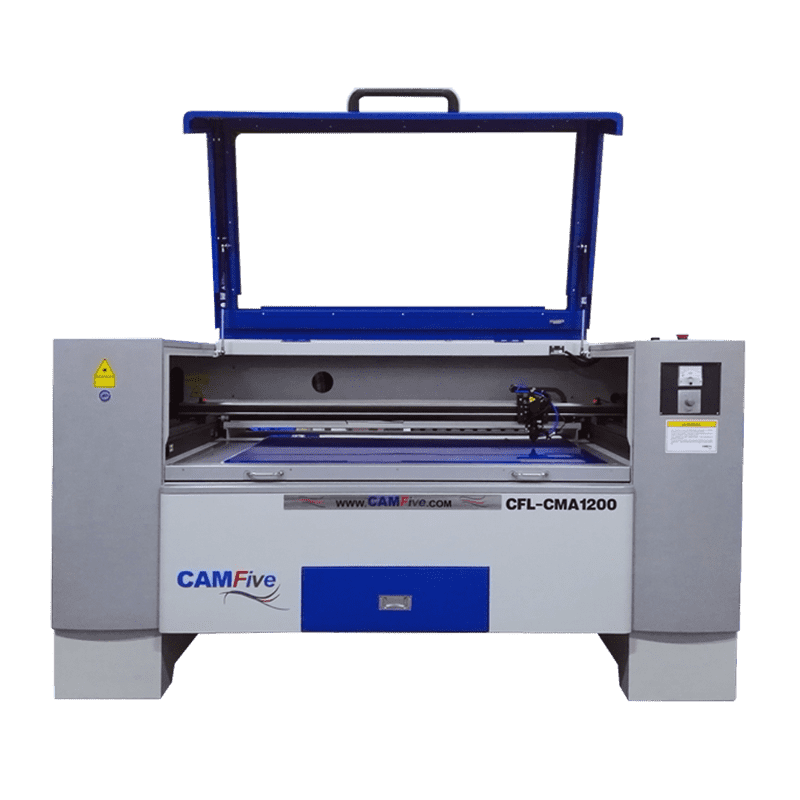
FabLab puebla is equipped with three advanceed CAM-five laser cutting machines. These machines use CO2 tube technology that generates a laser beam and with a series of mirrors and a focusing lens focus this beam onto the material you want to cut.
Not all the material can be cut on a laser cutter, here are some materials that can and cannot be cut:
| Materials you can cut | Cut | Engrave |
|---|---|---|
| Paper | ✔ | ✔ |
| Cardboard | ✔ | ✔ |
| Foaming | ✔ | ✔ |
| Leather (Natural and synthetic) | ✔ | ✔ |
| Cork | ✔ | ✔ |
| MDF (pressed cardboard) | ✔ | ✔ |
| Wood | ✔ | ✔ |
| Plastic | ✔ | ✔ |
| Acrylic | ✔ | ✔ |
| Metal | ✔ |
| Materials you CAN'T cut | Why not |
|---|---|
| PVC (Poly Vinyl Chloride) | As it ruin the object it emits chlorine gas. |
| ABS | It tends to melt rather and has a chance of catching on fire and leaving behind melted gooey deposits on the vector cutting grid. Cutting ABS plastic emits hydrogen cyanide, which is unsafe at any concentration. |
| HDPE/milk bottle plastic | It melts. It gets gooey. It catches fire. |
| PolyStyrene Foam | It catches fire quickly, burns rapidly, it melts, and only thin pieces cut |
| Epoxy | Epoxy is an aliphatic resin, strongly cross-linked carbon chains. A CO2 laser can't cut it, and the resulting burned mess creates toxic fumes. |
| Fiberglass | Epoxy is an aliphatic resin, strongly cross-linked carbon chains. A CO2 laser can't cut it, and the resulting burned mess creates toxic fumes ( like cyanide! ). |
| Foodstuff (meat, cookies, bread) | Just don't. |
Learning how to use it
To learn how to use the laser cutter, my friend Angel and I made an appointment with our professor, Oliver, so he could teach us. Although it was my first time using these kinds of machines, I didn't find it that complicated.
Group assignment
Our first group assignment was to make test to see how the laser cutter works with different power and speed. We notices that power percentajes below 30% weren't able to cut the material and below 10% didn't even grave. All other percentajes were able to cut the material however the cleanest ones where at 50% with a speed of 40 mm/s, we also noticed that slower speed created worst kerf.
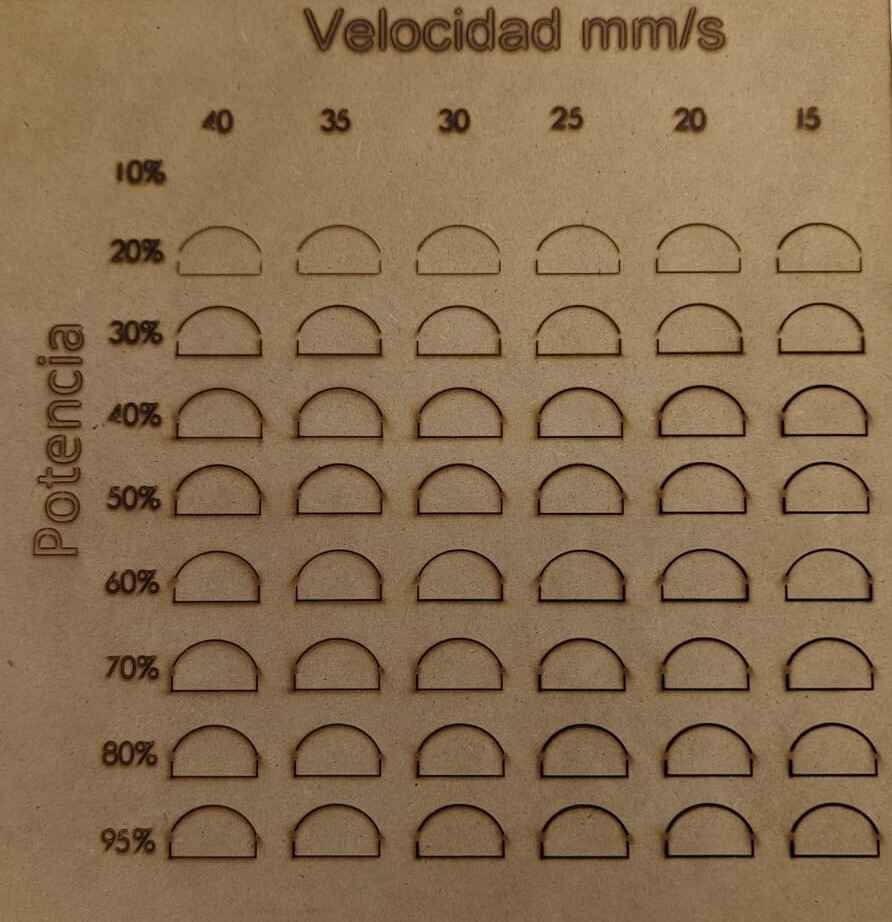

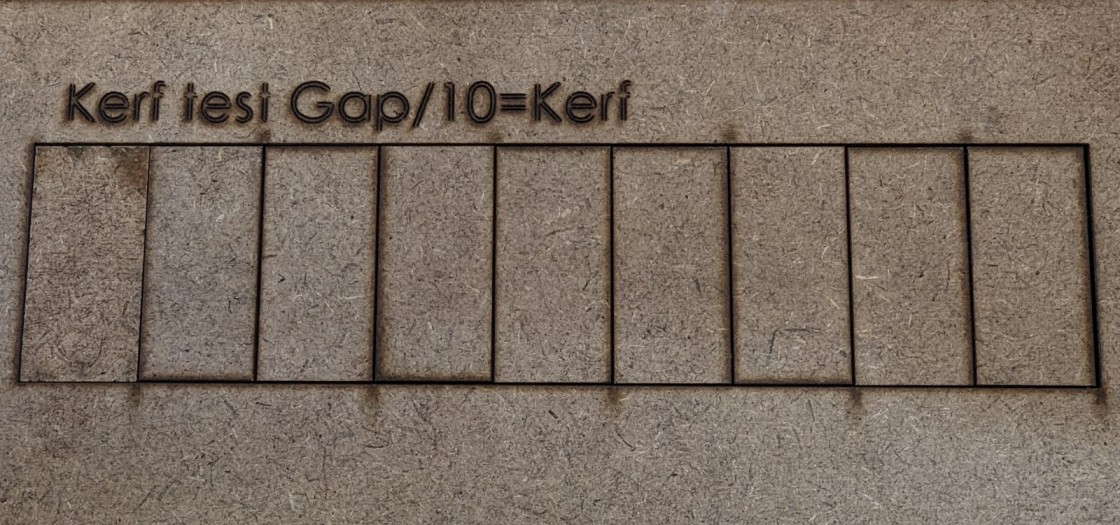
When a laser cutter cuts a line it burns away material and that amount of material burned is called kerf. With the test we made we figured out that for MDF the kerf is 3mm.
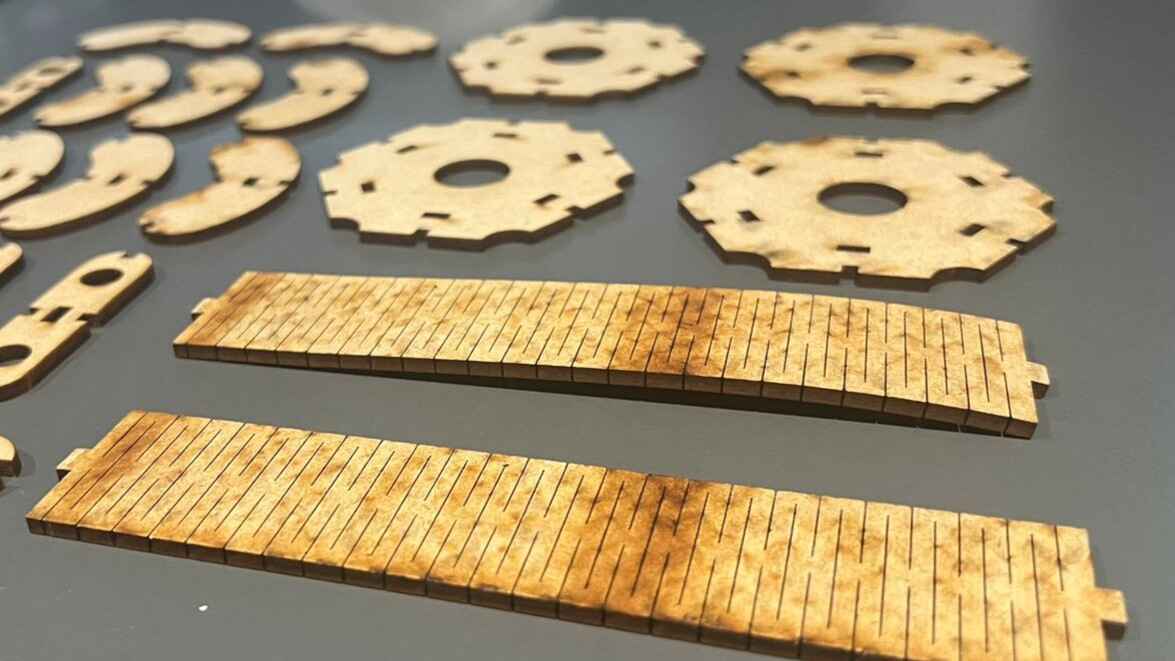
Creating a press-fit construction kit
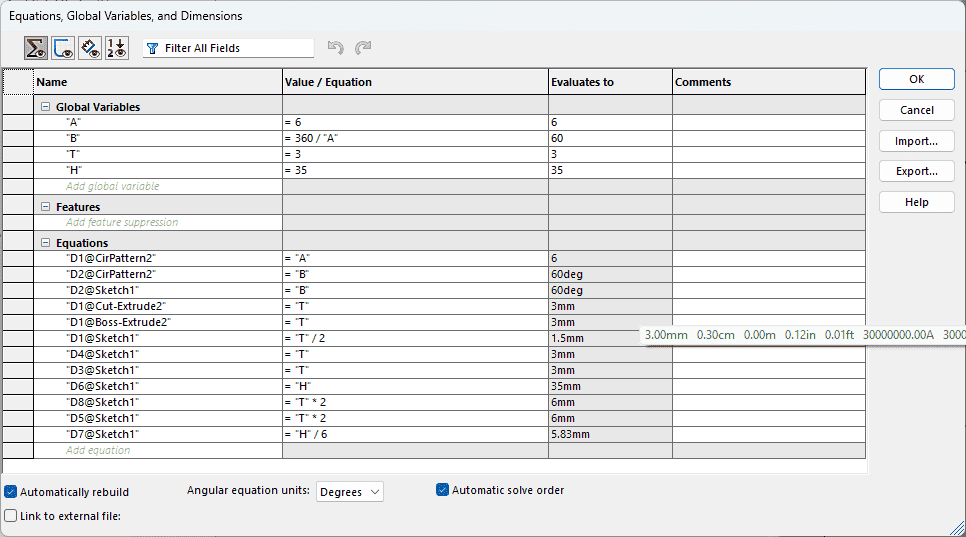
The first individual task for this week was to create a press-fit construction kit, but the design of this kit must be parametric. Parametric design is a method where, instead of manually placing and calculating all dimensions, you utilize global variables and equations. When you need to make modifications, you simply change the value, and the design will automatically adjust.
I was eating while designing the pieces (that's why the pieces were named from foodstuff) and I came up with four different ideas:
- Piece 1: The pineapple slice
- Piece 2: The sausage
- Piece 3: The hot dog bunds
- Piece 4: The beacon
Thanks to the parametric design this piece can be any geometric figure you want, from a simple triangle to a hexagon, even a tetradecagon (14 sides).
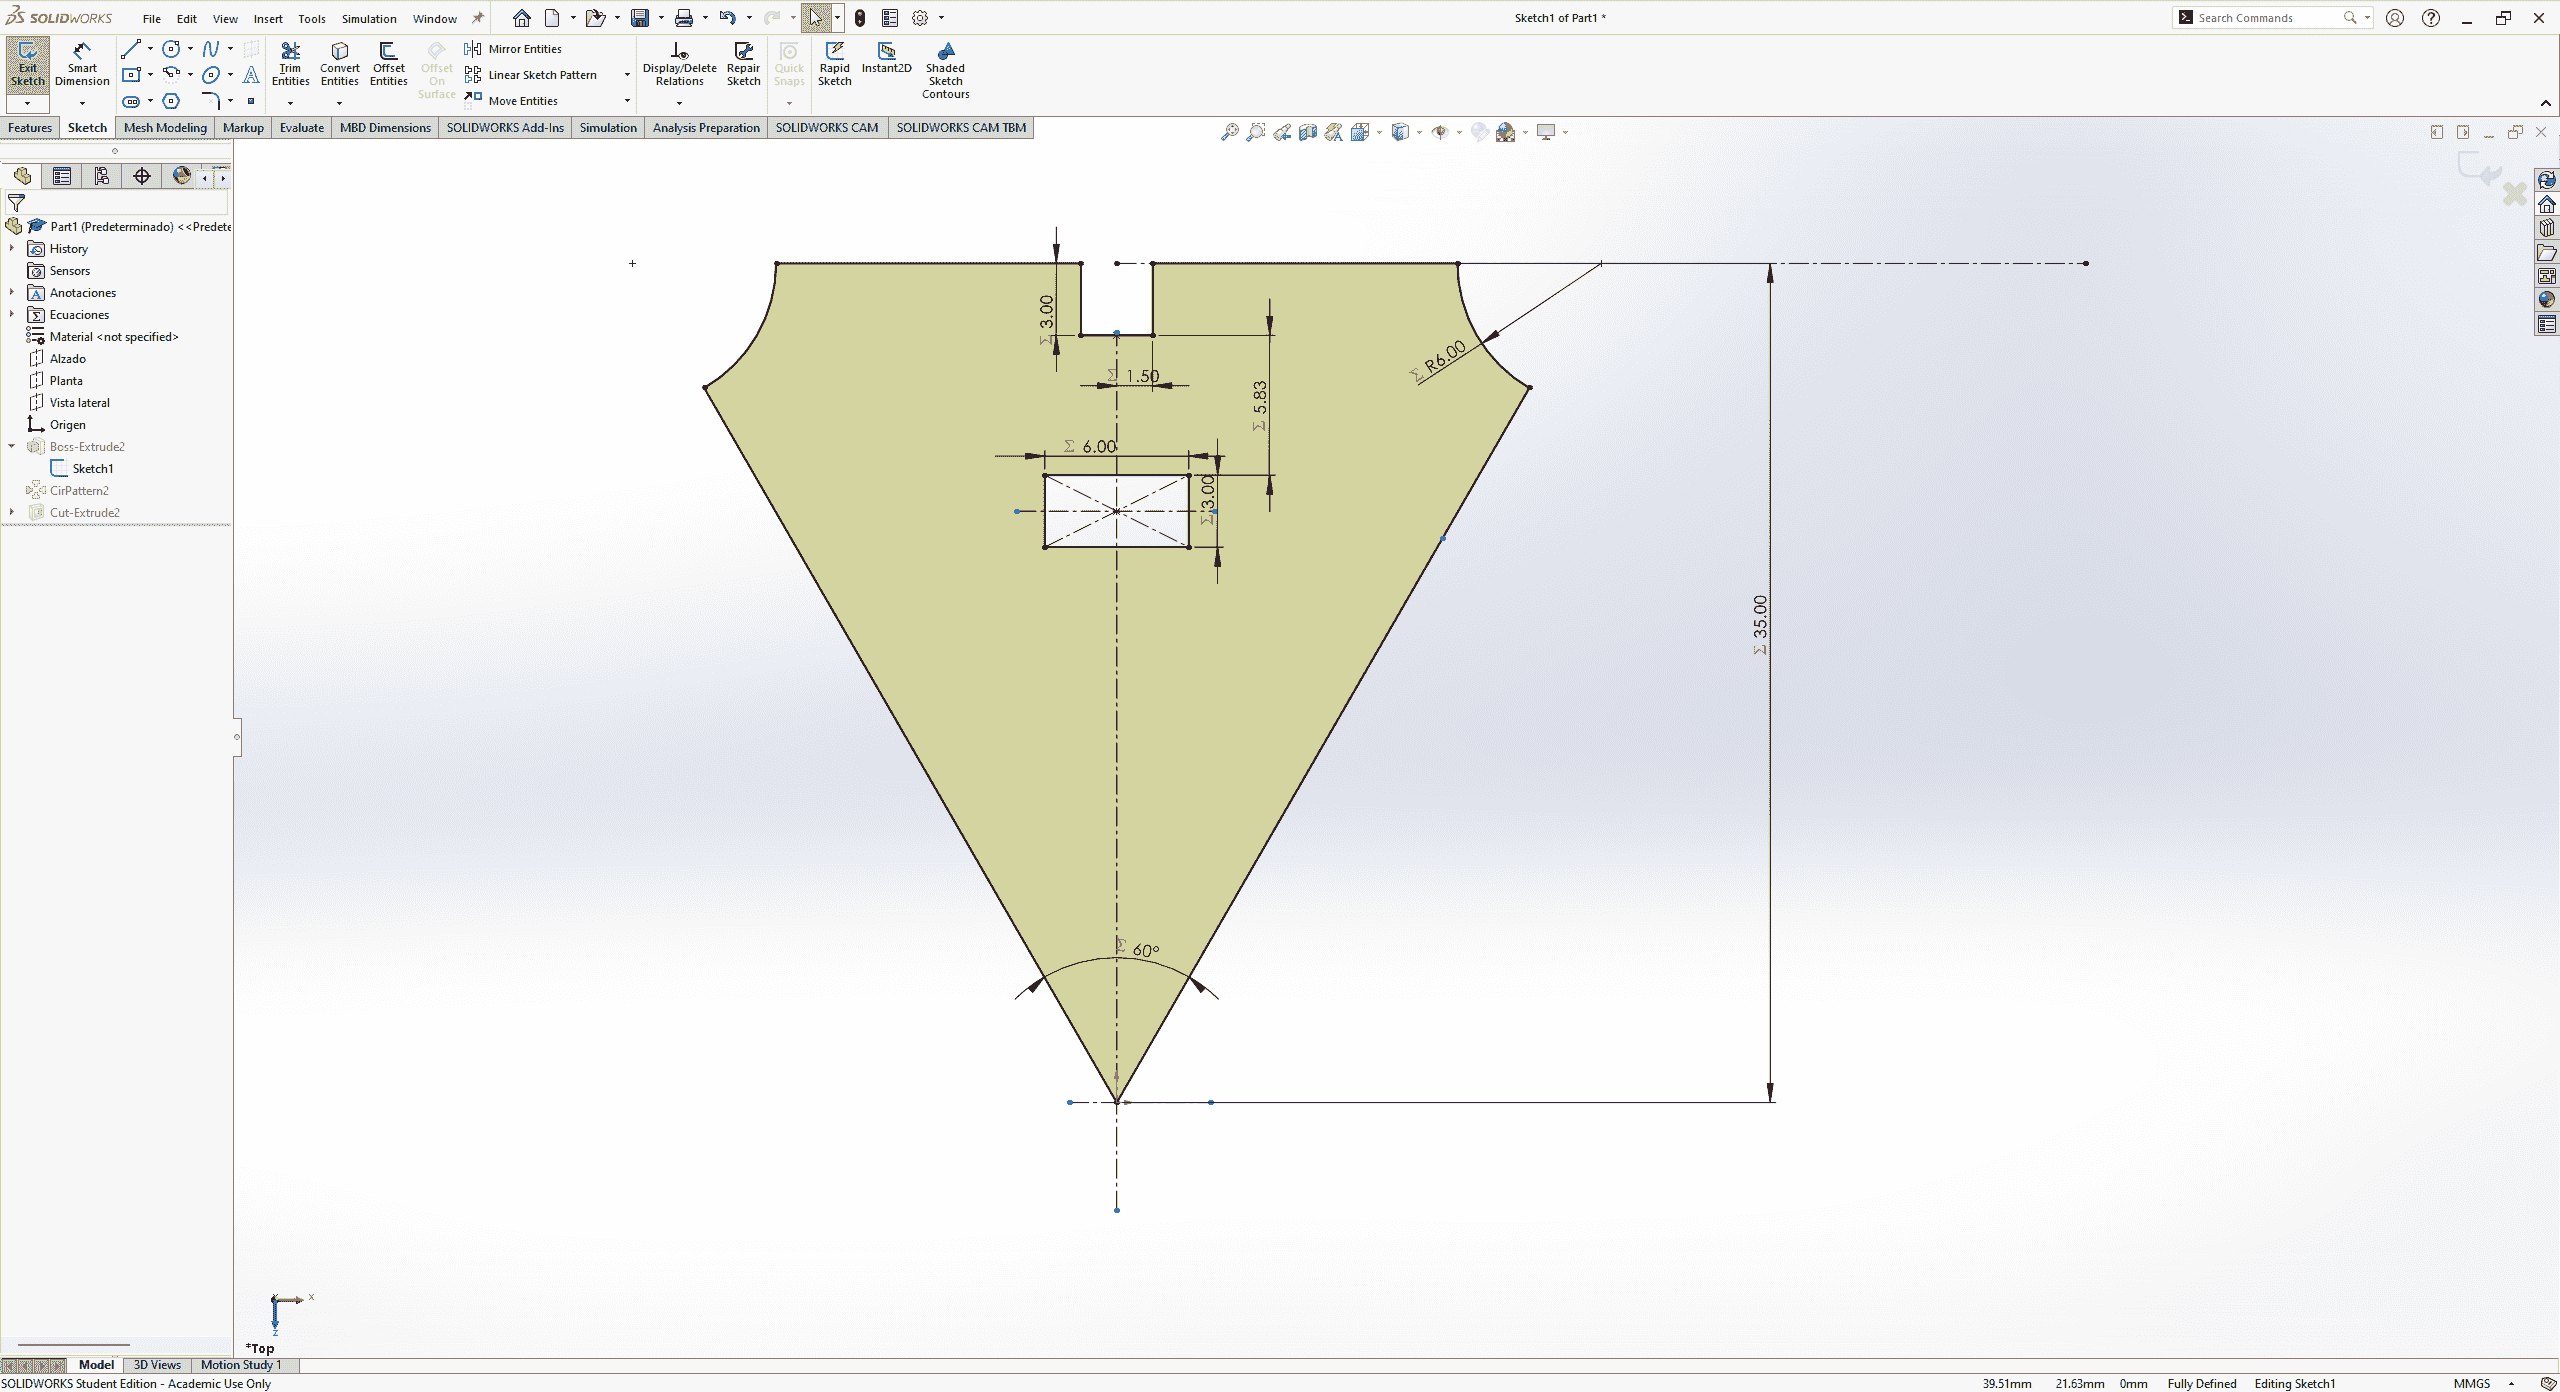
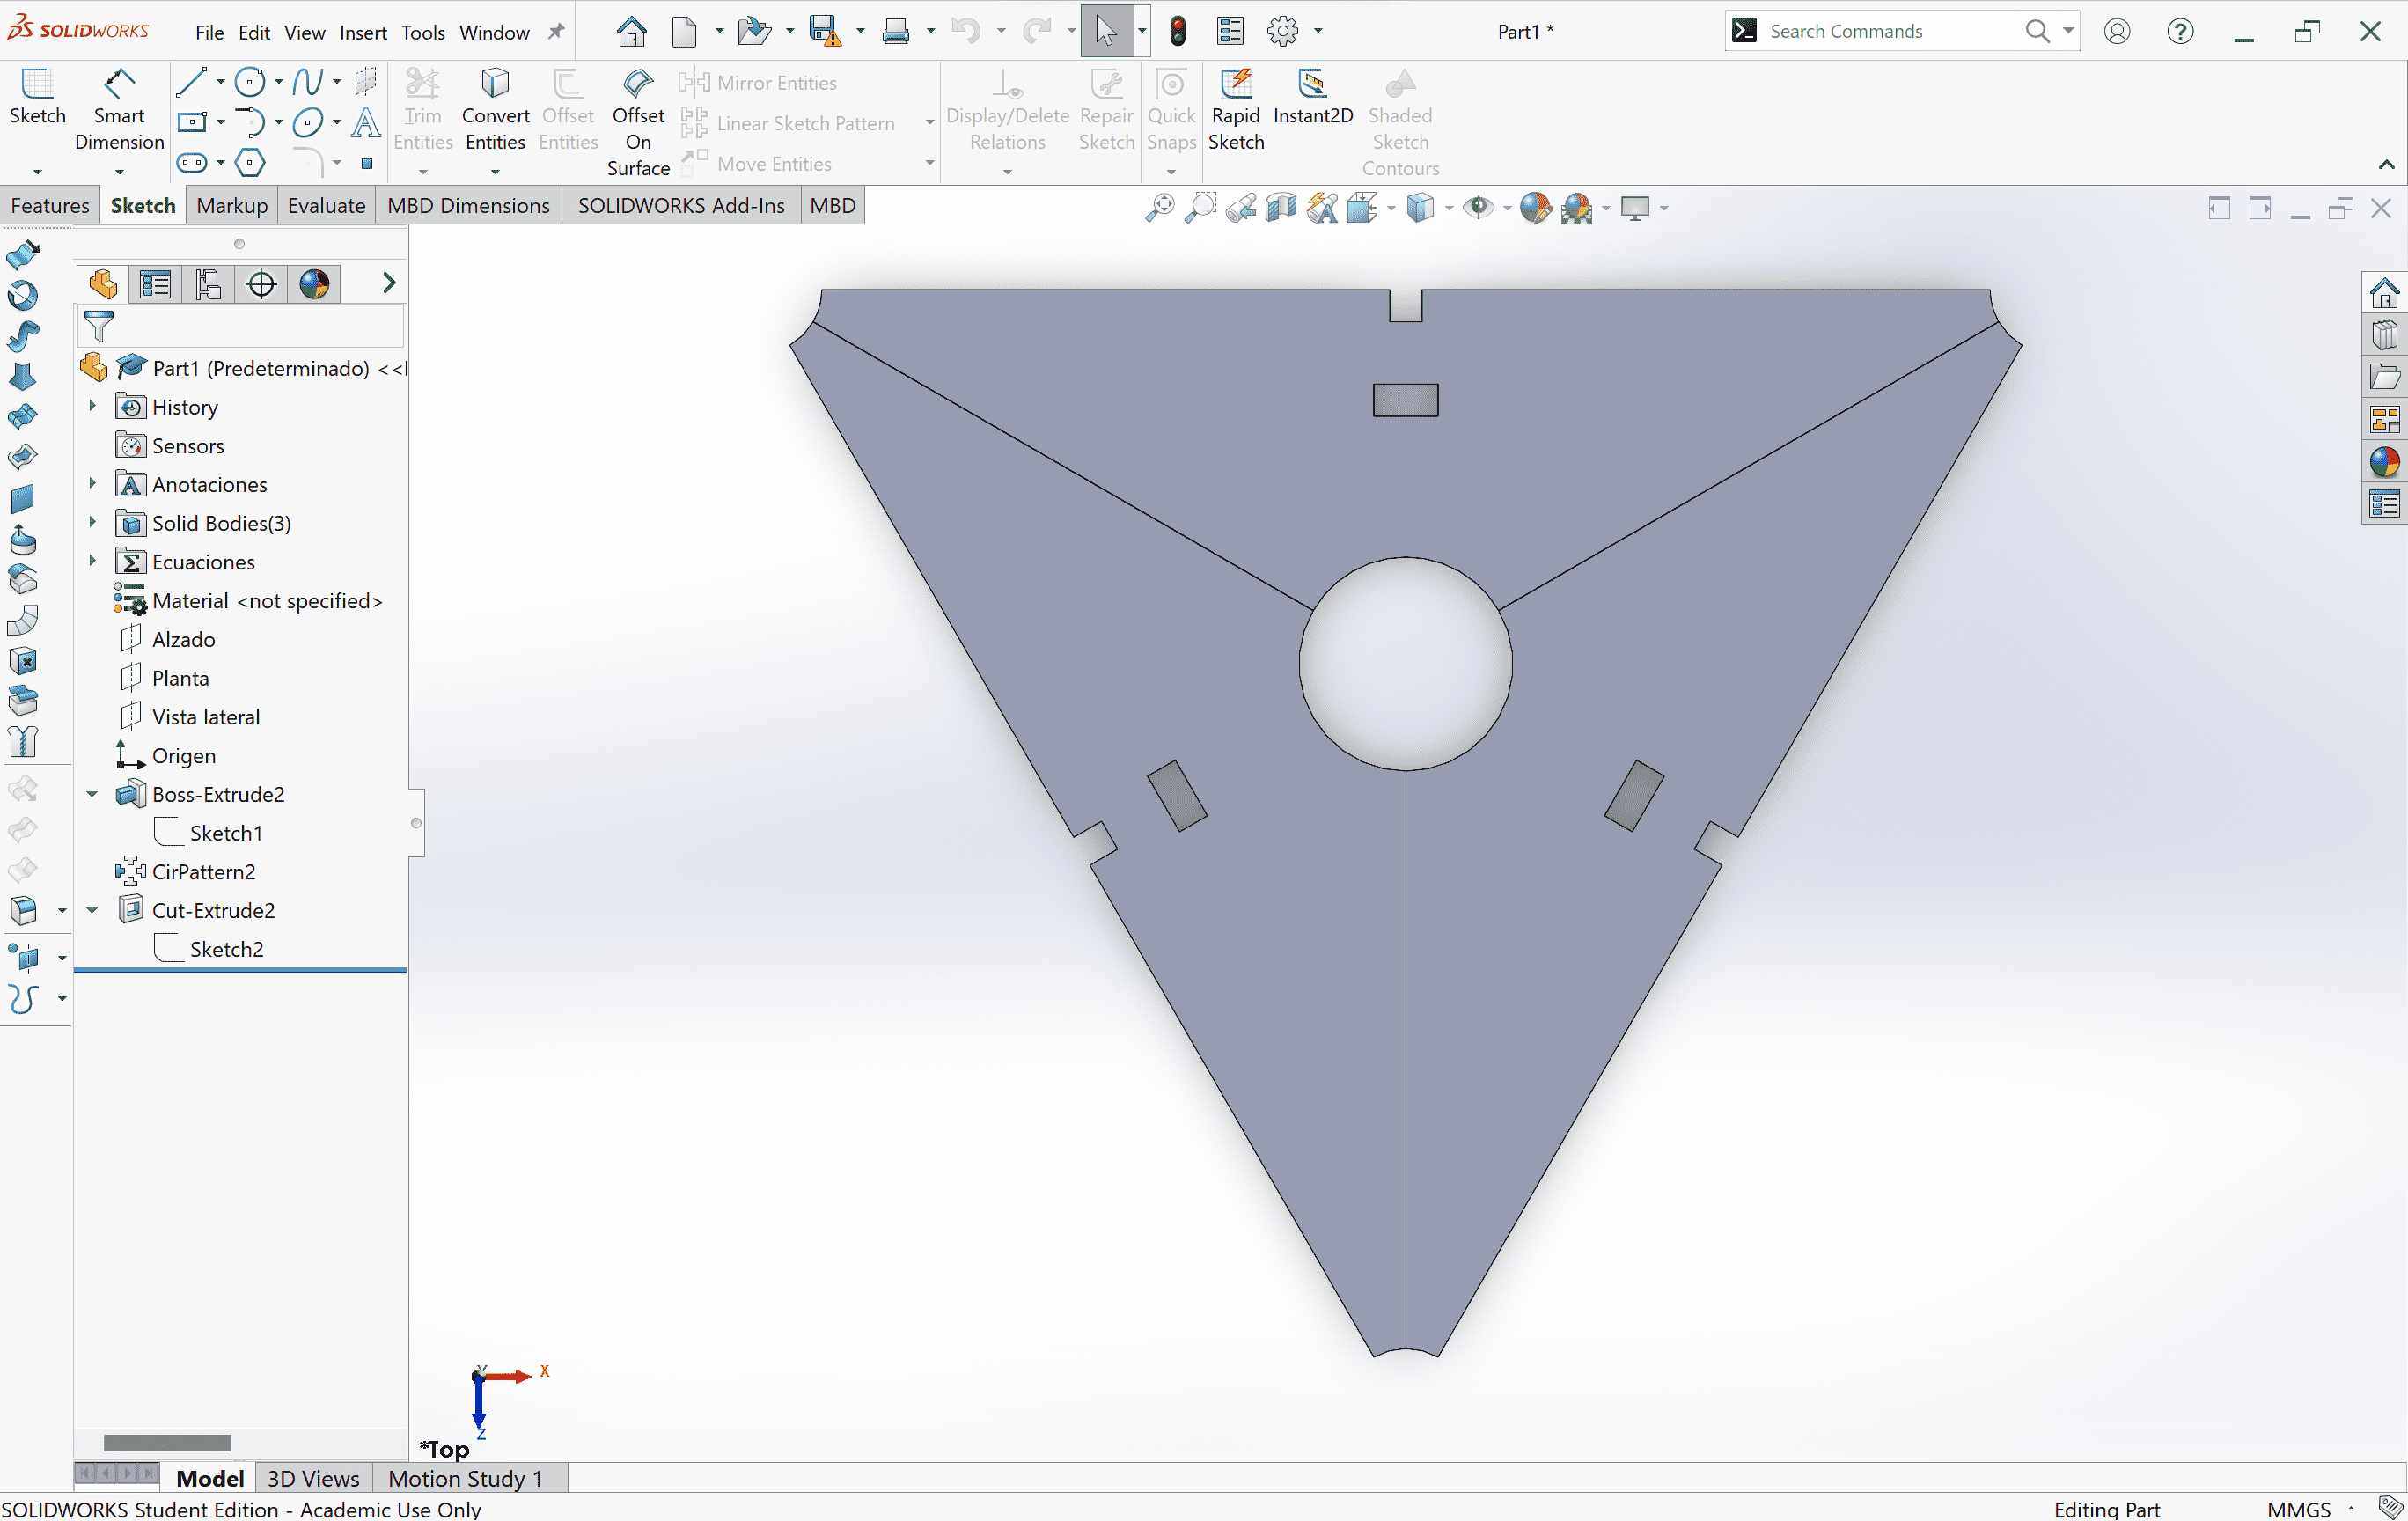
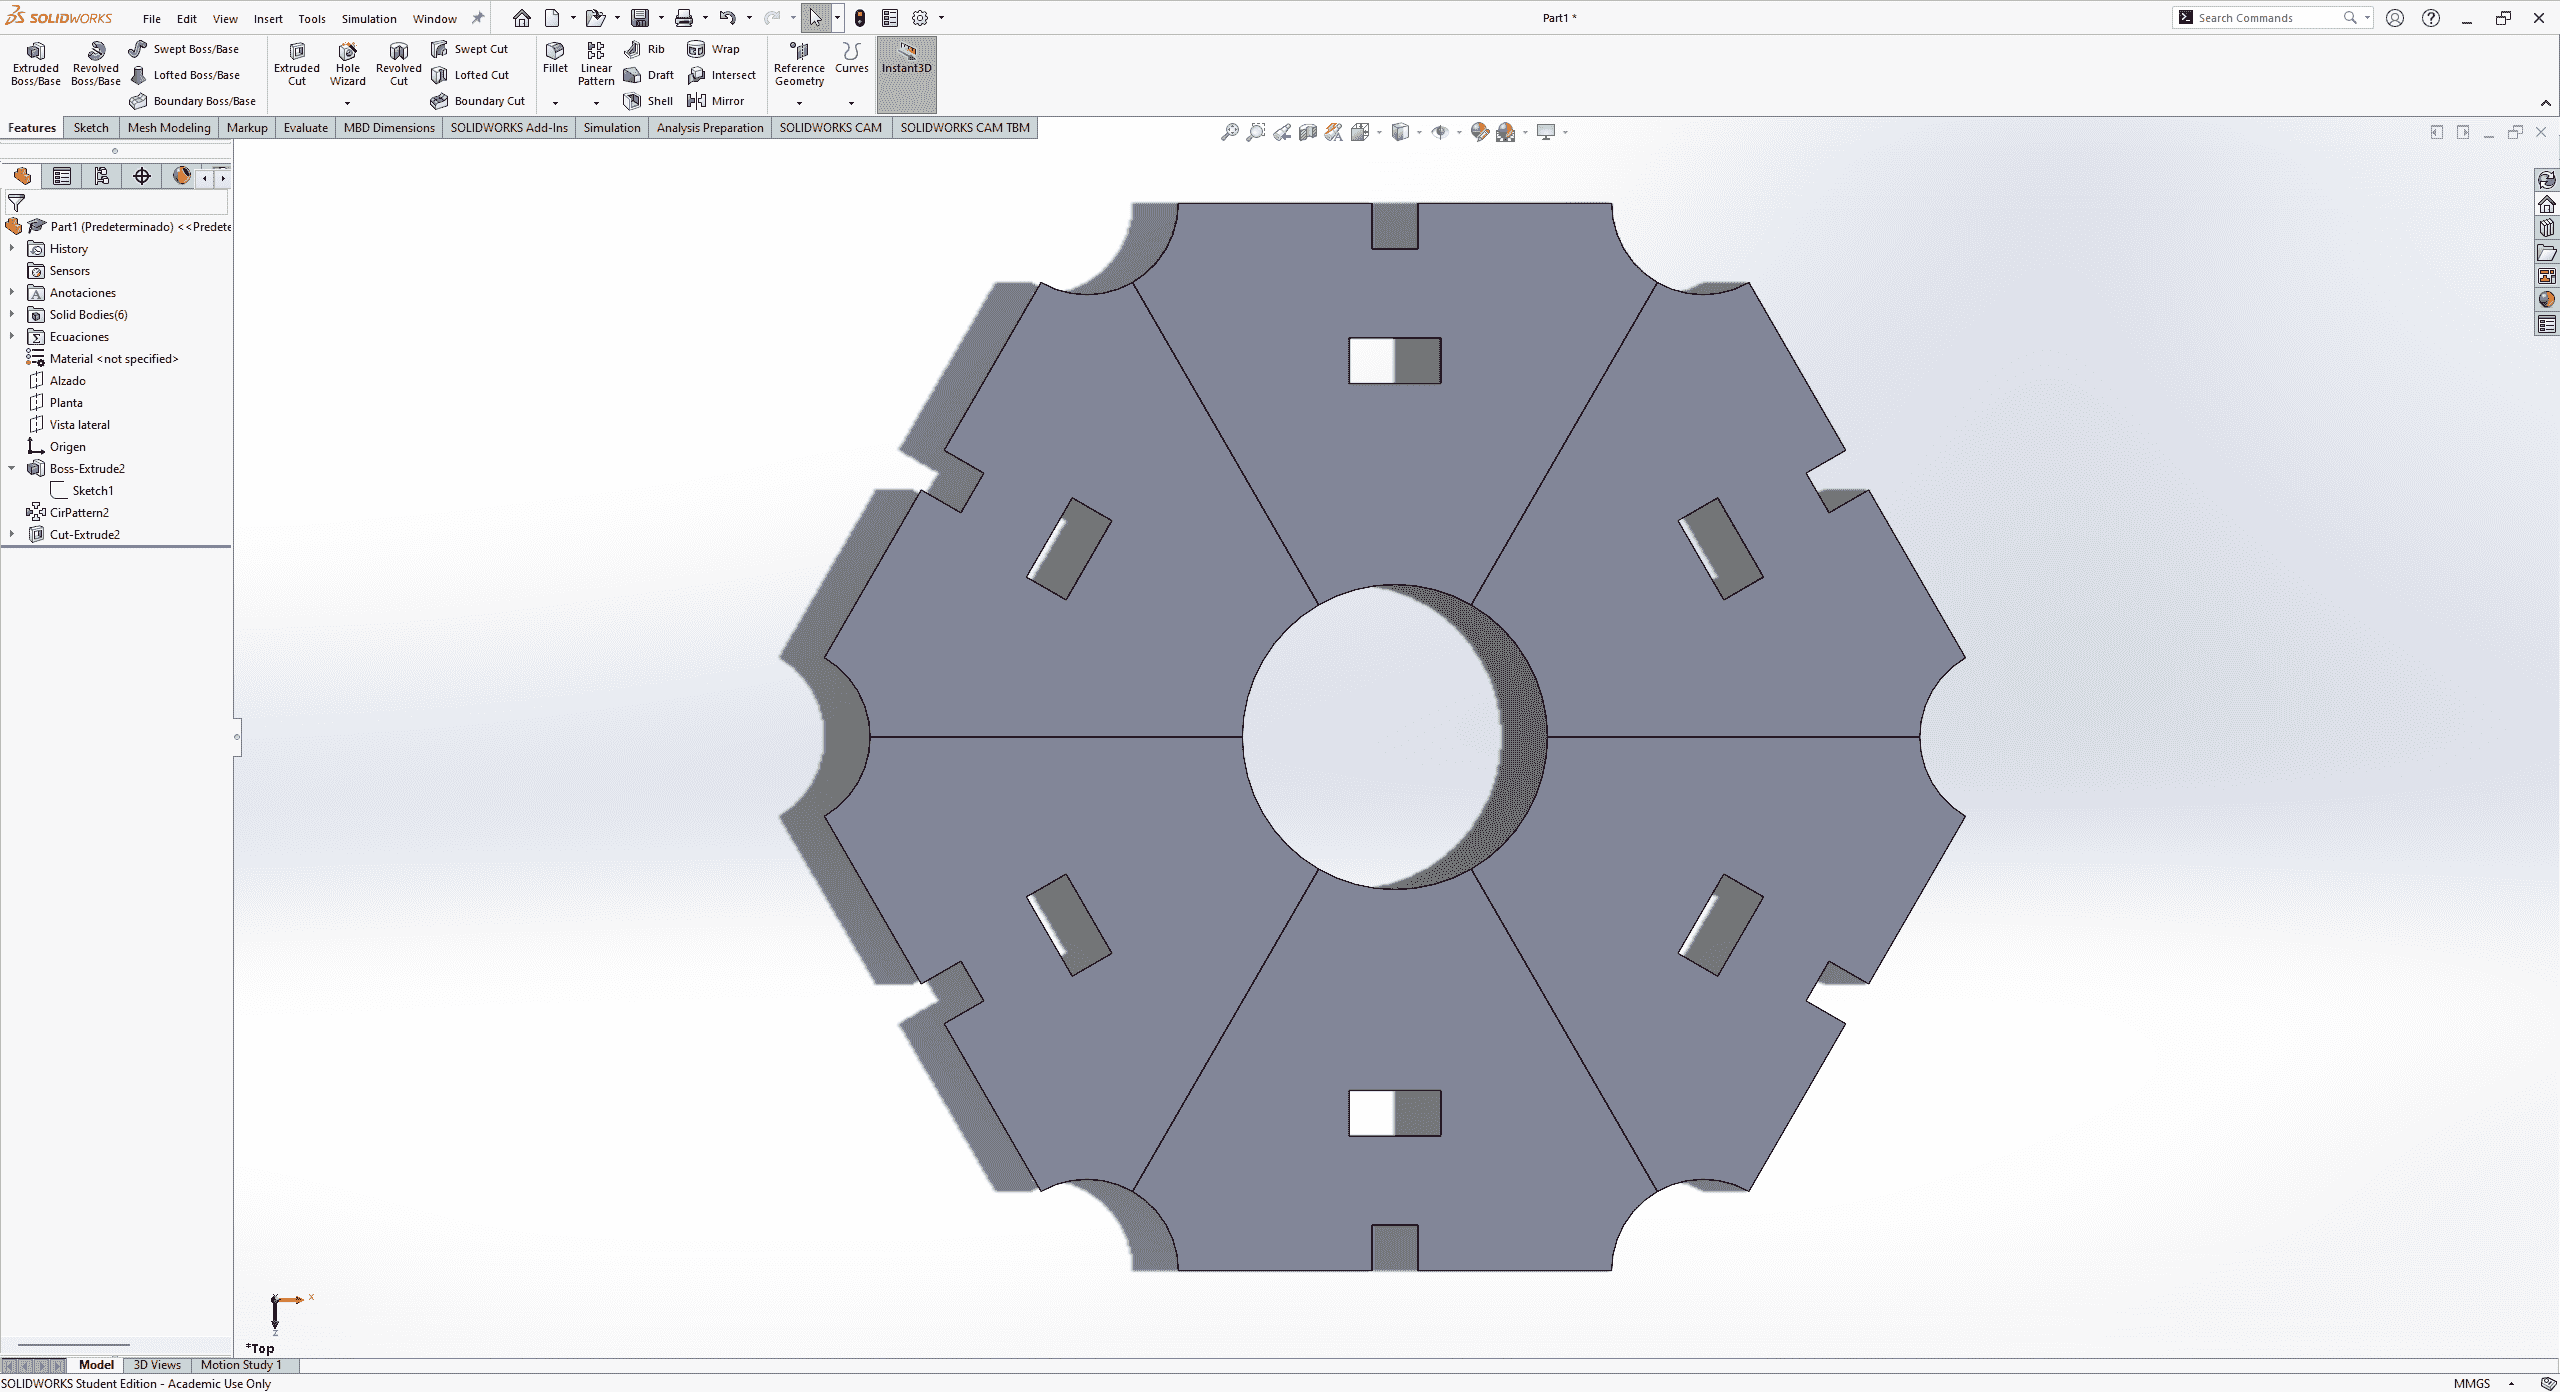
This piece can be used to make connections between the pineapple pieces and thanks to the parametric design the angle can be modify.

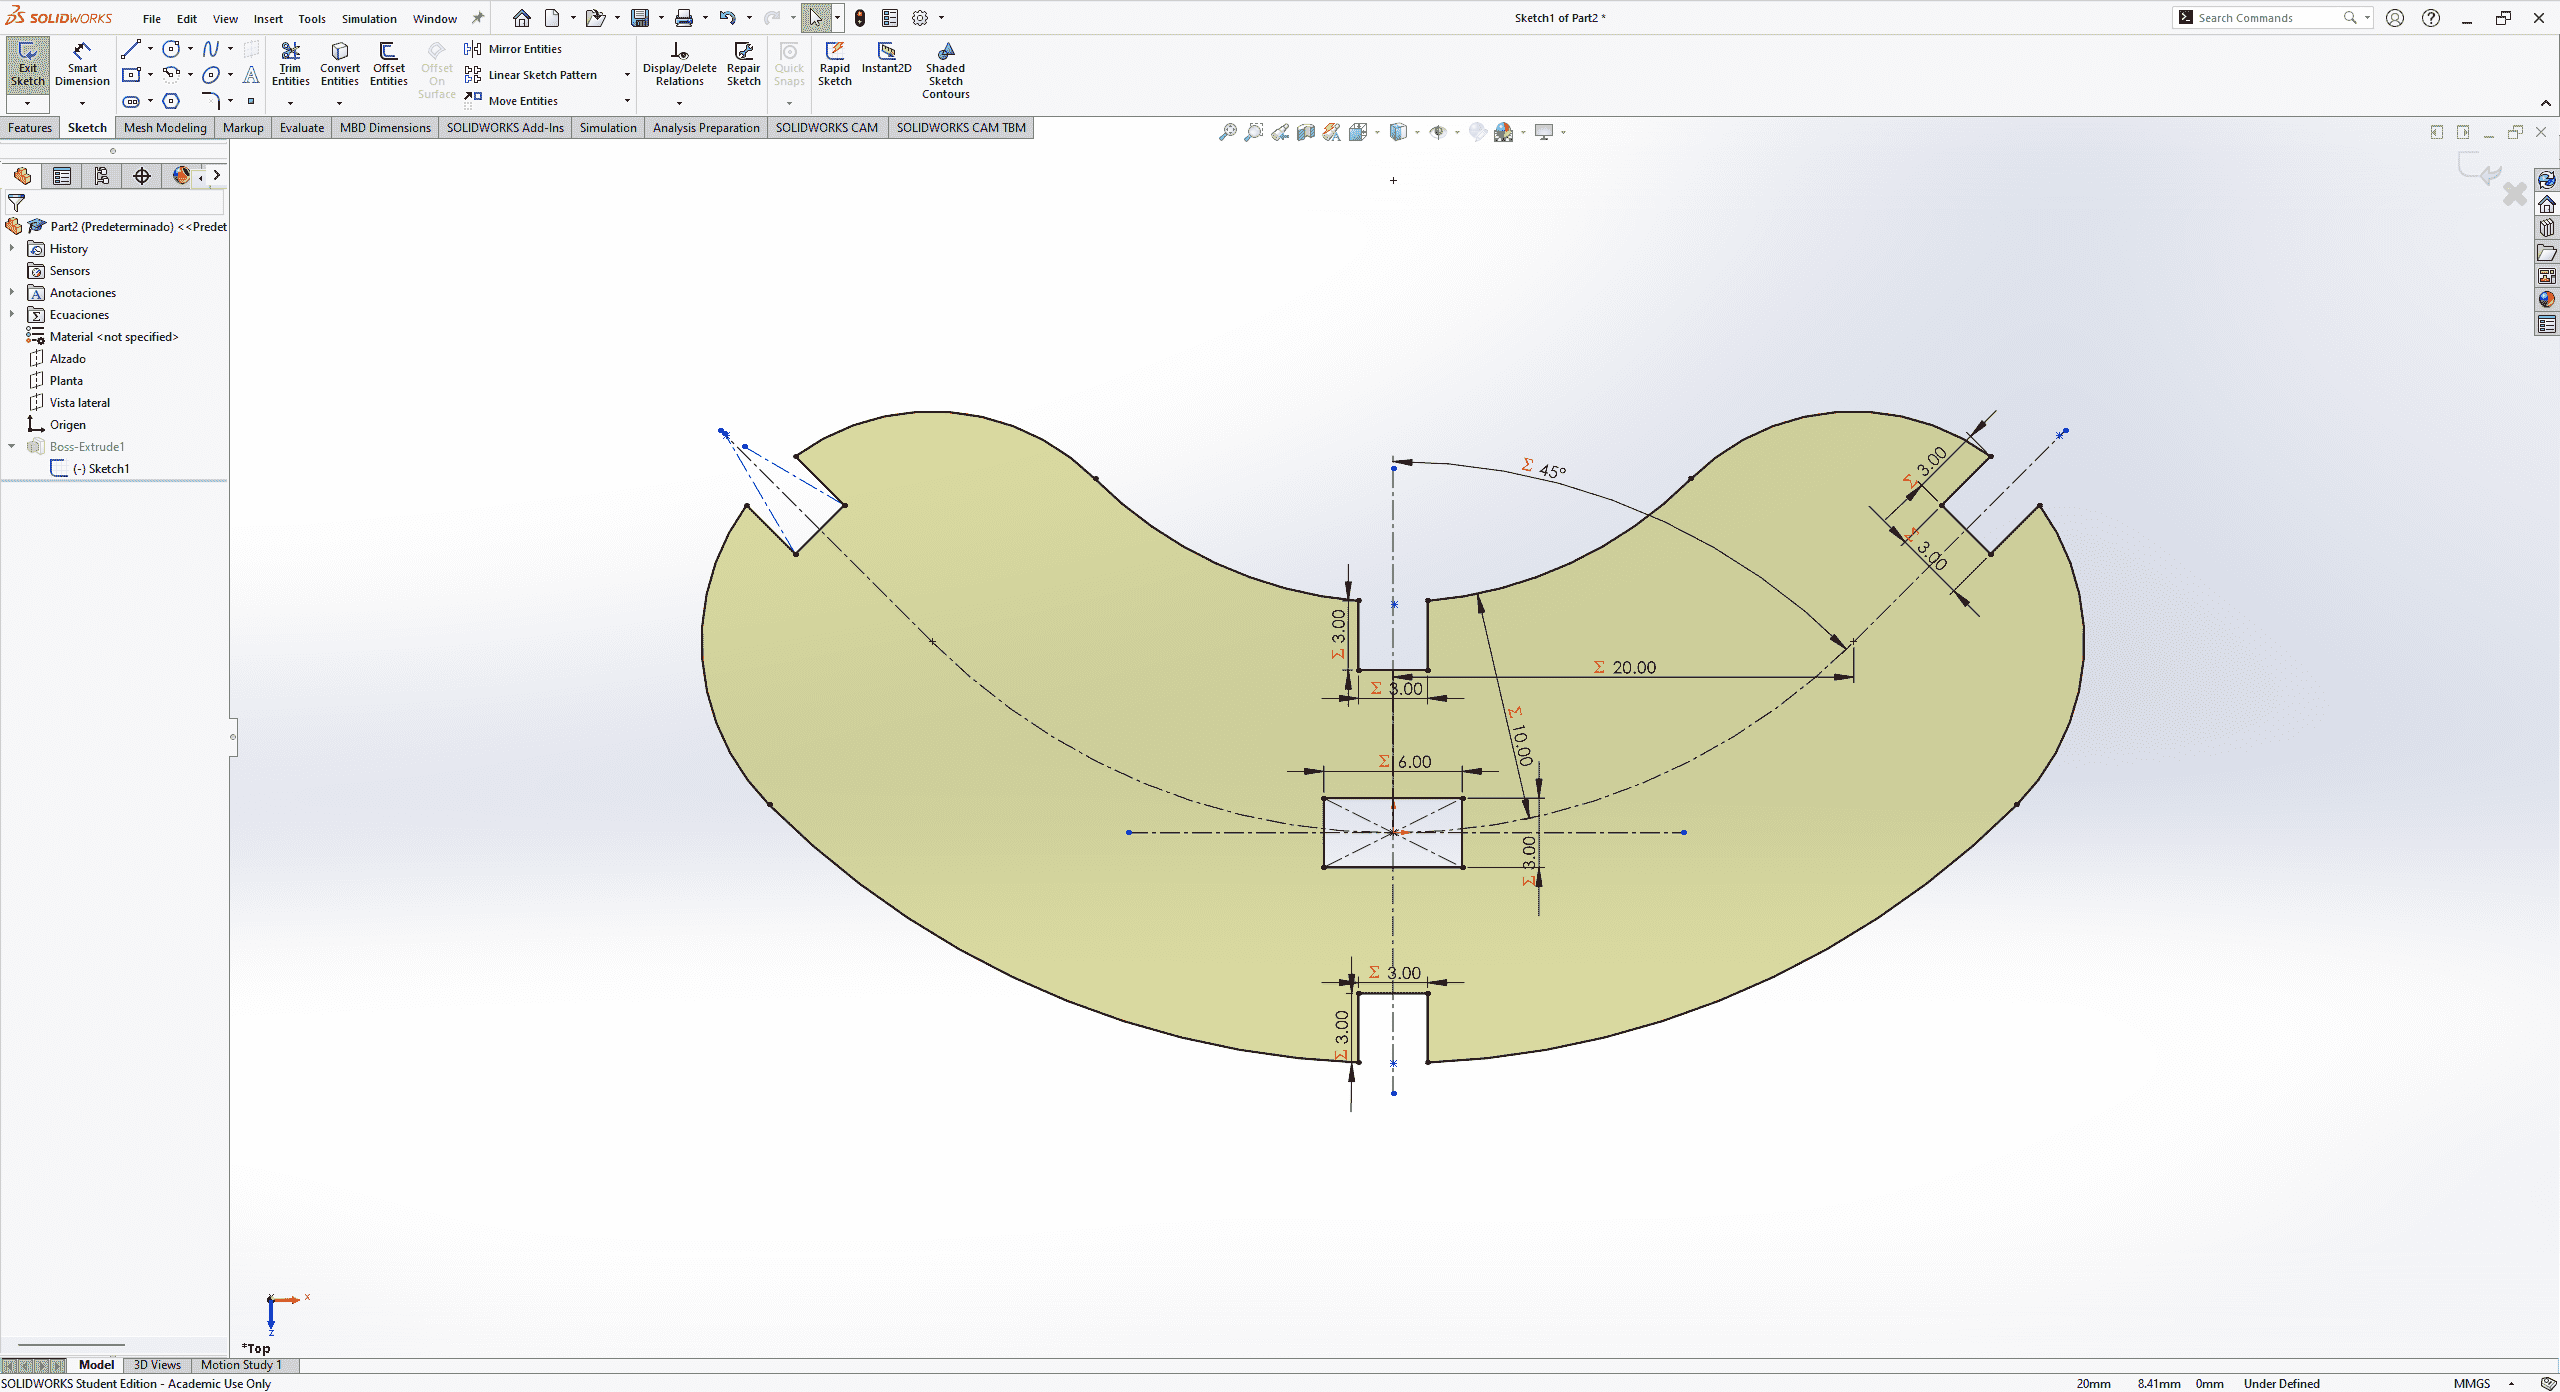
These ones also work as connections but these ones are straight. By modifying the variable "W" you can modify how big you want the piece to be.
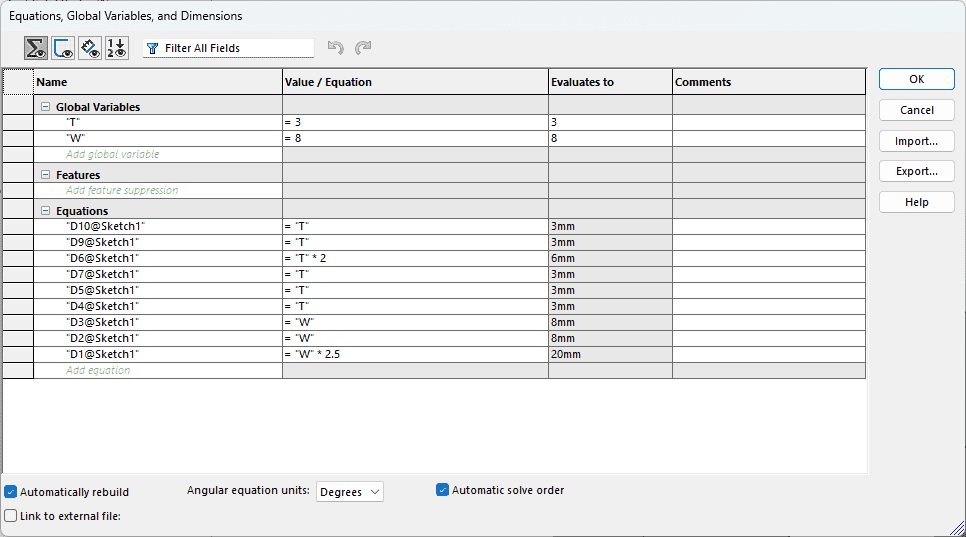
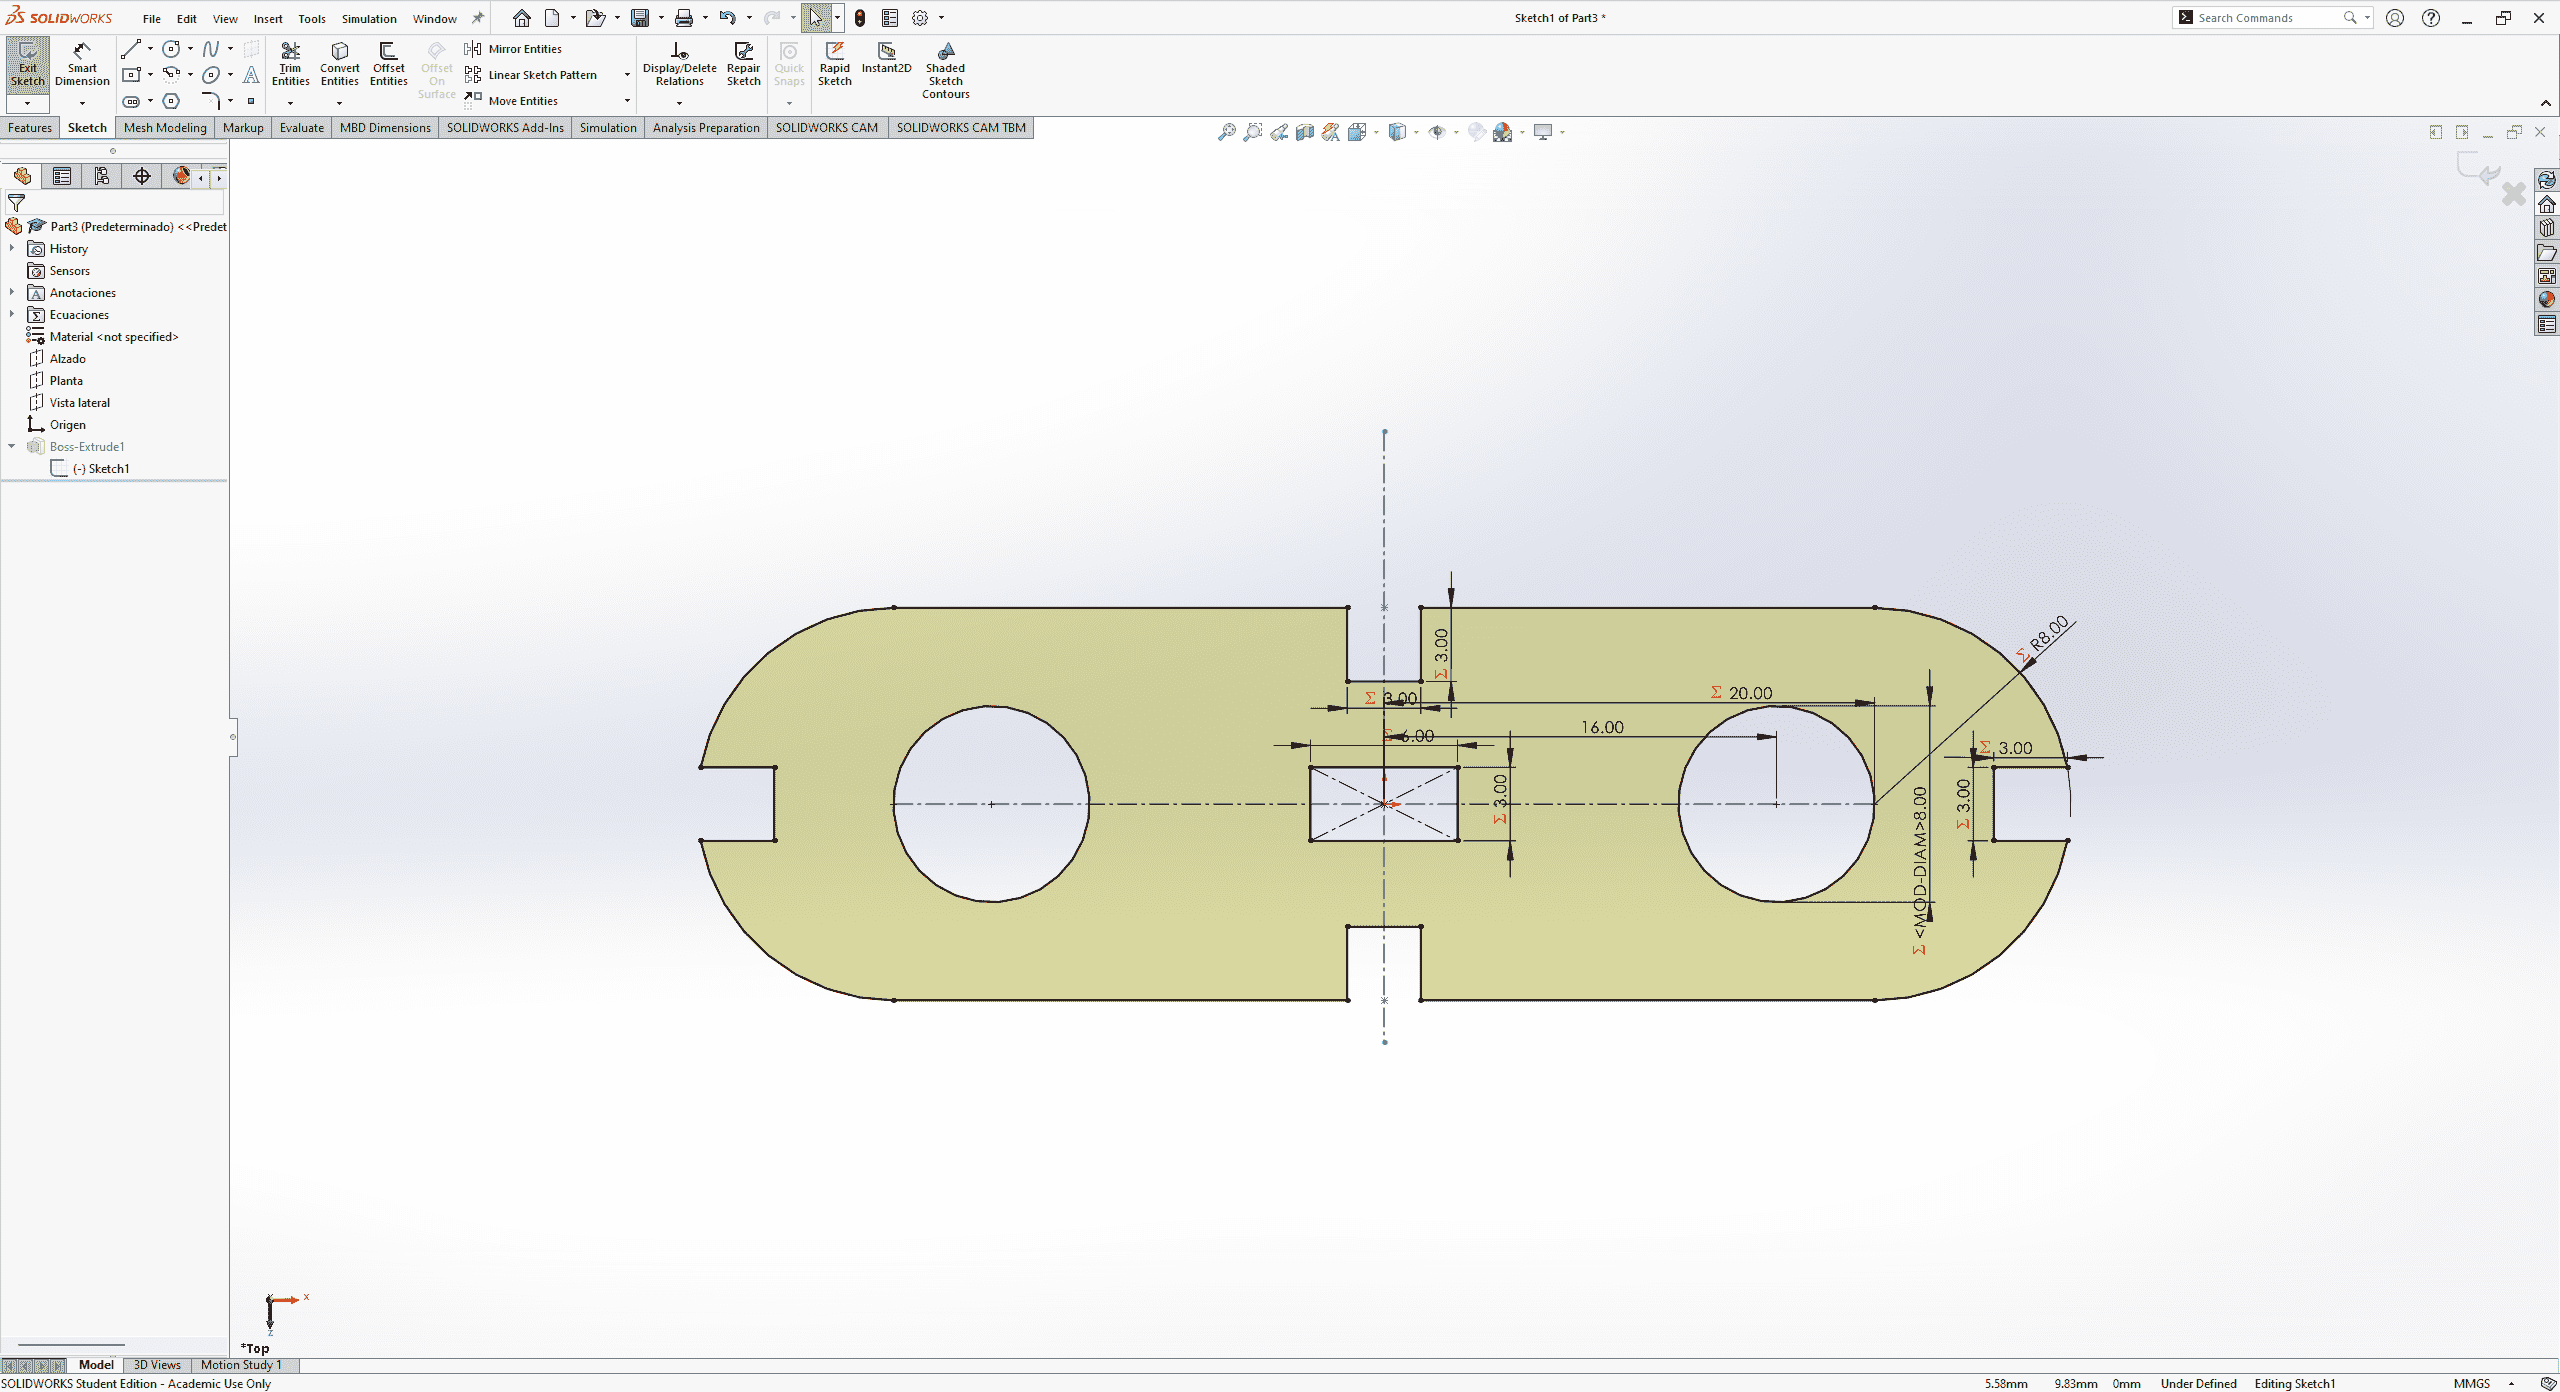
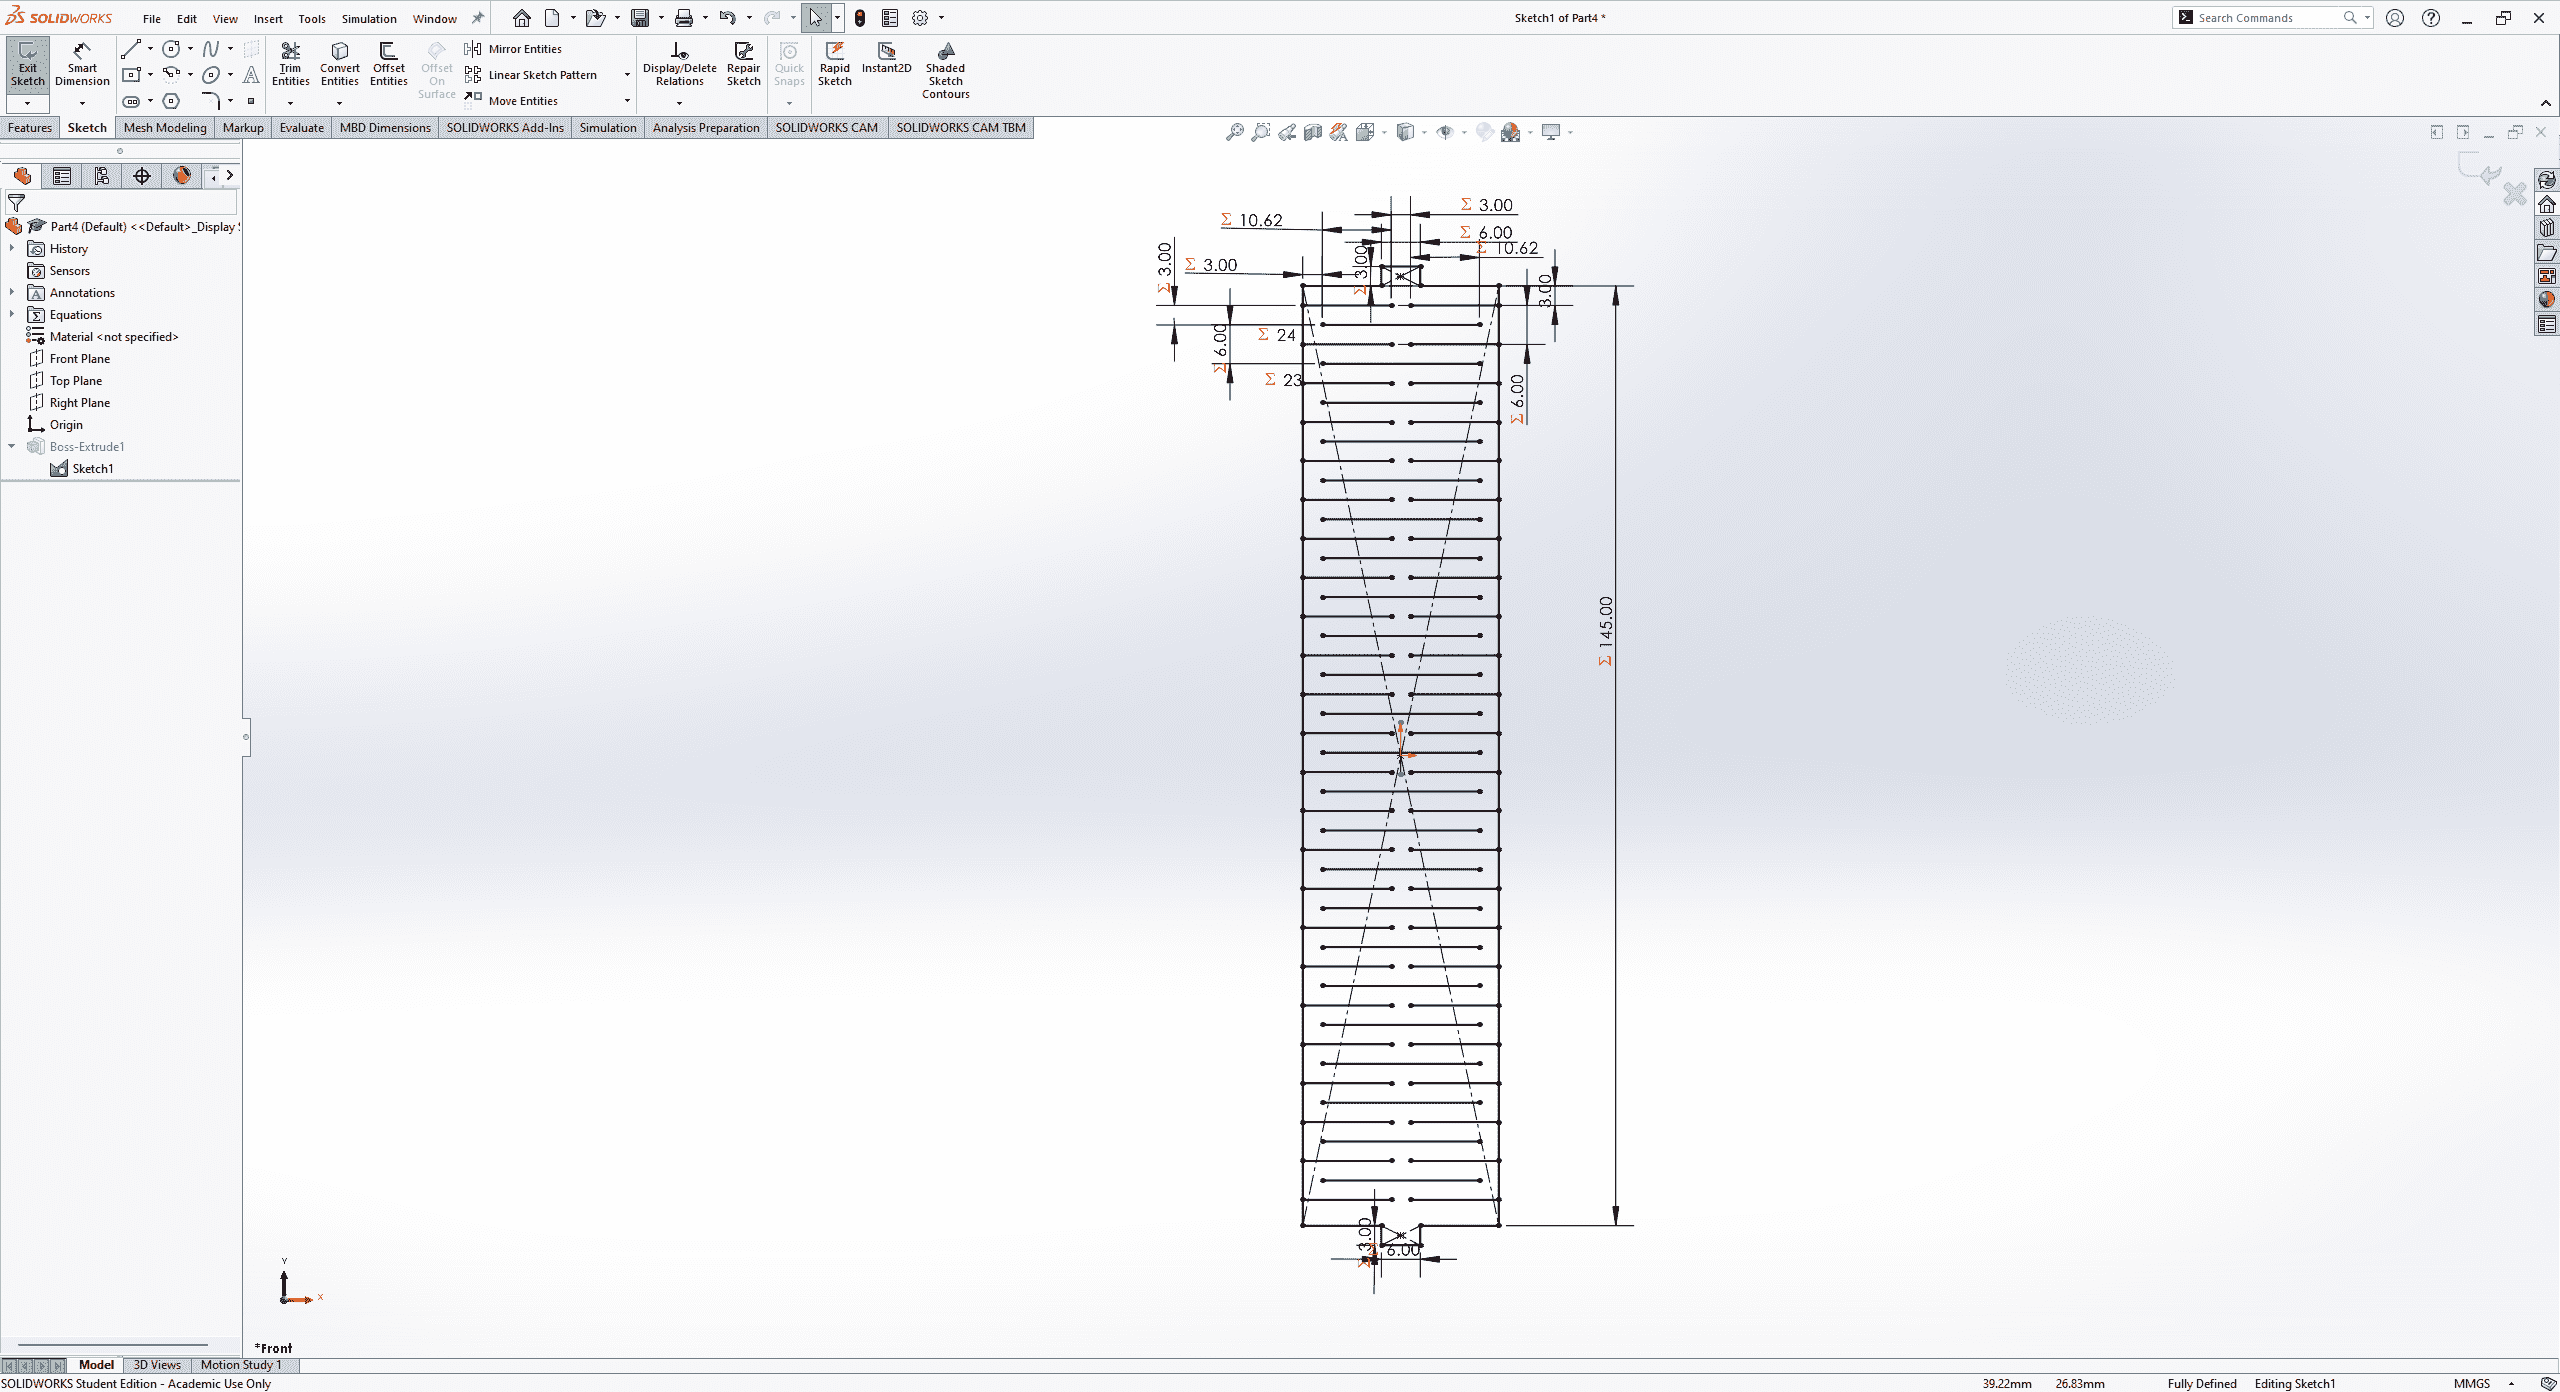
The final piece is flexible one that we learned on our group assignment and what added were some rectangles as "connector". With this parametric desing you can modify the max angle of curvature.
Once all the disigns were finished it was time to cut them to see if the measures were well done. Lucky for me the "test" end up well, so I just had to cut them again to have more pieces.
When my final pieces were finished I started playing with them and assembled some figures.
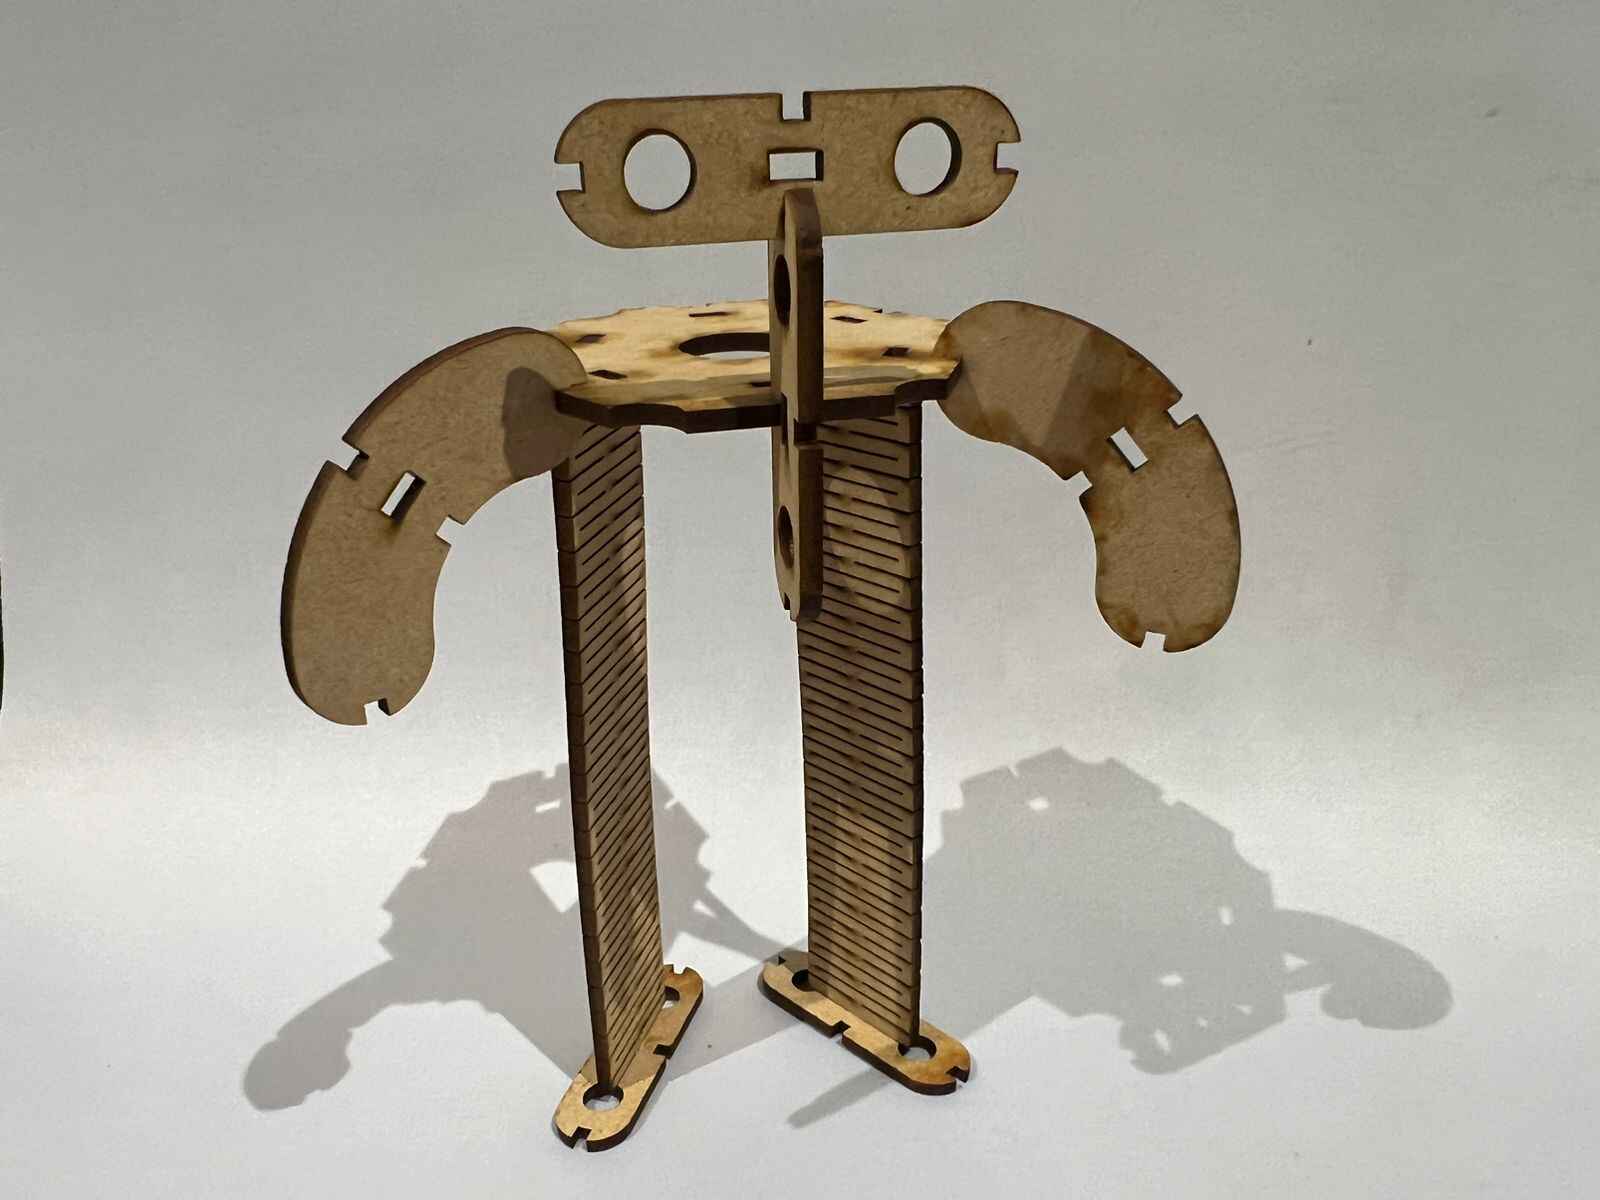
Little Robot
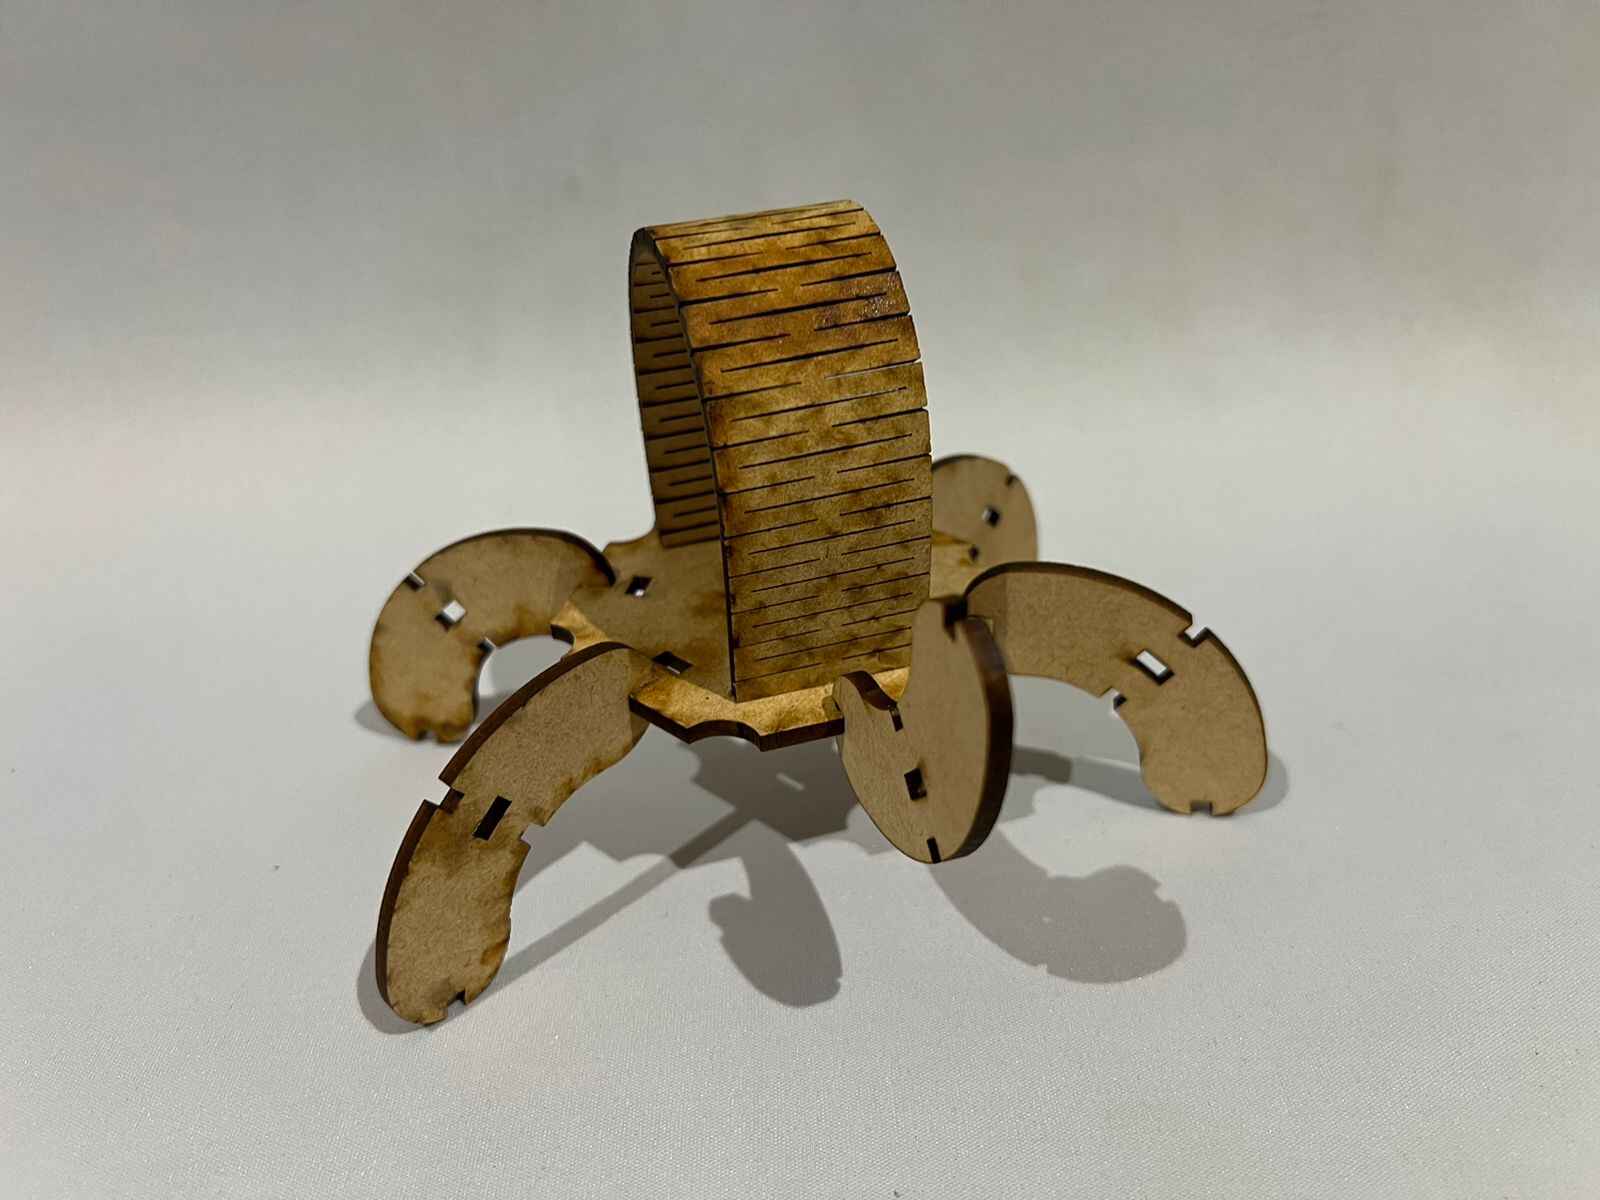
Turtle
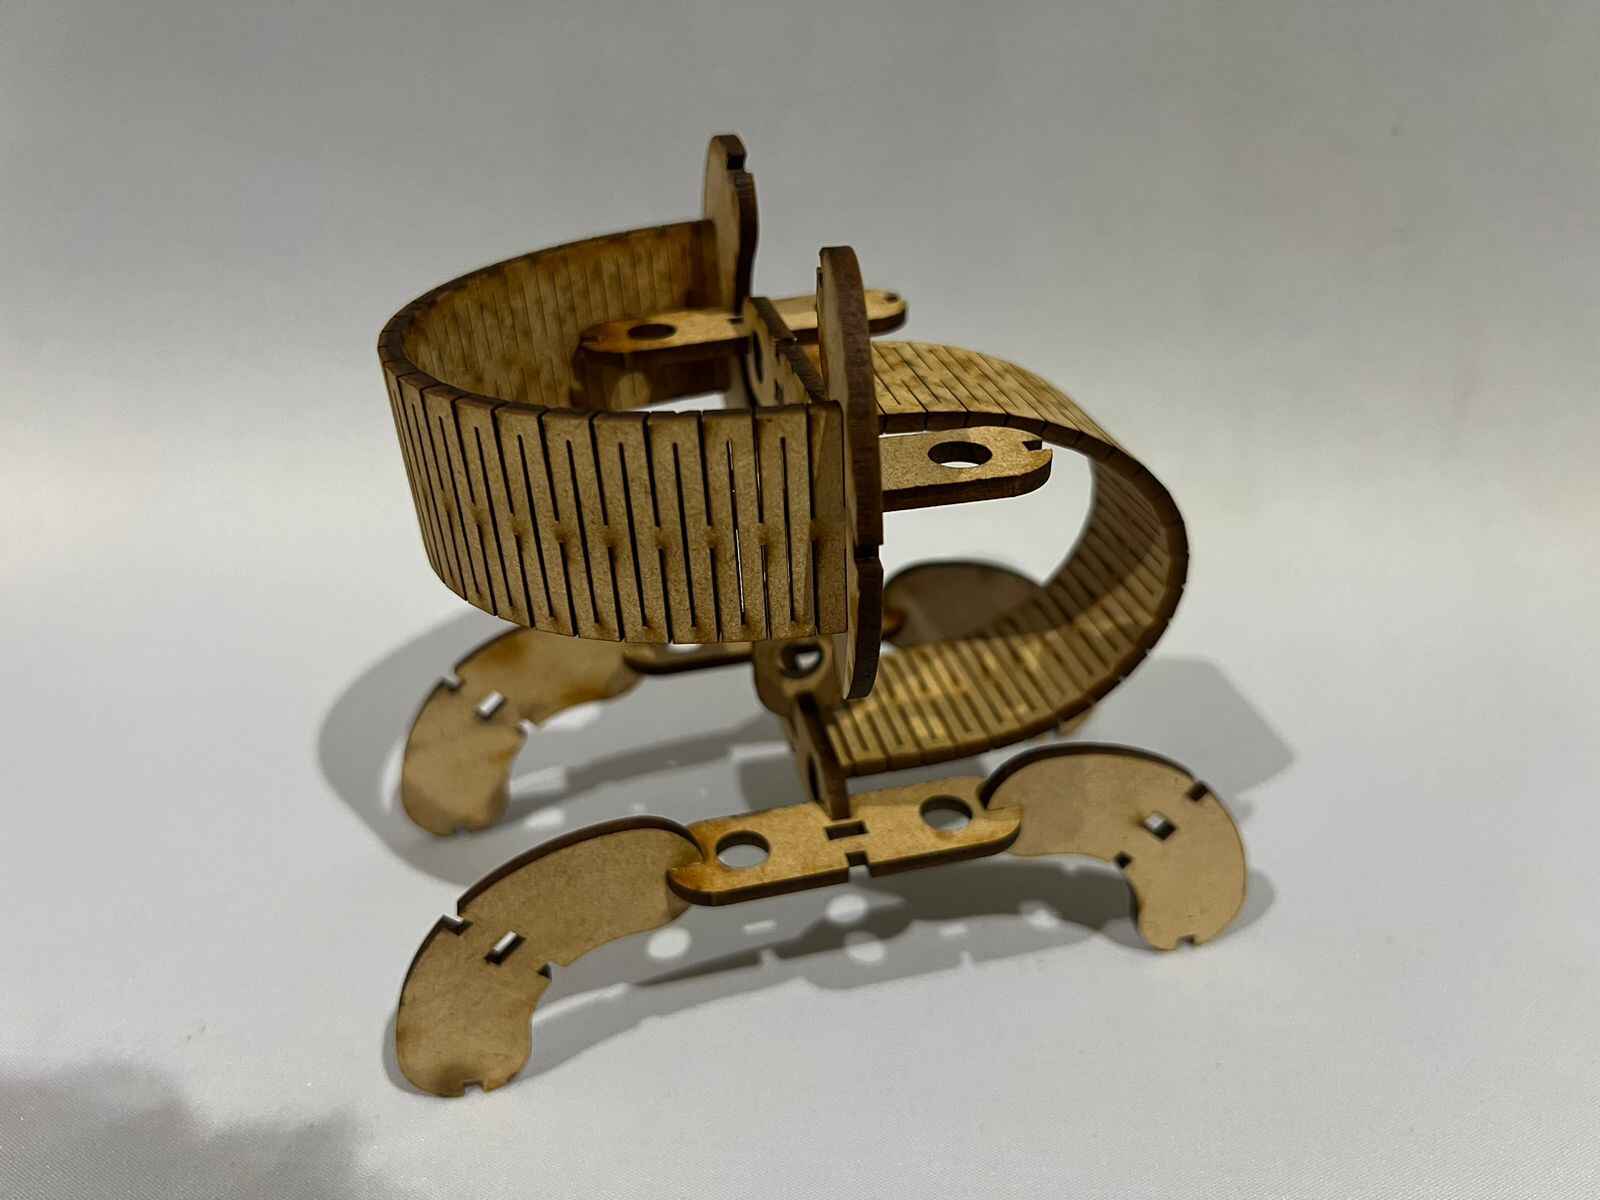
Abstract Art
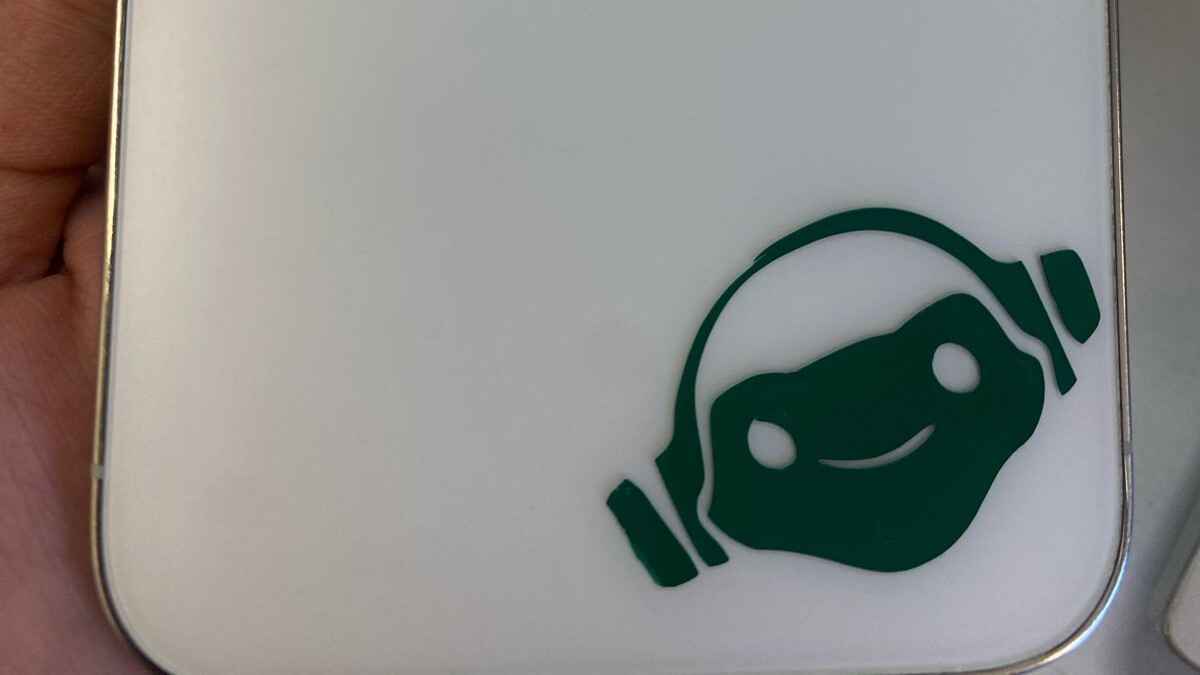
Vinyl cut
How I made it
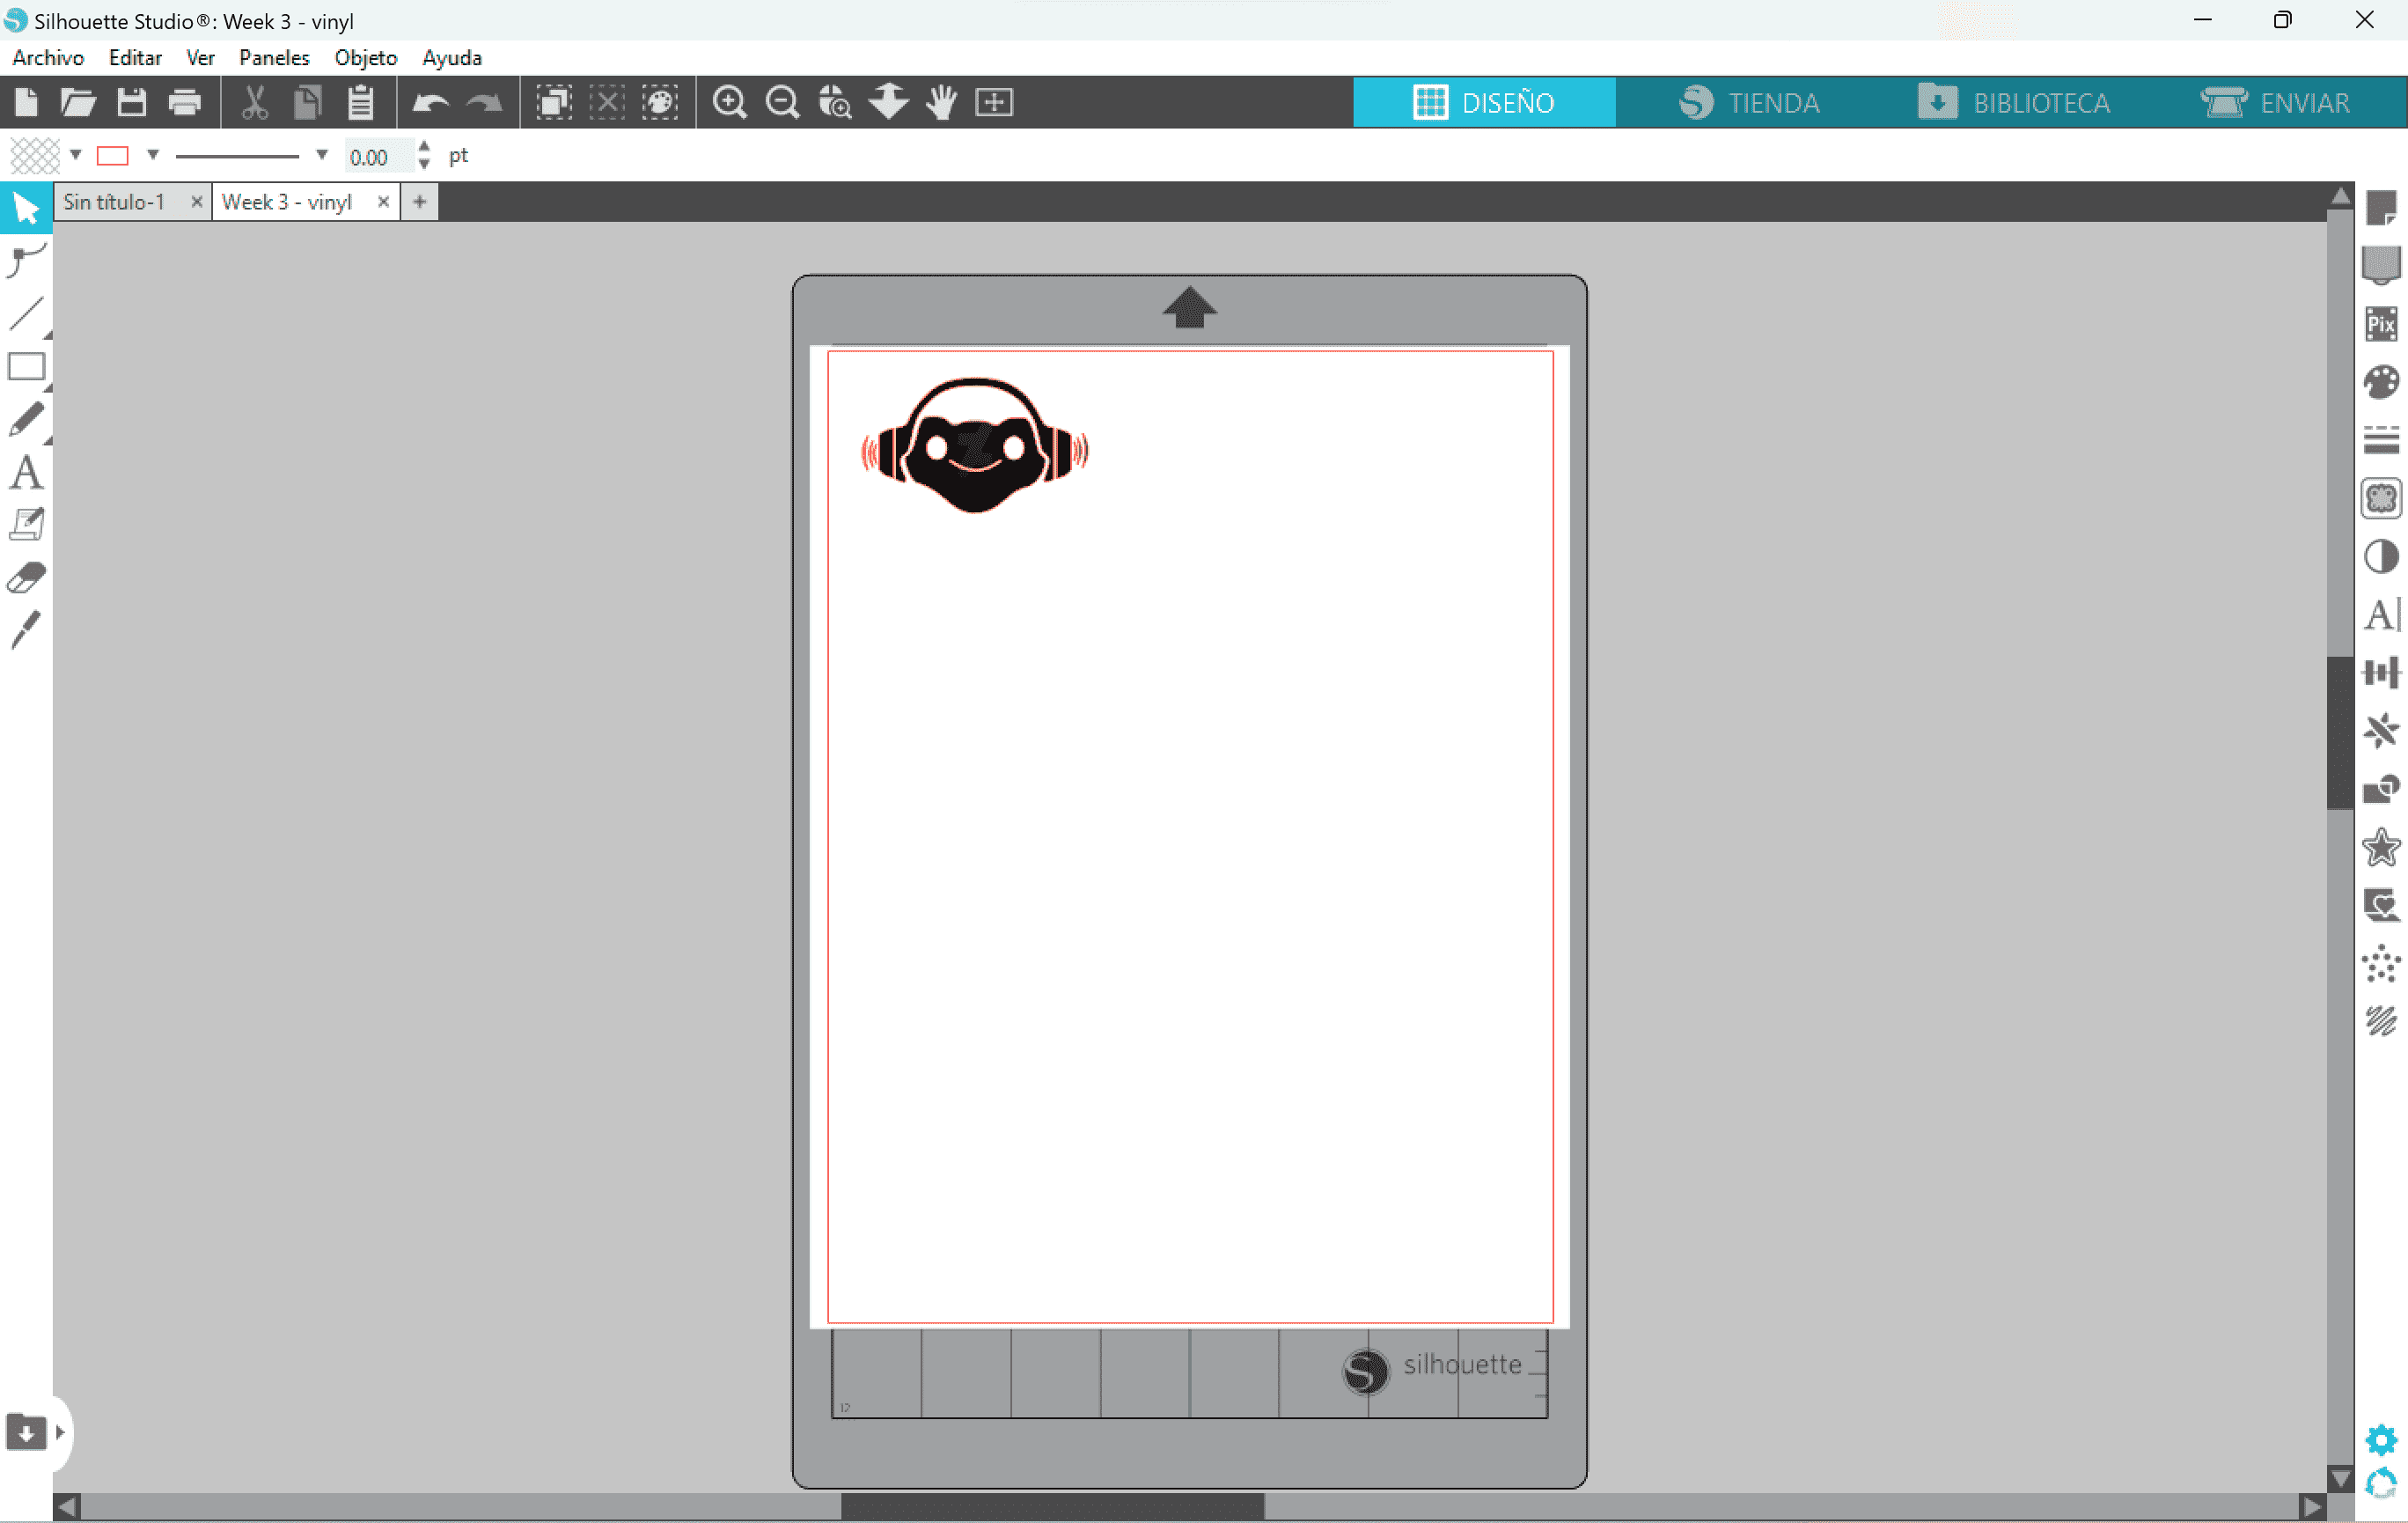
I used the software Silhouette Studio to make my cut. The software was easy to learn.
I just needed to download any png image and paste import it on the design section and the software will vectorize it in order to cut. To center the image correctly used the arrow as a guide.
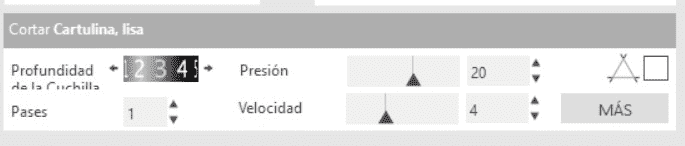
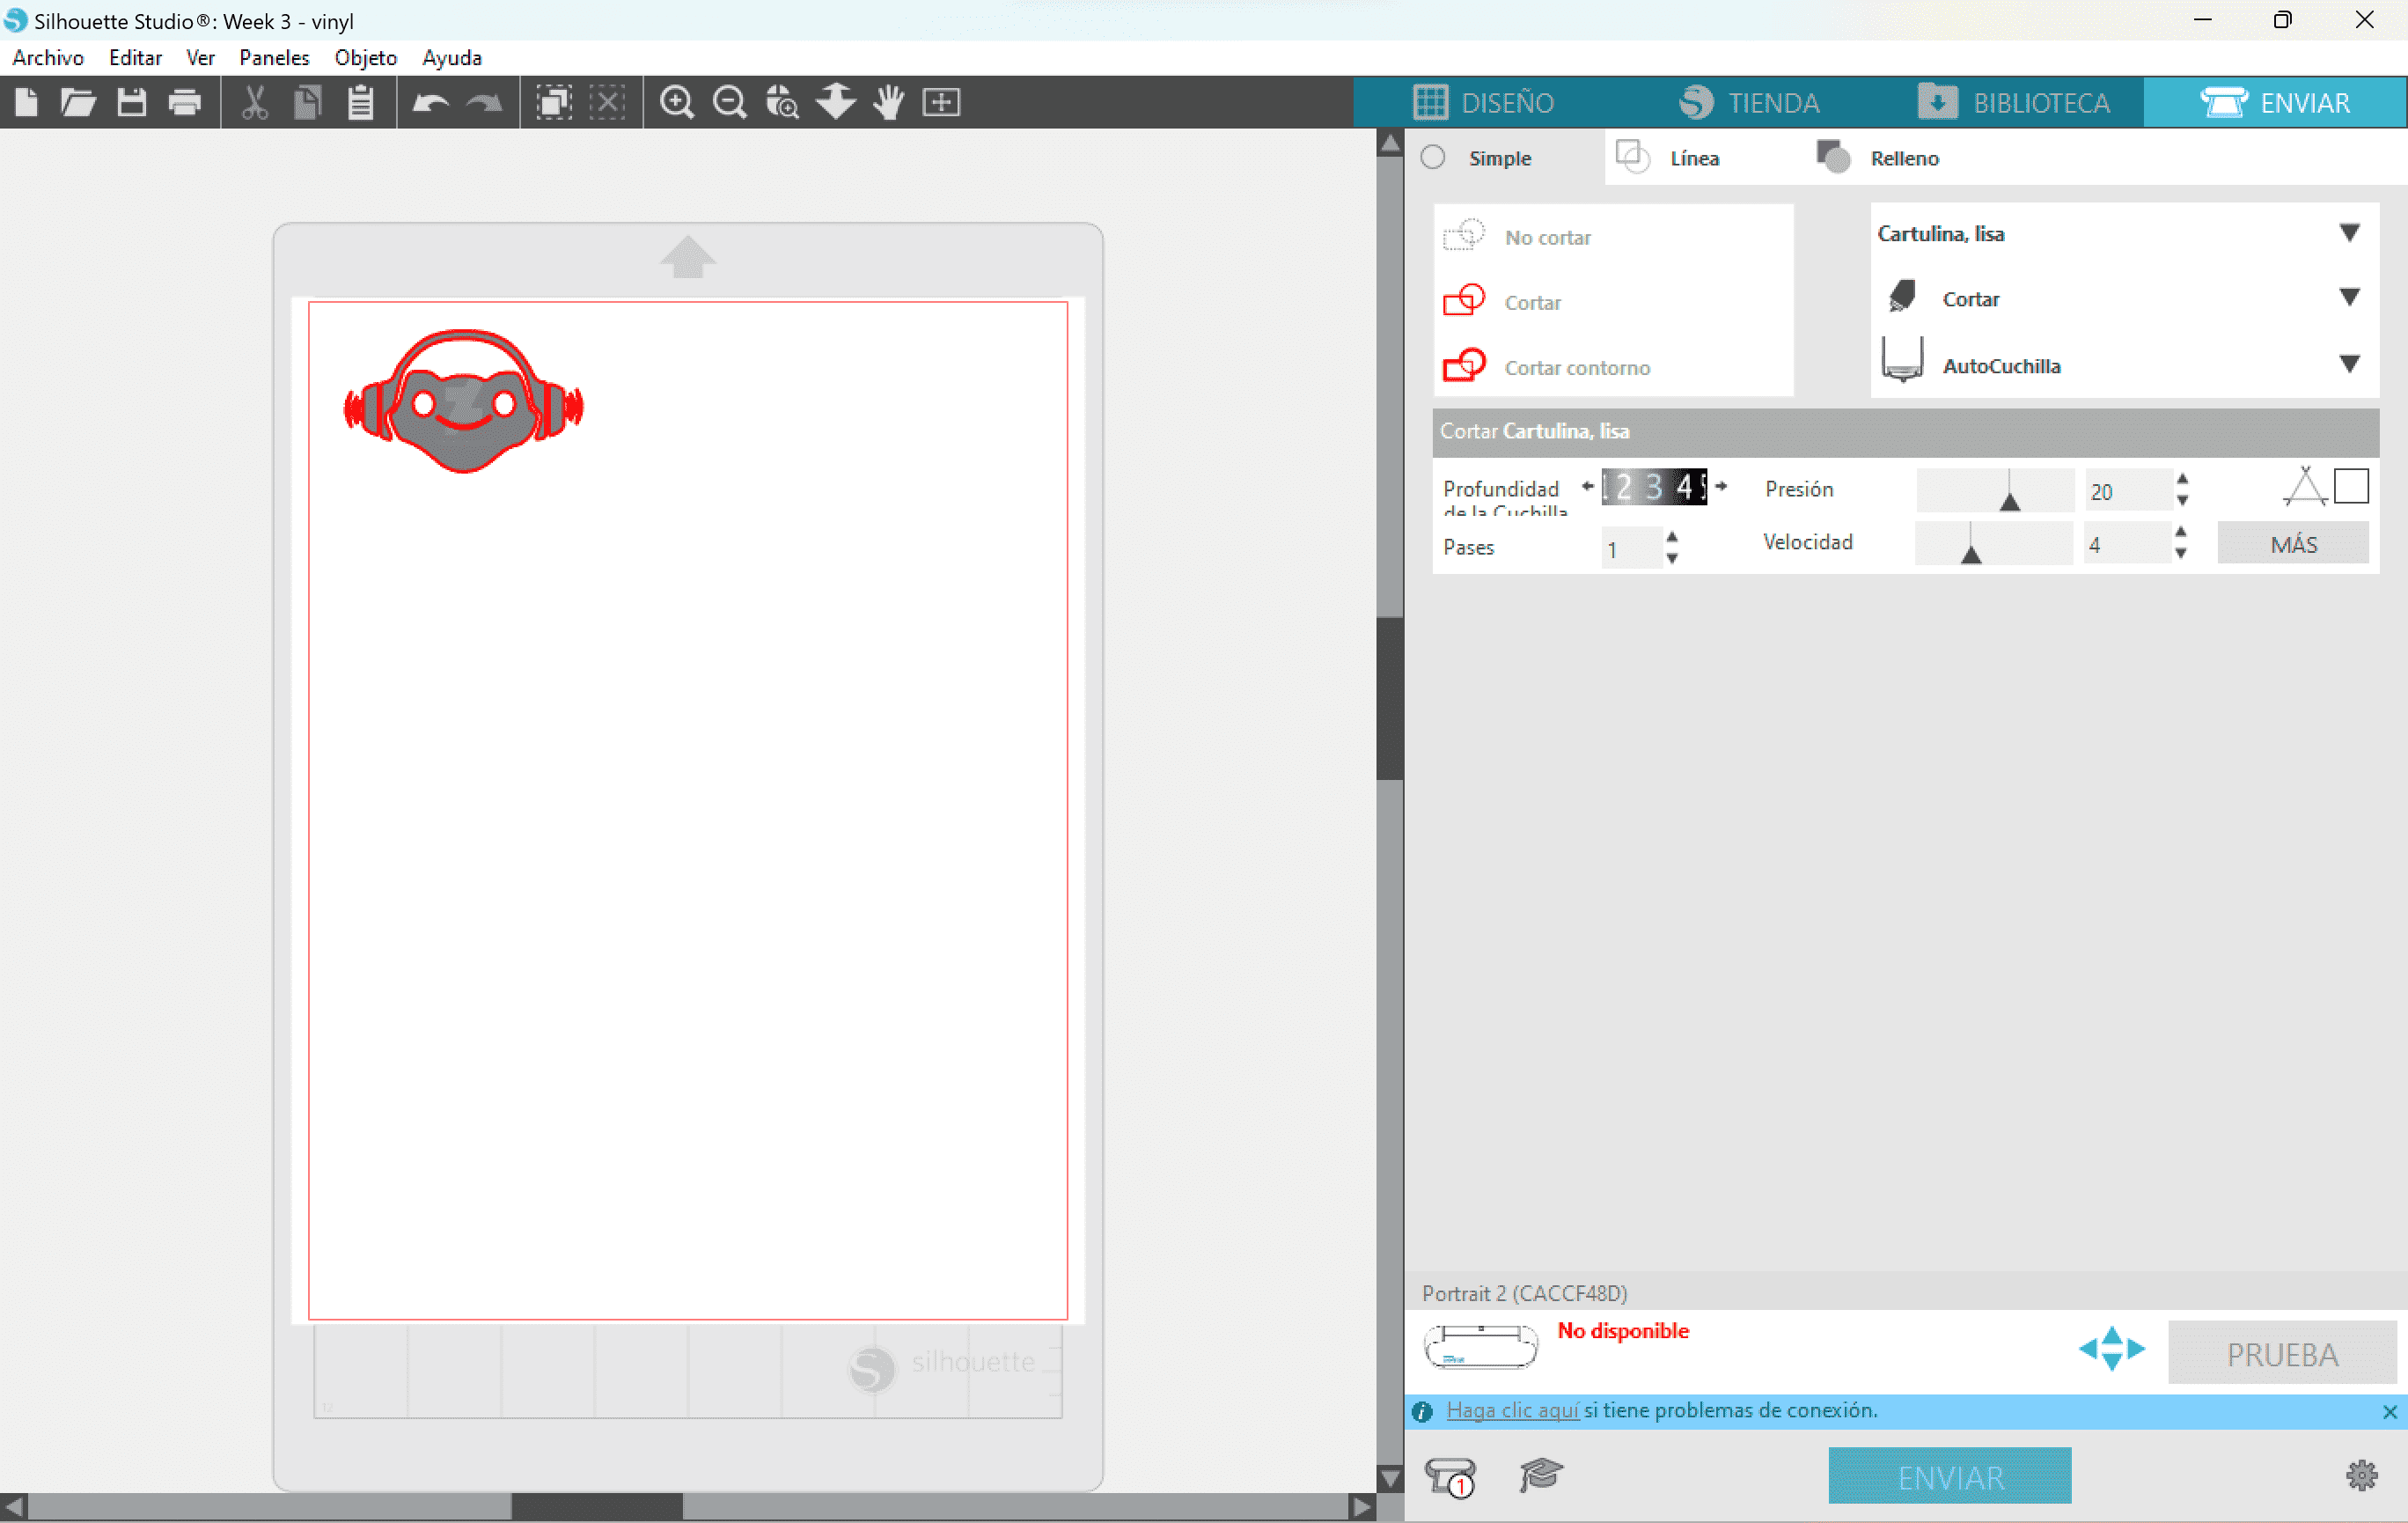
Once the designed was done go to the send section and press "send" and it will start cutting. The parameters I used were: Blade depth on 3, precision on 20 and speed on 4.
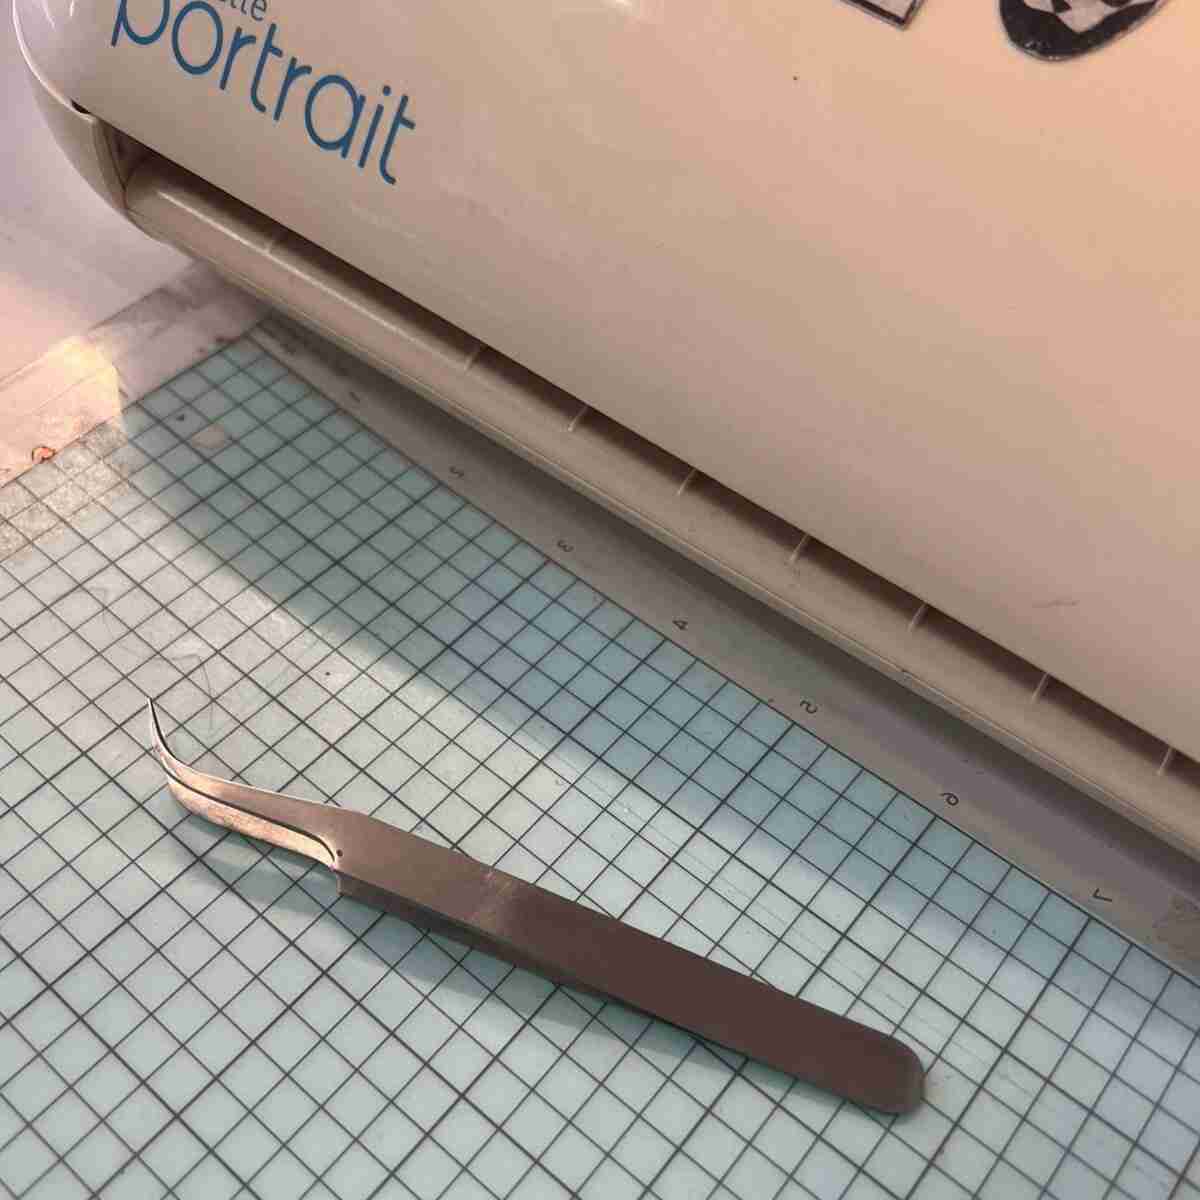
With my vinyl cute it was time to place remove the disign from the vinyl paper. To do that I used some tweezers and carefully remove the pieces. Then I paste each piece individually by hand, You will see in the final result that obviously they ended up a little crooked.
 At that time I did not know about the transfer paper. Transfer paper is a thin piece of paper with a cape of wax, is mostly used in textiles and
arts projects. You placed this paper on top of your vinvyl cut and then you can placed it anywhere without worrying of havind crooked pieces.
At that time I did not know about the transfer paper. Transfer paper is a thin piece of paper with a cape of wax, is mostly used in textiles and
arts projects. You placed this paper on top of your vinvyl cut and then you can placed it anywhere without worrying of havind crooked pieces.
Final result
Unfortunately while cutting a part of the vinyl got stuck and some cuts didn't end good.