1. Principles and Practices, Project Management
On this week I worked on defining my final project idea, learning to use git and started to getting used to the documentation process and requirements.
Learning Git
The first thing I did, was downloading git on this link (if you have troubles with the download, you can use this video as a guide), learning how my pc terminal and gitlab works, and the commnands that are requiered to upload a repository. This commands are the word "git" and words like "clone", "add", "commit" and "push". The function of each command is this one:
- Git clone: It is used to create a copy of a git repository on your device.
- Git add: It is used to include updates to a particular file or files.
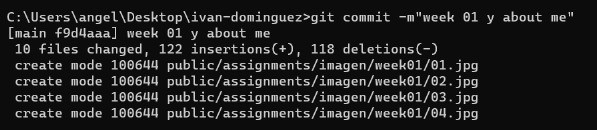
- Git commit: It is used to create a snapshot of the staged changes along with a commit message that describes the modifications.
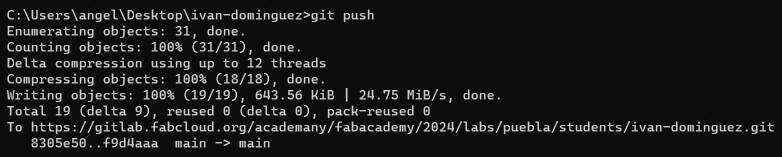
- Git push: It is used to upload the local commits to an online repository.
- Git status: It is used to check the status of changes as untracked, modified or staged.


Now, this is a list of some useful commands:
- head: Contains information about the HTML document, like the title, character set and linked styles.
- title: Sets the title of the HTML document.
- body: Contains the content of the HTML document.
- p: Defines a paragraph of text.
- a: Creates an URL to another website.
- img: Inserts images in the HTML document.
- ul, ol, li: Defines an unordered list (ul), an ordered list (ol) and the list items (li)
After learning the process of uploading a repository, one of my advisors (Rafa) taught me the basic things about HTML and CSS to upload a simple repository to another git account.
The Website
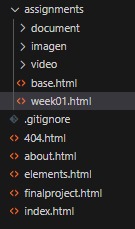
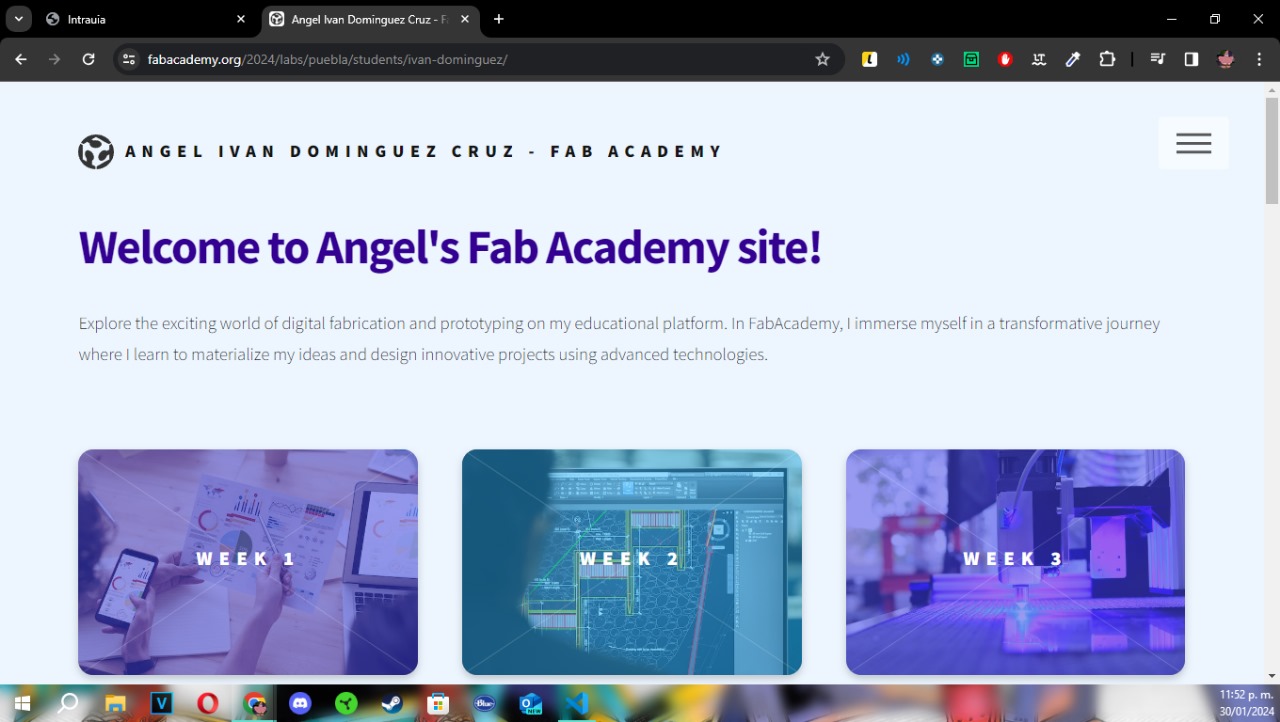
My advisor Rafa, sent me a link to download a beautiful template of a FabAcademy repository to use it as a guide. The link to this repository is this one (you can download the zip folder or you can clone it using the HTTPS url). It is important to clarify that this template works using at least 5 different HTML codes, this codes are for each website that you can open from the main website. It's important the clarify that each HTML code works with the same CSS style.
I changed the main colors of the template using CSS and added my own information using HTML. This is how I made it:
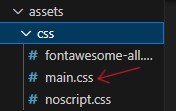
- The style: To change the template's style, I got into the assets folder and then I opened the CSS main code.
- The background: To change the background colors of the template, I searched the word background with the command "ctrl + f" and changed every color that was next to the word with the one with this code: #edf6ff.
- The font: In this case, I only changed the color font by searching "h1" and changing the code in front of the word "color". Changing the color on the h1 section will only change the color of the biggest font, in this case, is the one used fot the titles.
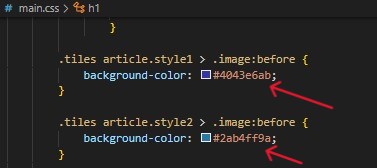
- The weeks rectangles: Finally, I changed the colors of the weeks rectangles that appear on the main website. To do this, I changed the color of the section ".tiles article.style1" and ".tiles article.style2".


The template I used for my website is very simple to understand and very easy to change. I didn't have any previous experience using HTML and CSS, but with some research I made my own website.
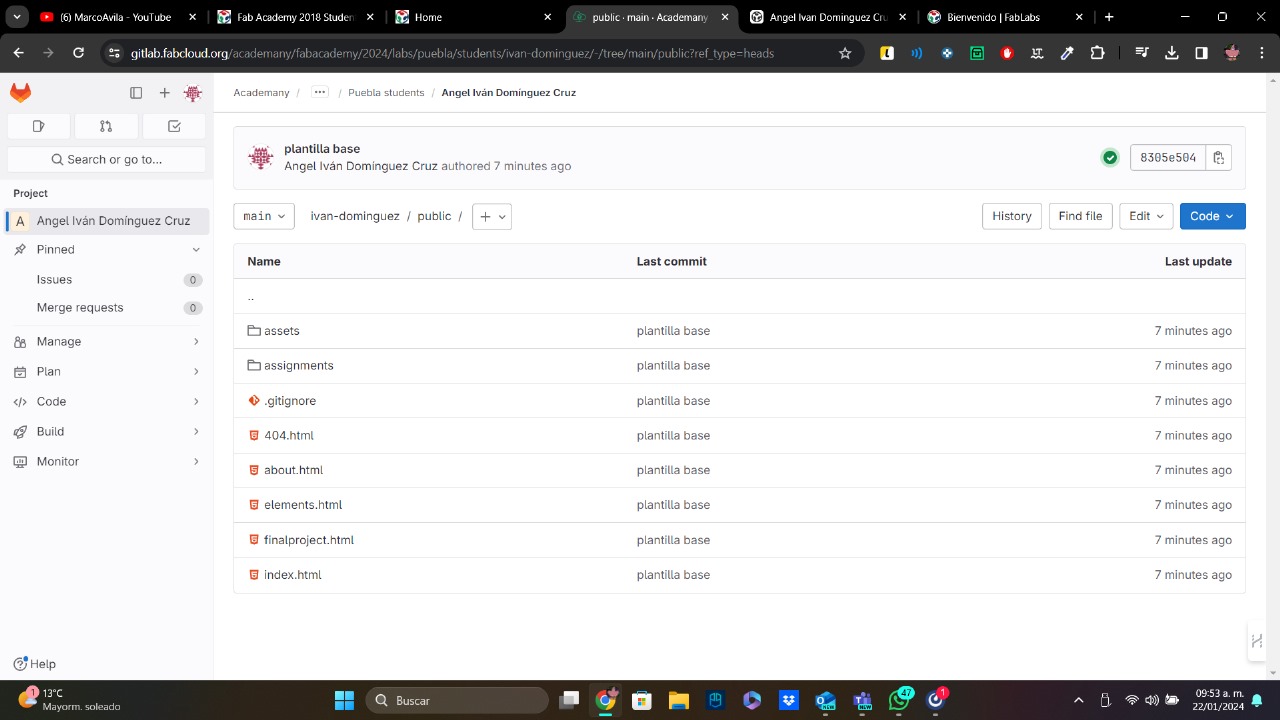
When the FabAcademy sent me my account and password, I used them to log in git and clone the repository that was already in my account (it is neccesary to clone the repository using the command "git clone" on the terminal). Once I have cloned my repository, I deleted most of the files there to replace them with my own files (the ones of my template). Finally, after replacing the files, I uploaded my repository using the commands above.
To check if my repository was uploaded in the right way, I logged in git and checked the files I have there. This is a screenshot of how my repository looks:
And that's how you create a website for the FabAcademy!