12. Molding and Casting
This week assignment was to design a mold and use it to cast parts.
Group page
This week on Ibero Puebla's web page it was documented how to make molds with two different materials. The first mold was made with Milled Wax, and the second one was made in 3D-printed resin. To see more details check Ibero Puebla's web page.
Mold planning
For this week's assignment, I decided to create a mold to make chocolate figures. In particular to make chocolate in the form of Darth Vader's helmet. This meant I had to make a mold that would be refrigerated to obtain a solid product, in order to accomplish this I needed to essential steps. First I had to design a first solid mold, this mold would use a "positive" figure of my design in order to shape a second mold that would be my final mold. This is due to two main reasons, in order to make it easier to remove the mold once the chocolate helmet is done I need the mold to be soft, the second reason is that I needed a special material for a mold that is going to be used on food, so I couldn't use resin or simple wax.
Designing my mold
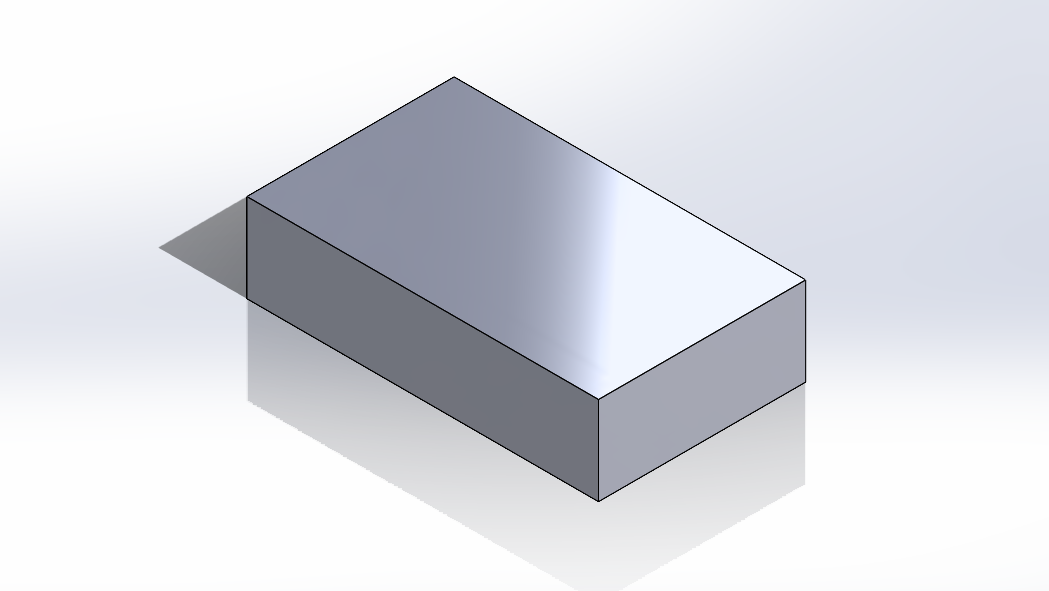
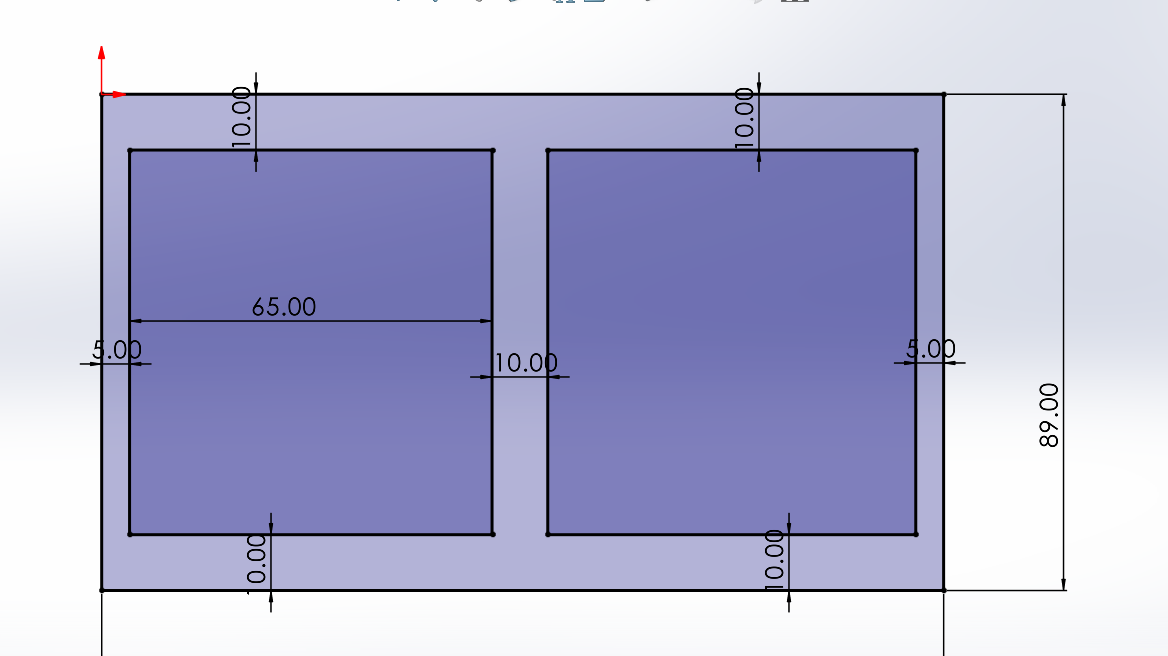
To make the first mold I used a solid wax block for carving, and then I took its measures, first I created a simple block with the dimensions of my wax block, after that I used the top of my block to create a sketch for two holes were the parts of the Darth Vader helmet.
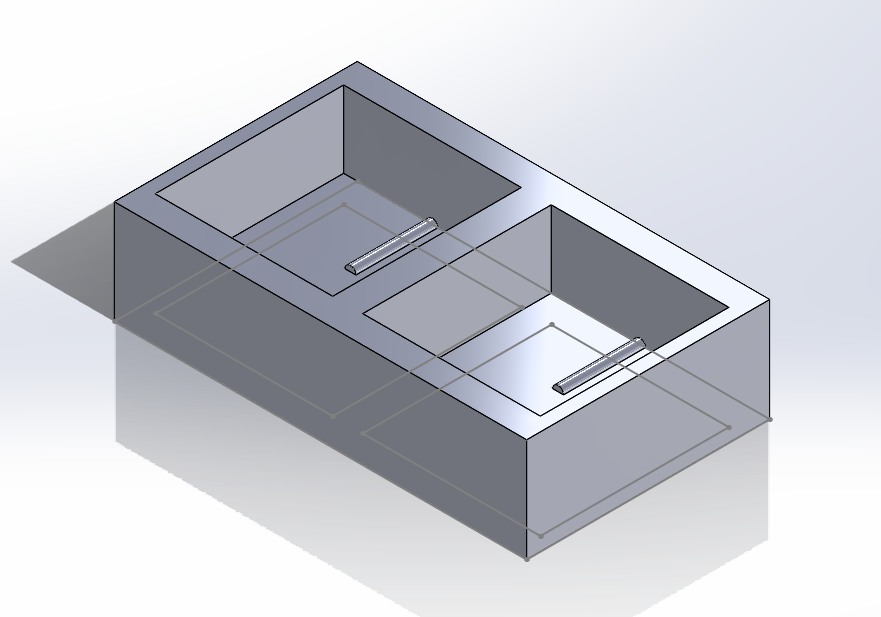
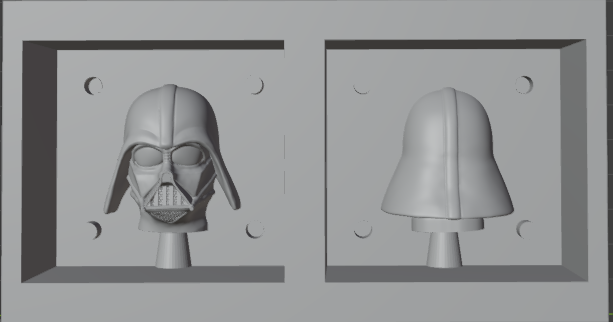
Once the carcass of my mold was done I saved it as an STL and then imported it to a blender were I added Darth Vader's helmet to my mold.
Making the mold
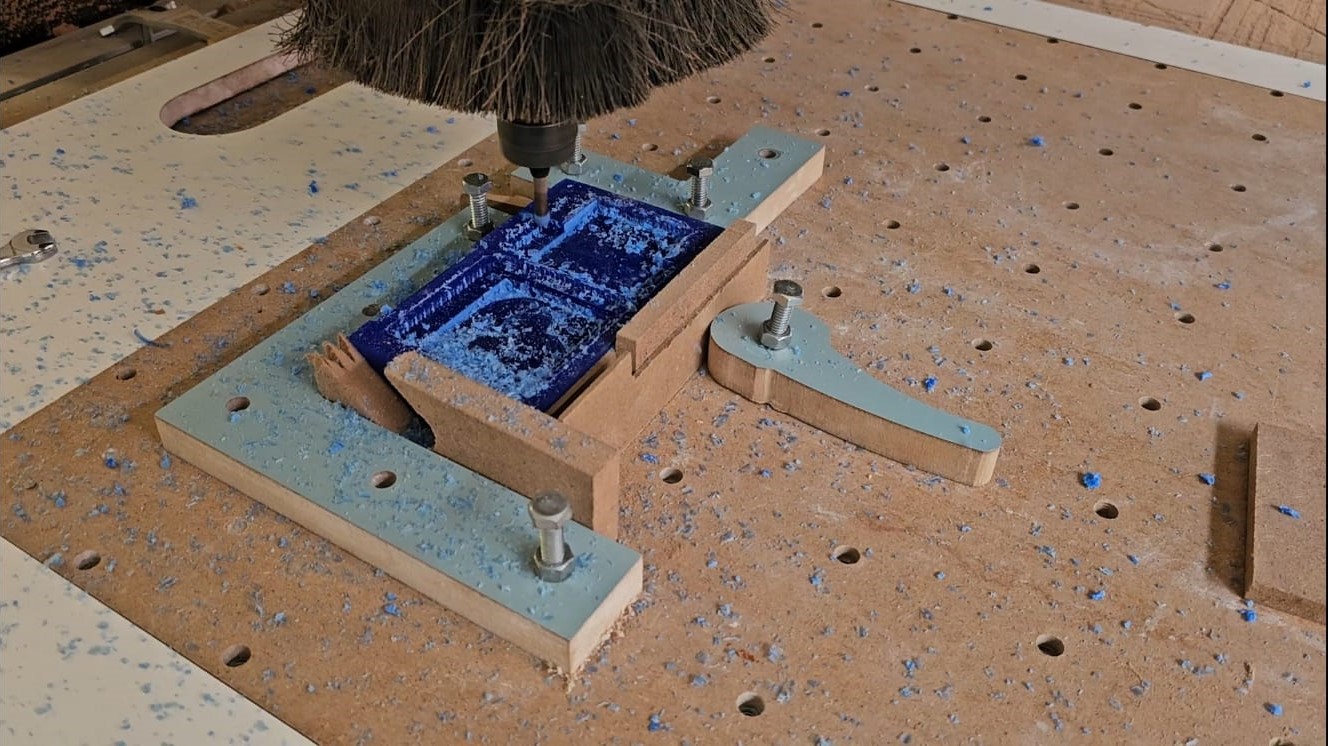
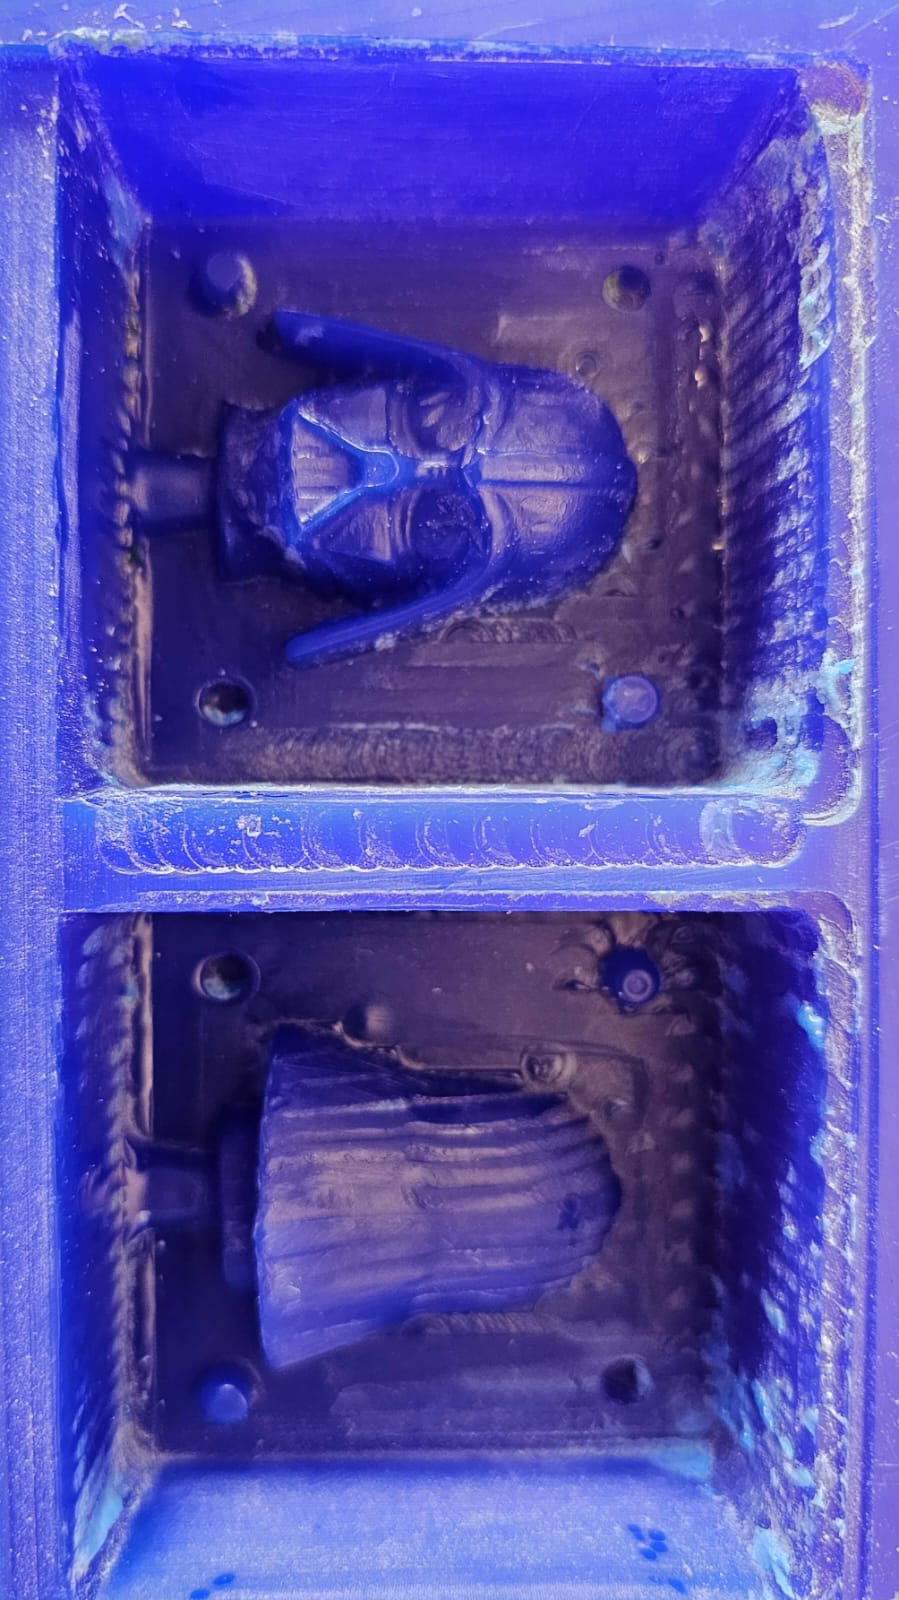
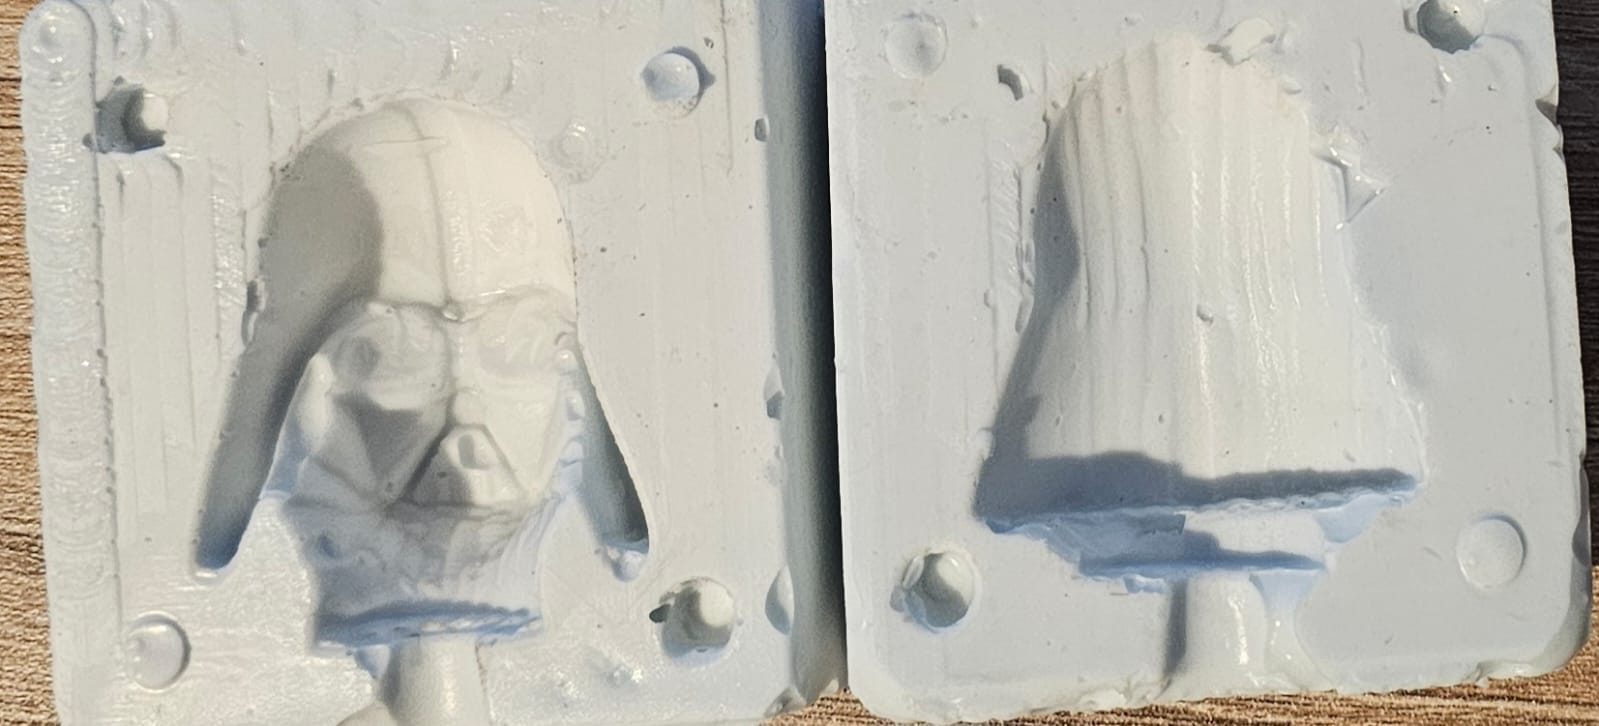
The first step was to make the counter mold, this mold is the negative face of the mold, and as the name says it's used to make the positive-faced mold. I used the CNC router to make the counter mold. To make the G-code I used VCarve
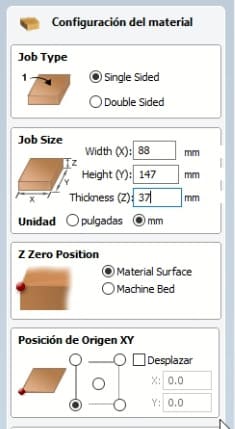
- Setting the Mold: To create the G-code, I first set the dimensions of the wax block and fit my mold on the block leaving the helmet (the part that will be cut) on the top of the block.
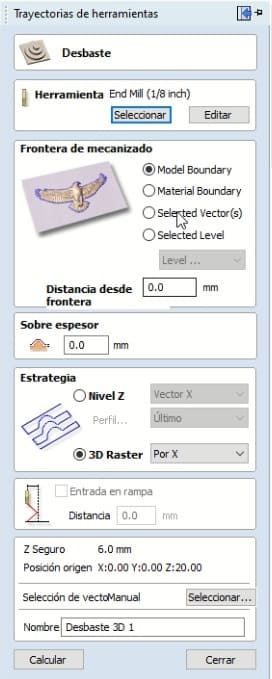
- Operation: For this process I just used 2 operations. The first one is called "Desbasting", this one consists in some initial cuts that will generate the basic forms of the mold. The second one is called "Finishing", this one will generate the details of the mold. The finishing process is also the longest.
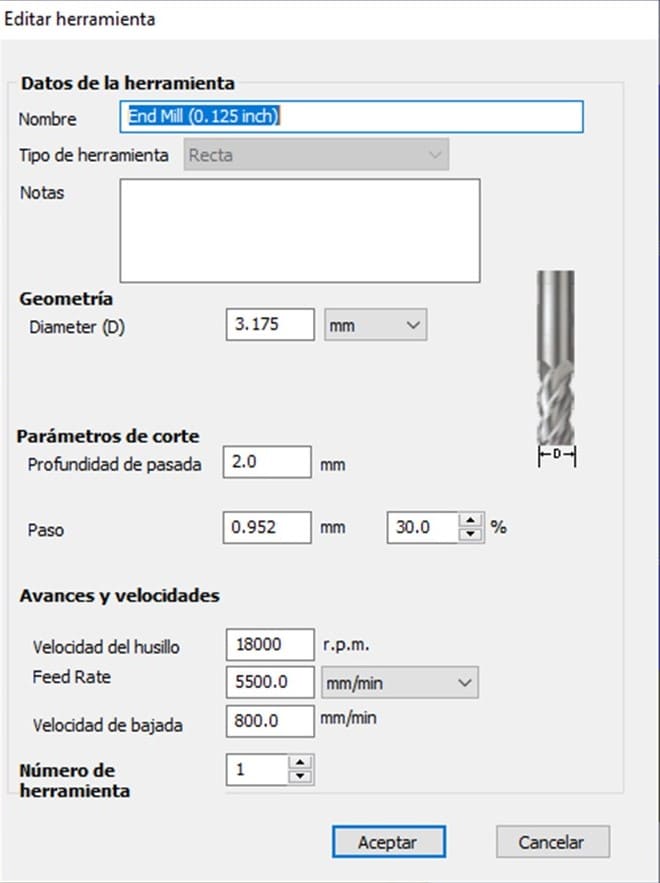
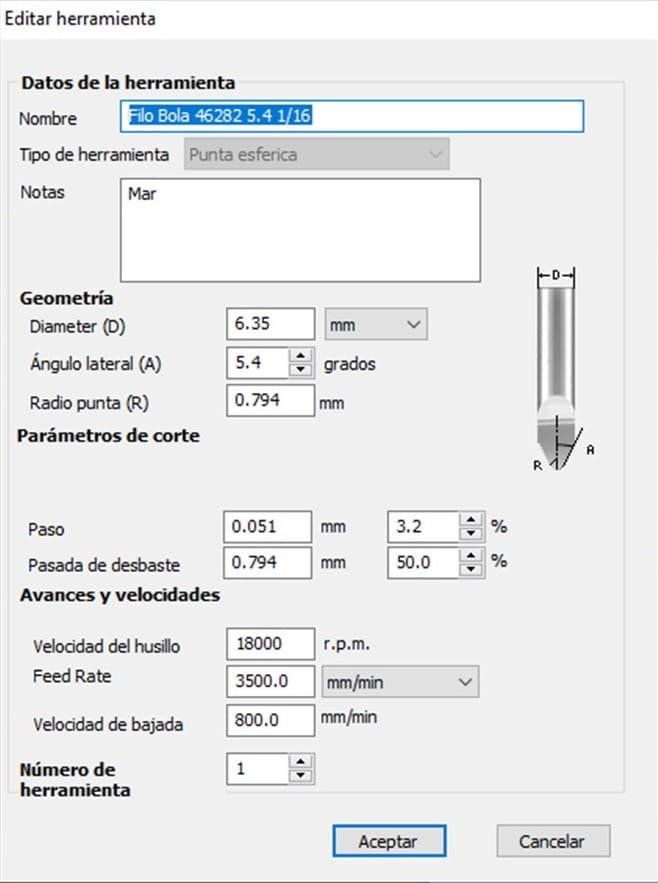
- The Tools: I used 2 different operations for my mold, so I used 2 different tools. The first tool, was used for the desbasting and the other one was used for the finishing. The images below show both of the tools:
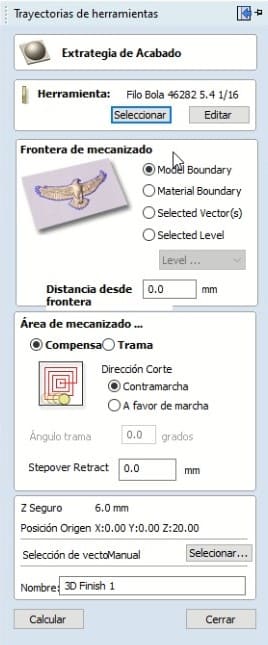
- Setting the operation: The following screenshots show the other settings used for each operations. After clicking "calculate", I saved each of the operations in different files to use the router.
CNC router
Silicon
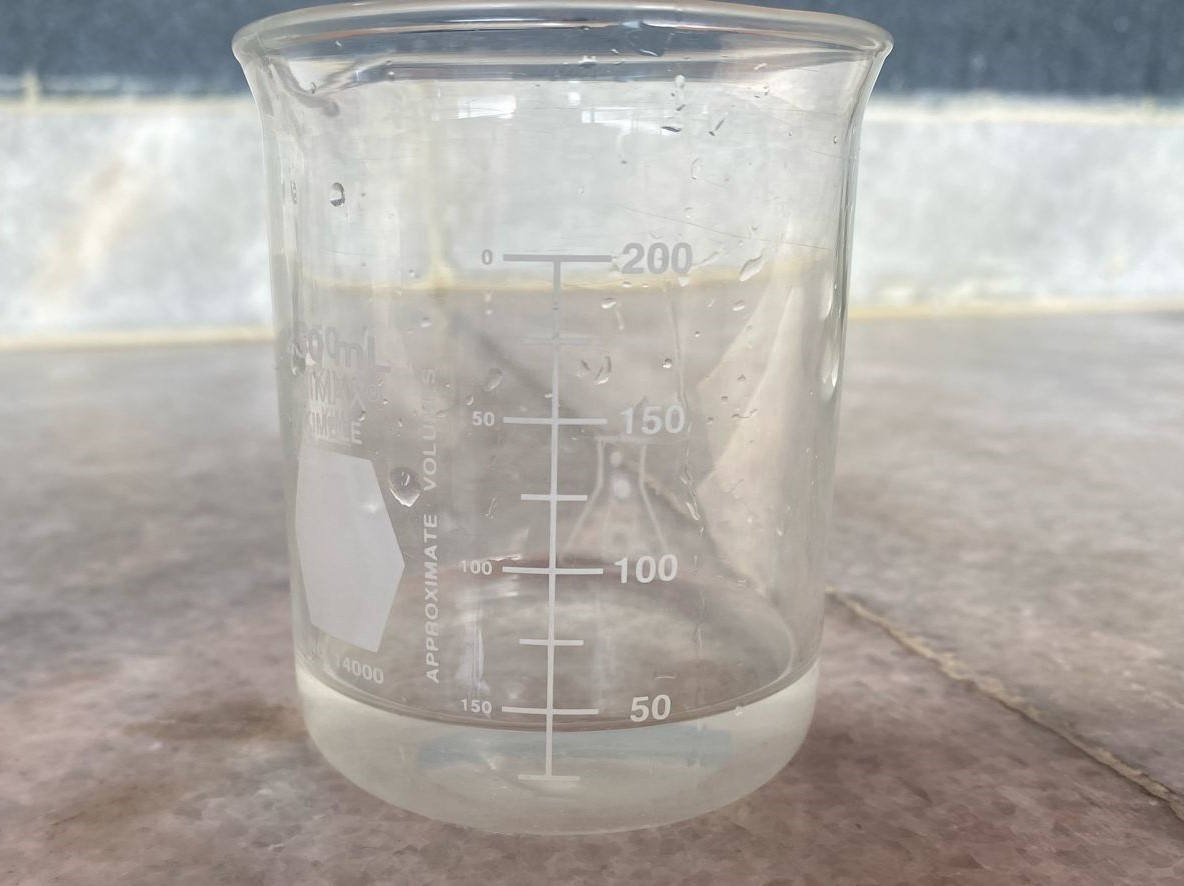
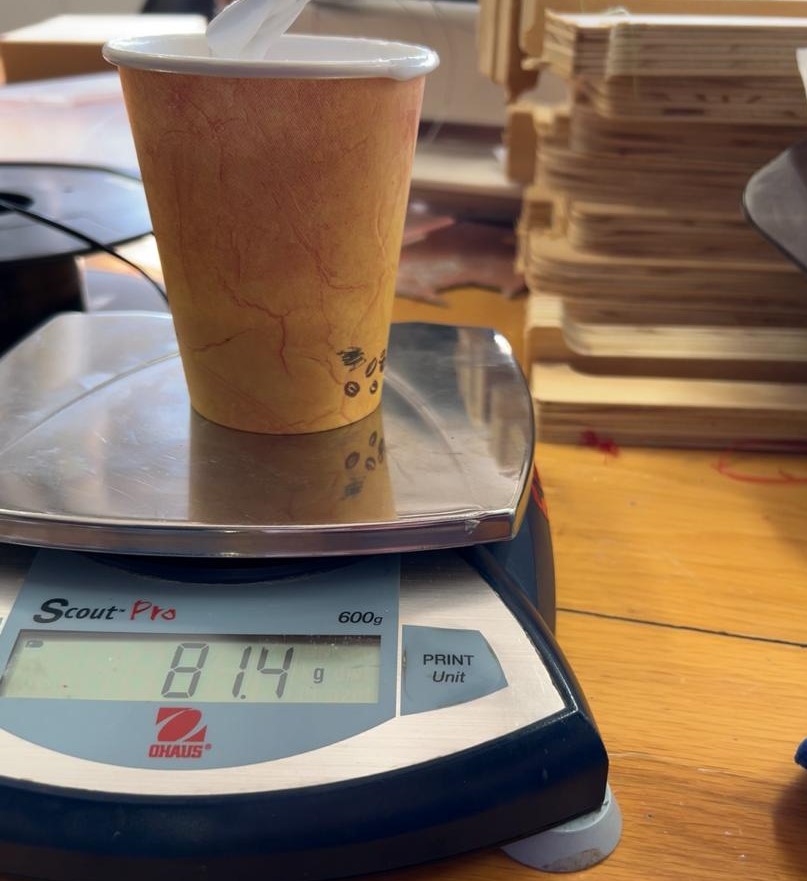
After cutting, it was time to mix the silicone and pour it into the mold. To do this, I first checked the volume of my mold by filling it with water and then transferring the water to a beaker. This process revealed that the mold's volume was approximately 50 ml. I then poured the water from the beaker into a regular glass to prepare the silicone mixture with the catalyst. I filled the glass with silicone up to the marked level, weighed it, and added a catalyst equal to 10% of the silicone's weight, as indicated by the datasheet.
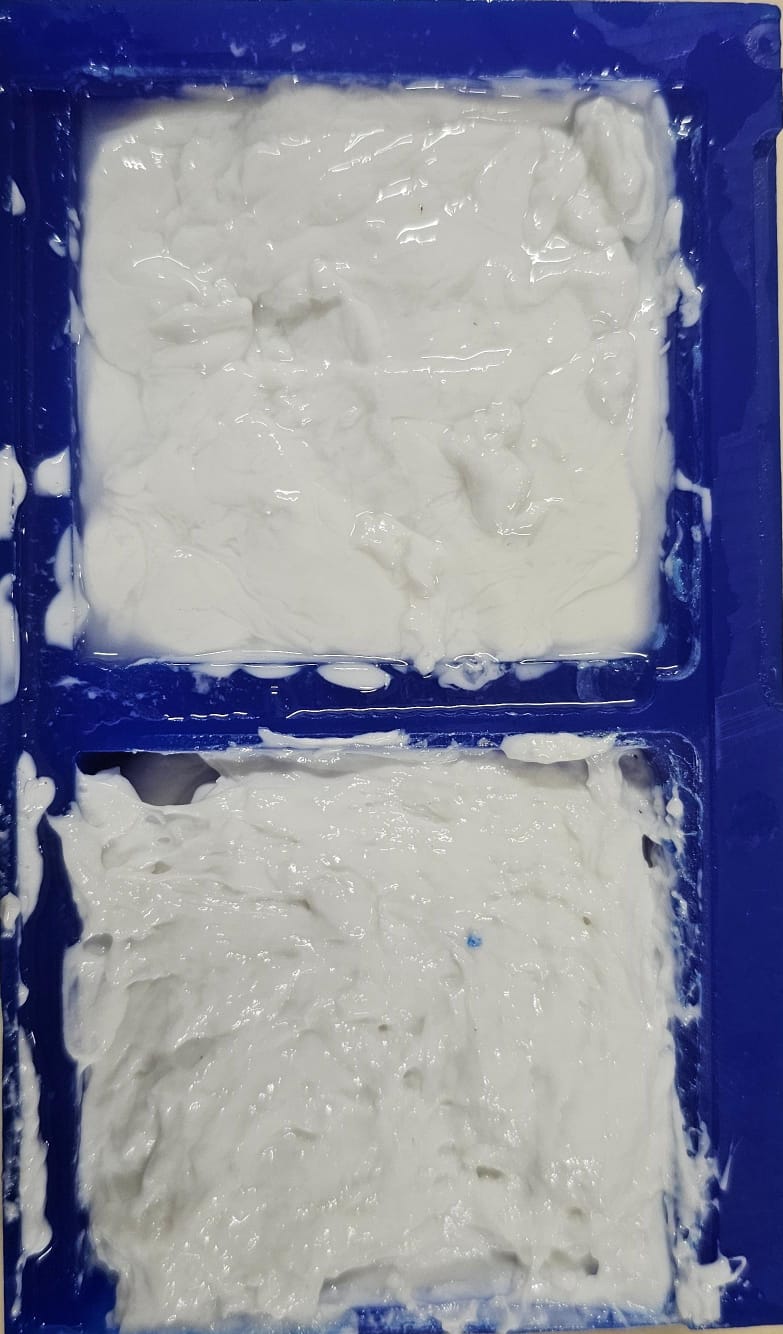
After mixing the silicone for a few minutes, I poured it into the mold and waited about 20 hours before removing it.
One problem that I didn't consider was that the silicon I used was not food grade, still just for the test of how well it works I used melted chocolate. So in the end the chocolate will not be edible, it's only for decoration.