5. 3D Scanning and printing
This week's assignment was to 3D scan any object design something using any 3D software and print it.
Group assignment
Here at FabLab Puebla, we made different tests with our 3D printers to establish some design rules for certain structures. This information is also available in Fab lab Puebla's web site. Fab lab Ibero
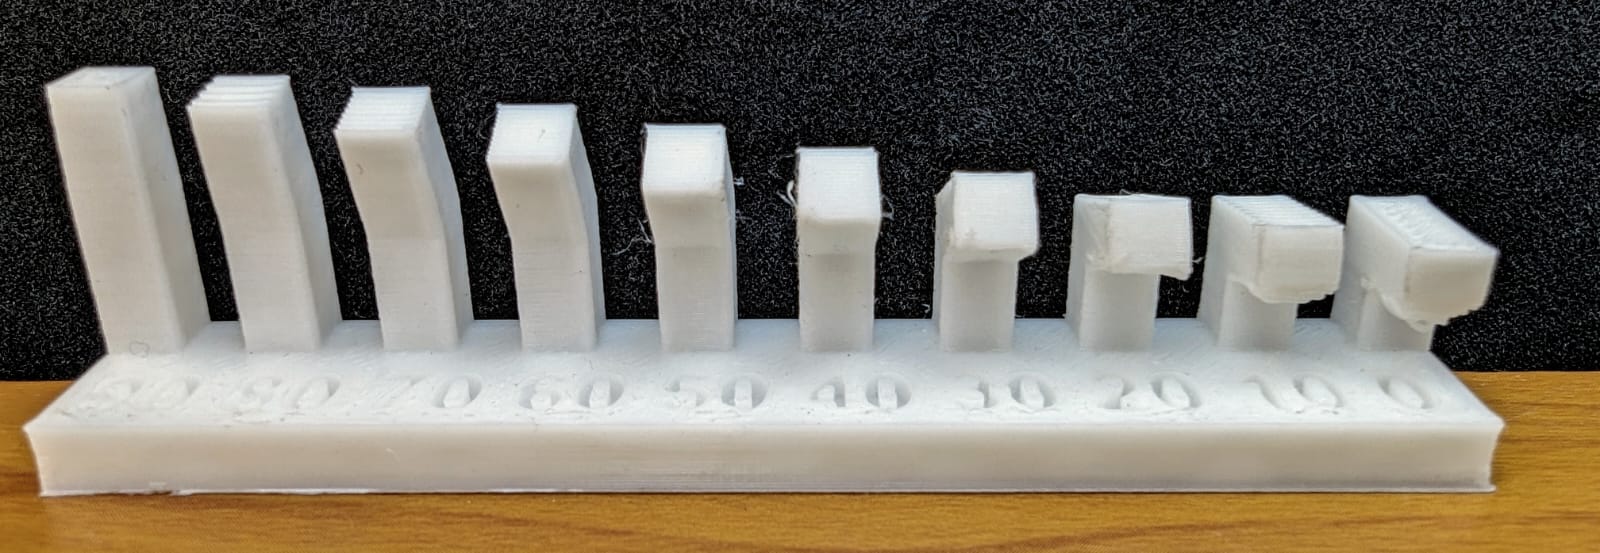
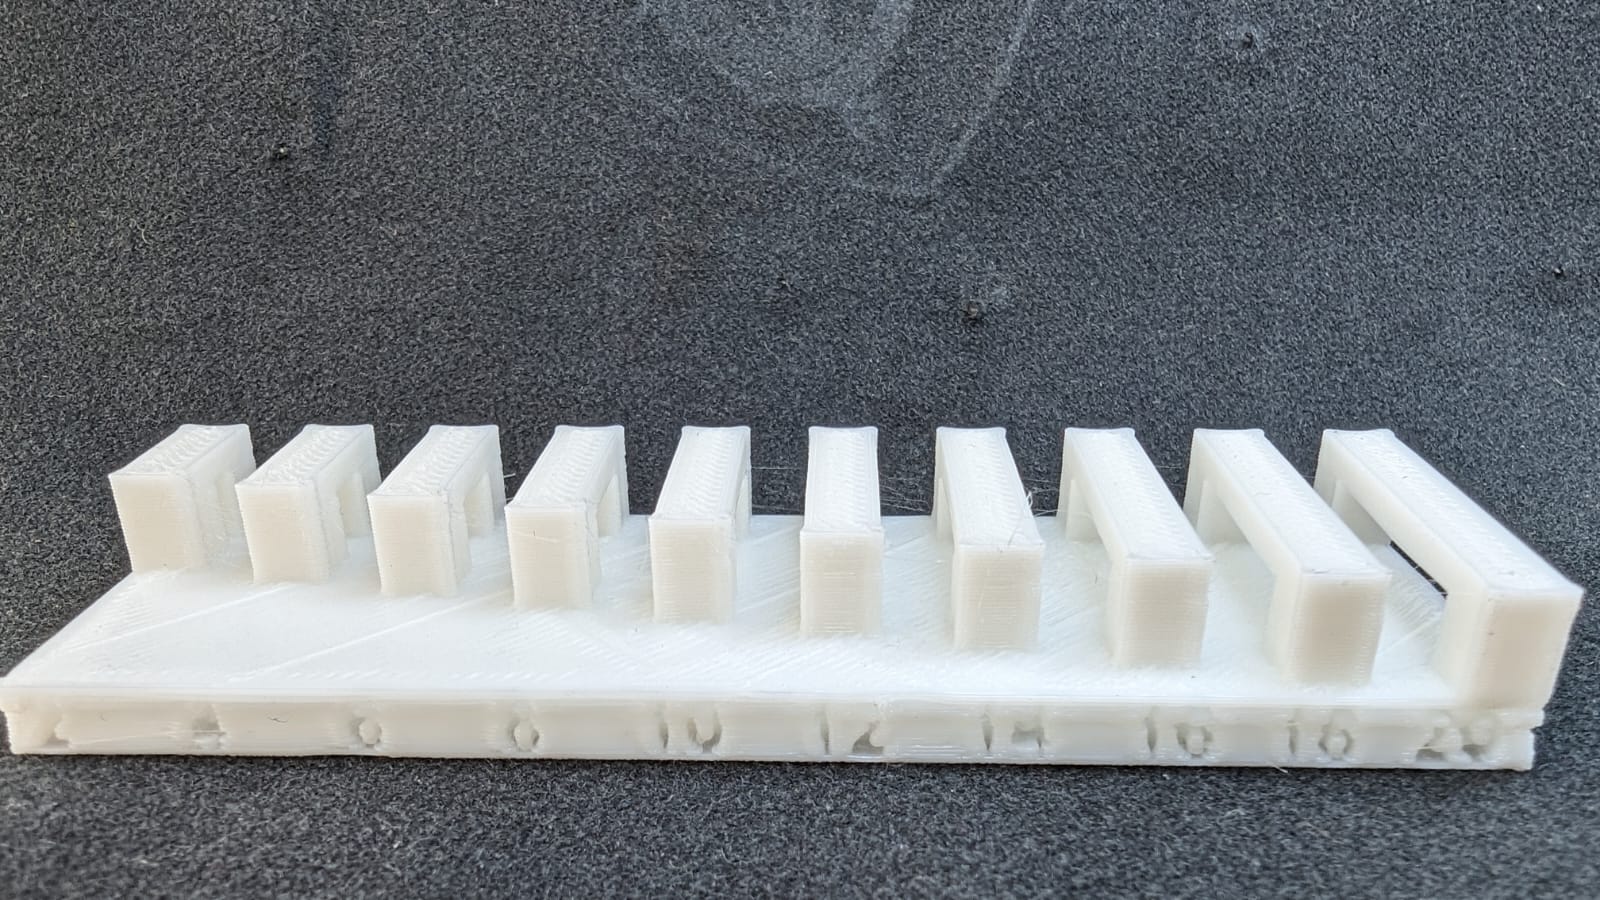
Overhang
Overhangs refer to parts of the model that extend out over an area with no material beneath them.
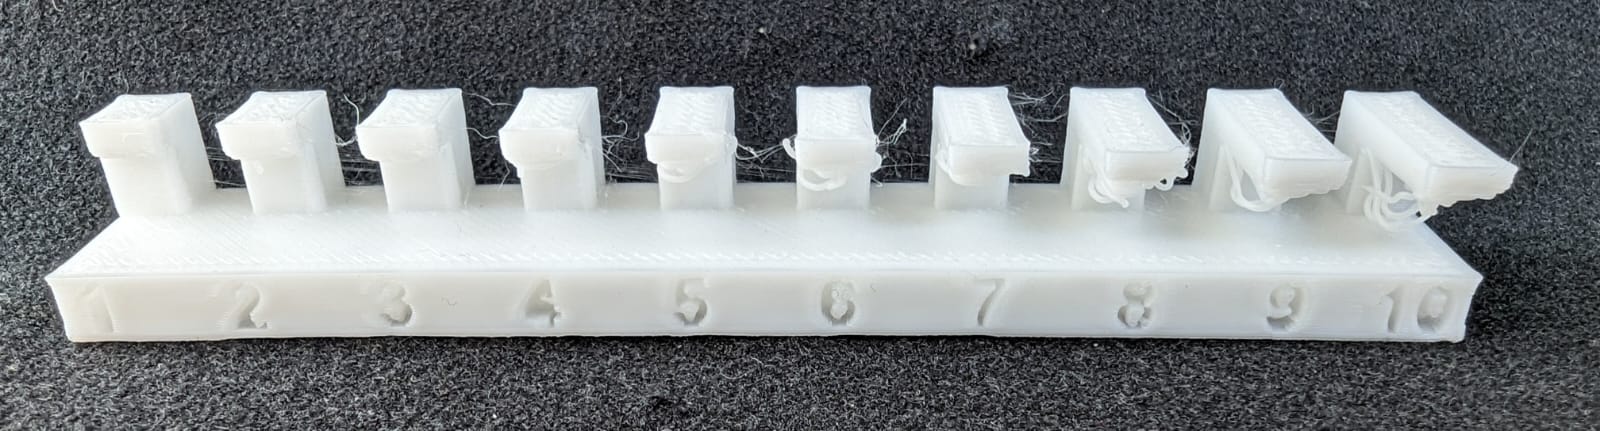
Printing Angle
The angle at which a feature can be printed without support. Angles up to 45 degrees are often manageable without supports, but this can vary based on the material and printing technology.
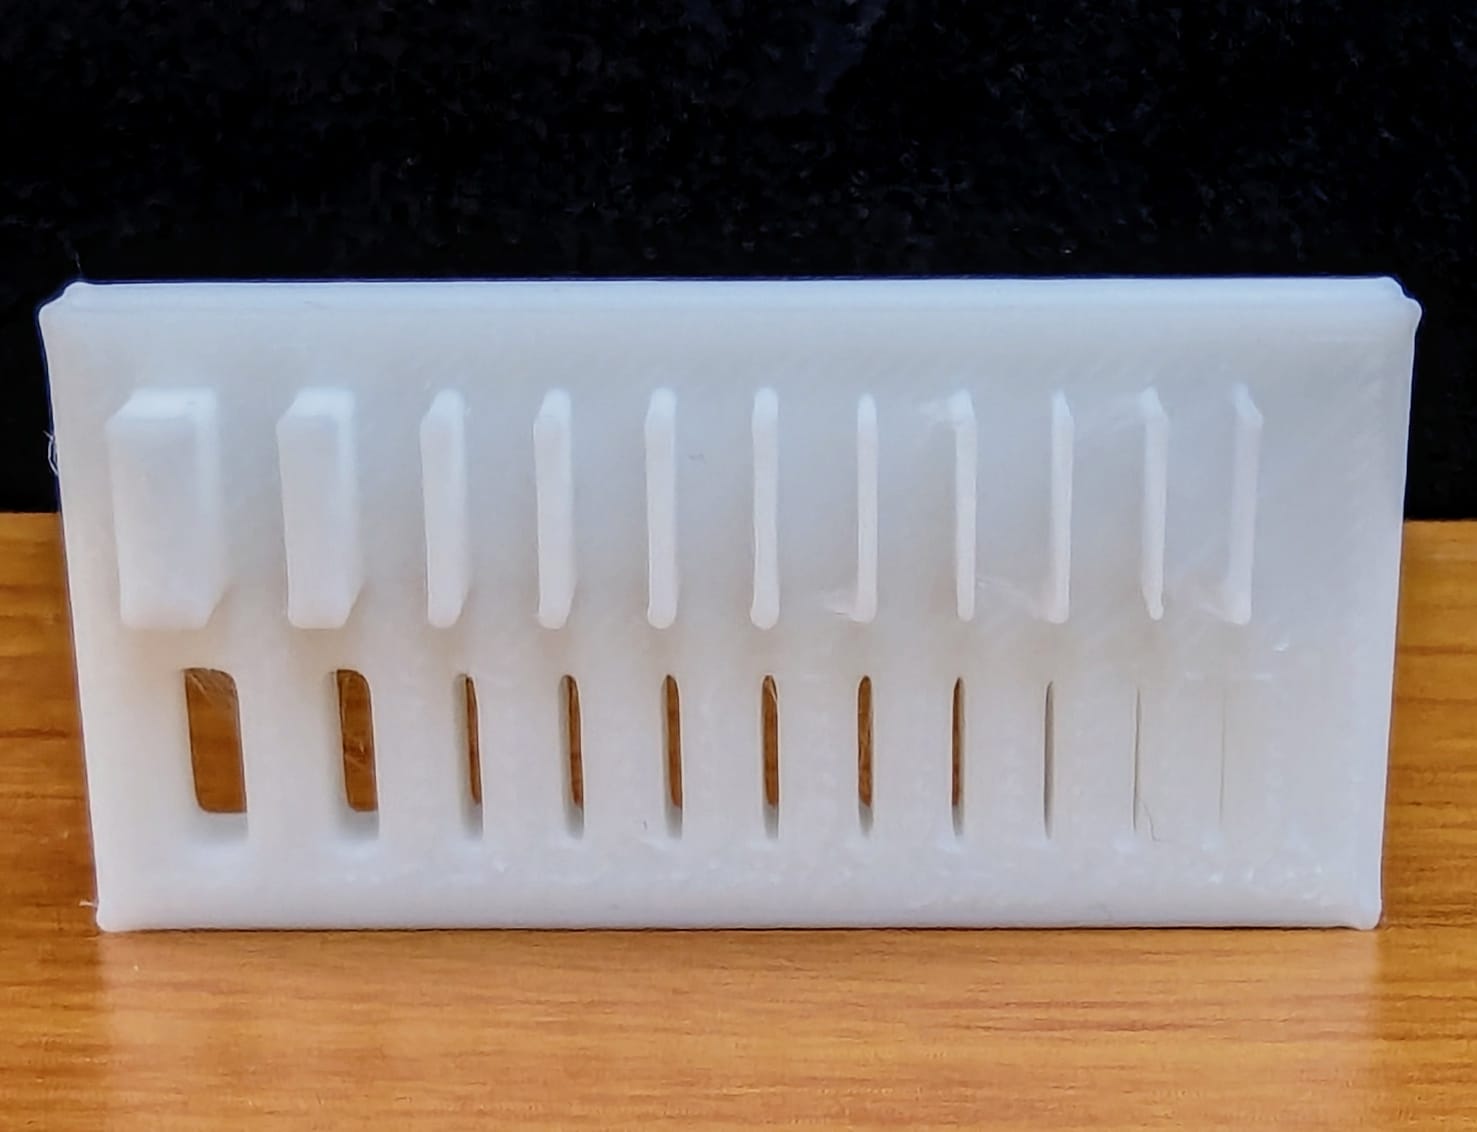
Bridging
Bridging refers to spanning a gap between two parts of a print without support beneath. The success of a bridge depends on the material's properties and the printer's capabilities, with shorter spans typically being easier to bridge.
Wall thickness
The minimum thickness of walls that can be successfully printed, impacting the object's durability and structural integrity. Thin walls may not print well, while very thick walls can waste material and time.
Dimensions
Accurate dimensions are crucial, especially for functional parts that must fit together. 3D printing can introduce variances due to material shrinkage or printer calibration issues.

Clearence
Clearance involves the space between the support structures and the actual part being printed. Adequate clearance ensures supports can be removed easily without damaging the print, typically around 0.2mm to 0.5mm depending on the material and print resolution.
Designing something in 3D
My original idea for my 3D-printed design was to model a "Quetzalcoatl". Quetzalcoatl is one of the most important Mesoamerican deities in the regions that now are Mexico. This idea came from this year's Fab Academy's logo.
I used Blender3D since I needed a program that allows a more versatile design system. I had never used Blender before so it was a very steep learning curve, Blender is very well-equipped, and it's used for modeling animation and special effects since it's got so many tools it can be very overwhelming. It was tedious and I have only grasped the basics but I managed to make a jointed Quetzalcoatl.
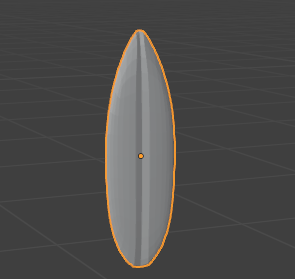
First I made the joints, made a feather and finally I used geometry nodes to paste the feathers into my joint.
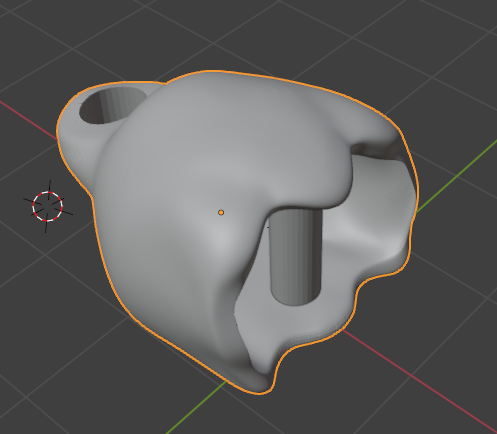

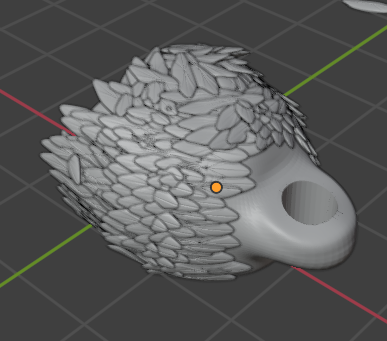
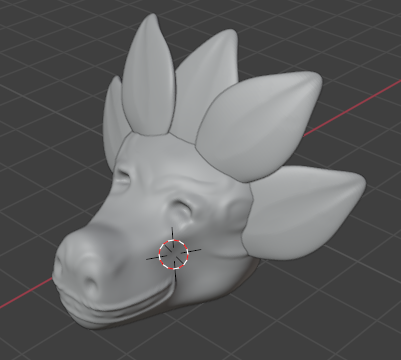
After that, I sculpted the head and tail and finally, I joined everything.
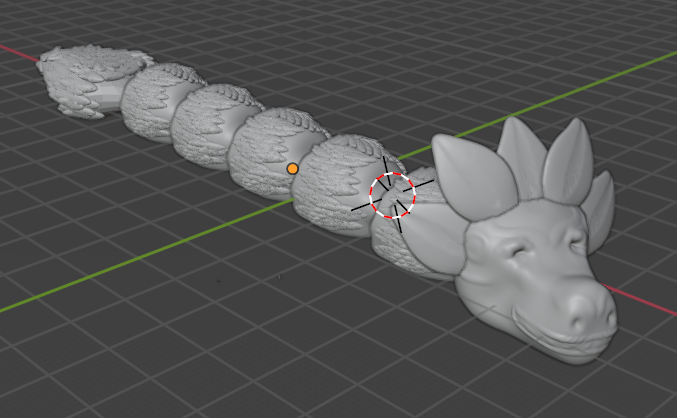
The moment I tried to open it in my 3D printer software I had trouble uploading it, I couldn't quite make it work, and due to the assignment dead line I had to make another design.
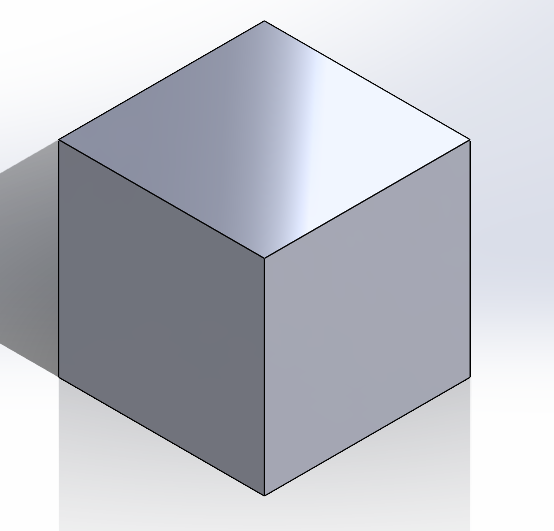
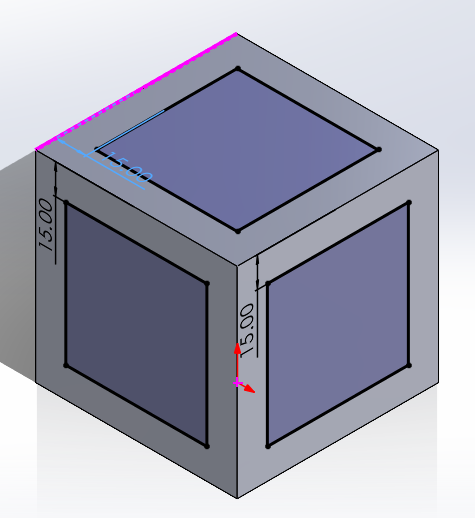
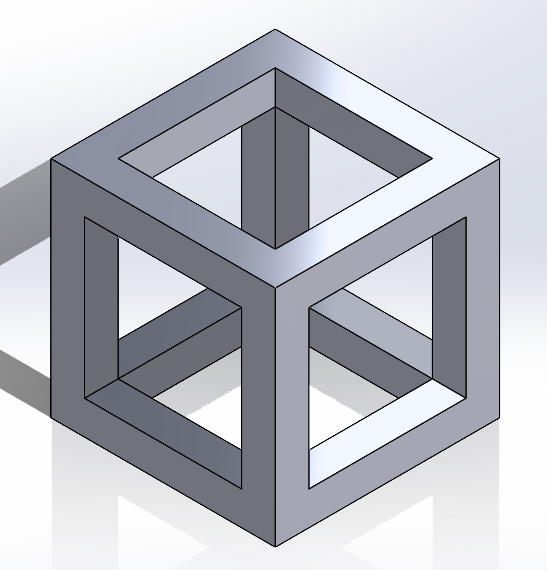
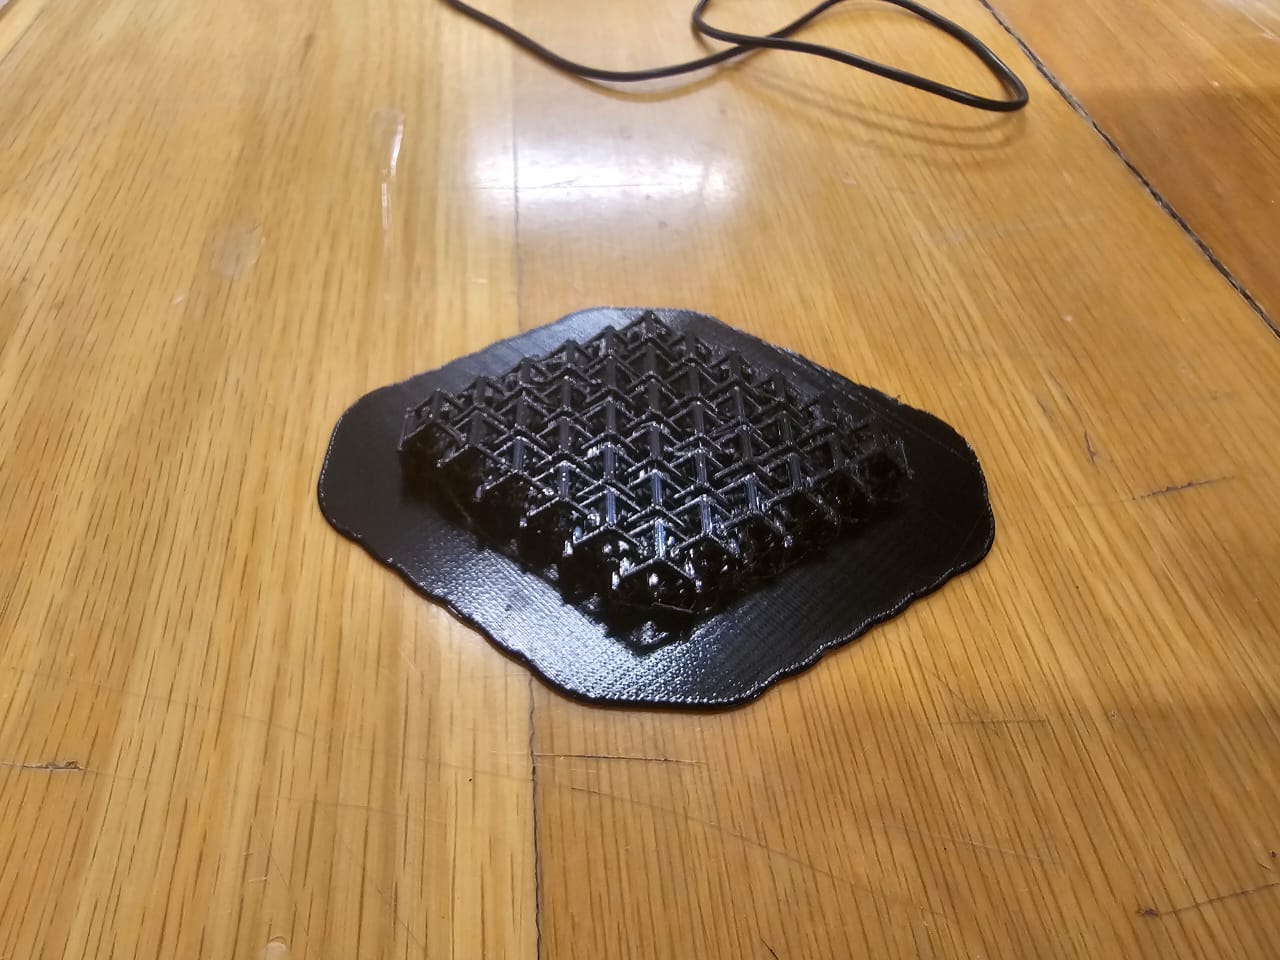
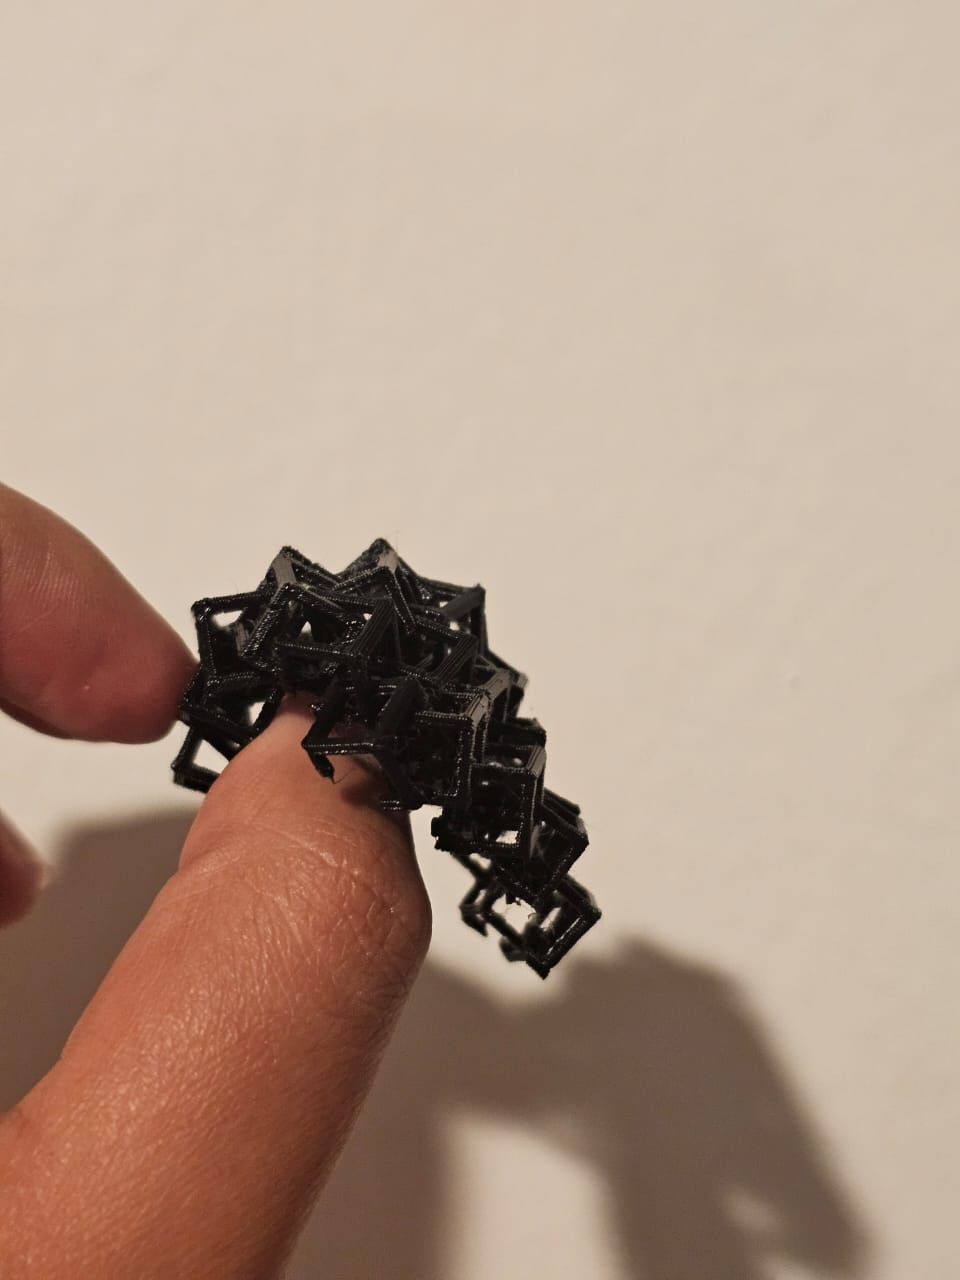
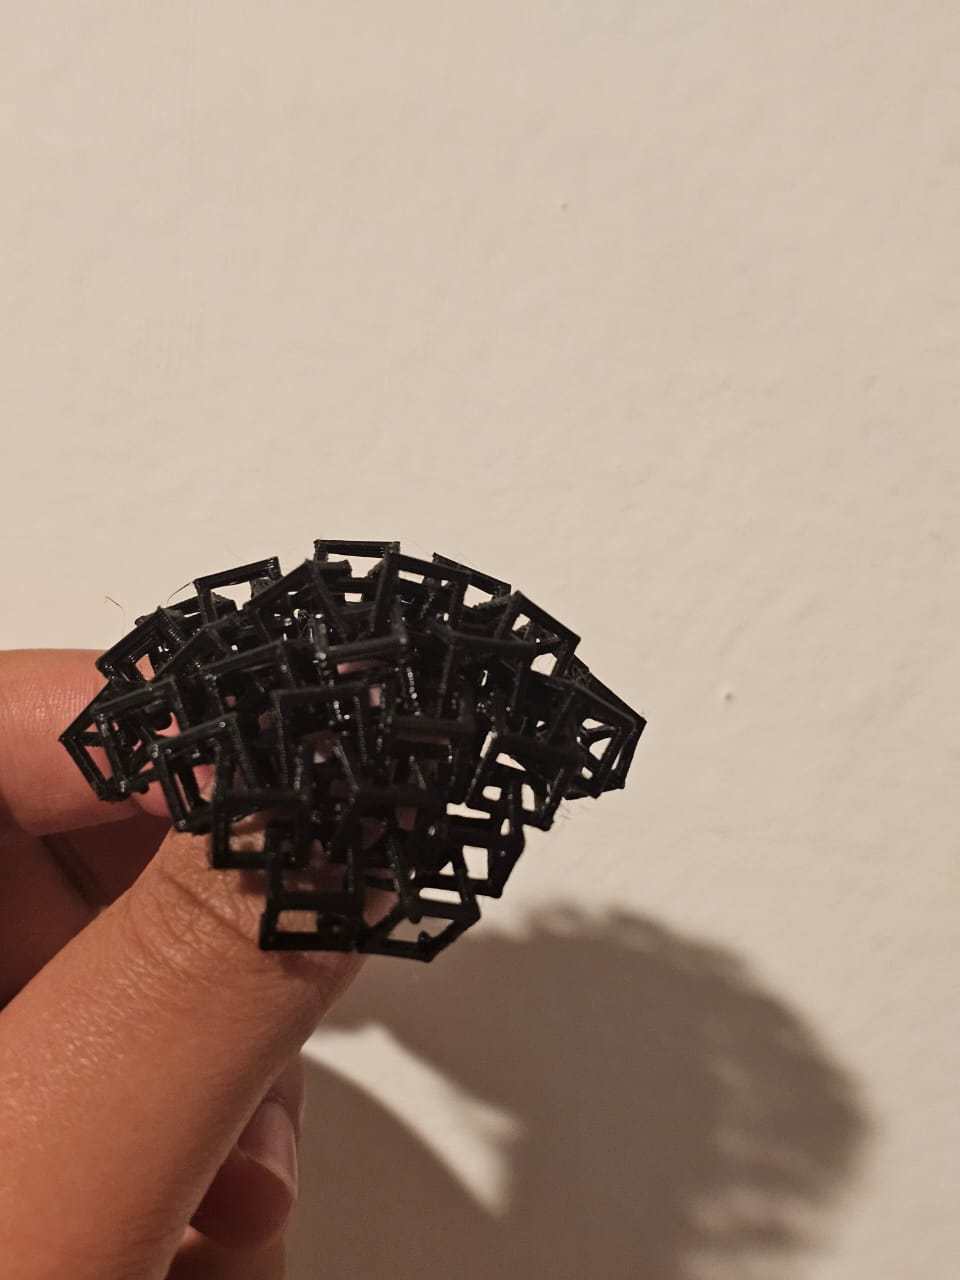
For my second design, I designed a mesh inspired by the NASA mesh. For this design, I used SolidWorks since I'm familiar with it. First I created a cube, extruded its faces inwards, and finally I cut them. Then I join those cubes into an assembly to form the mesh.
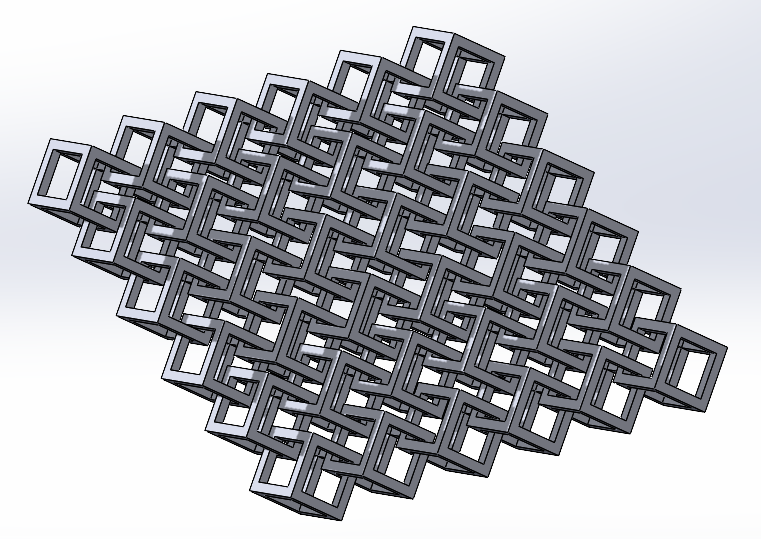
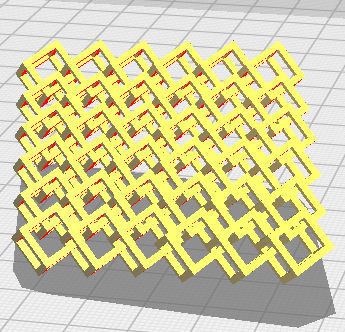
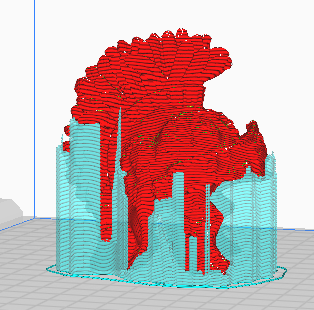
After that I made it an STL file and transfer it to a 3D printer software, I used UltiMaker Cura
Results

3D scanning
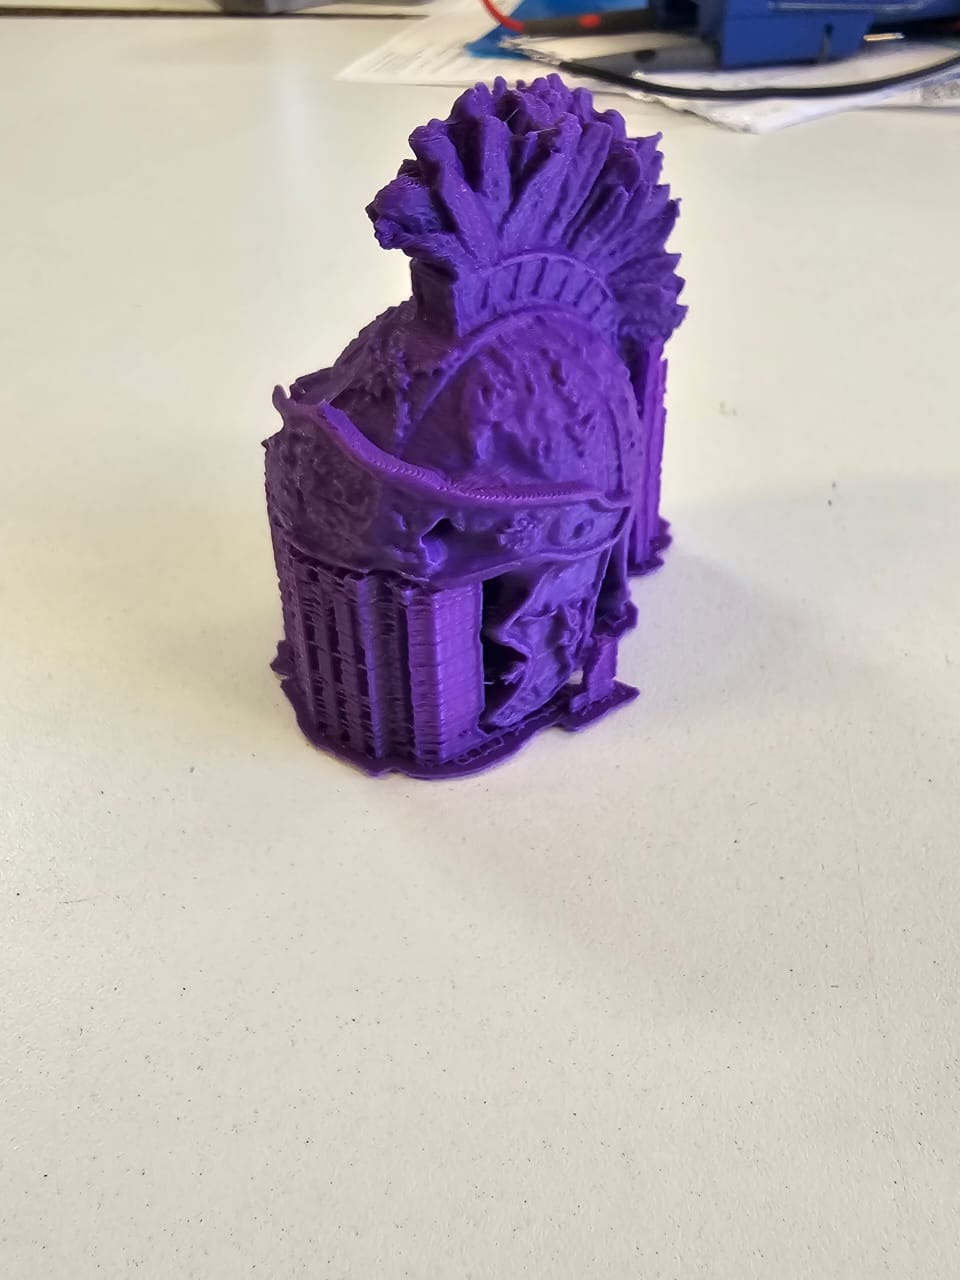
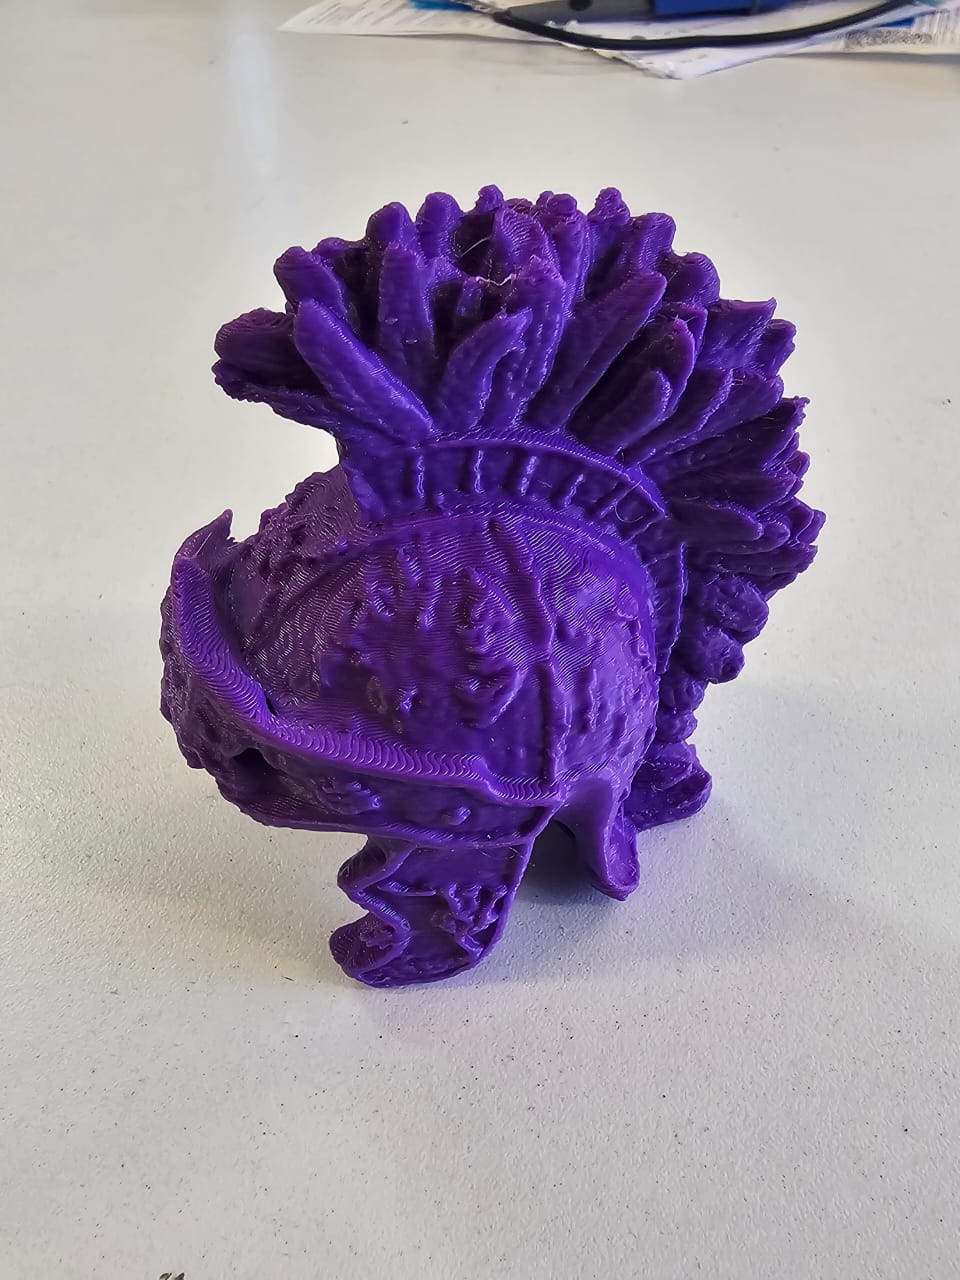
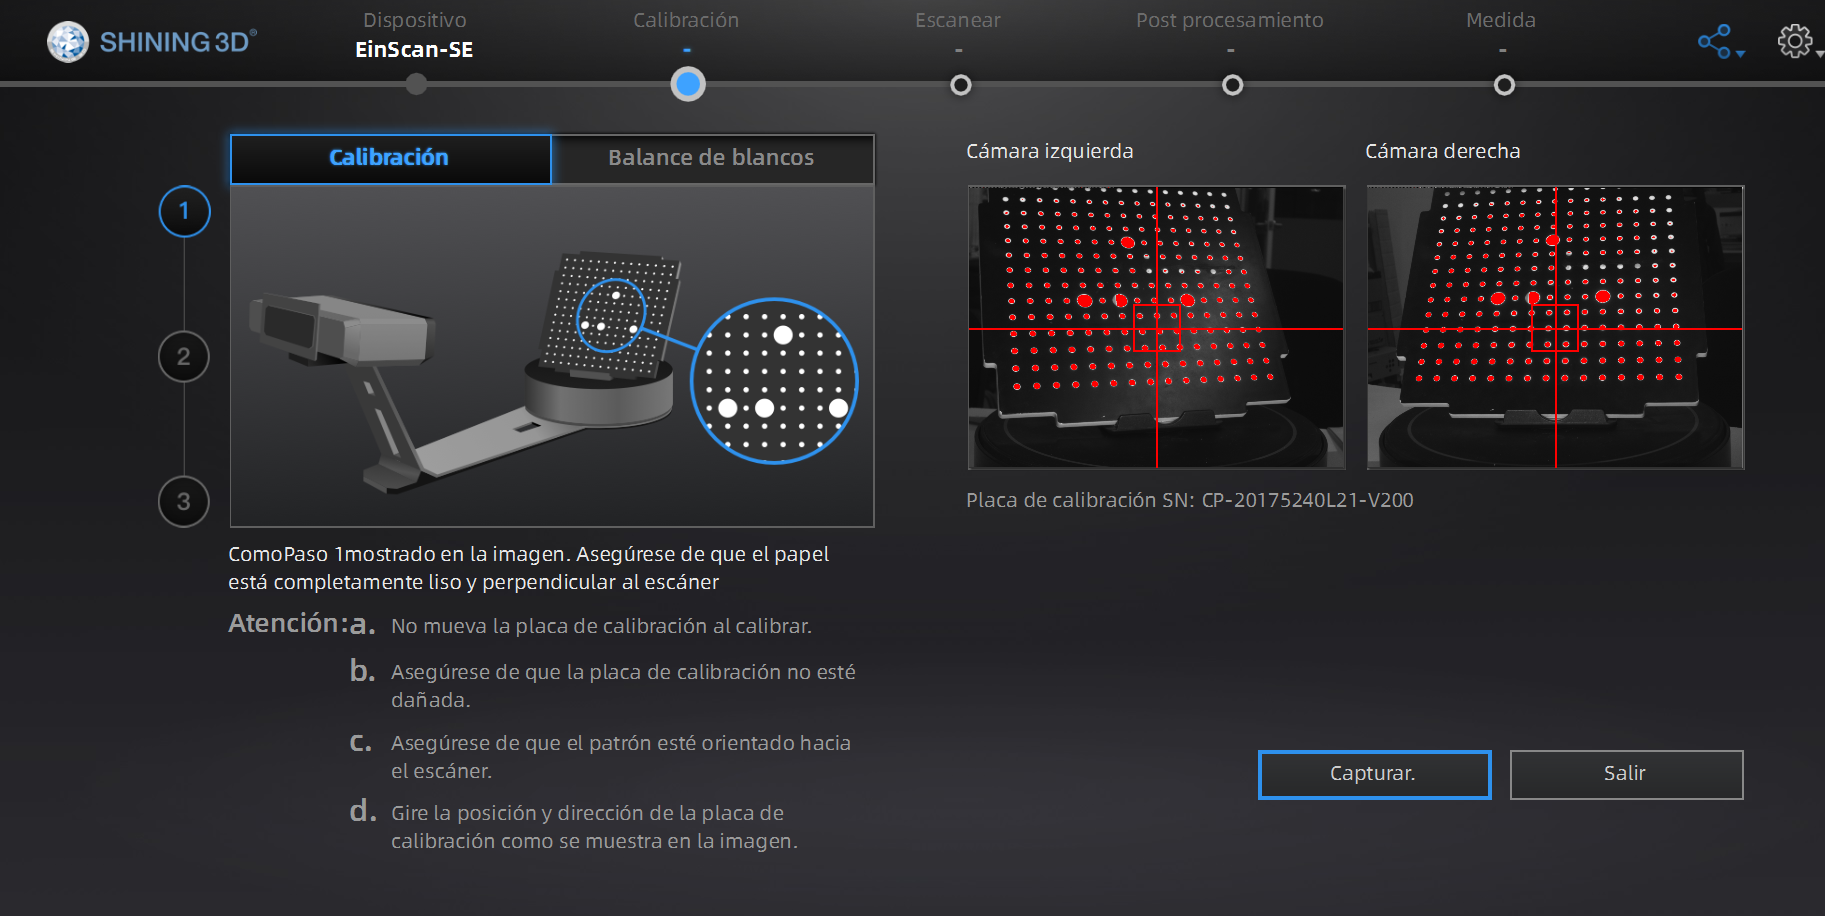
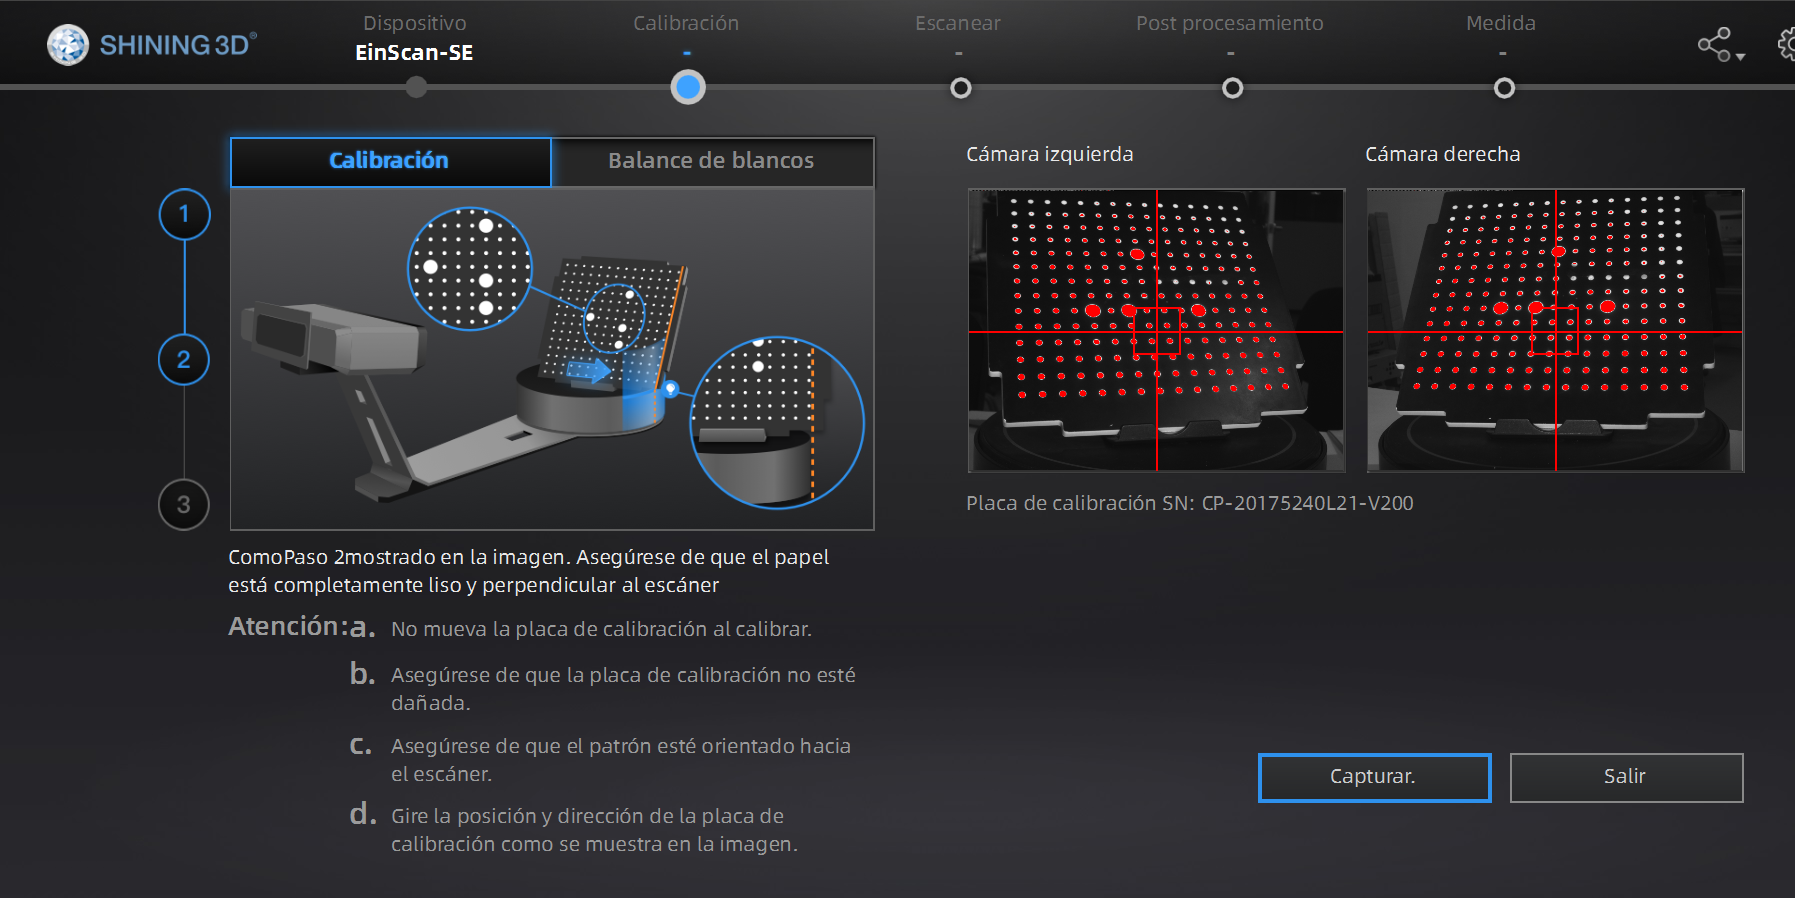
For the scan I used the EINSCAN-SE SHINING 3, I downloaded the software for the scanner, first, it needed to calibrate the distance to the object and the length of the bed of the scanner.
Scan results
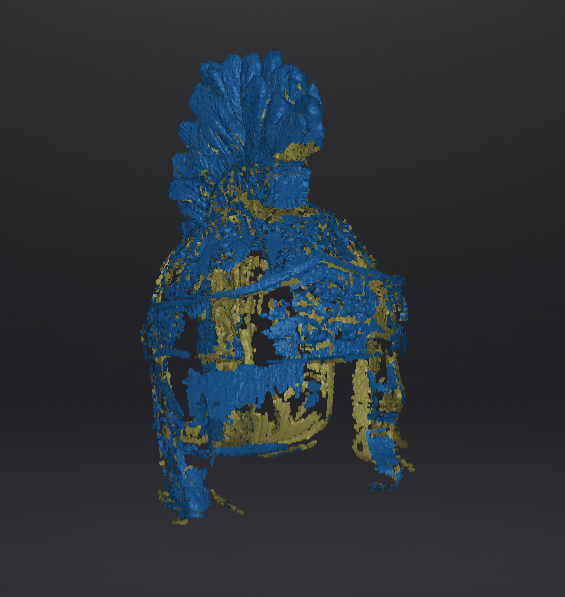
The scanner makes a construct of the Helm out of points, after that I used the mesh option in order to creat a mesh using the points of the scanner. The scanner makes a construct of the Helm out of points, after that I used the mesh option to create a mesh using the points of the scanner. After that, I just download the STL file to transfer it to a 3D printer software.
Results