12. Molding and casting
For this week I made two molds, one of them is for silicone pieces, the other one is for resin pieces. Check Week 12 Guide Ibero Puebla Fablab for support material.
Safety
I would advice everyone that wants to do molds to use a gas mask or a mouth mask and nitrile gloves and work on an open space, I didn't have a mask when I did the silicone mix and got a horrible headache and stuffy nose. So be careful and have fun.


Mold for Silicone pieces
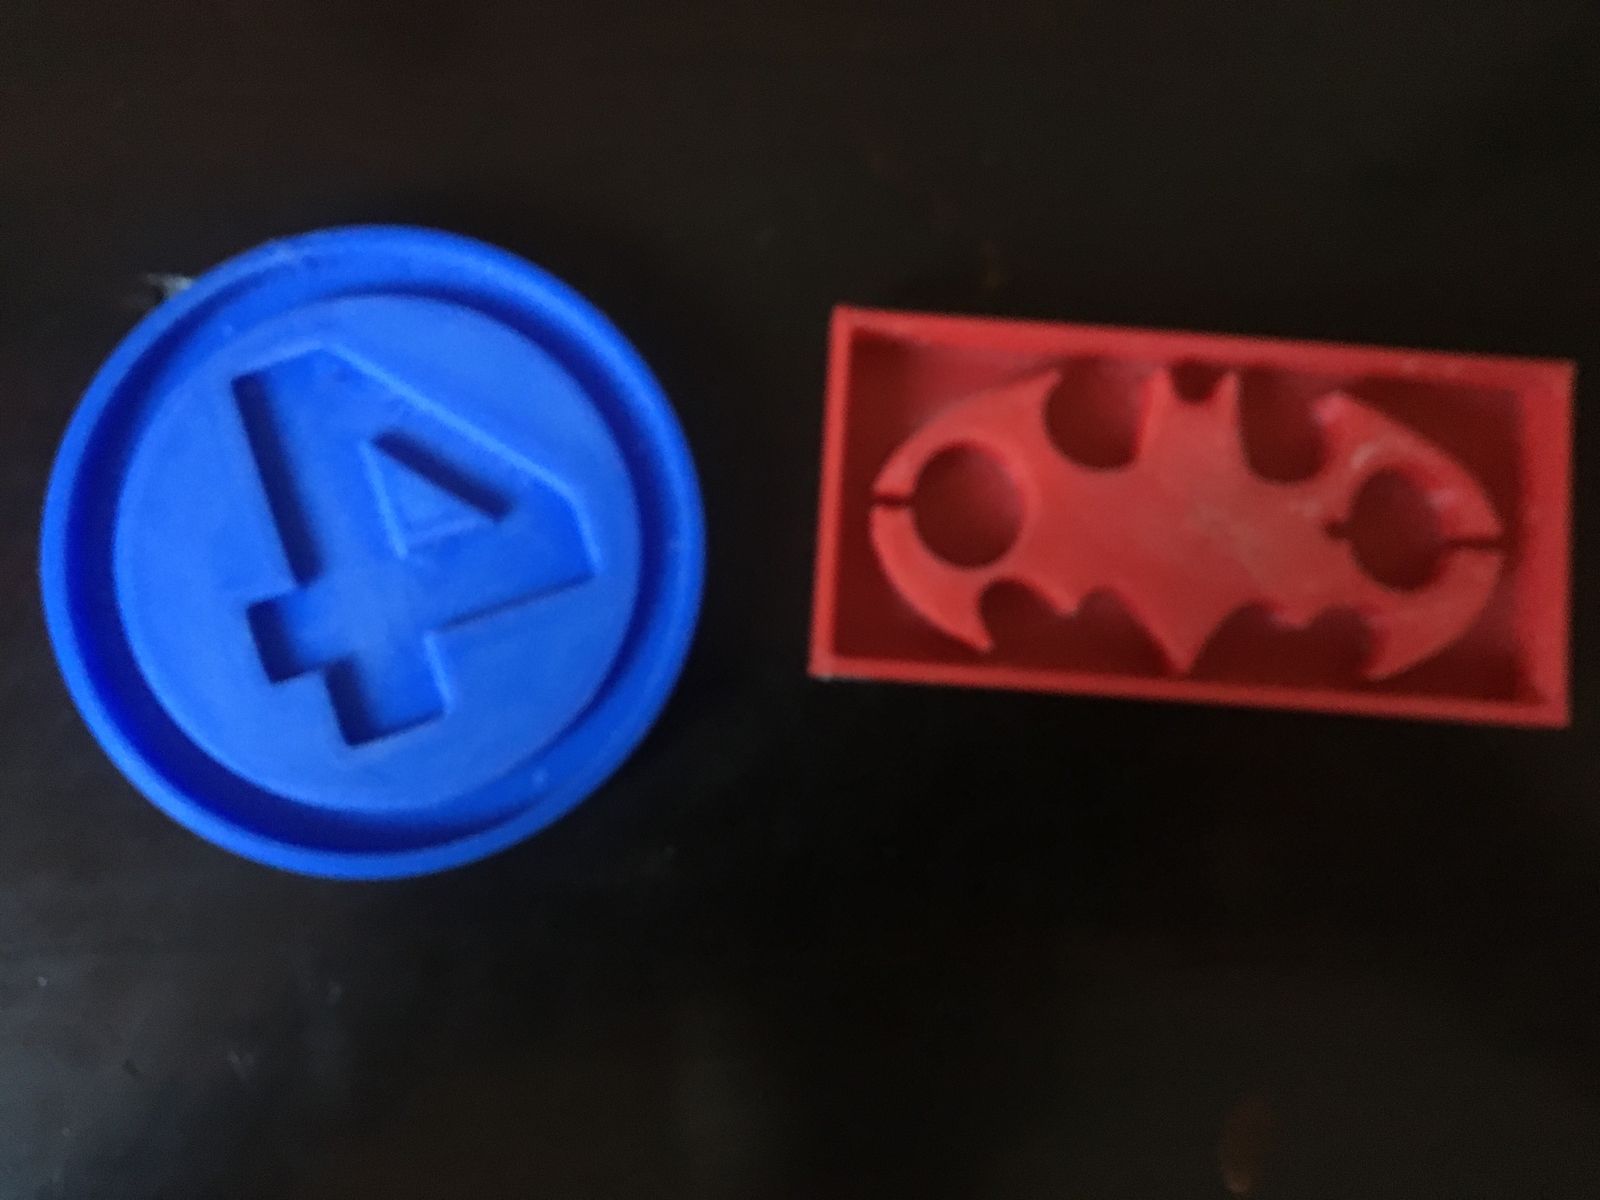
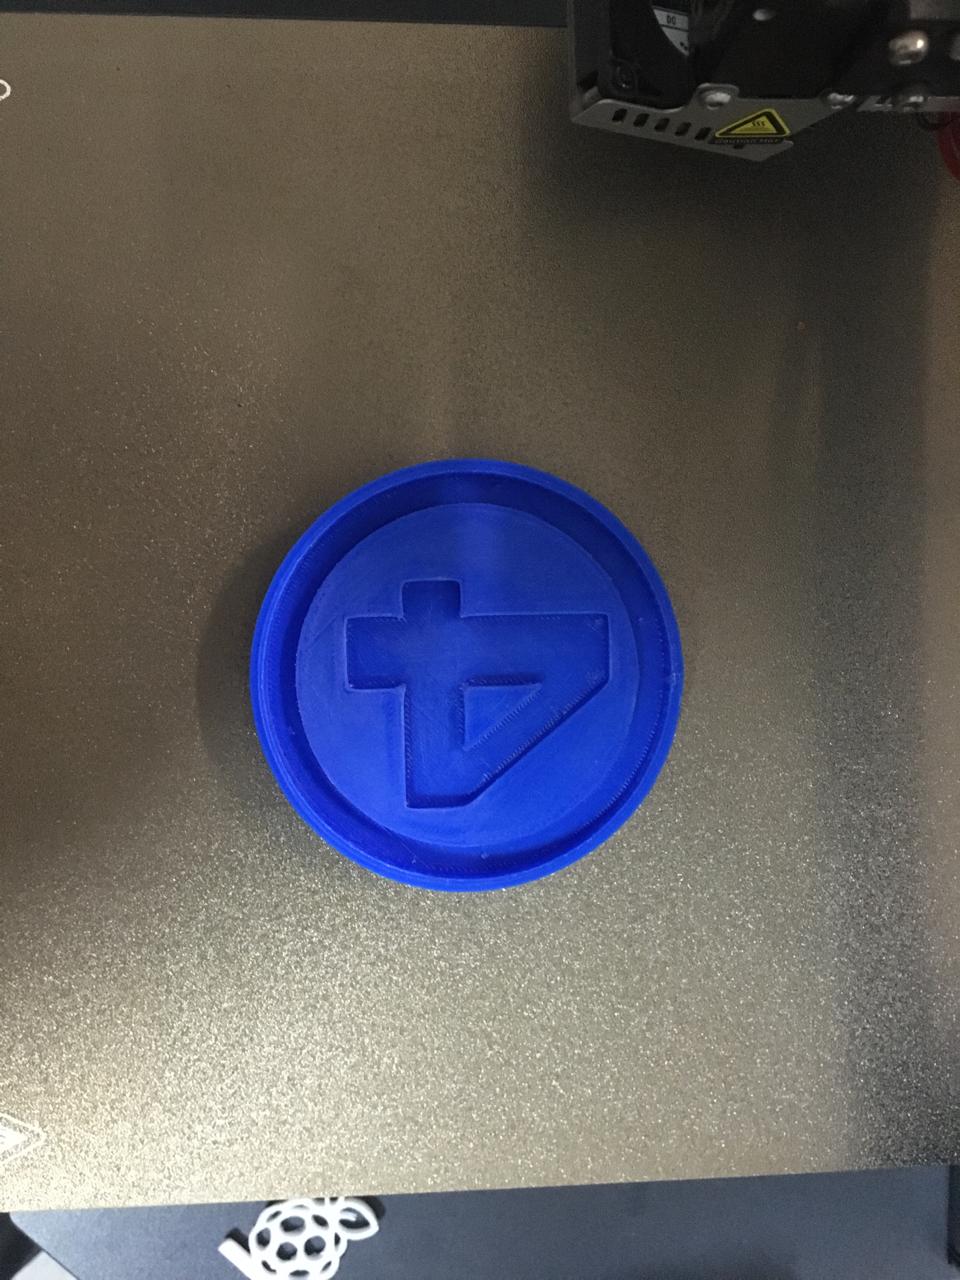
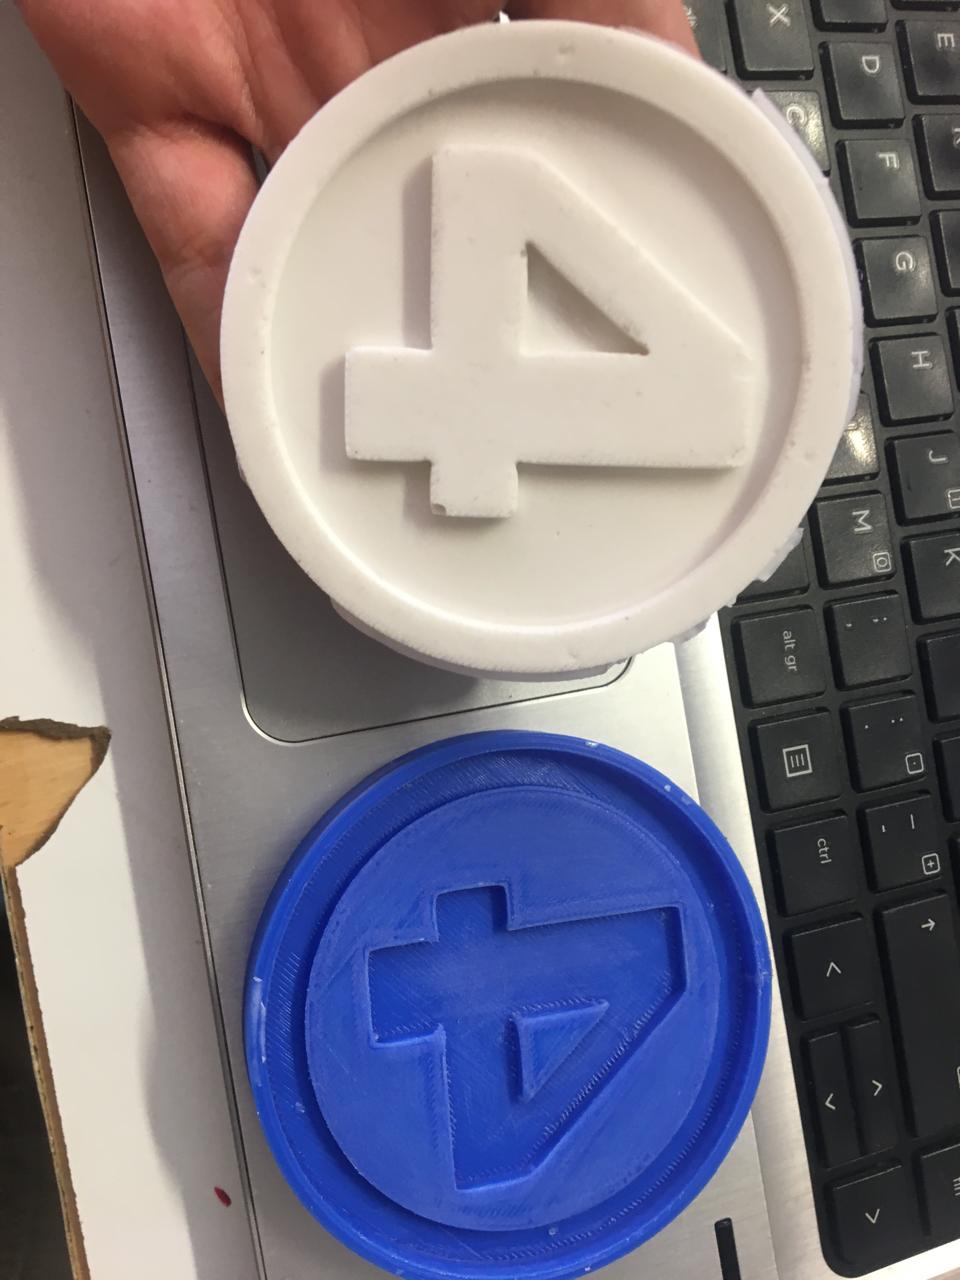
I decided to 3d print one mold and one counter-mold, because I felt I could do more tests. First, I designed a mold for silicone pieces, this can work for a variety of things I made one from the world famous fantastic four for a shirt.
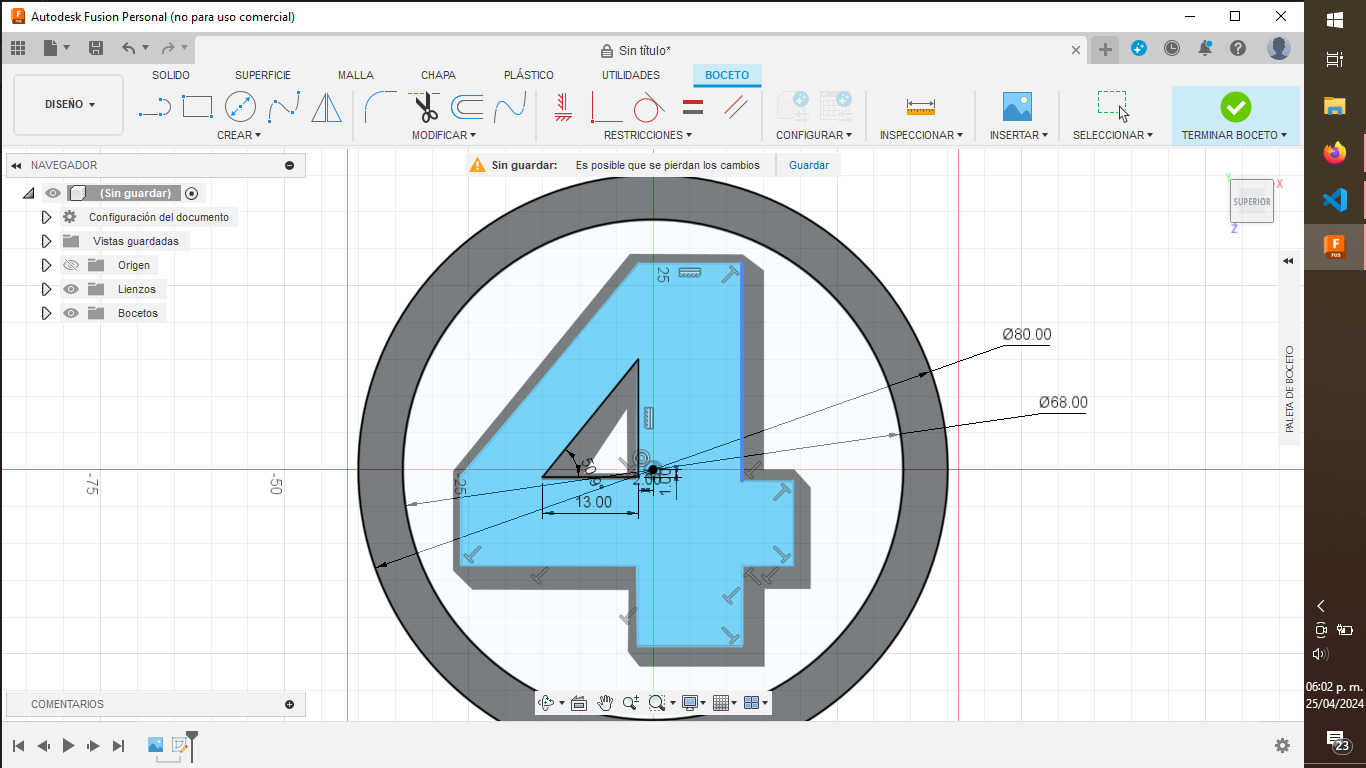
First I imported a picture into fusion of how I wanted the final piece to look like and with that as an starting template, I sketched the shape of the mold. You can click here to download.
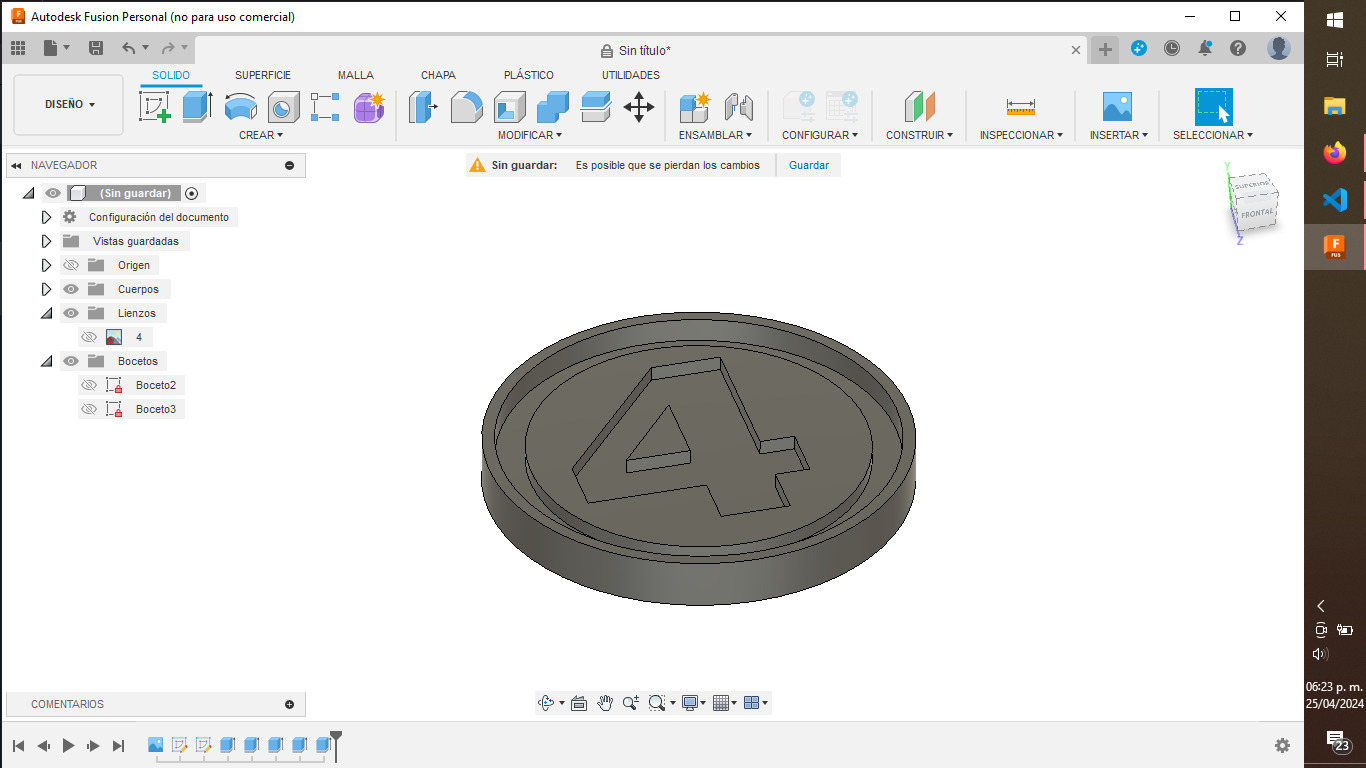
I considered that the number was what I wanted to pop out as well as the circle around, so I made them deeper in the extrude element.

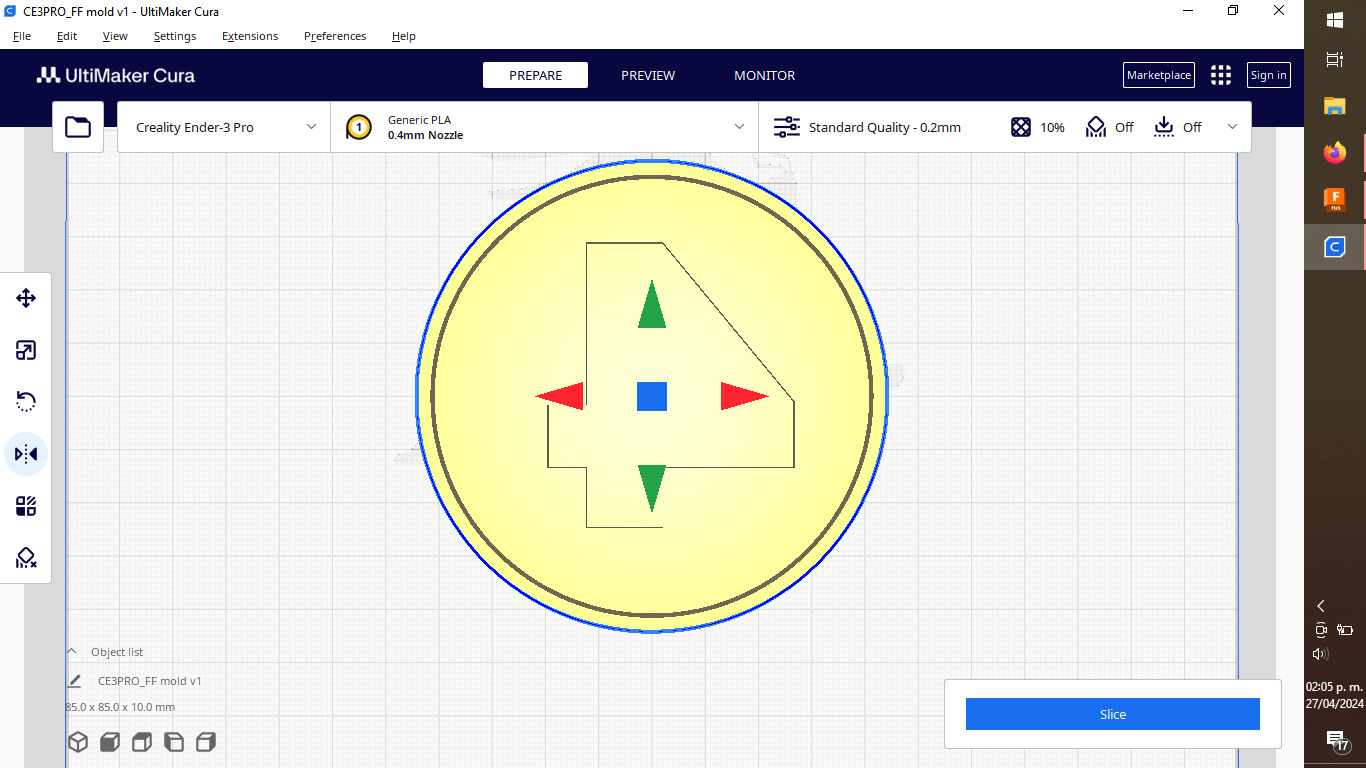
Later on Cura, the slicing software, I used the mirror tool, this is done so the mold is mirrored and the silicone pieces come out with the right orientation.
I 3d printed this on an Ender 3 Pro with a medium quality.
First the piece has this surface:
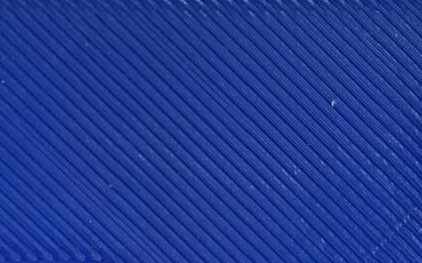
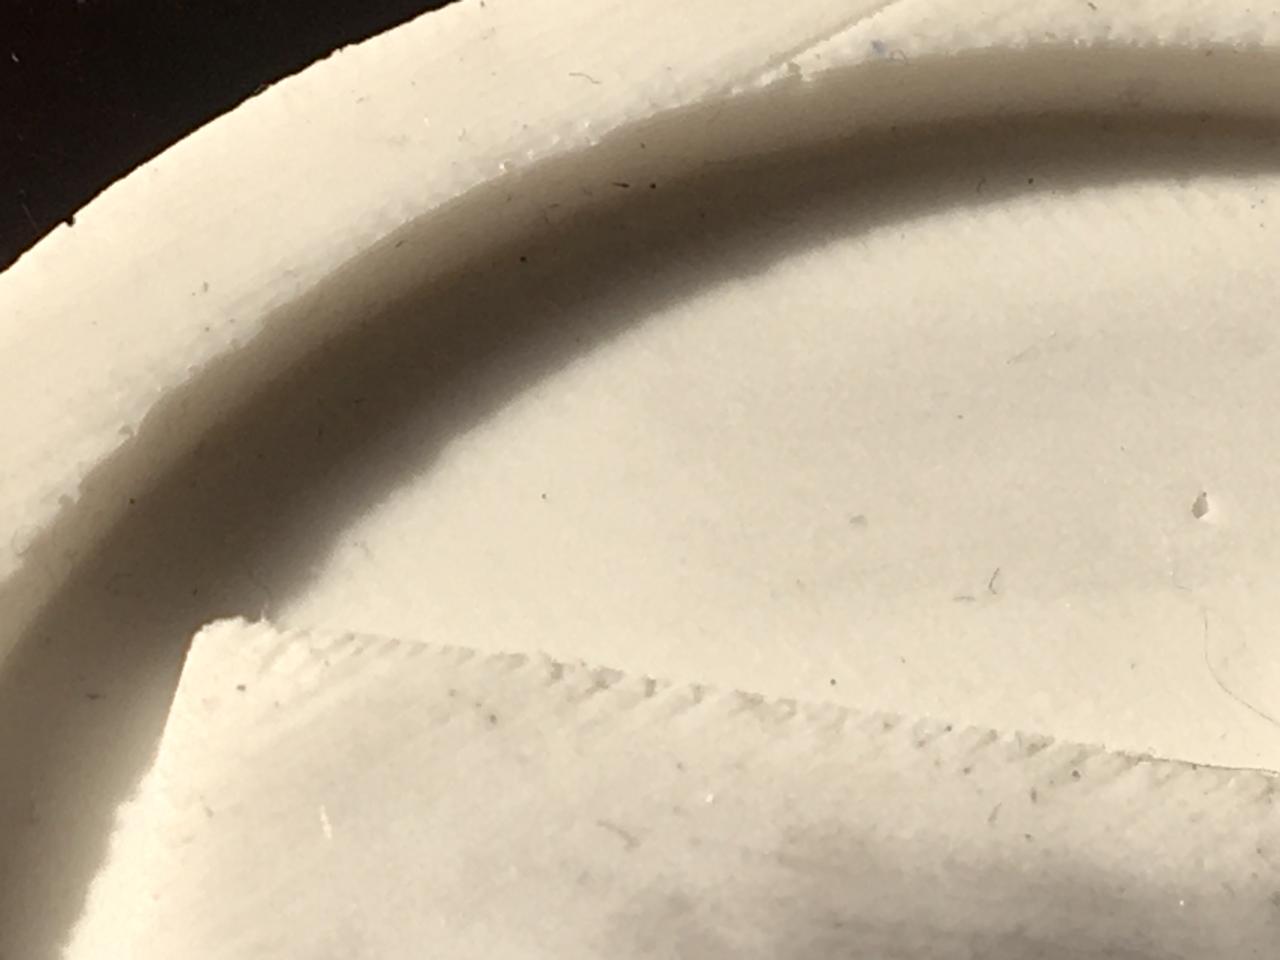
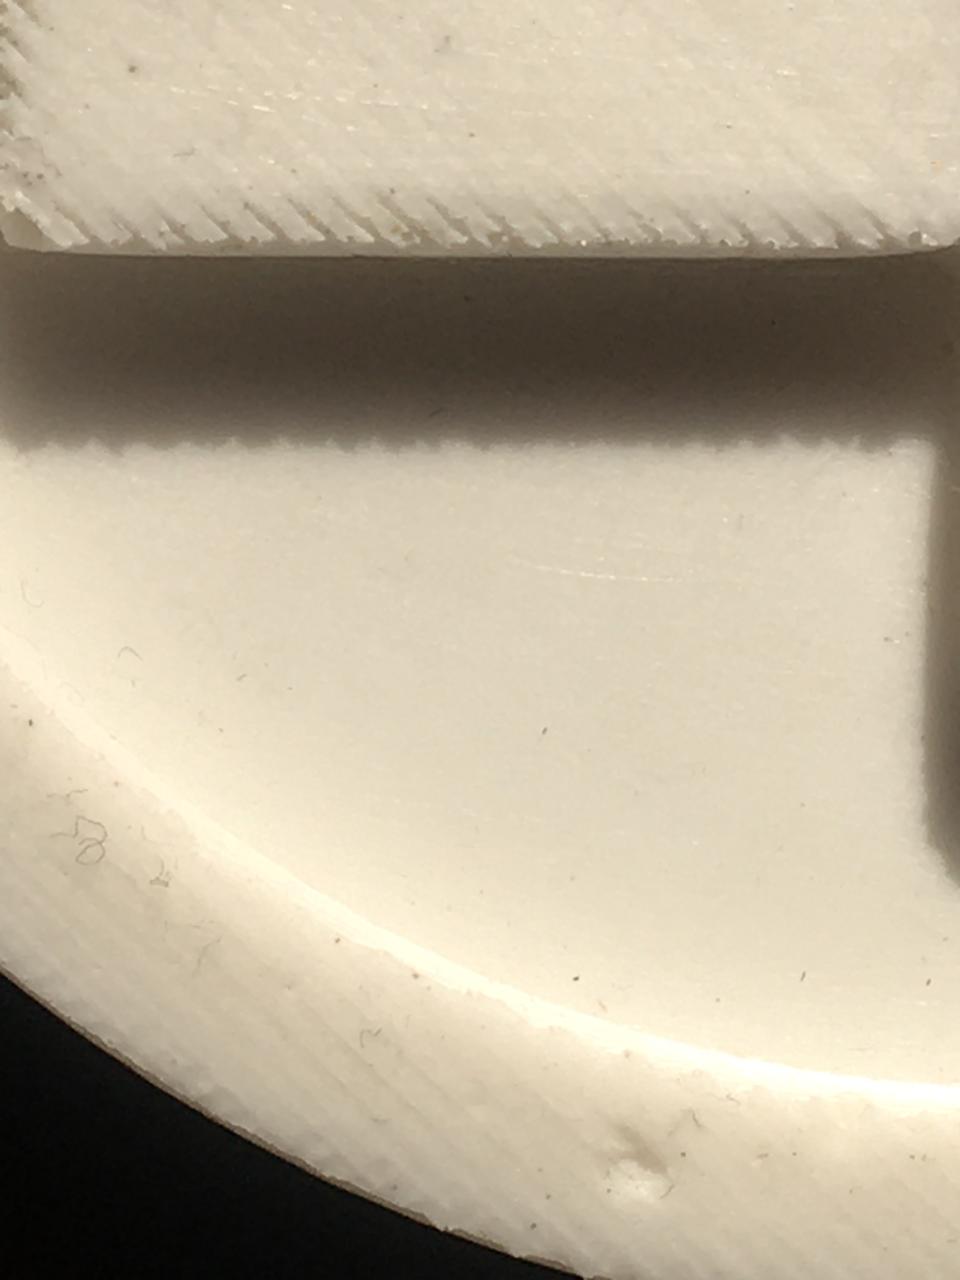
In order to get rid of this lines, I sanded the piece.
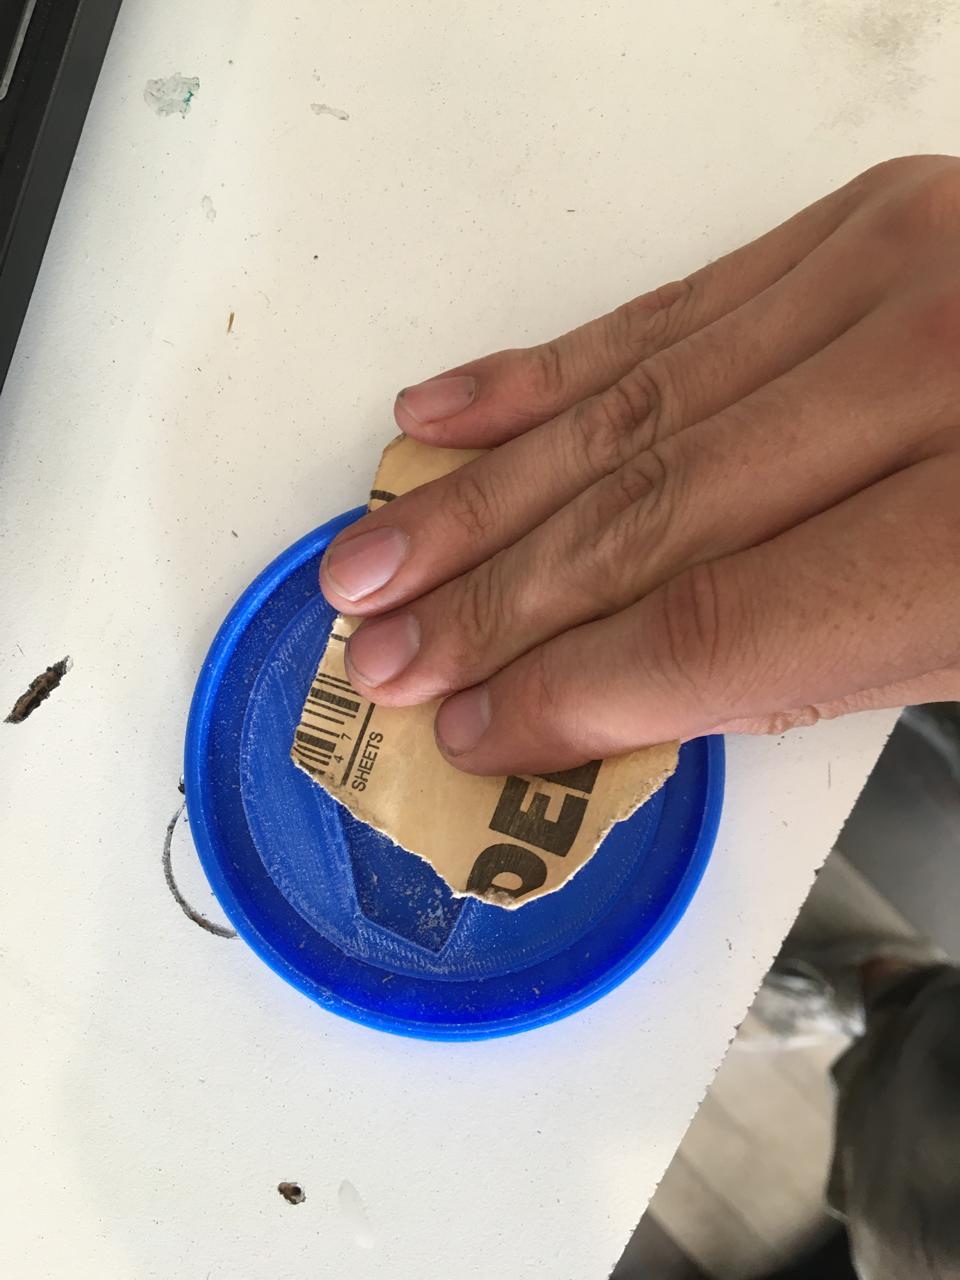
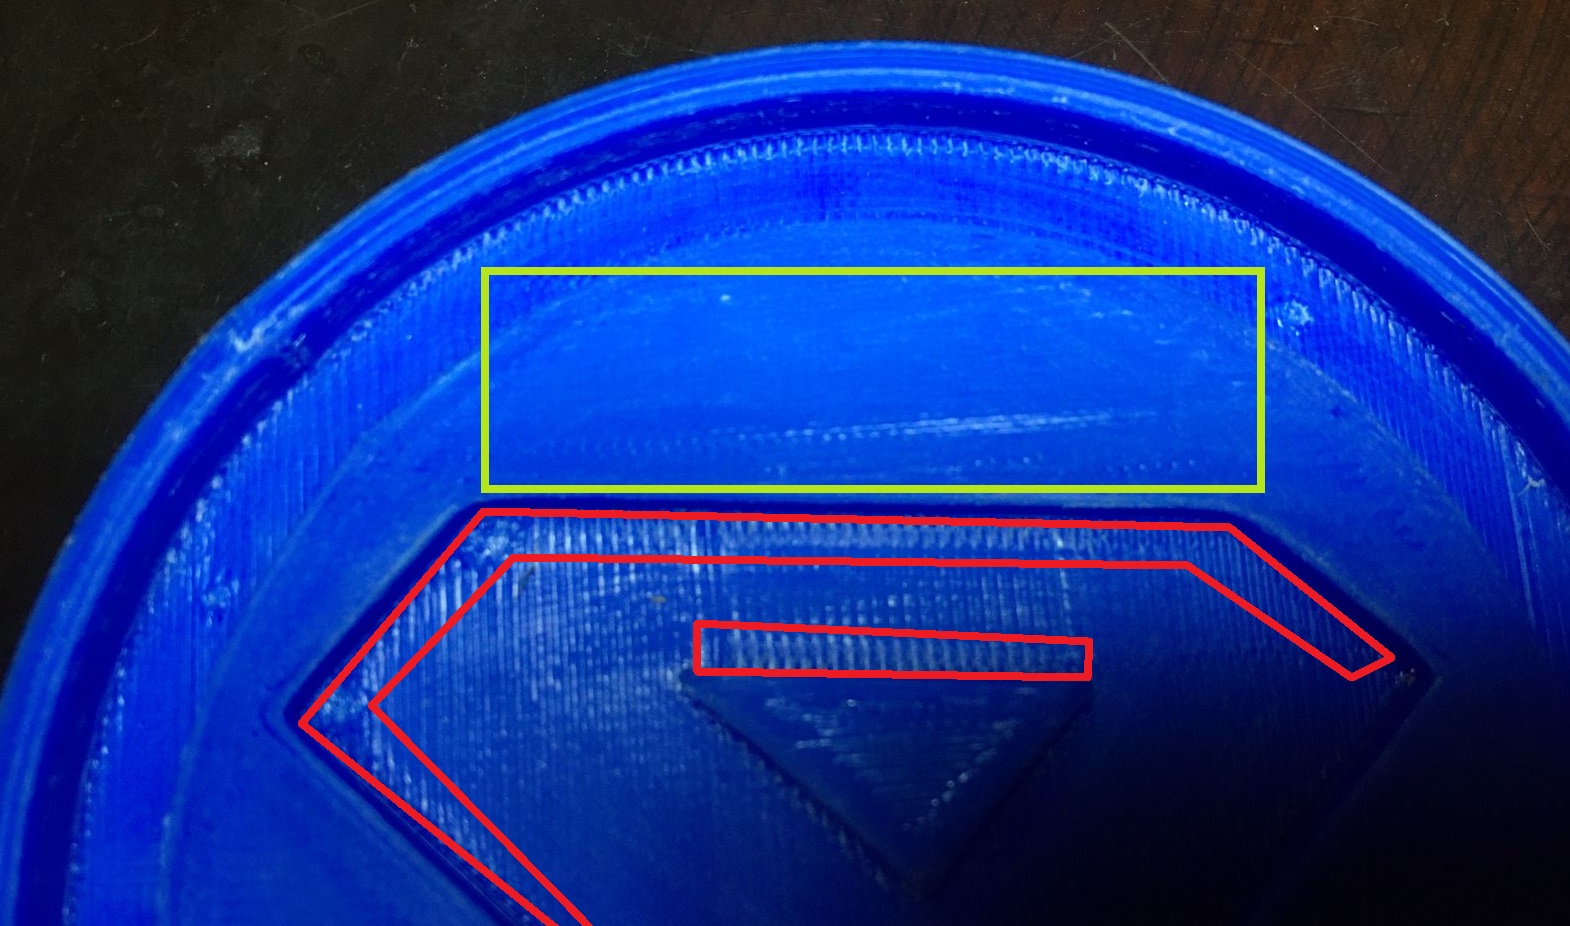
After sanding the surface is much more smooth (green) but the disadvantage is that the sandpaper can't reach some places of the mold, so in internal angles it will still have some lines (red).
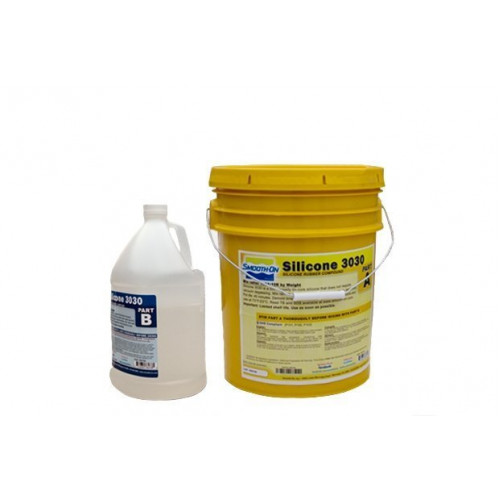
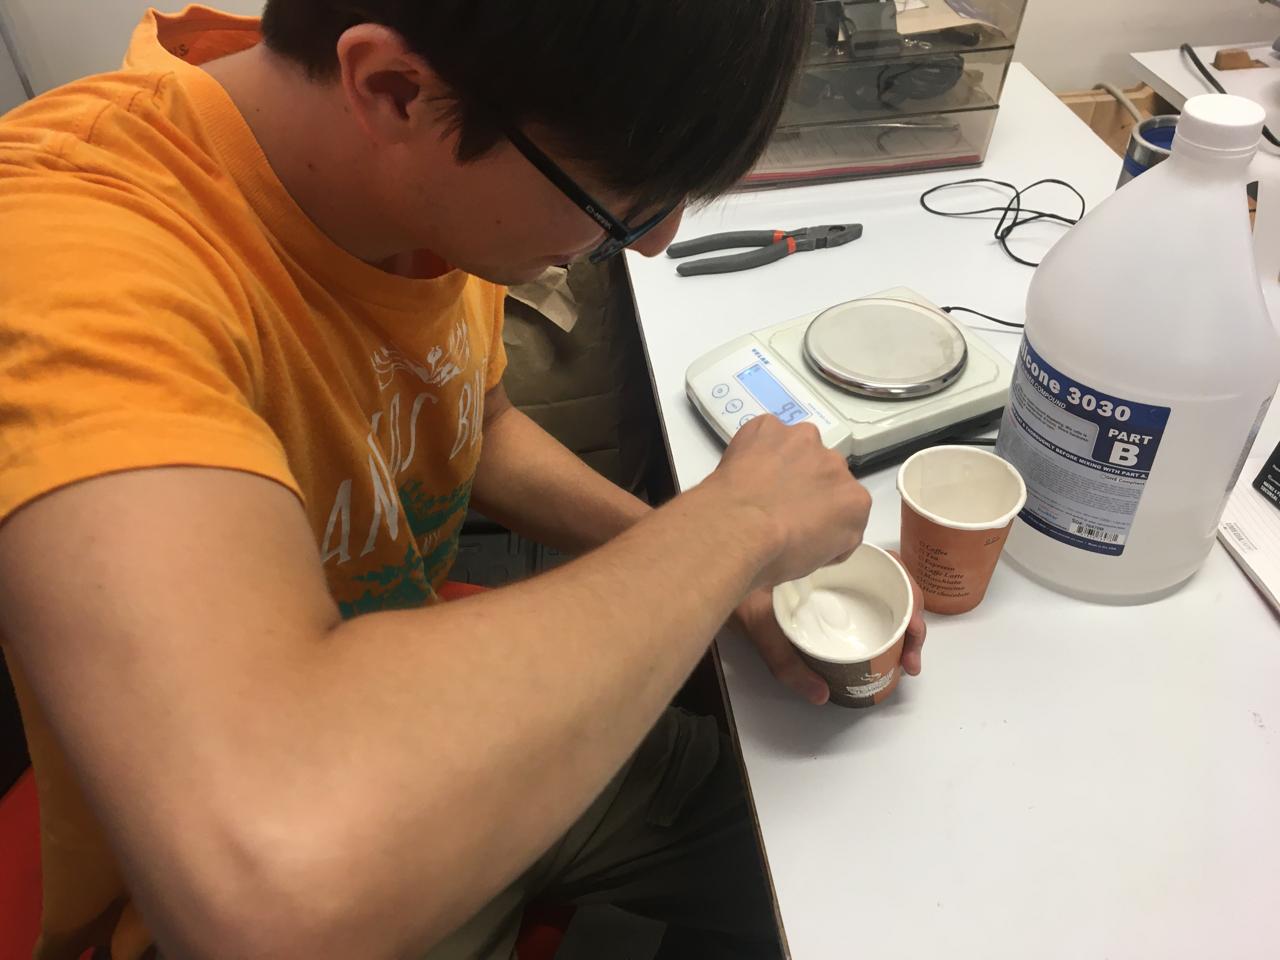
I used the silicone we had avalilable which is this Silicone 3030, it consist of two parts; A which is the base silicone and B which works as a catalyzer. The proportion used was 90 - 10, this means that for every 90 grams of A we use 10 grams of B, stir this mixture for about 5-10 minutes, or until you see that it becomes a single fluid.
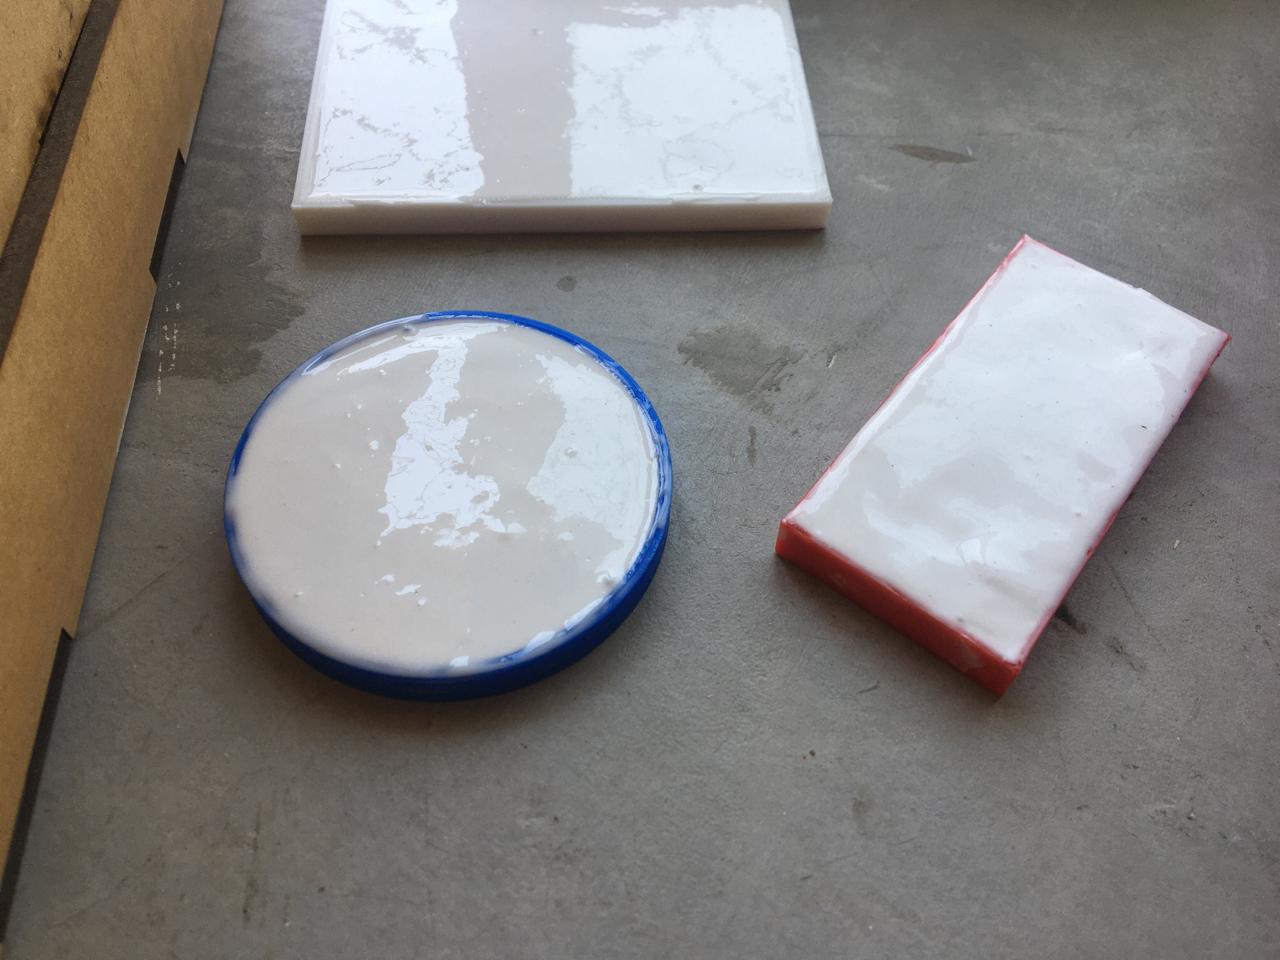
After letting it dry for about 6-8 hours we can demold, and now we have a cool piece.

Here are some close-ups to see the quality, since it's silicone fluff sticks to it, it's very smooth but the mold could use a bit more sanding so it comes out perfect. I do need to be more patient because I think it didn't fully cure.
Mold for Resin pieces
This mold has a similar problem to the other, since it's too deep the sandpaper doesn't reach the bottom so some parts of the final piece are left with the pattern of the 3d printing.
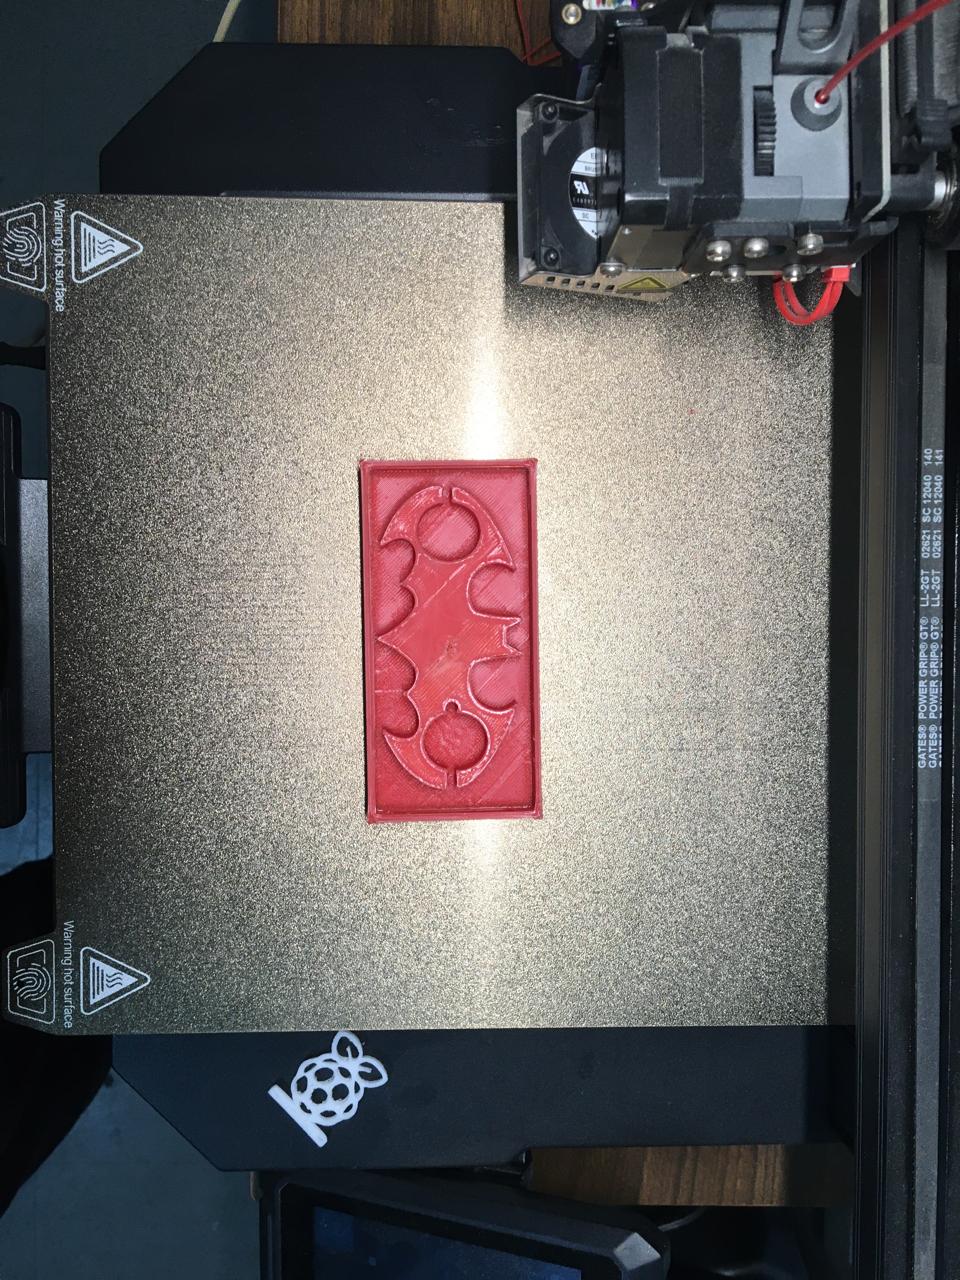
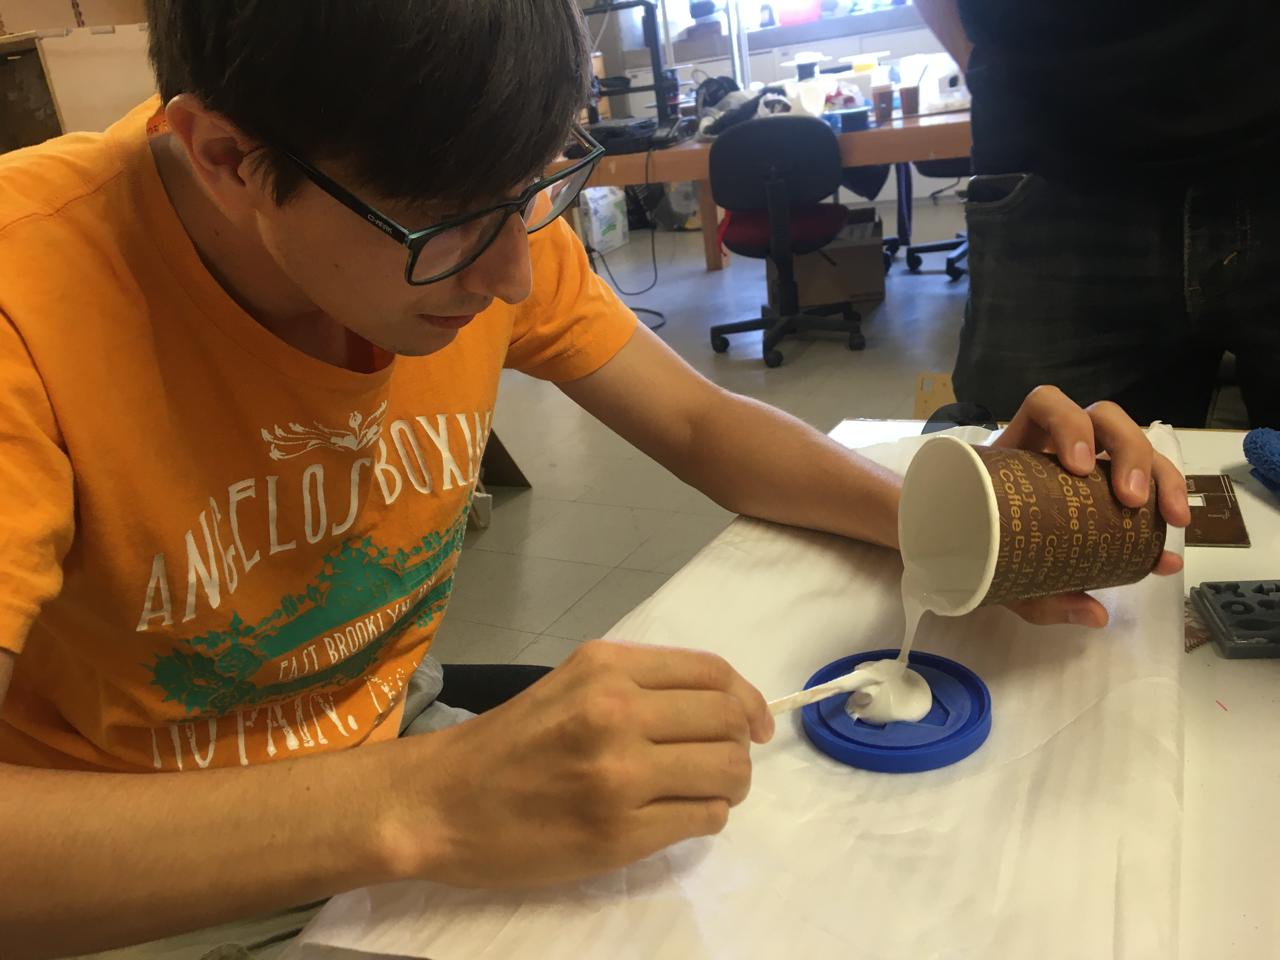
For the second mold I made followed the same procedure, first I made the mold with fusion using an .stl I found online, and poured the silicone mix. You can click here to download.

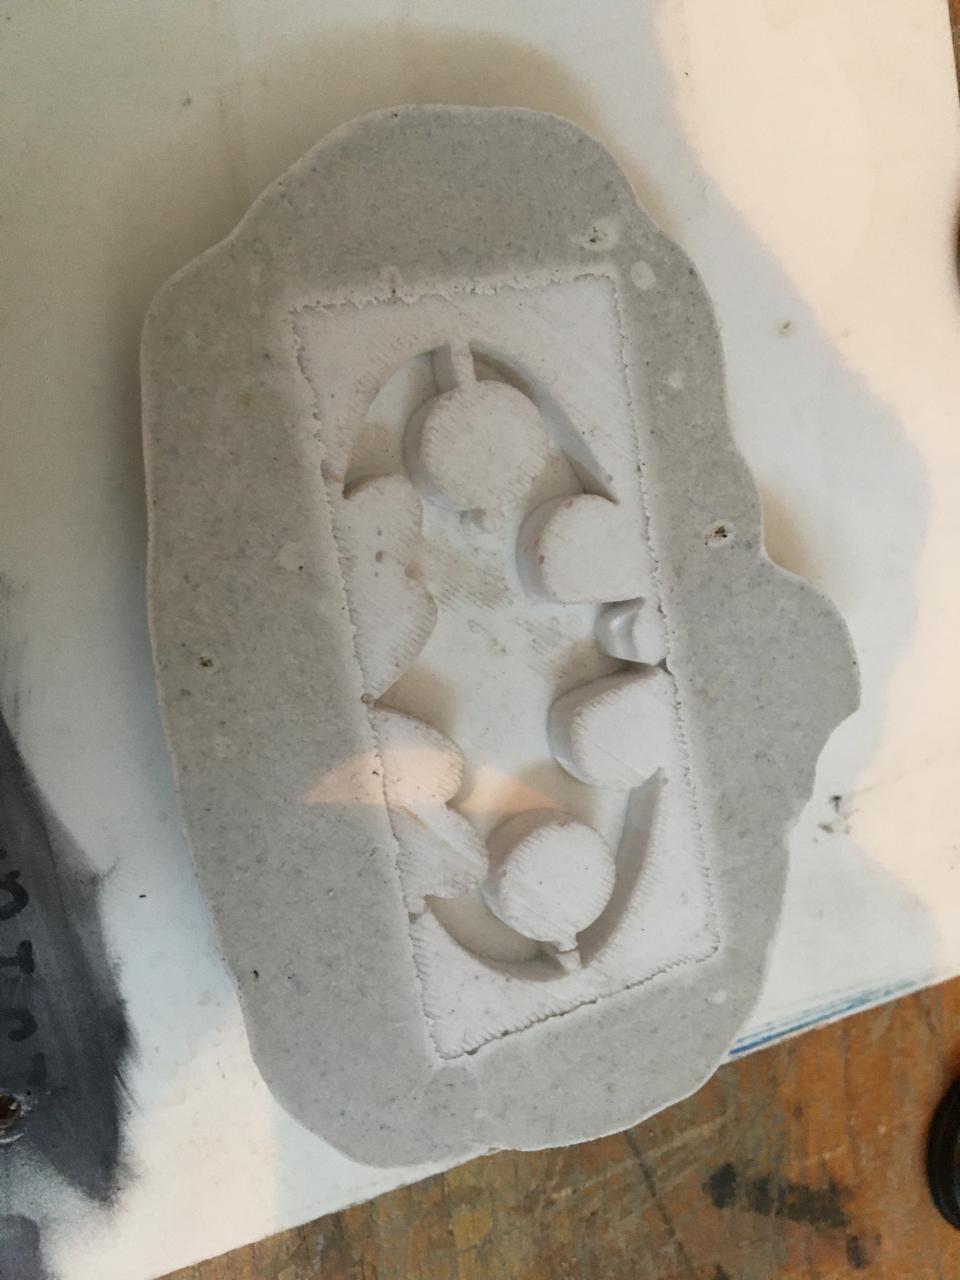
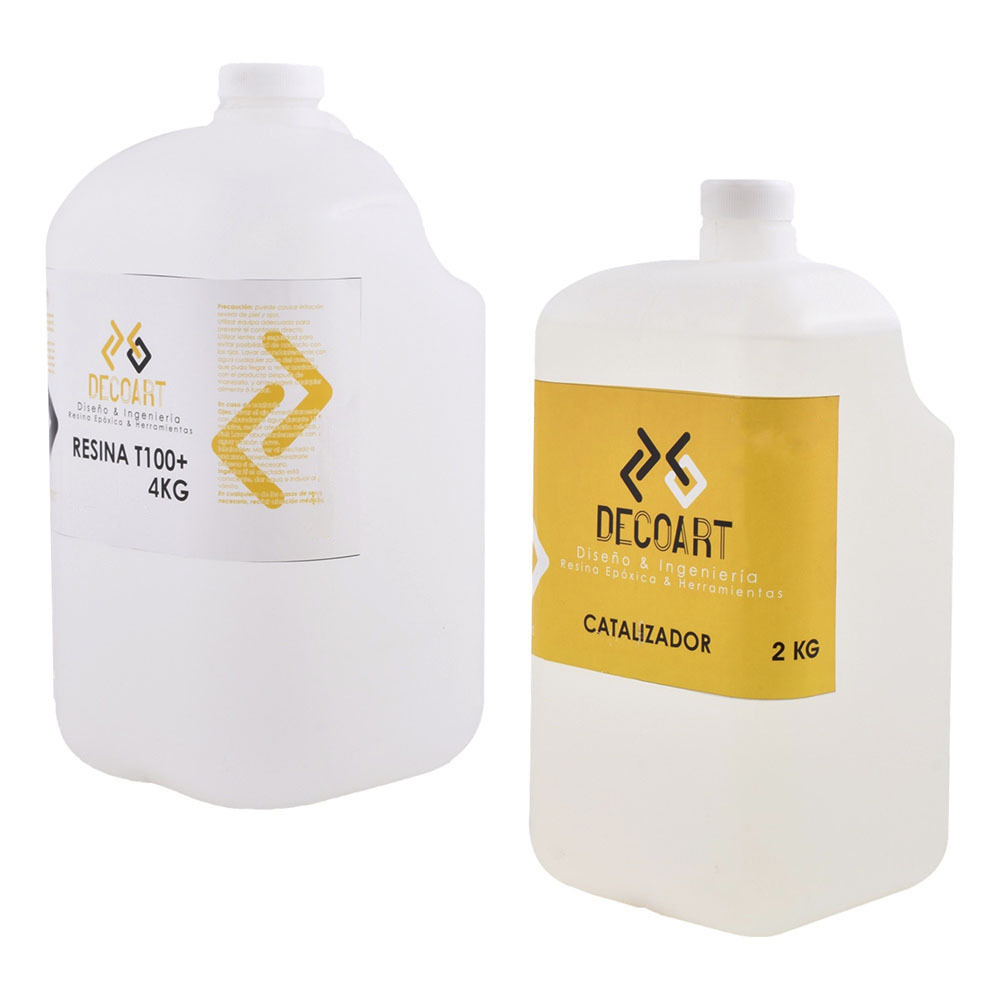
After the silicone was cured I used resin to make the pieces, but before I had to make a plaster base because the silicone broke a little. The resin used was T-100, this is an epoxy resin that cures at about 4 hours, it needs a proportion of 20 - 10, this means that for every 20 ml of resin we need 10 ml of catalyzer.
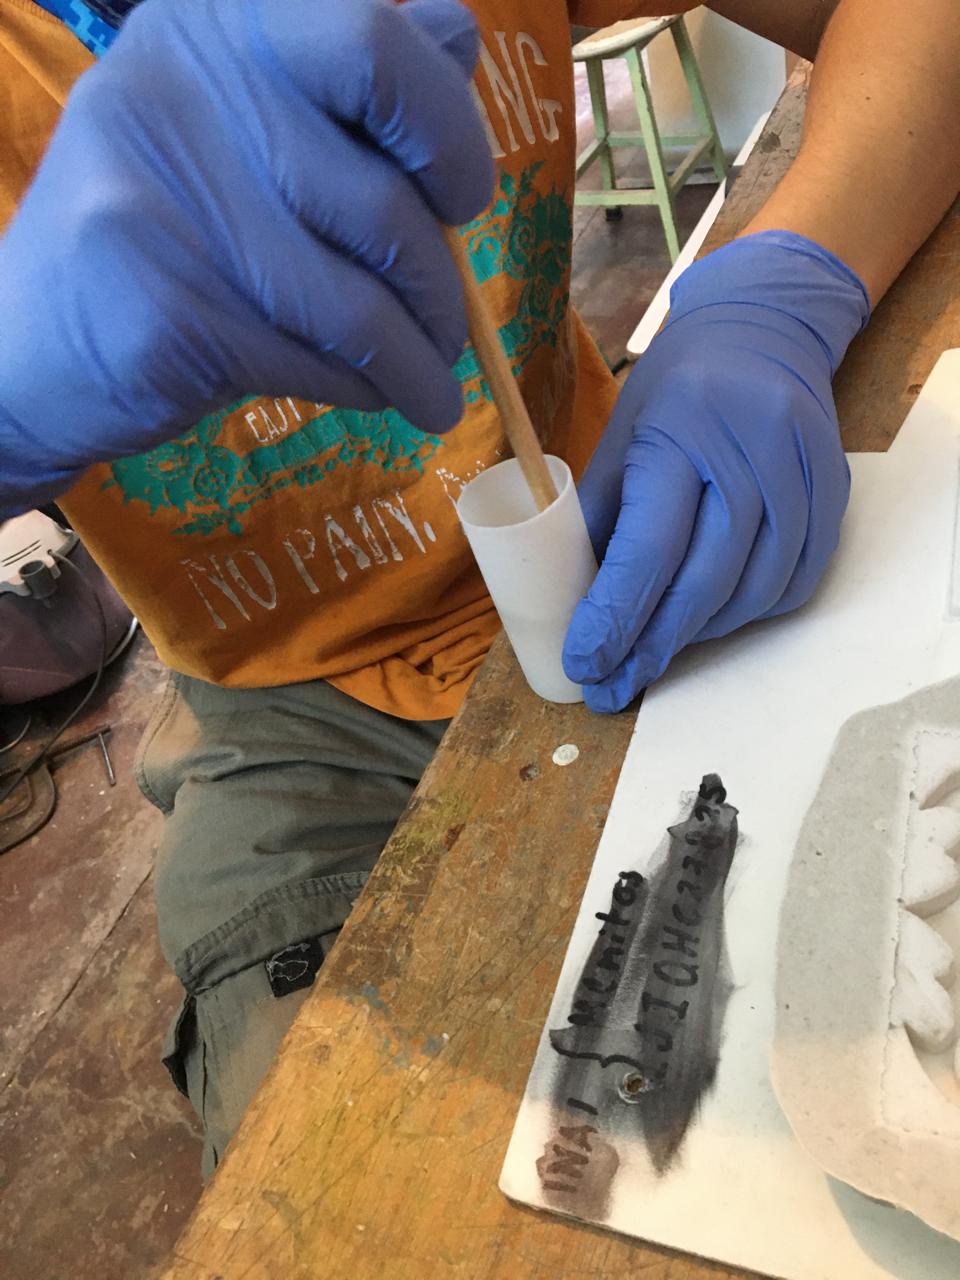
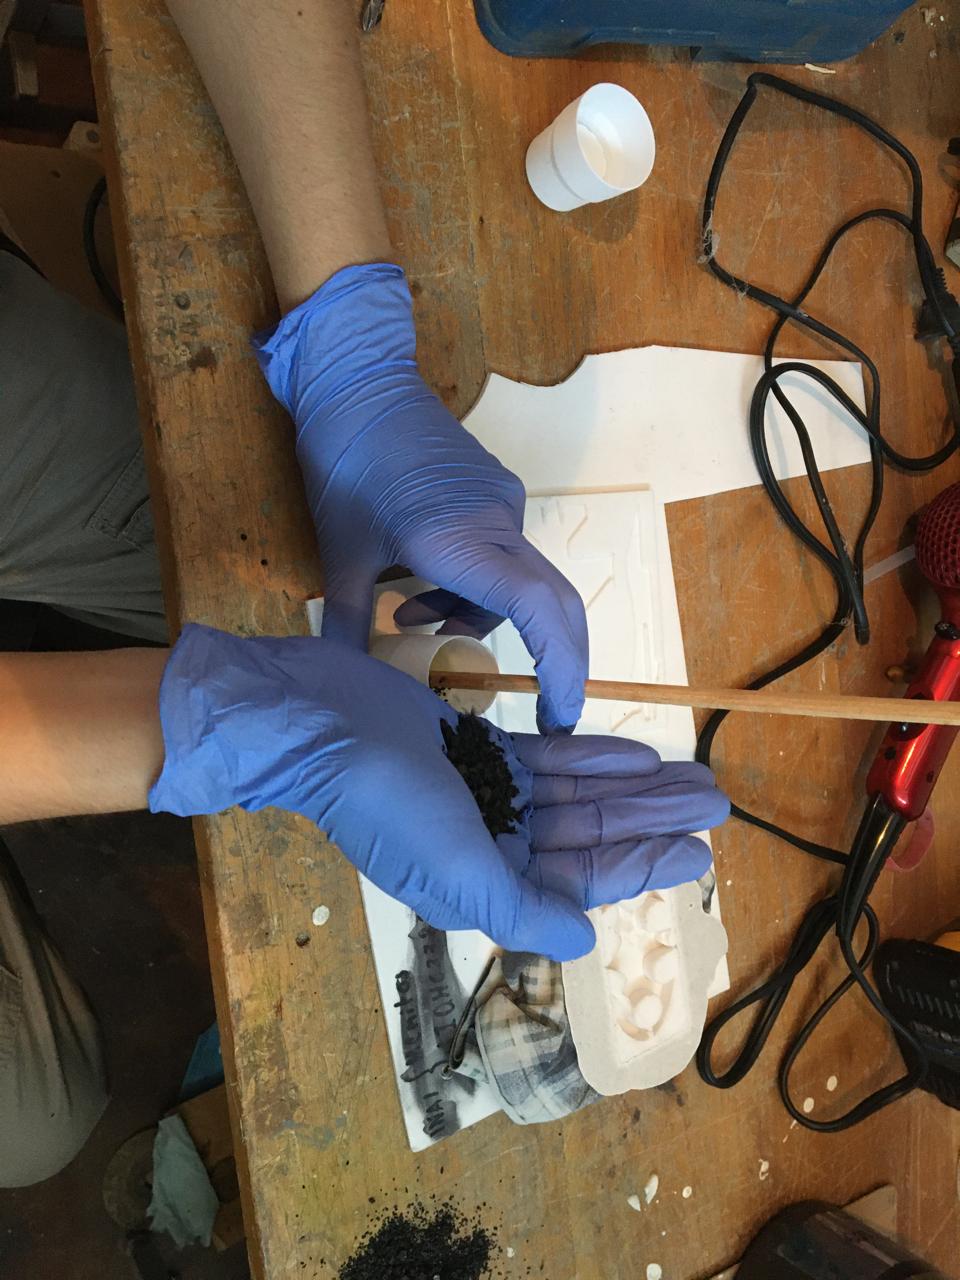
The epoxy resin needs to be stirred for about 5-10 minutes vigorously, any coloring powder can be added to the mix, in this case I used charcoal to give it a black tone.
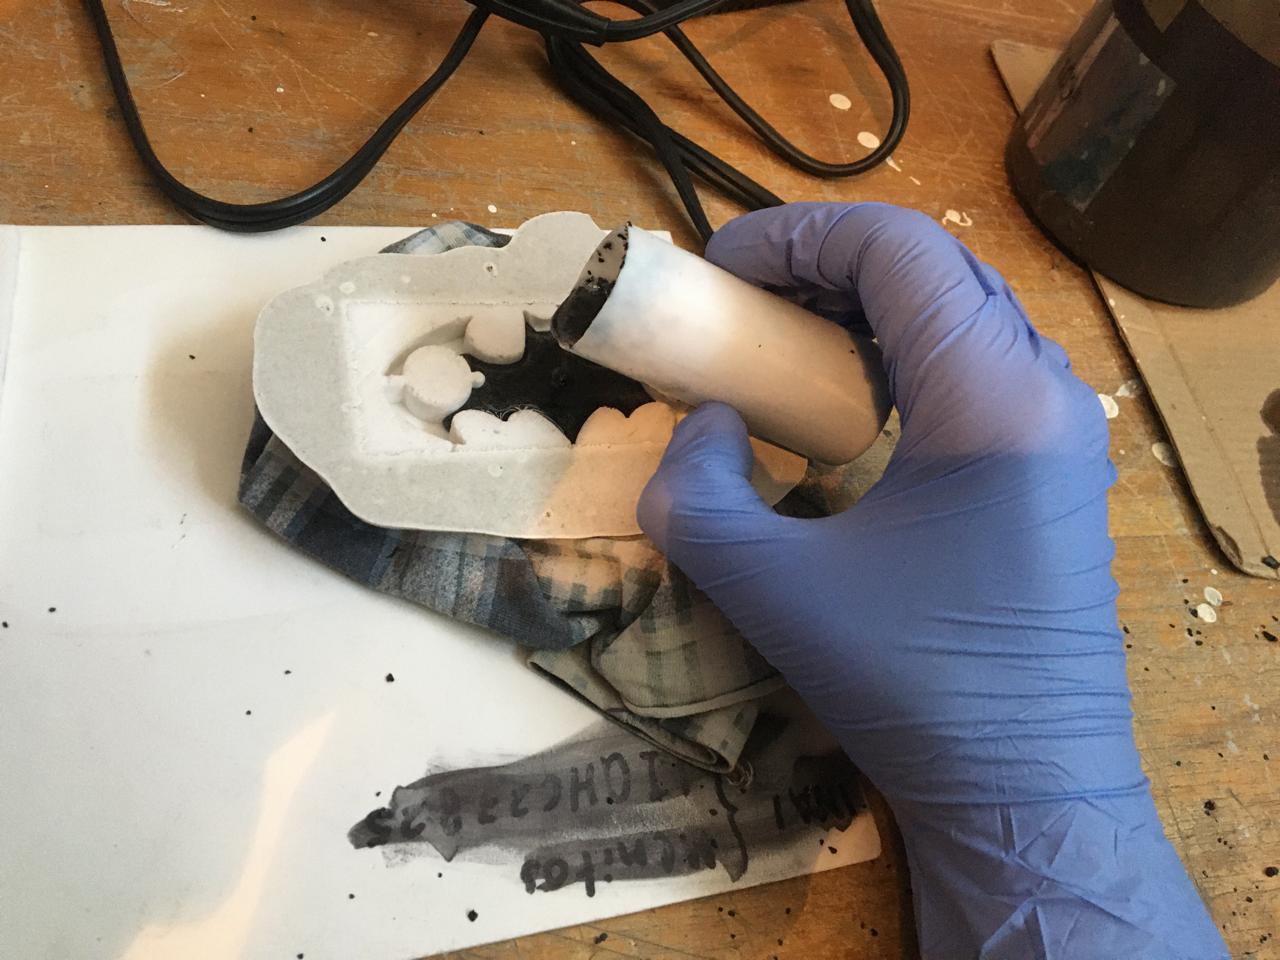
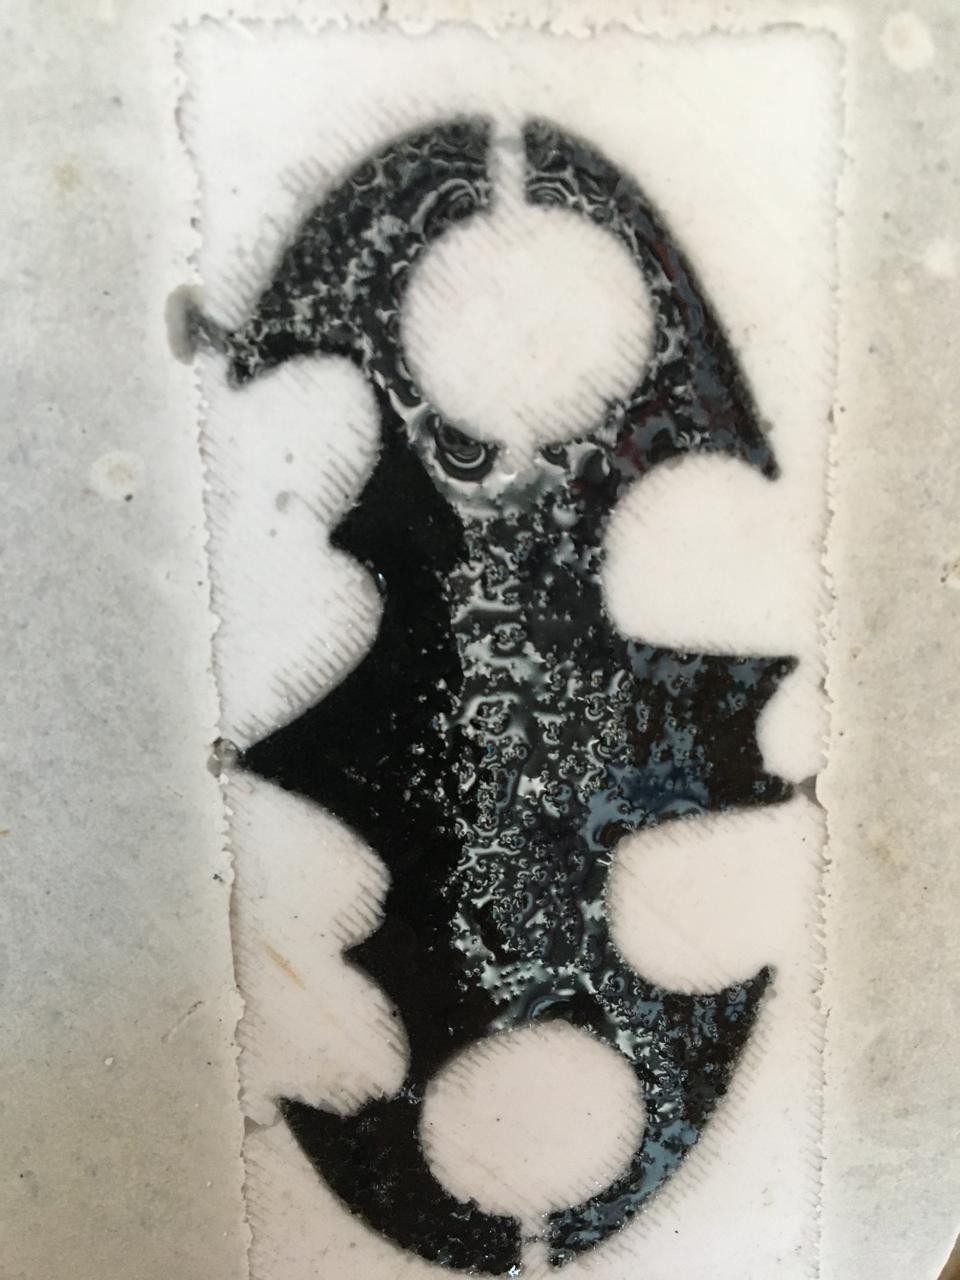
After letting it dry I demolded it and this is the resulting piece.
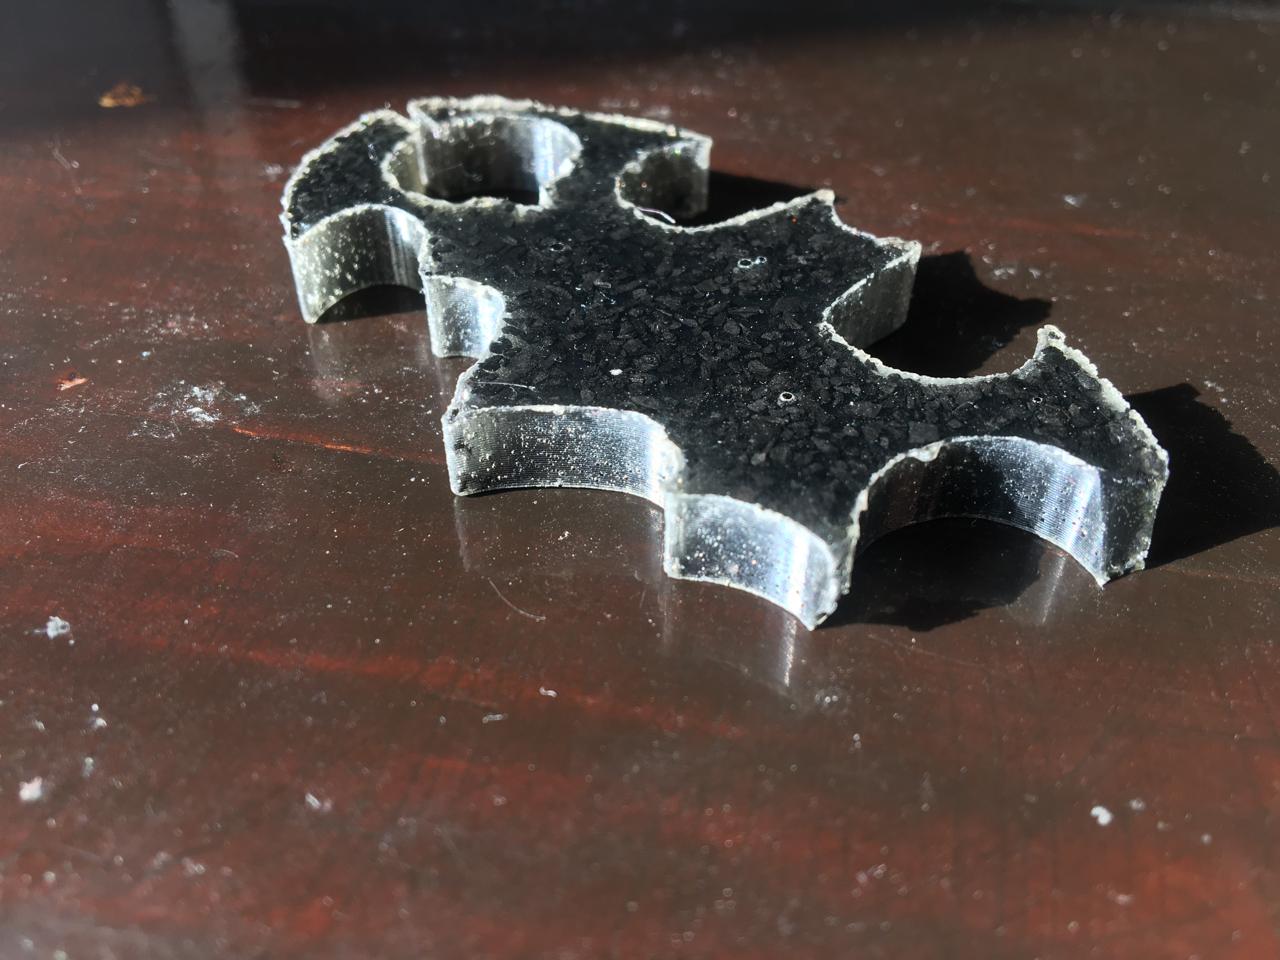
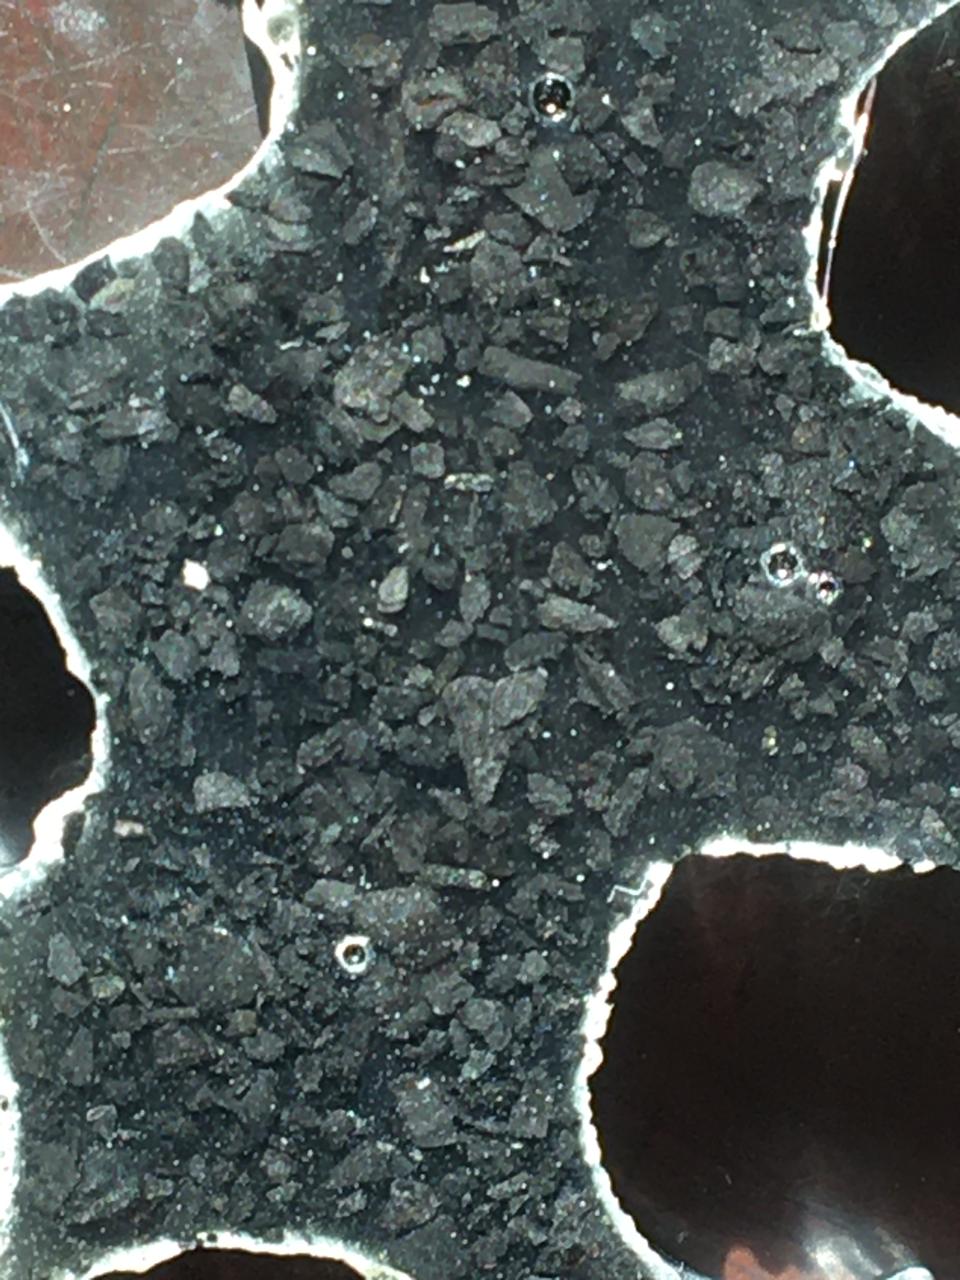
Here are some close-ups of the final piece, it looks a little rocky because of the charcoal, at first I pured too much resin and it needed some sanding, but even on the places where the mold wasn't well sanded the pieces look good.
Observations
I removed the burr with a sandpaper and I will polish it latter but the surface is really smooth and shiny as it came out. This was a bit of a failure because of the post processing, in order to make this better, the counter-mold should be sanded thoroughly.