4. Electronics production
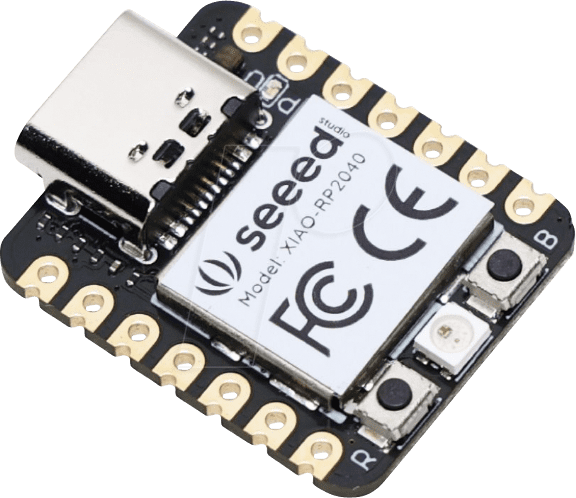
For electronics production we used a phenolic plate with a SRM-20 to mill a circuit that was designed by our instructor Oliver. Afer that I soldered the components and mounted a XIAO-RP2040. The software used was VPanel.

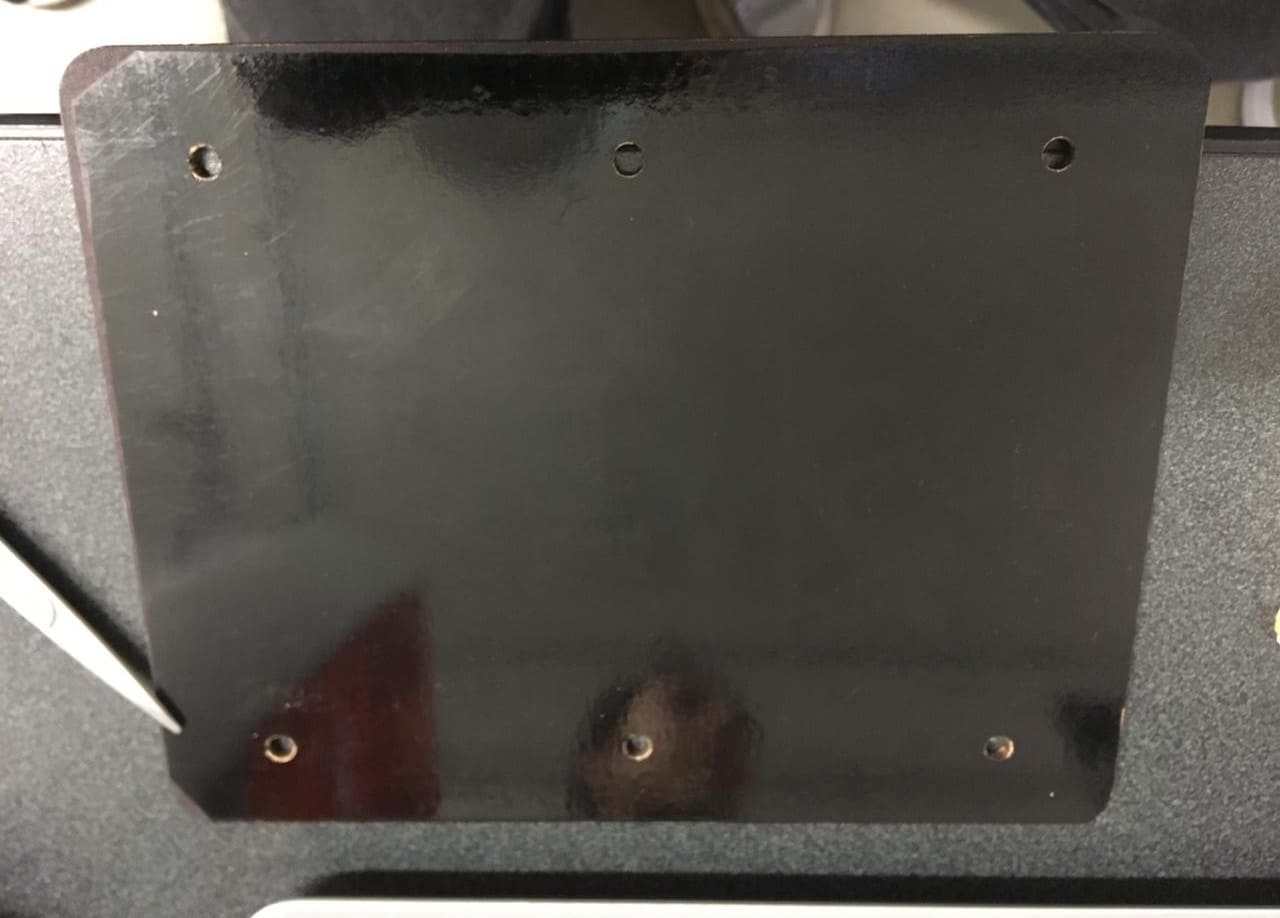
First I downloaded the files from our group assignment page: Week 4 Guide Ibero Puebla Fablab, one is for cutting the edge and one is for milling the inside. To do this correctly first the inside must be milled and then the edge cutted. I also made a sacrifice plate so the bed of the machine doesn't get damaged in case the blade cuts through the phenolic plate, I pasted some vynil on the plate so i can reuse it more times.
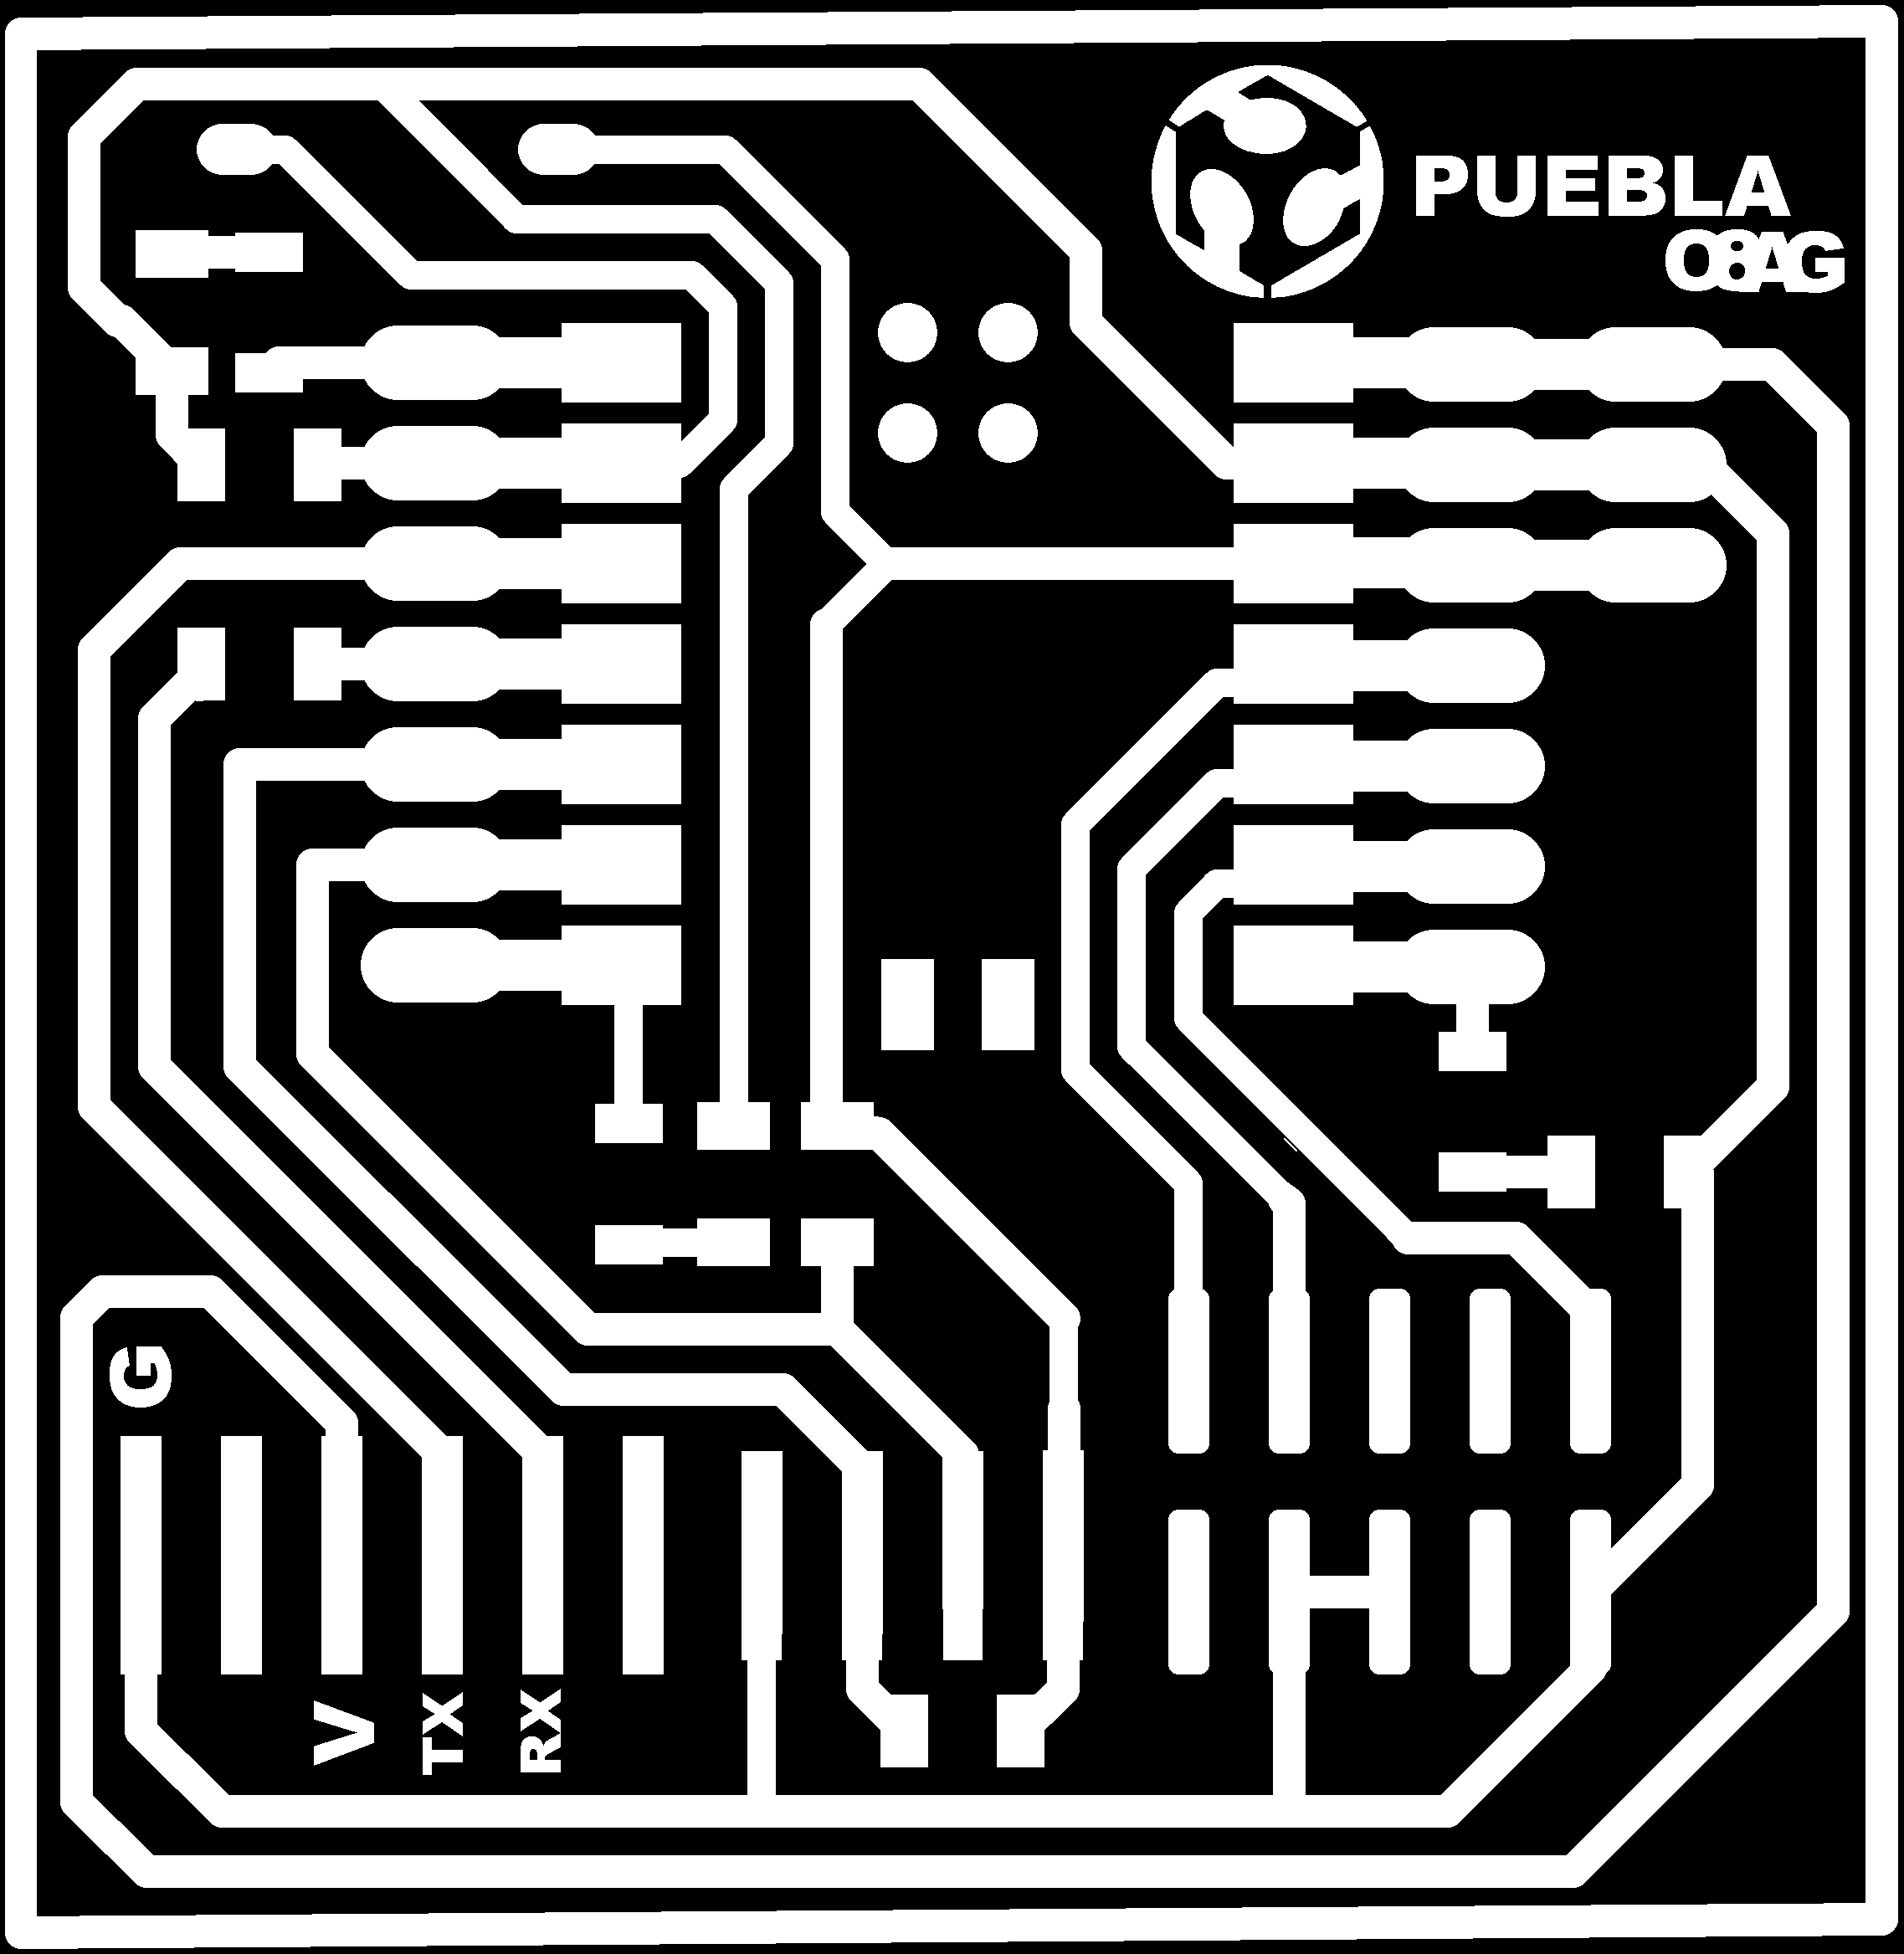
Click here to download the exterior cutting image and here to download the inside milling image.
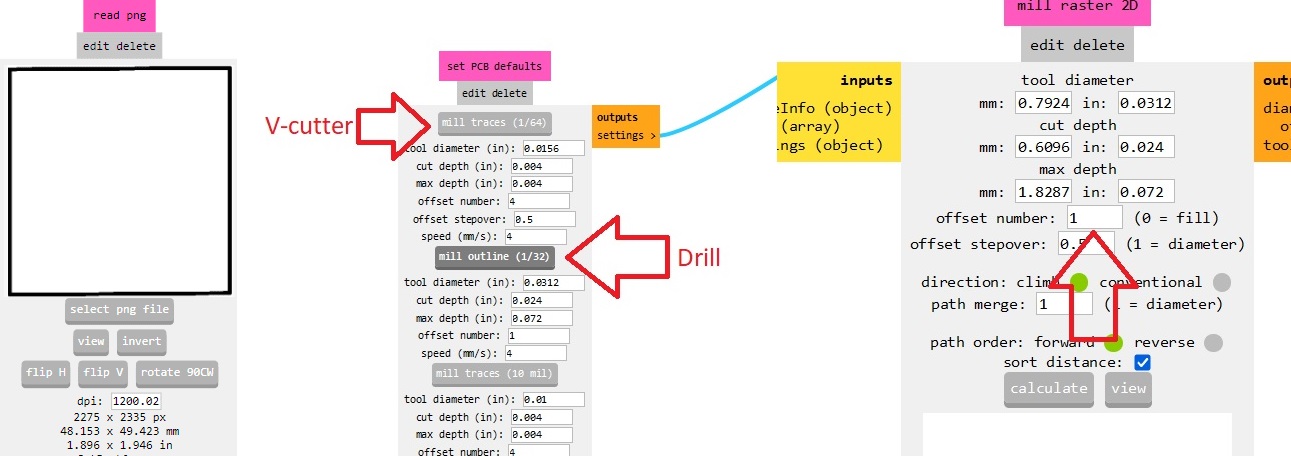
Then go to the mods CE website, to generate the .rml files. The path followed for the machine in our fablab was programs> open program> Roland > mill 2D PCB.

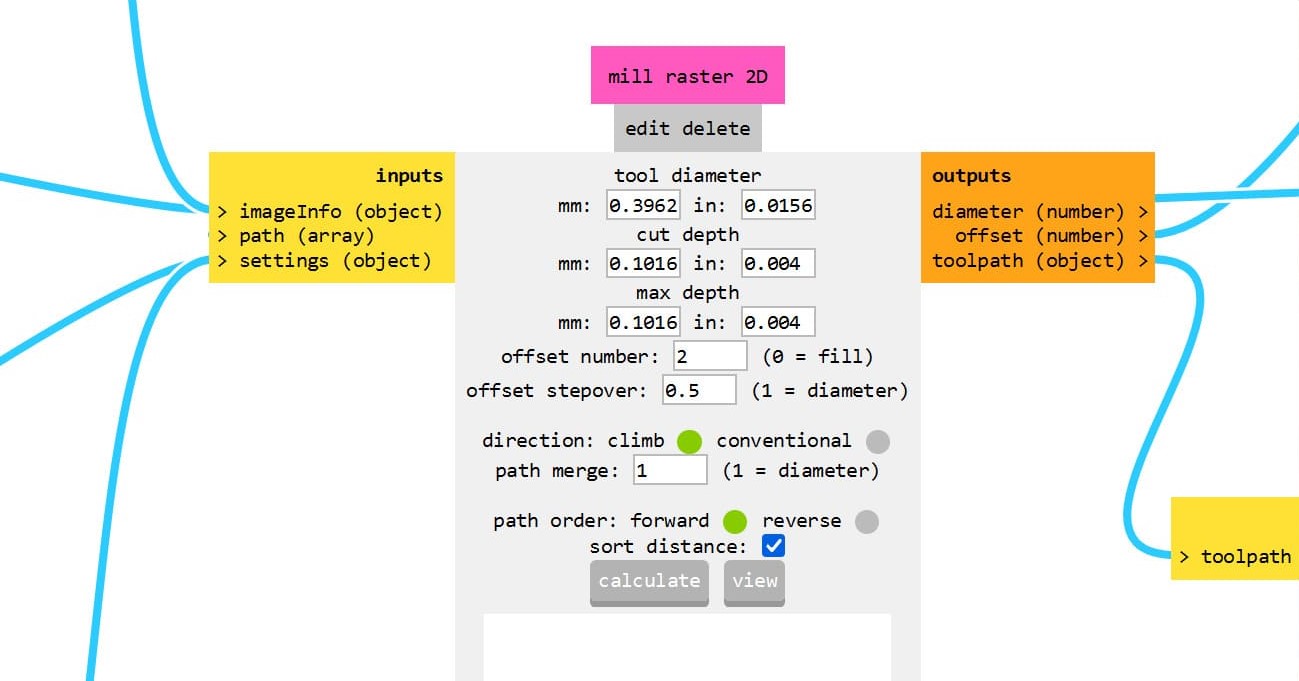
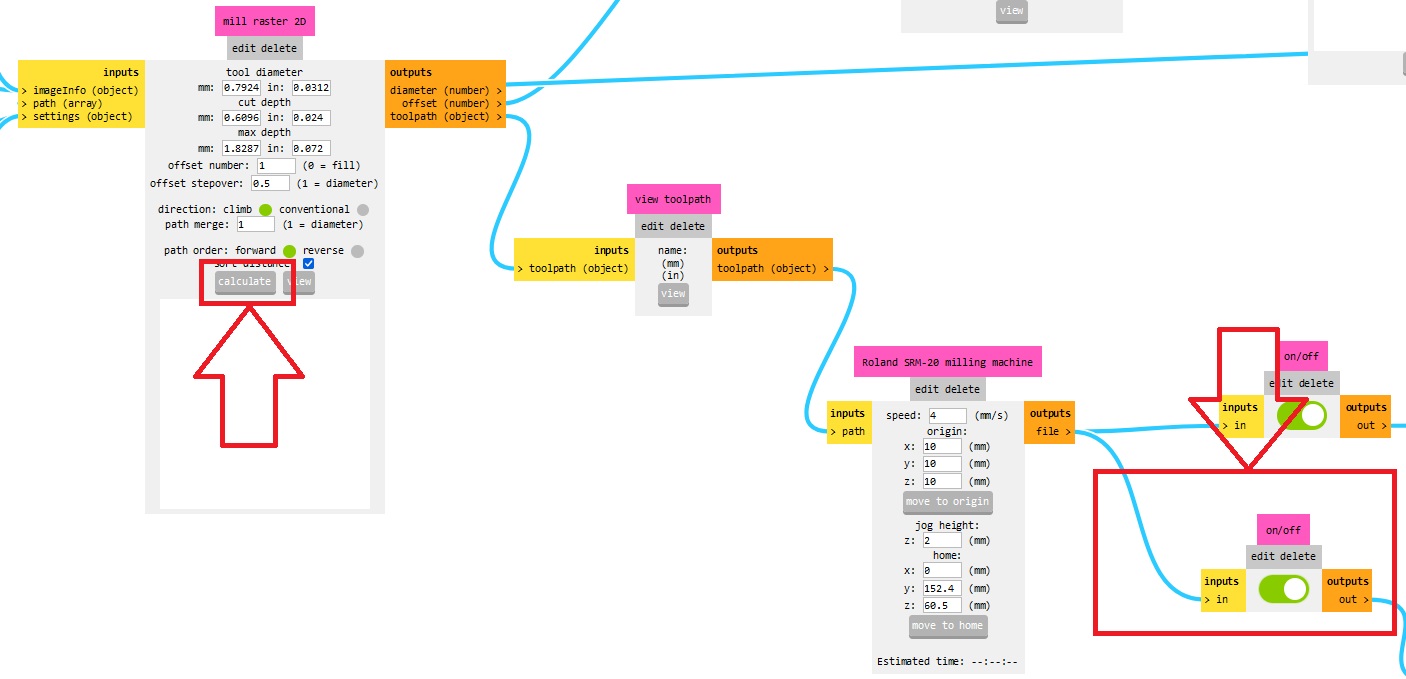
To mill with the V-cutter for the inside some parameters must be set (offset number = 2).
First, load the file, it's important to note that when using the V-cutter, the parts that will remain uncut are the white ones, so our image should look like this:
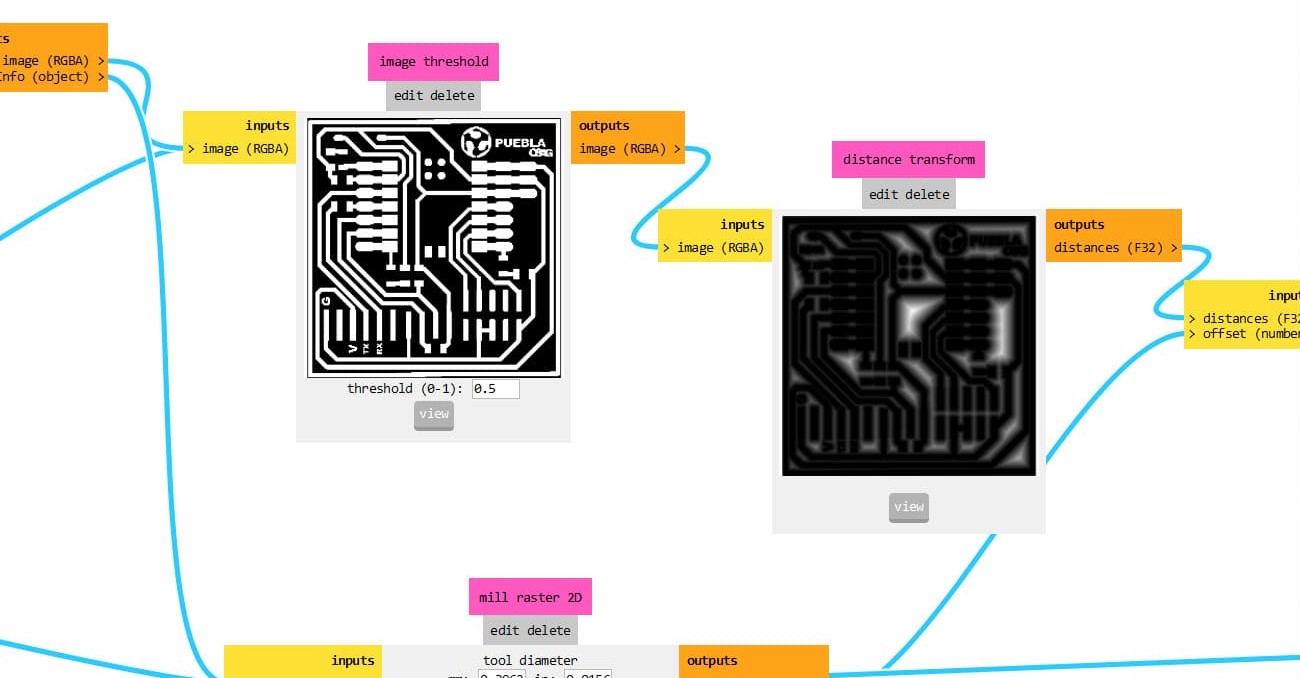
In case they aren't you can always click on invert on the input boxes to invert the colors.

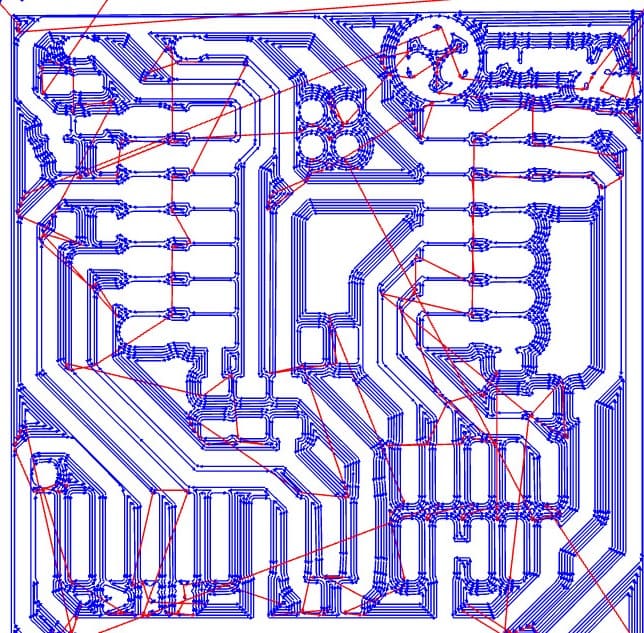
I tested a few options on the offset which is the times a tool will go through the path and ended up with 2, here you can see the differences on the milling path, the thing is if the cutter does it too many times it takes off a lot of the copper and leaves the tracks to solder too thin which is not desirable.

You must also make sure the origin is set to 0 on X, Y and Z otherwise your file will start on different points than the ones you set with the VLM software.

To save the file make sure the box on the right is on (green) and press calculate, the file will be automatically saved and shown on another window in your browser.
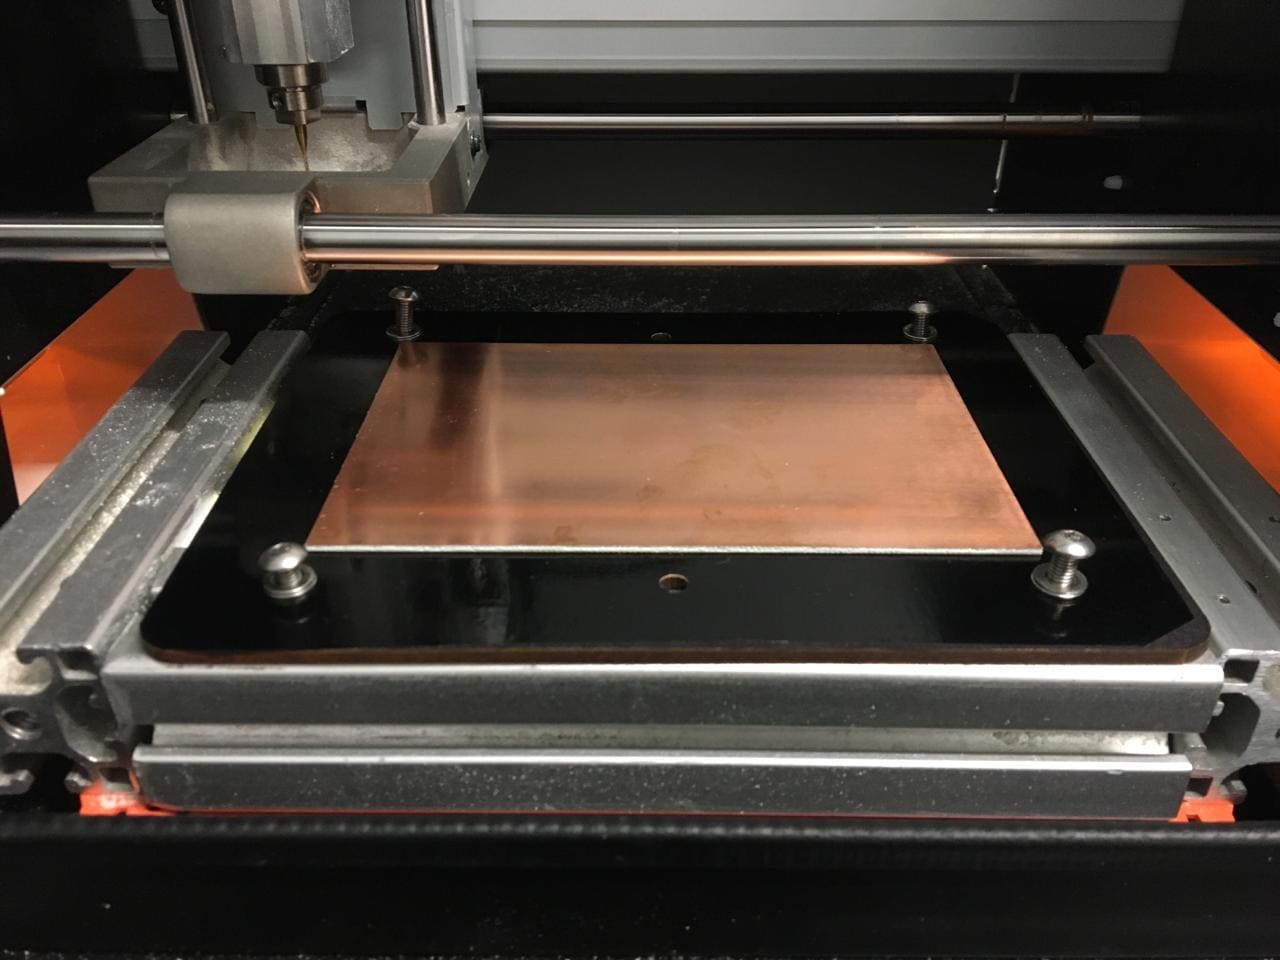
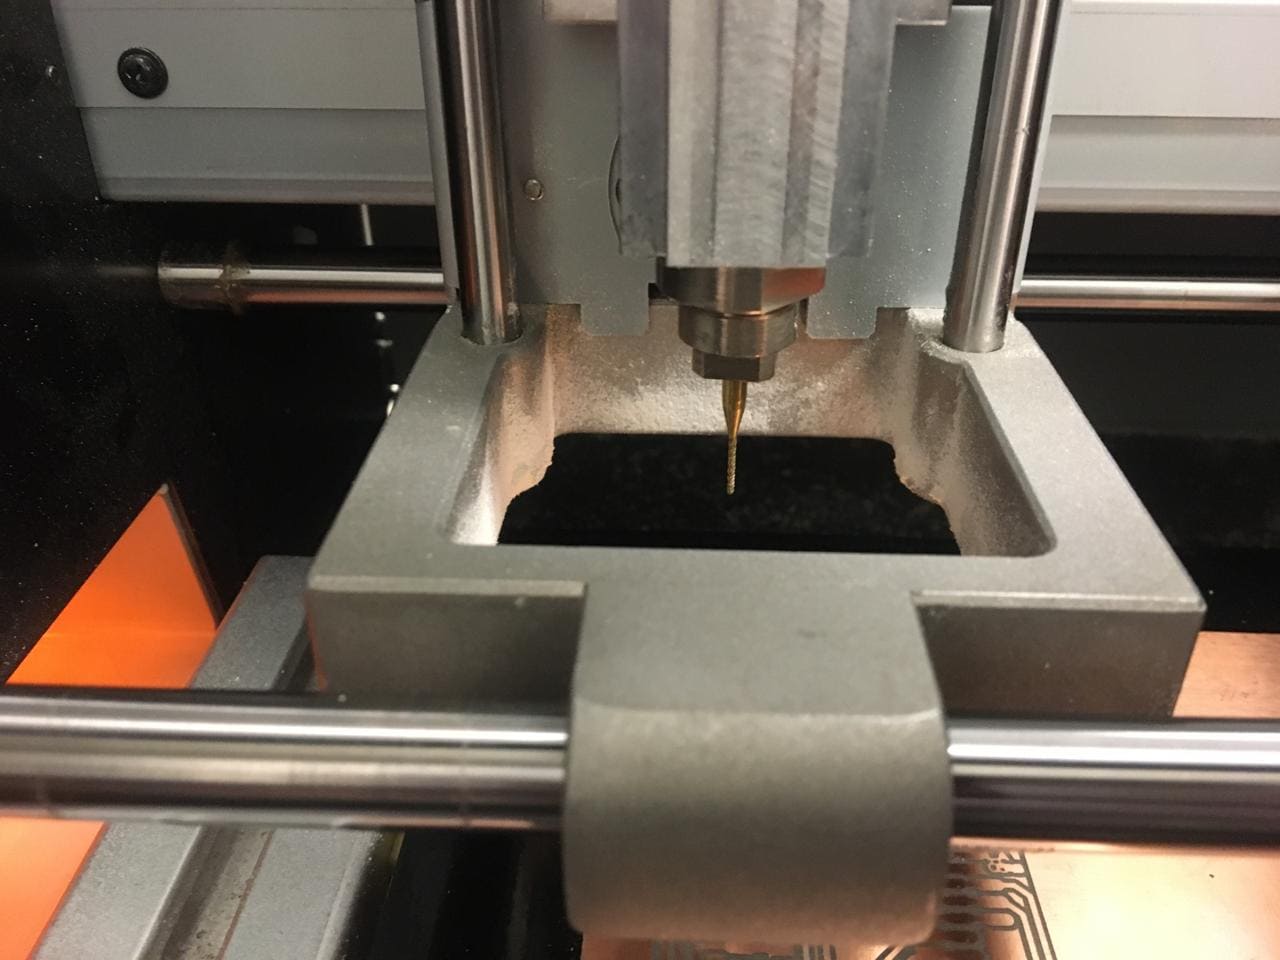
On the machine the first thing is to place the v-cutter on the tool flange. After that set up the phenolic plate on the sacrifice plate with double-sided tape and screw it on the bed of the SRM-20.


Then connect the computer and open the VLM software I definned the origin, where I wanted the machine to start cutting. Here is an image of the main window of the software with the controls, that are used in the following pictures.
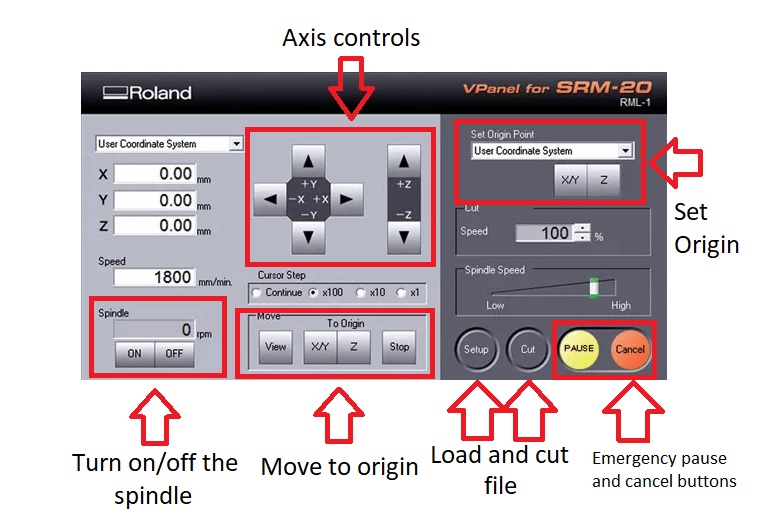
For the Z axis I used a post it and tried to move it to see if it made a little preasure I removed the post it, stablished the origin and started the spindle, then I made a little cut lower the Z axis to see if it works.


Then in the VLM software click on cut and upload the file, the machine will start cutting.
After the inside milling is done swap the tool and upload the other file to cut the outline.
To create the second file a few parameters must be changed on the mods website. To do this after uploading your outline file, make sure the path the tool will follow is black, then click on mill outline on the tool selection to use the drill and finally check the tool parameters are changed and click on calculate.
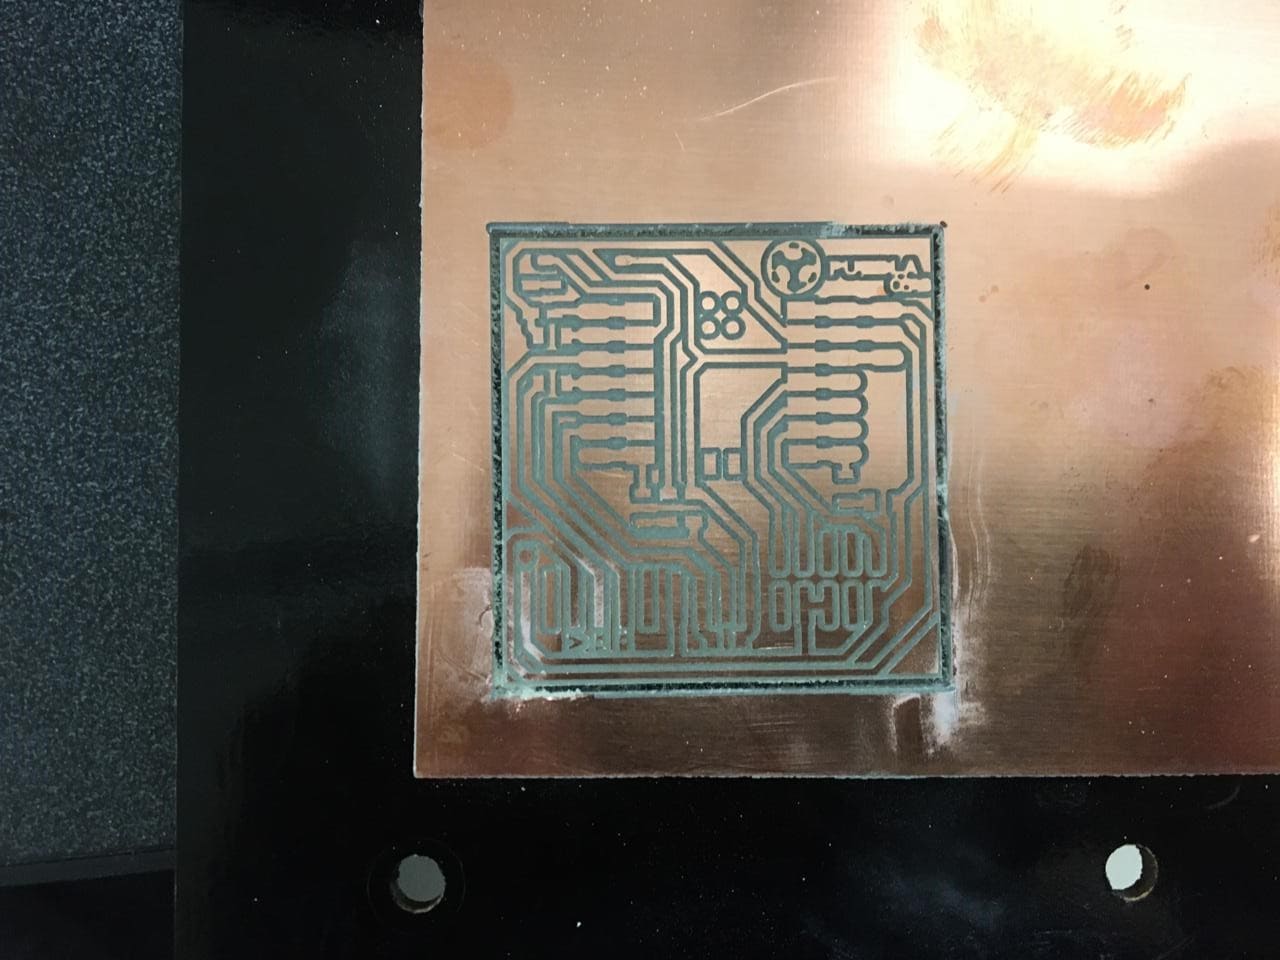
When the second file is done executing lift up the lid and take off the plate from the machine, air dust it and get the components, a couple of resistors, leds, pinheaders and a push button will be needed.

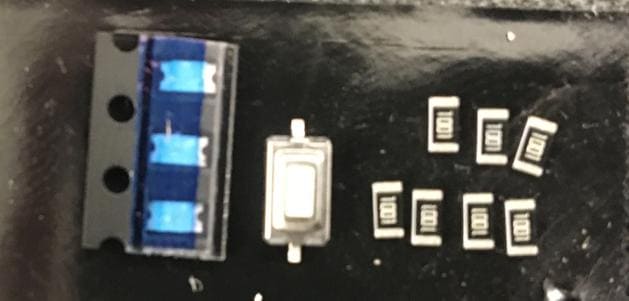
Check if the components work correctly with a multimeter. Solder them and you can check with the multimeter again to see nothing is burned and everything is connected.


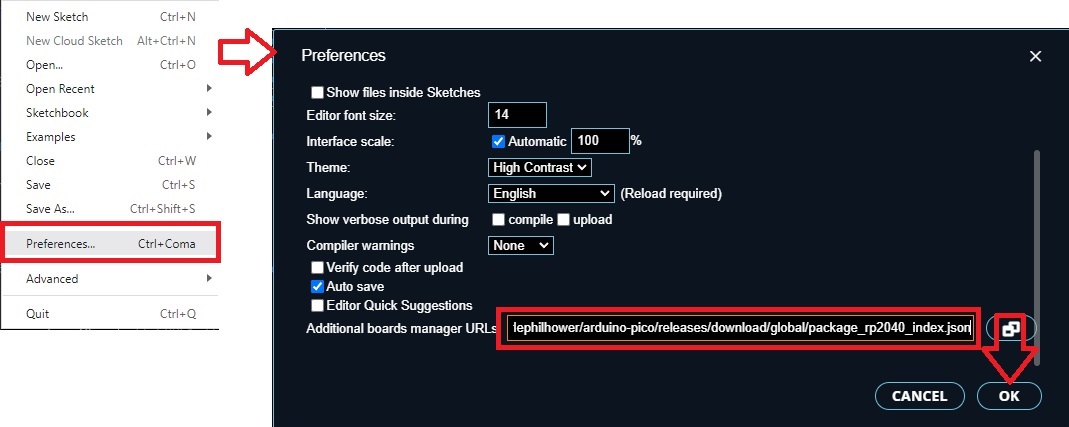
To program on the Arduino IDE go to Files > Preferences, on the Preferences window scroll down and paste this: https://github.com/earlephilhower/arduino-pico/releases/download/global/package_rp2040_index.json, then click OK. This will enable the Arduino IDE to handle and program this board.
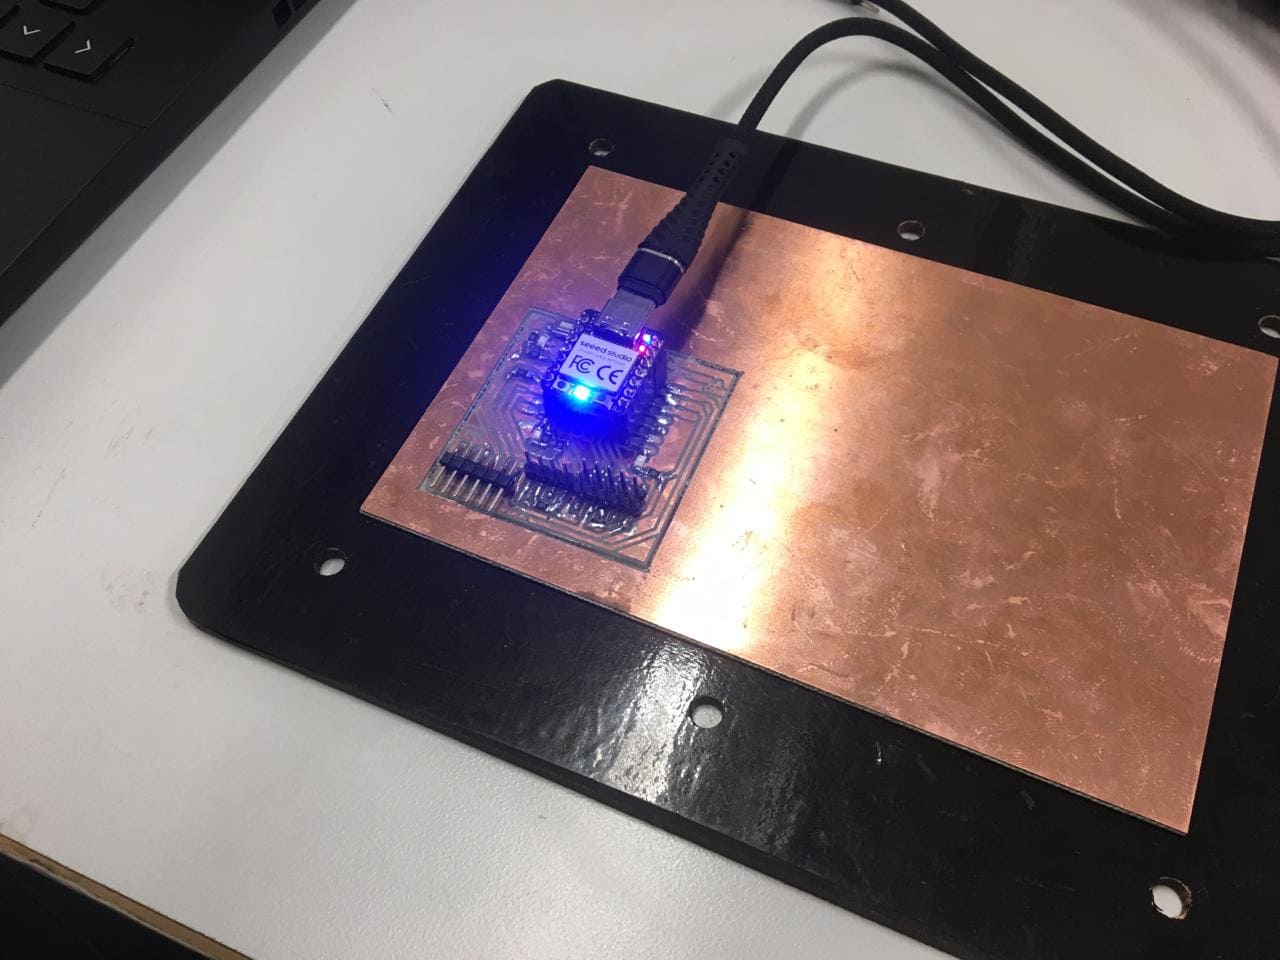
Afterwards plug the XIAO onto the computer. Once is plugged a blueish LED on the board should turn on, if it doesn't disconnect rapidly and check your connections and soldering.
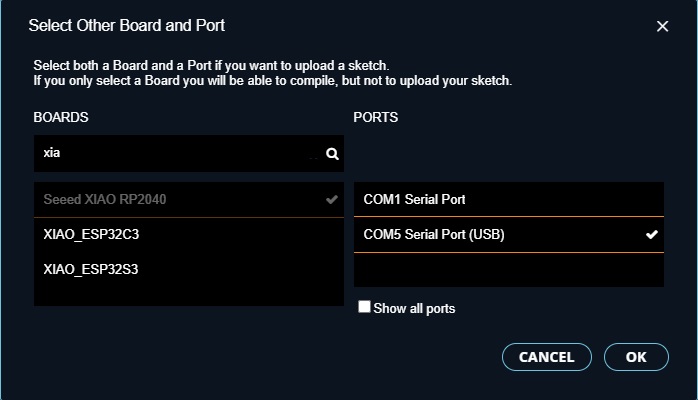
To upload the code first click on the Select board box and look for your board and port (sometimes it's automatic) and press OK. Then on the arrow pointing to the right click to upload.
You can click here to download.
Finally I tested the project and this is the result: