1. Project management
This week I had my first approach in a very long time to html so I could create this site. I believe my notes functioned as a tutorial, I'll write it right here.
How do you make a repository?
The first thing you have to know, is that the apps and sites I used are: Git CMD, GitLab and VS Code. It is necessary to have both because Git will allow you create a repository and VS Code will let you edit the files in it
- First thing I made was to create a folder, with a name I'd know would be easy to track on my files. My personal reccomendation is that you place it on your Desktop.
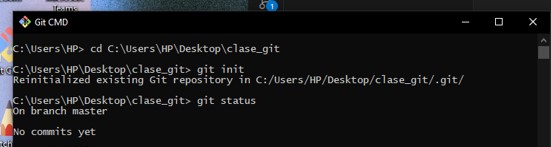
- Then I opened Git CMD It appeared as a black screen where I could start using commands. To turn the previous folder into a Git repository It was necessary to look for the folder first. I started by copying the adress folder, which appears on top of the file browser.
- Then I wrote the command “cd” on Git, followed by pasting the folder adress and pressed “Enter” next.
- Once I had it that way I wrote the command “Git Init” and “Enter" again. Now it was a repository, but was not online yet.
- I created a new folder during the weekend, where I added a html template and some documents provided by professor Rafael Aguirre from my local FabLab.
- Then I cloned the folder thad FabAcademy created with my name in GitLab . To do it I copied the second URL from the option “Code” at my Gitlab site.
- Then I pasted this HTTPS link on the Git CMD app, after opening the folder I had on my Desktop (following the step #2 from the last list).
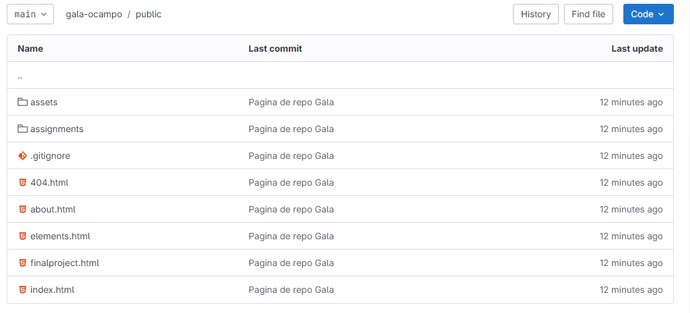
- Next I reviewed the content on the folder with my name, It had a Readme , a Yml file and a folder named public , so I replaced the “public” folder with the one that included my page and documents.
- After that I had to follow the Git process to add, commit and push the changes , still on the folder at Git CMD. The process goes this way:
- Git add: First you write “git add”, followed by the name of the archives you want or after “.” If you want them all.
- Git commit: There you have to write “git commit”, followed by -m “The name of the commit". This allows you to pack the changes together and works as a “checkpoint” for the versión of the archives included.
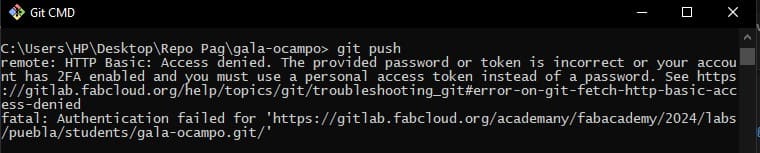
- Git push: Finally, you write “git push” to send the changes to the online repository you cloned before. This required me to log in to the Gitlab by opening a window that asked for my user and password. After this, it took some seconds to process and then the Git CMD app showed me that it was succesful.
- I repeated step #5 each time I had enough changes to show. Nore: In case I wasn't sure about what part of the Git process I had already done, I typed the command "git status" so Git would tell me itself
- It appeared this way, with the name I assigned to the commit proving there were the changes (In my case I called the commit “página de repo Gala”).
- To start, I worked from VS Code by opening the folder with my name, then also opened the Html file preview on my browser, so I could visualize each change.
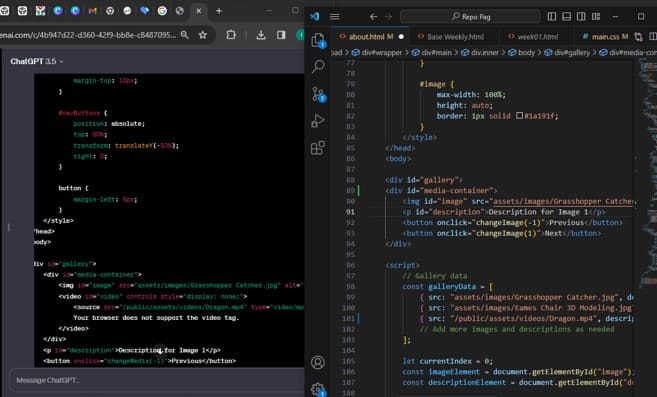
- Then I checked what I had on the template, there were already some pictures that I could replace with my own, so I kept the same format for some things. To add images I just downloaded a picture of mine and edited the “src” with the name of my file. This worked fine to place pictures and videos. Using the img and video tags.
- To know what part of the code belonged to each specific section, I used the right click of the mouse over the item I was looking for, and then clicked on Inspect
- That way I noticed that the size of the pictures I had already changed was not working because of the Class they were using, so a teacher helped me to check it by looking for a reference through the template and fix size and position by using the Style and Class tags.
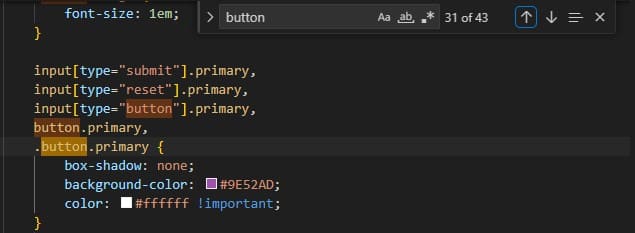
- To change colors, styles and clases, I created a pallete and found each element I wanted to modify by typing ctrl+ f follower by some keywords on the css file . Then I kept changing things based on trial and error.
- Important: You have to save the changes on VS Code Before trying to commit anything. I also recommend to do it on each page you may have independently open on VS Code.
- What CRLF and LF mean: I tried to make a commit by myself to test If I had understood the right process, but a strange message appeared when I tried to, so I ended up asking google what it meant. Then I realized those leters stand for different “end of line sequences” And that Git will choose what it thinks will work best.
I thank for the information to
Stack Overflow
- I got this message from something about tue css file, so if you recieve this message as well, let it be, then change the “end of line sequences” by clicking on the lower right of your VS Code app and it will show you both options so it doesn't bother you in the future.
- Changing your password may not be always the best idea: When I tried to push that first commit by myself, I forgot that I had changed my password on the FabCloud site , so Git didn't let me do it. Of course I panicked, but I remembered and tried to log in again. Since I had forgot the new password, I decided to skip all the trouble and just reset my password to the original one. Thankfully it worked!
- It's ok to ask: I was a little some things I had never seen or done through the making of the ”About” section of my page, but I realized there many sources to reach out for answers so I asked. From classmates, teachers and I even asked ChatGPT to help me understand the html code better, I even got a template from Chat GPT that I edited to create my portfolio gallery.
- It's also important to mention that even if it seems easy, is not exactly a copy-paste, since you need to understand what are you adding and deleting, so you can customize and solve problems on your own. Also, there are some things only you will know how to change from your code because you created it or most of it.
How do you clone a repository?
Since FabAcademy creates you a webpage, you need to link it to the folder you already had. So, I only needed to clone the repository. That way the changes will show online

How do you build the page itself?
This week I altered the content of the template I was given, to turn it into something more personal. To help me do this I altered things such as the "main.css" file, that was inside of the folder i had.
Important: If you want to add media, a different .css or file, it has to be inside of the folder that contains the Html for your page, if not it won't show propertly. To personalize/ add files to my page:

Some things I learned...
Since I've never been familiar with either coding or html design, there were some moments where I didn't know how to solve problems or create what I wanted, so here are some things I learned/ used that really helped: