17. Applications and implications
During this week I had to think about my project beyond the concept itself. It required me to review other people's work, think about the components, my role in designing, timing, materials, cost, among others.
What will it do?
The final product will consist in a flower lamp that blooms after certain time, lifting a mechanism that opens it's petals as it slowly increases intensity of light. This will be controlled by a motor that makes the flower stem to raise and lower. Also, the timelapse between blooming will be controlled by an app where the user can select a Pomodoro to focus and when time is over, the lamp will provide visual input to take a break.
Who has done what beforehand?
I can separate the references in two types: the ones related to the mechanical flower desing and the ones that are associated with focus. There are plenty mechanical flowers examples, most are mainly decorative and have different methods to open the petals.
| Name | Description | Design | Video |
|---|---|---|---|
| Ever Blooming Mechanical Tulip | A design made by Jiri Praus, this is a lamp with a wire structure that opens and closes using touch sensors. | 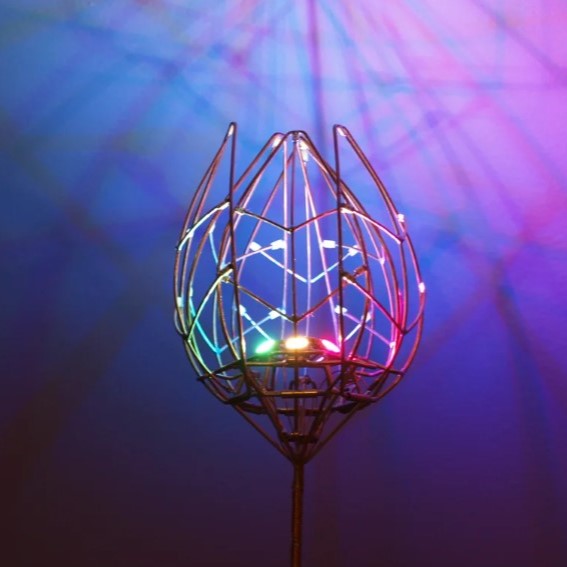 |
|
| SMA project: Blooming flower | A design made by Jessie Thompson,This flower uses curling mechanism (sewing flexinol wire to paper). Its petals curl back when the flexinol is heated, allowing the flower to bloom when it is activated. . | 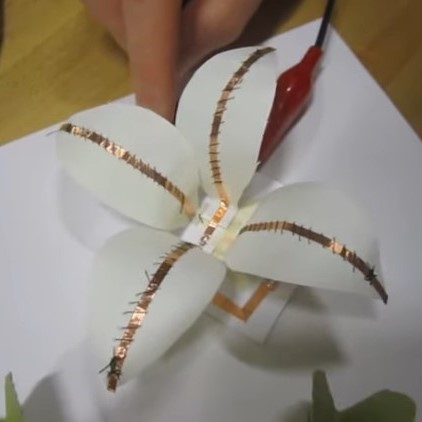 |
|
| Blooming flower decoration | A design made by Lanshowcase. This flower is much larger and uses organza to show the petal structure instead of single petals. It blooms as it detects proximity and also has light. | 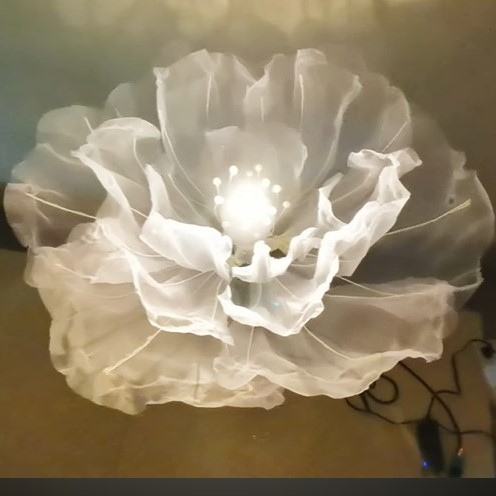 |
What will you design?
Mainly, the mechanism for the petals opening. Including everything related to hiding and integrating the systems in a discrete way:
- The Stem
- The sepal
- The petals
- The vase joints
Also, I will design the electronics in a way the PCB can be aesthetically pleasant and can merge with the main design of the flower.
- The Main PCB (to control everything and connect to power)
- The secondary PCB which may work as a bulb
And I will design the app too, considering the user interaction and the needs he may have.
- Visual interface
- App and functions
What materials and components will be used?
| Material/ component | Purpose | Picture |
|---|---|---|
| Resin | To make the cap for the simulated light bulb and parts of the vase. |  |
| Fabric | Both: Tule and Organza to make the petals. | 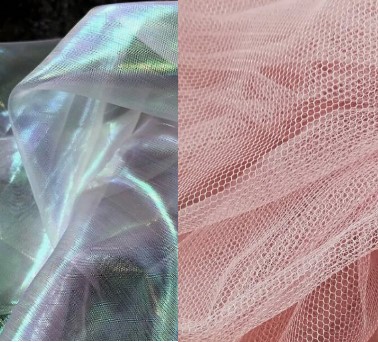 |
| Servomotor | To move the stem up and down. |  |
| Jumpers | Male-Male and Female- Female, to connect the boards. | 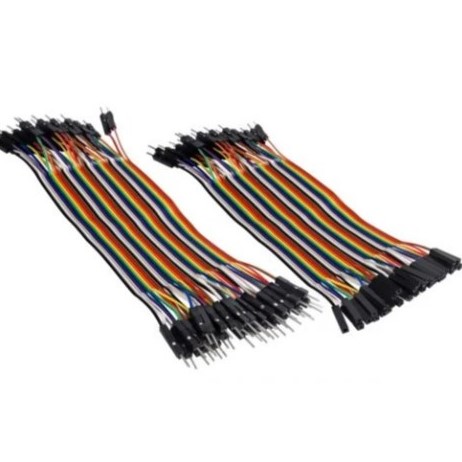 |
| Copper board | To make the PCB for electronics. | 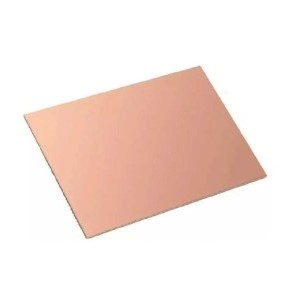 |
| Resistors | To solder before an output and control it's reaction. | 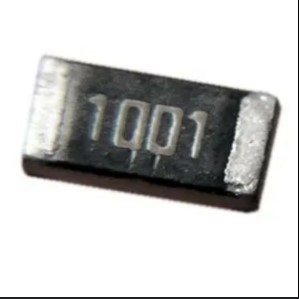 |
| Neopixels | To light up as a light bulb and react to the app settings. |  |
| Attiny45 | As the microcontroller of the "Bulb" PCB. | 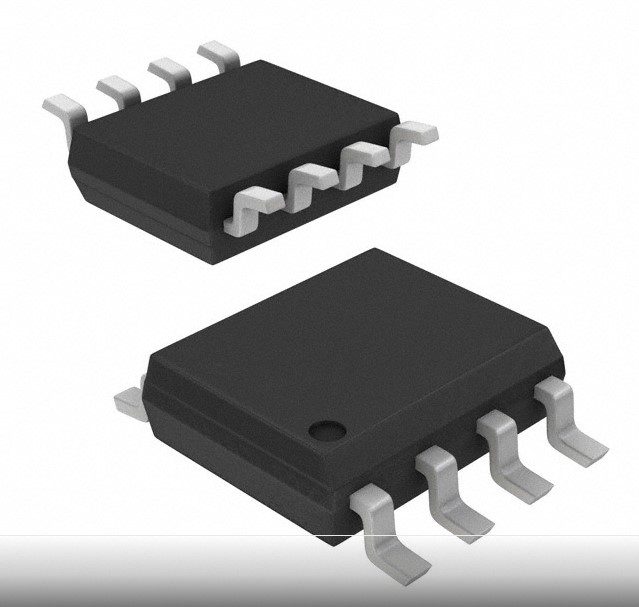 |
| ESP32S3 | As the main microcontroller of the main board. | 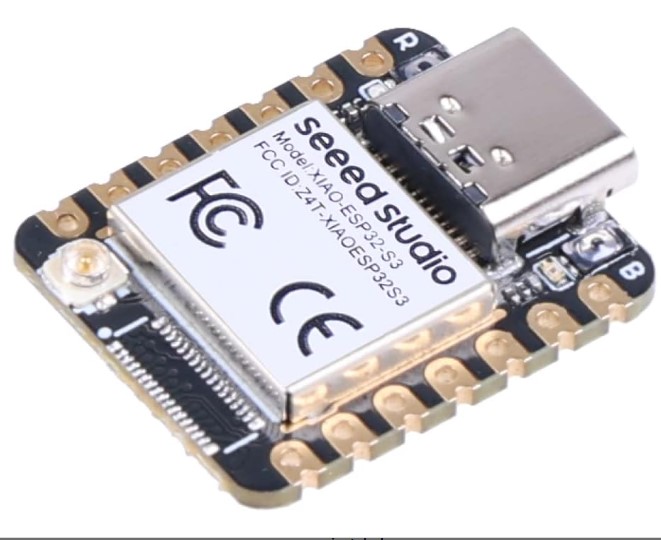 |
| Male pins | As the joints between boards. |  |
Where will they come from? & How much will they cost?
| Name | Source | Price (MX pesos) |
|---|---|---|
| Resin | Lumen . | $107 |
| Fabric | Parisina (Tule) Shein(Organza) | $78 |
| Servo | Steren . | $59 |
| Jumpers | Steren . | $69 |
| Copper board | Steren . | $29 |
| Resistors | FabLab Puebla | N/A |
| Neopixels | Mercado Libre . | $25 (each $2.5) |
| Attiny 45 | Mercado Libre . | $30 |
| ESP32s3 | Amazon . | $481 |
| Male Pins | Steren . | $5 |
| Total: $863.00 (Around 47 USD) |
What parts and systems will be made?
As it seems, the project can be divided in three big sections: Mechanical Design, Electrical Design and Programming.
- Mechanical Design: Includes the system to move the stem up and down, the sepal and inner structure to allow movement, the pieces for the petals, the design of the axis and vase
- Electrical Design: Considers everything related to PCBs, pins position, component location and choice on the board and wring.
- Programming This contemplates from app and interface design, communication between boards and output modules function and control.
The pieces that have to be made by me, instead of buying them are important because they will allow me to have control above the measurements and result. The most important are:
- Petal holder
- Petal shapes
- Mobile stem
- Sepal
- Resin Cap
- Bulb PCB board
These are also recommended but not mandatory by my own parameters, since it can be more practical to buy them
- Vase
- Servomotor arm
- Rigid stem
What processes will be used?
As an ideal variety I propose:
- Laser cut
- 3D Design
- 3D printing
- 3D scanning
- Molding and casting
- PCB Engraving and cutting
- Soldering of components
- Programming
- System assembly and Packing
- Interface Design
What questions need to be answered?
I believe most questions are related to connecting everything and making the movement smooth. The main ones are:
- How will the petals open and close?
- Which mechanism will allow the stem to move within the servo?
- What's the maximum sixe of the neopixel PCB to keep proportion?
- How will the main board attach to the base?
- Will the app connect via bluetooth to the PCB, via wires or Wifi?
- How will I hide the wires?
How will it be evaluated?
Considering the main purpose of this project, the key tasks that have to happen to consider it succesful are:
- Smooth mechanical movement of the blossom
- System integration that stays packed (aestheics are key)
- Reaction to the app (some sort of interaction the user can control)
- Visual presence of light (The neopixels have to work as expected and still shine through the resin cap)
Workflow
| Day | Task |
|---|---|
| May 22 & 23 | 3D Design and Mechanical considerations for the Sepal and stem. |
| May 24 | Piece scanning, molding. |
| May 25 | Casting, Electronics design |
| May 26 & 27 | Printing, testing and cutting the petals. |
| May 28 | Electronics production of the bulb, soldering and testing. |
| May 29 | Programming the bulb and electronics production of the main board. |
| May 29 | Programming the output devices (servomotor) and vase crafting. |
| May 30 & 31 | Testing mechanical design and assembly of everything mechanical. |
| June 1 | Soldering main board and making corrections to the bulb board. |
| June 2&3 | Wiring and programming the communications between boards. |
| June 4&5 | App and interface design. |
| June 6 | Assembly and laser cutting for extra pieces. |
| June 7 | Poster and video making. Also final checks and corrections. |
