16. Wildcard Week
During this week I focused on making something for my final project, so it was the perfect chance to experiment with Machine Learning and AI. Since my project requires scanning images from the camera and classifying them, I tested different AI models that are capable of capturing images from a webcam and microphone.
- The basics about Machine Learning
The first step to approach it started by googling something about the term, and the options that are available to work with AI. In my Fab we had different workshops for this week, so I took the one about ML. Here are some concepts that I found useful and important to work with it.
- Class: The category where the model will place a picture or set of pictures, based on the different visual features it has.
- Layers:Levels of processing the model may have and the different steps it involves.
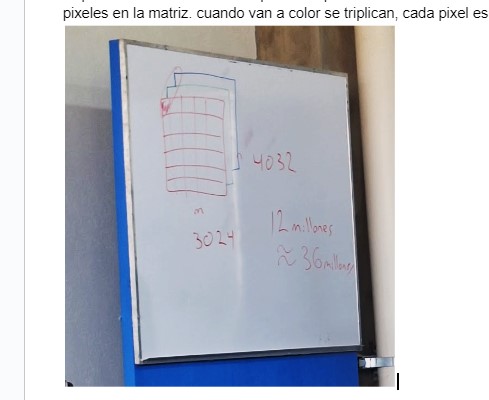
- Input layer: There goes each value that you want to send to the model. In the case of an image, these are the pixels in the matrix.
- Hidden layer: The place where the classifier formula goes.
- Output layer: Possible classification results based on the criteria and variables. established. This shows a result depending on the percentage of similarity with each of the classes.
- Training phase: It involves everything about providing the AI with material to understand and detect different patterns. So that,it may include showing variations of different elements that belong to the same class.
- Open CV: A free library that allows artificial vision. It contains elements to detect motion and expressions, plus options to rebuild images or 3D shapes.
---- First Attempt: The Pose Model----
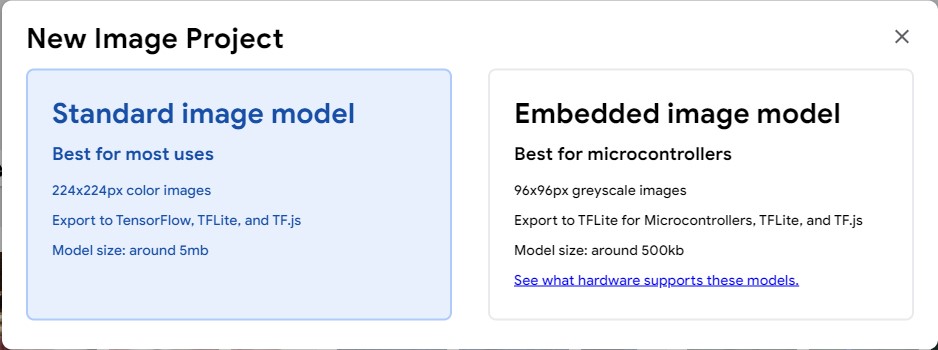
As my project requires to track different stages of focus, the easier way to obtain that information comes from tracking the the orientation of the iris of the eye. The difference between using a basic model for images and one for posture/ poses is that the second will be more precise, since it's already trained to detect this biometrical data.
- The first step for this one was to open the site "Teachable Machines" , where you may find some options to classify elements from different sources.You can click here to check it.
- Once I was there, I could choose from three different options to train an AI to sort
patterns: Pictures, sounds and postures. Since I wanted postures this time, that's what
I
chose.
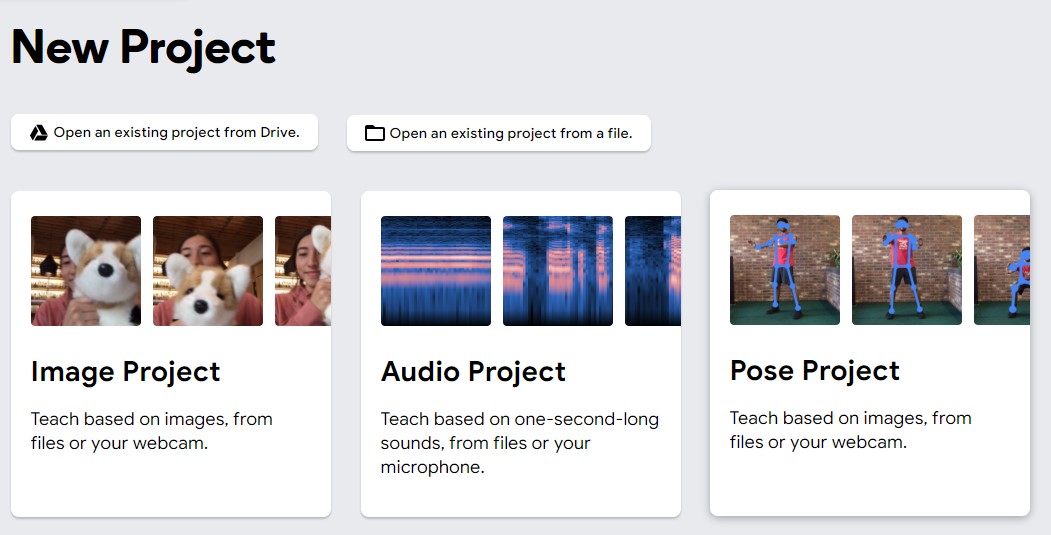
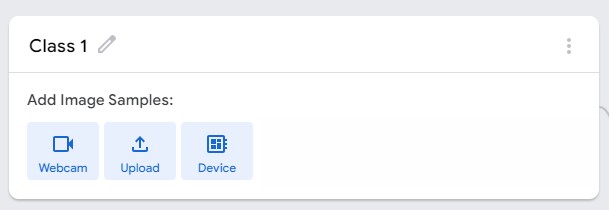
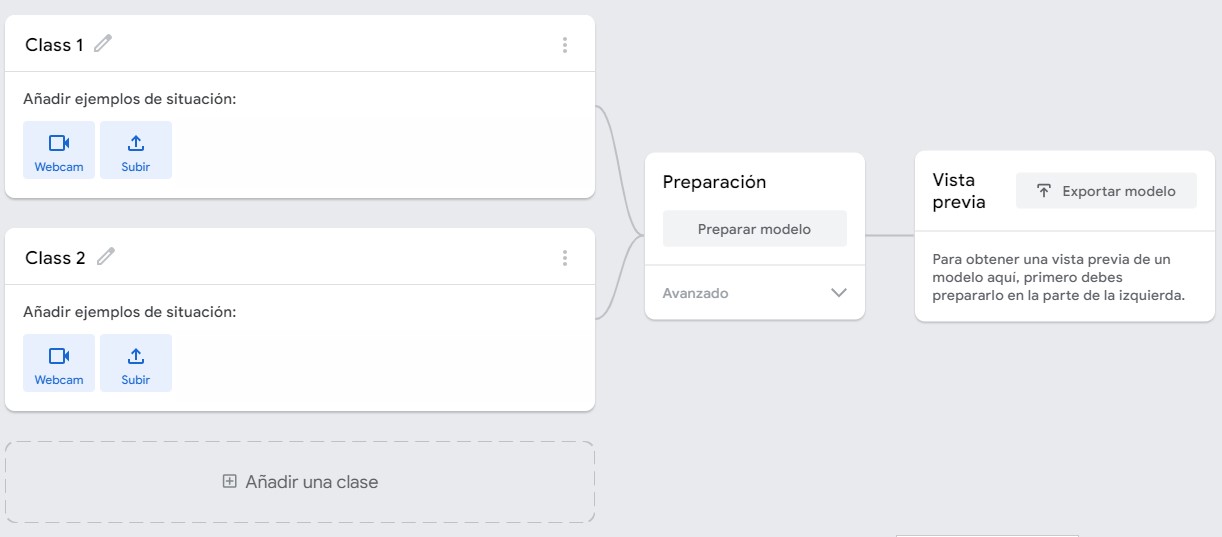
- Right after, the screen opened a menu to start training my AI. It has these modules and
each
is
pretty easy to understand. As it was mentioned before, this shows the three layers of
the
process clearly. It has the imput layer to add the classes, the hiddne layer where it
processes and the output layer that will sort new images once it's trained.
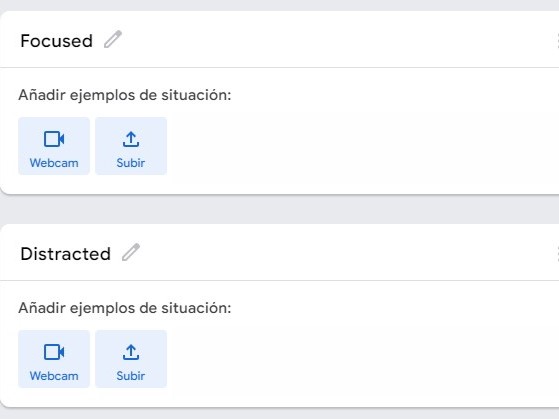
- Next I named the classes I needed, so these were Focused and Distracted.
As
I needed to provide with enough information to the model, I made exaggerated movements
to
offer an example of the options. For "Distracted" I avoided eye contact to my screen the
most I could, and used other objects as notepads and my phone to cover my face, as I do
when
I'm distracted in real life. For "Focused" I tried to change positions and proximity to
the
screen since it can be normal to change positions while working on something, but I also
tried to move my eyes to different spots of the screen as if I were reading, so it would
be
more flexible to different stages of working.
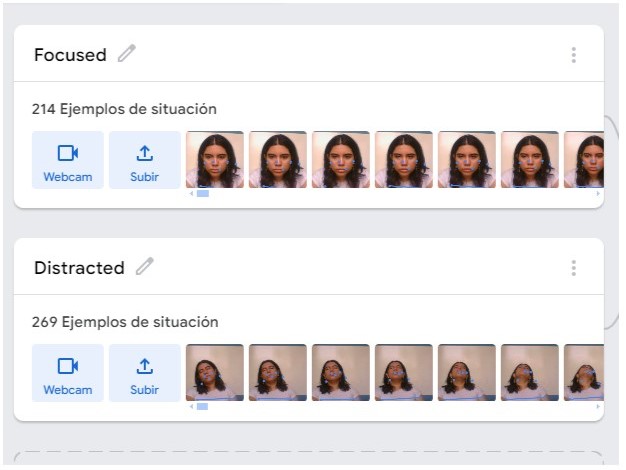
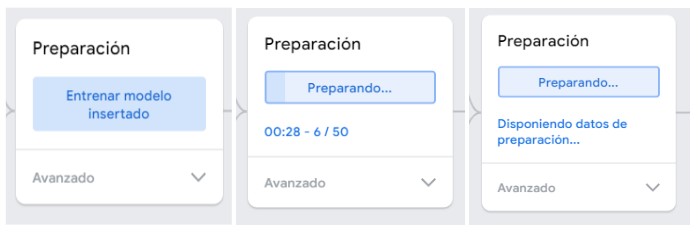
- Now it was time to process the images and allow them to start processing. It's
important to
know that the more you give, the better, but these should be significant, because it
also
takes longer to process. You can also modify the settings of learning to a certain
amount of
inputs and speed, but it may cause variations on the efectiveness of the final model.
- Now, It was time to test how accurate it was. As you can see, when my eyes move aray
from
the screen it starts detecting distraction immediately, but as I was checking it, i also
noticed that it also reacted to the position of my chin. The lower it was the "more
focused"
it thought I was.
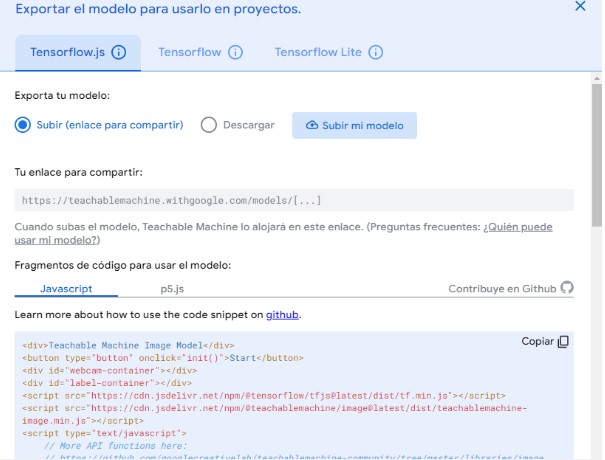
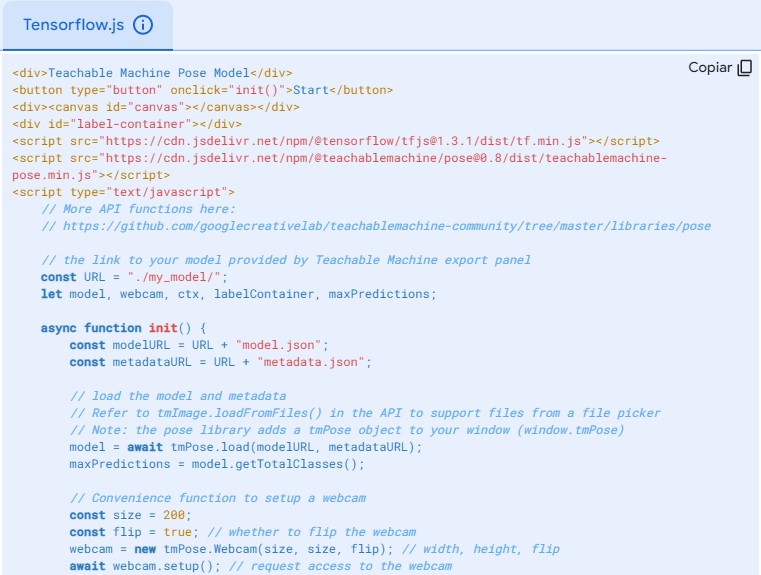
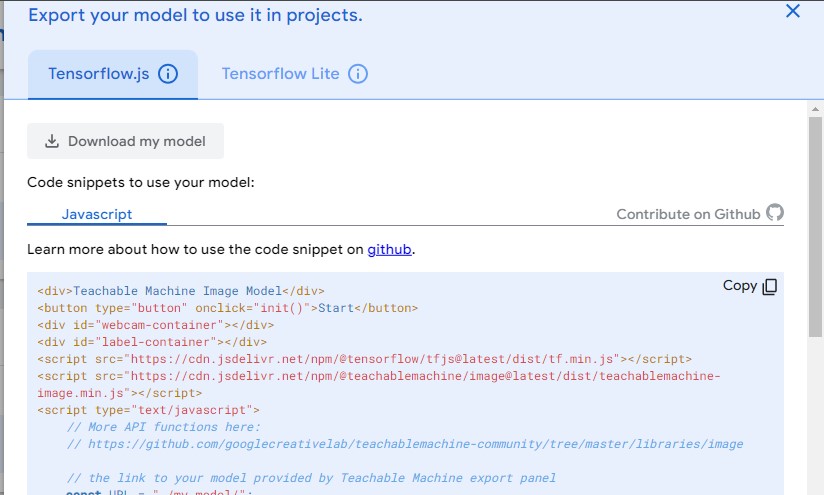
- After I could confirm that it worked under the chosen parameters, it was time to save
and
export the model. To do so, I clicked on the option "Export Model". As you can
see
here, there are some options to save the model, I selected the option to do it by
Java
Script, and then I posted the model online, then I could copy and paste the
script
to attach it to my site. Note: the first attempt I tried to copy the script, It didn't
allow
me to use the buttons, so make sure you publish the model before copying the code.
