Sometimes beautiful things get messy. Mess is okay.
SAFETY SAFETY SAFETY
In my recent assignment, I worked with potentially hazardous materials, underscoring the importance of handling such substances with care. Prior to utilizing any materials, it is critical to thoroughly read the safety data sheets provided for each one. These documents are vital as they detail the hazards associated with the materials, recommend safety equipment, and provide crucial instructions for emergencies. Additionally, understanding the properties of each product helps in safely managing and using them effectively.
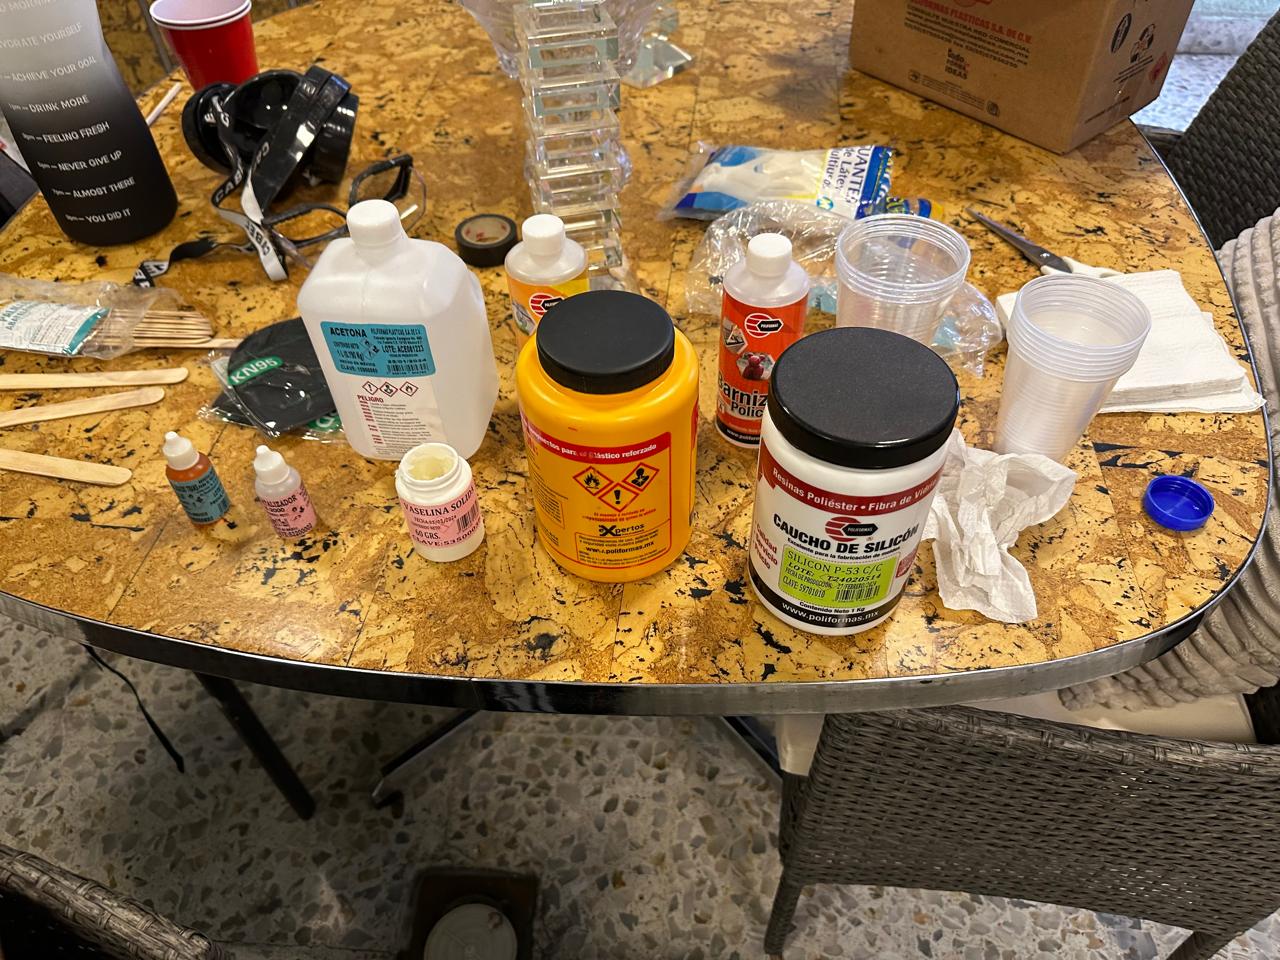
The materials for this project were sourced from Poliformas Plásticas. Below is a detailed list of the products most commonly used, each accompanied by a brief description:
- RESIN PP-70x60: This is an unsaturated polyester resin with orthophthalic of pre-accelerated average reactivity. It features:
- Fast curing, even in thin sections.
- An appropriate percentage of solids for the intended application.
- Ease of use with fiberglass moisturizer.
- Consistent curing at various catalysis levels.
- Good acceptance of mineral charges.
- Development of good barcol hardness.
- RESIN PP-CRISTAL READY: A polyester resin known for its outstanding transparency and is used primarily for encapsulation. Its properties include:
- Medium reactivity, which offers more control over curing.
- Pressure Sensors: Useful for detecting force or weight; some can measure environmental pressure for altitude.
- Low shrinkage percentage to avoid issues with high thickness.
- Exceptional transparency and shine in the finished product.
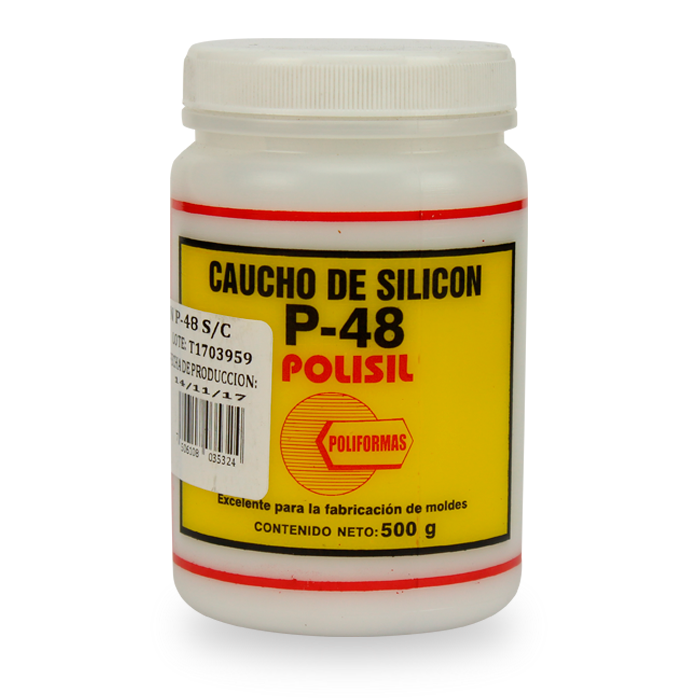
- SILICON P-48: This is a vulcanizable silicone liquid rubber that sets at room temperature, used mainly for casting polyester resins, waxes, plasters, etc. It has:
- High viscosity.
- Room temperature vulcanization.
- Excellent resistance to temperatures up to 250 °C.
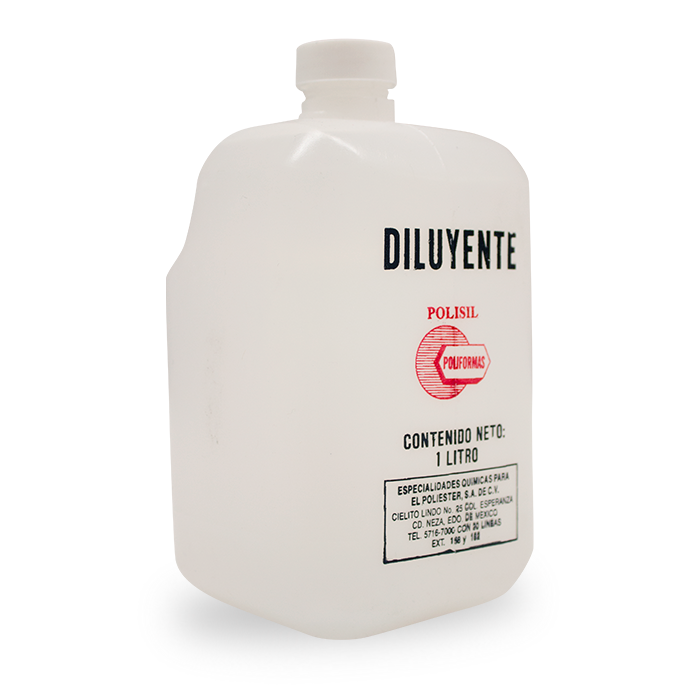
- SILICON DILUENT: A liquid used to dilute silicone rubber to the desired consistency, known for:
- Minimal viscosity variation with temperature.
- Non-toxicity and inertness.
- Excellent properties as electrical insulators.
- Resistance to high and low temperatures, UV radiation, chemicals, compression, and cutting efforts.
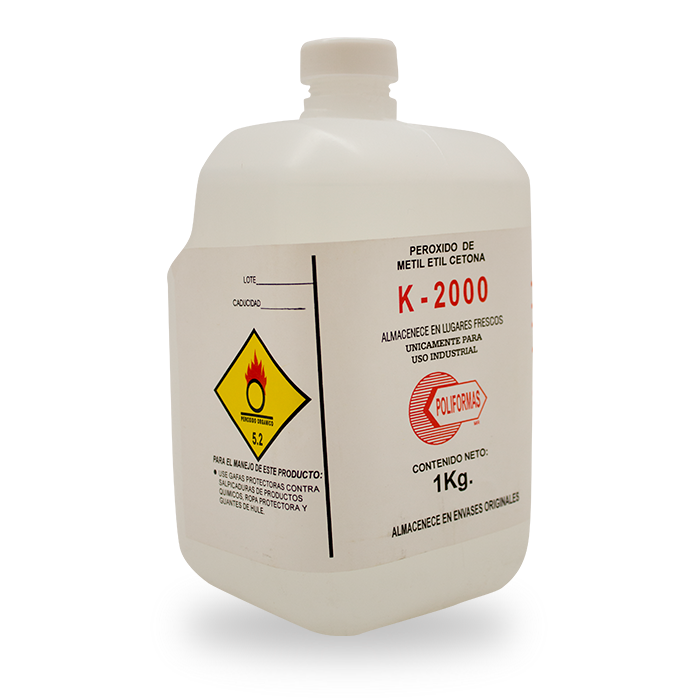
- CATALYST K-2000: Essential for curing unsaturated polyester resins and gel coats at room temperature, it includes:
- High active oxygen content (8.9 ± 0.1).
- Easy integration with resins and gel coats.
- Low water content.
- A clear, colorless liquid form.
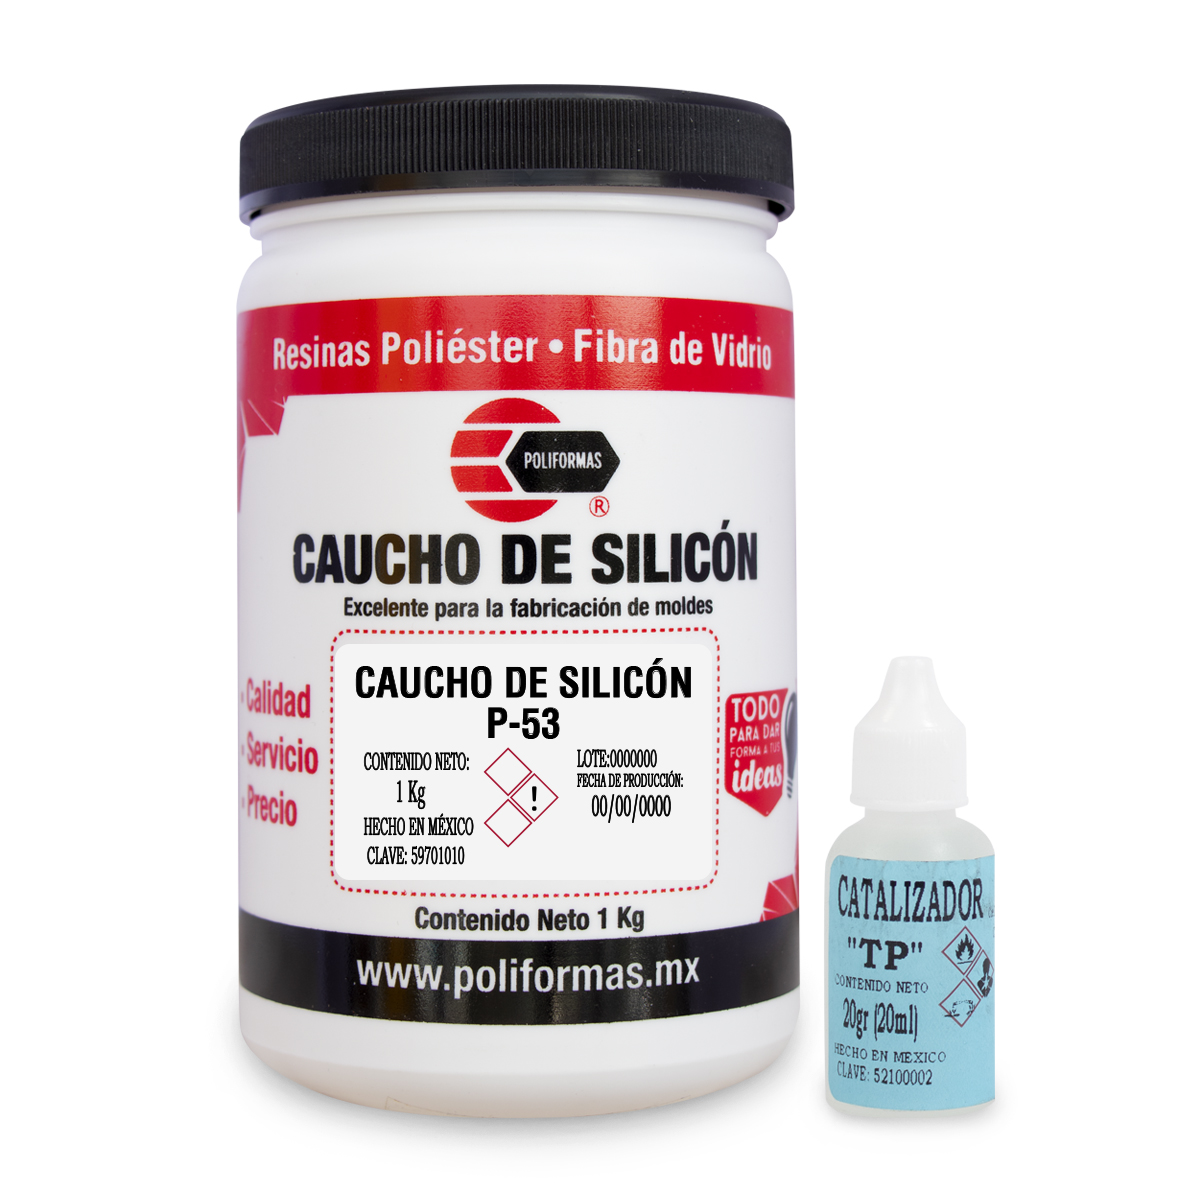
- Silicon Rubber P-53 C/C: A high-performance, room temperature vulcanizing silicone rubber, ideal for mold making and encapsulation. It includes:
- Excellent mold release properties, allowing for easy demolding and maintenance of intricate details.
- High tear strength and superior flexibility, enabling the casting of complex shapes without compromising structural integrity.
- Good resistance to high temperatures, chemicals, and aging, ensuring durability and consistent performance in demanding applications.
- Specific formulation (C/C) that indicates tailored properties or curing characteristics to meet particular processing or performance requirements.


Most of these products require the mixing of two components: the active substance (A) and a catalyst (B). The catalyst initiates an exothermic chemical reaction that causes the resin or rubber to solidify. To ensure the correct proportions and mixing process, consulting the data sheets or speaking directly with the supplier is necessary to ascertain the precise quantities or percentages needed.
For safety and to ensure proper handling of these materials, accessing and understanding the data sheets is imperative. These guidelines not only protect the user but also ensure the integrity and success of the project.
You can see more info in this week's Group Assignment.
Designing a Mold.
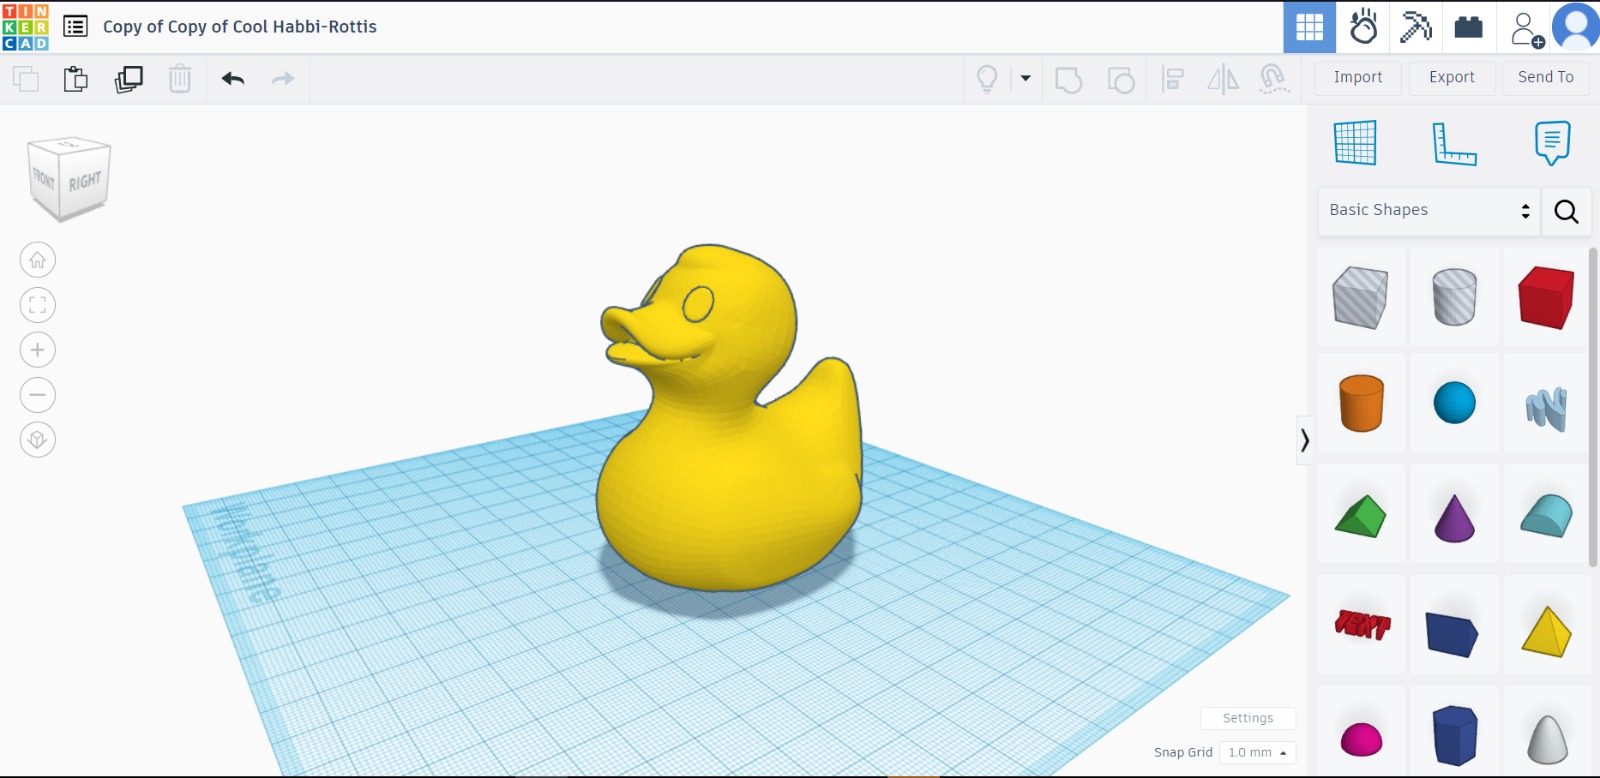
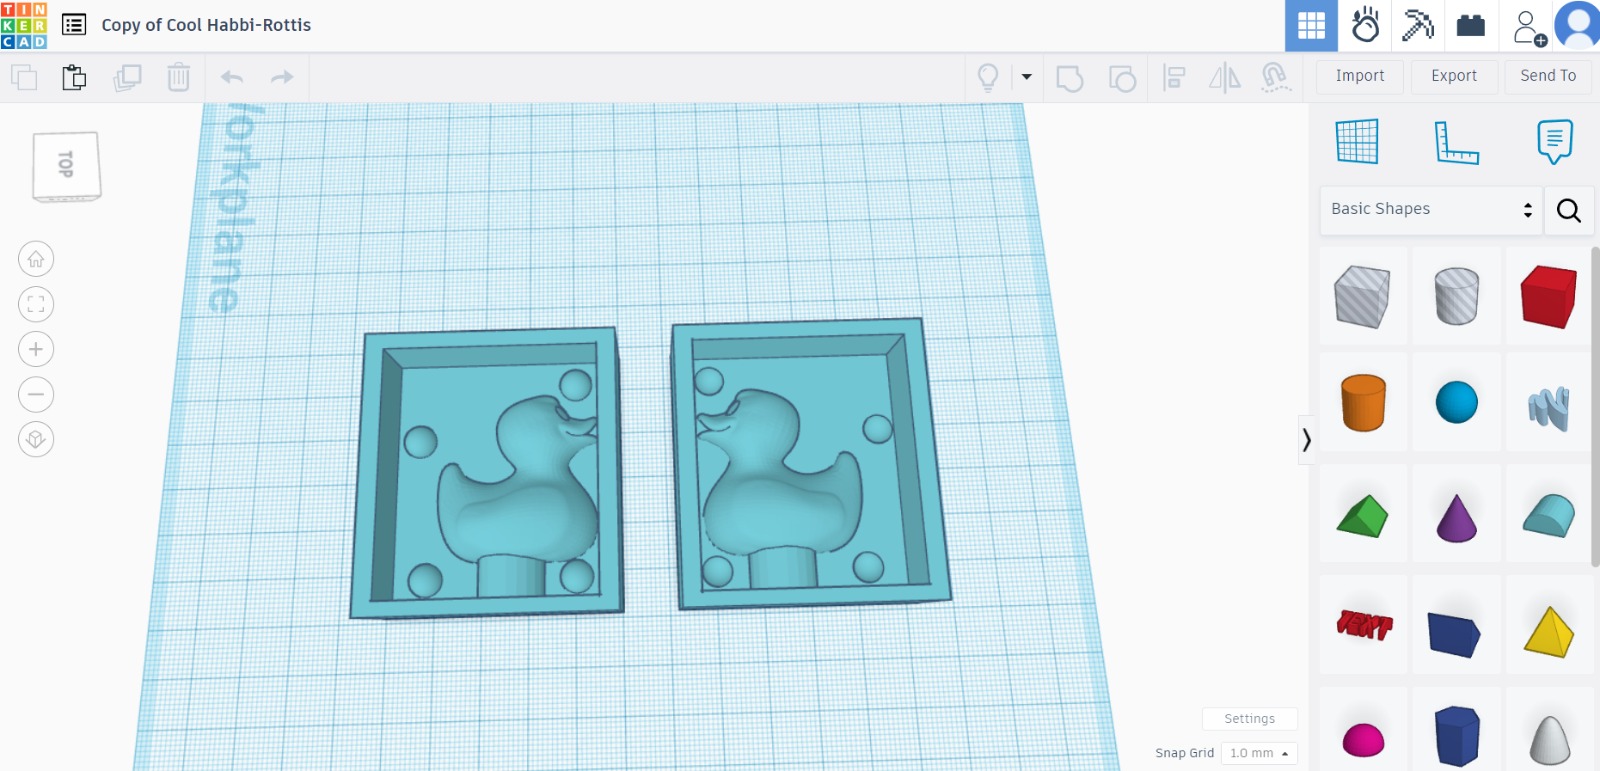
I recently embarked on an exciting venture to design a mold for a rubber duck, leveraging TinkerCad for the design process. My journey began at cults3d.com, where I discovered a charming rubber duck model crafted by an artist known as XCINNAY. Eager to transform this digital duck into a physical object, I exported the model into TinkerCad, where the real fun—and challenge—began.
In a somewhat "Inception"-esque twist, where the dream of creating something new embeds itself within layers of creation, I decided to split the duck model into two halves.


This wasn't just any split; it was to create a positive version of the duck, setting the stage to craft the negative mold. It felt like crafting a dream within a dream, where each layer brought its own reality closer to life.
A positive Rubber Duck mold:
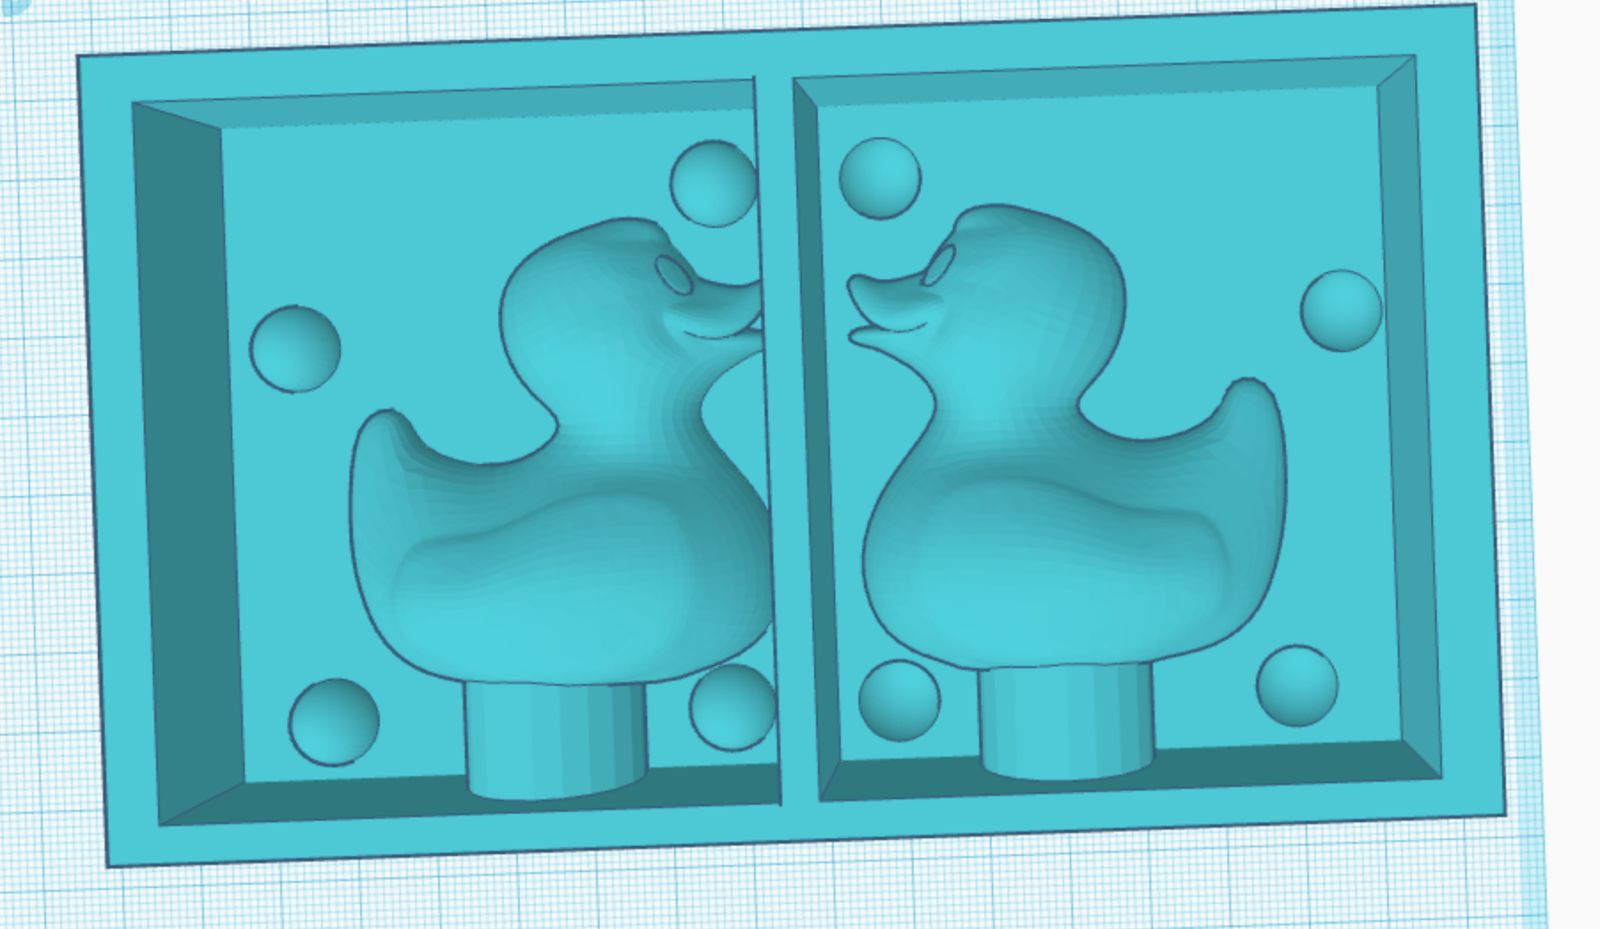
A negative Rubber Duck mold:

To ensure the mold would be practical for casting, I added borders around each half of the mold design in TinkerCad.

Here is the 3D Model in SketchFab:
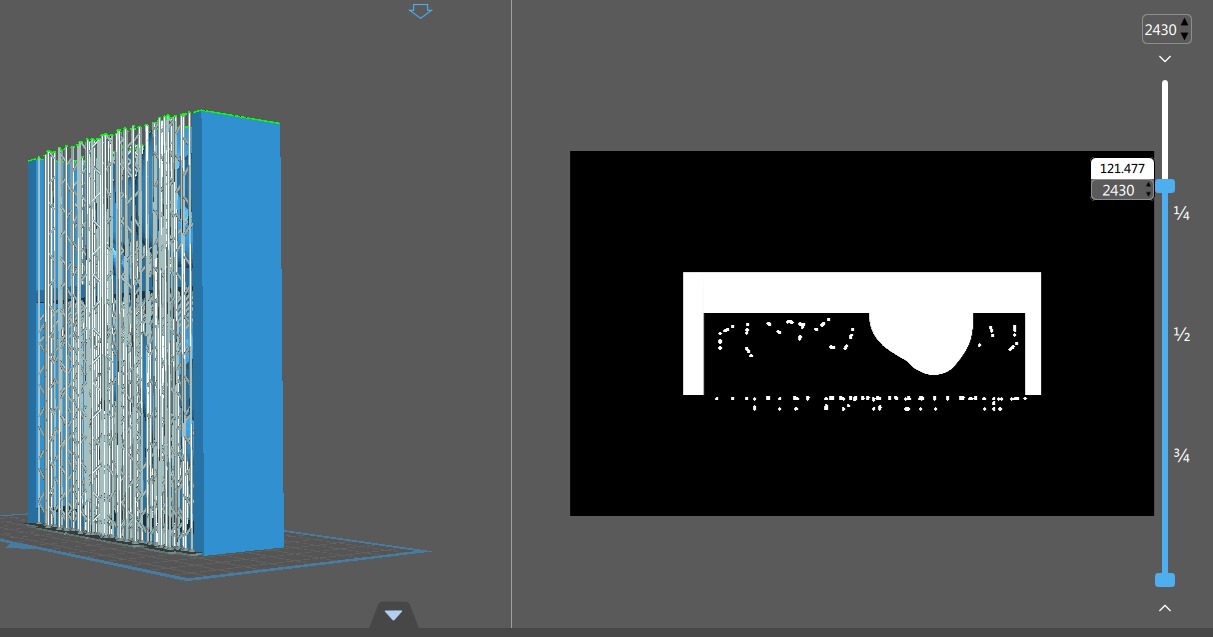
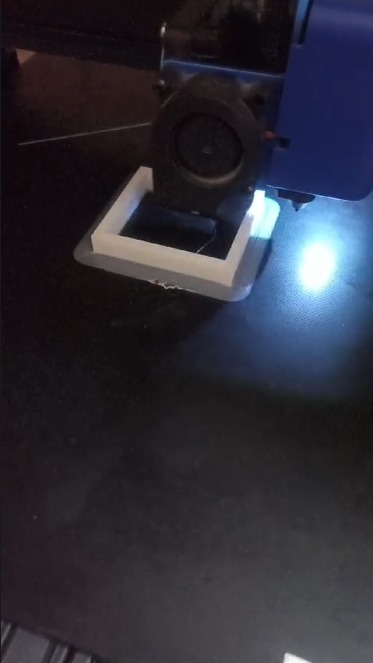
The final designs were then sent to an Elegoo 3D Printer 4 Max, which uses resin—a choice I made for its precision in capturing details. This resin is the Jayo 3D Photopolymer Resin

The process:

However, not all went according to plan. The initial excitement waddled into a challenge when the union of the two mold halves broke. It seems the duck wanted to swim before it could waddle!
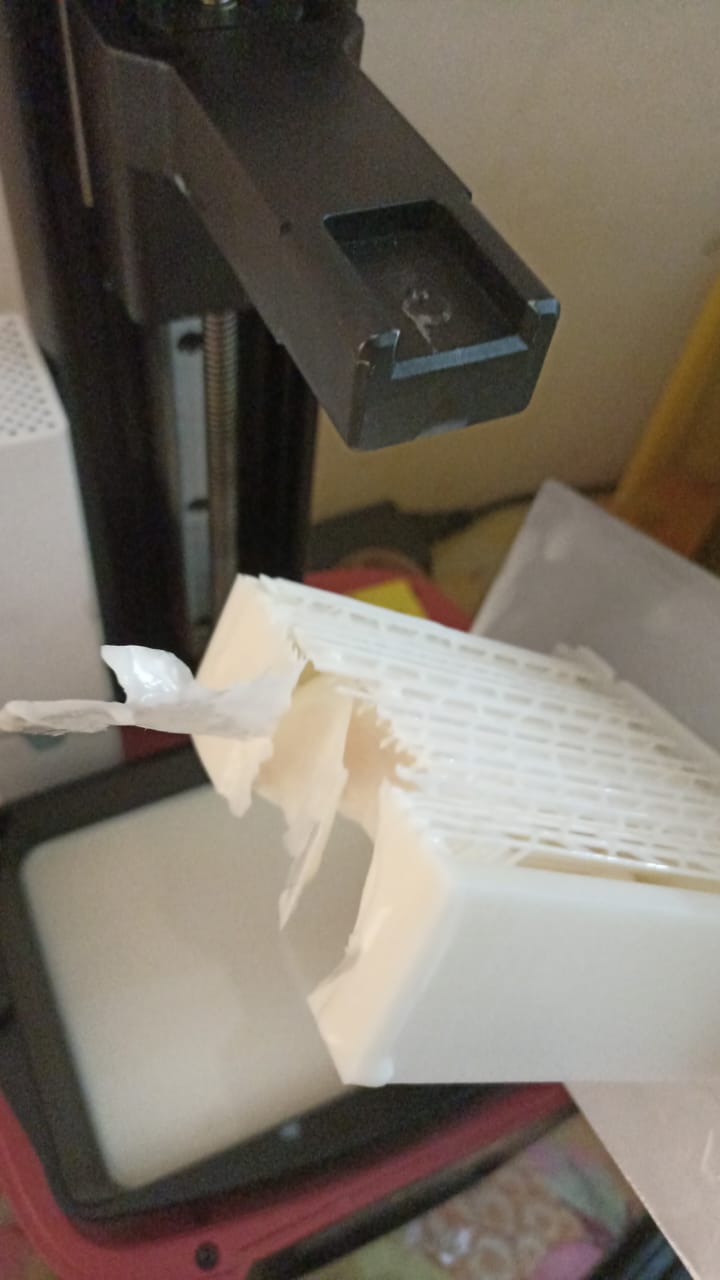
Not one to back down from a challenge, I devised a new strategy and a new design. A new 'splitted' design!
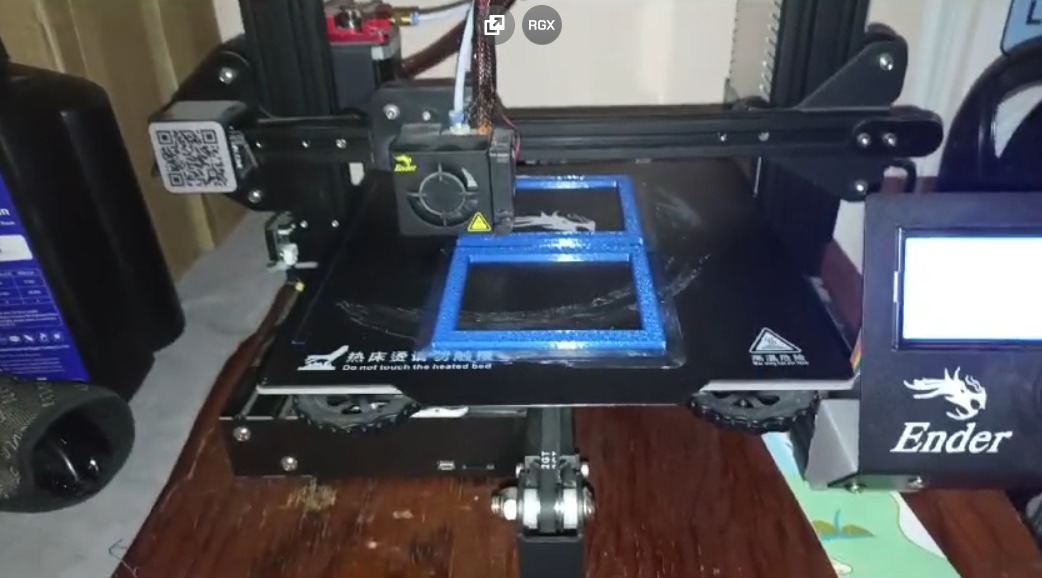
I decided to print the base of the mold in resin, using the Elegoo 3D printer, and then crafted the borders with filament.
The process:
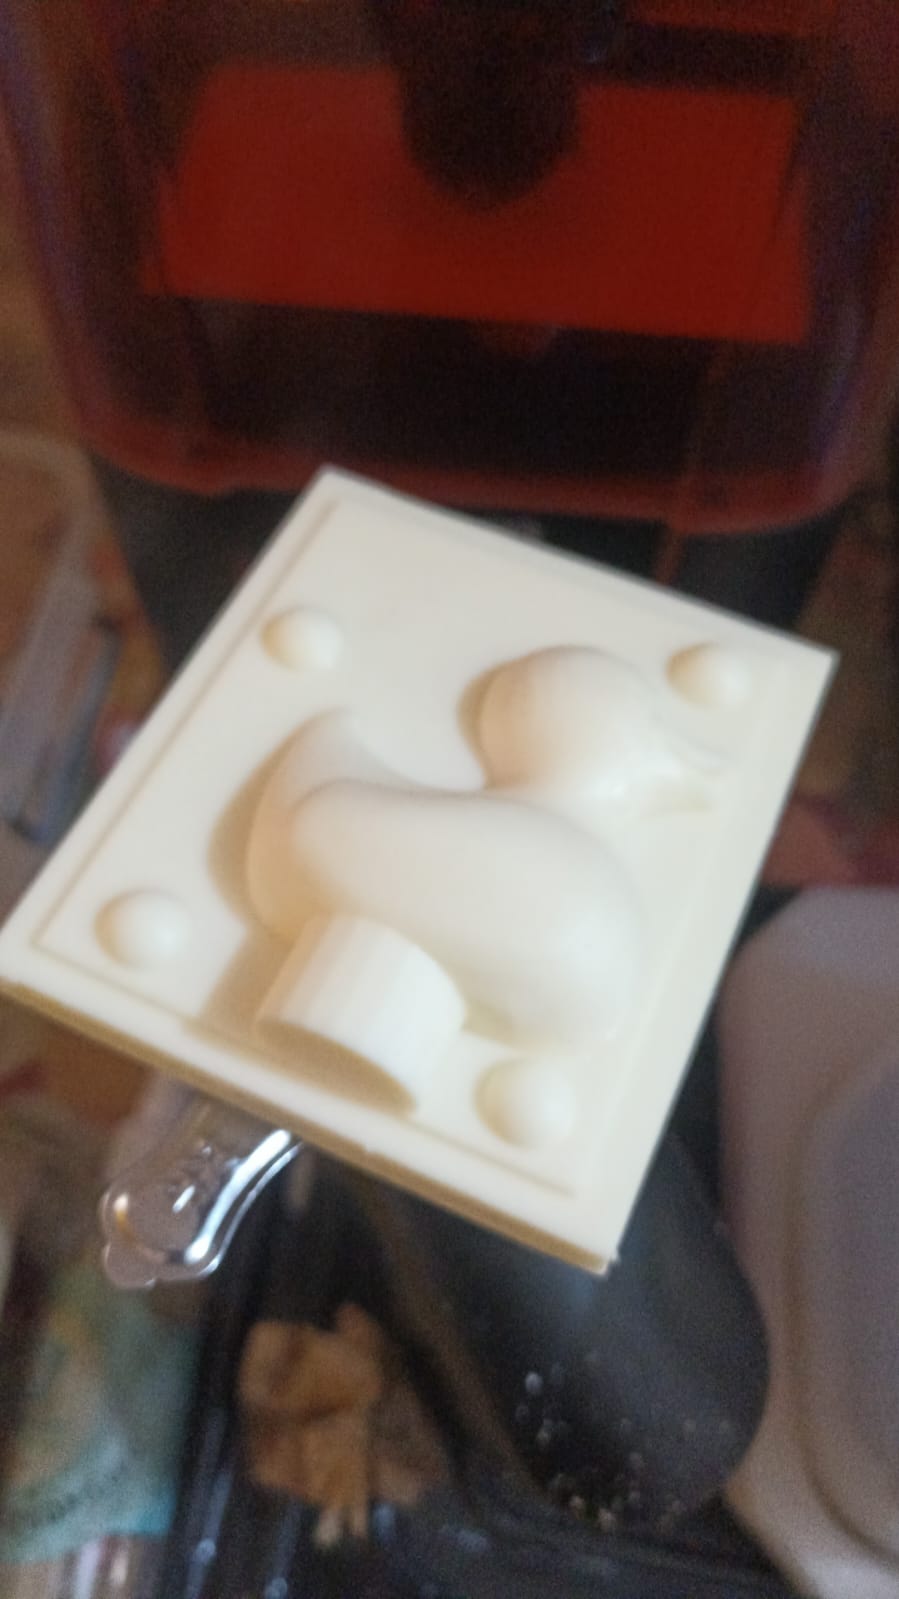
. This hybrid approach not only solved the issue of the breaking joints but also fit perfectly. Much to my delight, the final product quacked up to be better than I had anticipated.

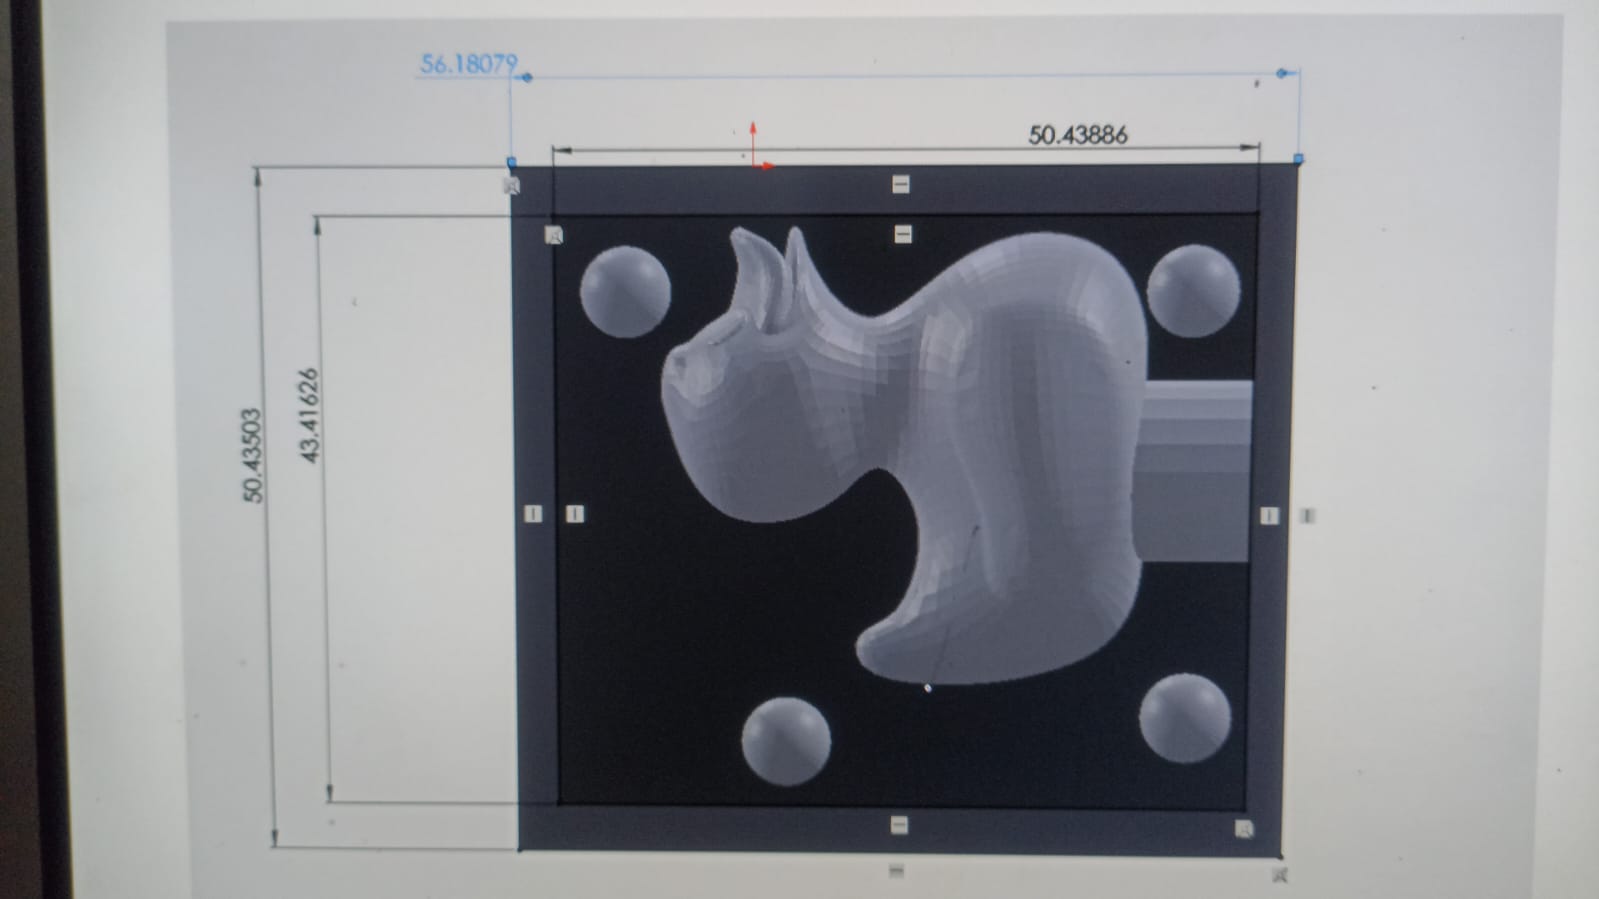
However, I felt it was a little bit too small... so I decided to scale it up a bit more. After all, I wanted to have rubber ducks for my bath! (I don't even have a bathtub lol)
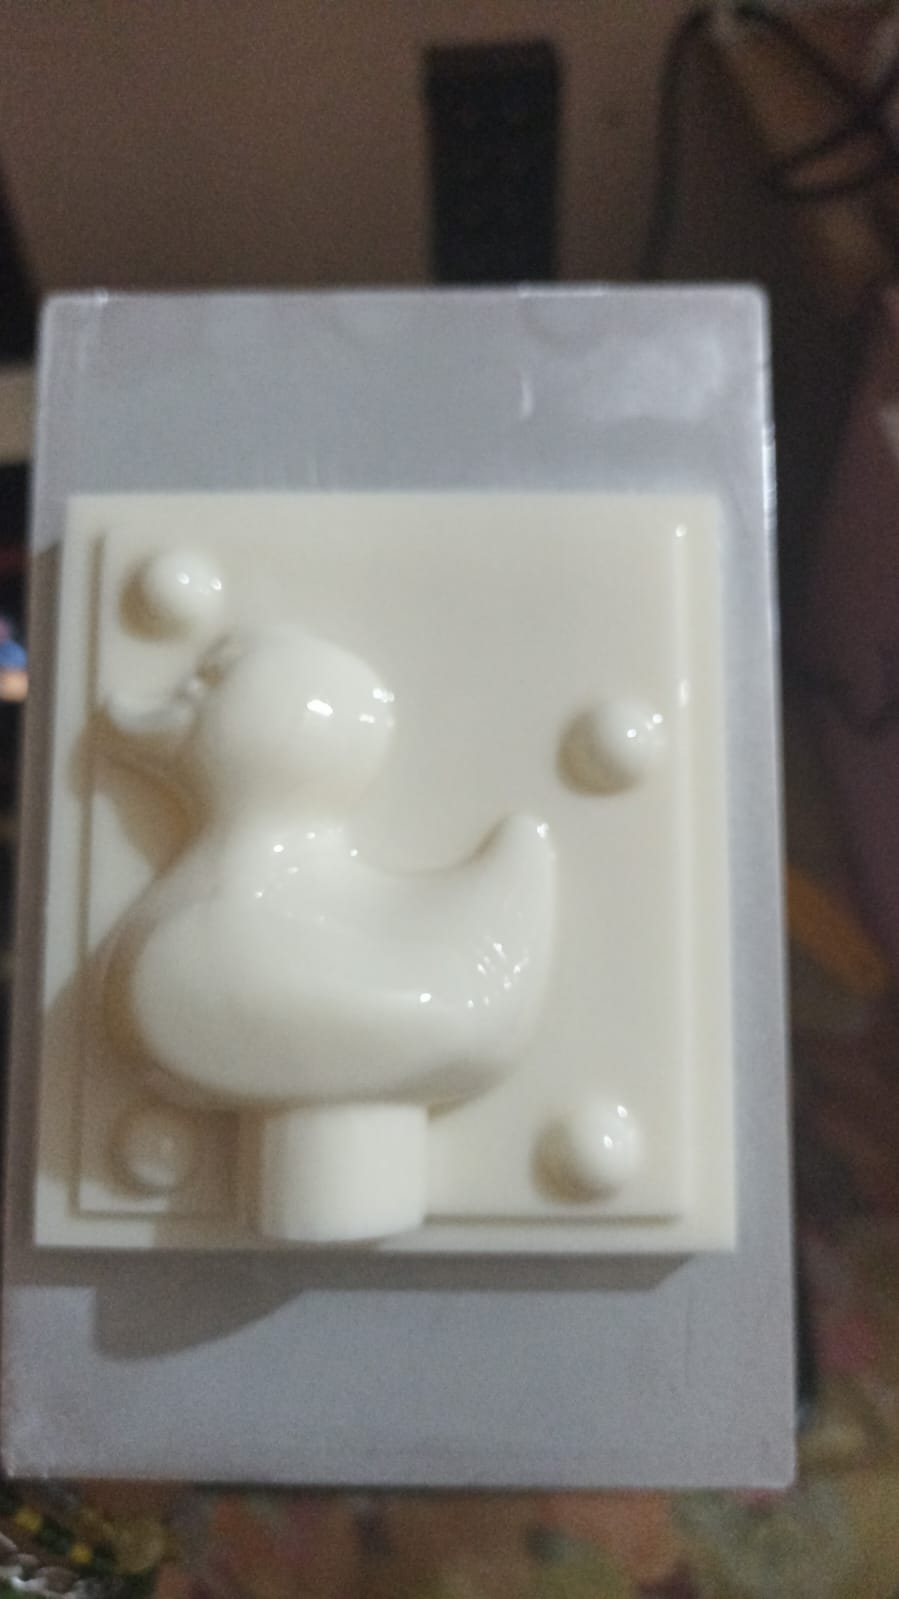
After that we had our positive molds!
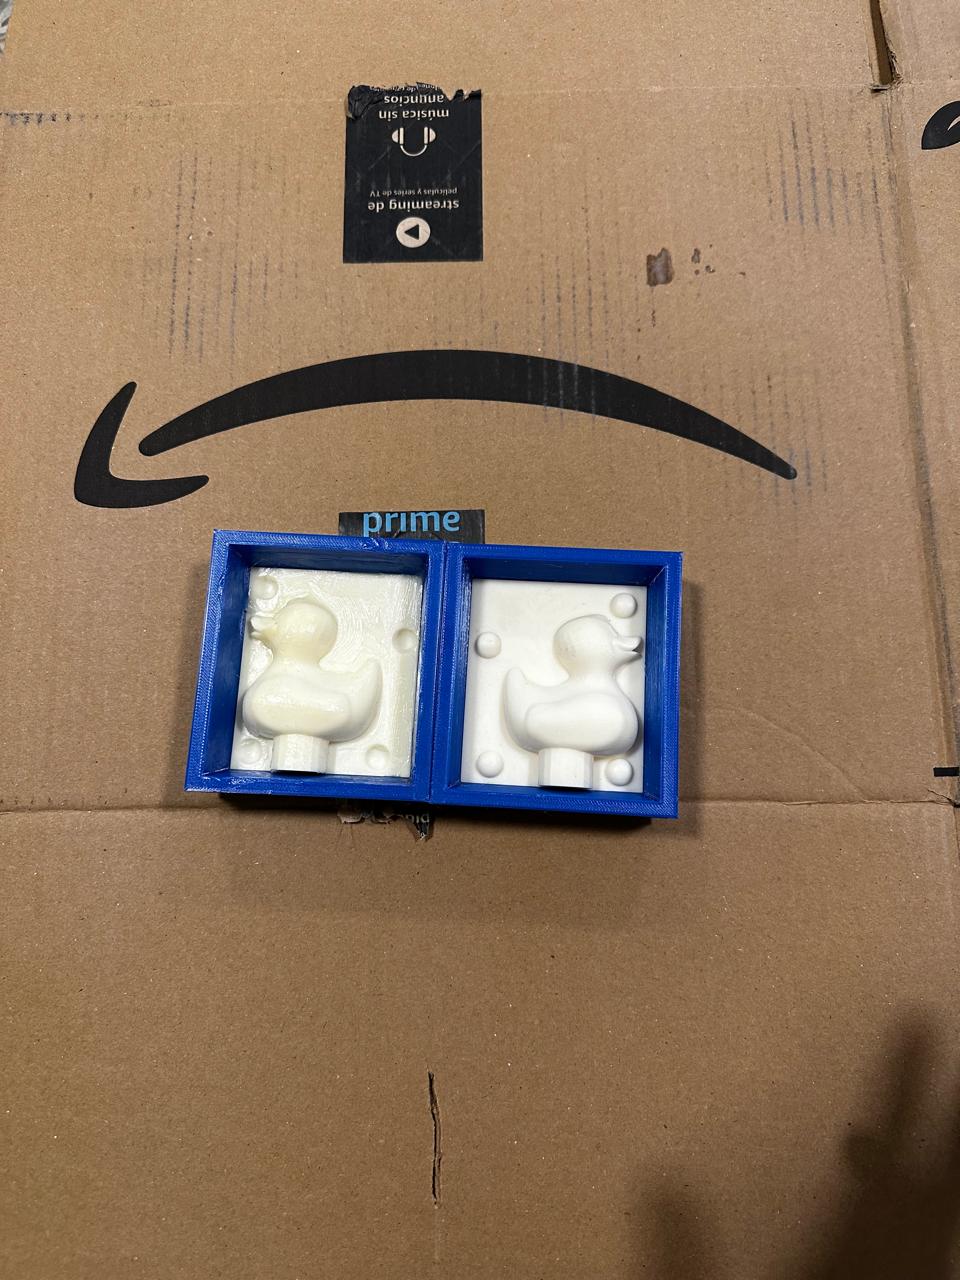
This little adventure in mold-making turned out to be a fantastic blend of digital craftsmanship and problem-solving, proving that sometimes, when things don't go as planned, a little ingenuity (and a hybrid material strategy) can lead to results that really make a splash!
Chemistry? Again?
Creating a negative mold is a meticulous and highly detailed process, especially when dealing with precise and small-scale models such as a rubber duck. For this particular project, I used a variety of materials and safety equipment to ensure both quality results and personal safety.
Materials Used:- Vaseline: To ease the separation of the mold from the model.
- Catalyst K-2000: For curing the silicone rubber.
- Silicon Rubber P-53: The primary material for the mold.
- Resin PP-70x60: For the piece.
- Yellow Colorant: To tint the resin.
- Acetone: For cleaning and preparation.
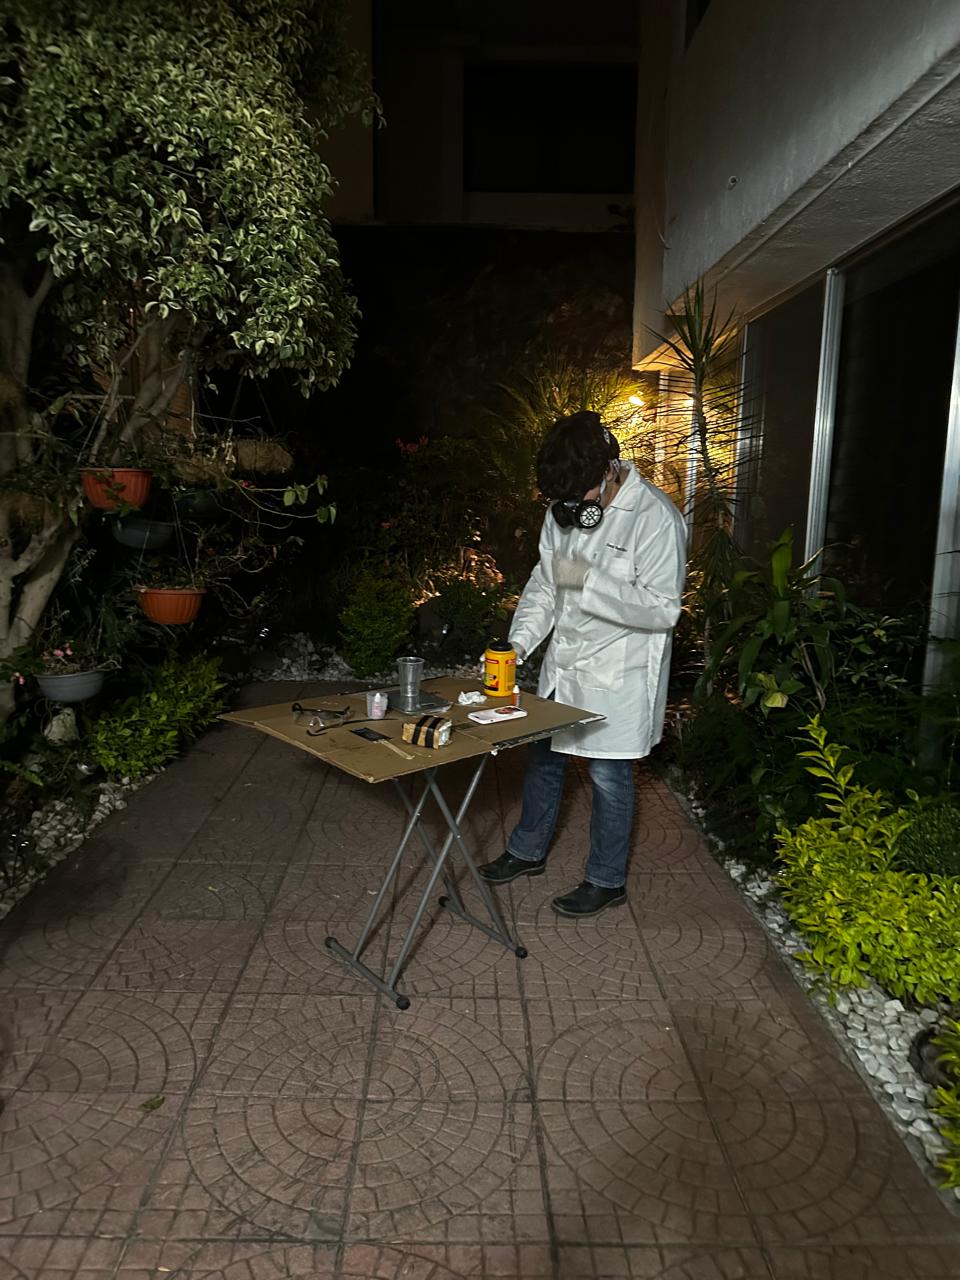
Safety Equipment:
- Boots and Jeans: To protect from spills and splashes.
- Lab Coat: To keep clothing free of materials.
- Gas Mask: To avoid inhaling fumes.
- Safety Glasses: To protect the eyes from splashes.
- Rubber Gloves: To protect your hands from chemicals.

Process of Creating the Negative Mold:
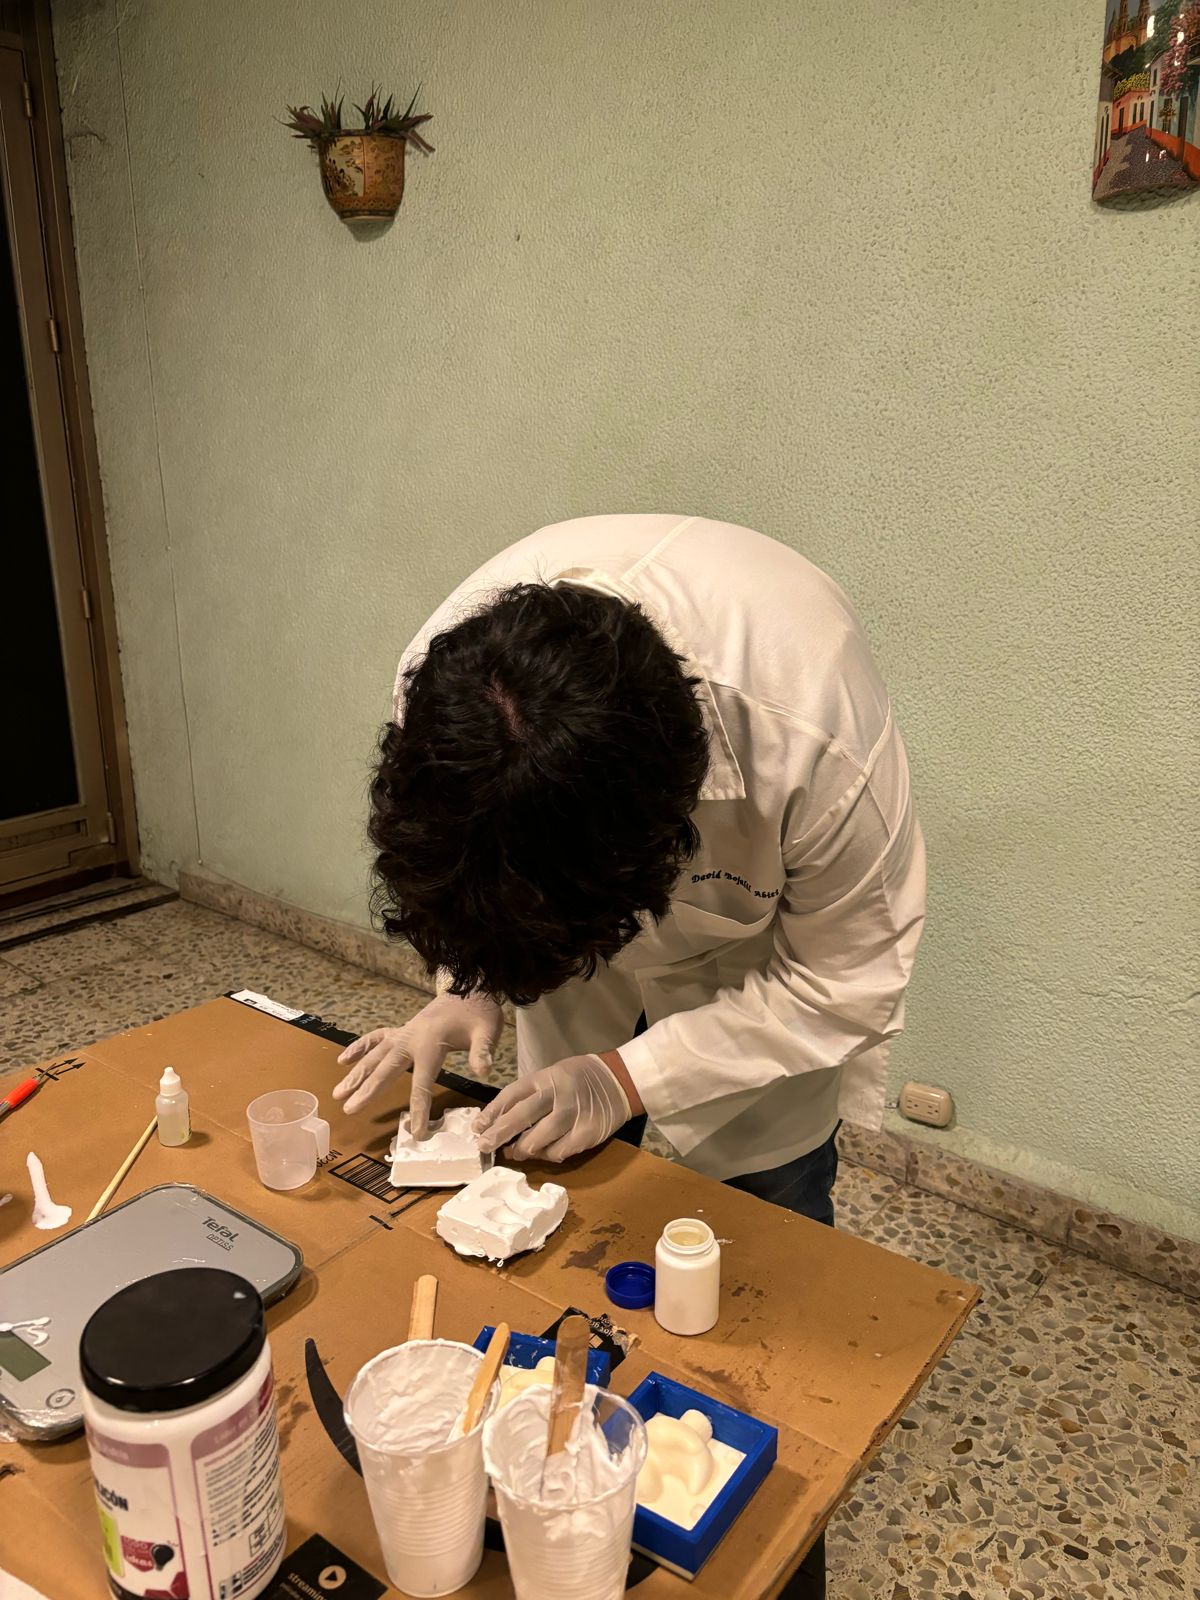
1st Step: Preparing the ModelBefore beginning the silicone casting, it's crucial to prepare the model properly. I started by generously applying Vaseline to the positive mold of the rubber duck. The Vaseline acts as a release agent, ensuring that once the silicone cures, it can be easily separated from the mold without sticking.
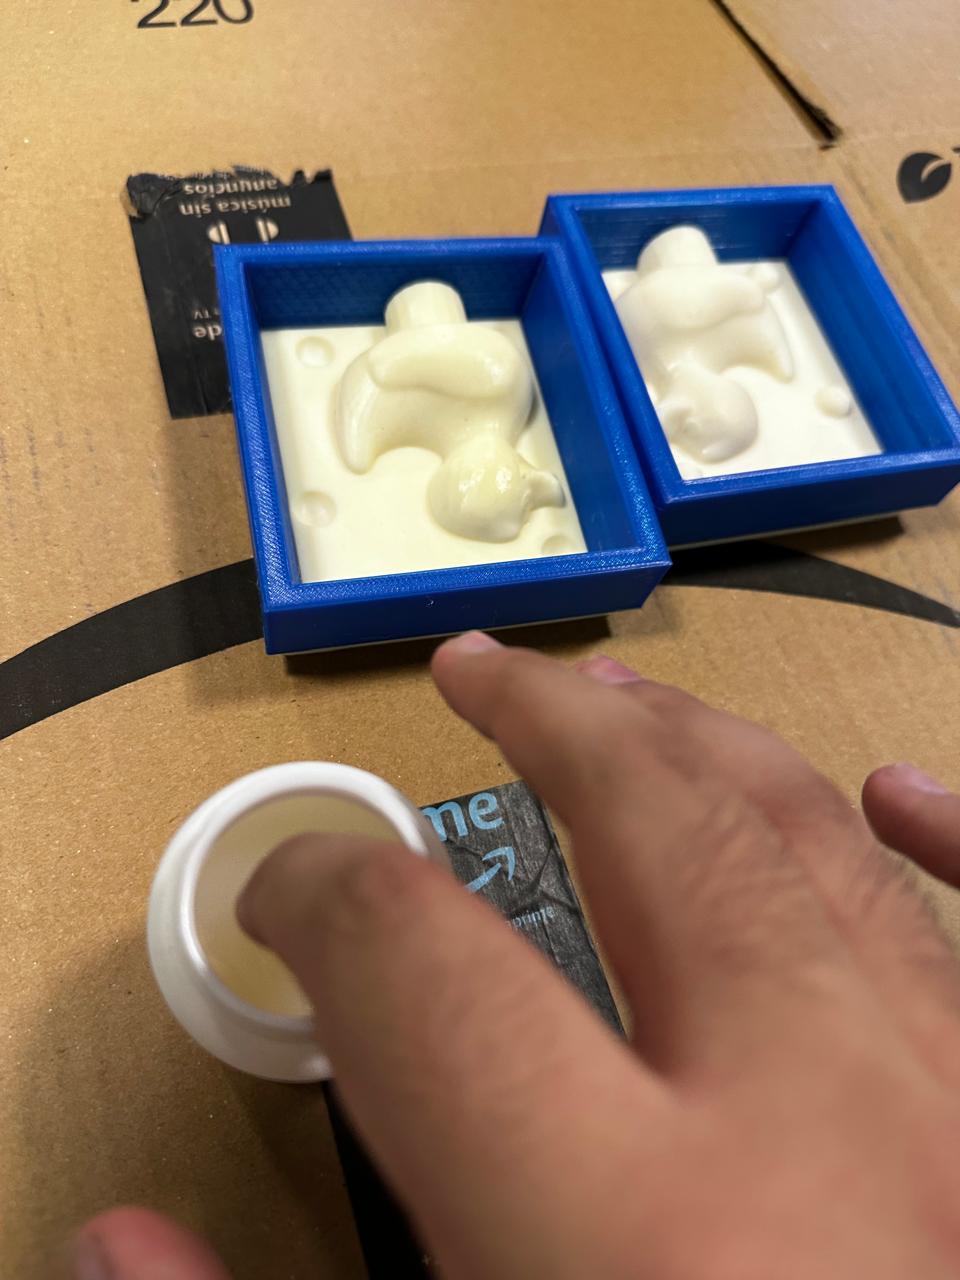
It’s important to remove any excess Vaseline, as too much can interfere with the mold’s detail capturing capabilities.
At the end, it should look something like this:

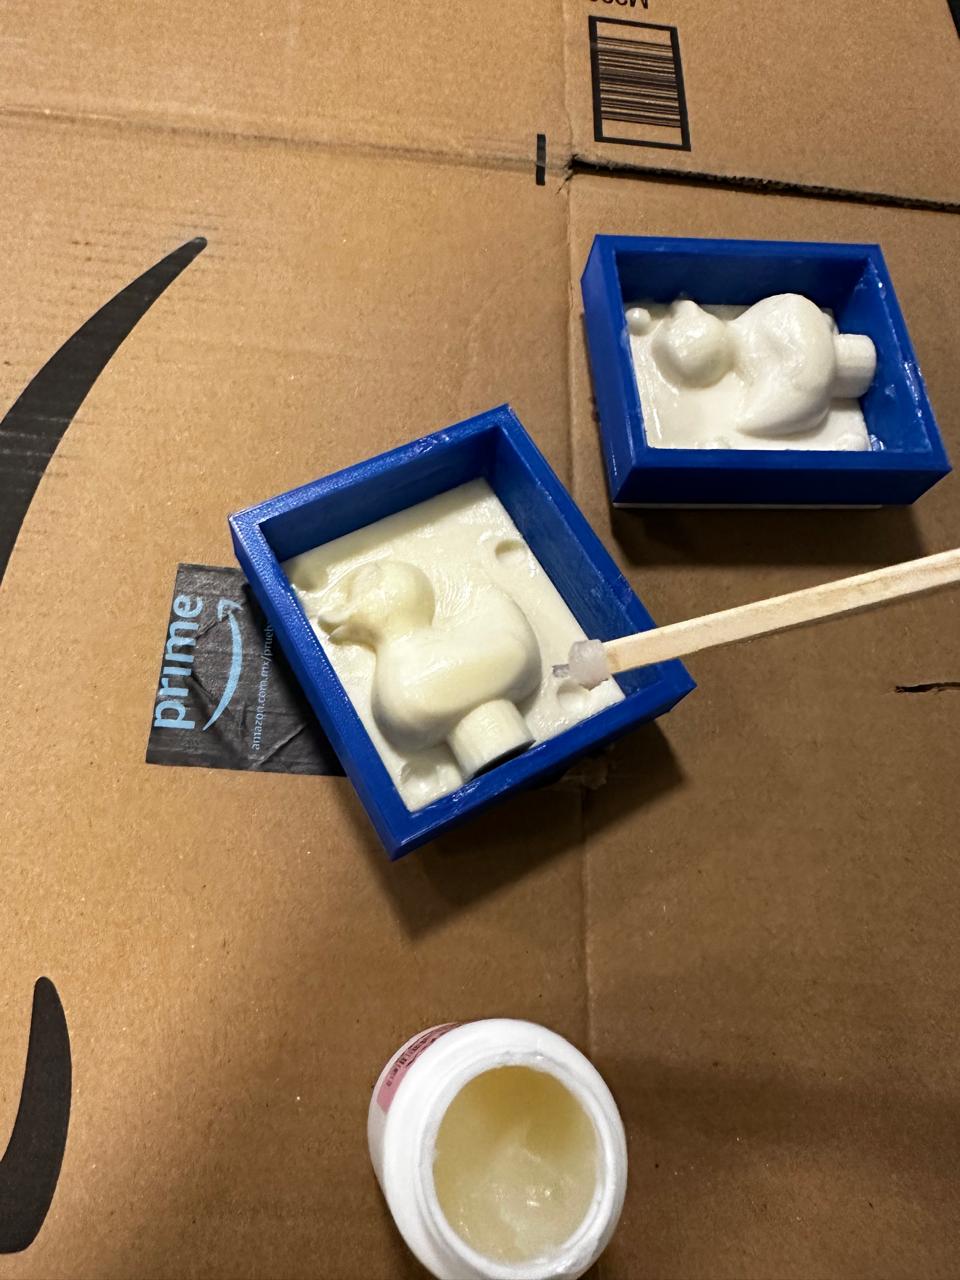
2nd Step: Mixing and Pouring the Silicone
The next step involved preparing the Silicon Rubber P-53. For every 100g of rubber, I added exactly 80 drops of Catalyst K-2000, adhering closely to the recommended ratio for optimal curing.
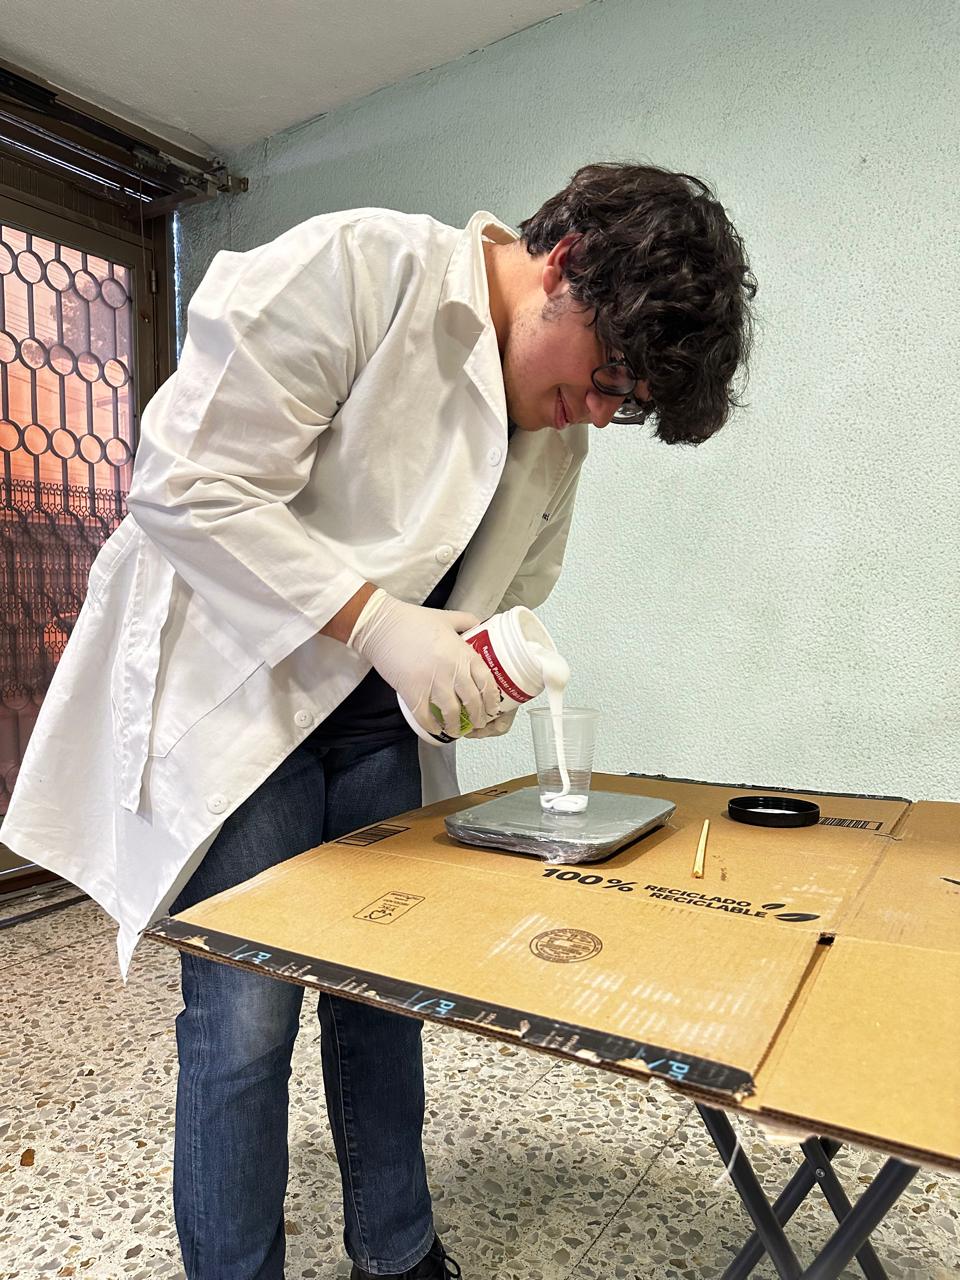
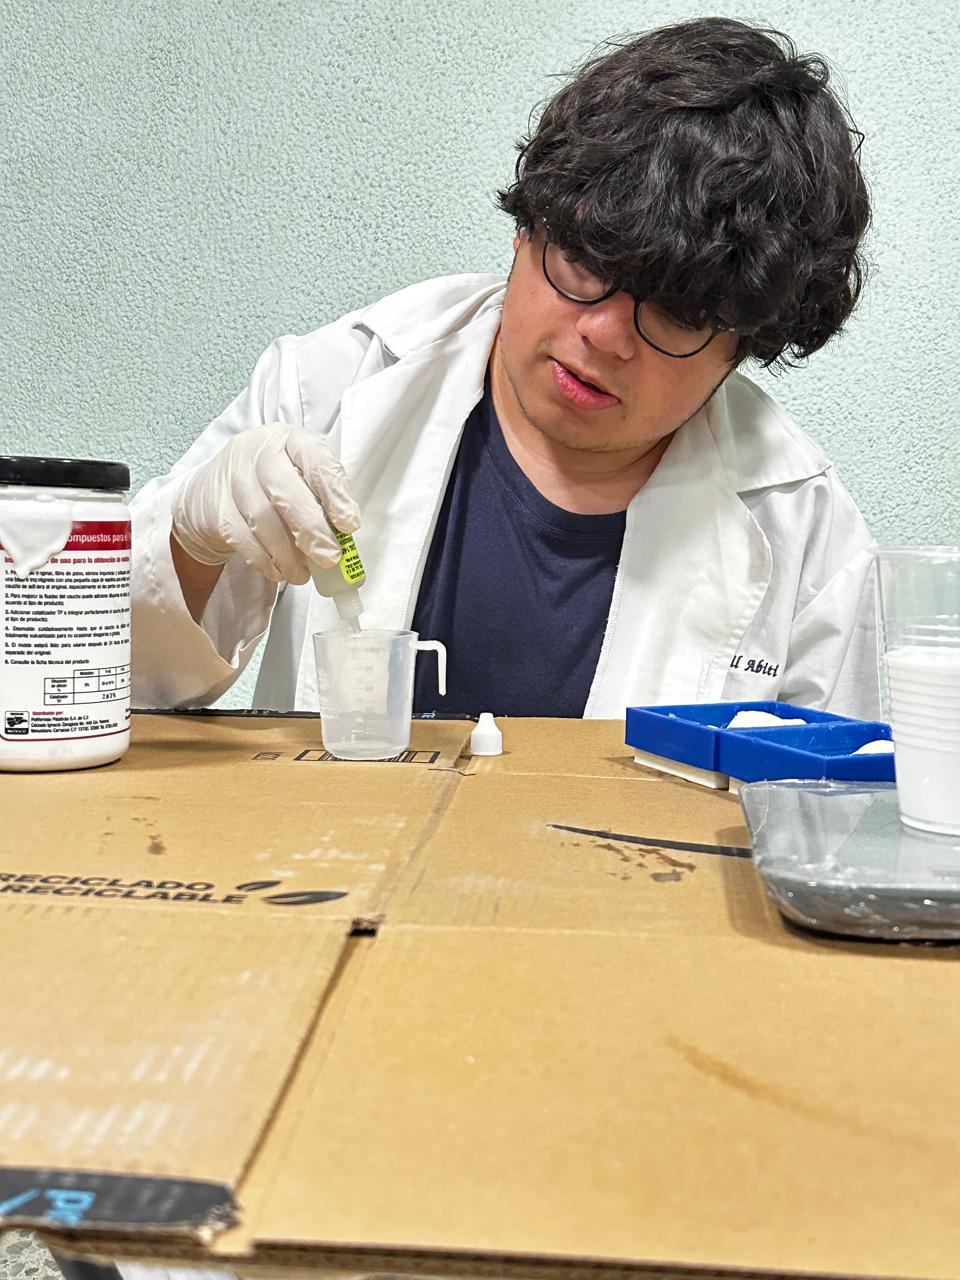
Thorough mixing is critical here to distribute the catalyst evenly throughout the silicone, preventing uncured patches and ensuring a consistent texture throughout the mold. During this mixing process, I took great care to eliminate any air bubbles, which can create imperfections in the mold.

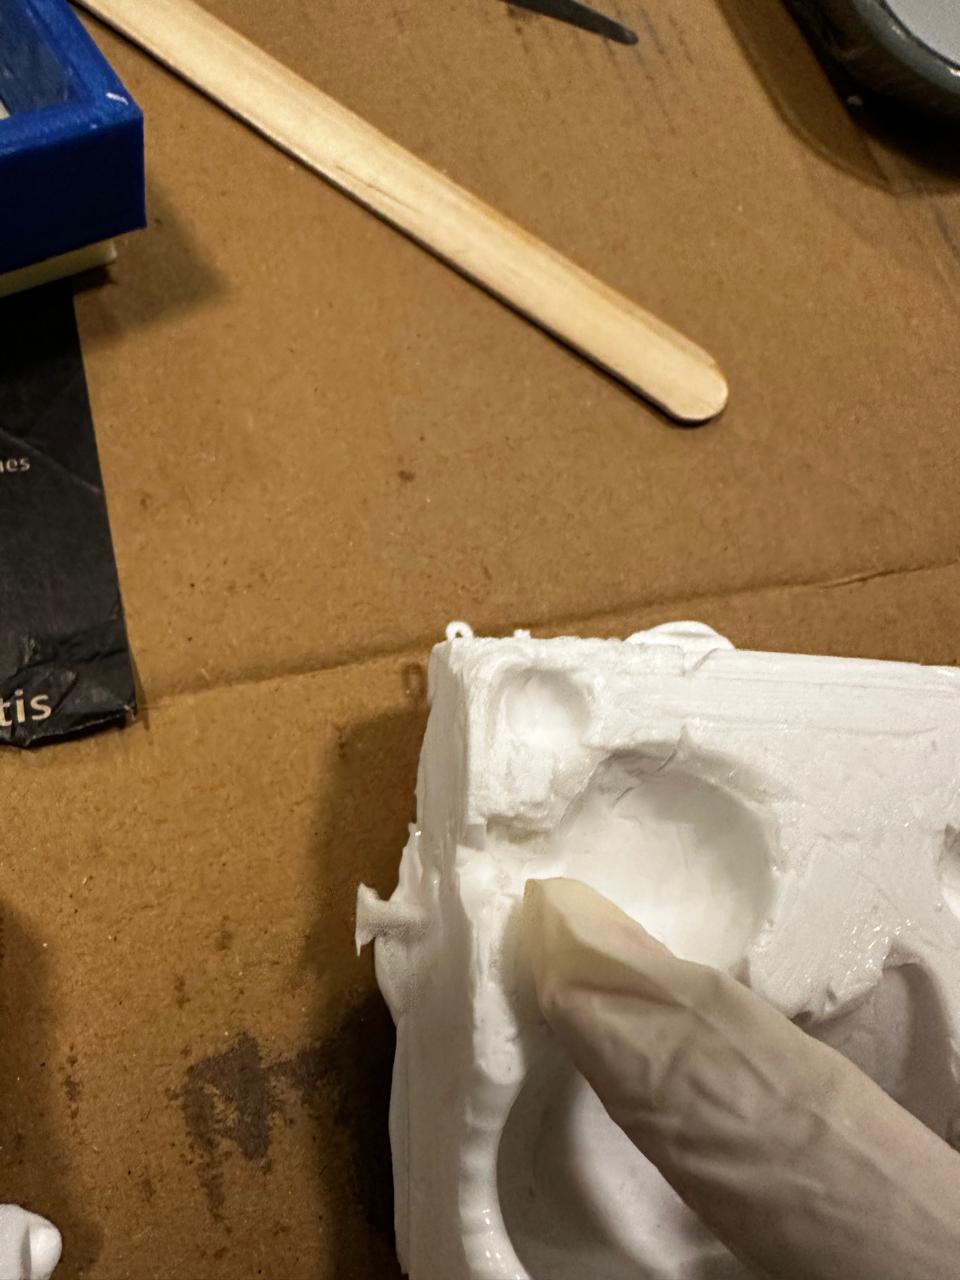
After the silicone mixture was ready, I carefully poured it into the prepared mold. I used a slow, steady pour to avoid introducing new air bubbles and used a tool to gently push the silicone into every part of the mold, making sure it filled completely and captured every detail of the design.
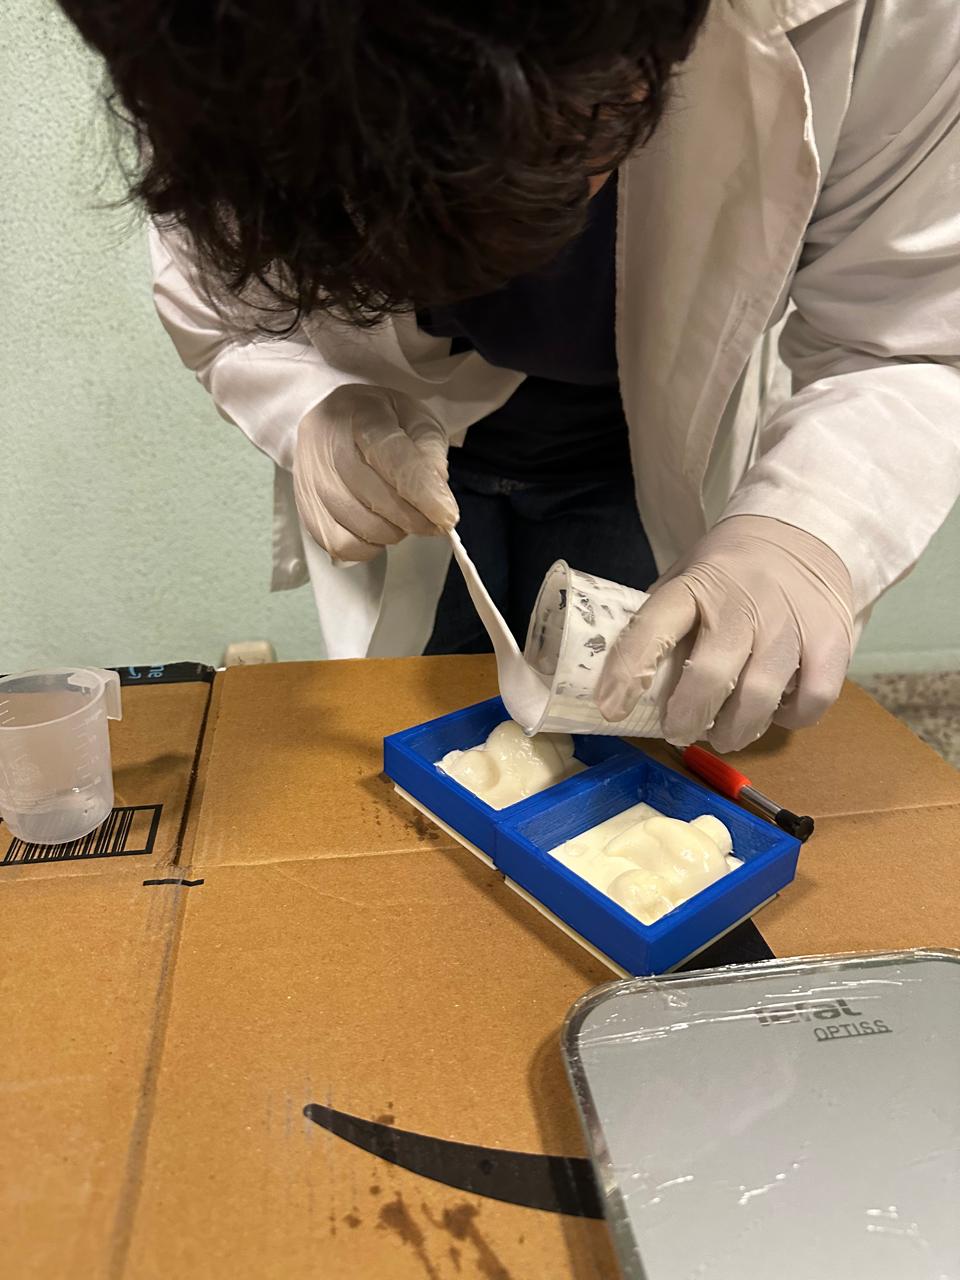
From there I repeated this process for the other mold.

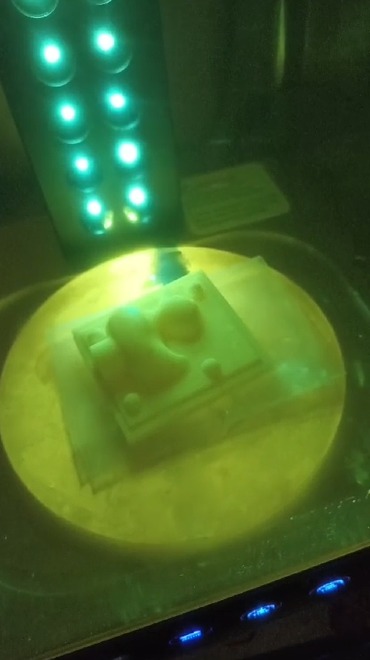
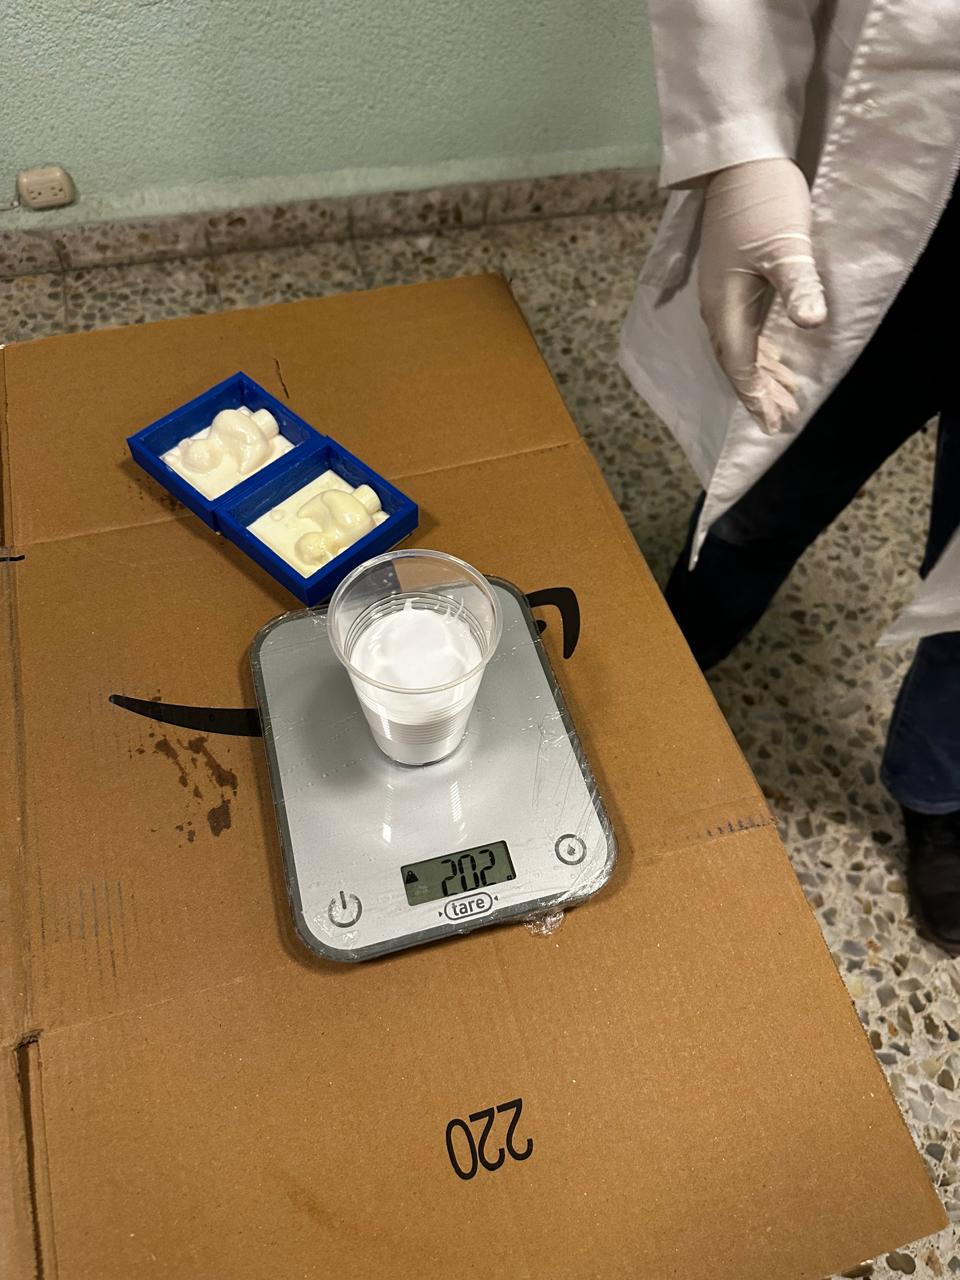
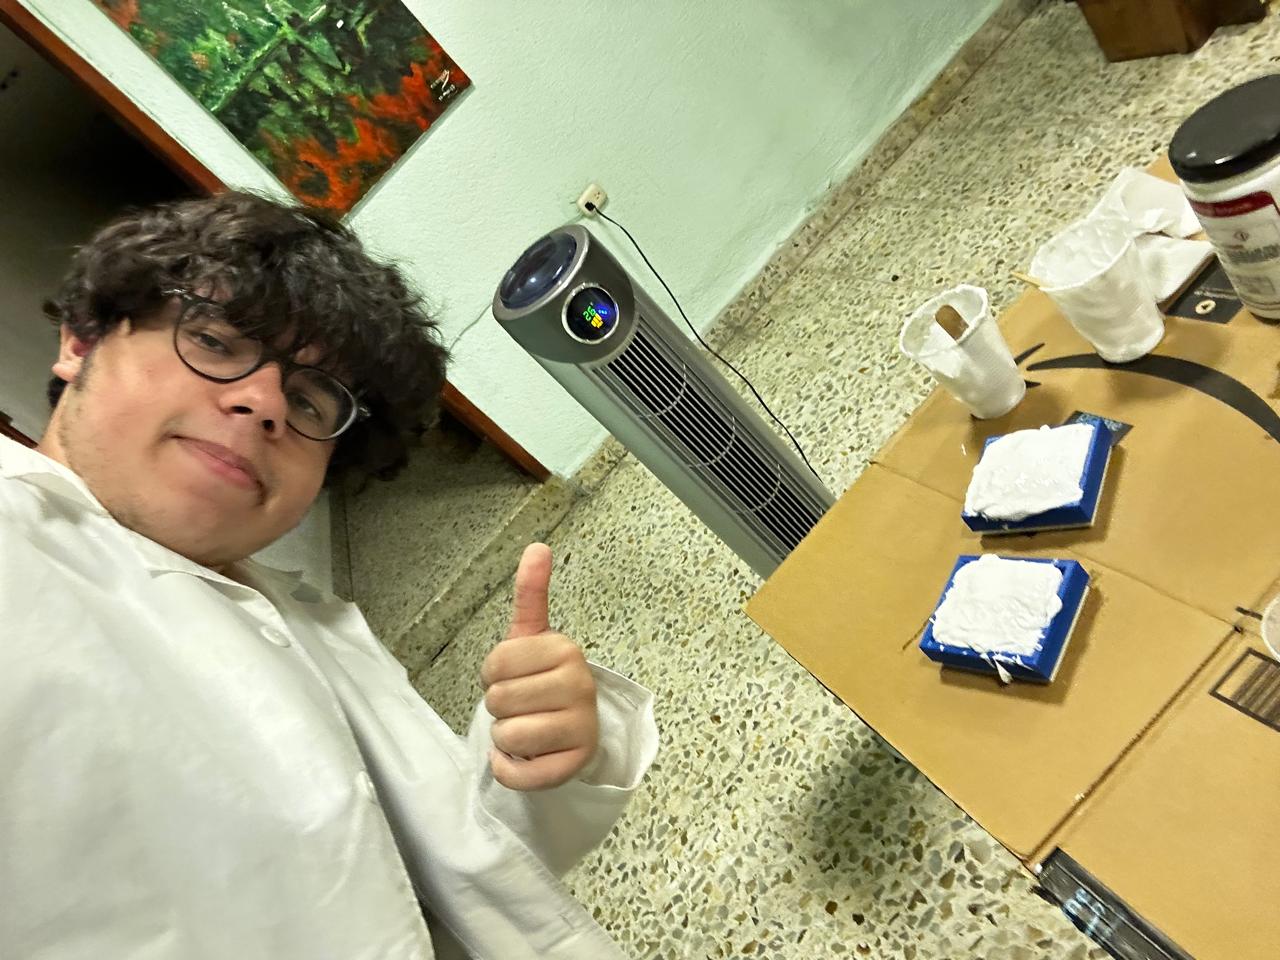
The silicone needed about four hours to cure fully so I placed a ventilator to help this process.
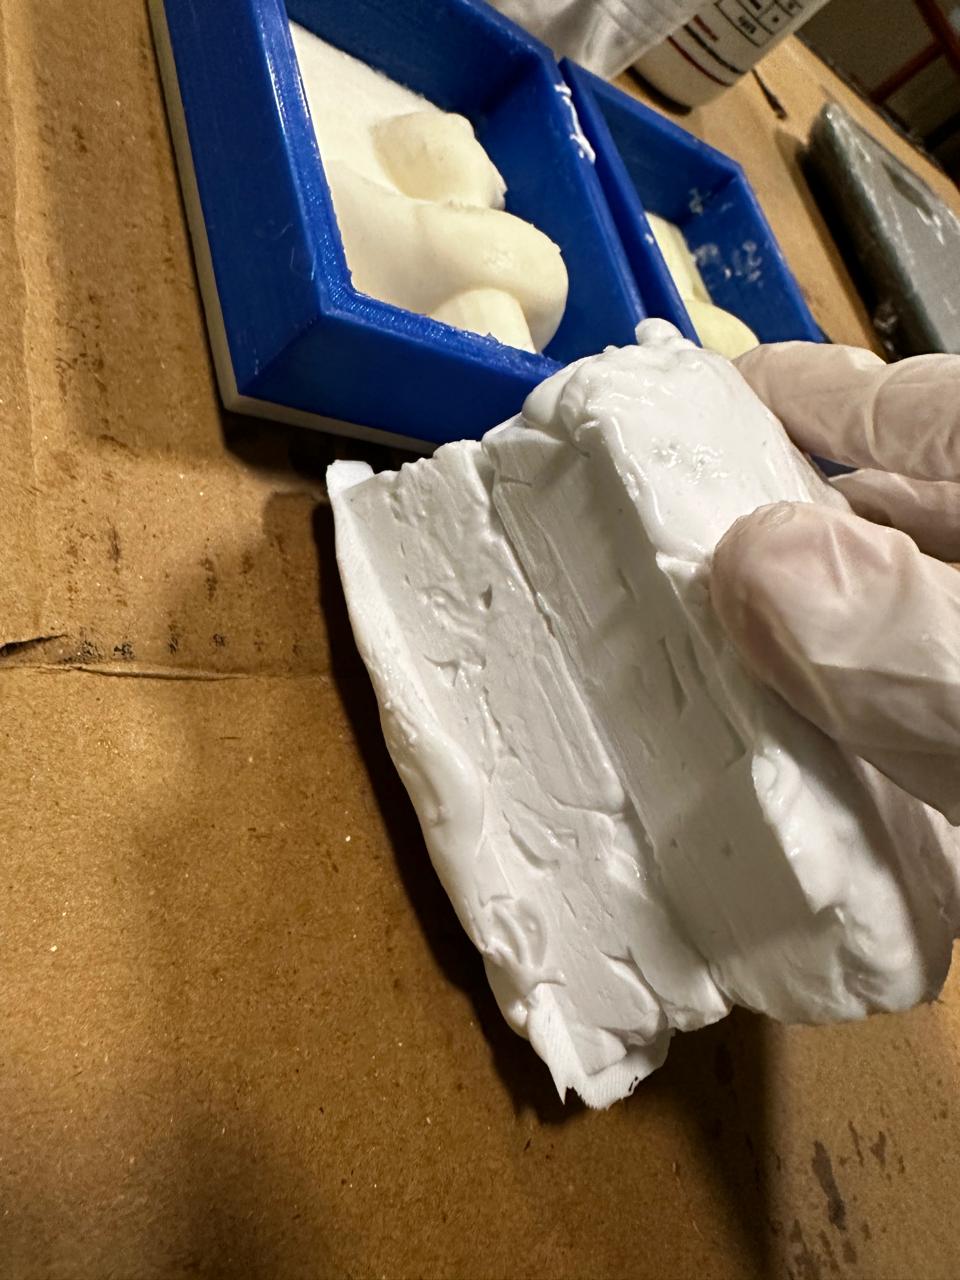
3rd Step: Extracting the Mold
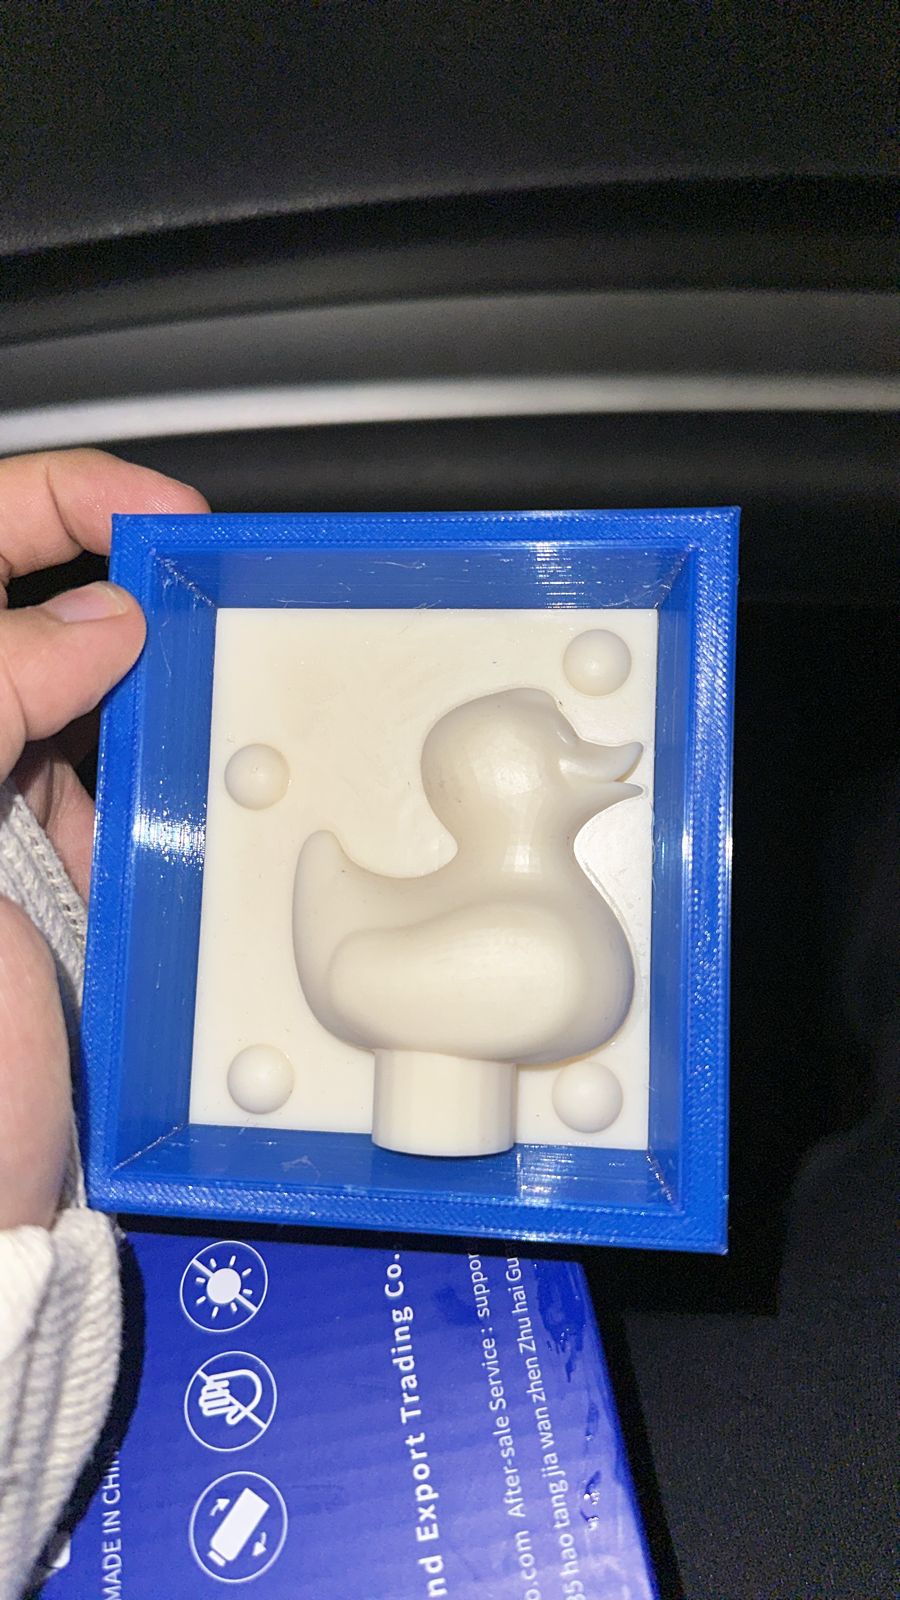
During this time, it transformed from a viscous liquid to a solid, flexible rubber that retained the intricate details of the duck design perfectly. Once cured, the mold could be easily removed, thanks to the Vaseline applied earlier, revealing a high-fidelity negative imprint of the rubber duck, ready for casting duplicates.
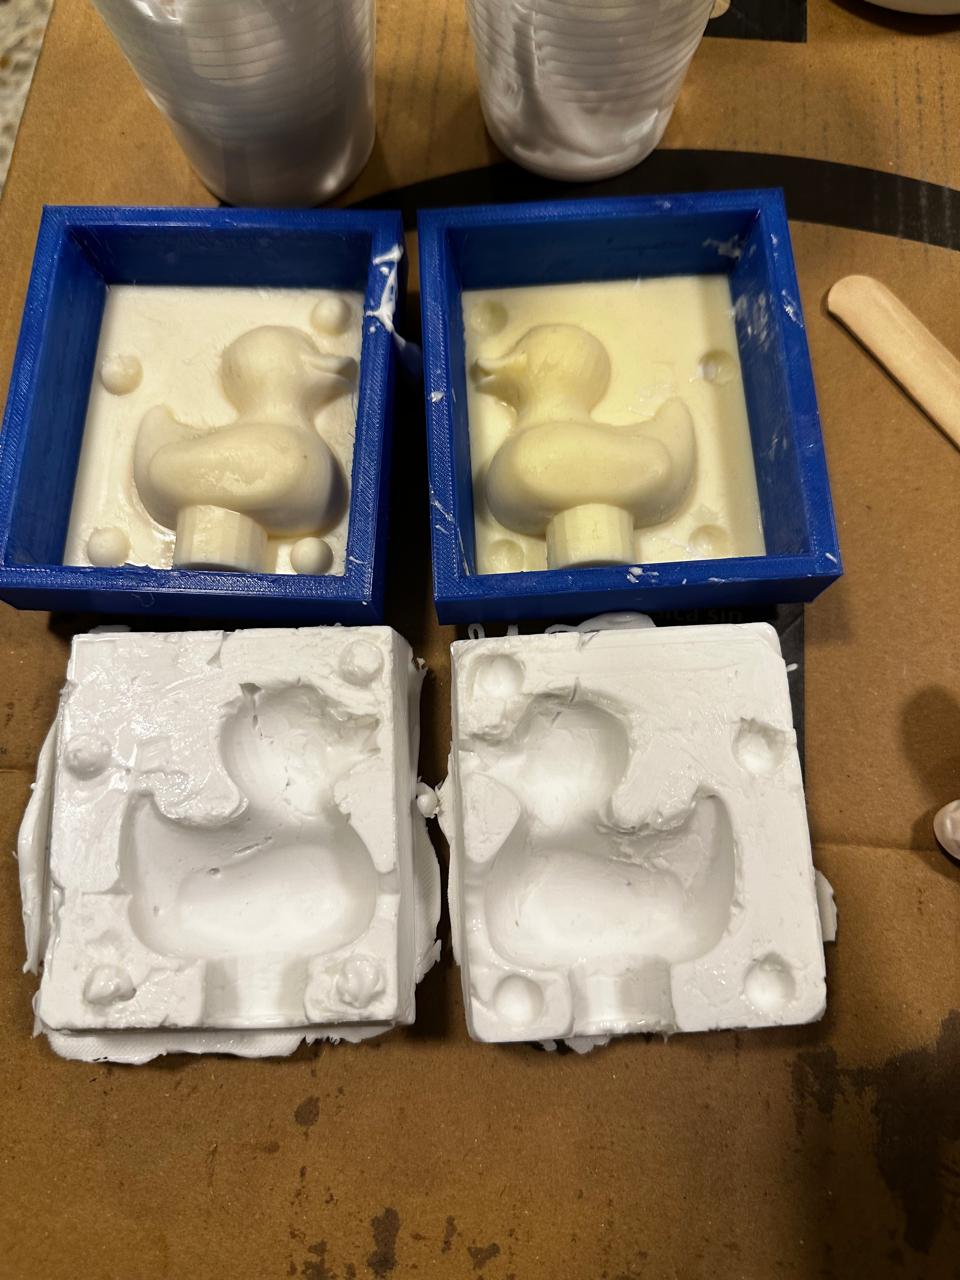
Let's look more closely into how it turned out:
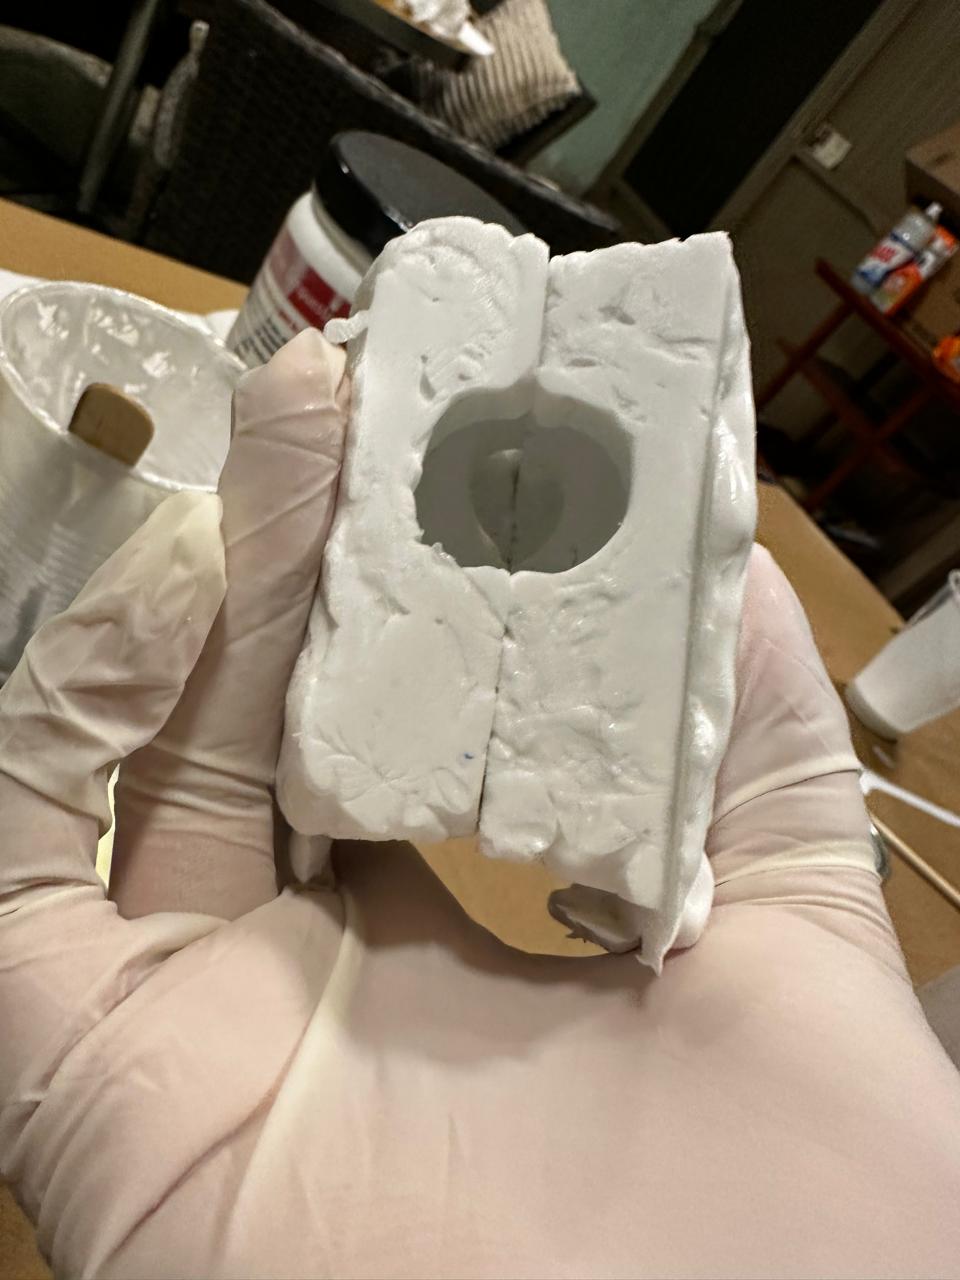
This process, while requiring precision and patience, is immensely rewarding. Not only does it allow for the creation of detailed replicas, but it also demonstrates the fascinating intersection of art and chemistry in the world of mold making.
Process of Creating the Piece:
During the process of creating my negative mold, I encountered several challenges, particularly with preventing leaks in the mold setup. Initially, I attempted to use cardboard as a barrier around the mold to contain the silicone mixture and later the resin. Despite my best efforts to seal the edges and joins, the cardboard proved inadequate for the task. To test the seal, I filled the mold with water, a method often used to identify leaks without wasting valuable materials. Unfortunately, this test also highlighted the weaknesses in my setup, as water seeped through the cardboard.
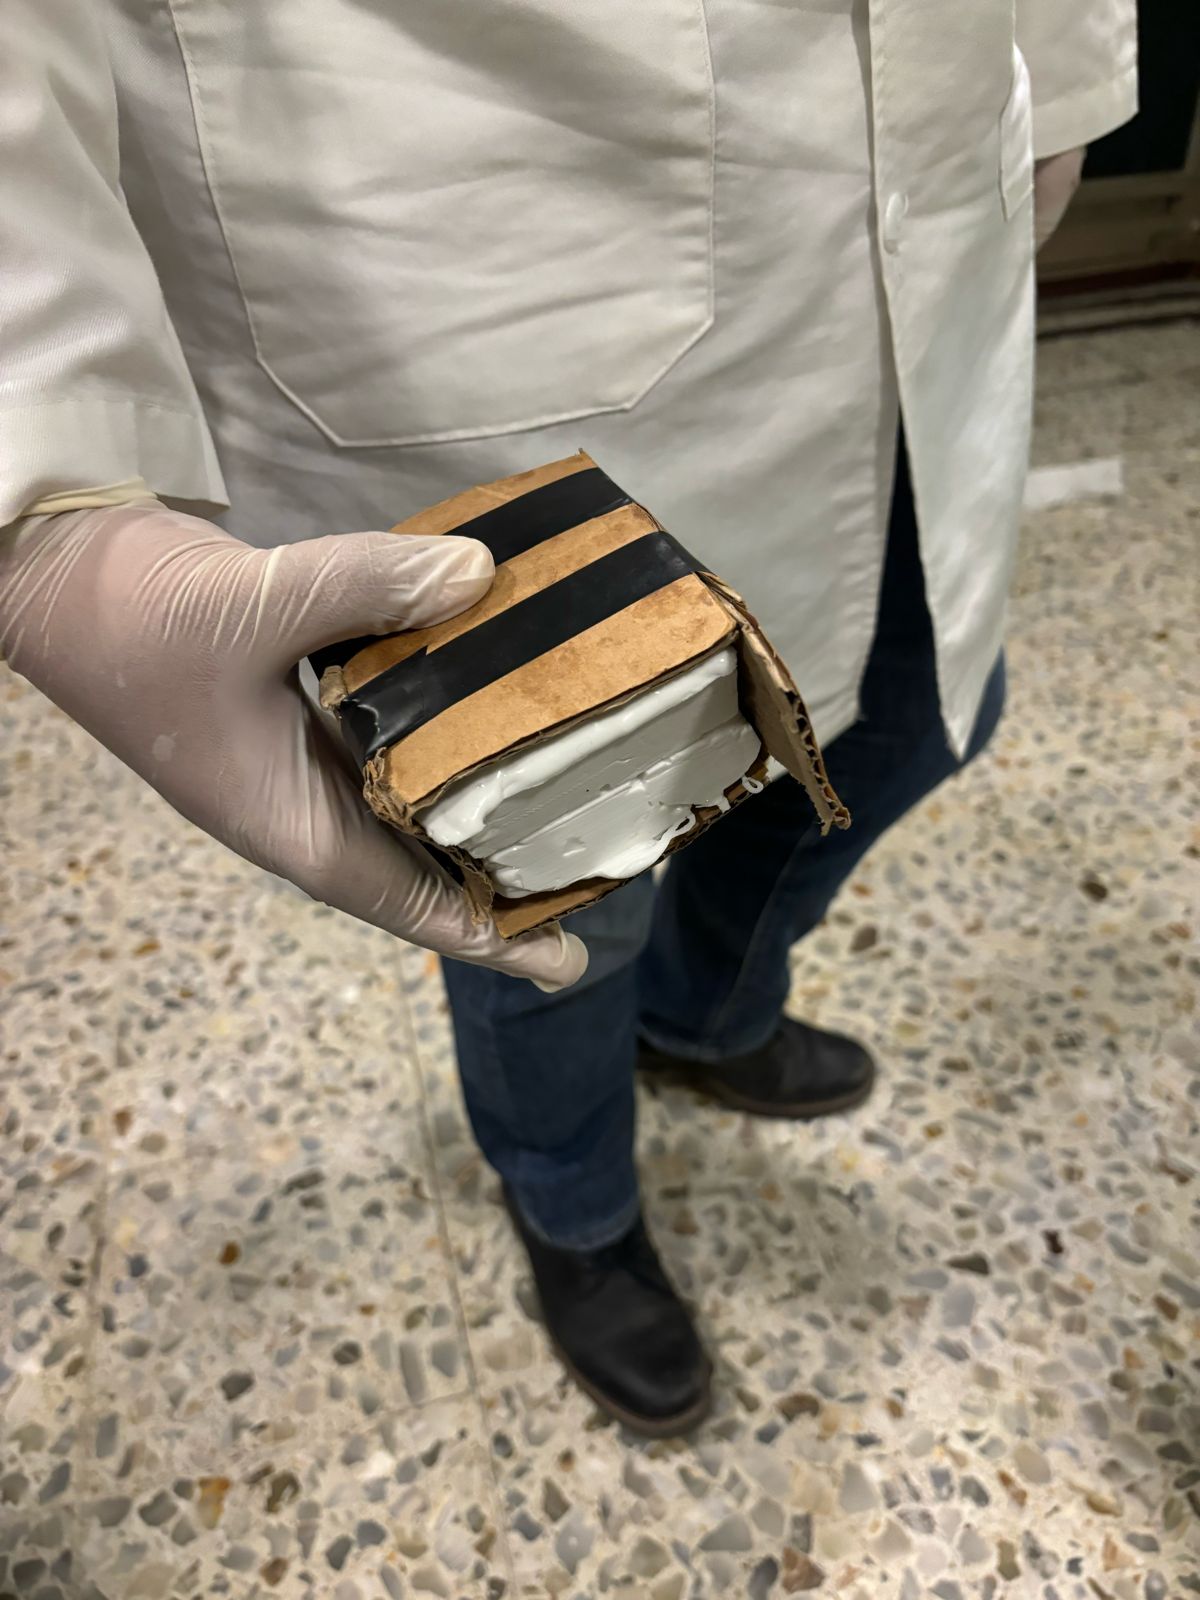
Recognizing the need for a more robust solution, I applied Vaseline not only inside the mold but also around the exterior edges where the cardboard met the mold. I hoped that this would enhance the seal and prevent leaks. Despite these measures, the Vaseline was only partially effective in stopping the leakage, indicating URGENTLY that a different approach was necessary. However, due to the time, I decided to risk it.
Now let's move forward to TOXICITY
DO NOT TRY THIS AT HOME WITHOUT THE PROPER GEAR AND IN AN OPEN AND VENTILATED SPACEMoving forward with the resin component (and with the proper gear), I prepared the mixture by combining 100g of Resin PP-70x60 with 35 drops of Catalyst K-2000. It was crucial to mix these components thoroughly to ensure a uniform reaction throughout the batch. I then proceeded to pour the resin into the mold, making sure to press both parts of the mold firmly together to minimize gaps and potential leak points.

However, despite my careful preparation and application, the resin leaked out of the mold. This not only wasted materials but also posed a significant cleanup and health hazard, given the toxicity and mess created by the leaking resin. After assessing the situation and the repeated failures with the cardboard and the sealant techniques, I decided to abandon this approach. The risks associated with the potential exposure to hazardous chemicals from the resin, coupled with the inefficacy of the setup, led me to conclude that this method was not viable for my project.
A Maker's philosophy: Be creative!
Just like solving a tricky problem in school, I encountered a real-world challenge during my project: the issue of leakage in my mold. To address this, I had to tap into my creativity and improvise a solution, much like working through a complex equation where every decision leads to a different outcome.
When considering my options to prevent leaks—cardboard, Flex Tape, or Jell-O—it became clear that a conventional approach might not suffice. After some thought, I decided to go with the most unconventional choice: Jell-O. This choice might seem out of the ordinary at first, but it offered unique properties that suited my needs perfectly. Jell-O, when prepared, is dense enough to hold the mold in place, preventing it from floating or moving. More importantly, once it sets, Jell-O takes on a solid form that molds precisely to the shapes it surrounds.

Using Jell-O, I created a custom-fit, leak-proof barrier around my mold. As it solidified, it formed an exact, tight seal around the structures, effectively preventing any resin from escaping. This creative solution not only addressed the leakage issue but also demonstrated how flexible and inventive problem-solving can lead to practical and effective results in unexpected ways. This approach underscores the importance of thinking outside the box and being open to unconventional methods when traditional ones fall short.
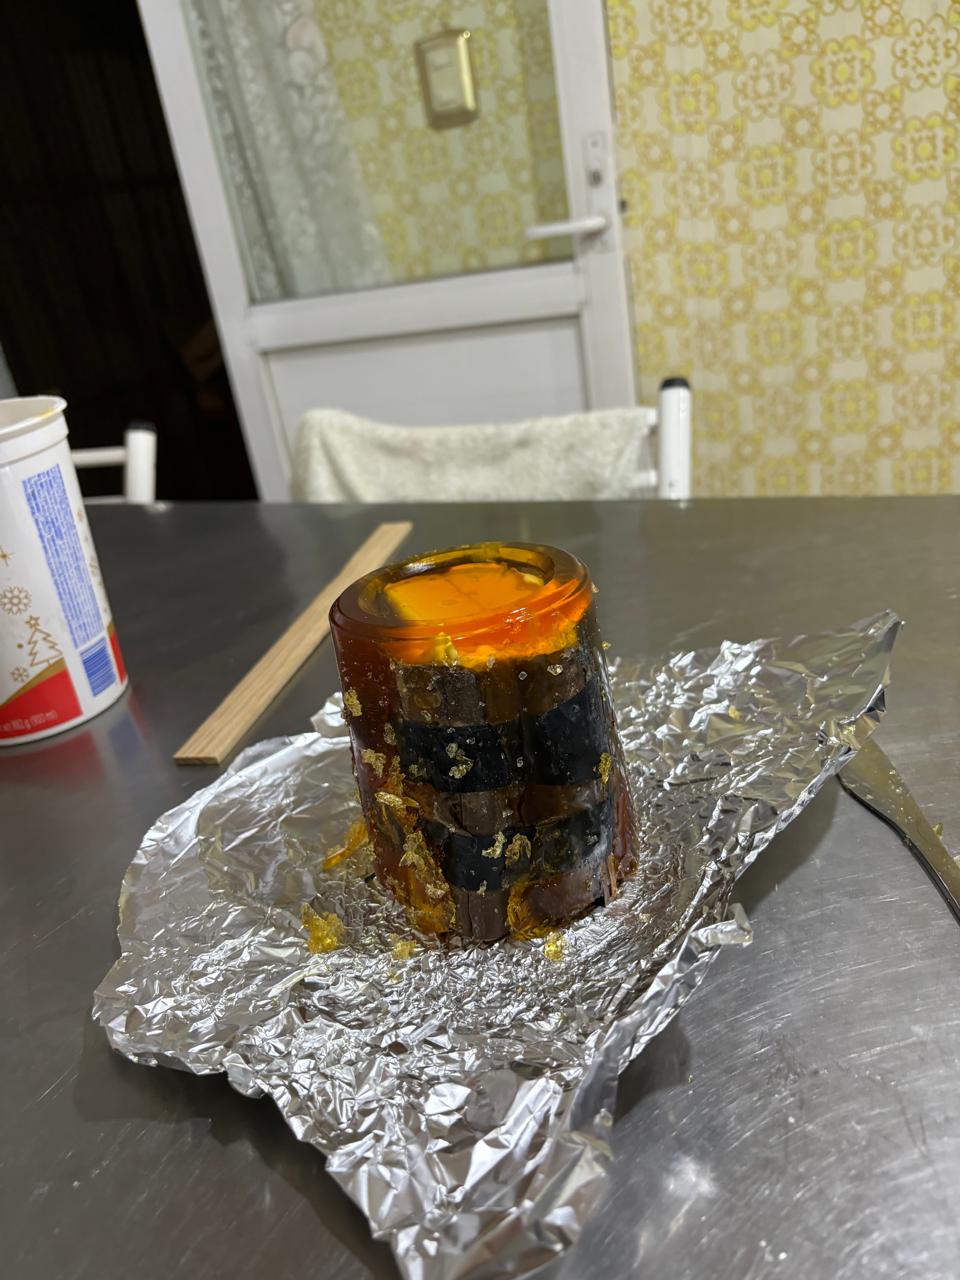
After a while I took it out...
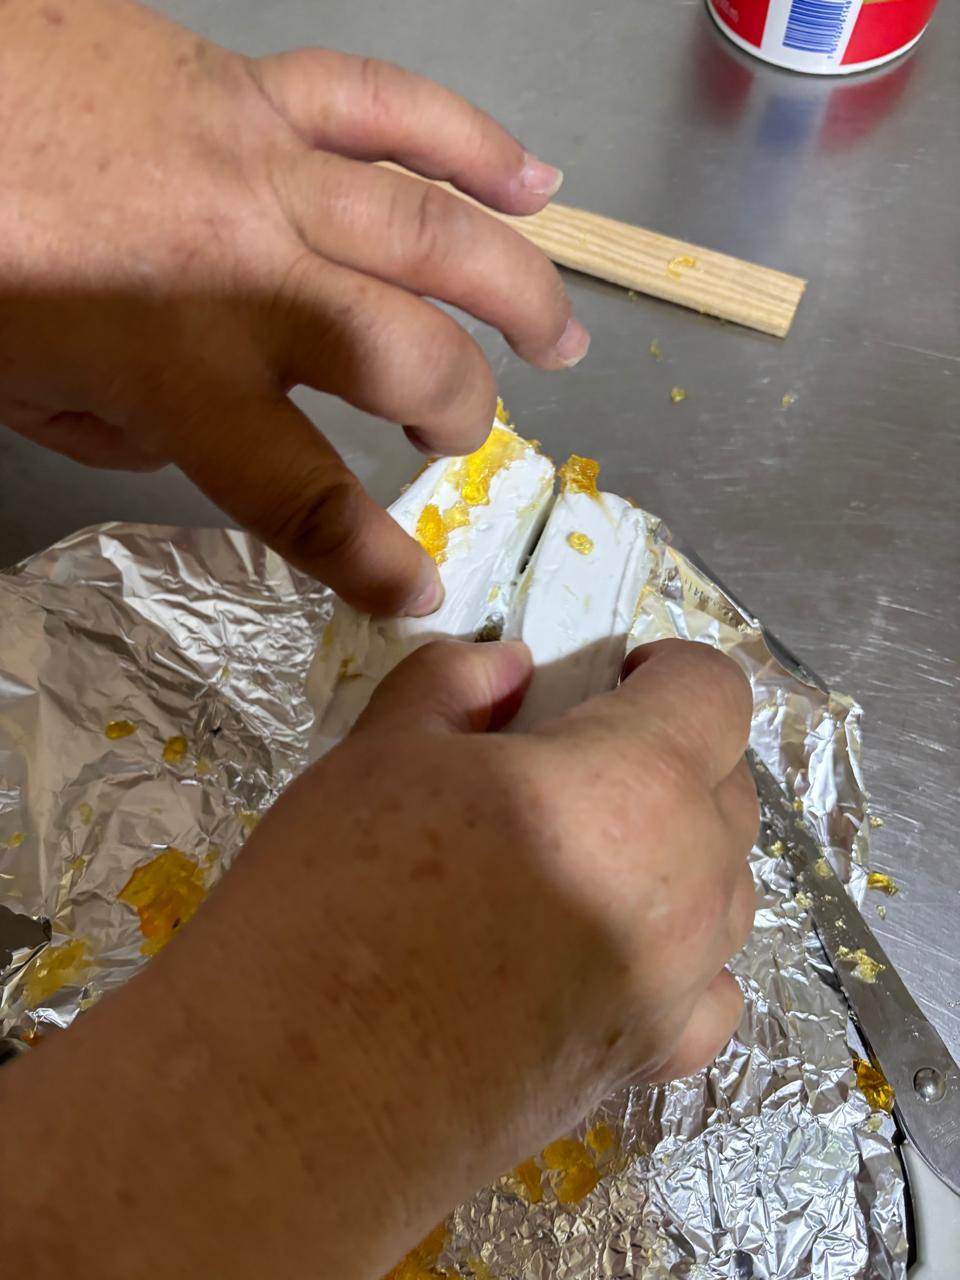
I began to cut off the Jell-o surrounding the mold...
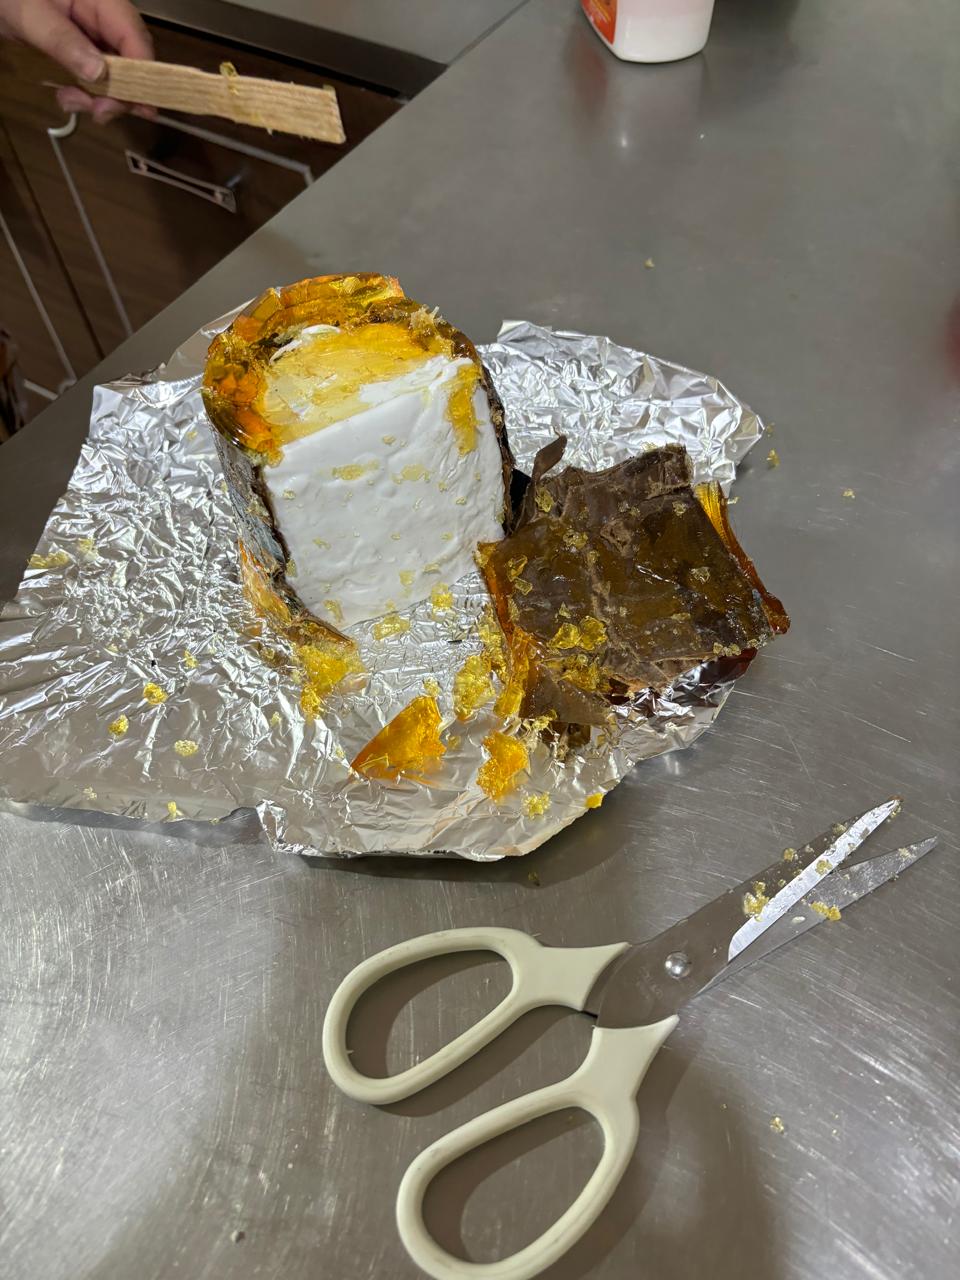
I began to open the mold...
AND BOOM
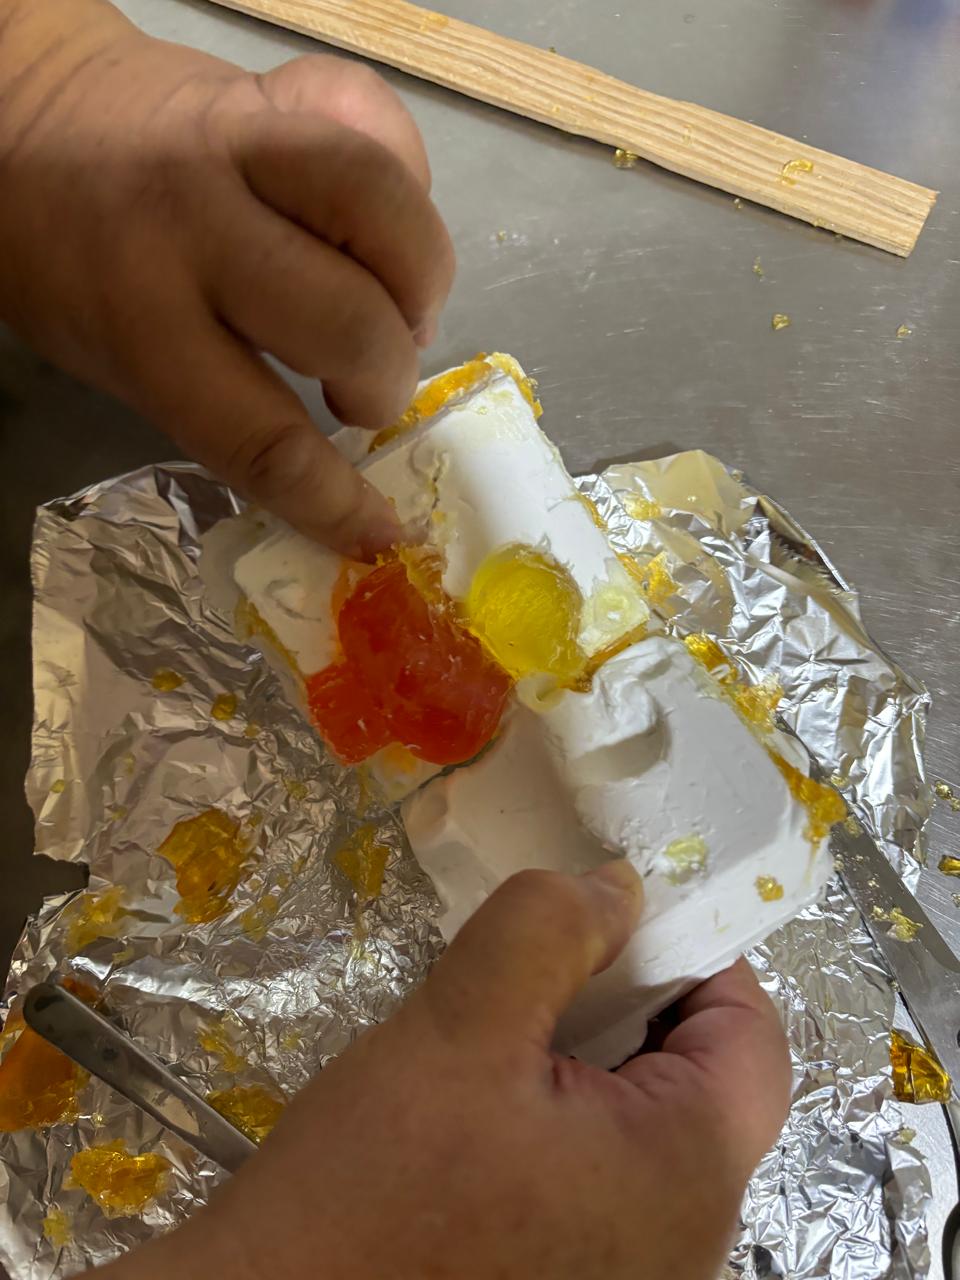
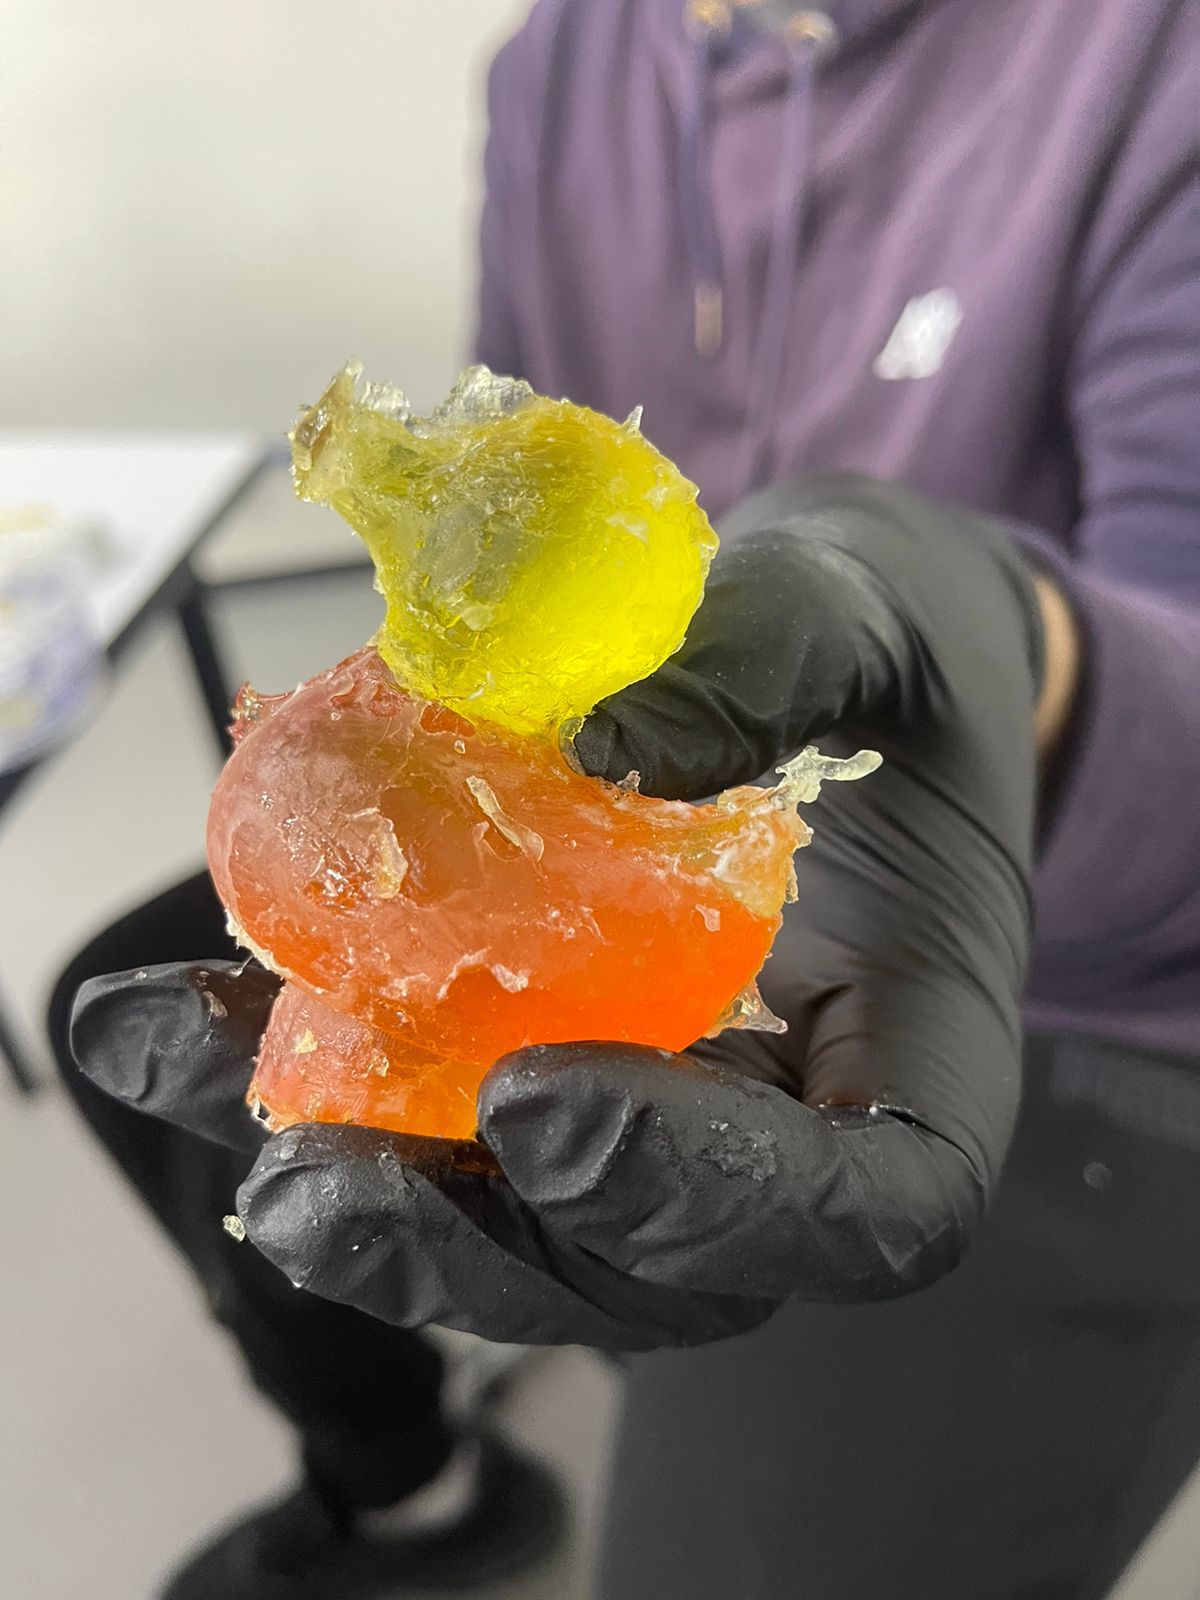
My creative solution of using Jell-O to prevent leakage in the mold-making process paid off in a surprisingly delightful way. The result was a unique, visually striking multicolored Jell-O-resin duck. The top half of the duck, crafted in resin, showcased the detailed and precise shaping capabilities of my mold, while the bottom half, formed in Jell-O, added a playful, colorful twist to the creation.
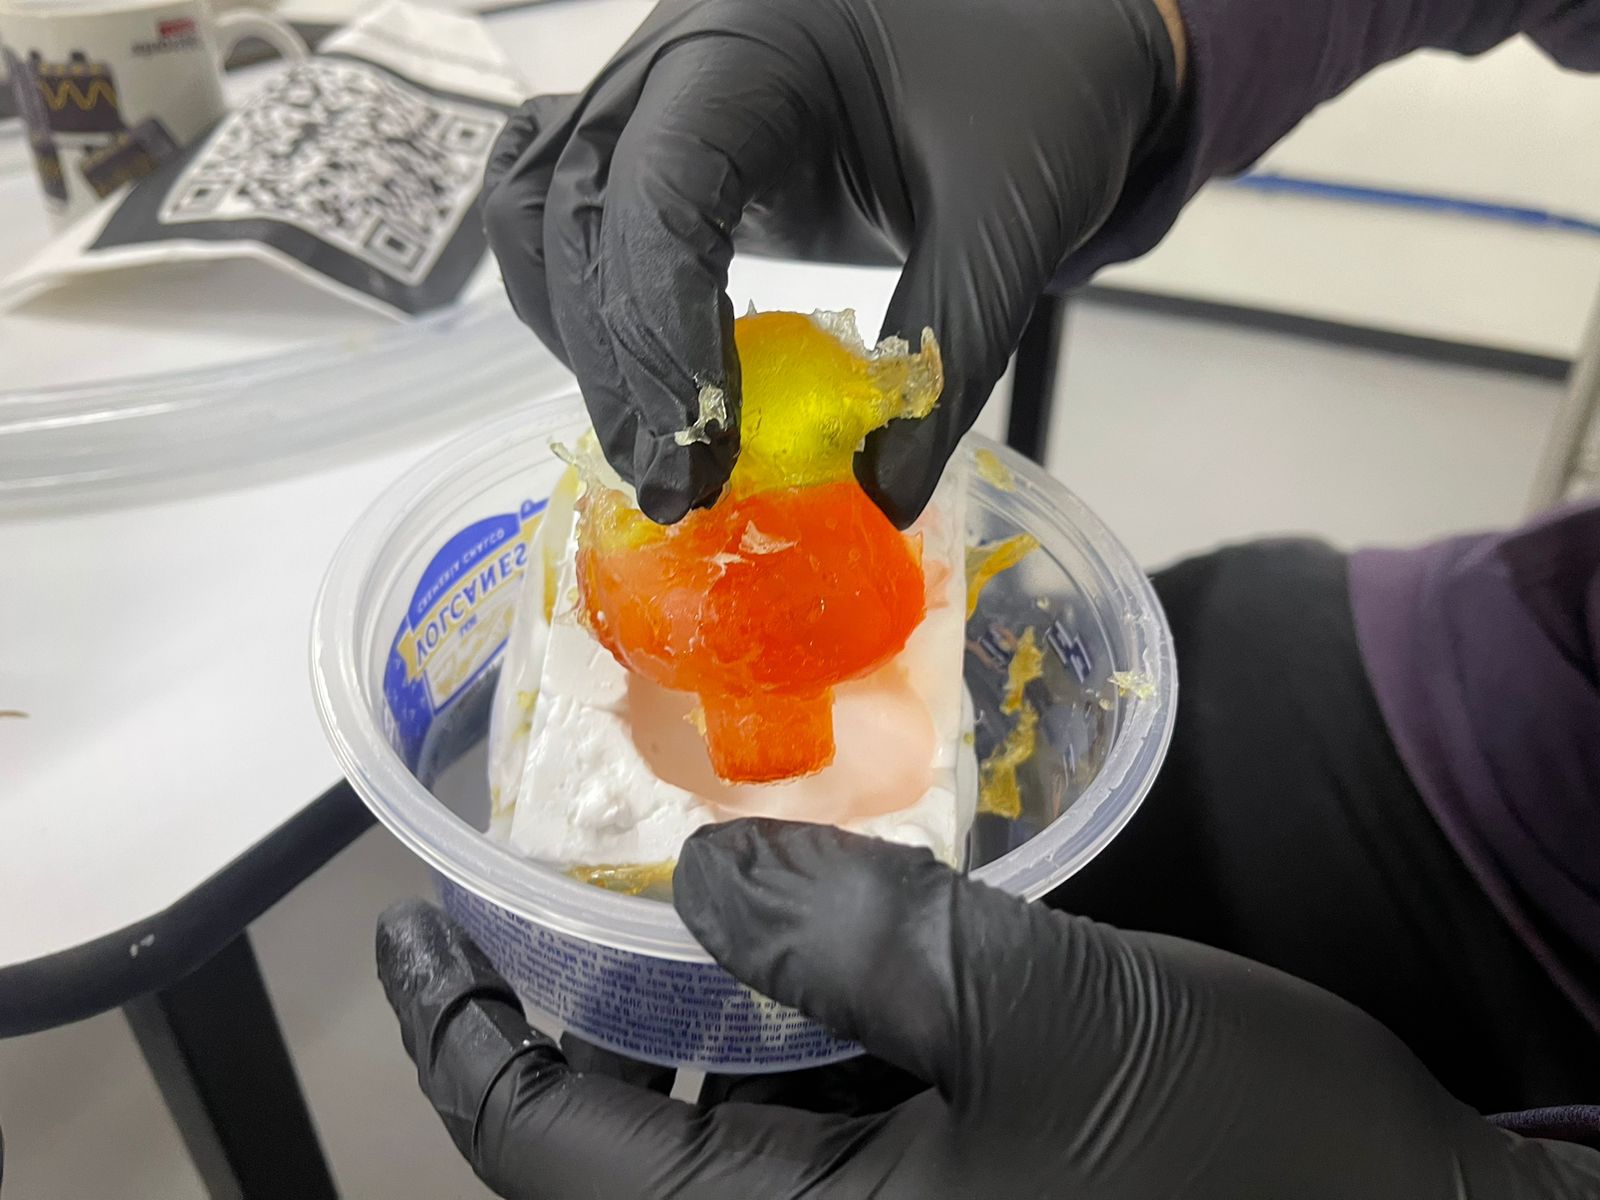
This unconventional combination did more than just solve a technical problem; it transformed the project into an irreplicable and unique art piece, blurring the lines between functionality and aesthetics. The clear, solid resin head of the duck contrasted beautifully with the translucent, vibrantly colored Jell-O, creating a fascinating visual texture that was both unexpected and pleasing to the eye.
“Science, my lad, is made up of mistakes, but they are mistakes which it is useful to make, because they lead little by little to the truth.” - Jules Verne
But... why did resin appear if everything leaked out?
Welcome to David's 101 lesson! You see... Resin, especially types like the unsaturated polyester resin I used, typically requires a catalyst to initiate the curing process, transforming it from a liquid to a solid state. When preparing to cast the resin, the mixture of resin and catalyst must be precise to ensure a proper reaction. The resin needs to be in a controlled environment where factors like temperature and exposure are managed to prevent premature curing or improper setting.
In this case, using water algonside Jell-o introduced several beneficial effects:
- Temperature Control: Water has a high specific heat capacity, which means it can absorb a lot of heat energy without a significant rise in temperature. By surrounding part of the mold with water, it helped regulate the temperature during the resin's curing process. This is critical because if the resin gets too hot too quickly (a common issue known as exothermic reaction during curing), it can crack or cure unevenly.
- Pressure and Support: The water provided hydrostatic pressure, which is the pressure exerted by a fluid due to gravity. This pressure helped keep the resin in place, pushing it into all crevices of the mold for better detail fidelity. Additionally, water helps support the mold, maintaining its shape and integrity as the resin cures, preventing warping or distortion.
- Barrier Formation: Interestingly, the water also played a role in helping to form a barrier between the resin and Jell-O components. While Jell-O set into a gelatinous, semi-solid form, the water could have created a thin, impermeable layer. This layer prevented the Jell-O from mixing with the uncured resin, allowing each material to set into distinct halves of the duck without bleeding into one another.
The result was a resin duck head that not only set properly and maintained fine details due to the controlled curing environment provided by the water but also remained distinct from the colorful Jell-O used in the rest of the mold. This method showcased how water could be ingeniously used to aid in the curing process of resin, ensuring both aesthetic qualities and structural integrity in composite crafts and projects.
Conclusion:
In conclusion, the journey of creating a multicolored Jell-O-resin duck highlighted not only the importance of creativity in problem-solving but also the utility of unconventional methods in achieving technical goals. By turning to Jell-O as a solution to prevent leakage in the mold-making process, I not only addressed a functional issue but also discovered a novel way to enhance the aesthetic appeal of the project. The successful integration of resin and Jell-O, facilitated by the strategic use of water to control the curing environment and maintain separation, resulted in a visually stunning piece that exceeded expectations.
This project serves as a testament to the power of innovative thinking and the potential of everyday materials to solve complex problems. It underscored the significance of experimenting with diverse materials and techniques, revealing that the boundaries of creative expression and practical engineering are only limited by one's imagination. The result was not just a functional mold but a work of art that demonstrated the effectiveness of the mold and the dynamic interplay between different materials. Such experiences enrich our understanding and approach to design and fabrication, encouraging a more explorative and open-minded stance in future projects.
The Files:
Below you can find the download links for all of the files from this week.