Finally something I kinda know!
3D PRINTING
A printing in 3D???
The wonder of 3D printing lies in its simplicity and complexity: it's the art of turning a digital blueprint into a tangible, three-dimensional object by meticulously adding material layer by layer. Unlike the traditional methods of CNC machining or injection molding, 3D printing doesn't rely on any extra tools to chisel or shape; instead, it constructs the object directly on the platform, offering the freedom to fabricate intricate designs that were once considered unattainable.
From the digital confines of CAD software, a creation is brought to life. The 3D model is sliced into thin, two-dimensional layers, then translated into a language the printer can understand—G code. With a symphony of moving parts, the printer breathes life into designs, from simple geometric shapes to the most elaborate constructs.
3D printing technologies are diverse, each with their unique method of laying down the future, layer by layer—be it through the precision of a nozzle in FDM or the focused intensity of UV light in SLA. Materials too, range widely, with plastics leading the charge and metals following suit, expanding the horizons of possibility.
In the realm of 3D printing, the advantages shine bright: complex geometries at no extra cost, customization at the touch of a button, and rapid prototyping that turns days into hours. Yet, challenges persist—strength and precision may falter, and the economics of scale can dampen its allure for mass production.
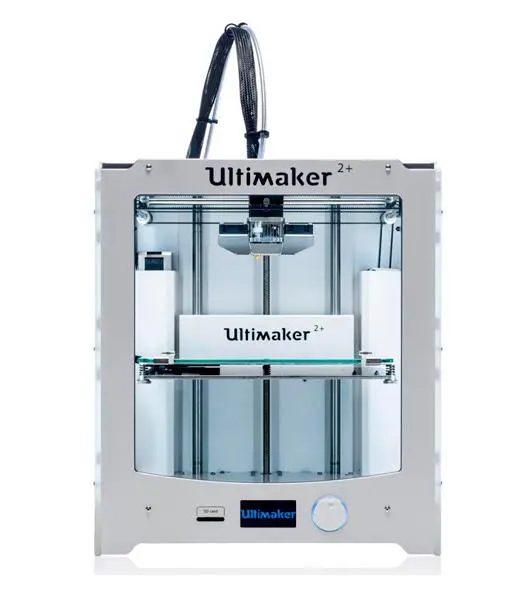
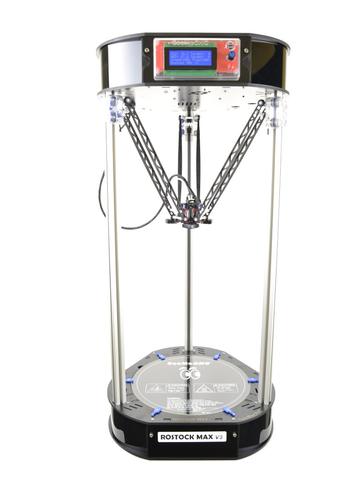
Nestled within the innovative halls of IDIT, the FabLab Puebla stands equipped with an arsenal of 3D printers, each ready to transform the abstract into the actual, the digital into the physical. As seen on this week's Group Assignment.
The technology of 3D Printing spans various methods:
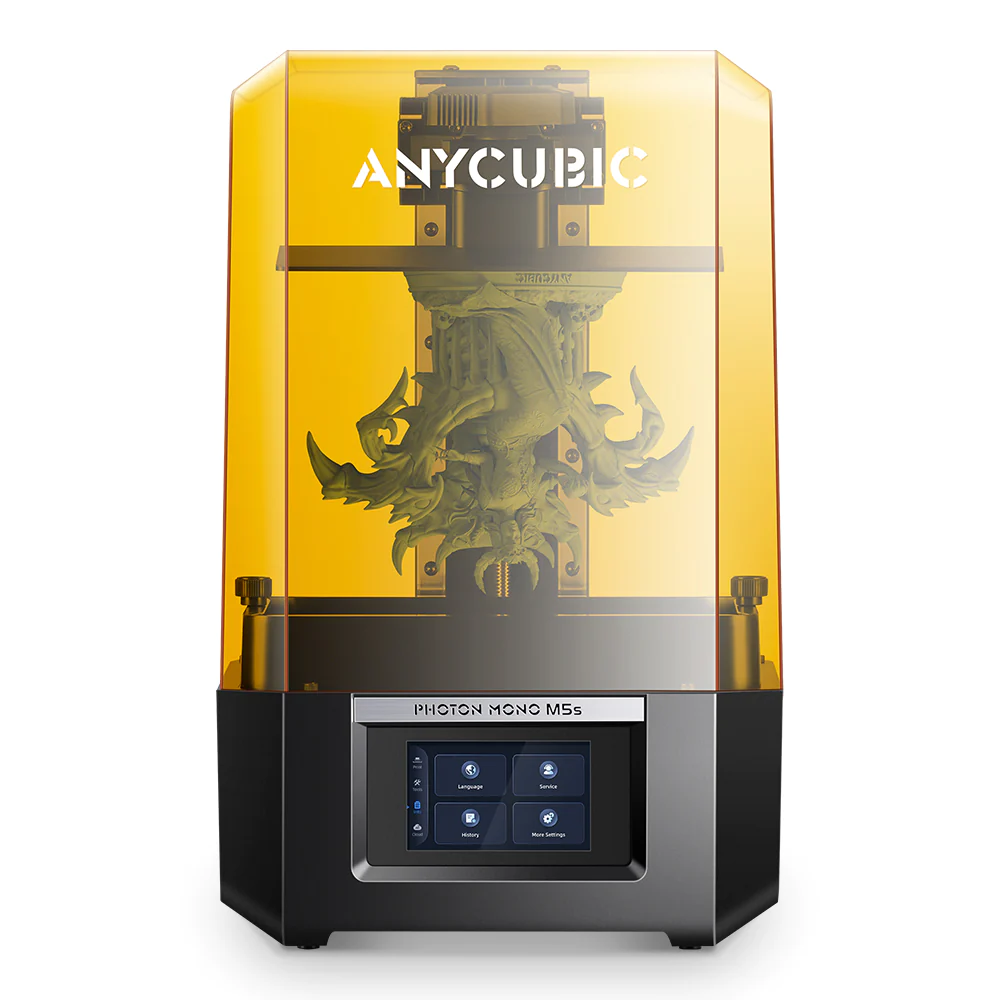
- Stereolithography (SLA): uses a UV laser to solidify liquid resin, ideal for intricate models.
- Selective Laser Sintering (SLS): fuses powder materials with a laser, allowing complex designs without additional supports.
- Fused Deposition Modeling (FDM): operates like a high-precision glue gun, extruding heated plastic for versatile and functional creations.
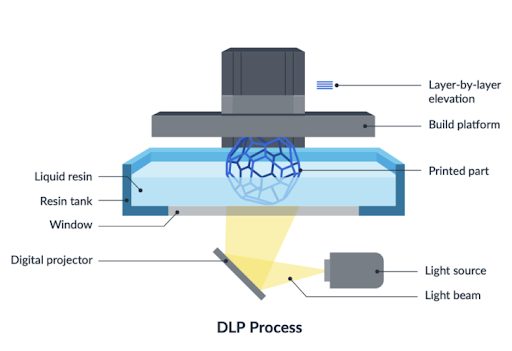
- Digital Light Processing (DLP) and similar methods employ light to cure materials faster than traditional methods.
- Multi Jet Fusion (MJF) and PolyJet technologies offer high-detail printing, with MJF focusing on fine details and PolyJet on multi-material and multi-color prints.
- Direct Metal Laser Sintering (DMLS) and Electron Beam Melting (EBM): advanced techniques for creating metal objects, useful in industries like aerospace and medicine.
At FabLab Puebla, we primarily have access to DLP and MSLA, harnessing these technologies for a variety of applications.
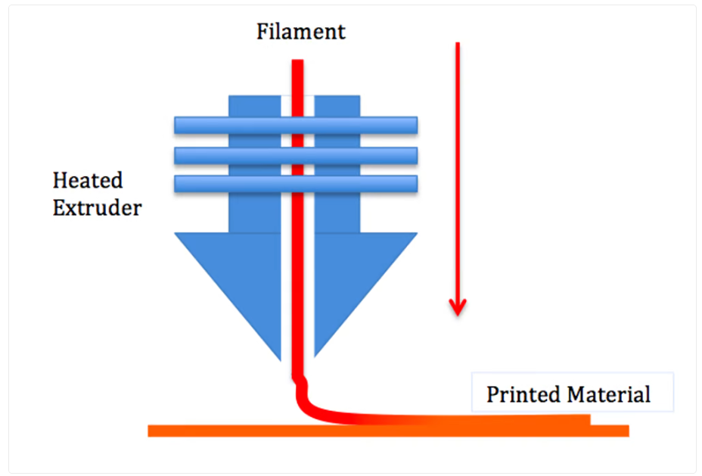
For my exploration into Fused Deposition Modeling (FDM), I've gained an in-depth understanding of its mechanics. This technology uses a thermoplastic filament, which is fed from a spool to an extrusion head that heats up to a precisely controlled temperature.
The filament is then extruded through a nozzle and deposited layer by layer onto the build platform. Each layer solidifies as it cools, gradually building up the three-dimensional object from the bottom up. After the object is fully printed, it may require some post-processing to remove any support structures or to smooth the surface for the desired finish.
This process has reinforced my appreciation for the intricate balance of temperature control, material properties, and precise mechanical movement that FDM requires.

Here's a condensed list highlighting the unique properties and applications of various 3D printing plastics:
| Material | Description |
|---|---|
| PLA: | Biodegradable, stiff, detailed, for non-functional prototyping; not heat-resistant. |
| ABS: | Common plastic with strong mechanical properties and impact strength; less detailed than PLA. |
| Resin: | Produces parts with high detail and a smooth surface, mimicking injection molding. |
| Nylon: | Durable, chemically resistant, used for functional parts replacing injection molding. |
| PETG: | Sterilizable, impact-resistant, flexible, good for mechanical parts. |
| TPU: | Flexible, rubber-like material for tubes, grips, seals, and gaskets. |
| ASA: | UV stable, chemically resistant, ideal for outdoor applications. |
| PEI: | Engineering plastic for high-performance applications, flame retardant. |
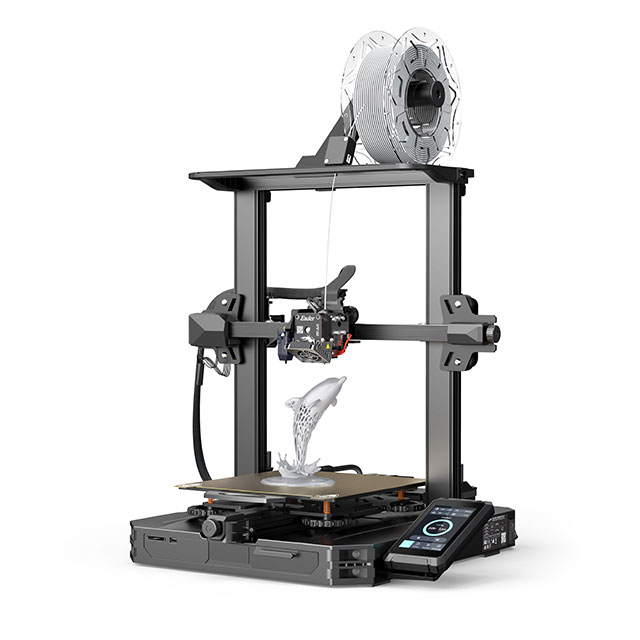
Choosing a printer: The Ender 3 S1 Pro
Choosing the Ender 3 S1 Pro was an excellent decision for me, striking a balance between simplicity for beginners and advanced capabilities for seasoned users. Its FDM printing technology, coupled with a generous build volume of 220 x 220 x 270 mm, provides ample space for various projects. The impressive printing speed of up to 150 mm/s, precise XY resolution of ± 0.1 mm, and a versatile layer height range from 0.05 to 0.4 mm, make it a swift and precise machine. With a nozzle that can heat up to 300° C, it can handle a wide array of materials including PLA, ABS, PETG, TPU, PA, and even composite materials like WOOD. This versatility ensures I can experiment with different textures and material properties, making the Ender 3 S1 Pro a reliable and effective tool in my 3D printing arsenal.
General Design
The (most) important rules.
In the nuanced realm of 3D printing, certain design aspects warrant meticulous consideration to ensure optimal print quality.
Overhangs and Support Structures
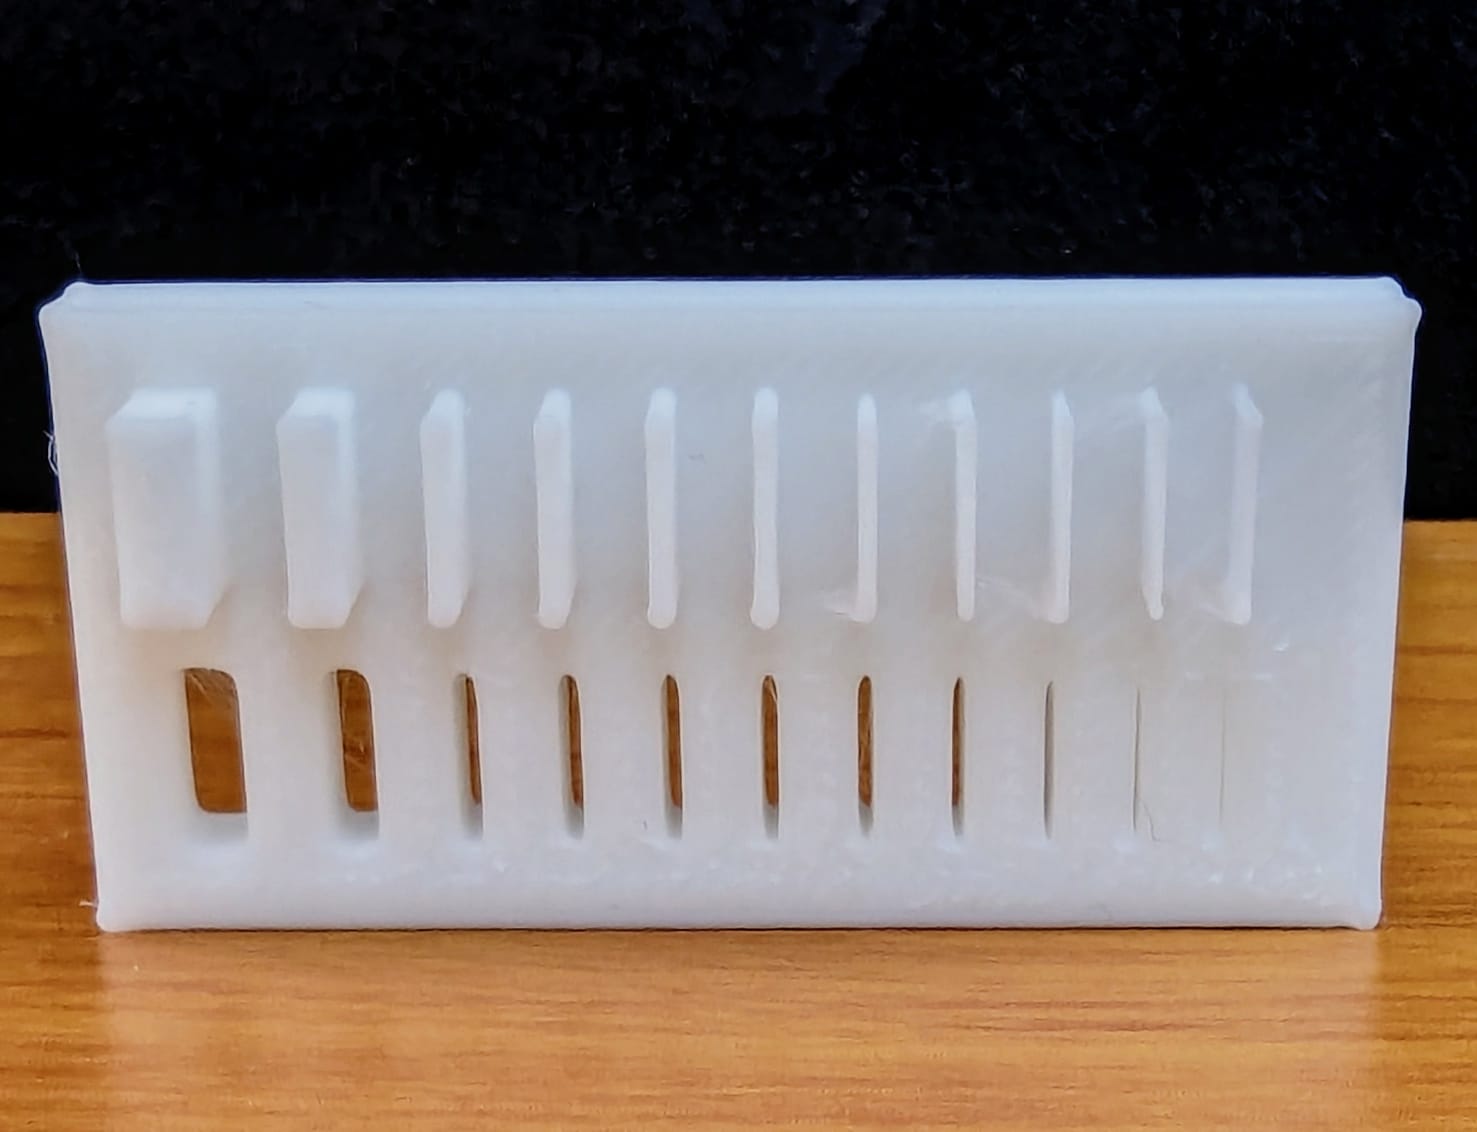
In 3D printing, managing overhangs is crucial as they are sections extending beyond the layer below, unsupported or partially supported. Printers like FDM and SLA can handle overhangs up to a 45-degree angle effectively. Designing within this angle helps avoid the need for additional support structures, making the printing process more streamlined and material-efficient.
Wall Thickness and Structural Integrity
Wall thickness is vital for the durability of the printed part. While 3D printing can produce thin features, there's a practical limit to how thin these can be while maintaining structural strength. A minimum wall thickness of 0.8 mm is recommended for ensuring that the parts are durable and can withstand handling and use. This guideline holds across various printing processes, providing a balance between the finesse of the design and its practical strength.
Warping: Mitigation Strategies
Warping, caused by uneven heating and cooling of the material, is a common issue in 3D printing. Large flat surfaces are particularly prone to warping. To mitigate this, incorporating design elements like rounded corners helps distribute stress more evenly, reducing the likelihood of warping. These adjustments in the design phase can significantly improve the quality of the final print.
Detail Resolution and Printer Capabilities
The level of detail in a 3D printed object is closely linked to the printer's resolution and the specific mechanics of the printing process. While higher detail levels are desirable for aesthetic and functional purposes, they can increase printing time and material costs. A balance needs to be struck between the required level of detail and practical considerations like printing efficiency and resource utilization.
The Piece
WHO IS THAT POKÉMON?
Crafting a 3D-printed Weedle was an endeavor that combined the joys of design with the thrill of seeing a creation come to life. The process first began with a digital sculpting session in Tinkercad, where I meticulously shaped each part of Weedle's iconic form, from the pointed nose to the spherical tail.
From there I designed a not substractive Weedle. For this I deconstructed Weedle into segments that could pivot or twist, similar to a real worm’s locomotion. This meant designing interlocking joints that could move freely post-printing, without the constraints of support structures that are common in subtractive methods. Each segment was carefully engineered to maintain Weedle's iconic shape while adding functionality.
Model in Sketchfab exported from Tinkercad:
The printing process required precise control over the layer height and temperature to ensure that the segments were sturdy yet movable. By using an FDM printer like the Ender 3 S1 Pro, with its fine layer resolution and ability to work with a variety of materials, I could effectively print a non-subtractive, articulated Weedle.
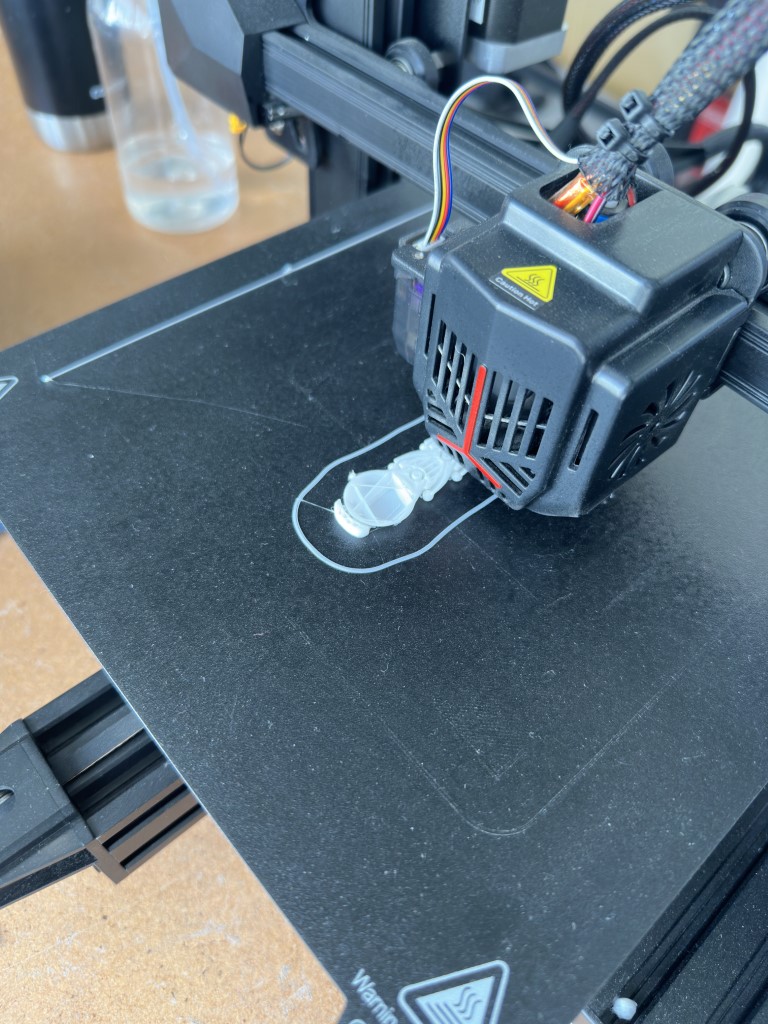
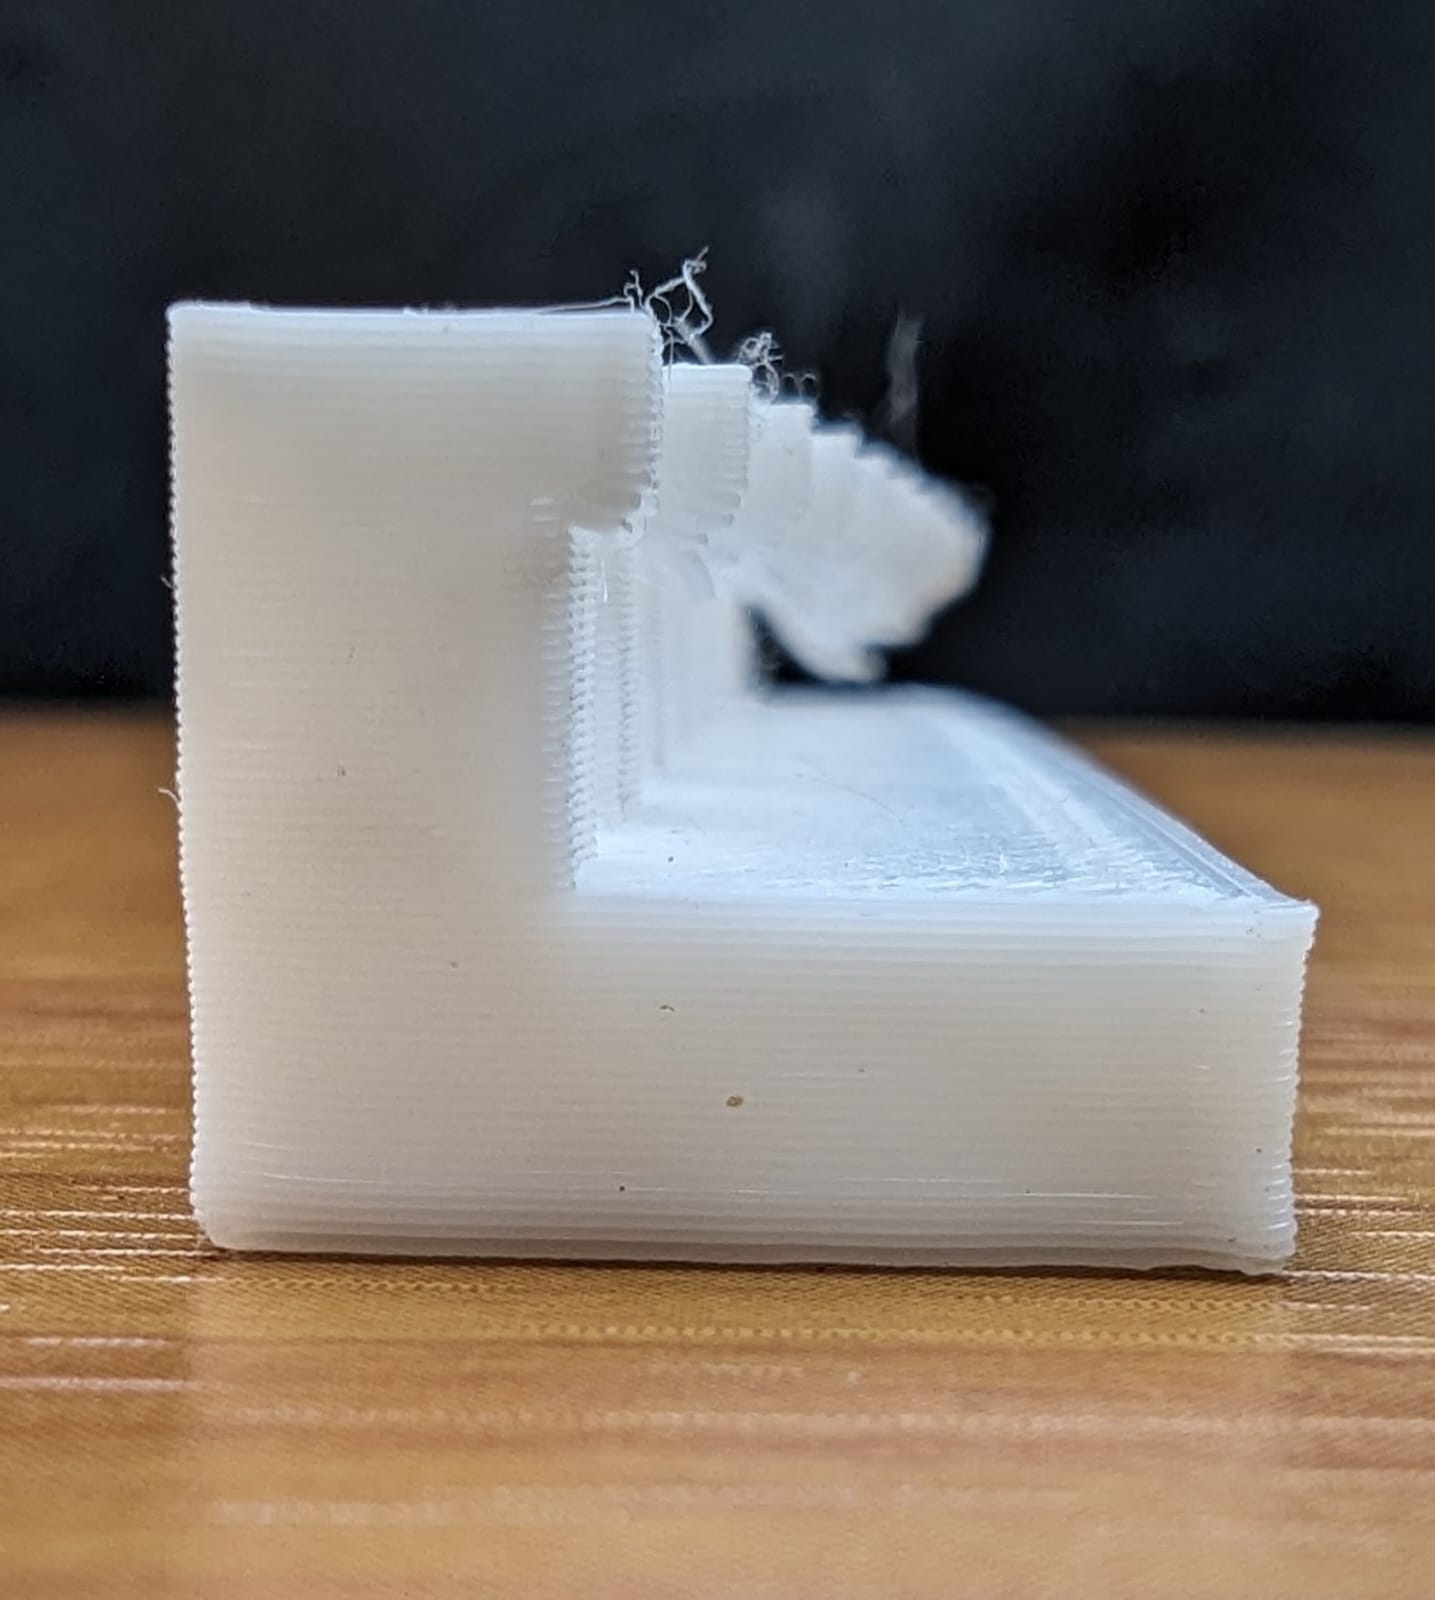
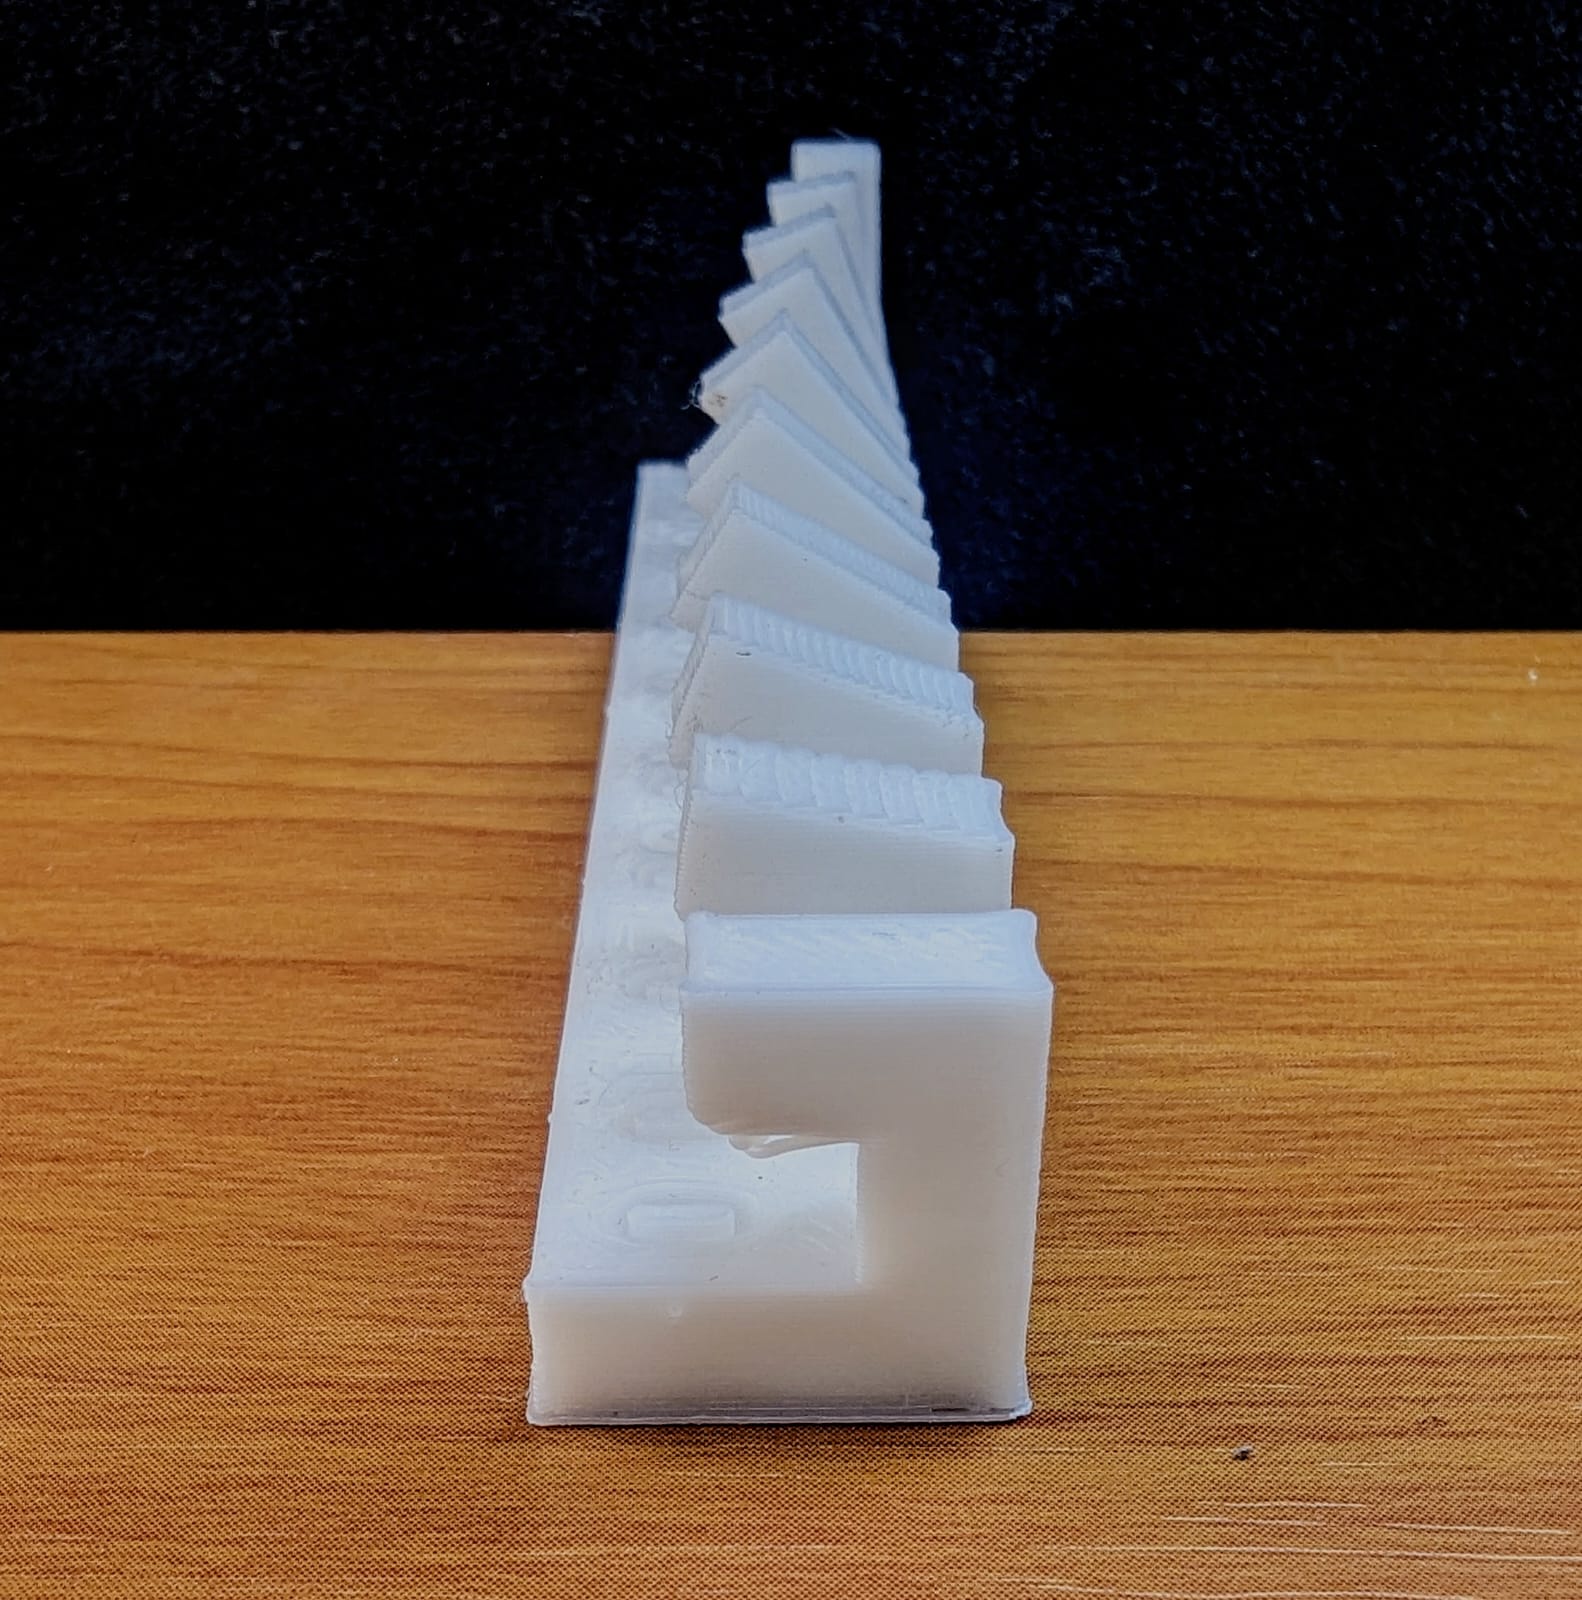
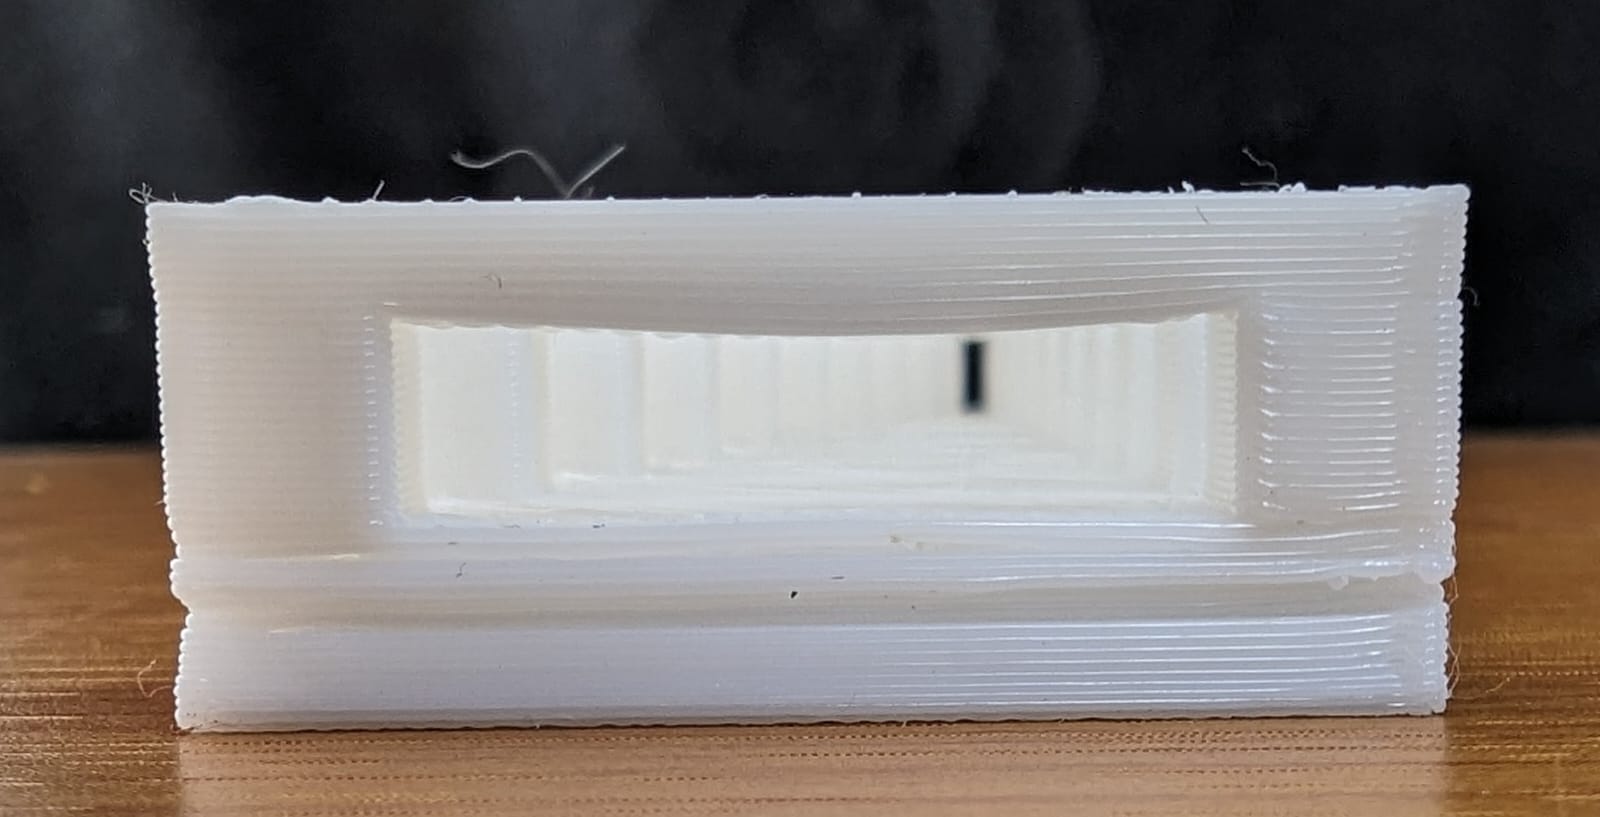
Photos of the printing process:
.jpg)
.jpg)
.jpg)
.jpg)
.jpg)
With PLA's good bridging capabilities and the printer's reliable layer adhesion, the segments were printed with the precision necessary to articulate without the need for real flexibility. Each layer added more excitement as Weedle's form took shape, turning a digital concept into a tangible, playful object.
The joy of this project was in the alchemy of turning a spool of PLA into a beloved creature. It was a testament to how 3D printing can bring the digital realm into the physical with a dash of creativity and technical know-how. Watching Weedle emerge on the build plate was a gratifying experience, blending the fun of creation with the satisfaction of overcoming the material constraints to bring a piece of the Pokémon world into reality.
.jpg)
.jpg)
Photo with Juan Carlos Chávez Cortés 3D Printed Chain Chomp:
.jpg)
3D Scanning
Photogrammetry:
In the 3D scanning practice, we explored both laser scanning and photogrammetry.
For photogrammetry, a variety of mobile applications are available for both Android and iOS platforms. These apps, originating from different countries, offer a range of functionalities and some require additional hardware.
| App | Description | Link |
|---|---|---|
| PolyCam: | A LiDAR & 3D Scanner for iPhone & Android. | poly.cam |
| Kiri Engine: | Offers 3D scanning capabilities on iOS, Android, and Web Browser. | www.kiriengine.com |
| AR-Code: | Provides 3D scanning on iOS, Android. | App Store |
| Qlone: | A versatile 3D scanning app available for iOS and Android. | www.qlone.pro |
AR-Code:
My choice of AR-Code for 3D scanning was driven by its impressive efficiency in capturing and accurately modeling real-world objects. The app stands out for its ability to render highly detailed and dimensionally accurate digital models. This precision is particularly crucial when the fidelity of the scanned object's features and proportions is essential.
Additionally, AR-Code's user-friendly interface and processing speed made the scanning experience smooth and hassle-free. Its reliable performance ensured that the models I created were not only true to the original objects in appearance but also structurally sound for any subsequent use or analysis. This combination of precision, ease of use, and quick processing made AR-Code an optimal choice for my 3D scanning requirements.
My use of AR Code for 3D scanning was productive, especially given its output in USDZ format.
3D model of Gengar:
However, to 3D print my scanned model of Gengar, I needed the file in OBJ format. This necessitated a conversion, for which I utilized the Aspose 3D Conversion Tool.
This tool seamlessly transformed the USDZ file into an OBJ format, making the model compatible with my 3D printer's software. This additional step was crucial in bringing the digital scan of Gengar to life in a tangible 3D form.
Once the file was successfully converted to the OBJ format using the Aspose 3D Conversion Tool, I proceeded with the 3D printing process using UltiMaker Cura.
.jpg)
.jpg)
.jpg)
Conclusion
The intertwining of 3D printing and scanning in this project underscored their transformative impact in bringing digital concepts to physical reality. 3D scanning, particularly with AR Code, offered a gateway to digitize complex objects with high fidelity. The transition from a precise USDZ file to a printable OBJ format using the Aspose 3D Conversion Tool highlighted the versatility and adaptability required in digital fabrication. Finally, the actual printing with UltiMaker Cura brought the digitized Gengar into the tangible world, showcasing the seamless integration of scanning, conversion, and printing technologies. This journey from real to digital and back to real encapsulates the essence and potential of modern 3D technology.
The Files:
Below you can find the download links for all of the files from this week.