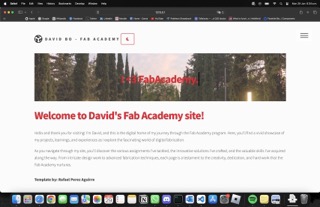
This week I worked on defining my final project idea and started to getting used to the documentation process. As well as designing my FabAcademy webpage
Developer Platform
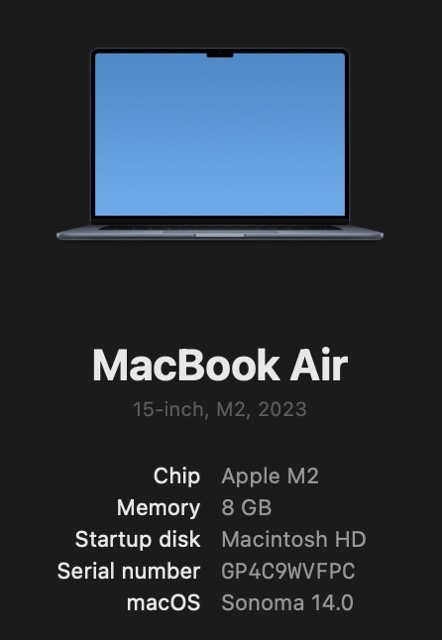
The development of this website was made in an MacBook Air with a M2 chip with the following characteristics
Developer Environment
Project Repository
The link to the project repository can be found in this link
Development Tools
- GitLab. Git Repository Server on the web
- Git. Version control software
- VSCode. Text editor
- HTML 5 and CSS. Structure of the web page
- JavaScript. Programming Language
- Chrome. Web browser
- ChatPT 4.0. To ask any questions regarding issues with the code
1. Laying the Foundation: HTML and CSS Tutorial
Learning from professor: Rafael Pérez Aguirre:
First, we learned some of the basic commands to navigate through the Terminal of our personal computer.
Figure 01. Basic commands to navigate and create through the Terminal.
Before diving into web development, I embarked on a foundational journey through a tutorial on HTML and CSS conducted by Rafael Pérez Aguirre. This tutorial was instrumental in equipping me with the essential skills needed to build a website.
Figure 02. HTML5 code tutorial of how headers work.
Figure 03. HTML5 code tutorial of how lists, links, videos and images work in HTML5.
Applying the Basics:
Armed with knowledge from the tutorial, I practiced by creating simple web pages, experimenting with various HTML tags and CSS properties to understand their effects.
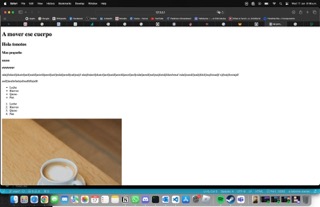
Figure 04. Creating a simple web pages with all the elements from Figure 01 included.
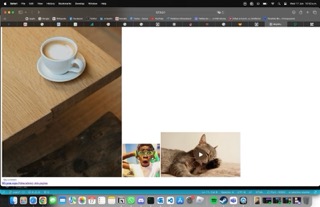
Figure 05. Creating a simple web pages with video and image elements as well as hyperlinks to other websites.
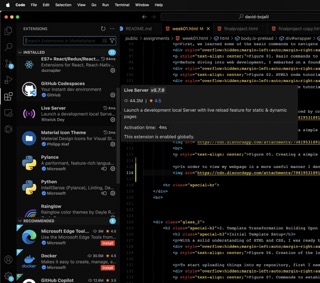
In order to view my webpage in a more useful manner I decided to use the Live Server extension in Visual Studio Code. This extension provides me with a localhost where I can view the real time changes I've made to my website.
2. Template Transformation Building Upon a Solid Base
Initial Template Setup
With a solid understanding of HTML and CSS, I was ready to tackle the project. Prof. Rafael provided a template that served as my starting point. The template can be found in the following link.
Figure 06. Creation of the local folder where the repository will be cloned into:
To start uploading things into my repository, first I needed to establish my username and email adress that were provided by FabAcademy. This step is essential since without the username and password Git won't be able to push and commit any changes I've made.
Figure 07. Commands to establish username and email adress
To work on the template we must clone the source code of the project on our local machine with the next command:
Figure 08. Command to clone the template into our repo
From the template, I began to analyze the different parts, folders, and scripts that conformed it.
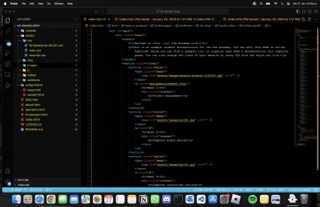
Figure 09. Index.html displayed.
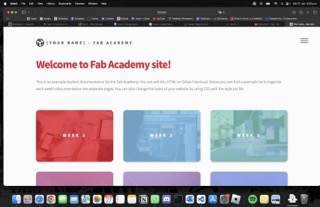
Figure 10. Index.html code and structure.
3. Personalizing the template
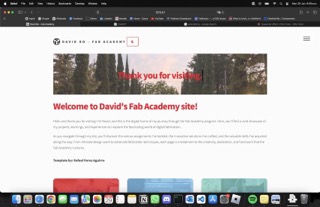
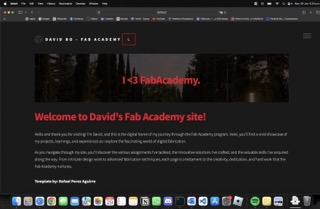
I began transforming the template, infusing my personal style and vision into the website.
JavaScript Exploration:
To add interactive elements, I turned to JavaScript. I started with simple scripts and gradually moved on to more complex functionalities, like the dark mode toggle and typewriter effect. I wanted to implement these functions since I wanted to have a proper UX in my website through the dark mode and use the typewriter effect for titles so my website doesn't feel as bland. Here is an before and after image slider that shows the initial change between Rafa's template and mine.
One of the main things I wanted to implement in the webpage was the ability to add a dark mode toggle for those who don't want to burn their eyes in the middle of the night. I also decided to have a "moon" button as an UI element to make it clear for the user how to toggle between modes.
Here is the JavaScript that accomplishes this dark mode toggle.
Figure 11. toggle.js code in order to implement dark mode into the web page.
For my website to have a soul (and also be more entertaining) I decided to implement a typewriter effect for the titles that have the posibility to display a variety of messages. The JavaScript code was built upon the typewriter effect developed by Geoff Graham. You can find more of his typewriter effects in this website.

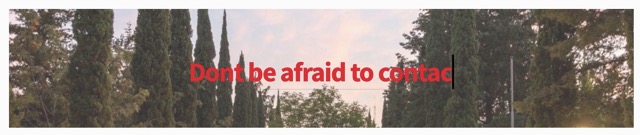
Figure 12. typewriter.js code in order to implement a typewriter effect in the titles.
I wanted to add a countdown timer for when each week will be available. This way, when someone visits the website, they will feel motivated to come back in x days when the new week is available. Here is the comparison between Week 2 and Week 3.

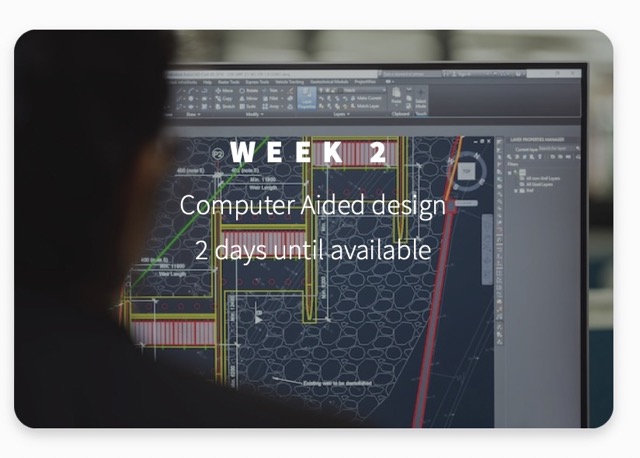
Figure 13. countdown.js code in order to implement a countdown for each week.
Lastly, I implemented all of the changes in different parts of the website. For example, here is the About Me section: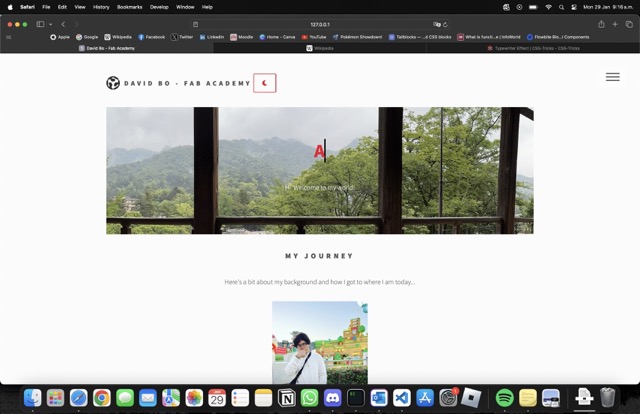
Figure 14. About Me page.
Sharing implementations:
One thing I did was share my implementations with my fellow FabAcademy classmates. In one of those sharing spaces, my friend Juan Carlos Chávez Cortés shared me a code snippet that he developed in order to create an image slider. I thought that using this slider would be perfect for my code so I asked Juan Carlos for his permission and he thought that it was an excellent idea.
The slider:


JavaScript code snippet to produce the effect:
Figure 15. slider.js by Juan Carlos Chávez and inspired by Live Blogger's image-slider.
4. PUSHing the website
In order to get the website up and running, I first needed to push all of my project into my repository. In order to do this we needed to understand the essential Git commands:
Figure 15. Essential Git commands.
With this in mind, I first did a git status to know what is the current state of my changes.
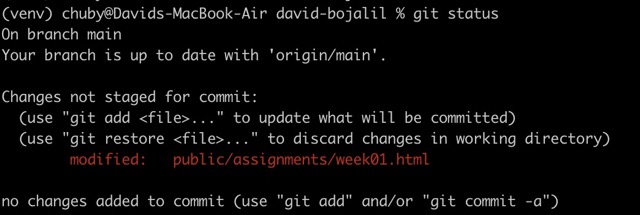
Figure 16. First git status.
From this git status we can see that our current week01.html is a change that is currently untracked. In order to solve this I need to do a git add to add it to the tracked files. After doing the git add, we can do a git status to see if the files are now being tracked.
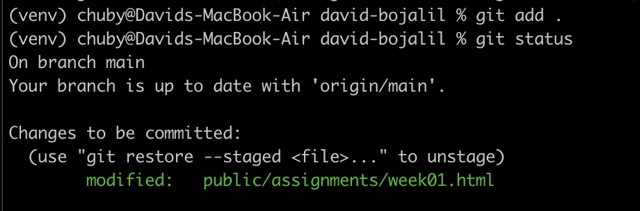
Figure 17. git add . (the "." signifies all) and git status after the git add.
After that I need to commit the changes and also add a descriptive message that can explain what I am comitting to the. To do this I used the following command:

Figure 18. git commit -m in order to prepare our files to be pushed into our repo.
After doing our commit, all that is left is to PUSH it into the web to our GitLab repository. We can do this by using the command "git push".
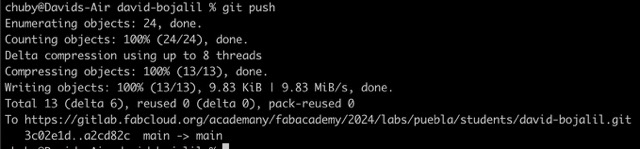
Figure 19. Successful push into the FabAcademy repo.
When done correctly, you should see all of the changes reflected in your own FabAcademy GitLab repository.
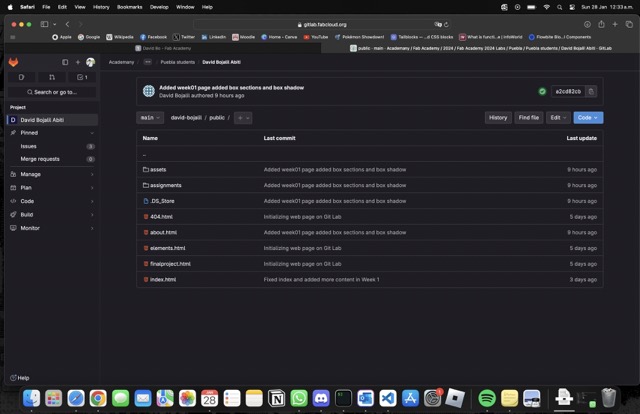
Figure 20. My GitLab repo after the push.
5. Continous Development and Reflections
Iterative Improvements:
The website evolved through constant iteration. Each update reflected my growing skills and the valuable feedback I received.
Looking Ahead
This project, kickstarted by Rafael's tutorial and built upon through hands-on experience, has been a significant milestone in my web development journey. As I look ahead, I am excited to further refine the website with each week in the FabAcademy and explore new technologies.