Week 3: Computer-Controlled Cutting
Overview
This week I worked with two different machines to explore subtractive digital fabrication: a Glowforge laser cutter and a Roland vinyl cutter. I designed a parametric construction kit in Fusion 360 for laser cutting and used workplace logos for the vinyl cutting. The star of the show? The Master Builder, who handled assembly and gave important feedback. He only demanded popcorn and icecream as payment.
Software & Hardware Used
| Tool | Logo | Description | Strengths | Limitations |
|---|---|---|---|---|
| Fusion 360 | Parametric 3D CAD software used to create the construction kit with editable features like thickness, kerf, and slot depth. | Precision design, parametric modeling, simulation, CAM support | Steep learning curve, heavy software, requires internet login | |
| Glowforge Web App |  |
Online platform to prepare and send files to Glowforge laser cutter. Supports layout arrangement, material presets, and layer assignment. | User-friendly, cloud-based, integrates with SVG/PDF | Limited manual control, requires internet connection |
| Glowforge Pro (Hardware) | 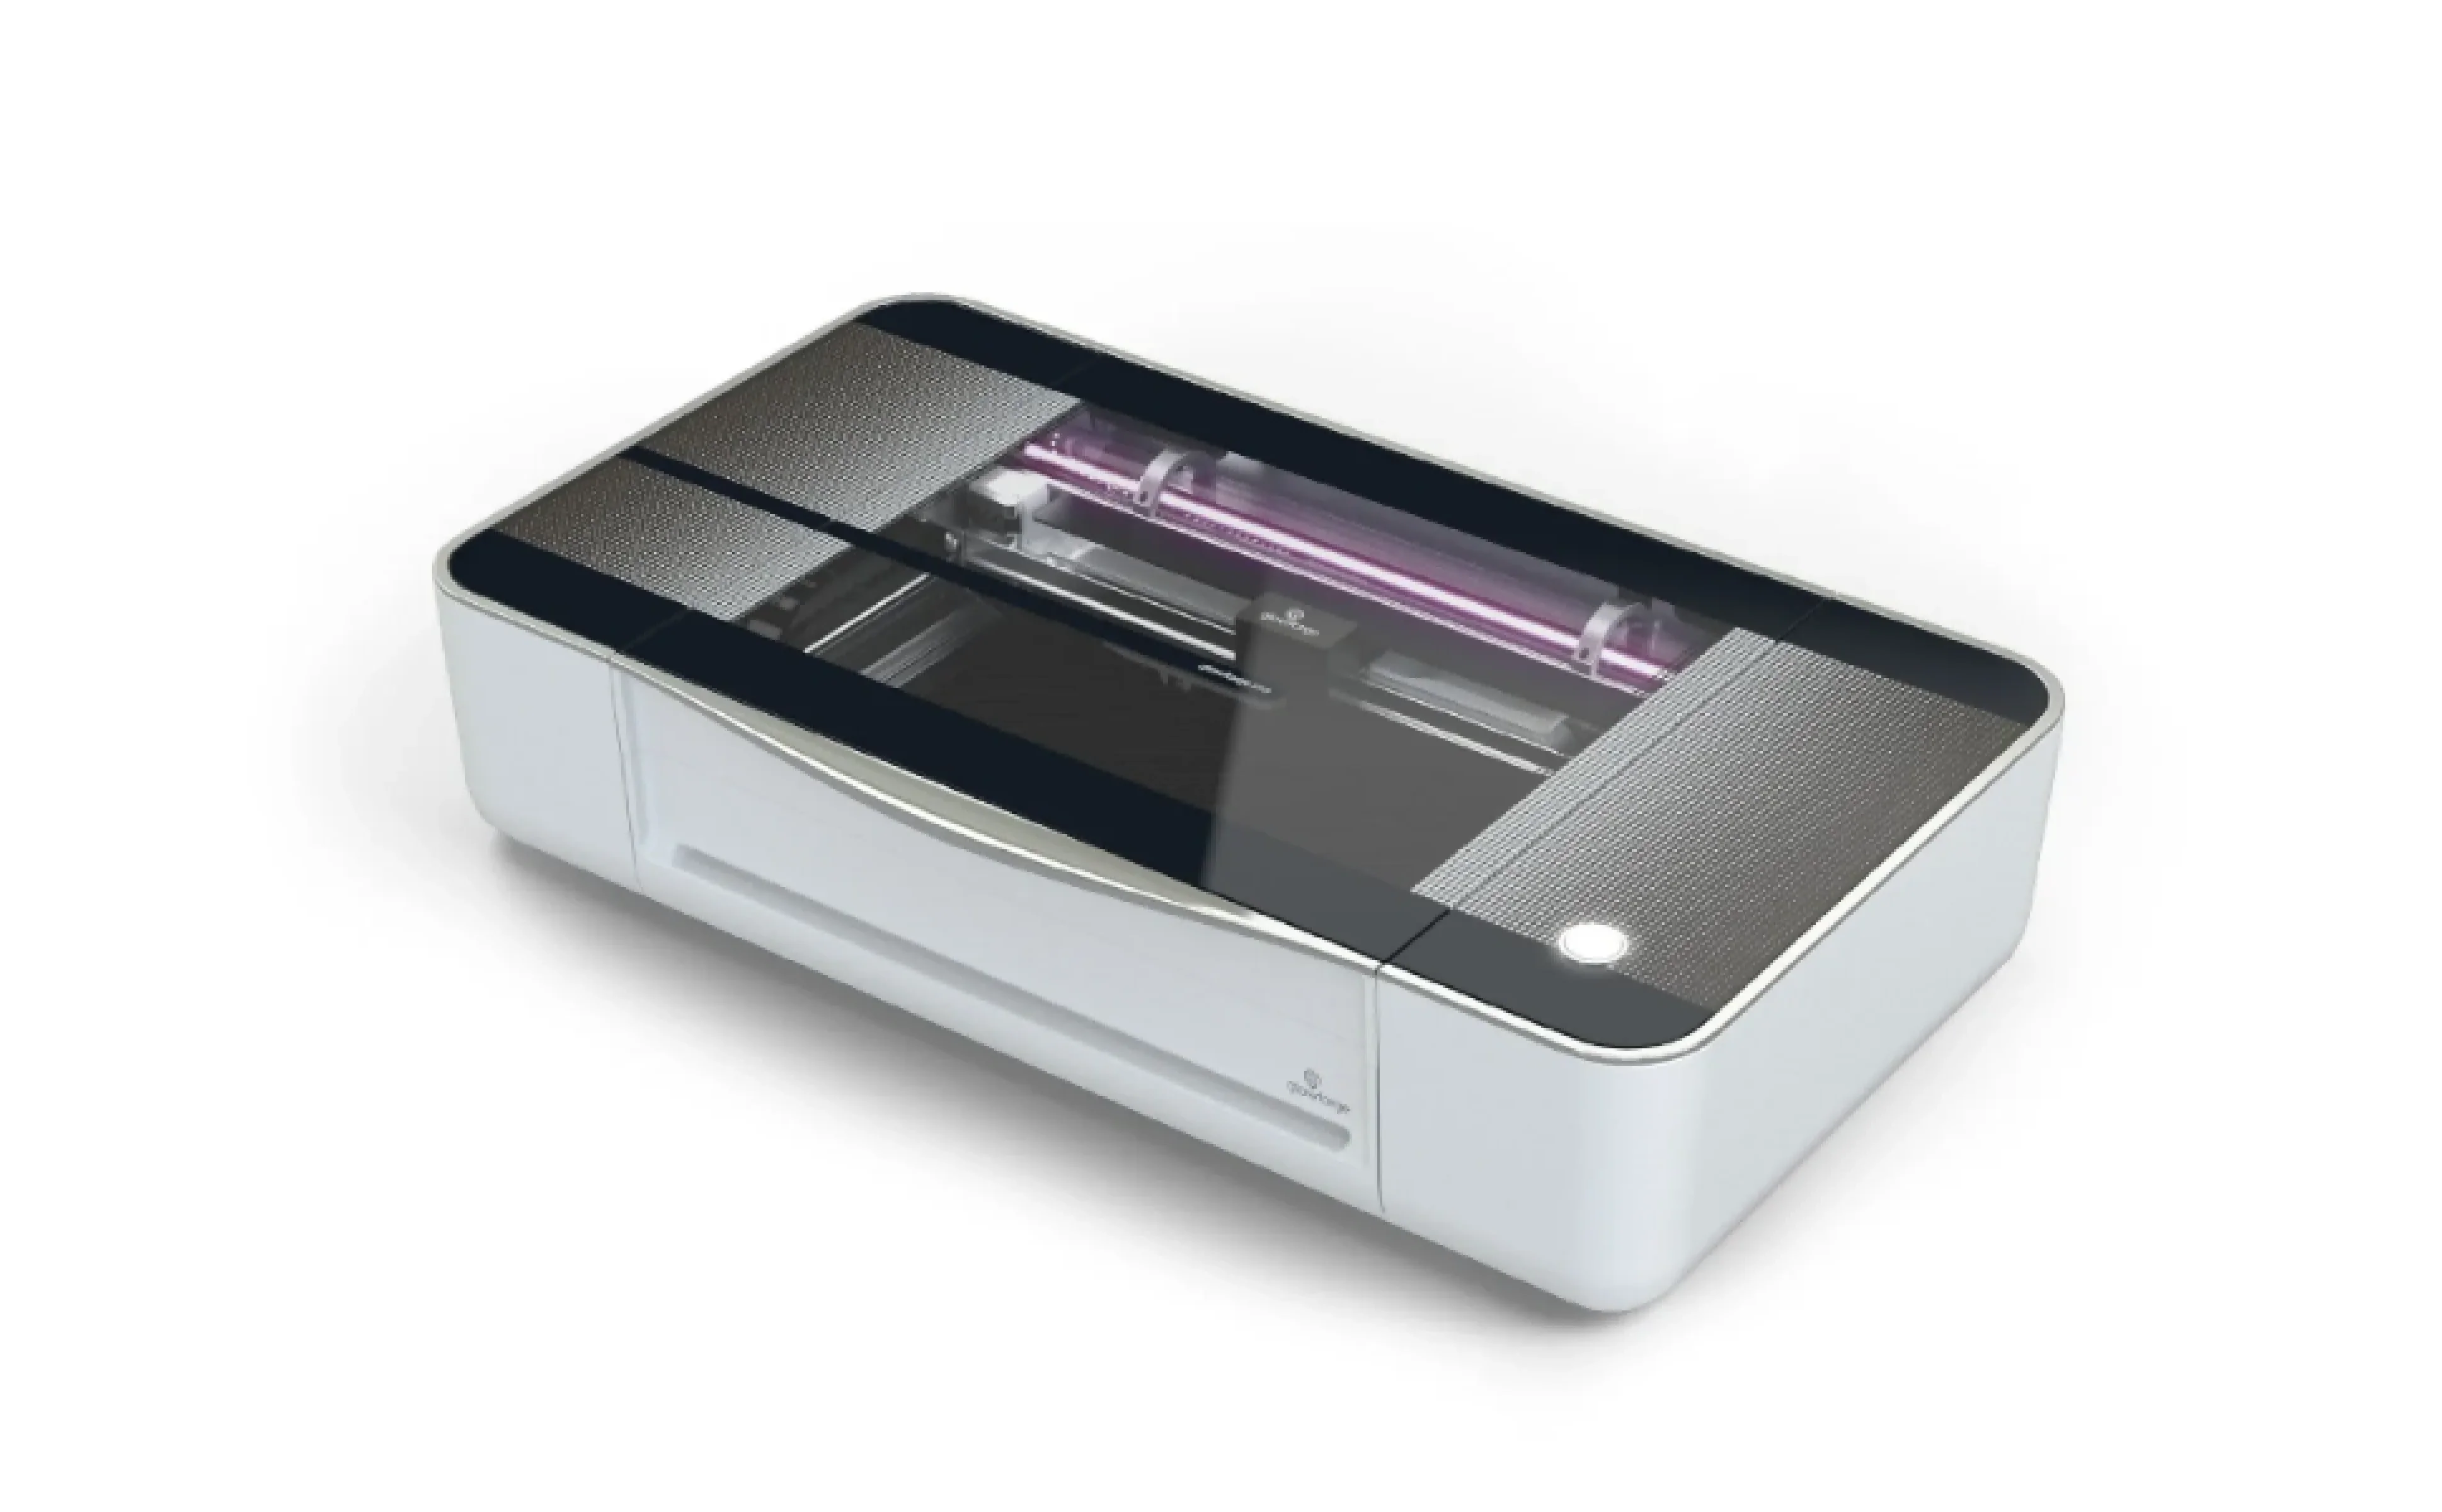 |
CO₂ laser cutter (45W), cuts up to 12.7 mm wood/acrylic. Work area: 495x279 mm. Precision: 1000 DPI. Focus range: 0–19 mm. | High resolution, built-in camera, air assist, pass-through slot | Limited to non-metal materials, cloud-only interface |
| Roland CutStudio | Vinyl cutting design software for Roland cutters. Allows resizing, repositioning, rotating, text creation, and supports AI, EPS, BMP, JPG file types. | Simple, intuitive interface, Illustrator/CorelDRAW plugin available | Basic editing features only, limited precision for complex cuts | |
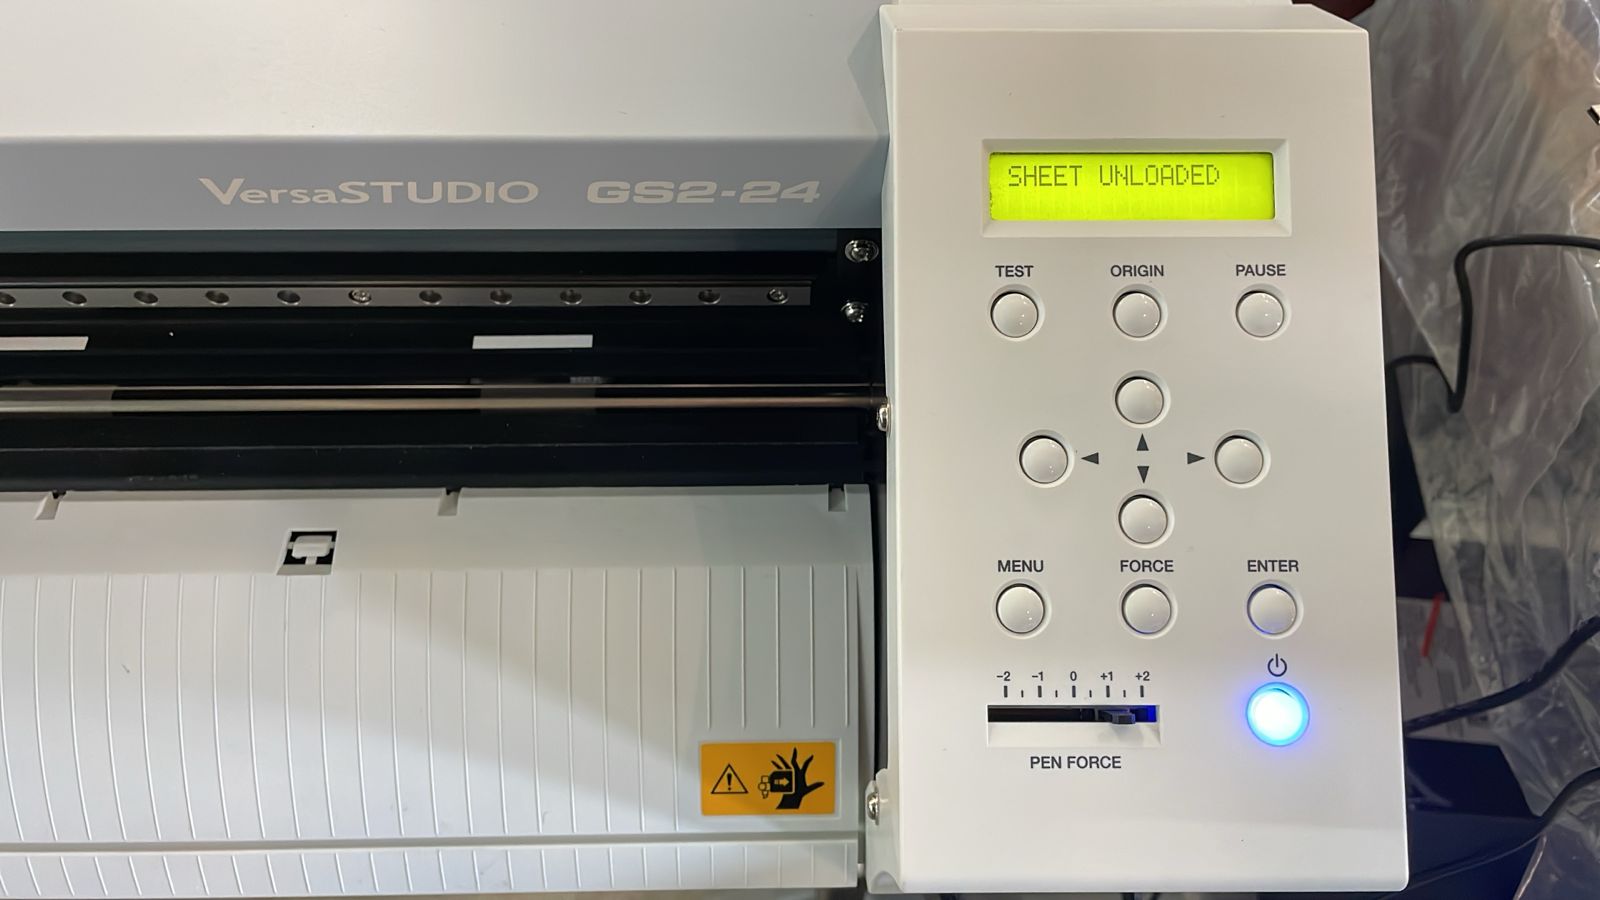
| Roland VersaSTUDIO GS2-24 (Hardware) | 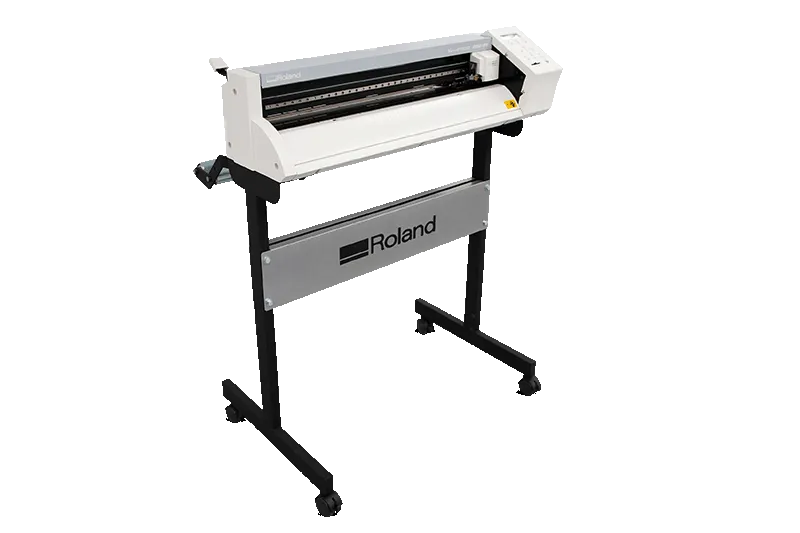 |
Desktop vinyl cutter with a max cutting width of 22.9 in (584 mm), cutting speed up to 20 in/sec, and cutting force up to 500 gf. Accepts a wide variety of media including vinyl, heat transfer, paint mask, and sandblast material. | Fast cutting, precise contour cuts, compact size, USB connectivity | Cutting width limited to 584 mm, needs manual blade adjustment for different materials |
Checklist
Group Assignment
In our group assignment, we documented safety procedures, design considerations, and machine workflows at FabLab Puebla. You can read the full report here: Computer-Controlled Cutting Group Page.
- Safety: Always wear safety goggles, keep the laser area clear, and never leave machines unattended.
- Material Considerations: Important to verify if materials are safe to laser cut (no PVC!). Also check flatness, flammability, and reflectivity.
- Parametric Design: Critical for customizing designs to different materials and thicknesses. Saves time and reduces error when adjusting slot sizes and kerf compensation.
Laser Cutting with Glowforge
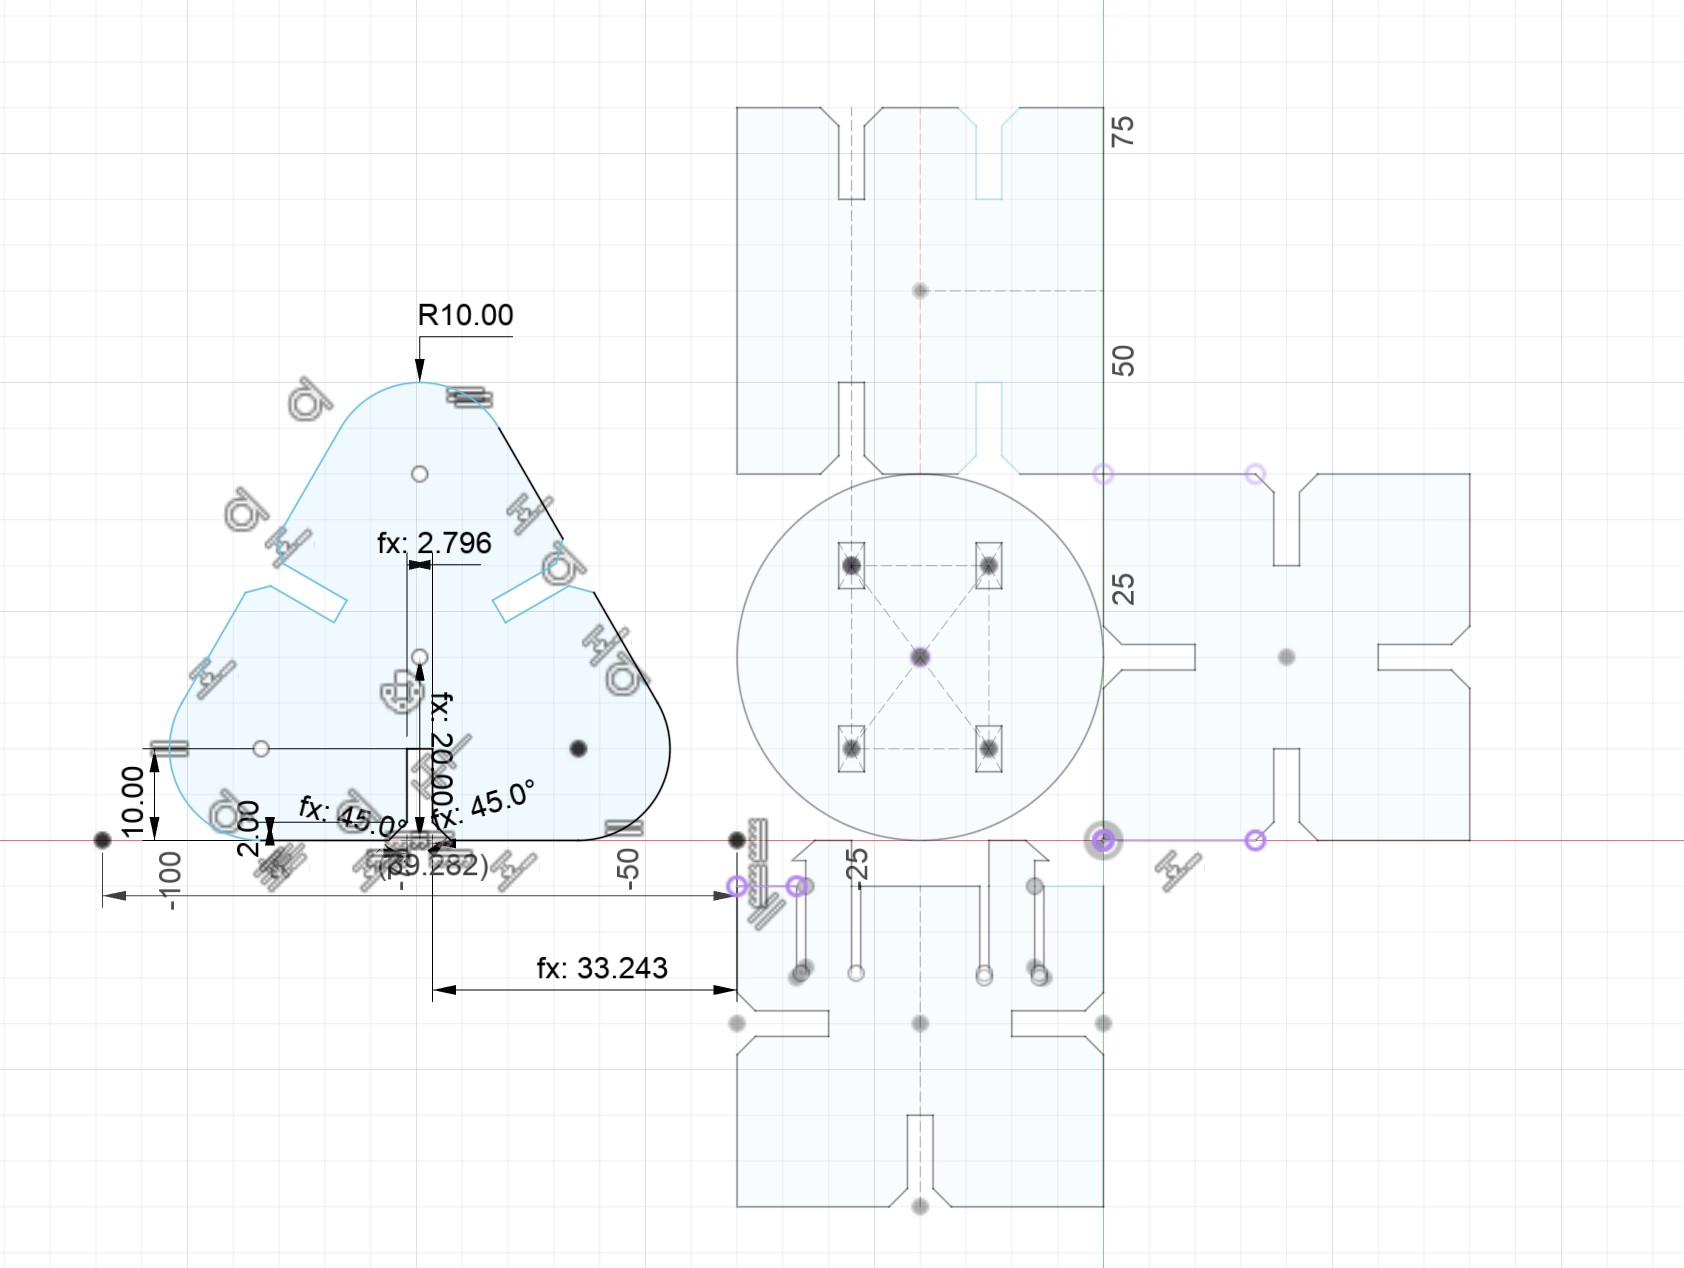
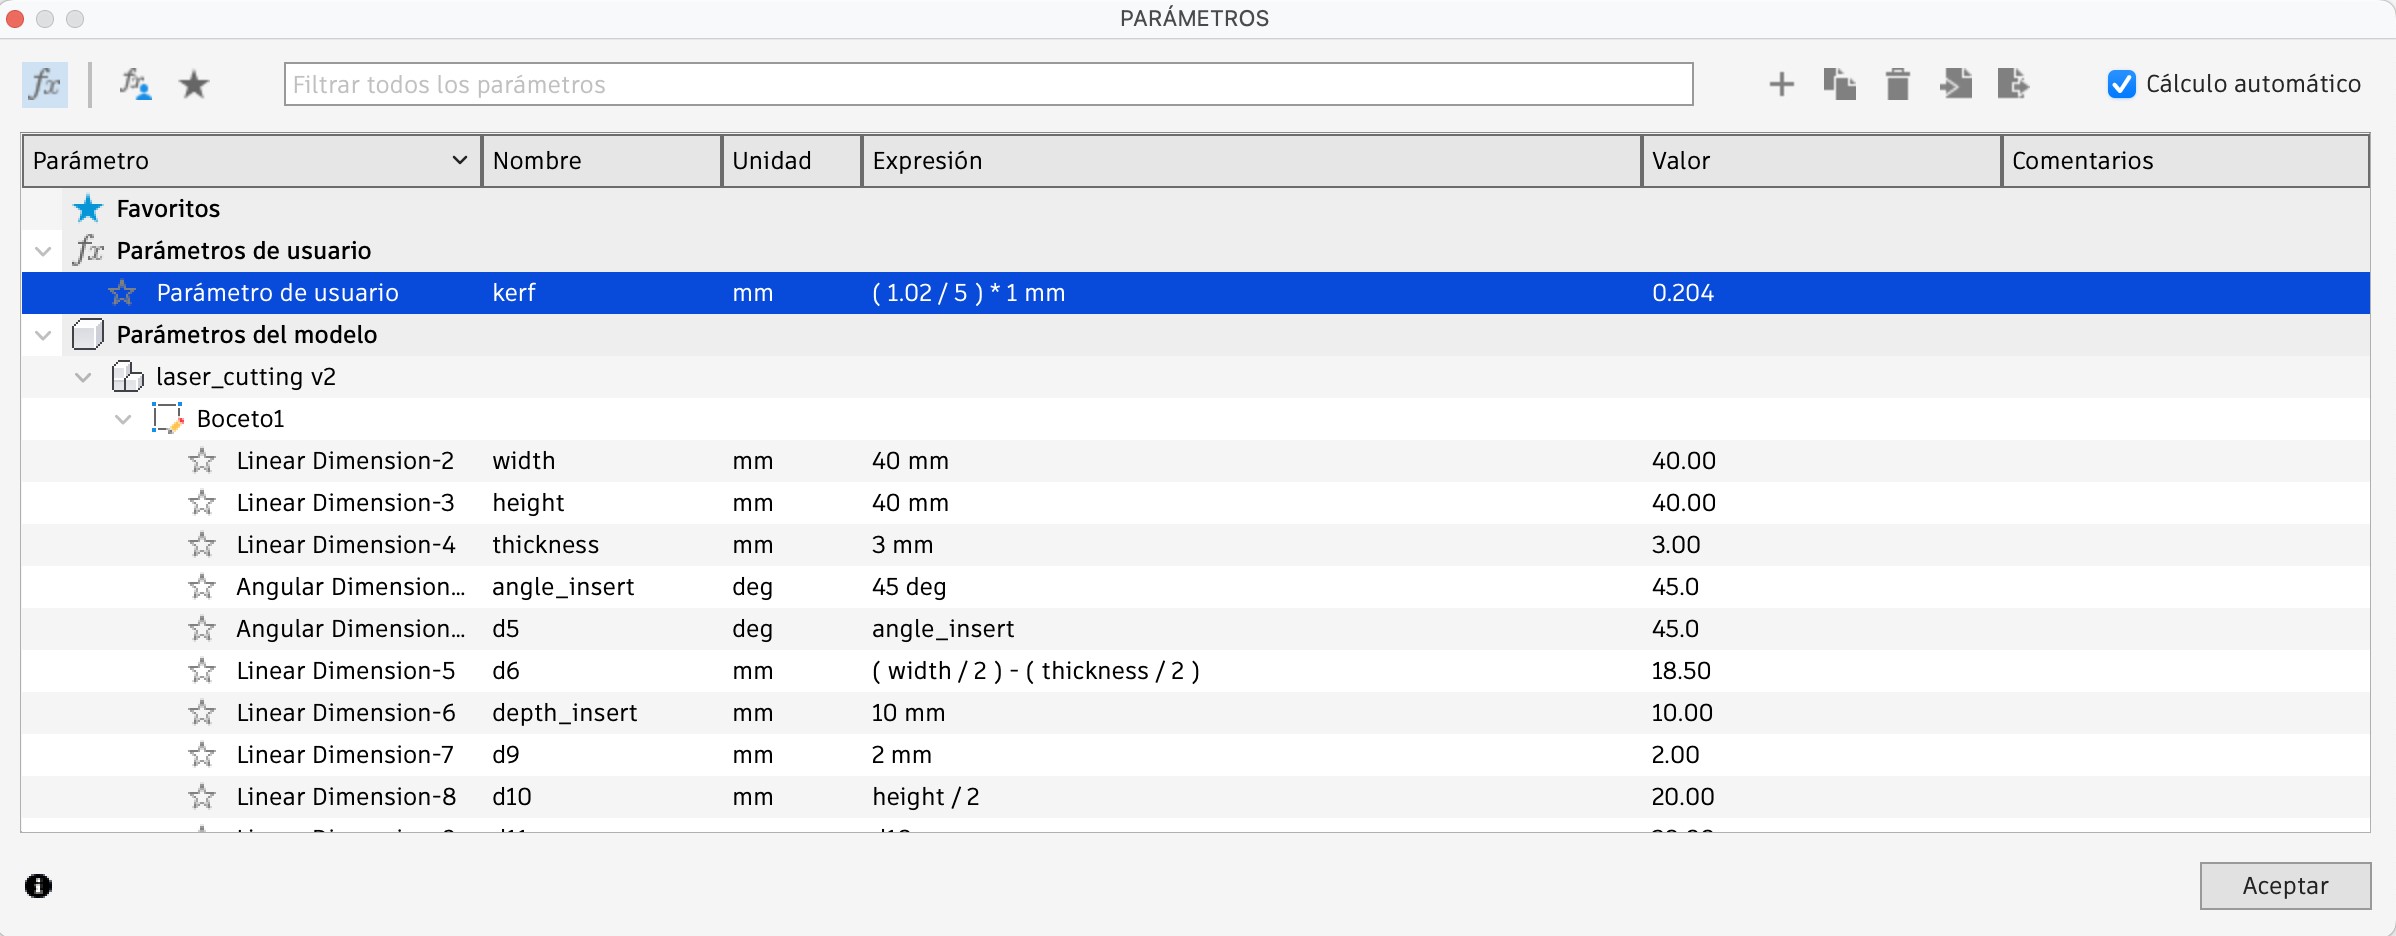
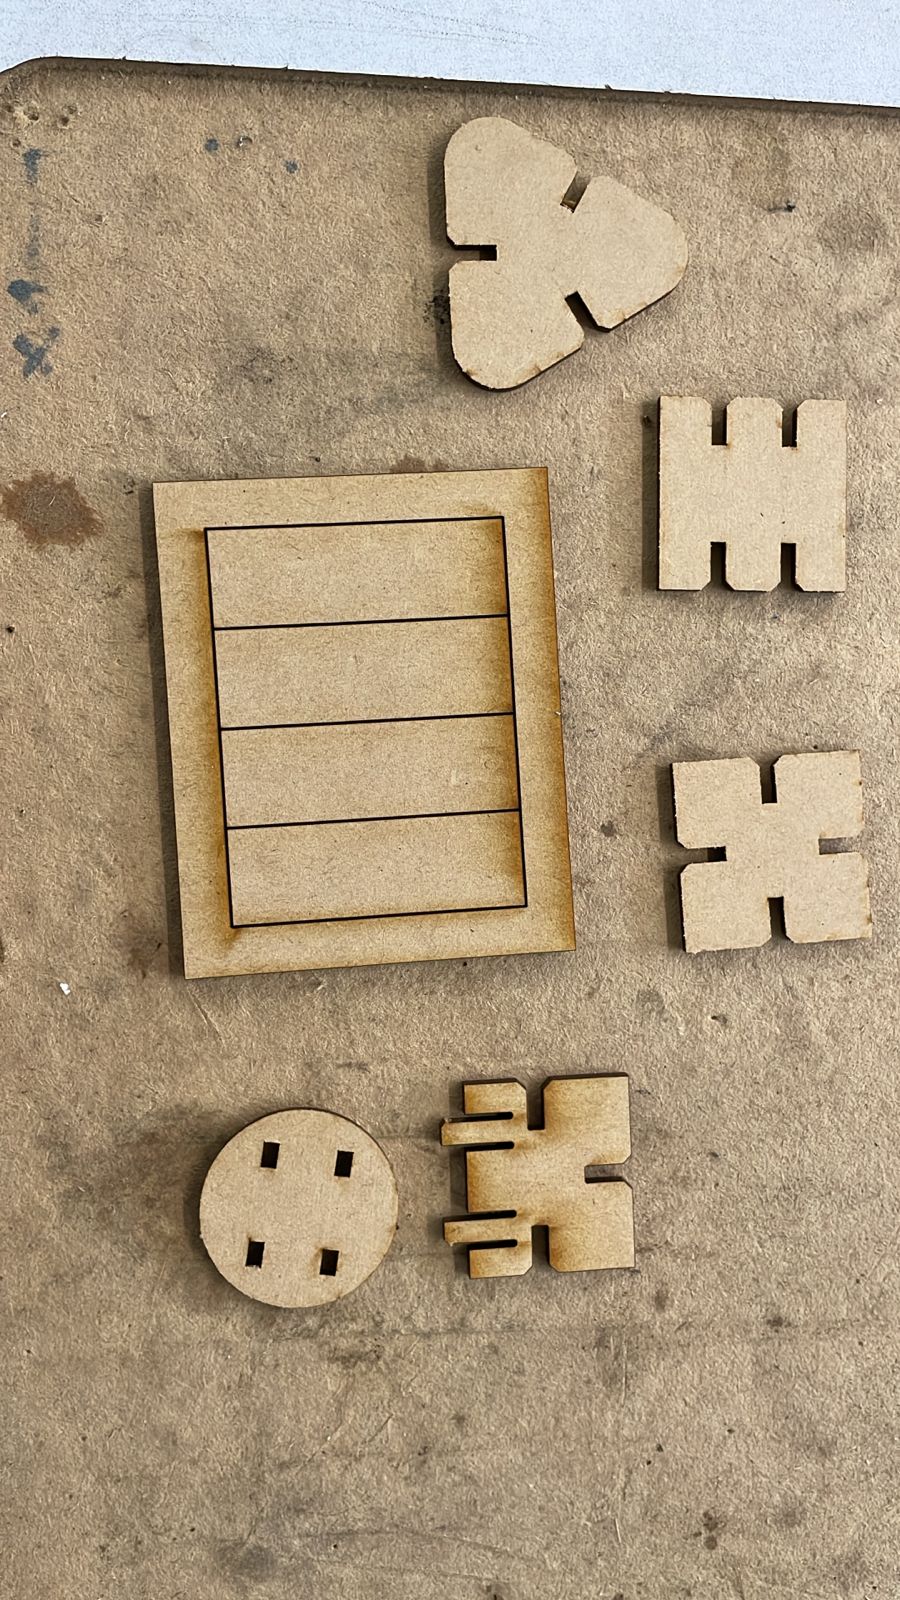
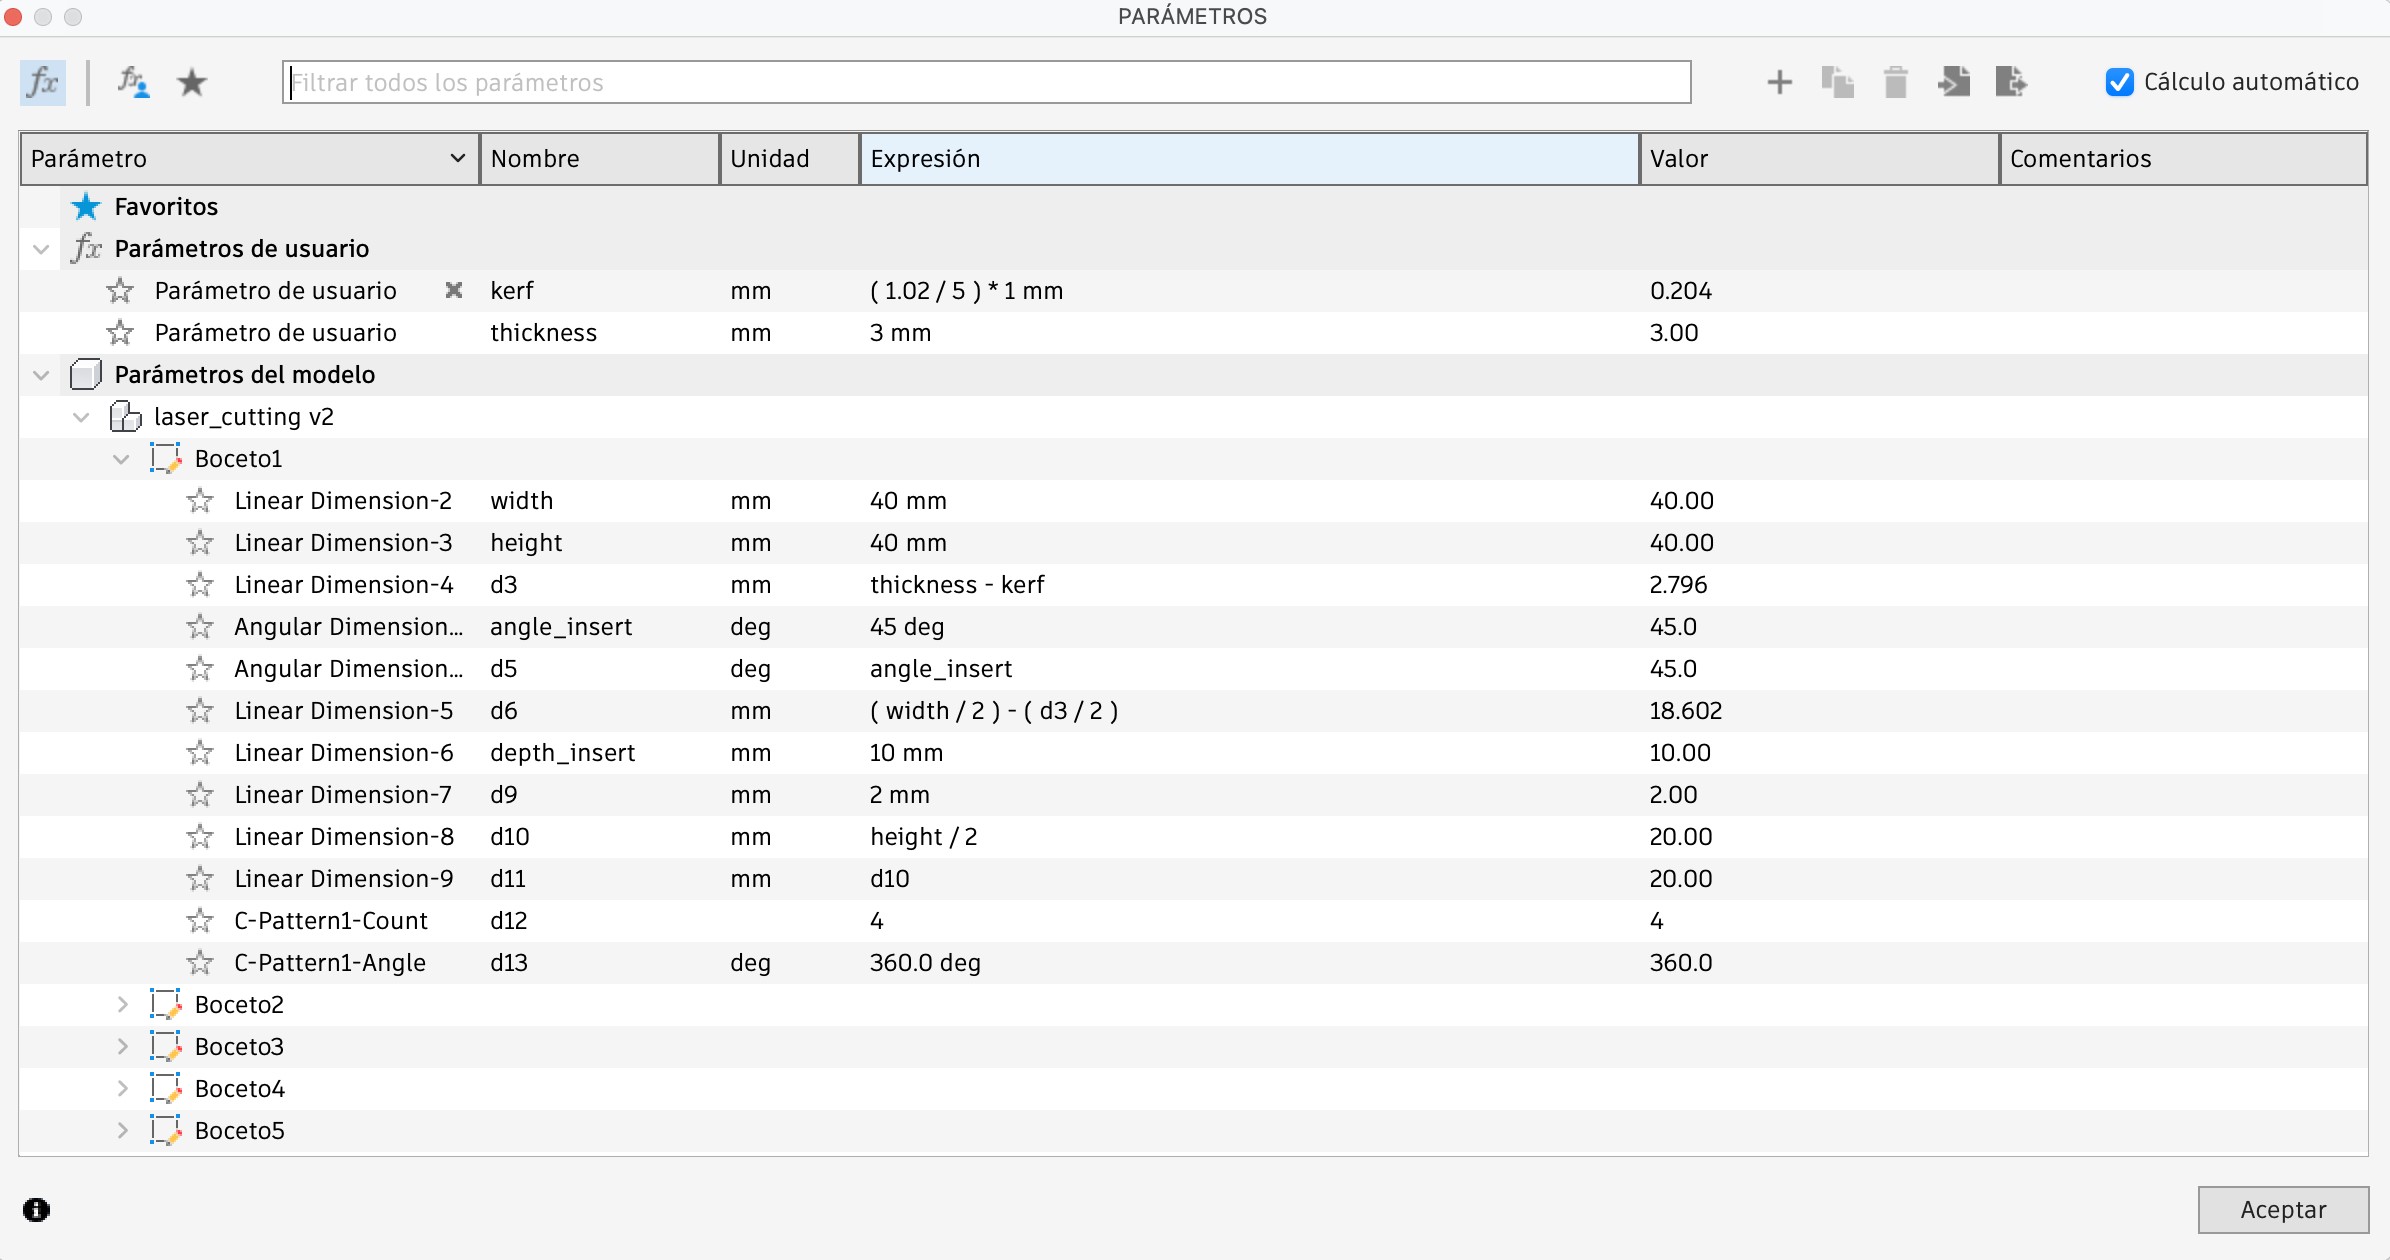
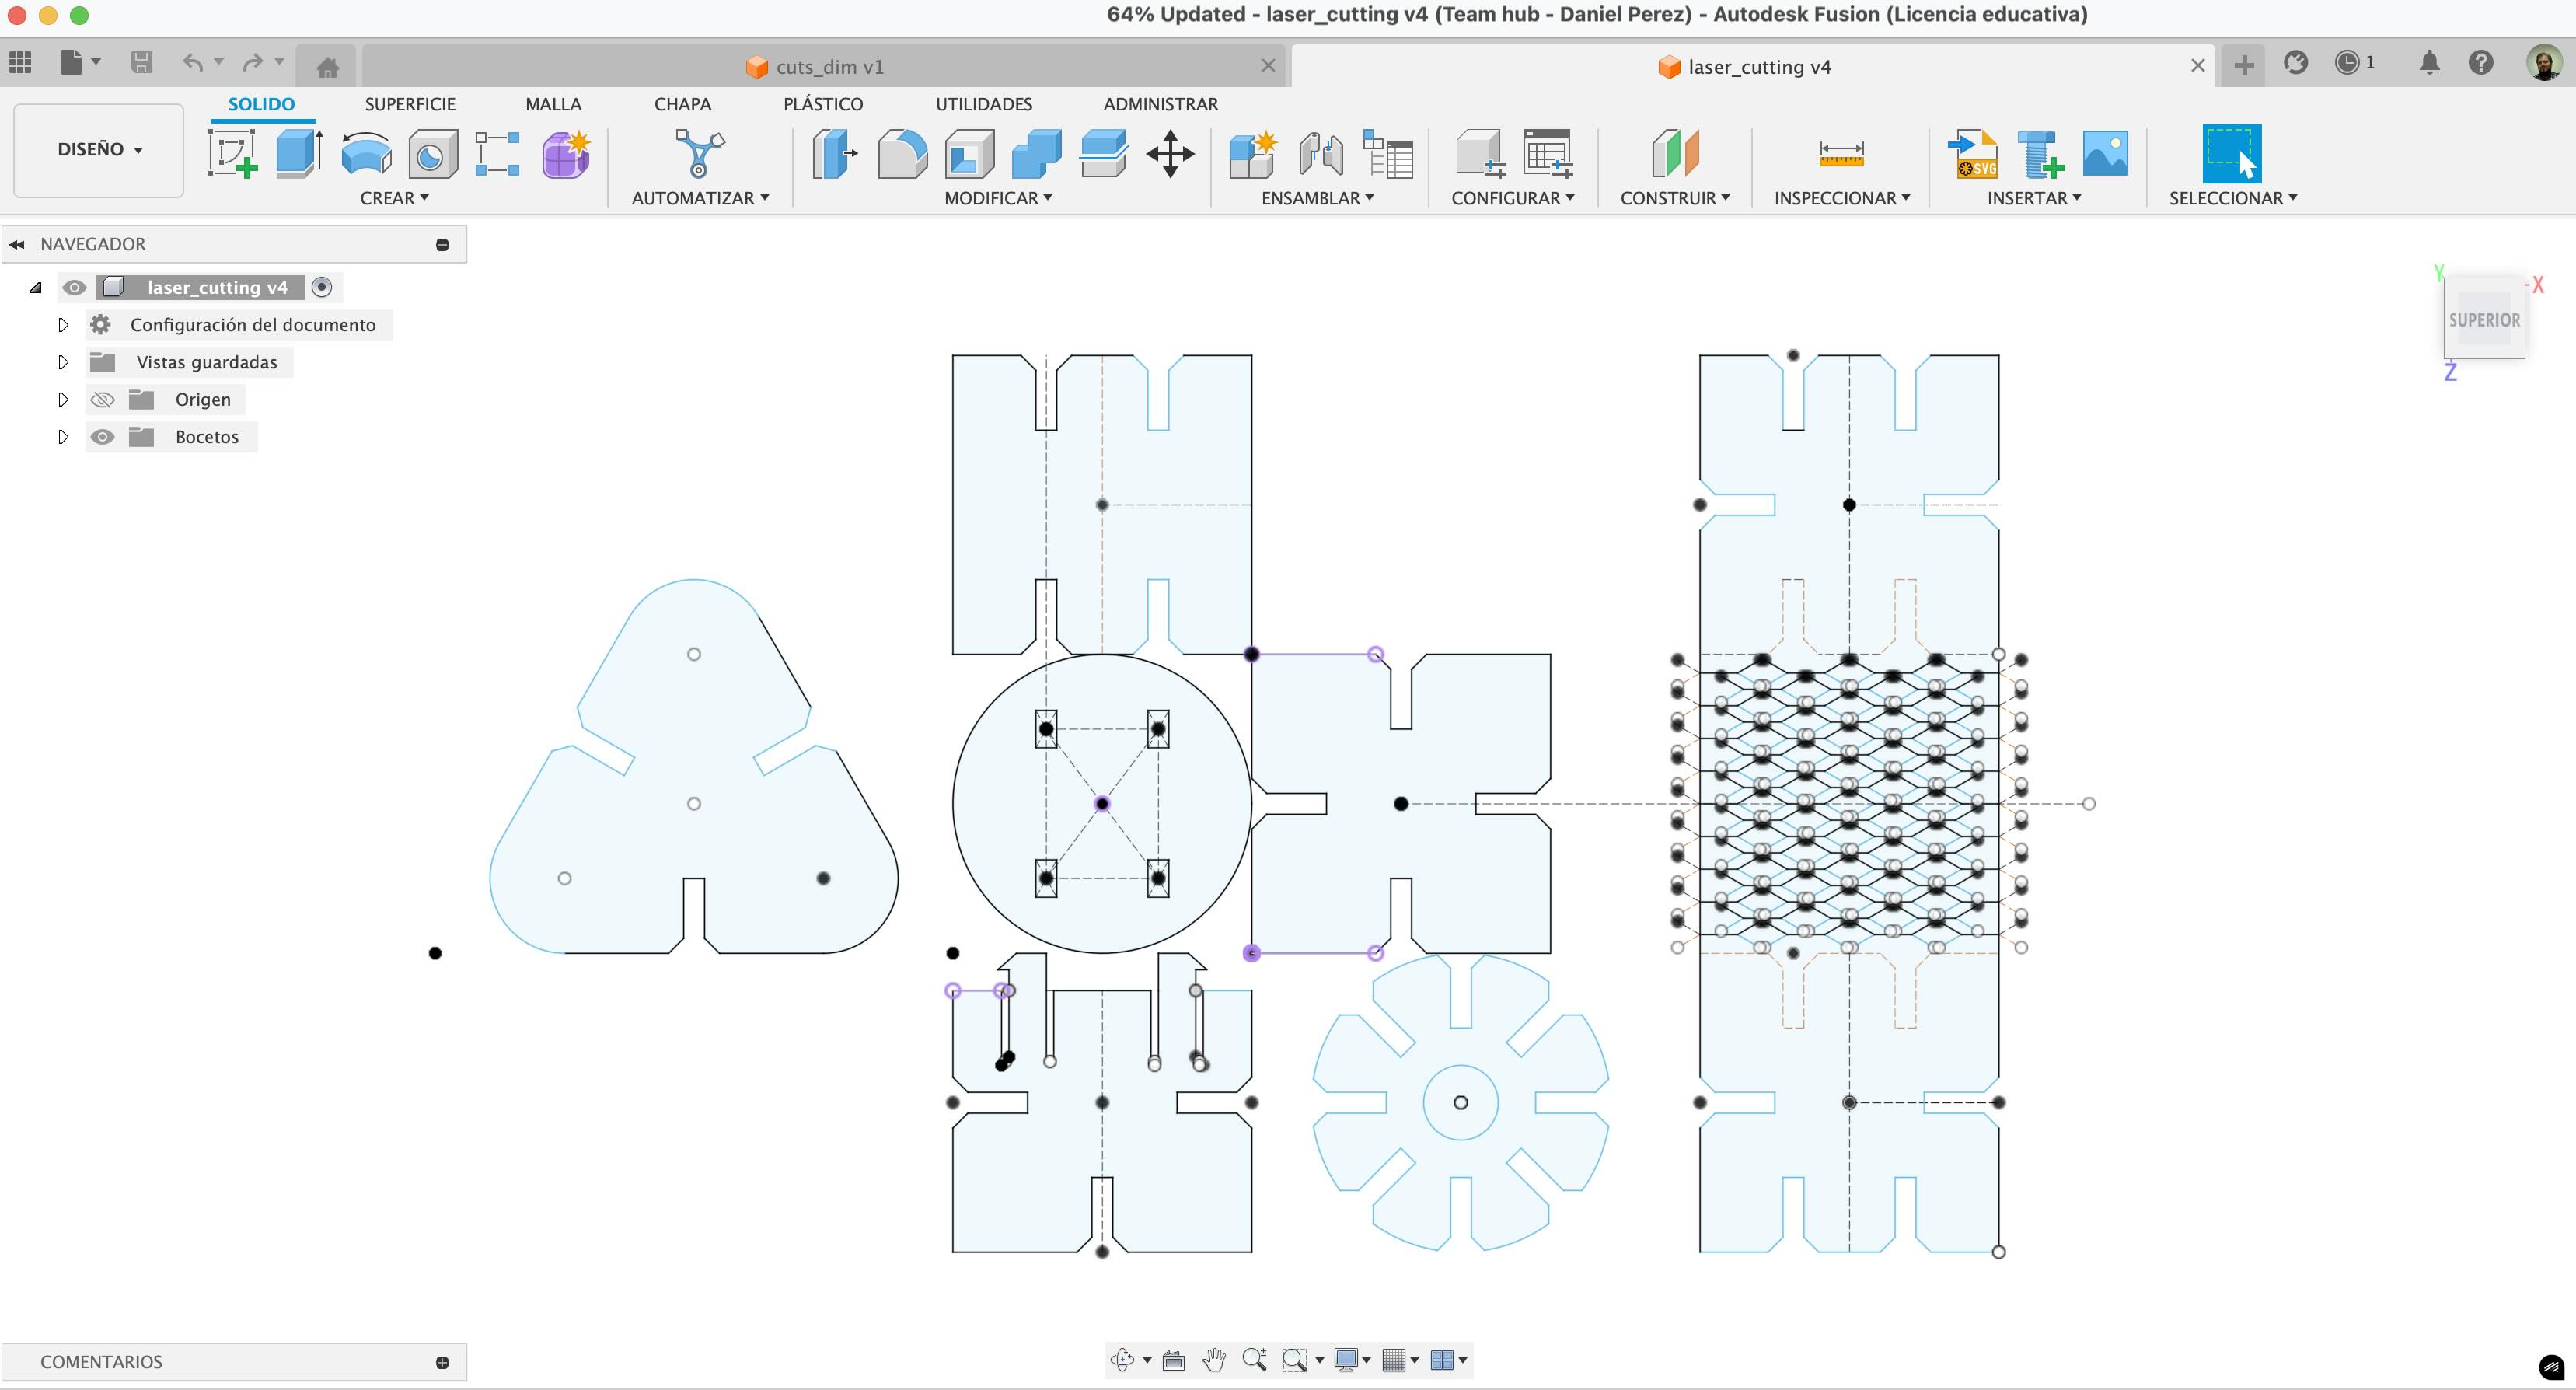
I started by designing five unique components in Fusion 360 using parametric modeling. These sketches included parameters for:
kerf- laser width compensationthickness- material thickness (3 mm MDF)width,height,angle_insert, anddepth_insert
Exporting with Shaper Utilities Add-In
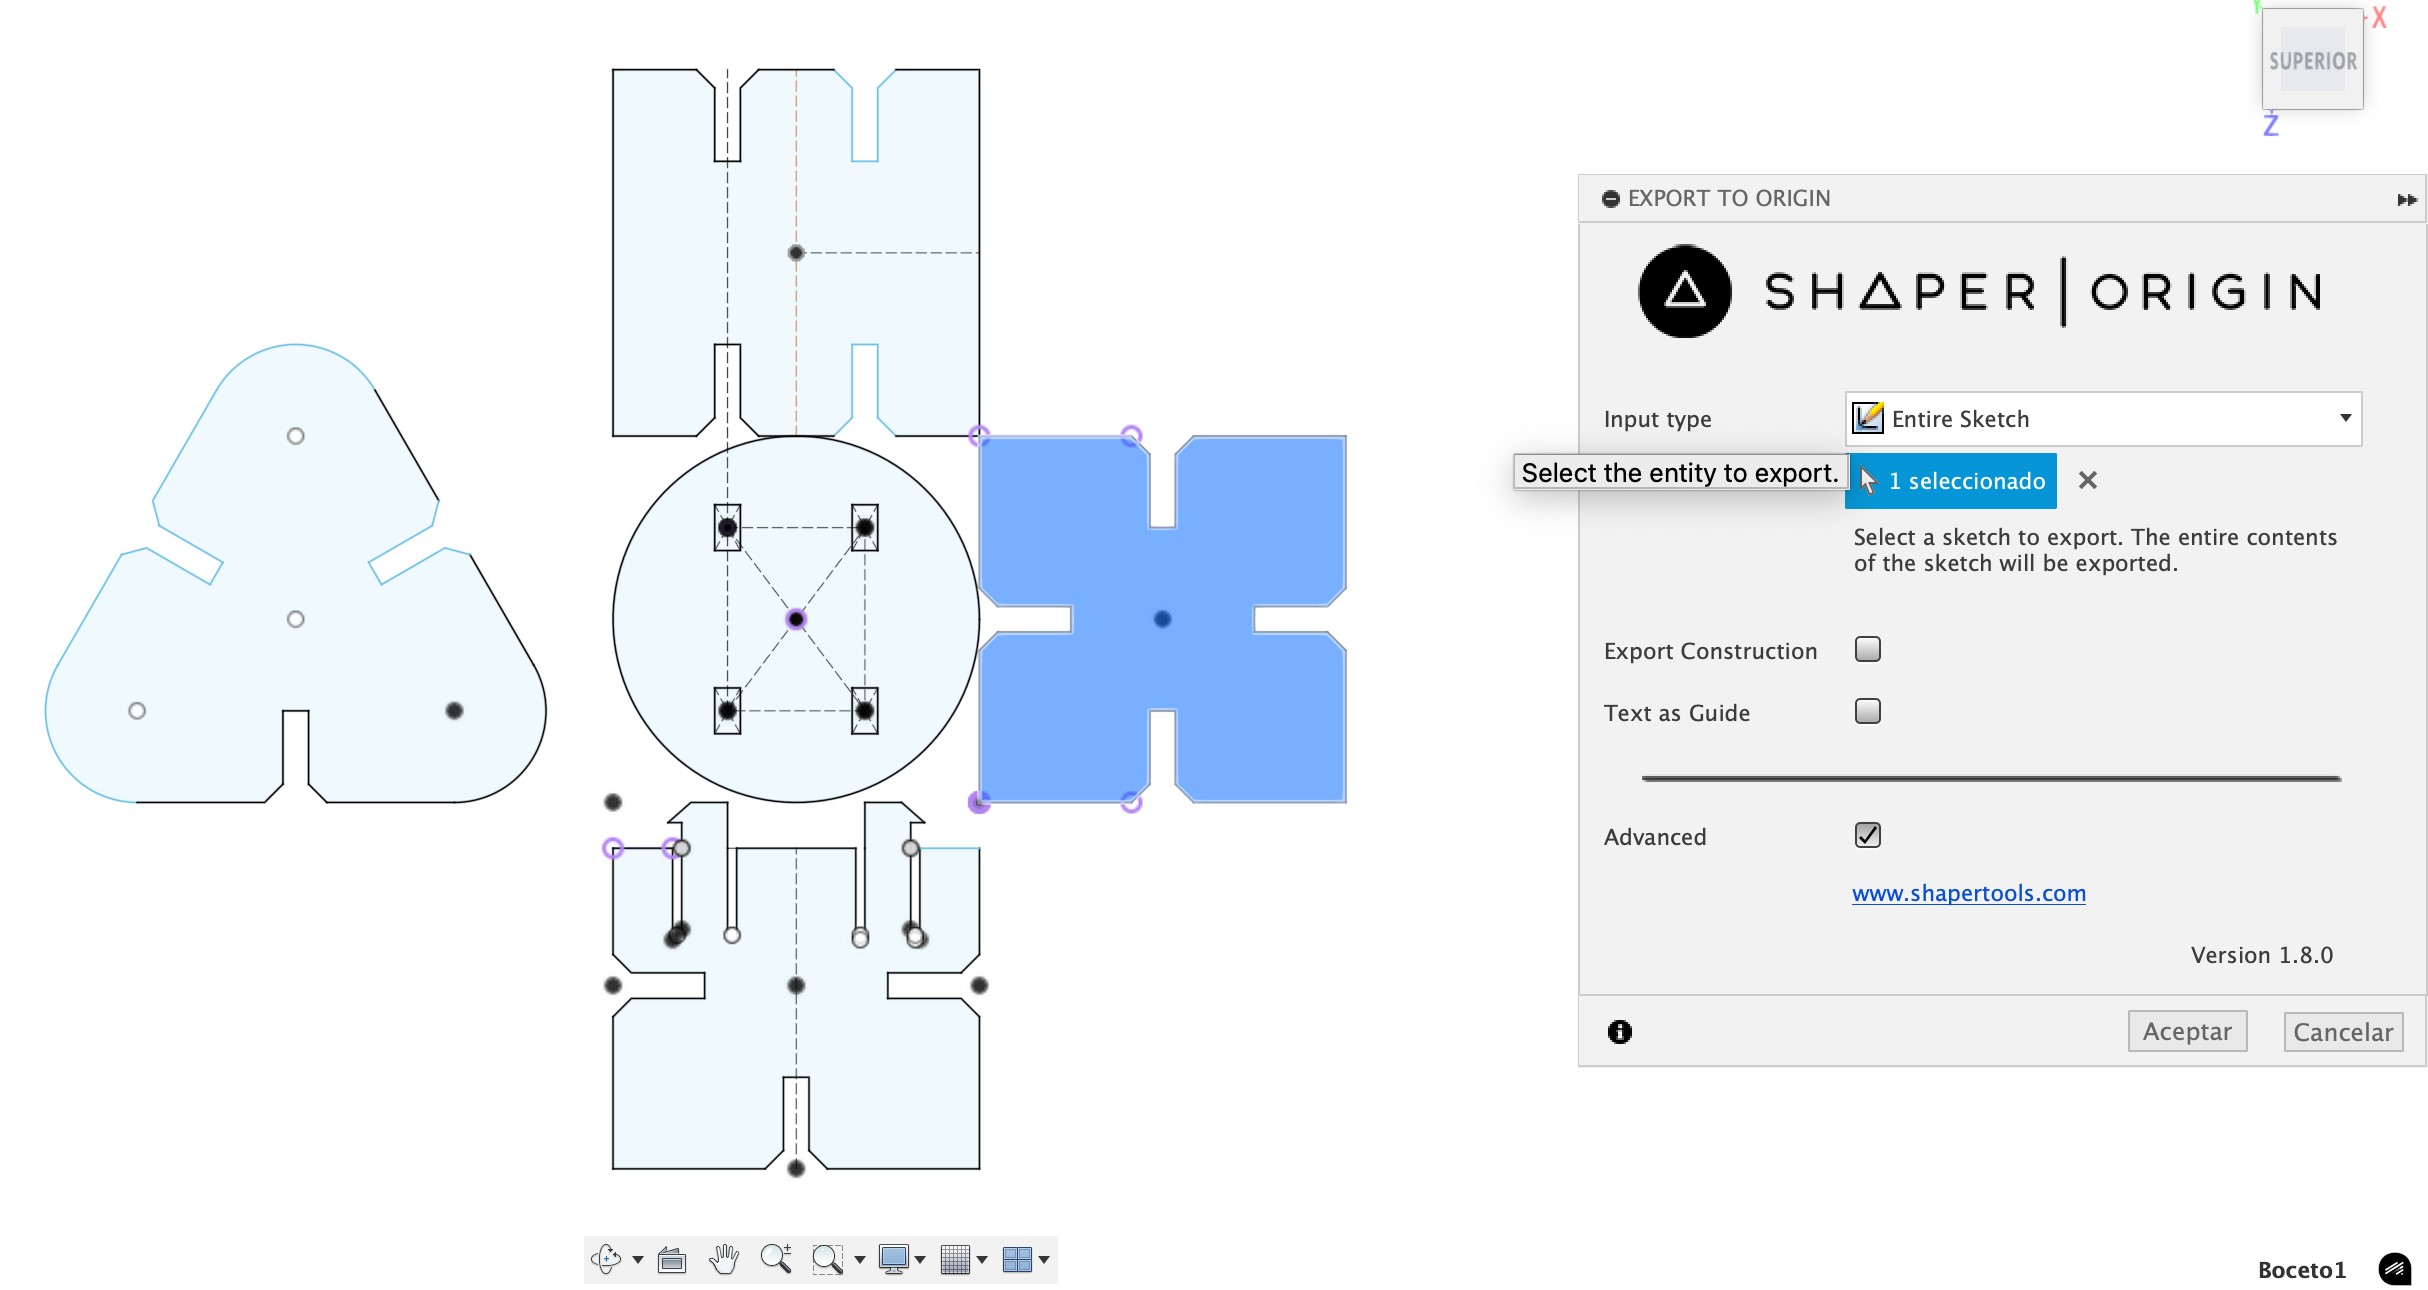
To export my design to SVG format, I used the Shaper Utilities Add-In for Fusion 360, which simplifies exporting flat sketches optimized for laser and CNC workflows. This plugin allows users to export 2D sketches directly from the sketch environment while filtering construction lines and preserving dimensions and layers. It’s especially helpful for laser cutters like the Glowforge that rely on SVG input.
The Shaper Add-In can be installed by following instructions from their official page: Install the Shaper Utilities for Fusion 360.

Initial Results & Kerf Calibration
To determine the kerf value, I ran a simple calibration test—cutting parallel lines into a rectangle, measuring the total removed gap and dividing by the number of cuts. The result was 0.204 mm, which gave me a perfect press-fit without glue.
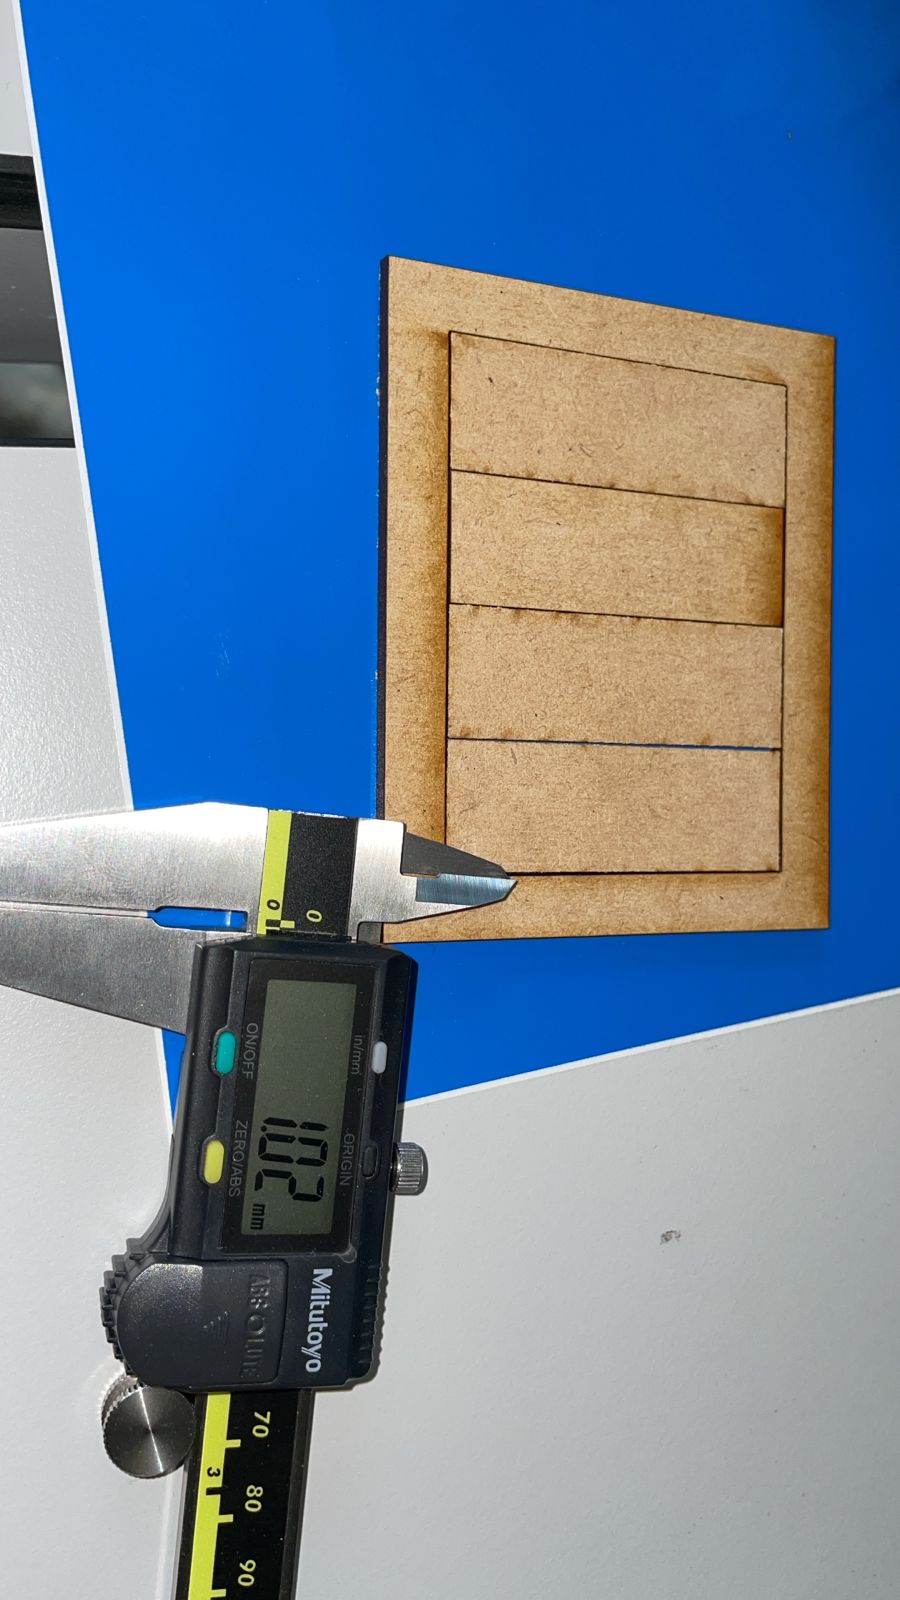
For the first round of cuts, I deliberately chose not to apply kerf compensation to see how the parts would fit without it. As expected, the joints were too tight and some pieces didn’t slot together smoothly. This validated the need for precise kerf calibration, especially when aiming for a press-fit construction kit.

Glowforge Interface and Cutting
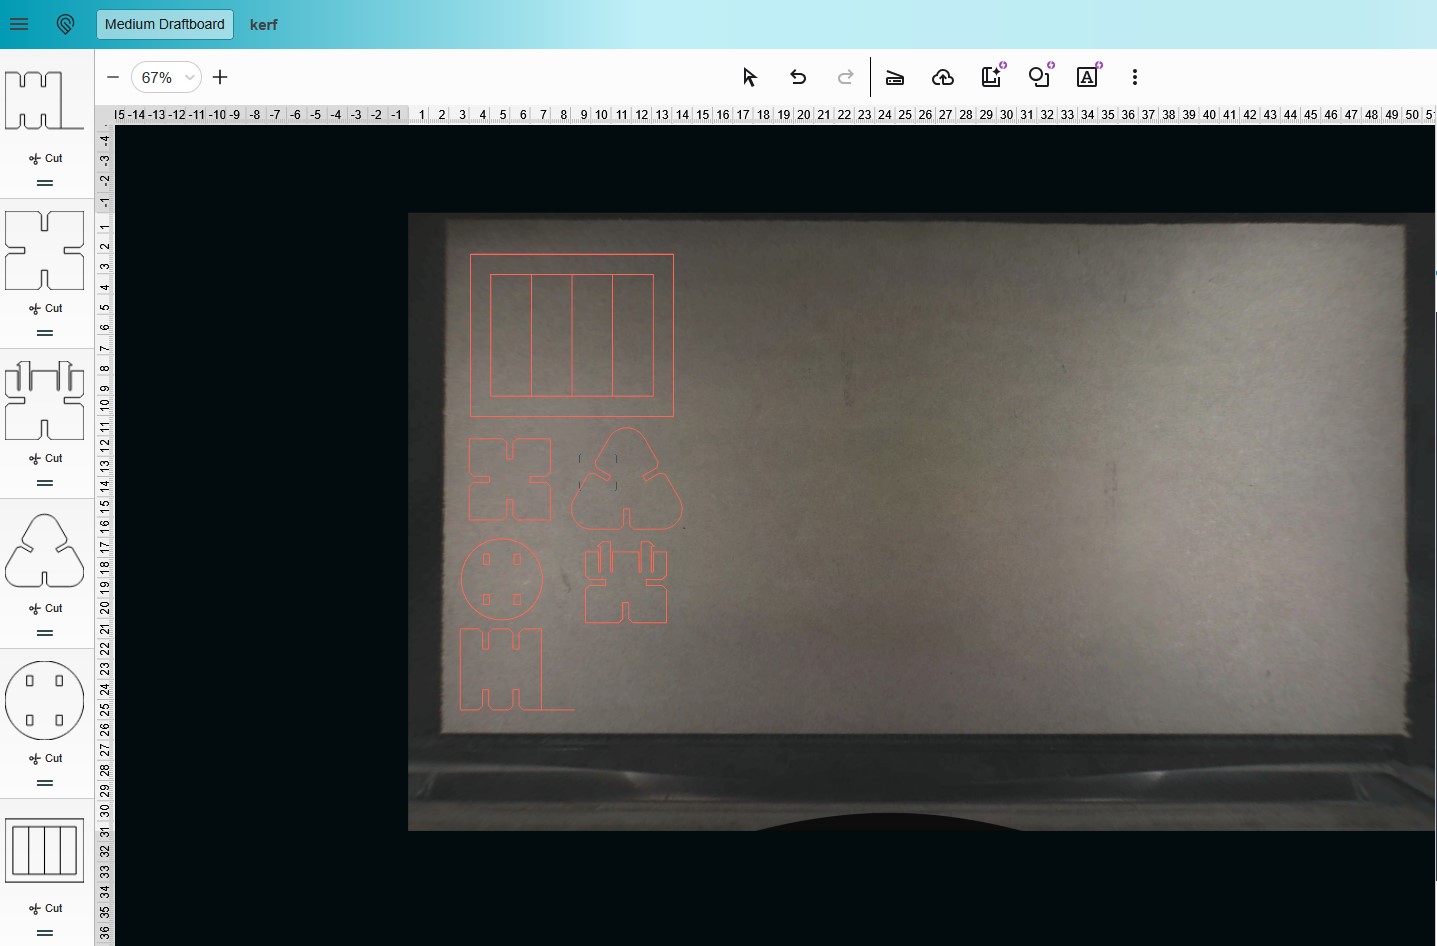
After applying the kerf compensation to my parametric design in Fusion 360, I exported the updated SVGs and uploaded them again to the Glowforge Web App.
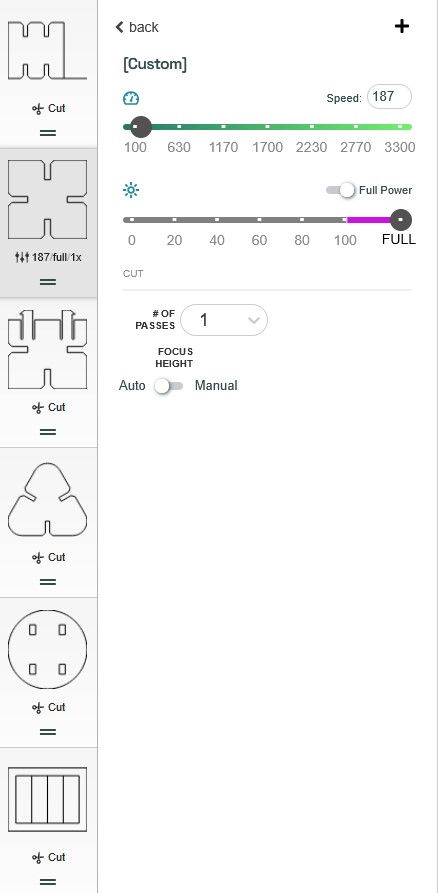
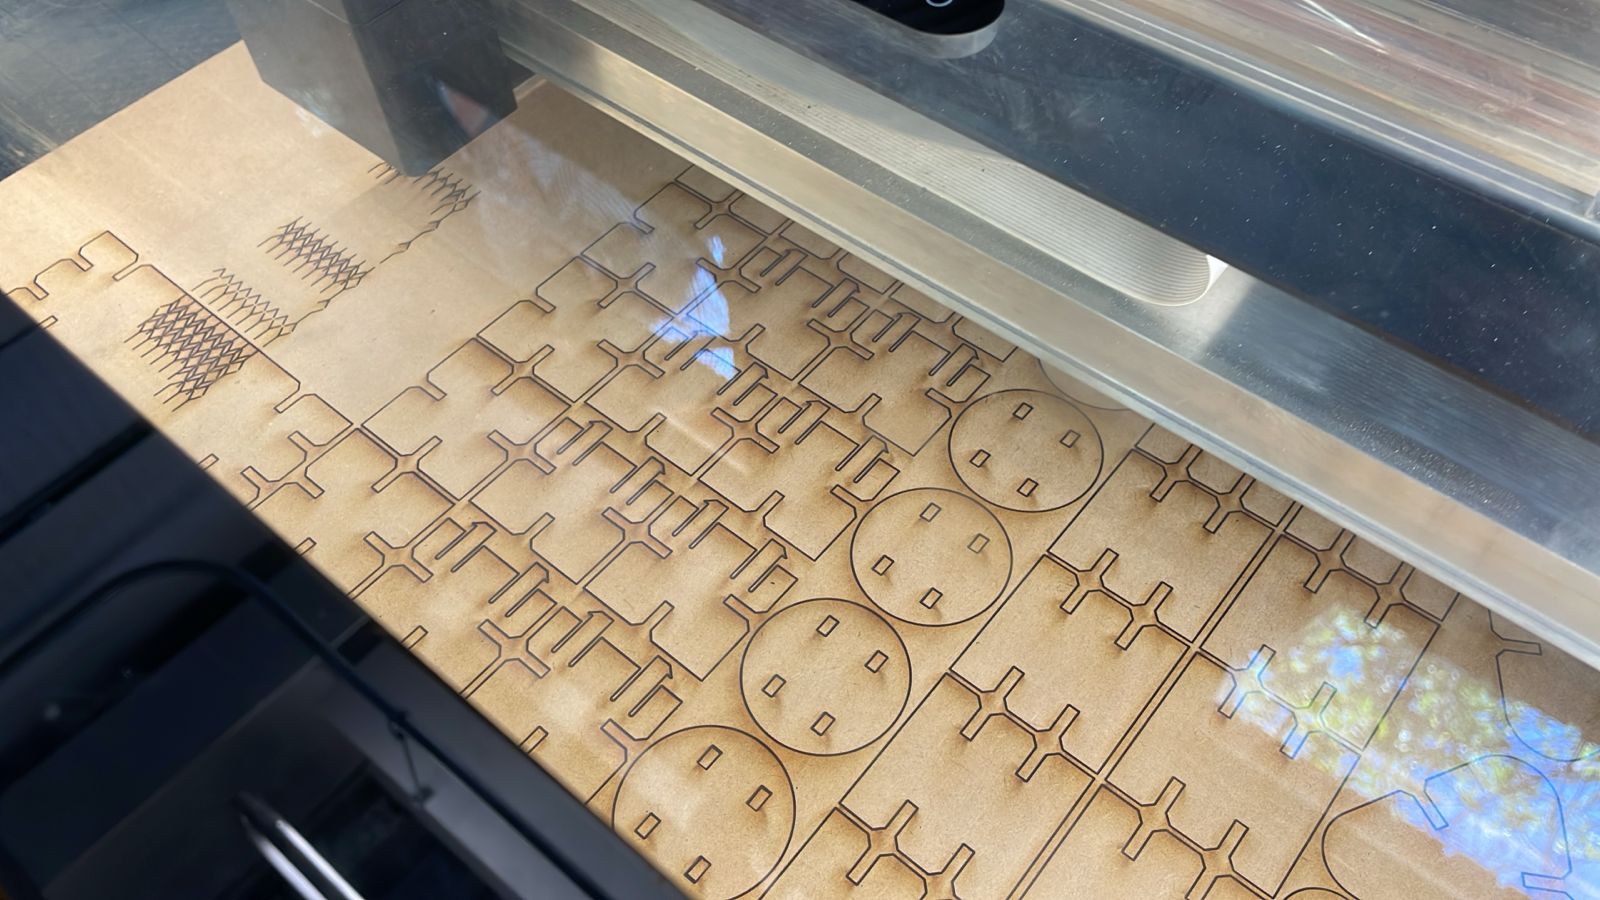
Once uploaded, I selected the material type as Medium Draftboard directly in the Glowforge interface. One of the amazing features of the Glowforge is its predefined material database—it automatically sets the appropriate speed, power, and focus settings for the selected material. Super convenient!

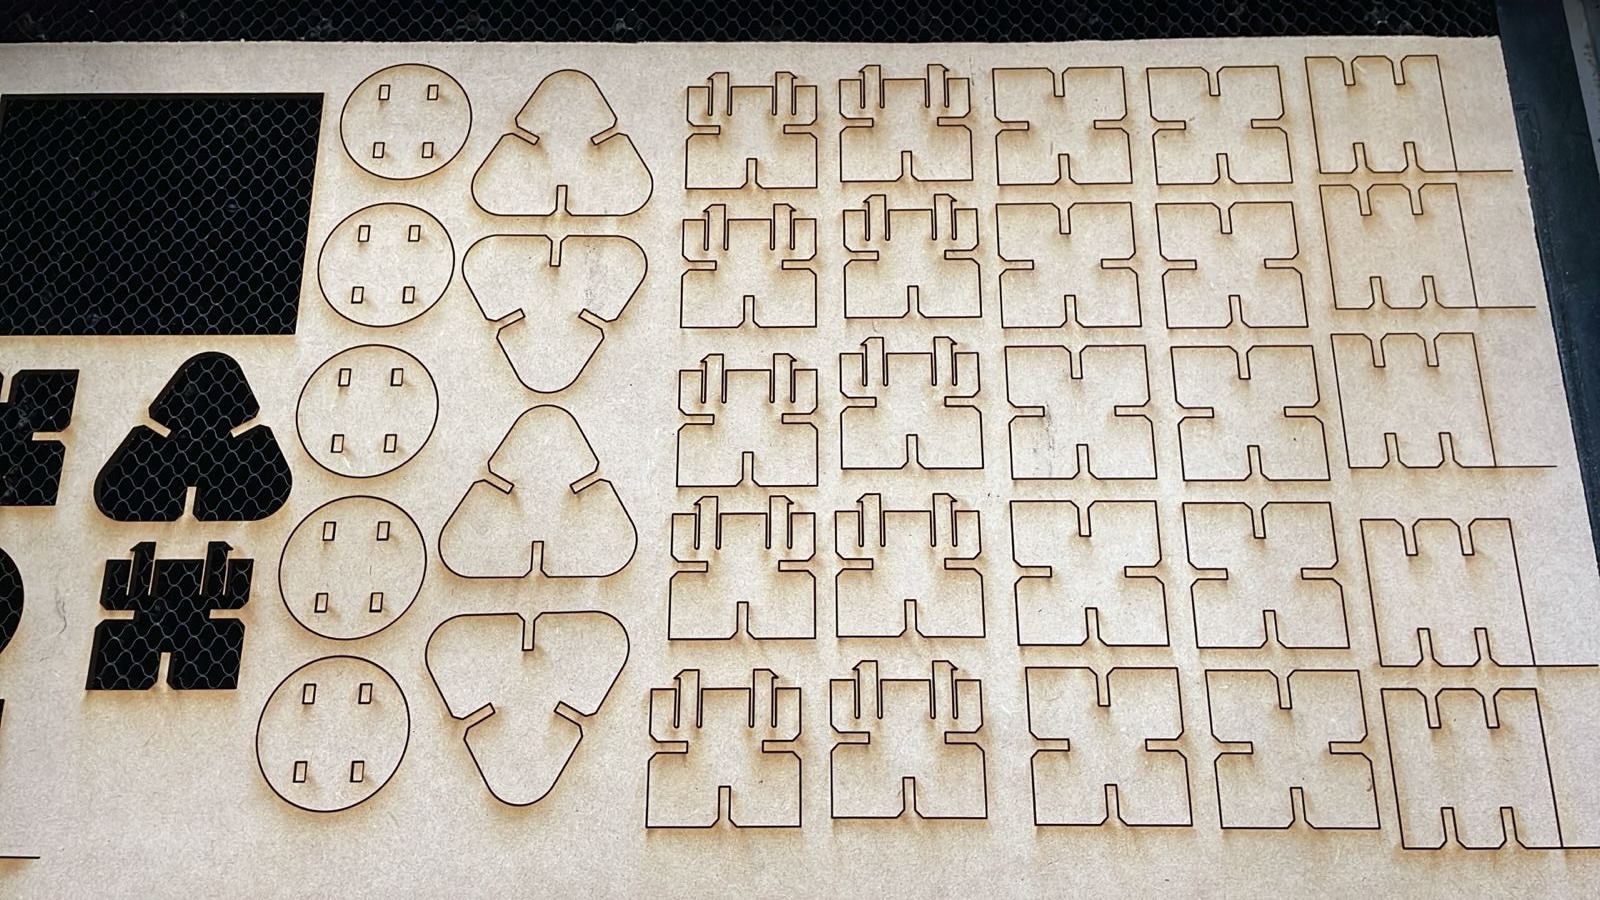
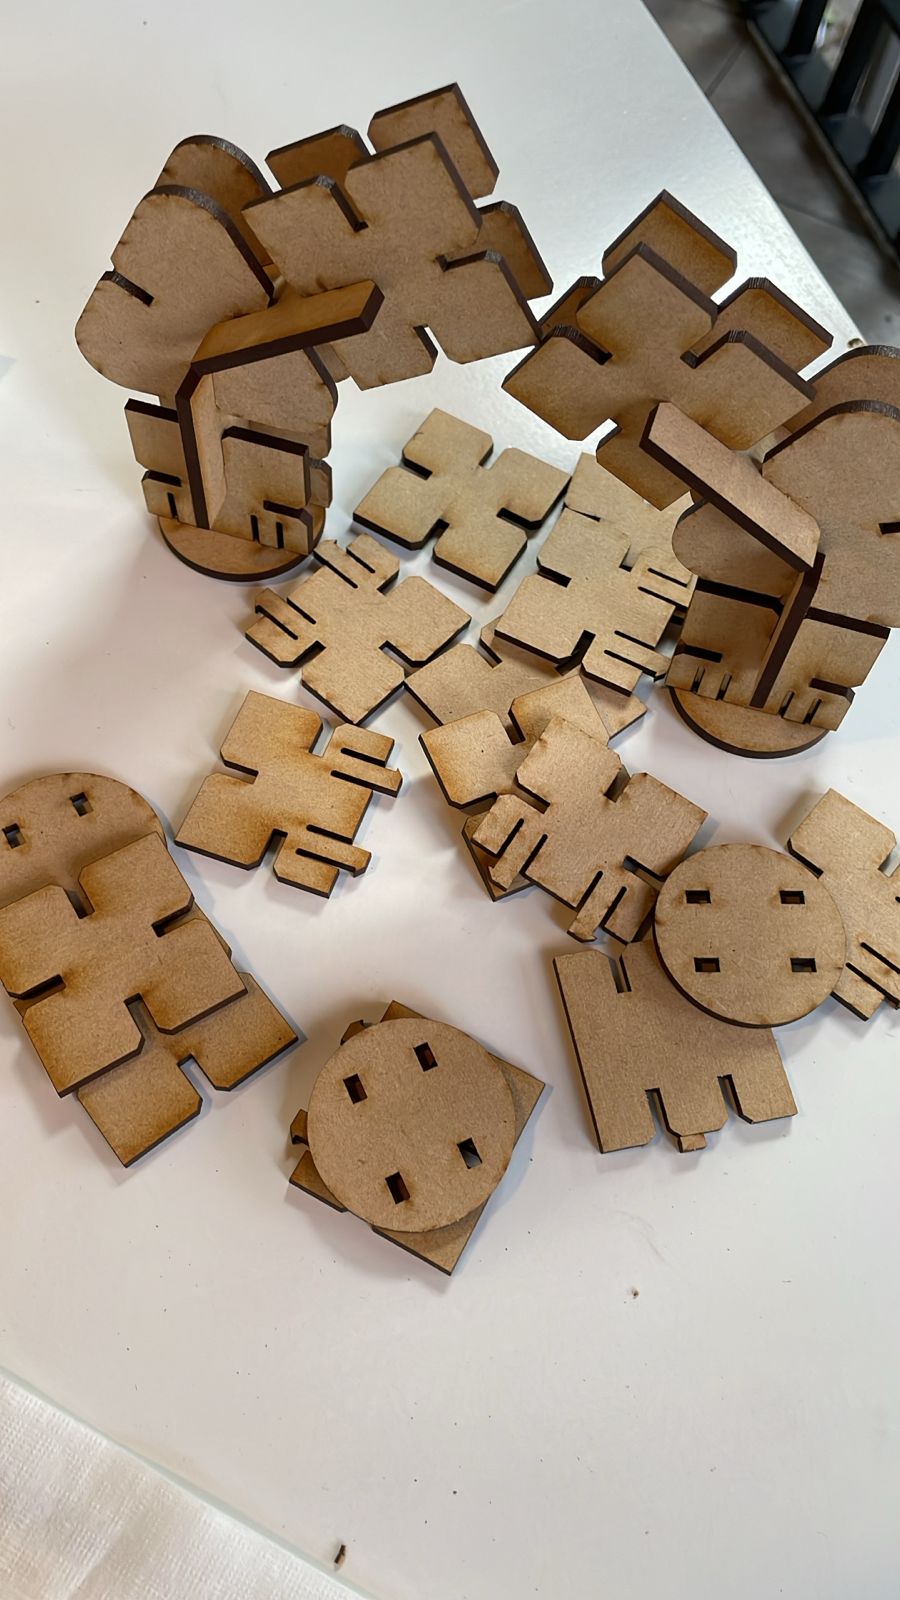
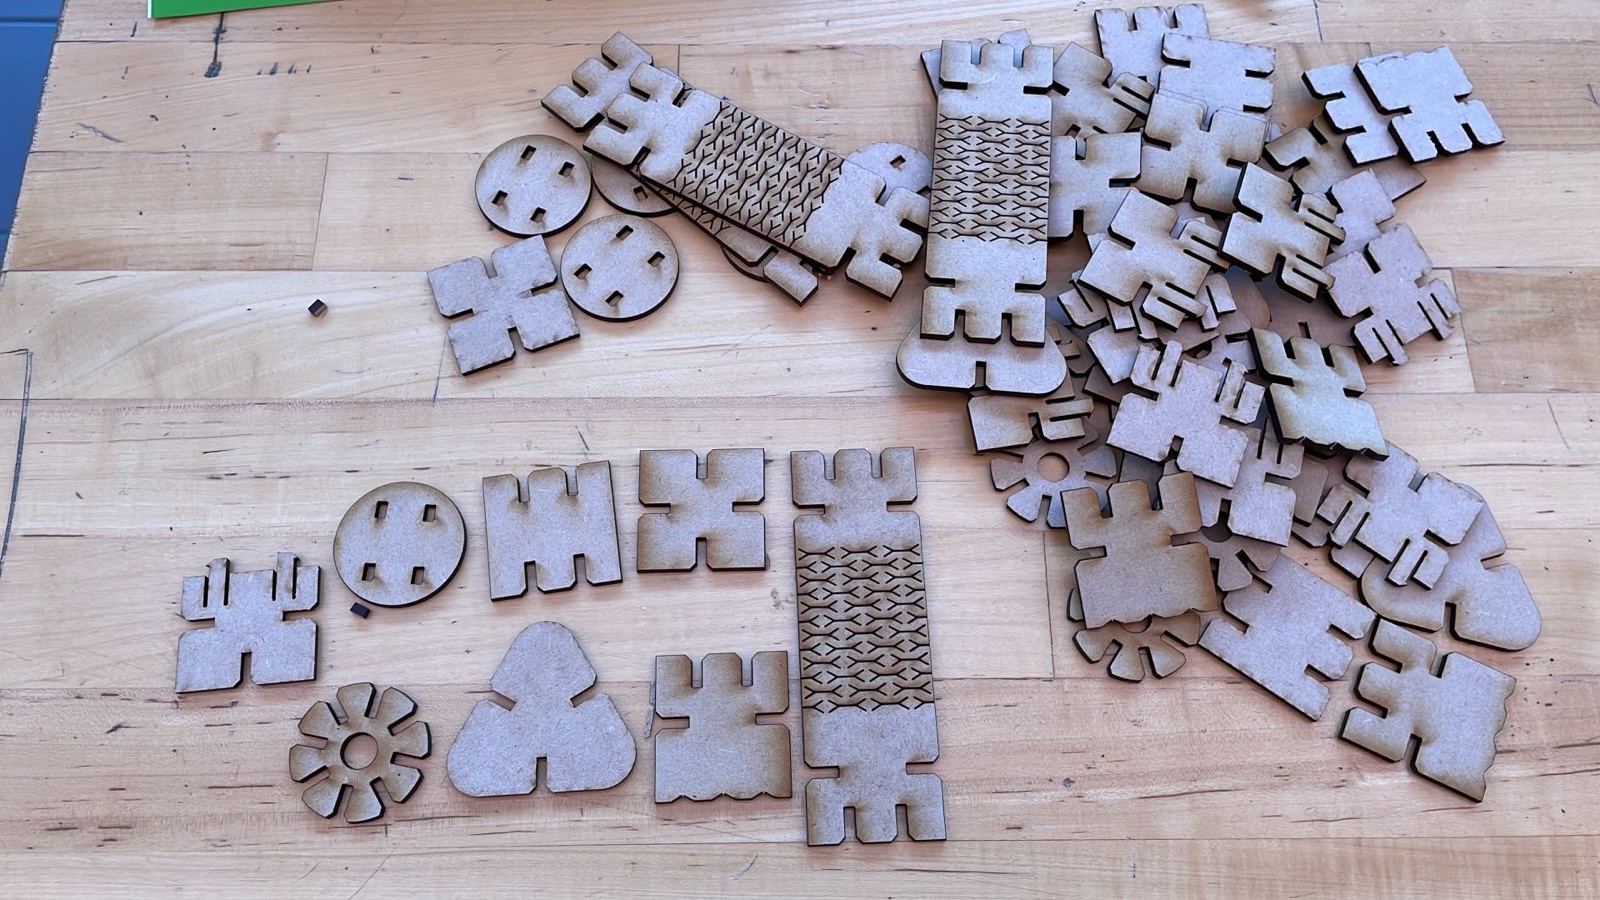
With everything ready, I sent the updated files to print. The result? A satisfying pile of perfectly cut parts ready for assembly.
Assembly & Iteration
My designated Master Builder took on the challenge of assembling the construction kit. He successfully tested the initial joints, but we noticed the design lacked a few key connector pieces to make more creative builds.

So we went back to Fusion 360 to design new elements, including a flexible connector to work like a spring joint. This led us to iterate twice: the first version was a complete failure—it broke into pieces during cutting.
First Iteration (Failure)
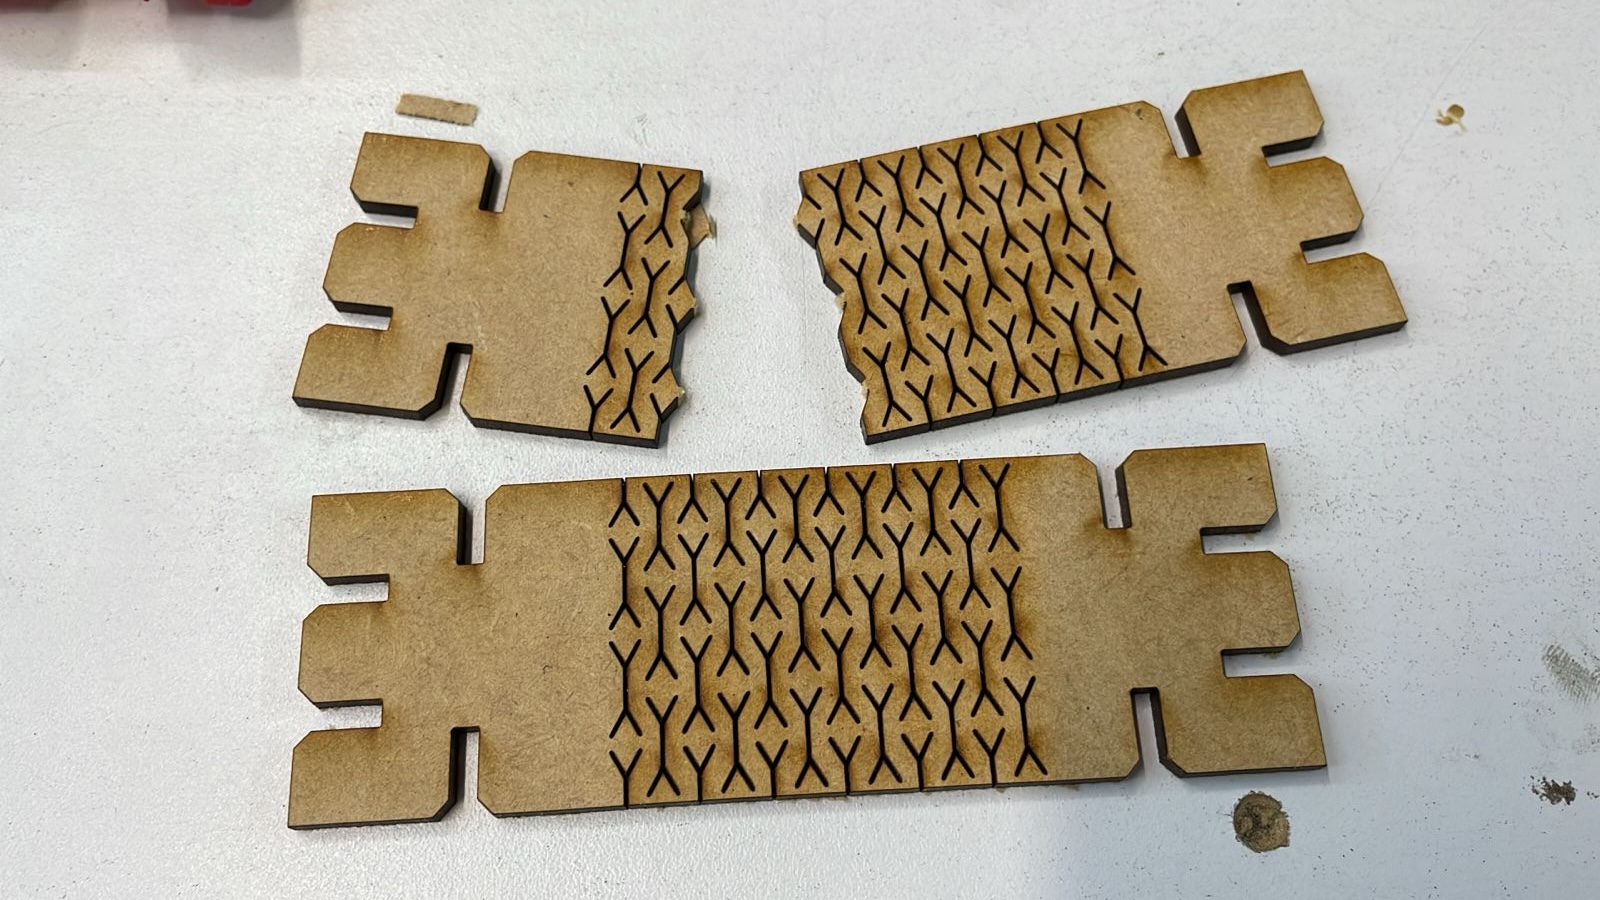
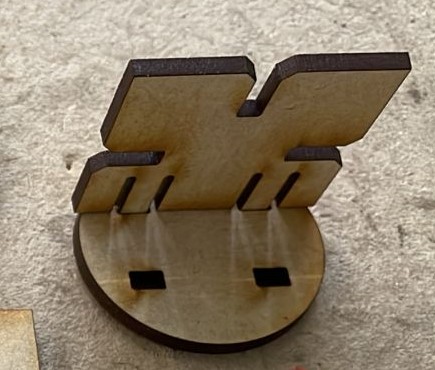
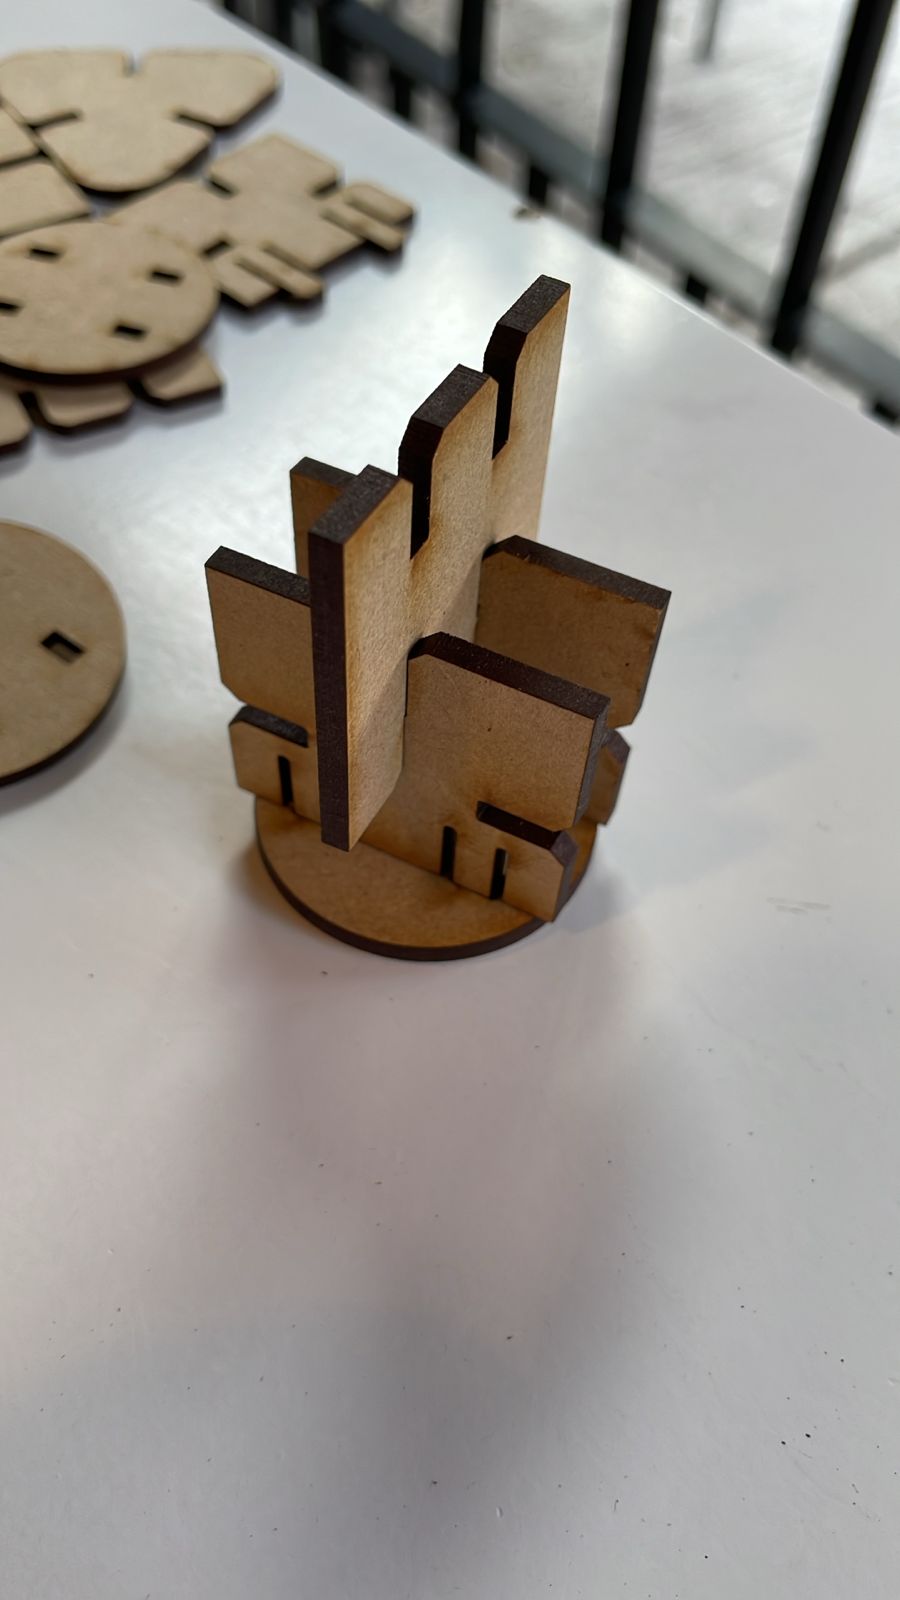
Second Iteration (Success!)
After tweaking the cut spacing and line count, the second version worked as planned. The flexible part acted like a spring and was just right for our kit.
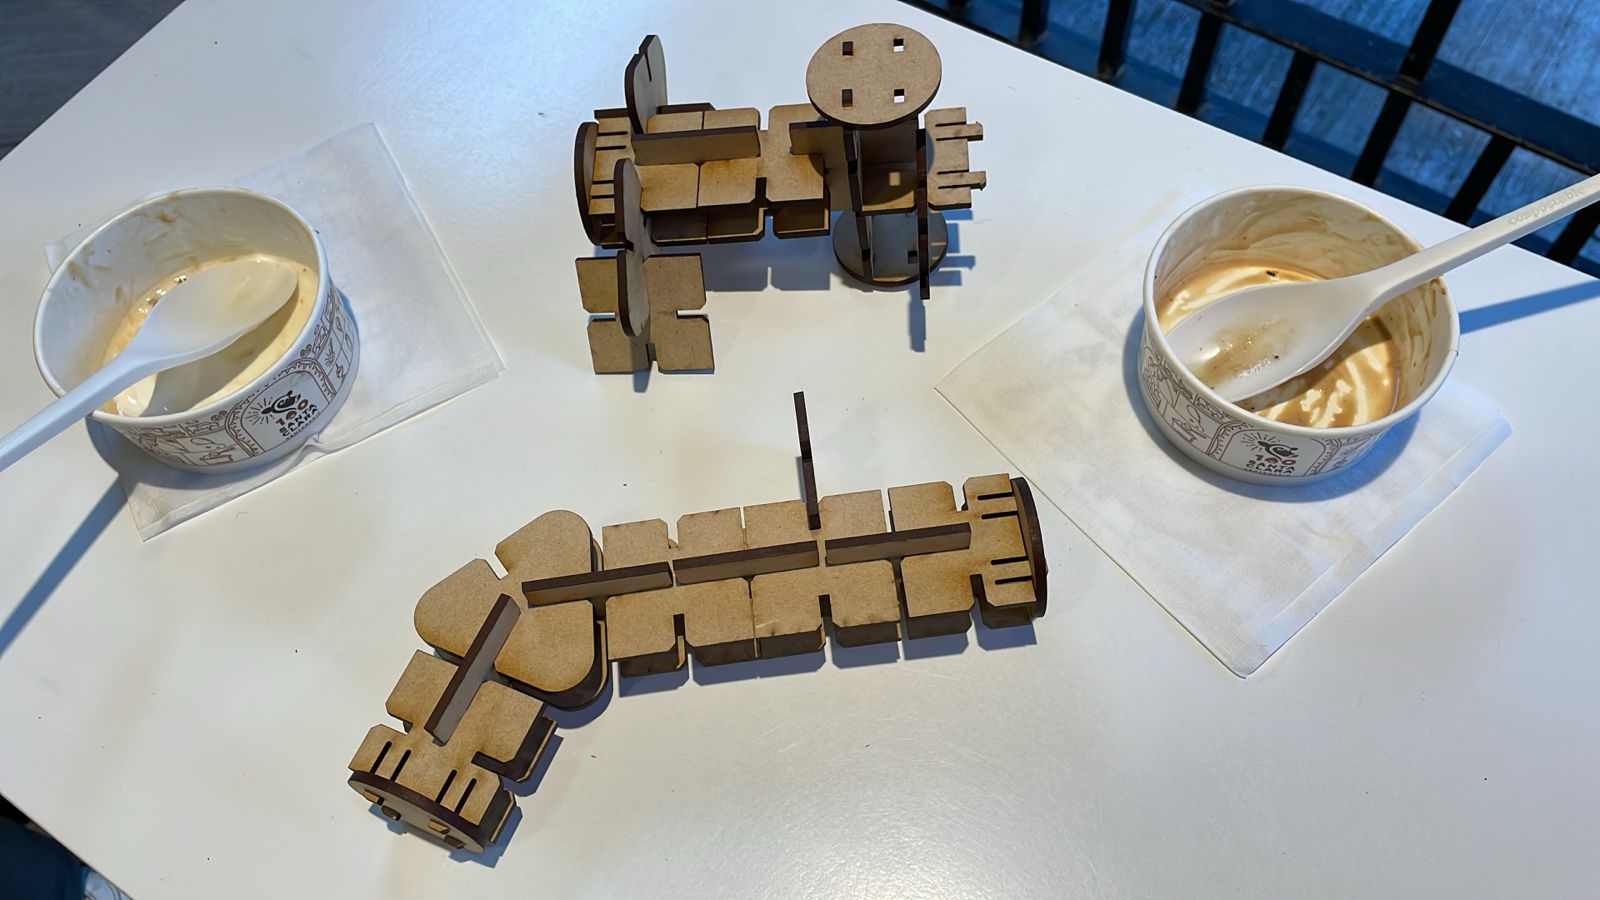
The Master Builder came back to assemble the improved kit. This time, everything fit beautifully—and of course, payment was promptly delivered in the form of snacks!
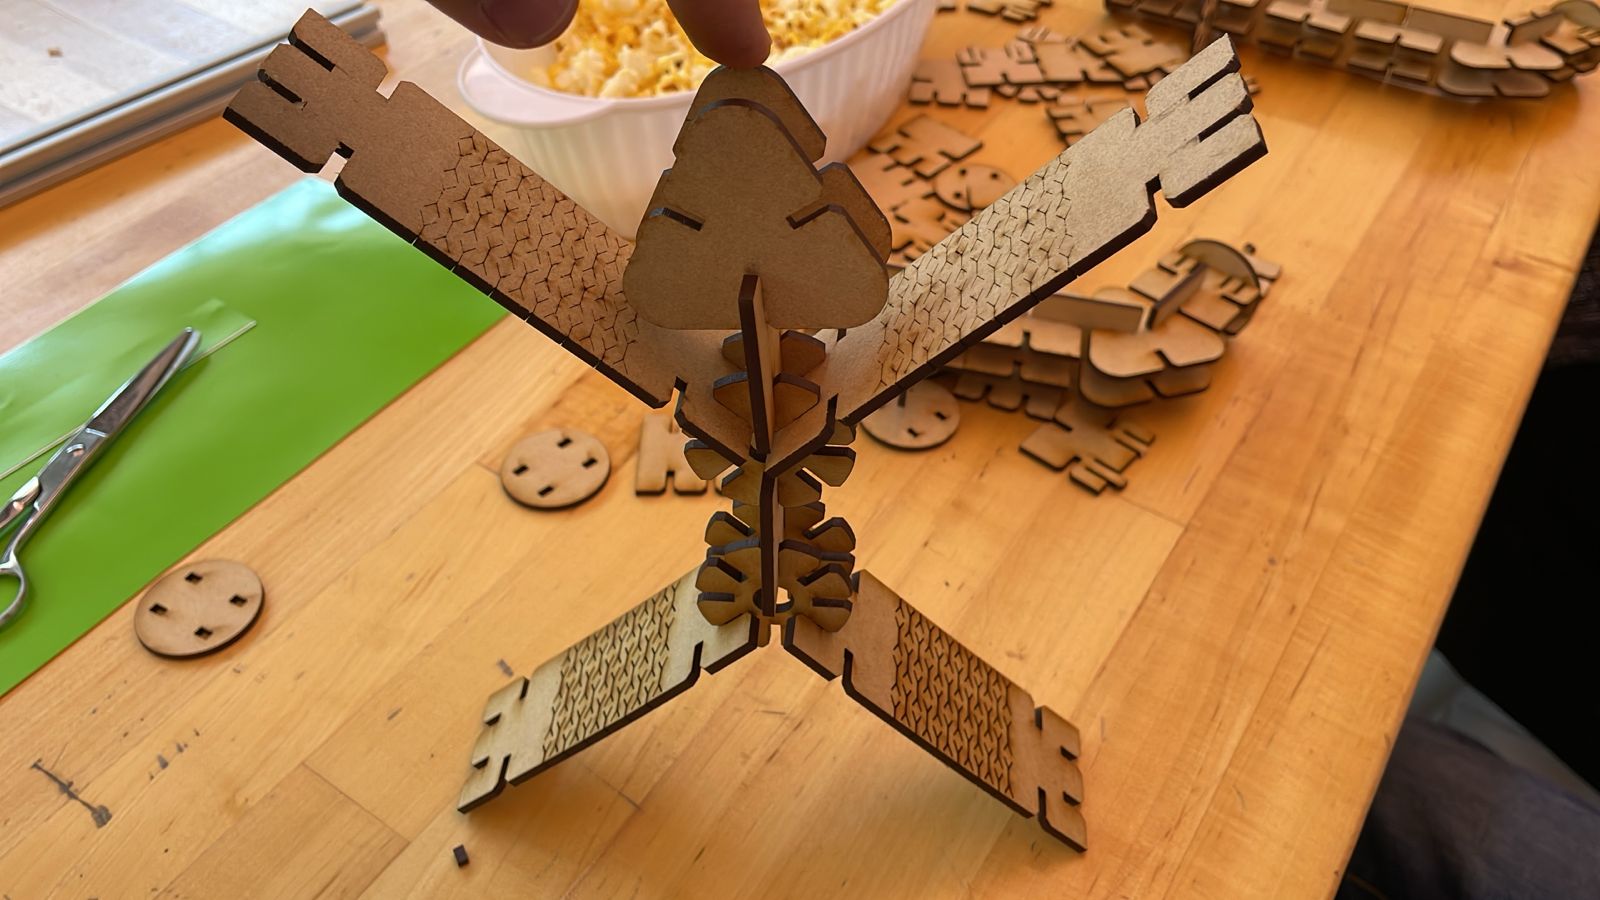
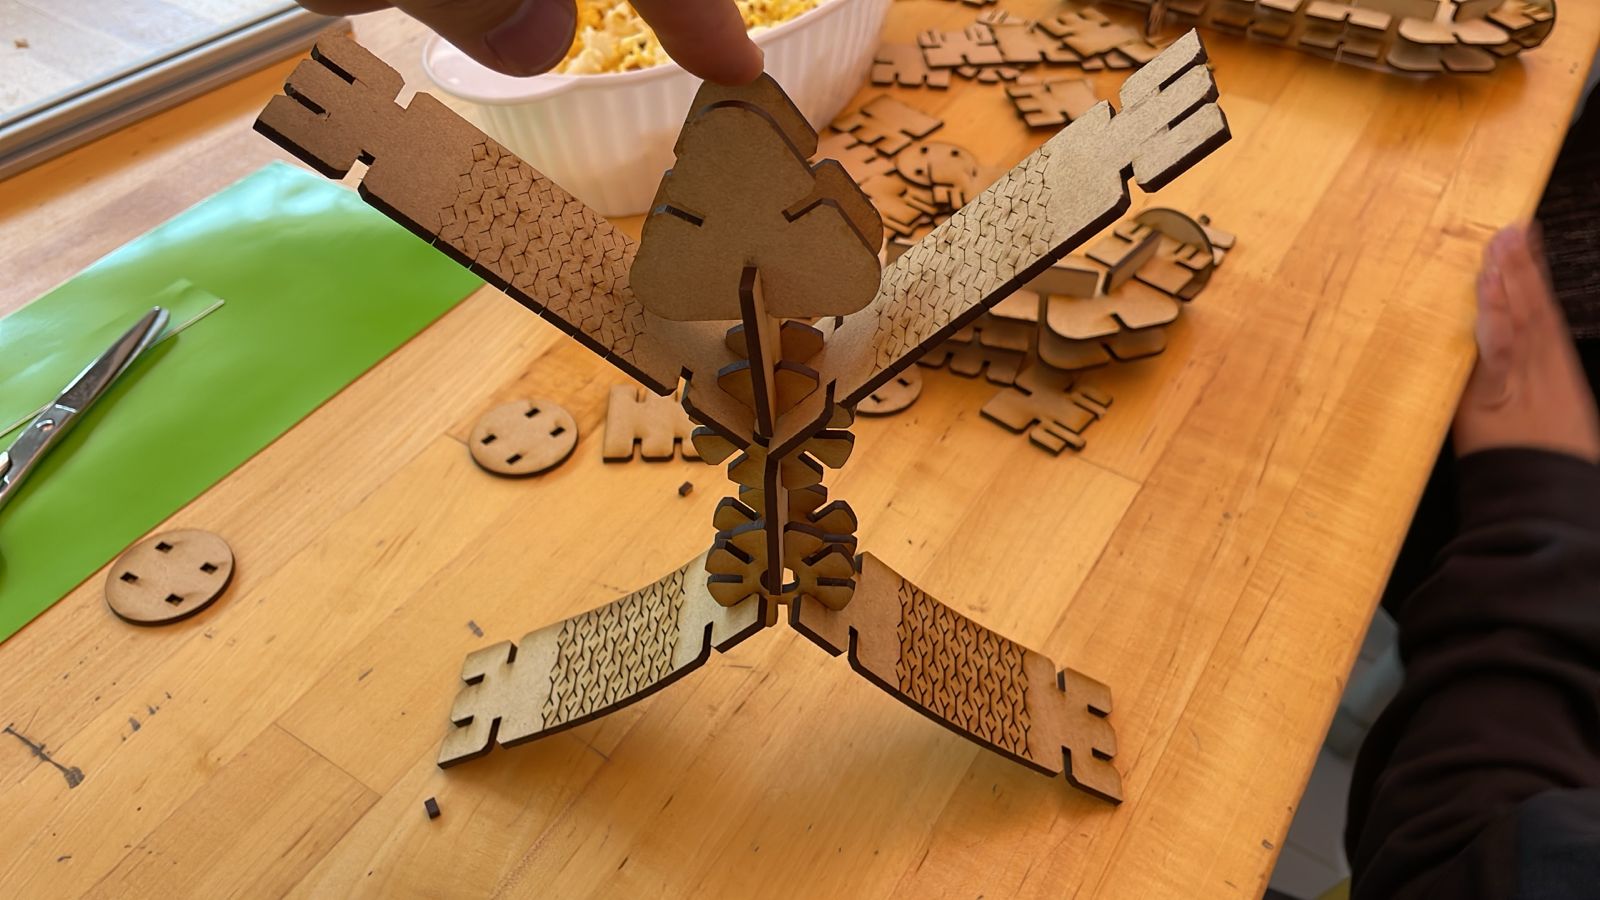
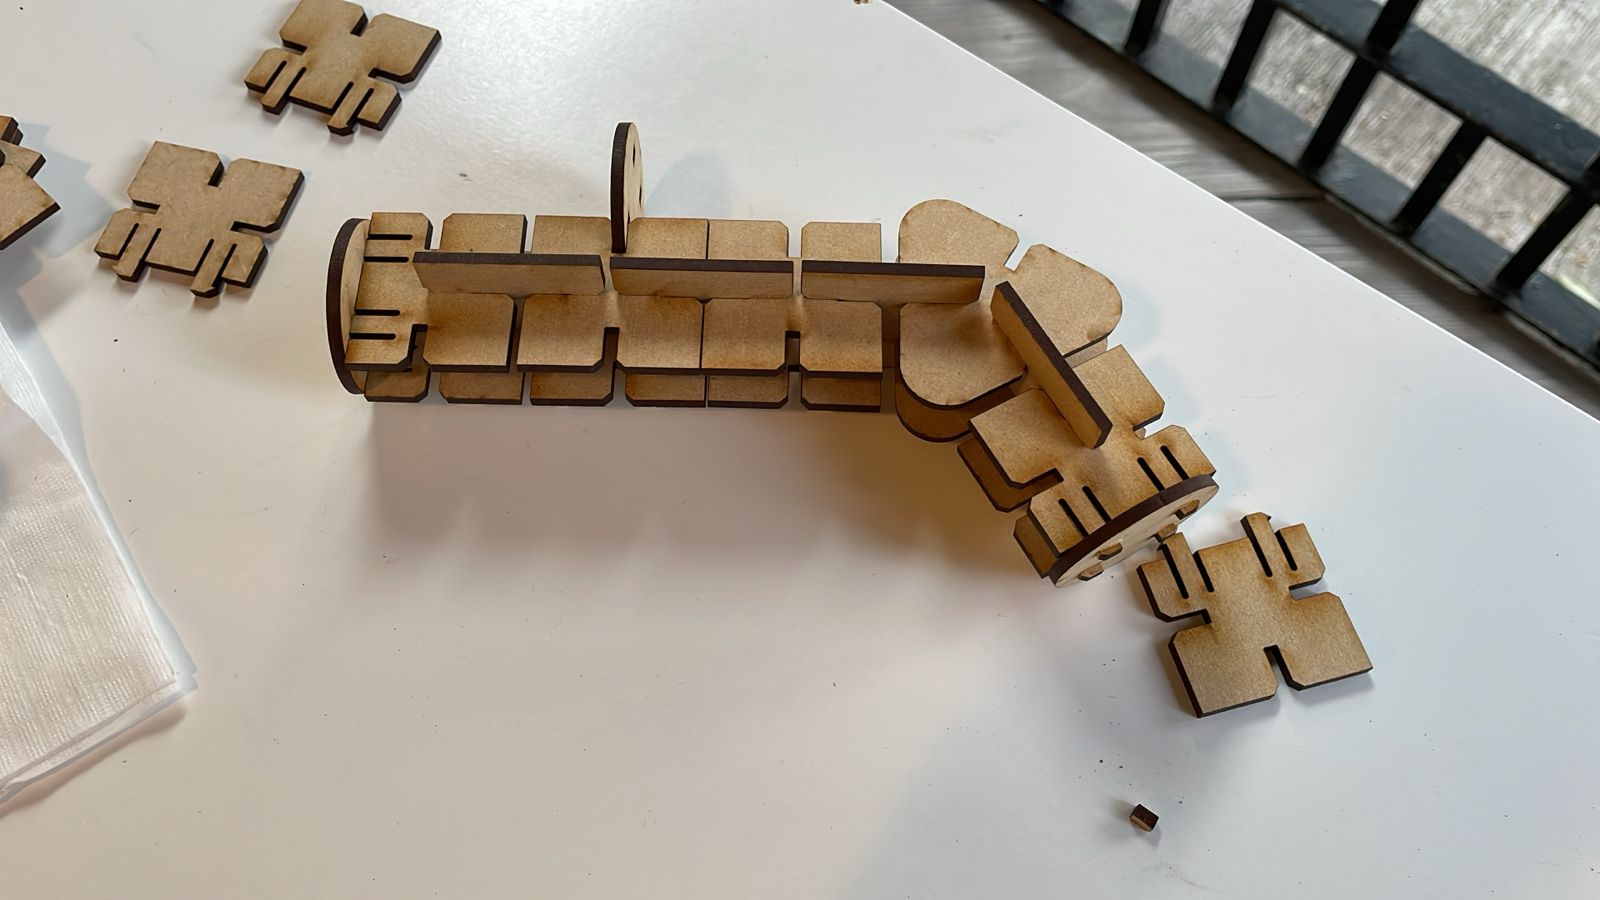
We even tested the flexible design as part of a humanoid-shaped build. The result was fun and functional!
Vinyl Cutting with Roland GS2-24
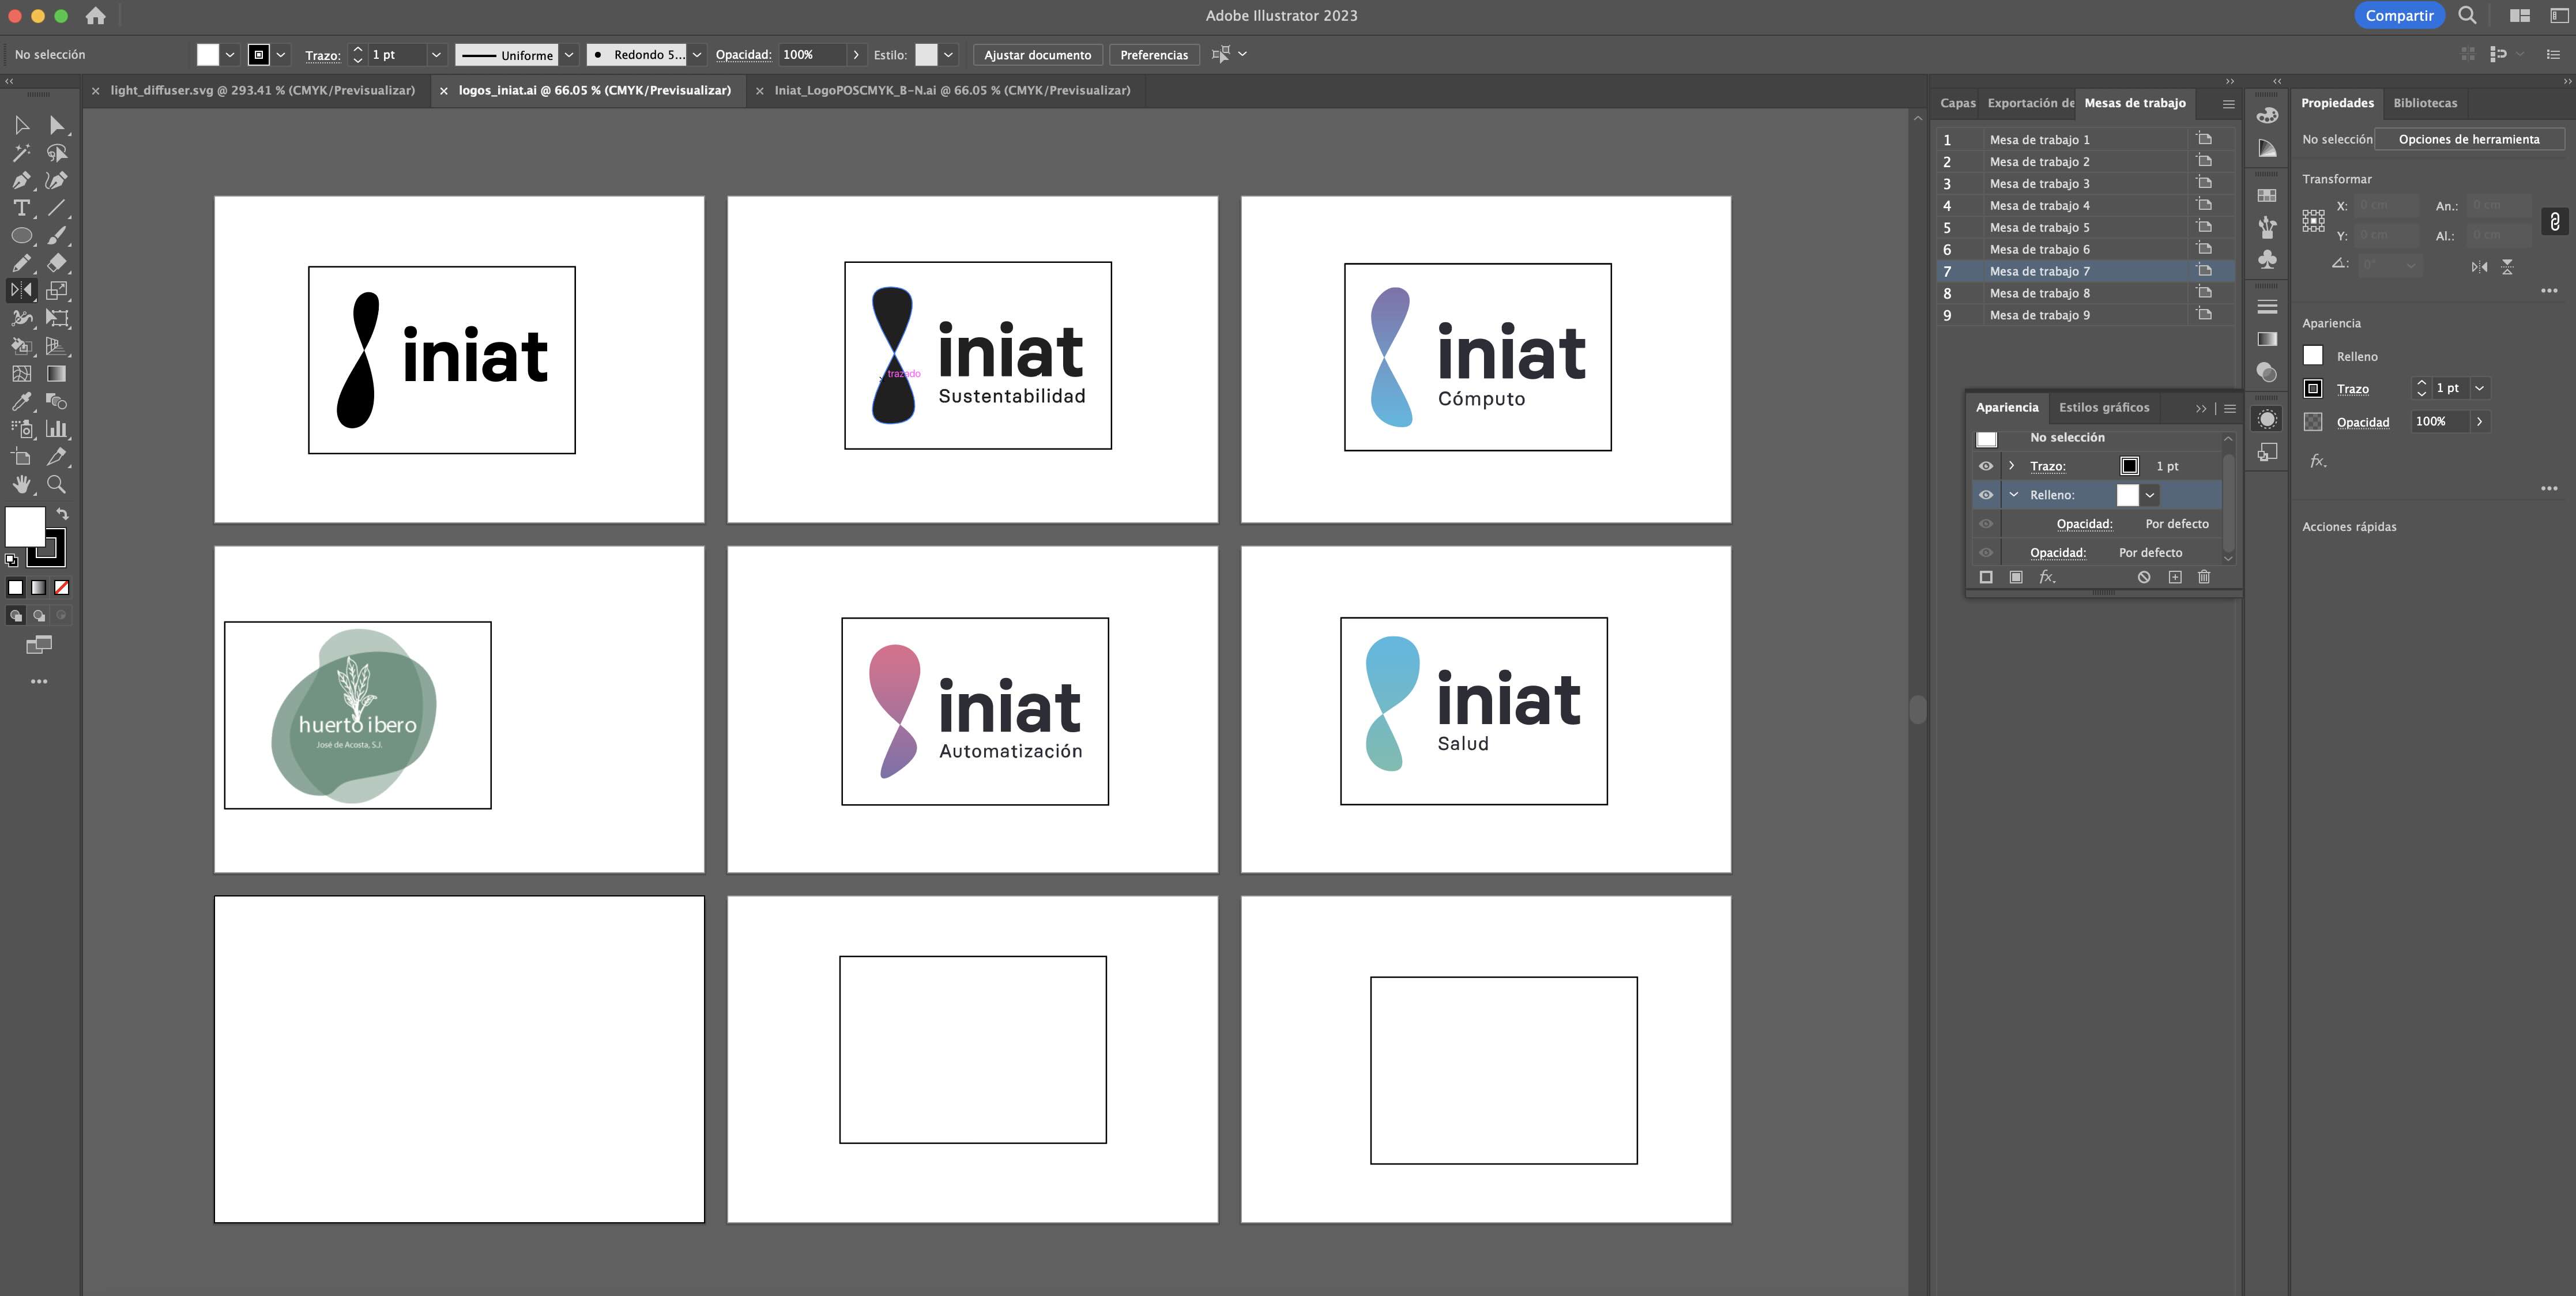
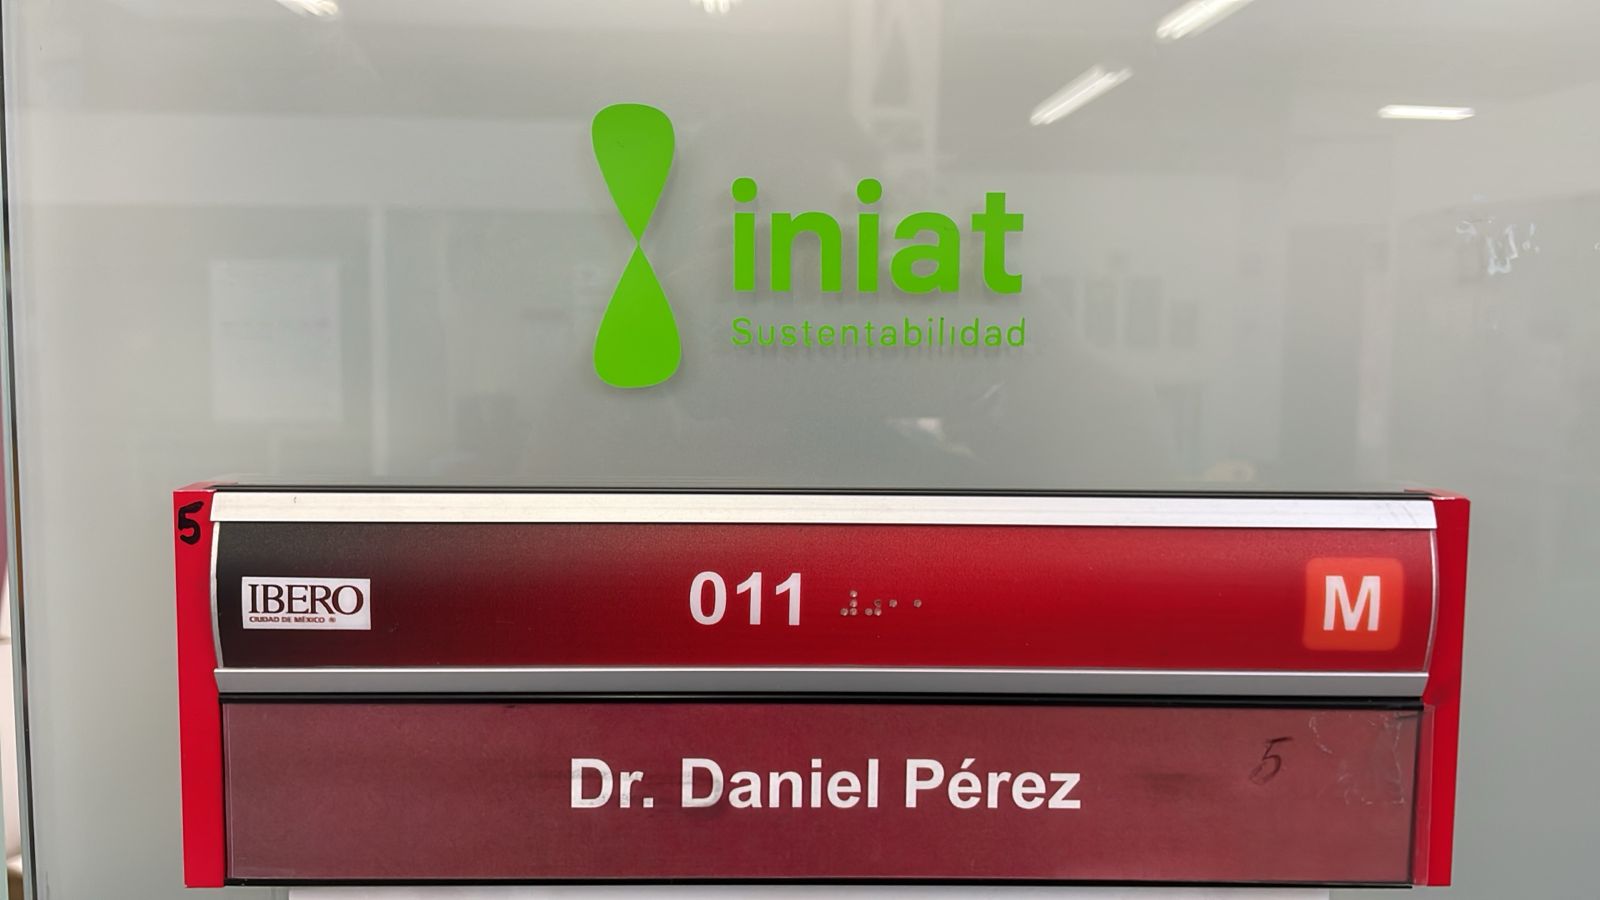
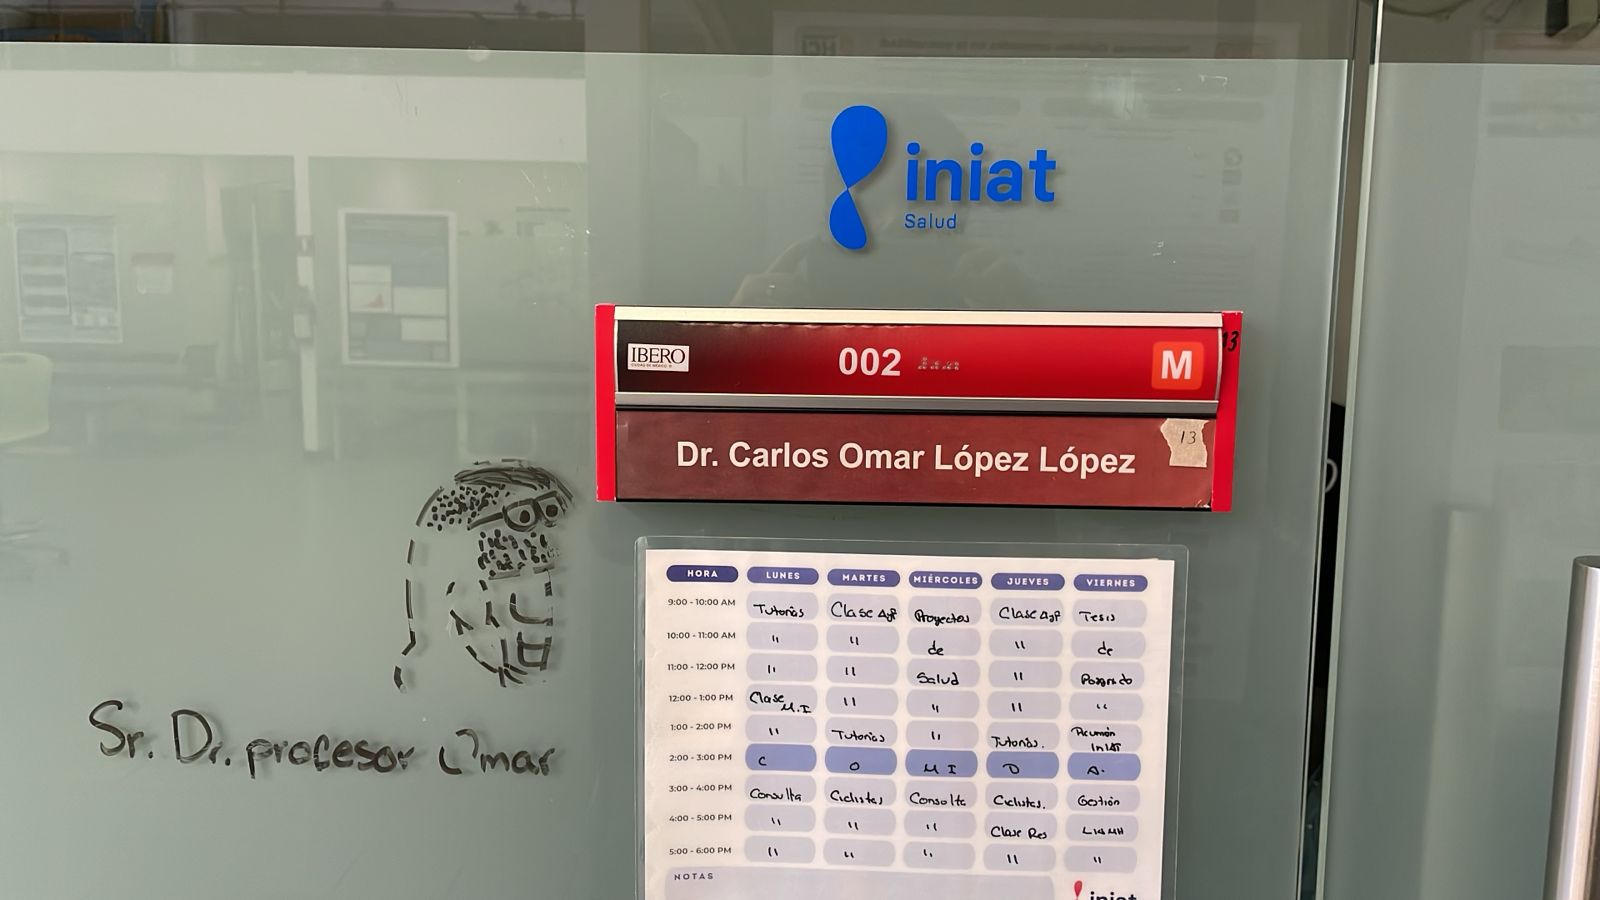
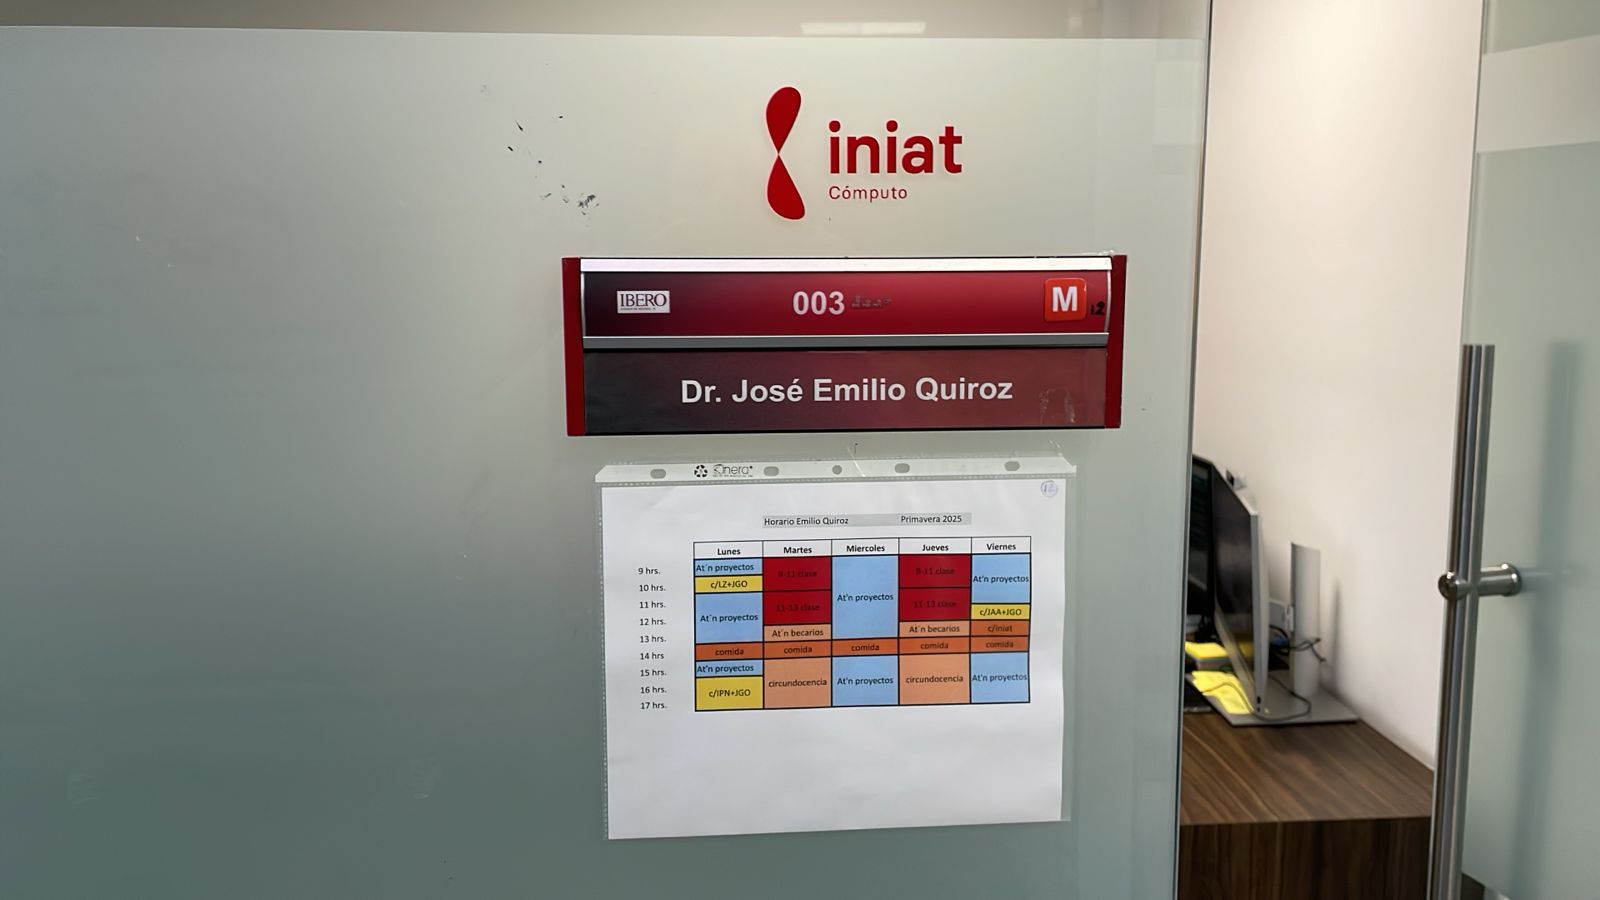
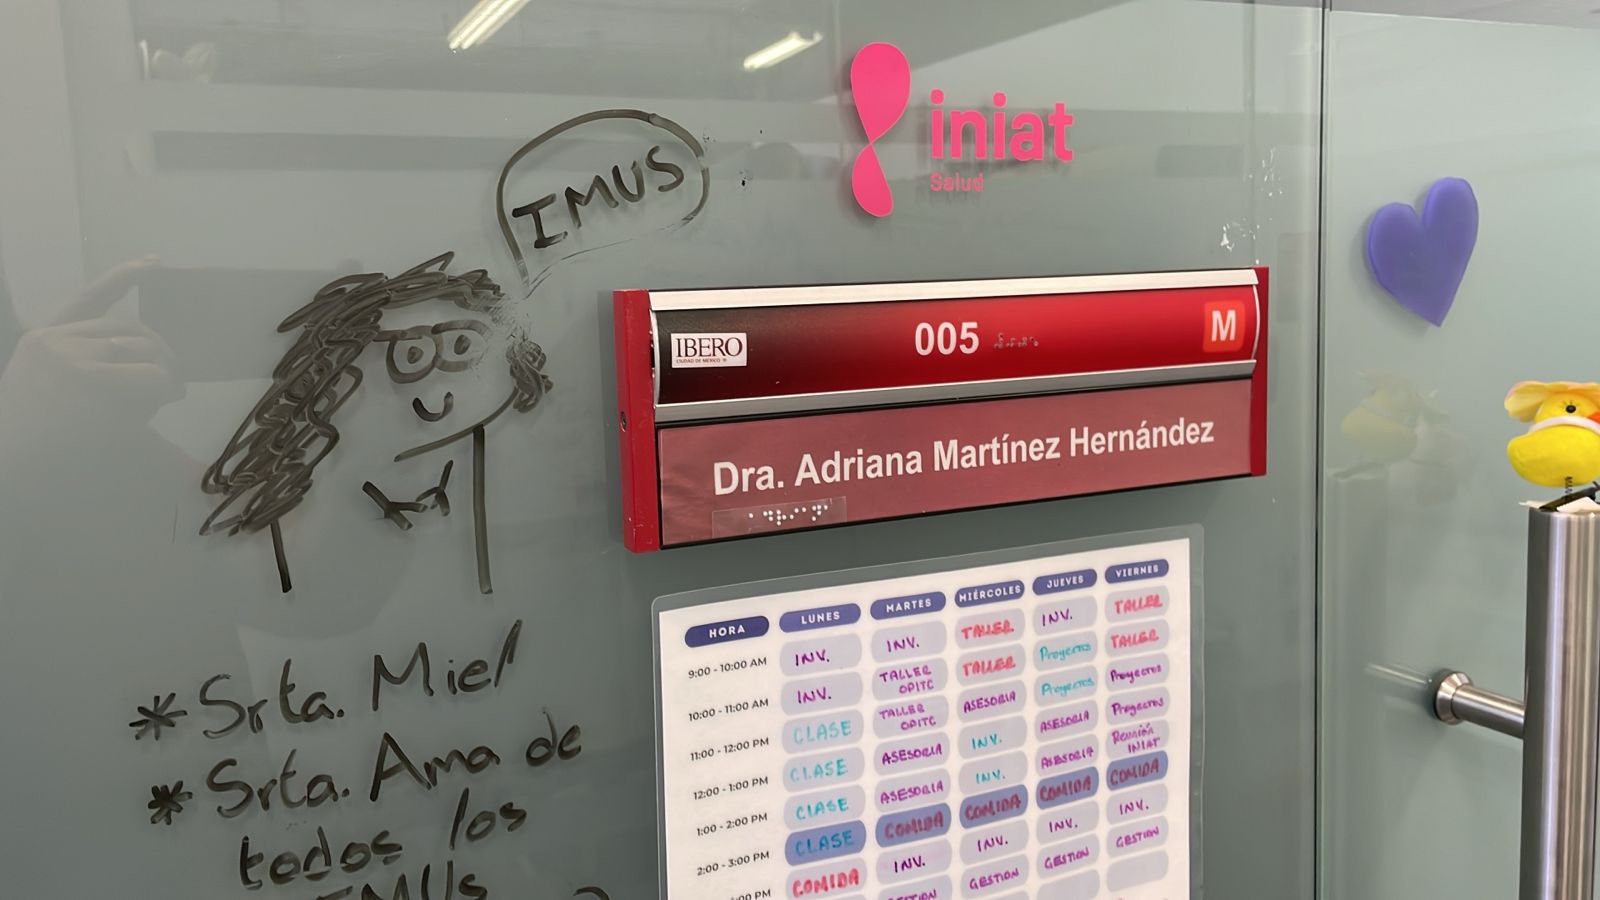
For the vinyl cutting part of the assignment, I chose to create personalized logos for each of my coworkers using the logo of the place where I work: InIAT .
Design Preparation
I imported the INIAT logo into Adobe Illustrator and arranged different logos on separate artboards. This made it easy to organize by department or color preference.
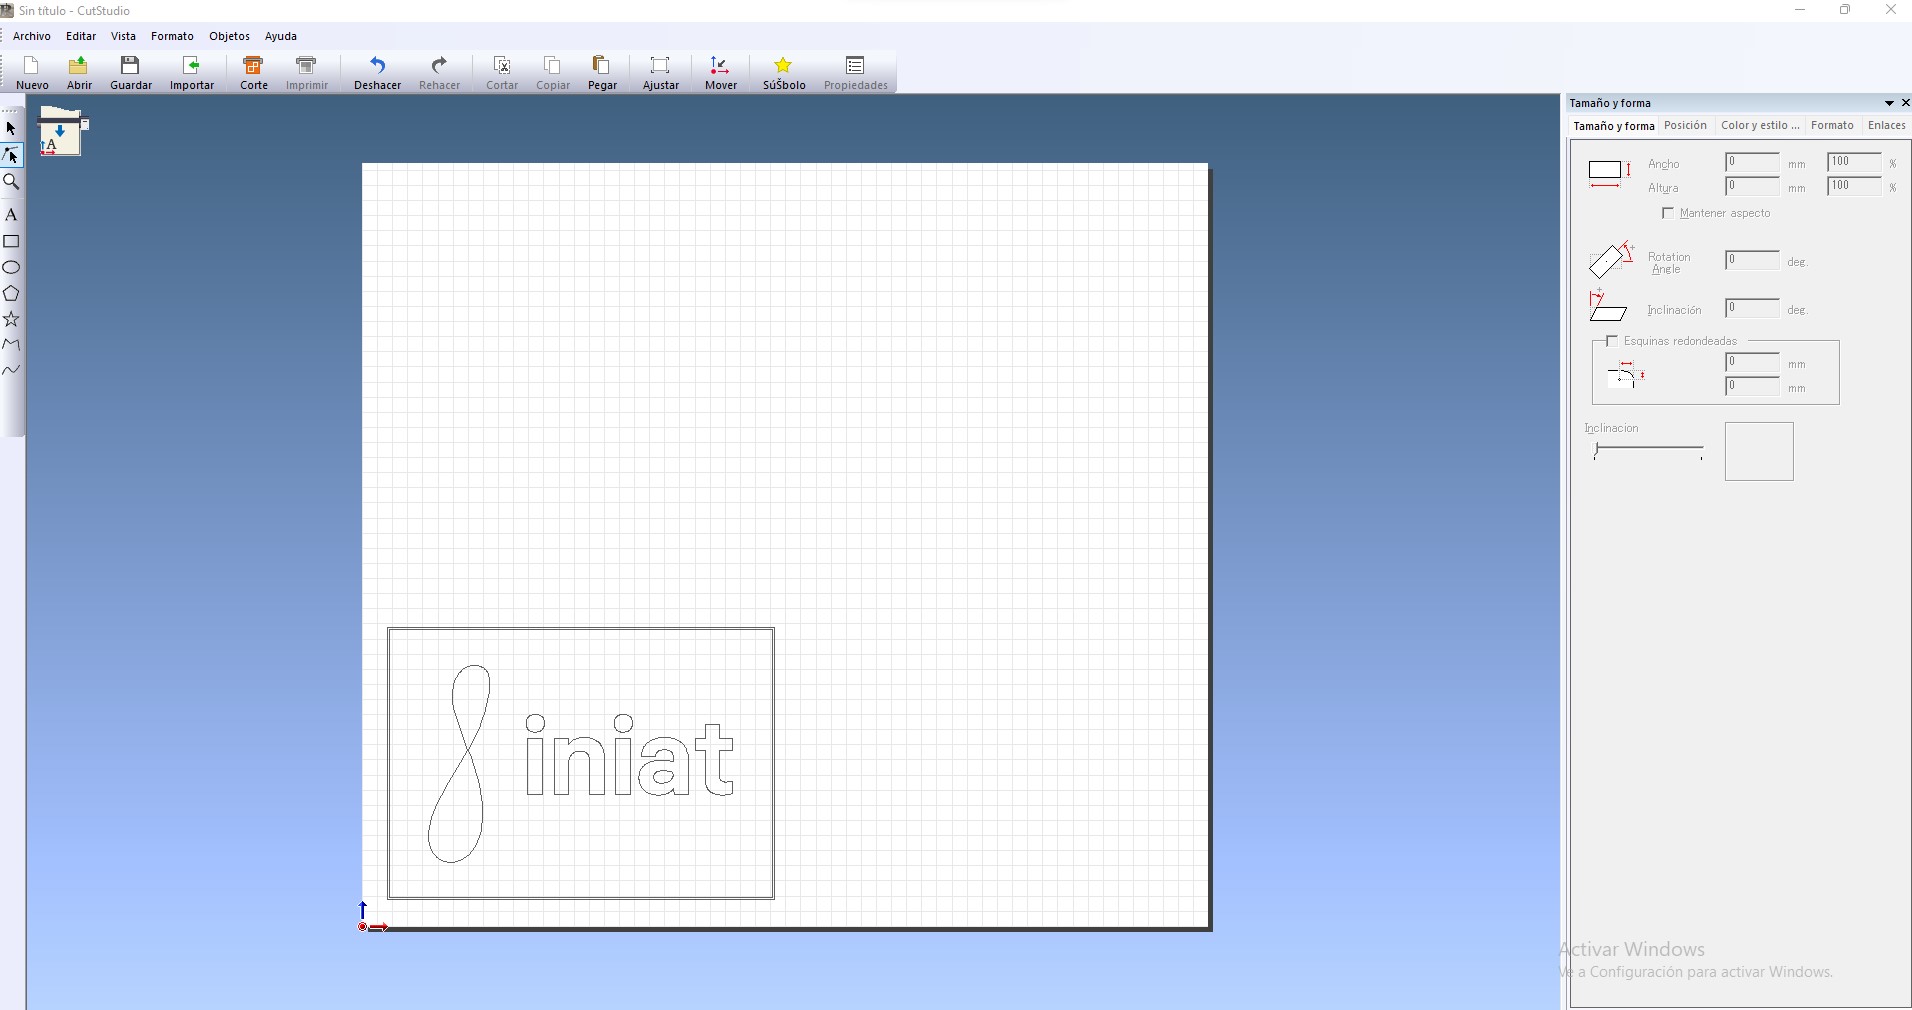
Cutting Setup with CutStudio
Once the designs were ready in Illustrator, I exported the files and imported them into Roland CutStudio, the official software for Roland vinyl cutters. One big advantage of CutStudio is that it supports various file formats such as AI, EPS, JPG, and BMP, and it integrates very smoothly with Illustrator files, making the workflow quick and efficient.
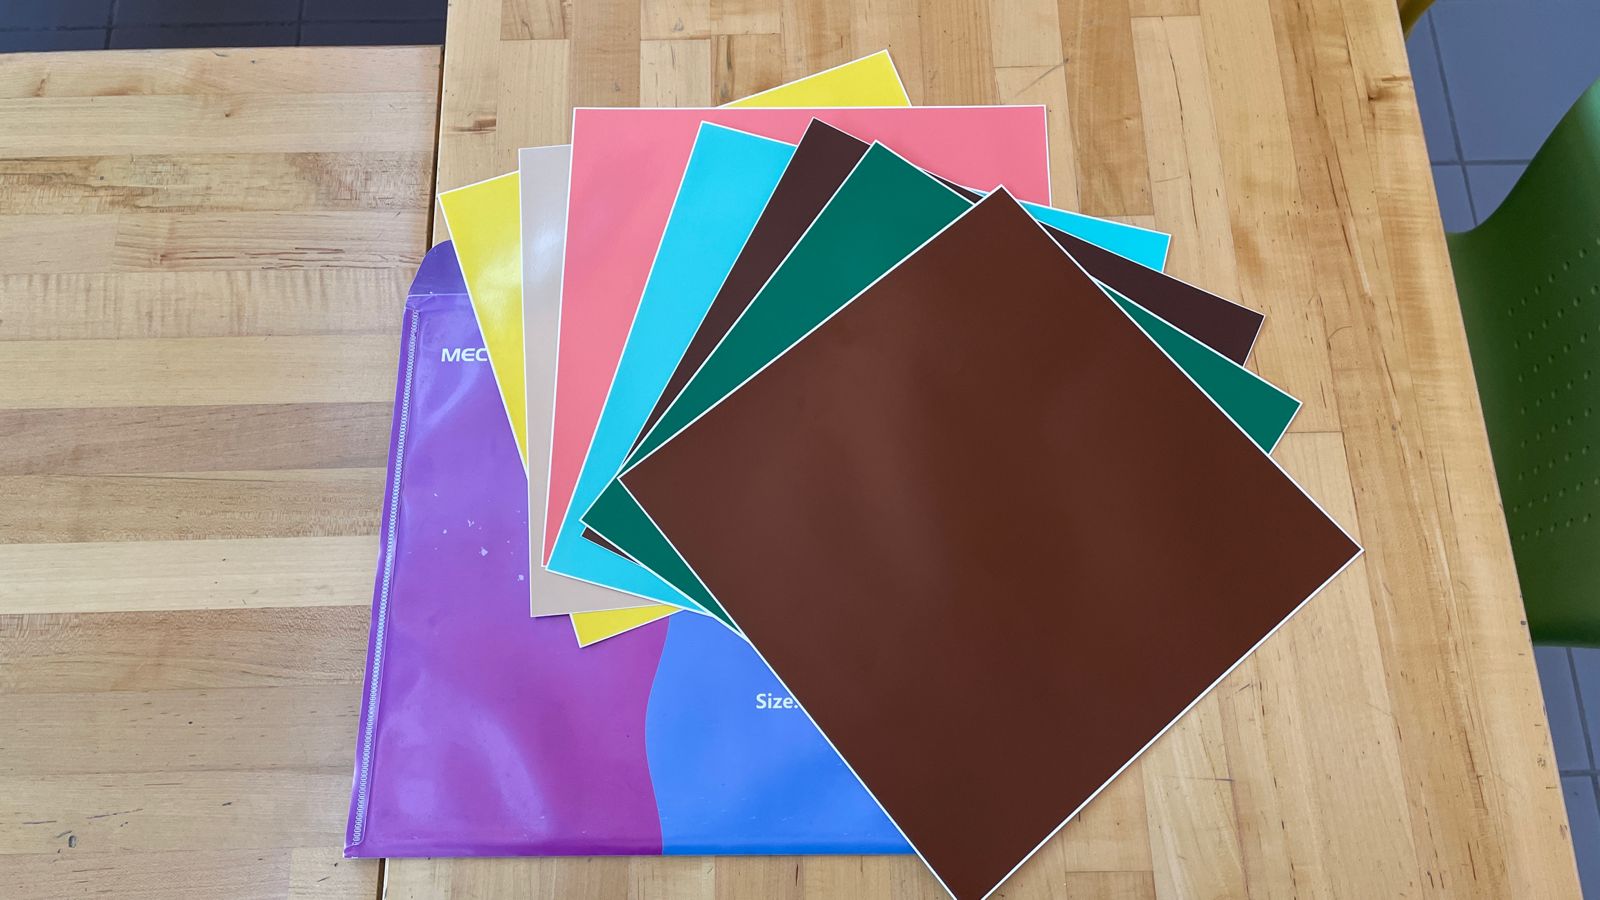
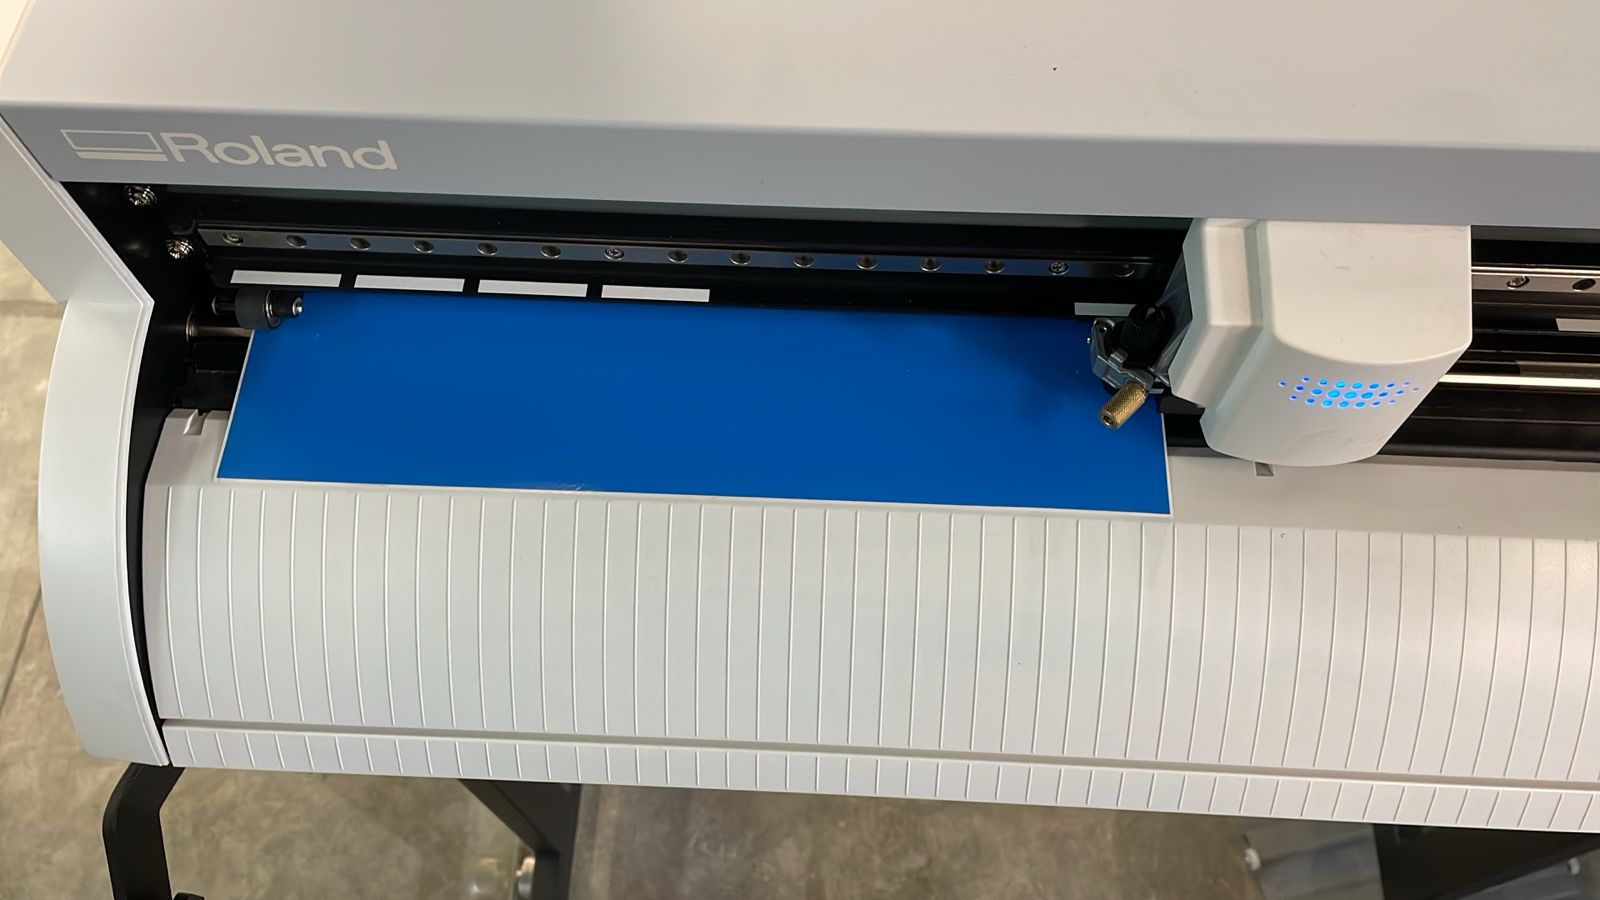
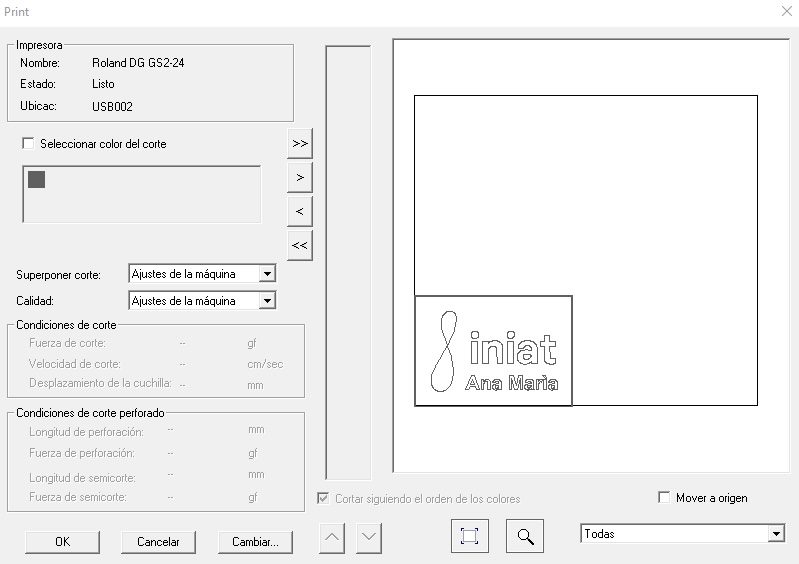
Inside CutStudio, I positioned the logos carefully within the cutting area. Then, I selected different colored adhesive vinyl sheets according to each coworker's preferences and manually placed each vinyl piece into the vinyl cutter.
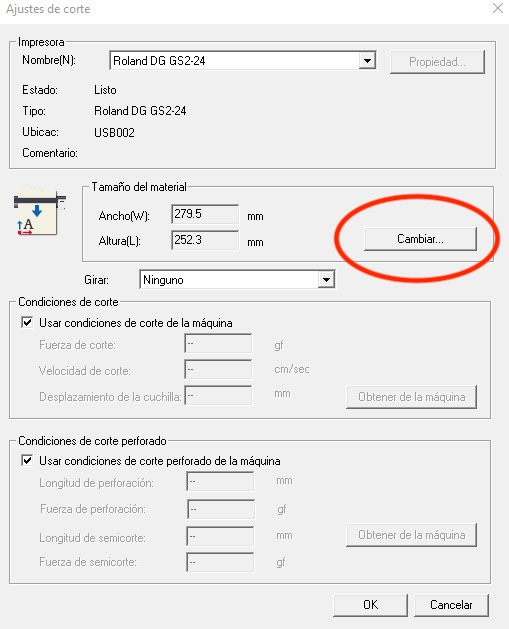
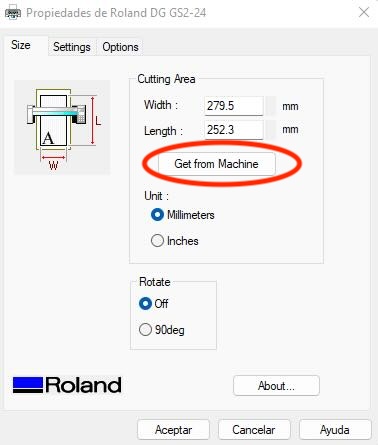
One of the awesome features of the Roland VersaSTUDIO GS2-24 is its ability to automatically detect the size of the loaded vinyl sheet. Once the sheet is loaded, the machine performs a scan and displays the exact dimensions of the material directly in the software. This made it super easy to rearrange the logos on screen and guarantee they stayed well within the margins — saving material and avoiding mistakes.
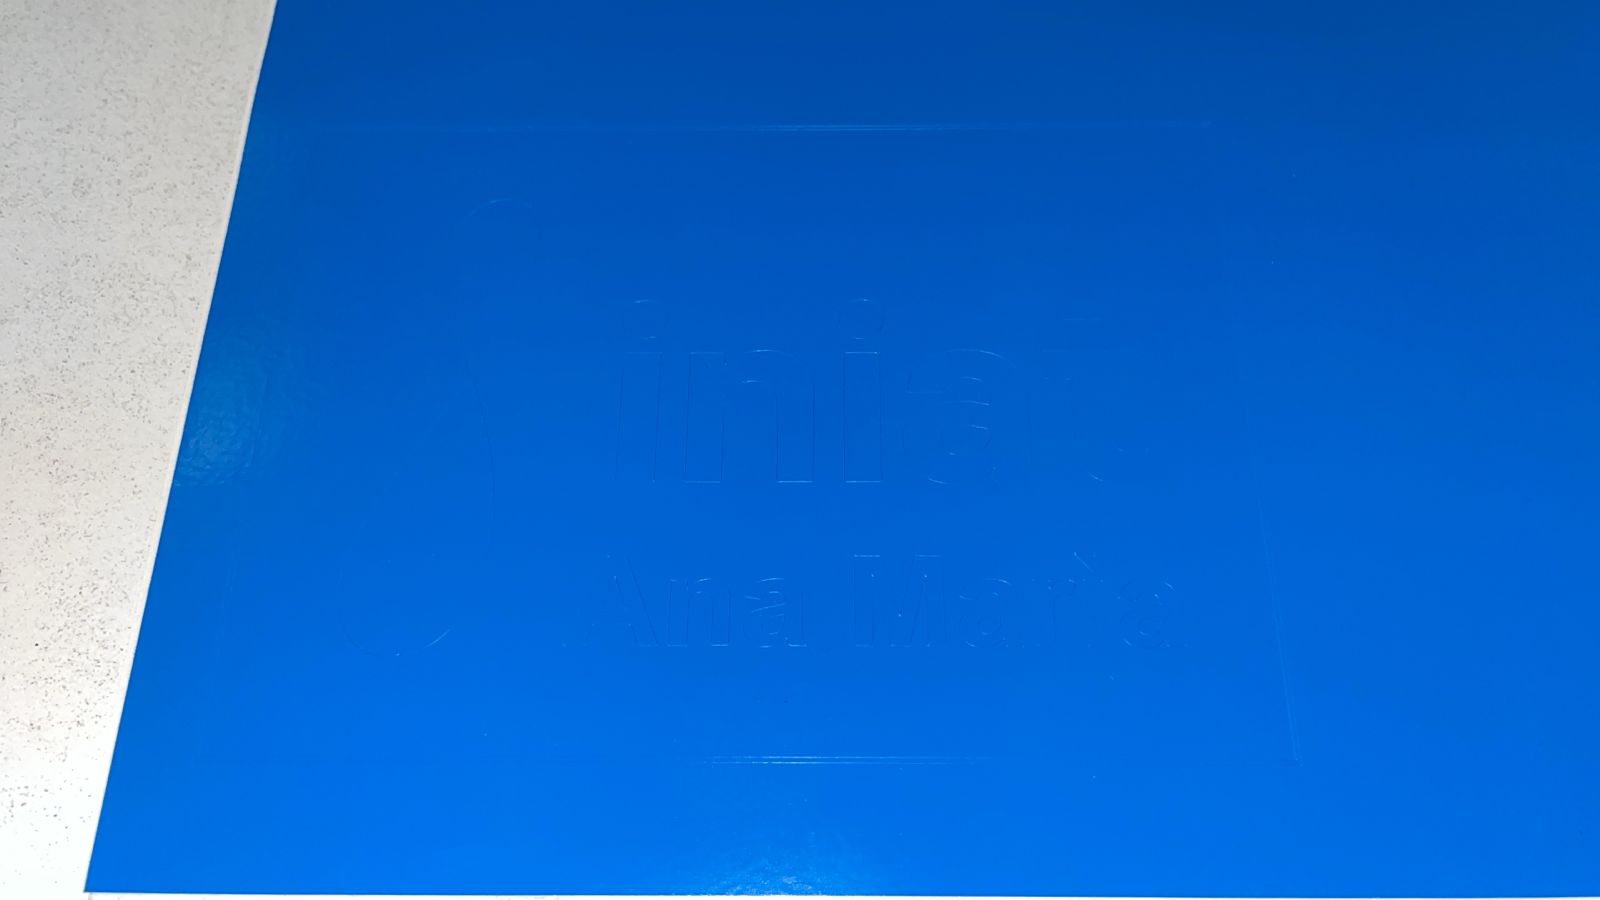
After aligning everything correctly, I sent the design to cut. The final result was a perfectly cut vinyl outline — although subtle and not easily visible in pictures at this stage, the traces were precise and clean.
Later, I placed the vinyl logos outside my coworkers' personal office doors. It was very easy because the vinyl was self-adhesive and required no extra glue or application tools.
Download Design Files
You can download the design files used in this week's assignment below:
| Project | Download |
|---|---|
| Laser Cutting Construction Kit | |
| Vinyl Cutting Logos |