Wildcard
The theme for this week, number 15 of the FabAcademy course, is 'Wildcard'. This means that we need to meet the following specifications: Design and produce something using a digital process not covered in another assignment, documenting the requirements that your assignment meets, and including everything necessary to reproduce it. Possibilities include but are not limited to examples from wildcard weeks.
Machine Learning
What is machine learning?
Machine learning is a subfield of artificial intelligence (AI) that focuses on the development of algorithms and statistical models that enable computers to learn and improve their performance on a specific task without being explicitly programmed for that task. If you want to know more about Machine Learning click in HERE.
Teachable Machine
Teachable Machine is a web tool that makes it fast and easy to create machine learning models for your projects, no coding required. Train a computer to recognize your images, sounds, & poses, then export your model for your sites, apps, and more. These are the following steps to Start in Teachable Machine.
Get Started
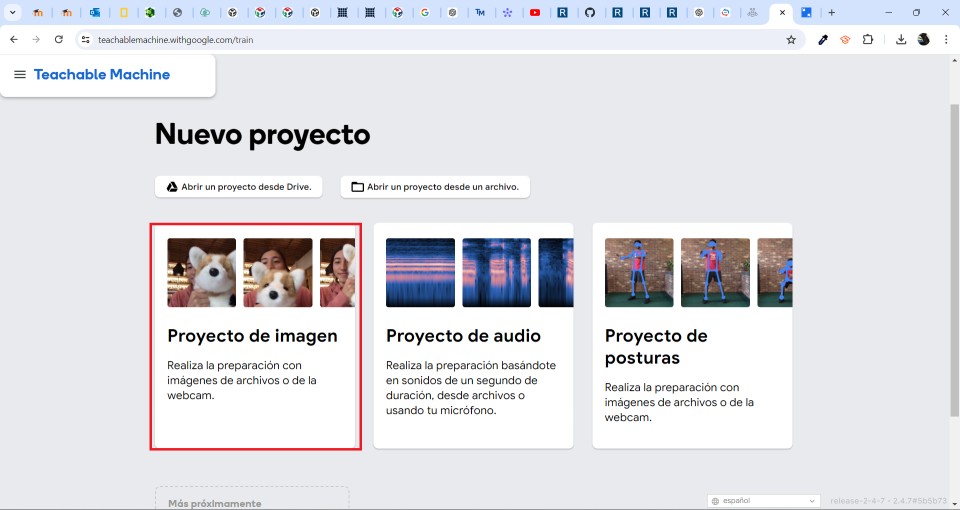
First, you need to go to the Teachable Machine website and click on 'Get Started'. Once you've clicked there, you'll be given three options regarding the type of project you're going to develop. These options are: Image project, Audio project, and Pose project.

Image project
In this case, the project we are going to create is an image project, so we click on 'Image Project'. This project allows for preparation with images from files or from the webcam.
standard image model
After clicking on the image project, we select the standard image model. This model enables us to have color images of 224 x 224 px. We can export to TensorFlow, TFLite, and TF.js, and the model size is approximately 5 MB.

class, webcam and upload
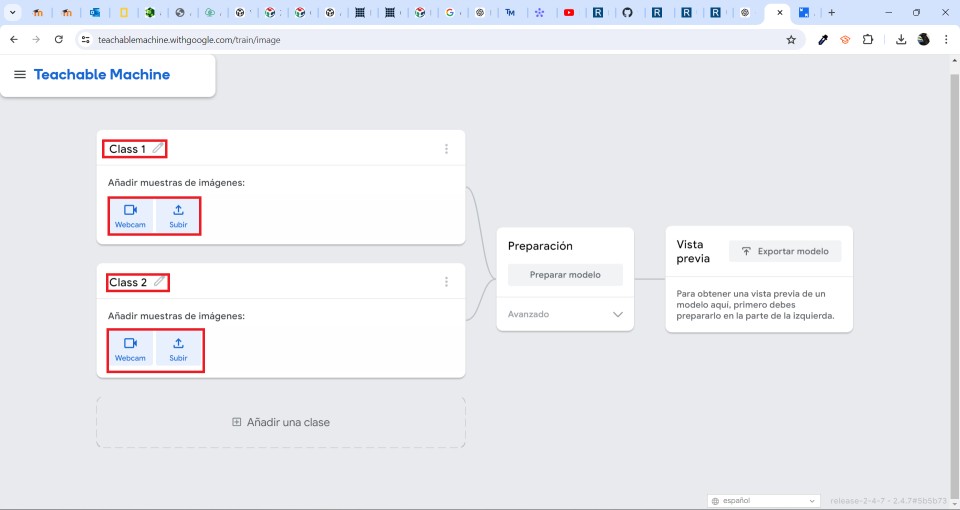
Now, the next screen will appear with different options. The most important ones at the moment are Class, Webcam, and Upload. In the Class section, we can enter the title of what we want to recognize exclusively in that section. On the other hand, in Webcam, it will ask for permission to access the webcam of our device, allowing us to capture images of the object in real-time (this will be explained in more detail later). Finally, there's Upload. Here, we can upload pre-taken images without needing to open the webcam of our device. This is the easiest way to use it, but at the same time, it will require many images to make this method efficient.
Training time
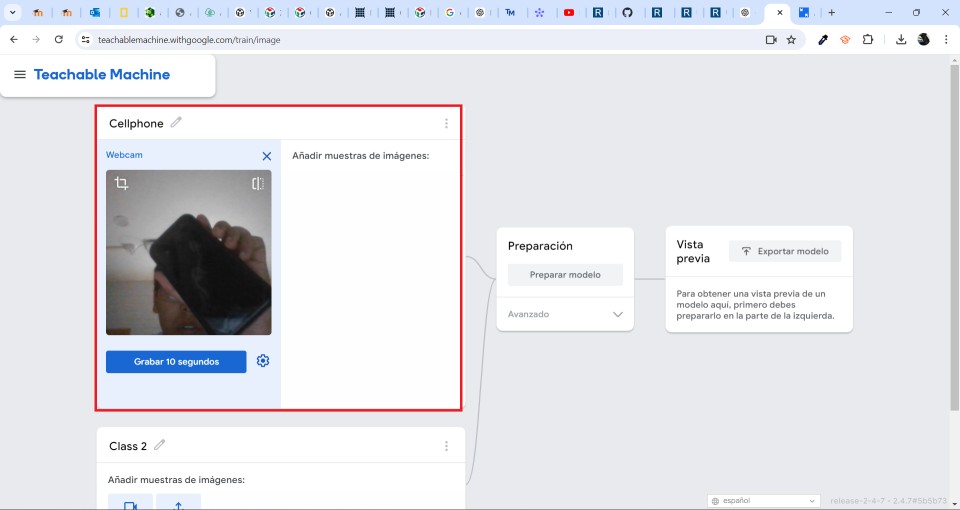
As you can see in the following image, when you activate the webcam option, it opens on your device. With this, you only need to configure the time it will take to capture the photos to feed the class. The longer the time, the more images it will capture, resulting in greater effectiveness when detecting the object being shown after training. In this case, I decided to detect a phone.
Repite de last steps
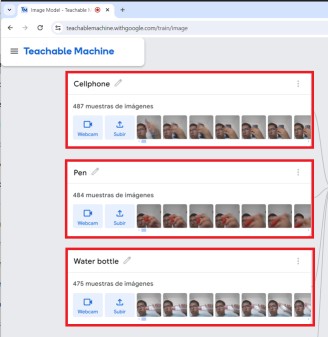
Now, we just need to repeat the previous step with different classes to assess how efficient it is at recognizing the desired objects (those placed in the different classes). In my case, I decided to include a cellphone, a pen, and a water bottle. In the event that it doesn't detect any of these, I directly added an option where none of the objects are present, labeled as nothing.
Prepare the model
Now that we have the model with all the desired classes, it's time to prepare it to see how effective it is. To do this, we click on Prepare Model, and this is crucial: DO NOT SWITCH TABS! Changing tabs will interrupt the preparation process, and you'll have to start preparing from scratch. This may take a few minutes depending on how many classes and images you have used.
Testing time
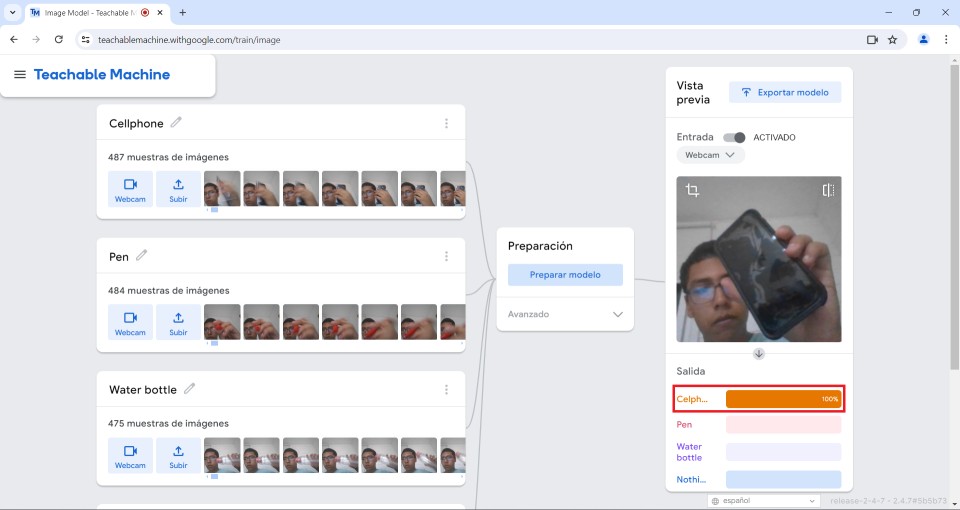
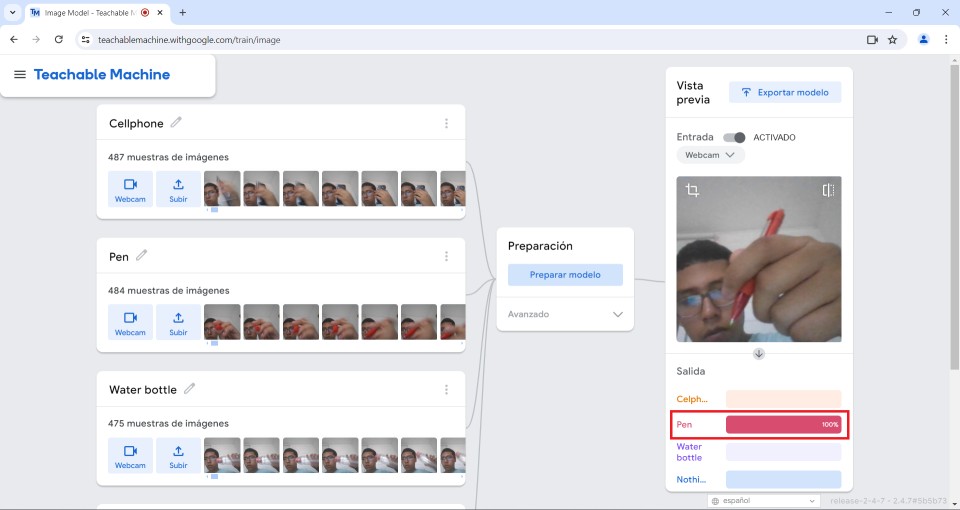
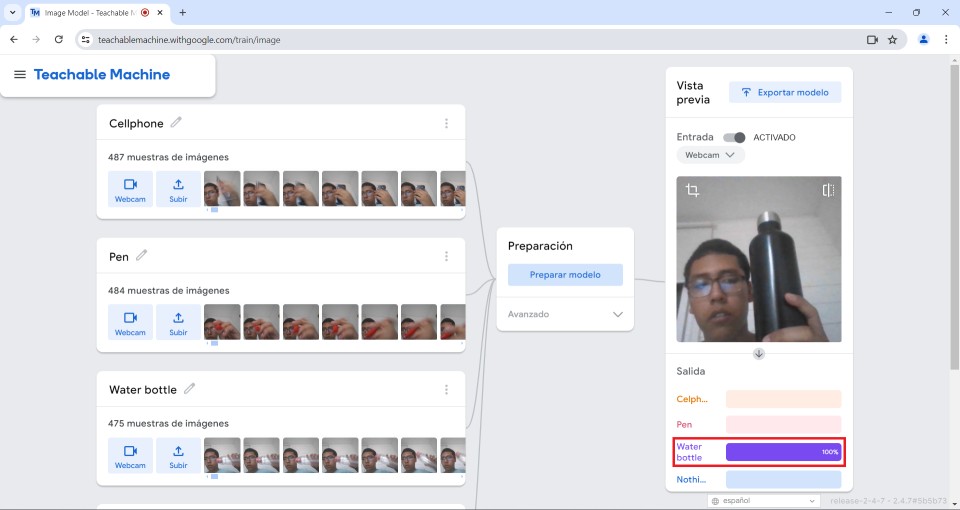
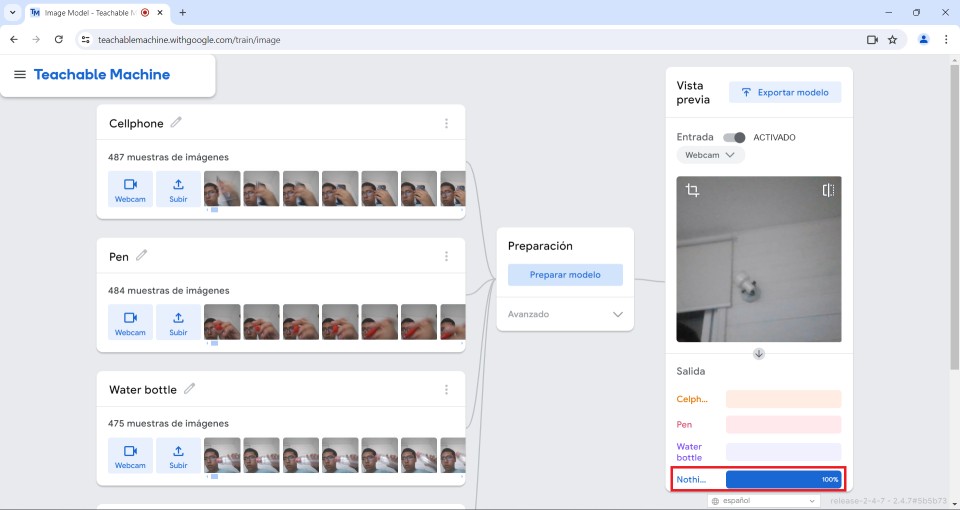
Once the model is uploaded, on the right side of our screen, our webcam will appear open with percentage bars displaying the names of the classes we previously set up. This helps identify each object we place in front of the camera. Here are some of the results I obtained after a few tests.
Cellphone
Pen
water bottle
Nothing
Export model
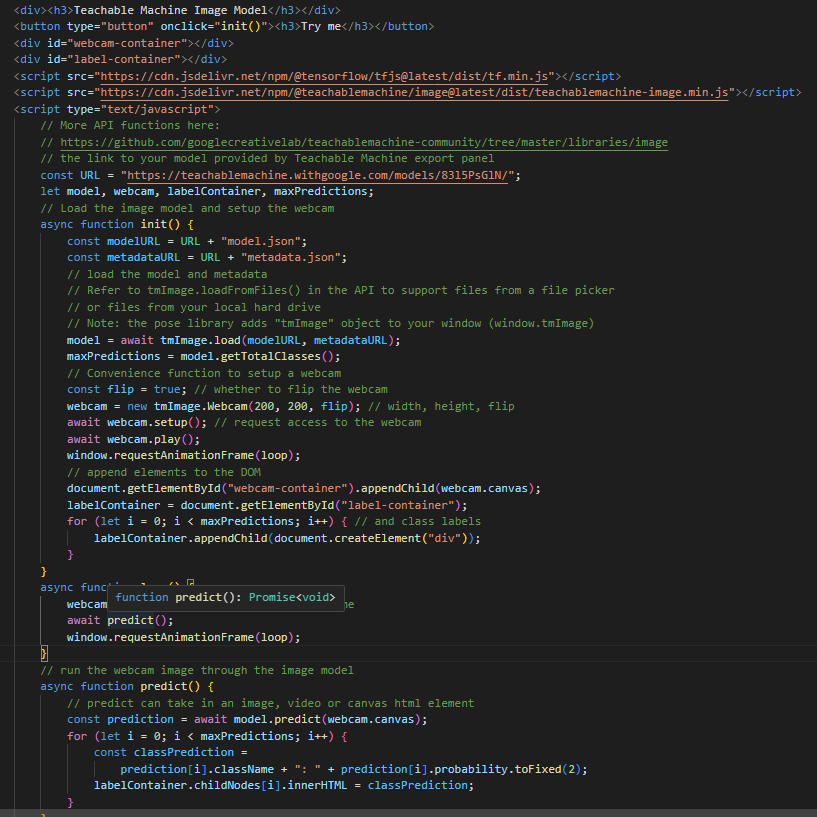
Above our camera feed, we will find the option to export the model. Click there and copy the code that appears below. This code can be pasted into our website, allowing us to interact directly from our page without the need to go to another site.
Note: It's highly likely that it may fail slightly when put to the test since the images provided were not sufficient for it to be 100% effective. As mentioned earlier, the more images you provide, the better, as it will enhance its accuracy.
Teachable Machine Image Model
This is the code
Sandblast
Sandblasting is a surface cleaning and treatment process that uses abrasive particles propelled at high speed by compressed air. It is used to remove rust, paint, and other contaminants, as well as to prepare surfaces before applying coatings.

To perform this procedure, I decided to do a sandblasting of my favorite rock band, which is Linkin Park, so I decided to download their logo, which is the following:

step 1: Cut something in vinyl and paste it in a glass
step 2: cover it with tape the parts that won't have sandblast
.jpg)
step 3: Go to the sandblast machine
.jpg)
Step 4: Use the machine and look at the result
.jpg)
Problems
The main problem I encountered was that the photos taken weren't enough to detect a similar object but with slight variations, such as color. Therefore, I added another similar object but with a different color, which helped correct the problem. For the sandblasting I didn't had any problem.