1. Principles and Practices, Project Management
This week I worked on defining my final project idea, explains how I created my website and I made a section about myself.
Website
HTML
HTML stands for HyperText Markup Language. It's the standard markup language used to create and design web pages. HTML defines the structure and layout of a web document by using a variety of tags and attributes to specify elements such as headings, paragraphs, links, images, and other content.
HTML documents consist of a series of elements, each enclosed in angle brackets (< >), which are used to define the structure and content of the page. These are some elements:
- Headings: "h1", "h2", "h3", "h4", "h5", "h6" for different levels of headings.
- Paragraphs: "p" for paragraphs of text.
- Links: "a" for creating hyperlinks to other web pages or resources.
- Images: "img" for embedding images into the page.
- Lists: "ul" for unordered lists (bullet points) and "ol" for ordered lists (numbered items).
- Tables: "table" for creating tables to organize data.
- Forms: "form" for creating input forms to collect user data.
- Divisions: "div" for dividing sections of the page for styling or layout purposes.
First of all, what I needed was to create a webside for Fablab. First, I copied a Gitlab repository from the Fab Academy's cloud to a folder in your device, now you're conected to the Fab Academy server. That means that the changes you make in a source code editor such as Visual Studio Code are going to upload atomatically to Fab Academy's cloud.
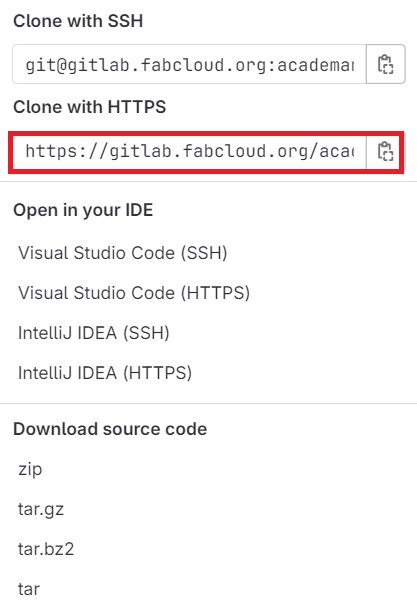
This is the code which you can clone to the repository on your local device.
Note: We need to use "cd" to open the files of your computer, I used Git CMD to execute this option.
For my website, my professor Rafael Perez gave me a template that I use. This templete has 4 sections: Index, final project, about me and 404 error. I have rarely used the HTML language so I had to look for help to learn how to use it. With the help of tutorials and then I was able to create this website.
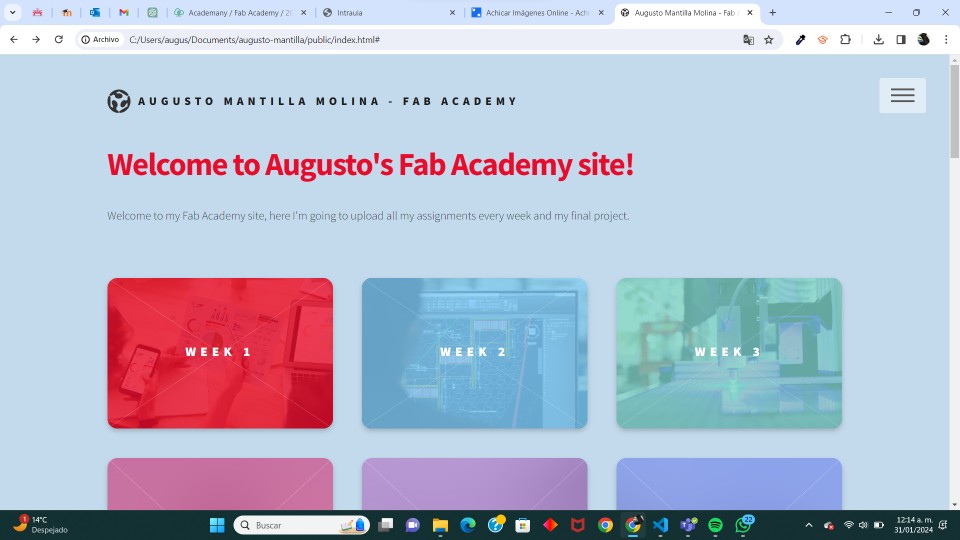
Index
In the second slide, there is a code that I'm using for my index.
This is how my webside looks like.
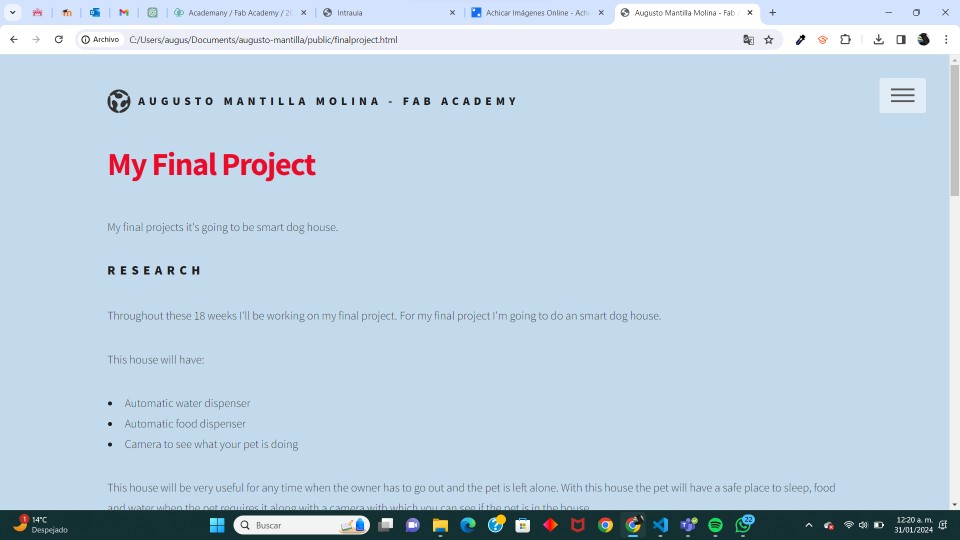
Final project
For my final porject, the code that I'm using is in the slide number three.
I made some changes and this is how my page looks.
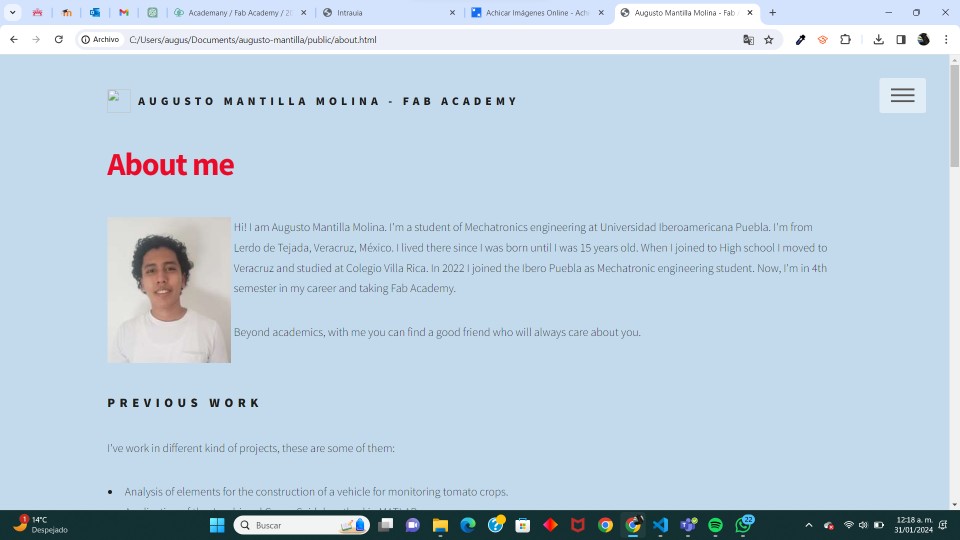
About me
In the fourth slide is the code of this section.
404 error
This part is just if there is no information in that section.
This is the code to change the background.
Git
GitLab is a collaborative source code development platform based on Git. It provides a set of tools to manage software projects, control code versions, facilitate collaboration between developers, and automate the development process. To use Gitlab it is necessary to know some necessary commands to be able to use it in a better way, these are some of them.
- Git add .: Add documents
- Git commit -m: Package files
- Git push: Upload to cloud
- Git status: Review of all the actions
- Git clone: Copy in your local device
Now, these are the steps to upload an update to Gitlab.
1.- Add
If you want to upload all the changes made to gitlab, you have to use the command "git add ."" then, it will be available to upload them.
2.- Status
With git status you can see where you are in case you don't remember what you did.
3.- Commit
With commit you can package all the changes you have done.
4.- Push
With git push you can finally upload all your changes.