2. Computer Aided design
This week's schedule consists of three steps: evaluate the available 2D and 3D design software, give them a try creating an original part, and then evaluate them to check which one or which of them fits better for my project.
Previous experience
I got some experience with 3D software like Onshape before University, while on the 2D side, I frequently use Illustrator, Photoshop, and Affinity Designer. The 2D programs I choose are manly because of the integrated functions they have, and in the 3D part, I find them easy and optimal for cad builds.
![]()
Onshape
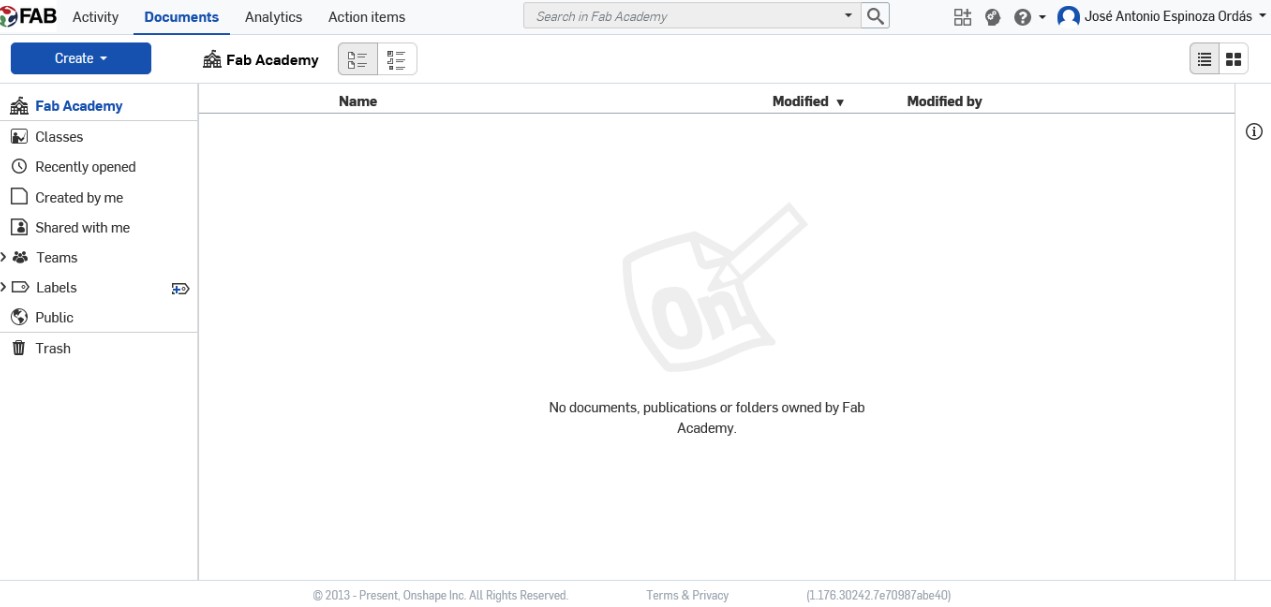
Starting with Onshape, as his website says: Unlike file-based CAD, which relies on fragile file references and slow check-in/check-out procedures, Onshape uses the full power of cloud architecture and is a multi-user environment that allows designers, internal teams, customers, and external partners to access and collaborate. Another advantage is the project velocity. Thanks to having quick access to all the parts and assemblies in the same folder, you can easily go back and change errors.Once you enter your personal or institution account, the Onshape hub will look like this: click on the button create, and then select a document or folder. In my case, I started with just a document.
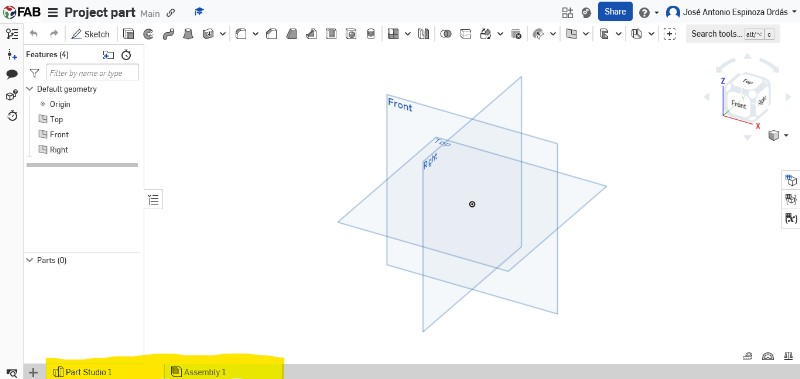
The software automatically creates an assembly document; as you can see in the lower area where the documents step, you can create multiple documents and have quick access. It is also highly recommended to create folders as you work.
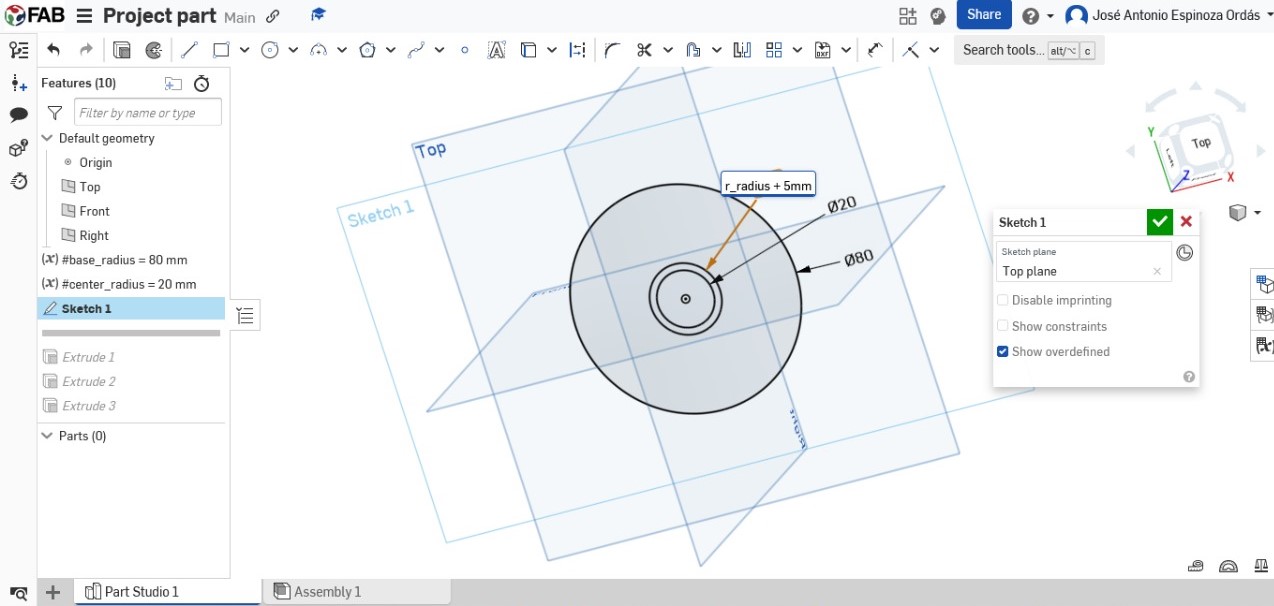
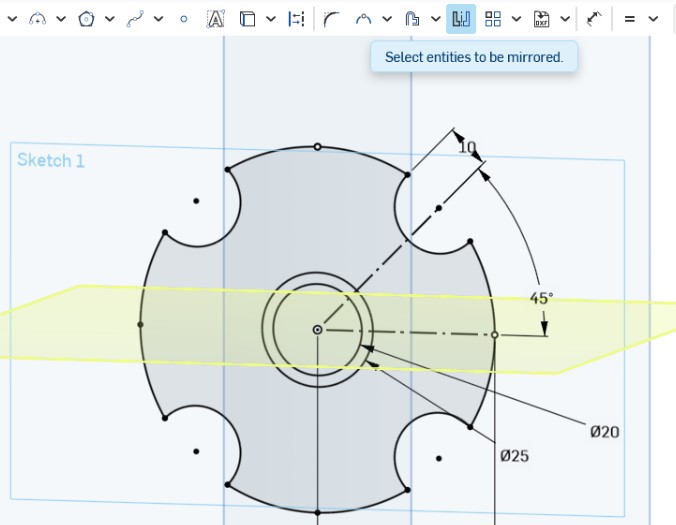
I started creating a sketch in the top face, then using the center pointed circle tool, I made three different ones and gave them a variable. To add variables you need to exit the sketch tool, and then you will find in the tools bar the X where you can name them. Using variables is highly needed, as you can make operations without having to remember all the measurements.
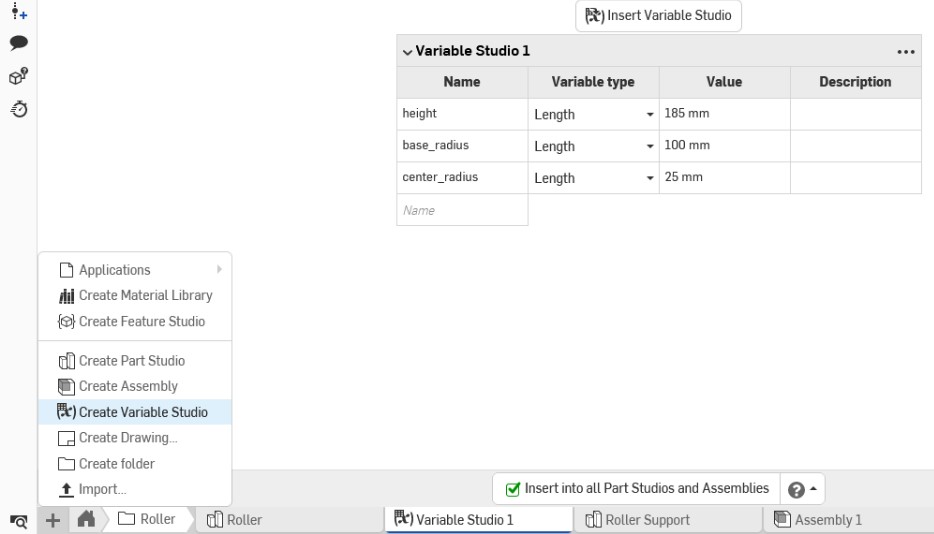
If you plan to use your variables on other sites, you will need to create a folder for your documents and create a special one called Variable Studio where you can save all the variables you might need.
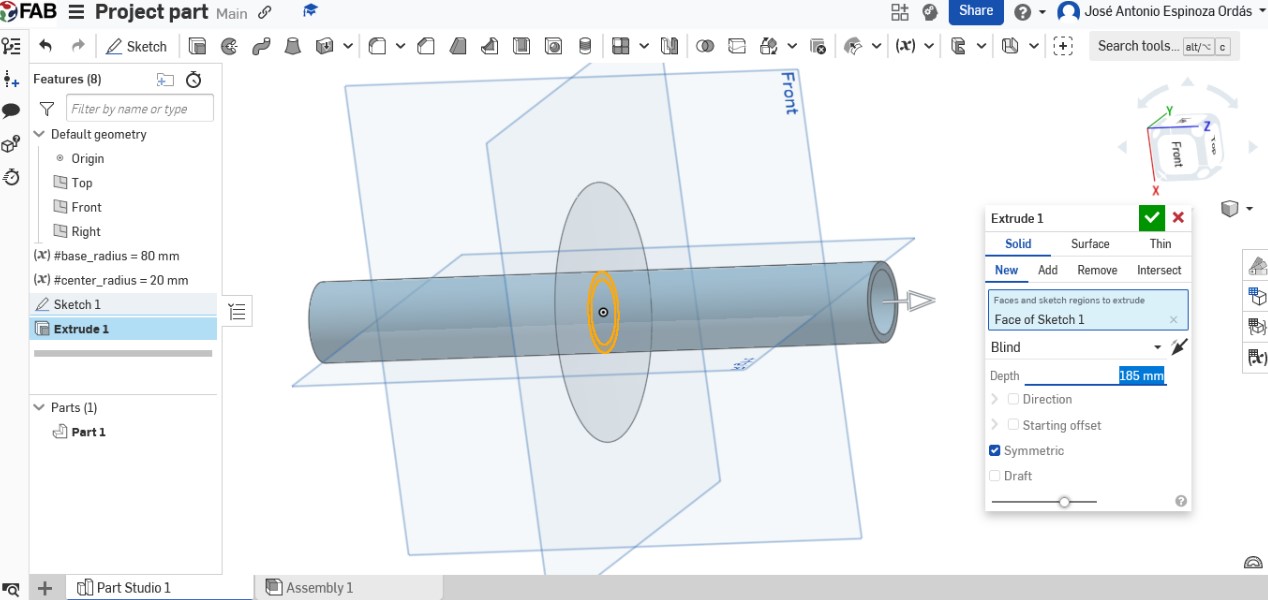
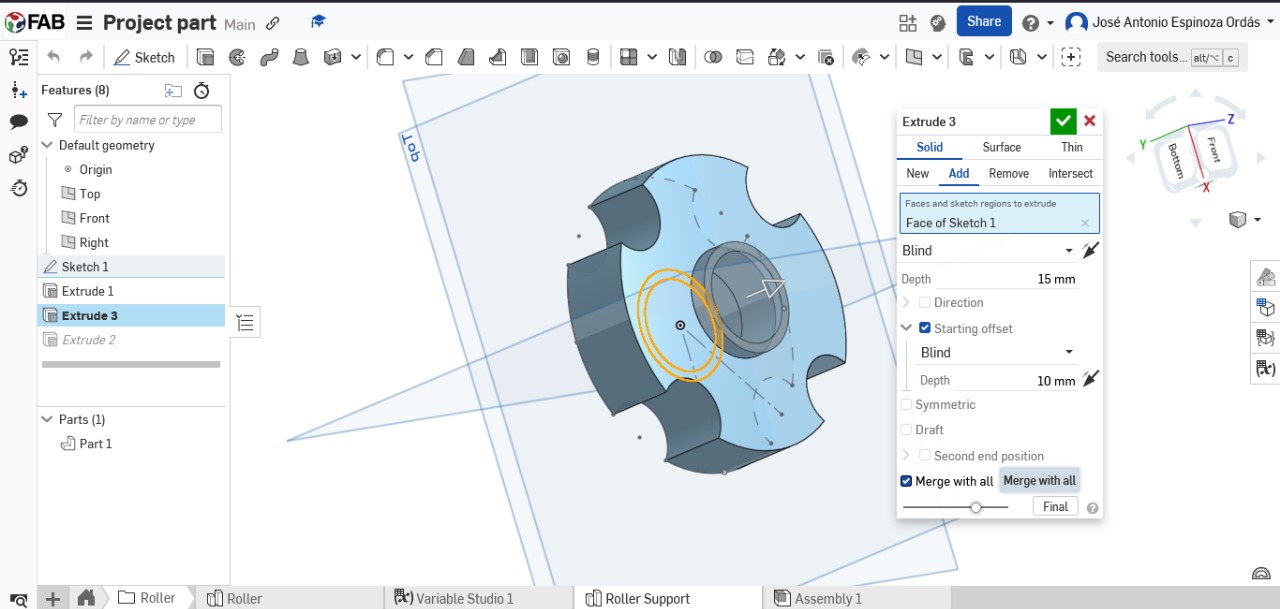
When the sketch is ready, you can proceed to the extrude section. Using the button tool with two boxxes, I've made the central part of my roller, preferably make it go to both sides, having the size in consideration, that will help constantly with the center of mass measure..
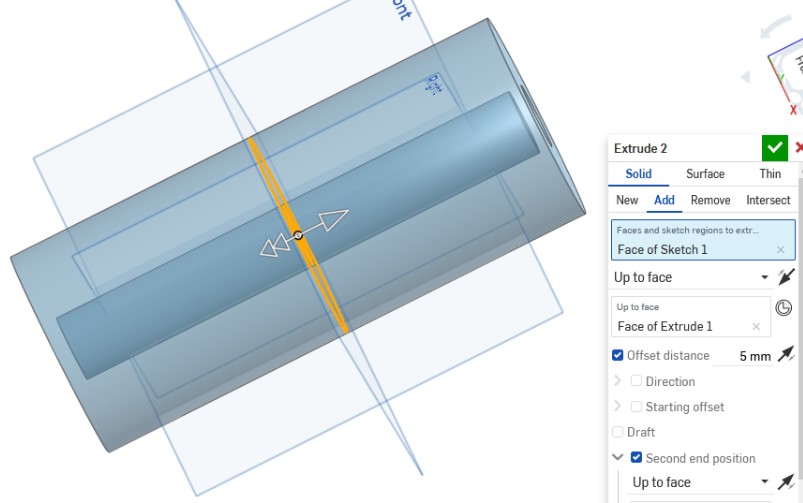
In the same way, extrude the base part without regrets.
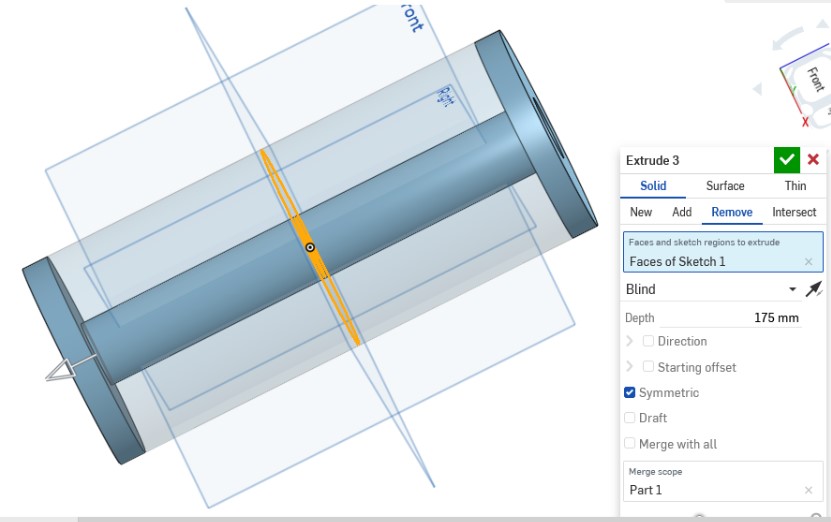
In this software, the way you remove parts is with the same extrude tool, changing the mode to remove. Consider that there are multiple ways of creating the same part, and the correct way is the fastest for you.
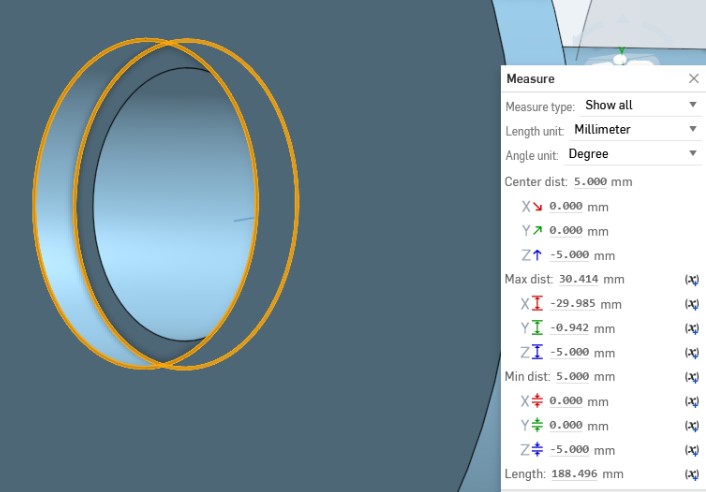
The way you measure things here shows on the bottom right, with the analysis and mass tools.
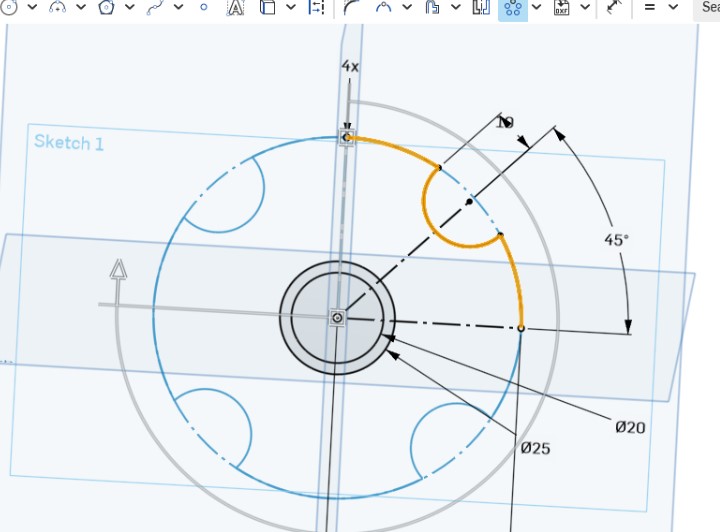
Now I continue with the base of the roller part, using three dots arcs and the previous variables.
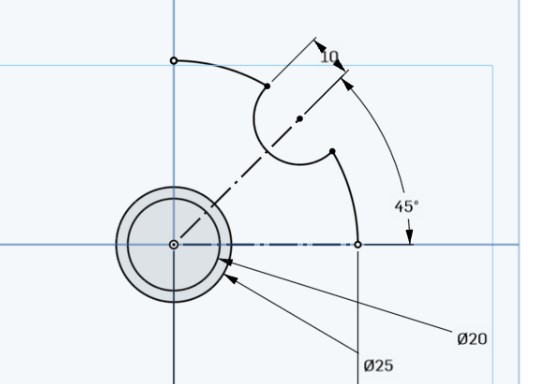
As said before you can make the same pieces with different tools, what reigns here is the time you took making them.
Once the parts are finished, we pass them to the assembly document, where you will paste the previous job with the insert tool. It is common in onshape to find that you need to group the subparts even if they do not look separated.
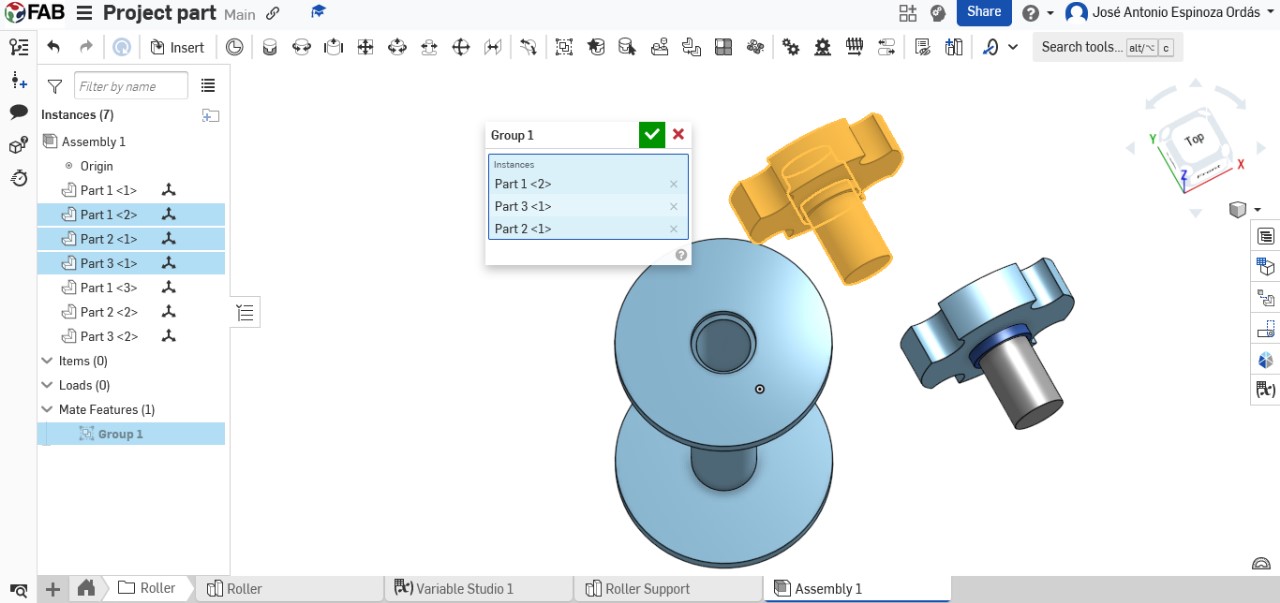
Using onshape, you frequently make the mistake of generating new parts; sometimes it is really time-consuming to correct the function, which is why you use the group tool. In this case, we will go back.

To solve this issue, just change the order of the extrudes and change the function to add to the existing part instead of creating a new one.
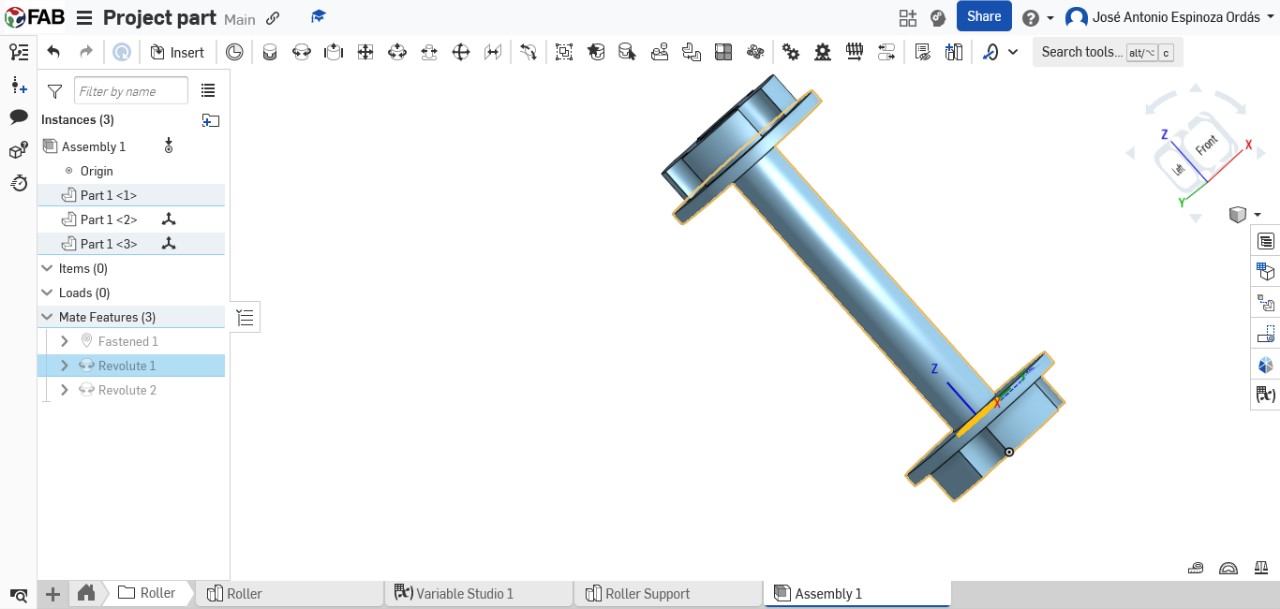
To do the assembly, fix to the origin of the assembly your base part origin, and then use the fastened and revolute mate tools along with the case.
This software original docs:

Solidworks
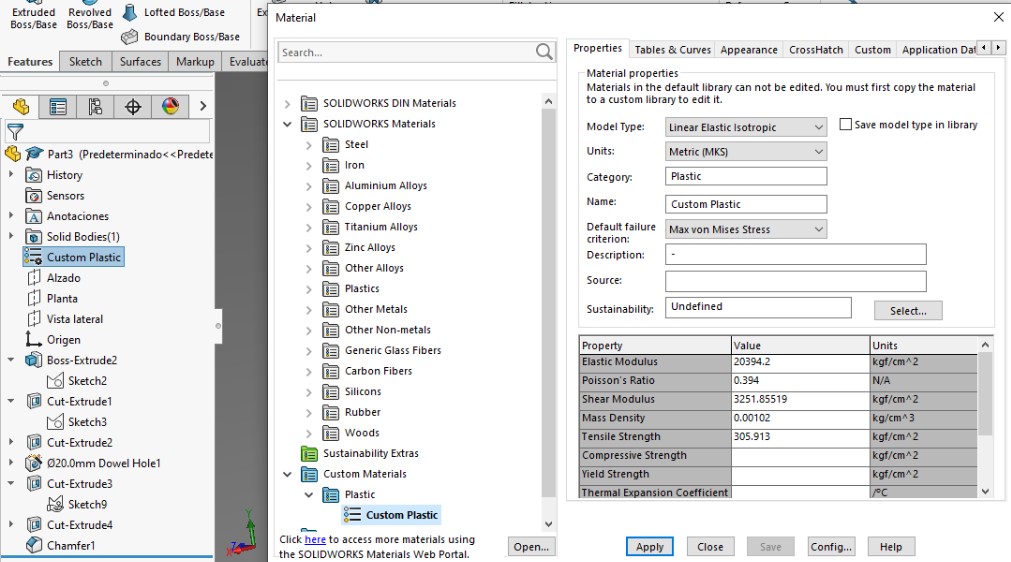
In my opinion the king of CAD software, it's complicated enough, but not extremely hard; it's super precise, and with lots of powerful tools, you won't find anything as good. With a super clean and intuitive interface, the only downside may be the requirements.I recently took a course here in my university Ibero Puebla, but im just in the tip of learning the full-spectrum of Solidworks.
One of the advantages of Solidworks is the professionalism it demonstrates, it is the hub for many disciplines, tested millions of times, your job is basically the same; getting more tools makes the job easier, so you can build more complex parts in less time. This is a major difference with Onshape, where you often find yourself in need of making more planes to fit the lack of tools. You'll have access to a comprehensive library of materials, a high-quality rendering environment, and improved testing facilities for your projects.
In this software, I decided to make the shell of my project, which helped me realise that I require a more complex shell. In order to include all the parts and build a big machine with the tools of this course, I will need to deconstruct the shell into specific parts.
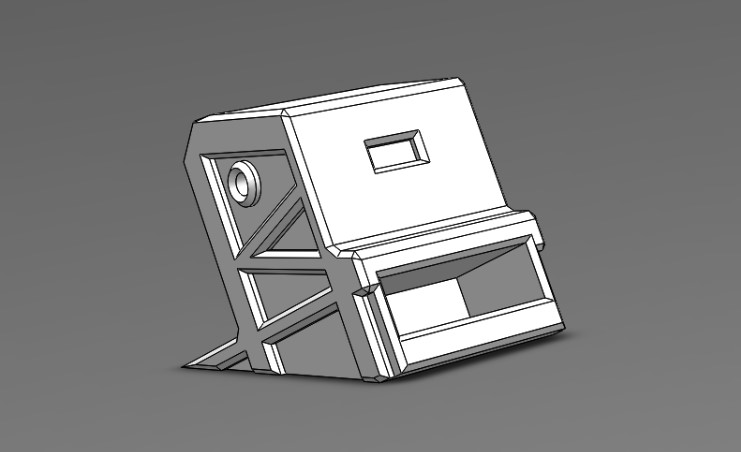
This software original doc project: shell.
IA tools
I’ve tried the tools mentioned in the week’s summary (2D Midjourney Dall-E Stable Diffusion 3D Dream Fields Dream fusion Magic3D Text-to-CAD), they are helpful and give you a simple idea of what you are looking for, even if you are out of time, I wouldn’t recommend them. “To err is human, but to really foul things up you need a computer.” – Paul R. Ehrlich

Inkscape
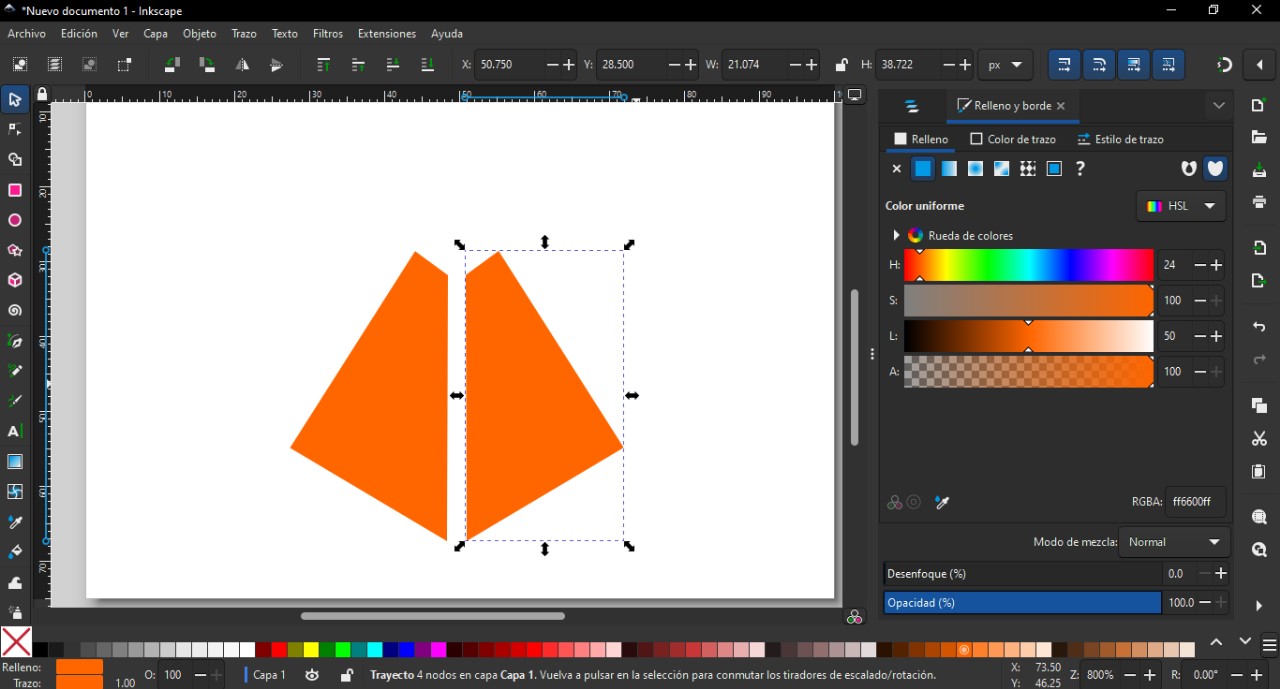
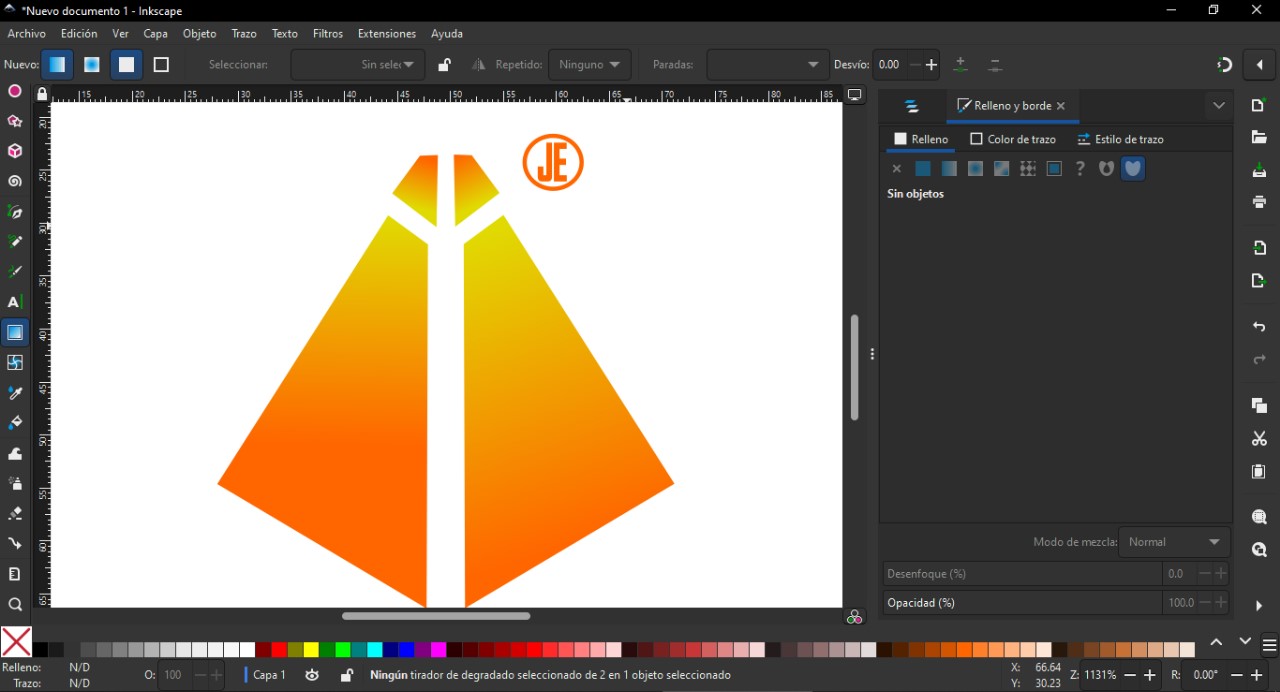
I decided to give this vector-based open software a try, creating my own brand logo using a shape and my name.The main figure of my logo will be a pyramid. I just love the geometric aspect of this building. Start by making the base and opposite mirroring.
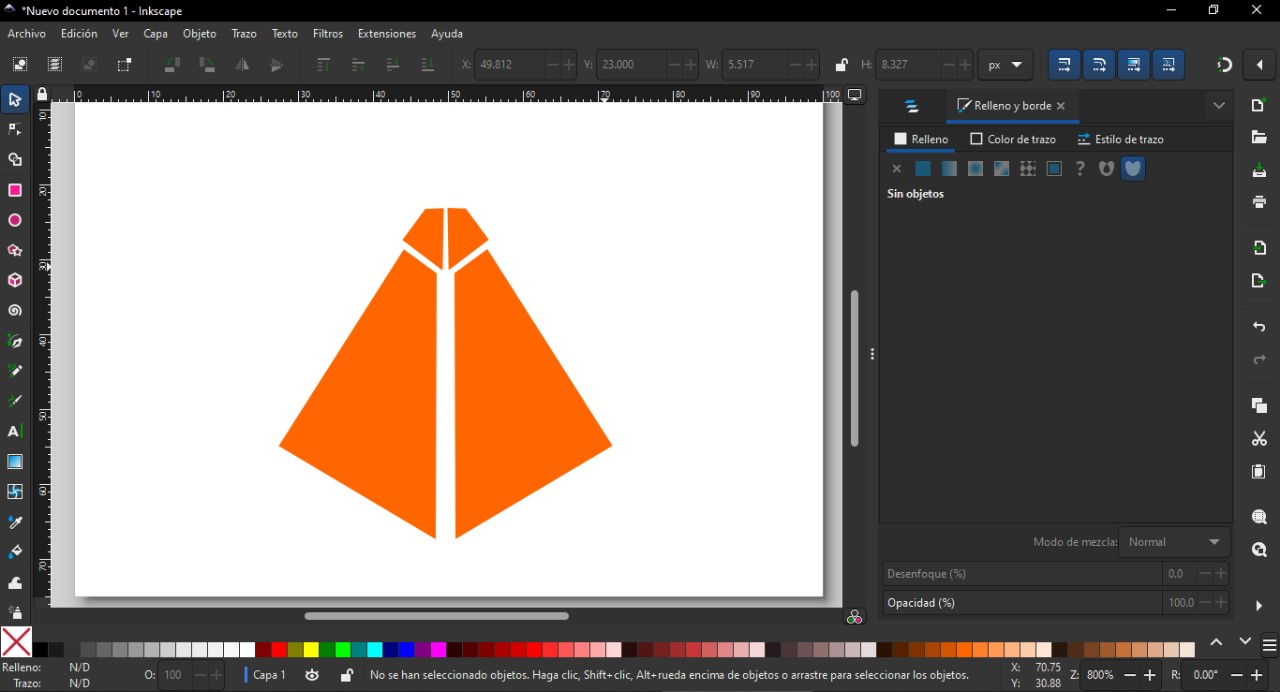
Then there is the top of the pyramid, so it looks like Mesoamerican architecture.
Added fill gradient and my own trademark.
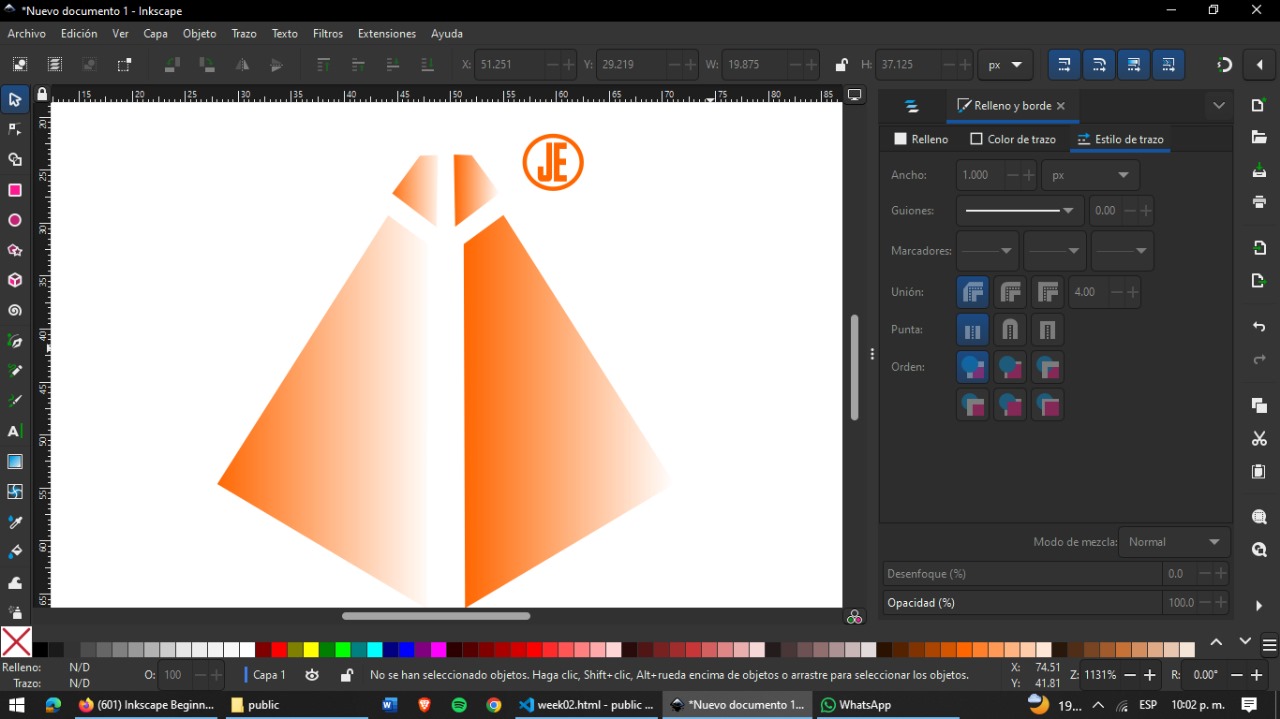
Improved the gradient with his own tool.
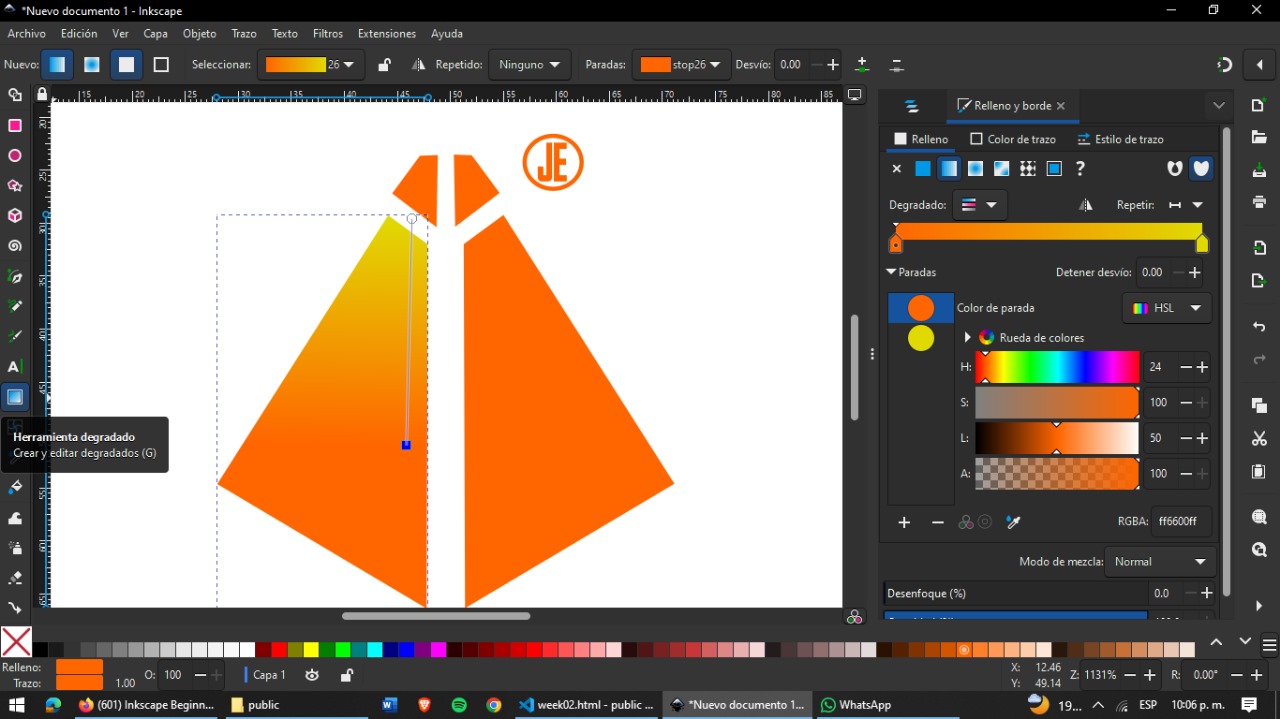
Used the same gradient and mirror on the top.
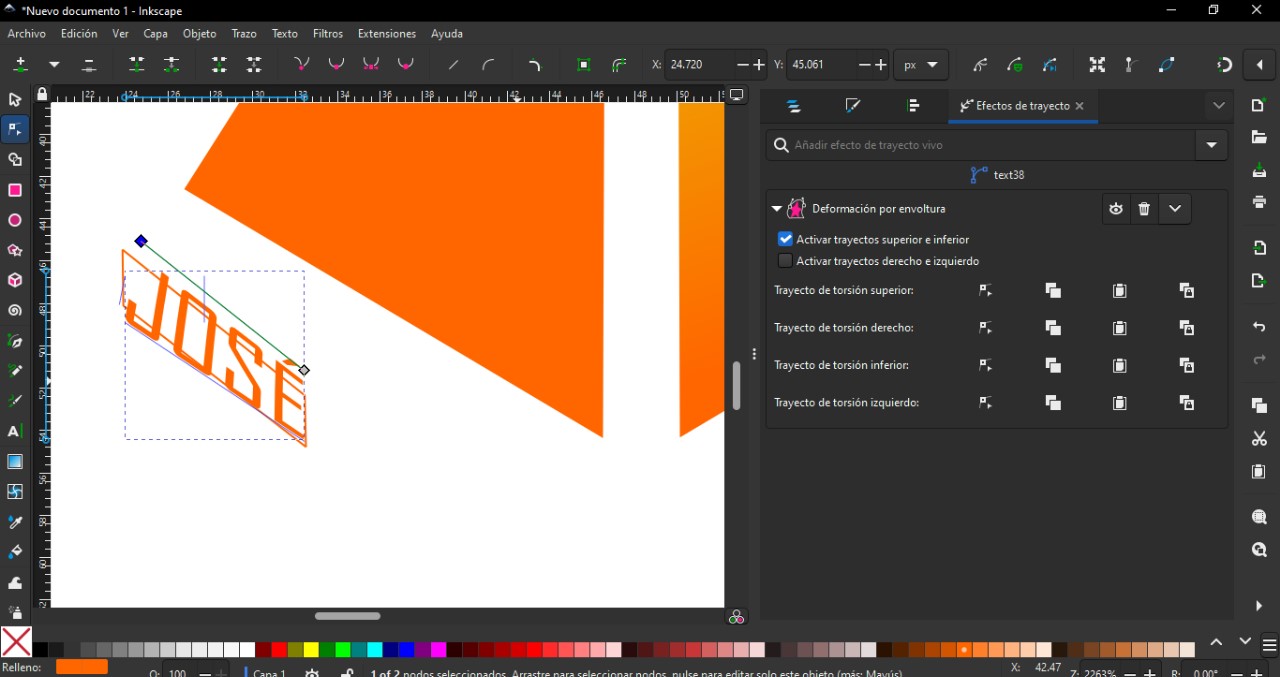
The TM was removed, and my name was placed in the base.
Exported my logo in two .svg files, light mode and dark mode.
My Inkscape designs:

Affinity Designer
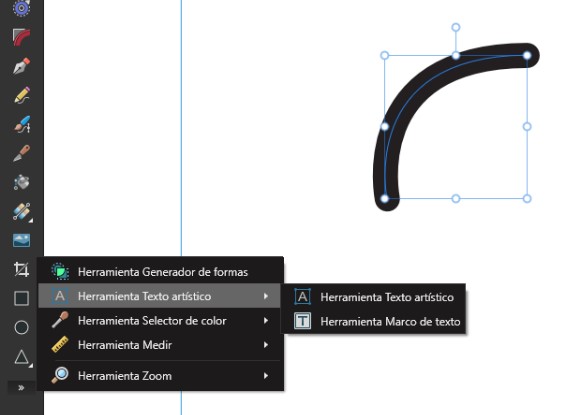
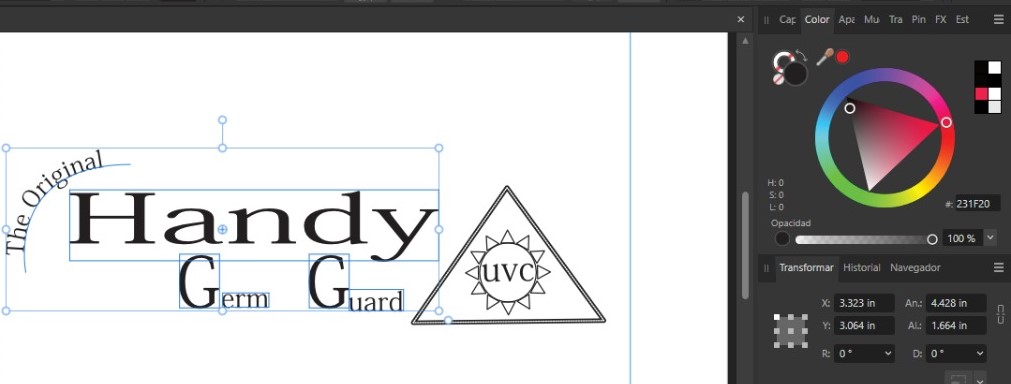
A more cheaper alternative to the adobe suite, it claims to be as powerful as Illustrator so it should be better than Inkscape, what i want to do now is to recreate the logo i tried to do in solid works to engrave the arcylic of my final Project.Open a new file create a curve line with the pen tool to then use the artistic text tool while selecting the thin line of your curve to guide the text around it.
Add the other text with the same tool and guide them if needed with lines created and aligned by a pen draw, the software really helps you with the position of the objects.

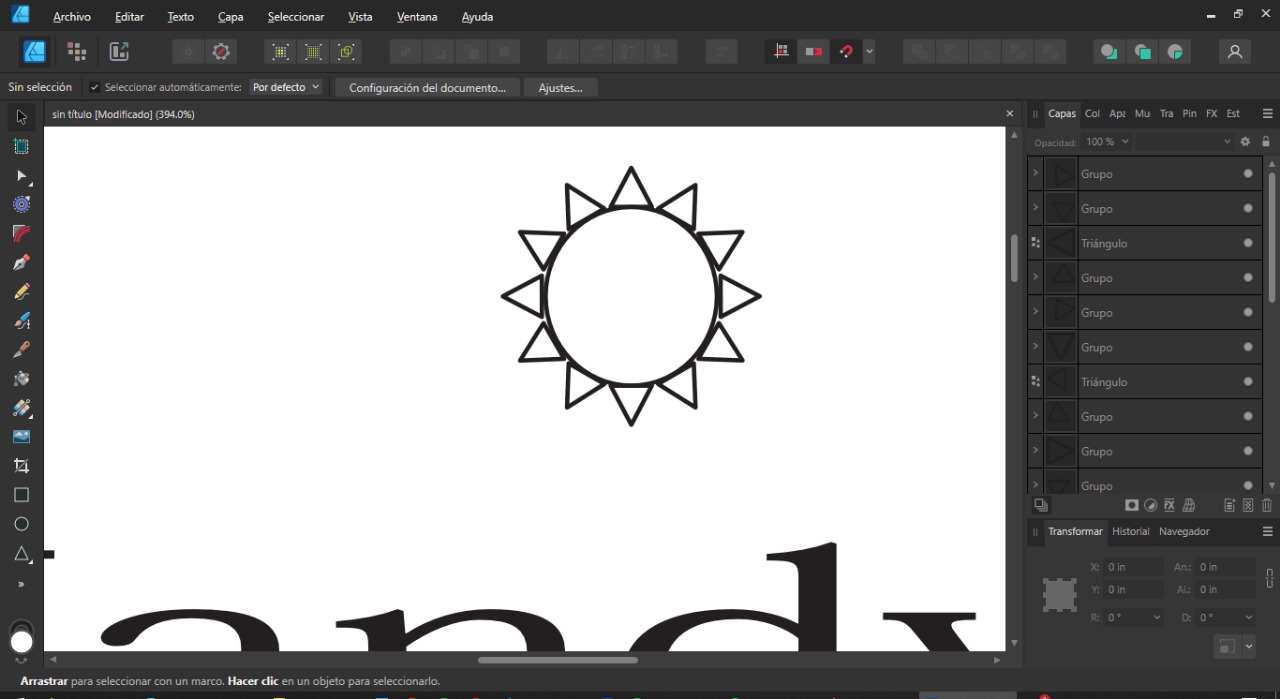
Then we need to create the uvc warning symbol, using a the circle tool and then the triangle, while havng the magnet button pushed click on the tarject button nearby and put the triangle origin in the center of the circle.
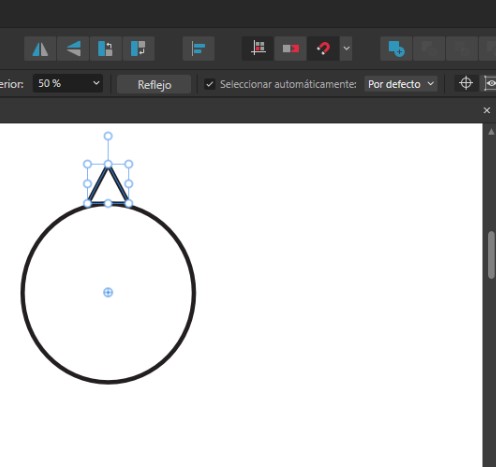
Use control+J to duplicate the triangle and using the rotate function cover the circle, if you press shift you will rotate a fixed degree to make it easier.
At last to change the color go to the color tab and select the desired objets, you can see next two the wheel other two circles that refer to fill and border color, opacity and recent collors.


Gimp
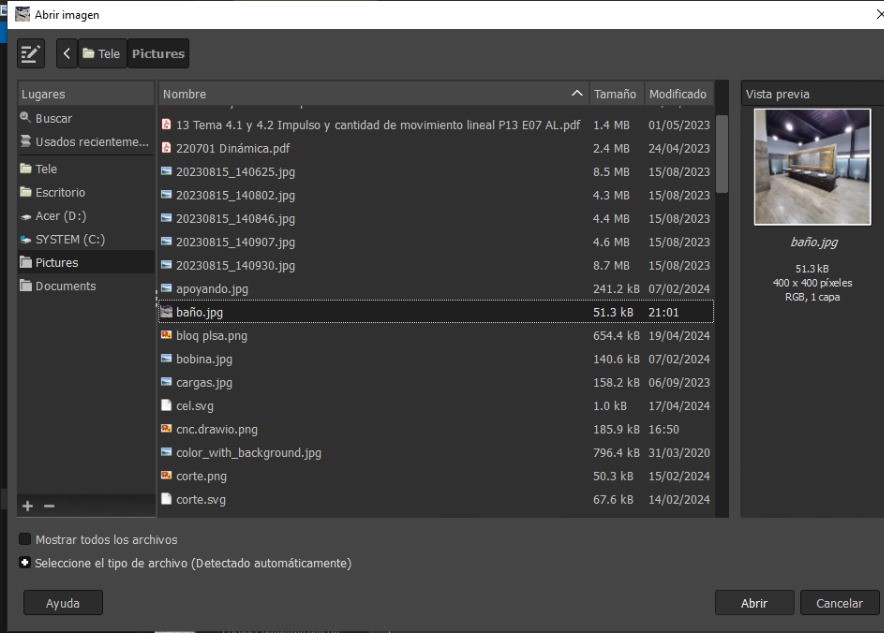
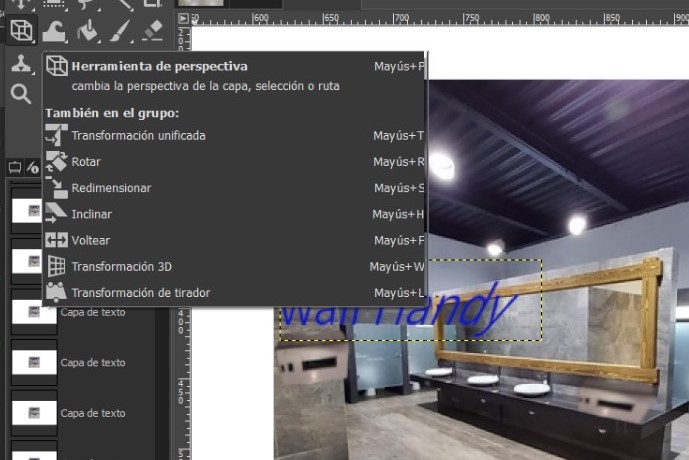
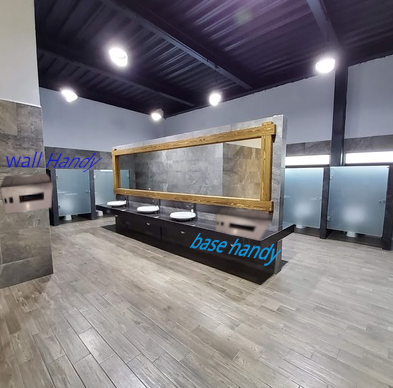
This image editor opensource is trying to imitate what Photoshop does, so i give it a try, im editing a public Commercial restroom to ilustrate the position of my final project.Go to file and open the images that will compound your edit, every time you open an image like that you create a new canvas, then create a new one in blank in the same file tab with the dimension desired.
Then using the free selection tool select the area of the img you want to crop, you can also invert your selction by right clicking invert.
Press control+c and control+v to take and paste the desired images in the white canvas.

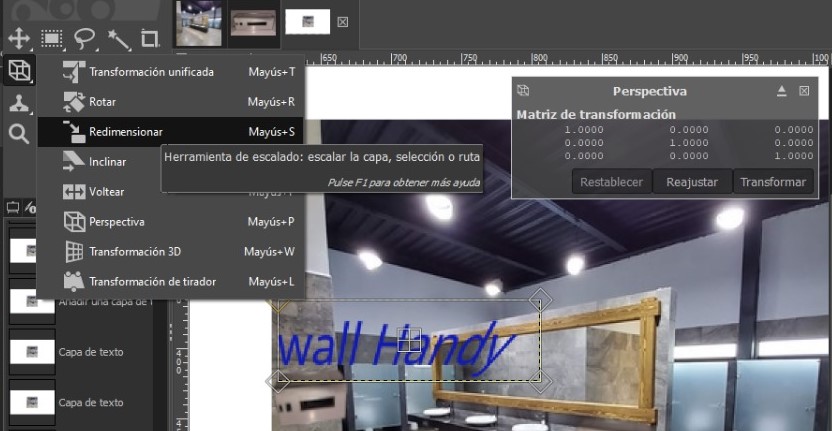
Then we have differen tools like perspective tool, so much easy to use than in other raster software, it gives perspective from the 4 edges of the square around your img..
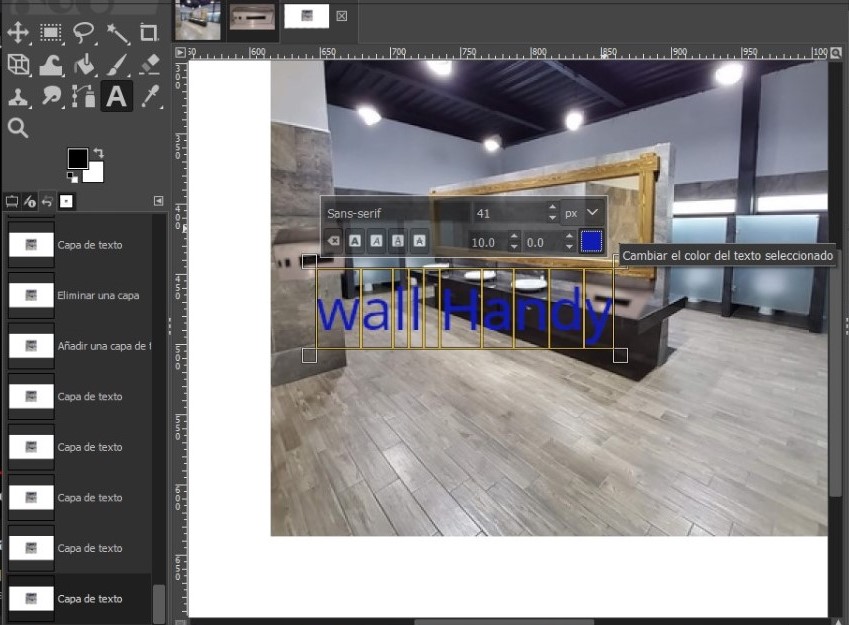
The add text tool opens a special tab to change the atributes of the text.
The resize tool allows you to make your img bigger or smaller as you desire, almost all the tools include a re-position box in the center.
Final Result:.xcf download
Final reflection
As for the 3D design tools Onshape still seems to me a good contender thanks to its 2 main strengths: open it on any device because it is in the cloud and does not require a powerful hardware in exchange for a good internet connection so I will use it to edit mainly on my laptop, while everything is easier to design when you use solidworks, unfortunately it is a bit expensive but very powerful, in the 2D field I was surprised by the qualities of Inkscape I think it offers you more than affinity designer and that is free, while gimp to be an opensource tool is not that bad, you can get results similar to those of photoshop.