Buzz, Buzz, Buzz!
What does it do?
As you might remember or previously read on the Electronic Production assigment, I was creating a PCB that uses an ATtiny45 MCU to make a buzzer go beeep! You can see the process that led to having the actual board on my hands, this post is going to have the programming and testing process.
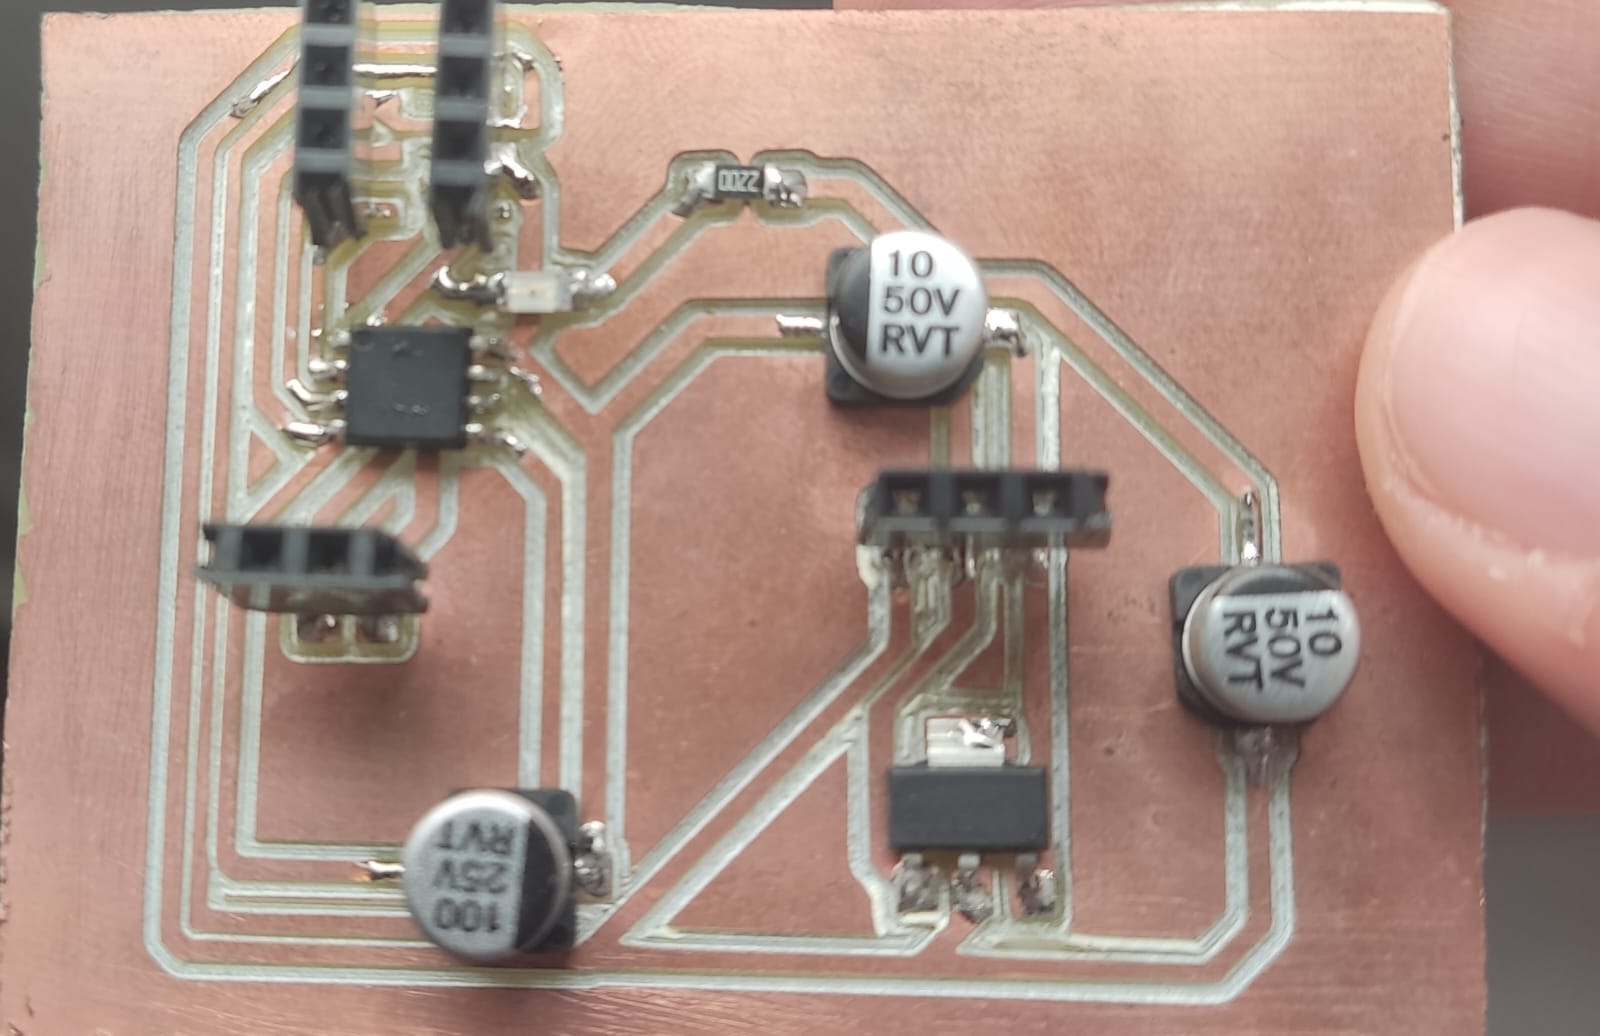
So, the first step is to program the board using an Arduino Uno board. It's one of the many ways to code an ATtiny45, but this one is one of the most straighforward ones. We need to connect the PWR and GND inputs (leg 8 and 4 to the GND and PWR inputs of the Arduino board), as well as the MISO, MOSI, and SCK inputs (legs 5,6, and 7 to the 10,11,12,and 13 inputs of the Arduino board).
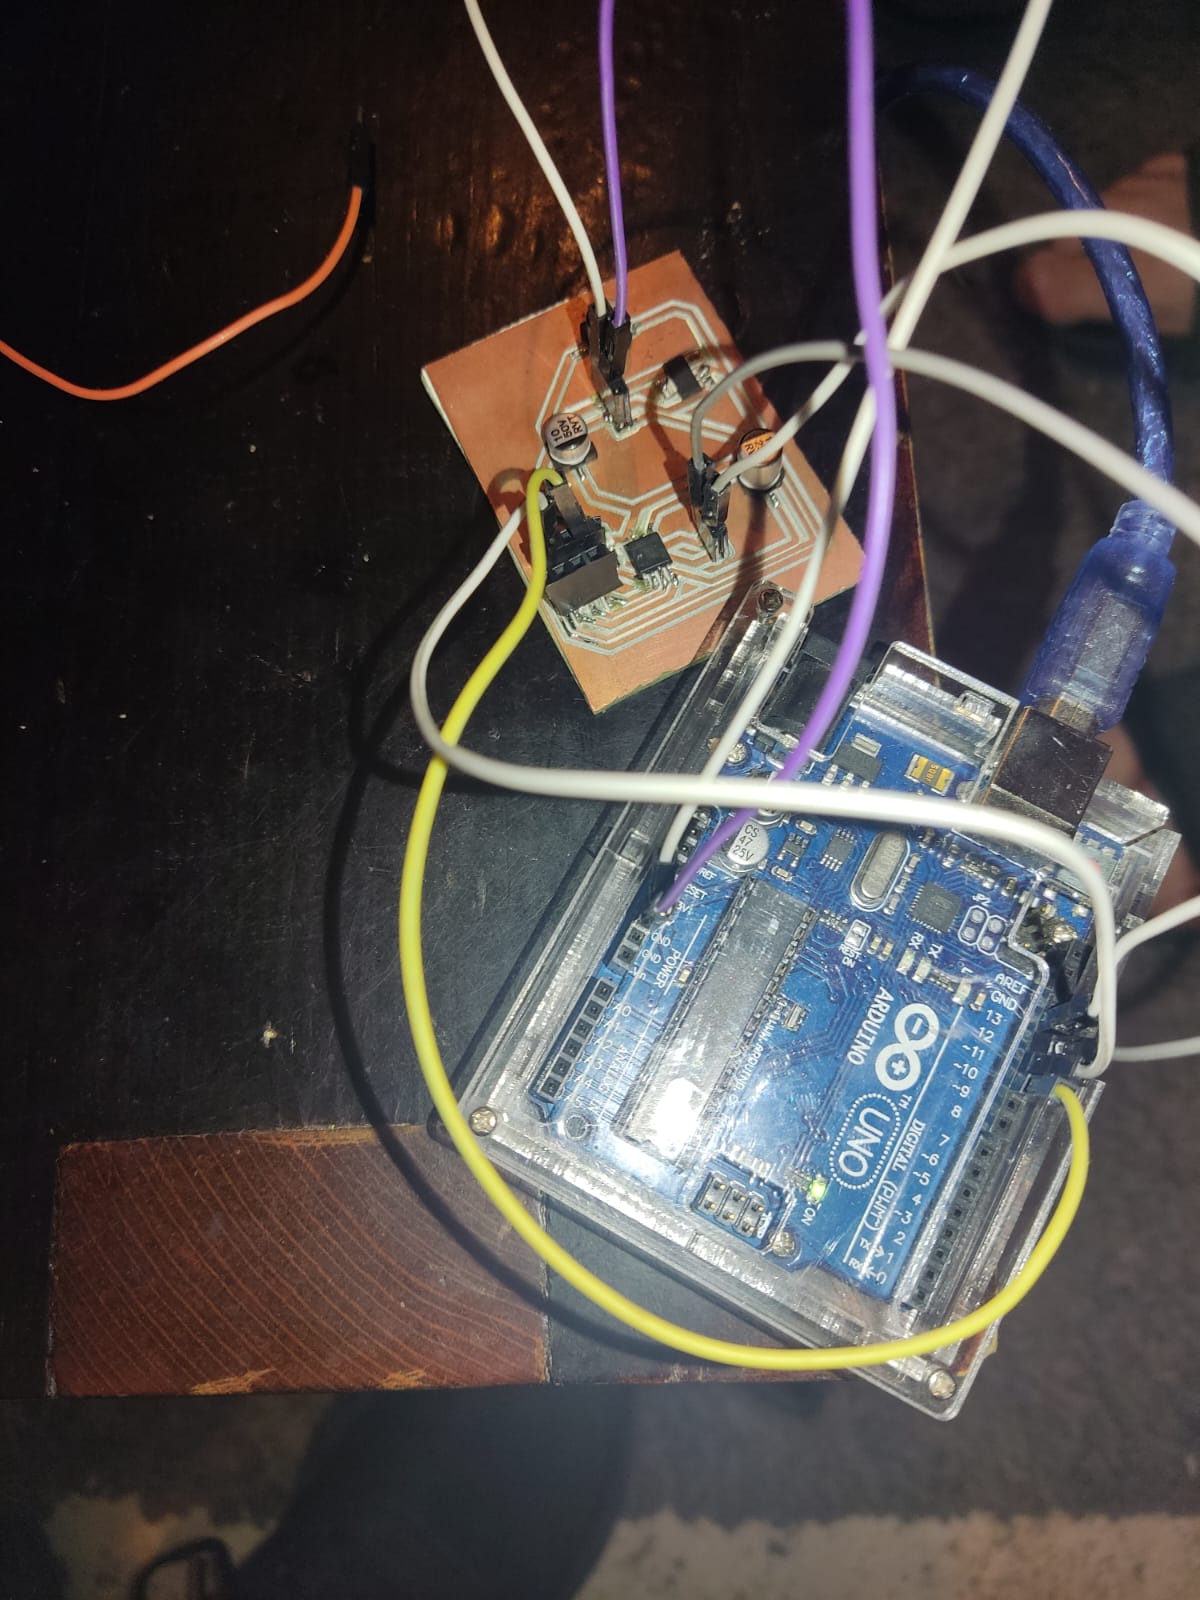
Then it was a matter of loading the program in so it can be configured in the Arduino fashion, and then the basic buzzer code.
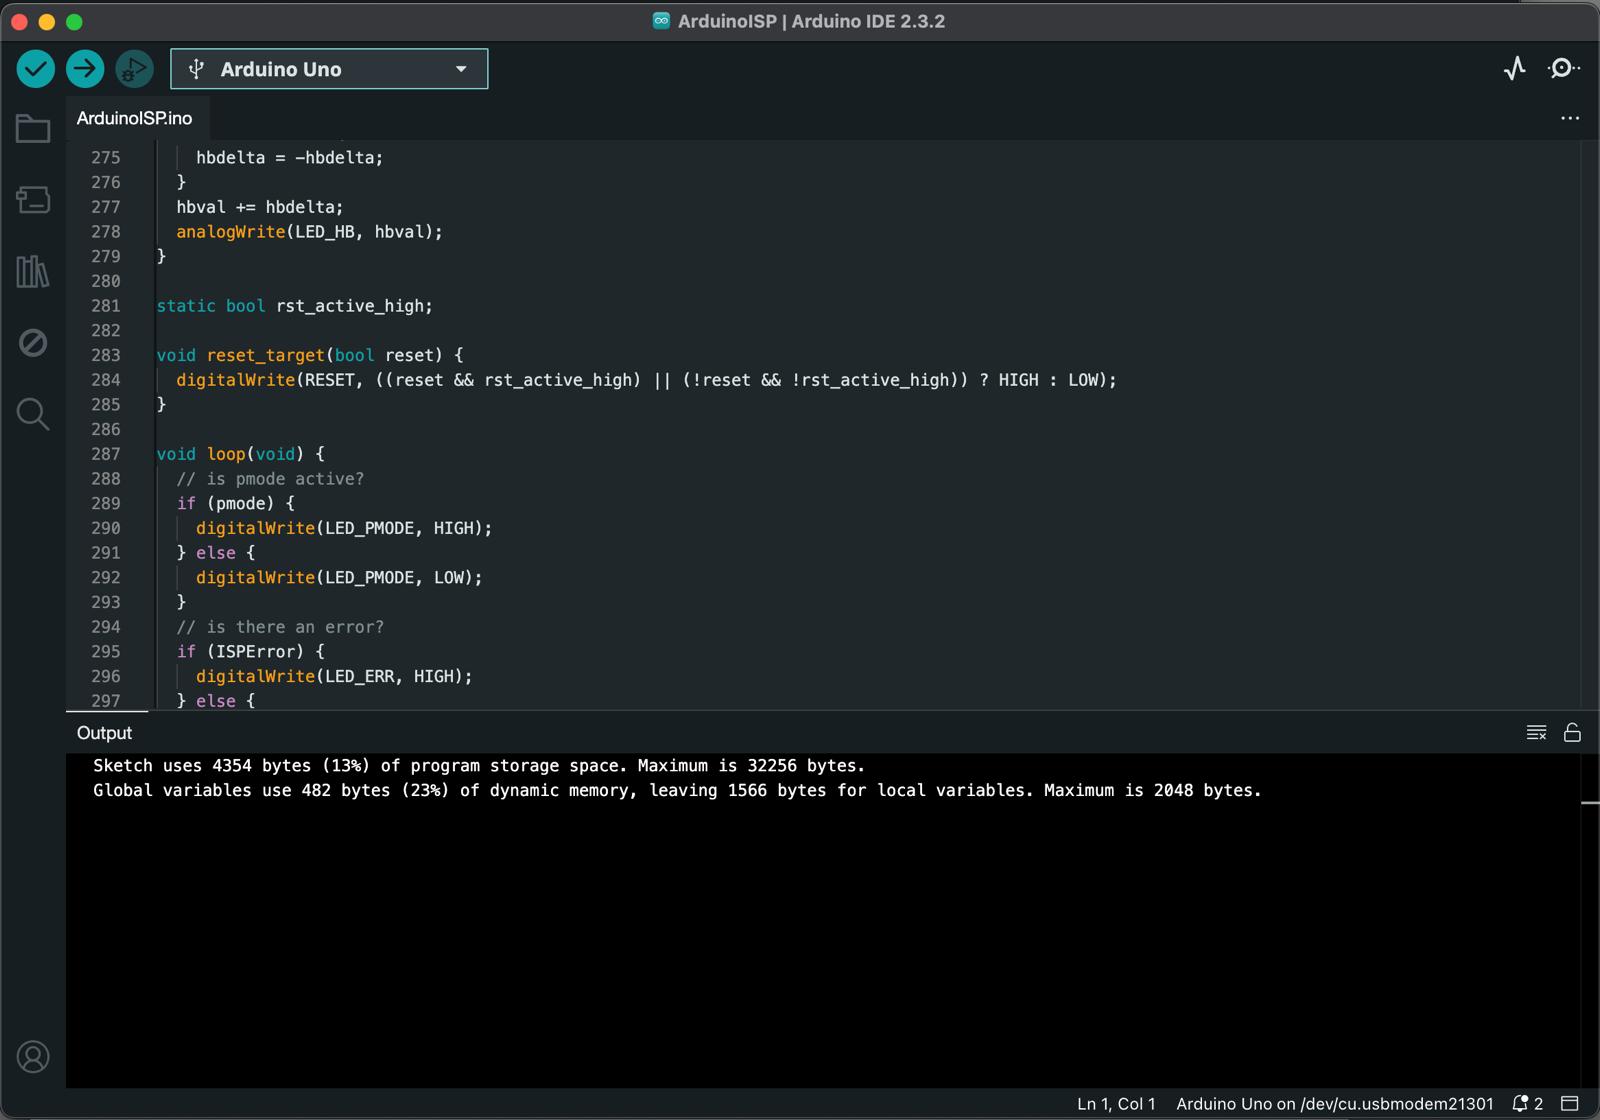
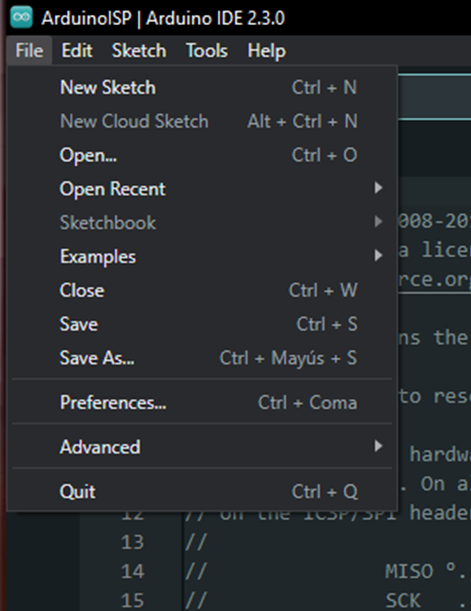
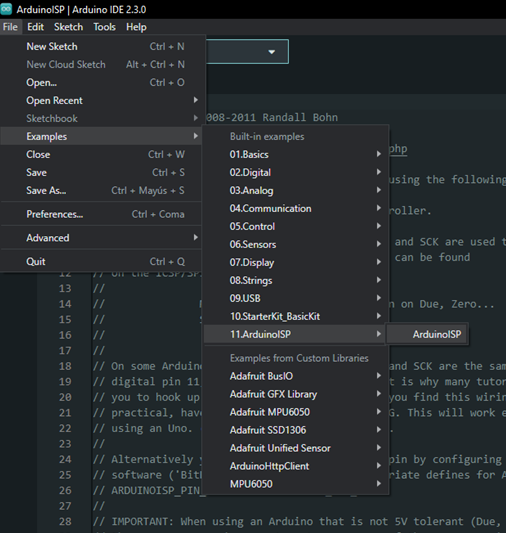
This is the first code, which is the Arduino ISP, used to configure the ATtiny45 for Arduino coding language use, now, I'm going to put this code in the file list at the bottom of the page, but you can also get it in the .INO app on your computer by clicking Files>Examples>Arduino ISP>ArduinoISP. This will open up the example in the app for you to use.
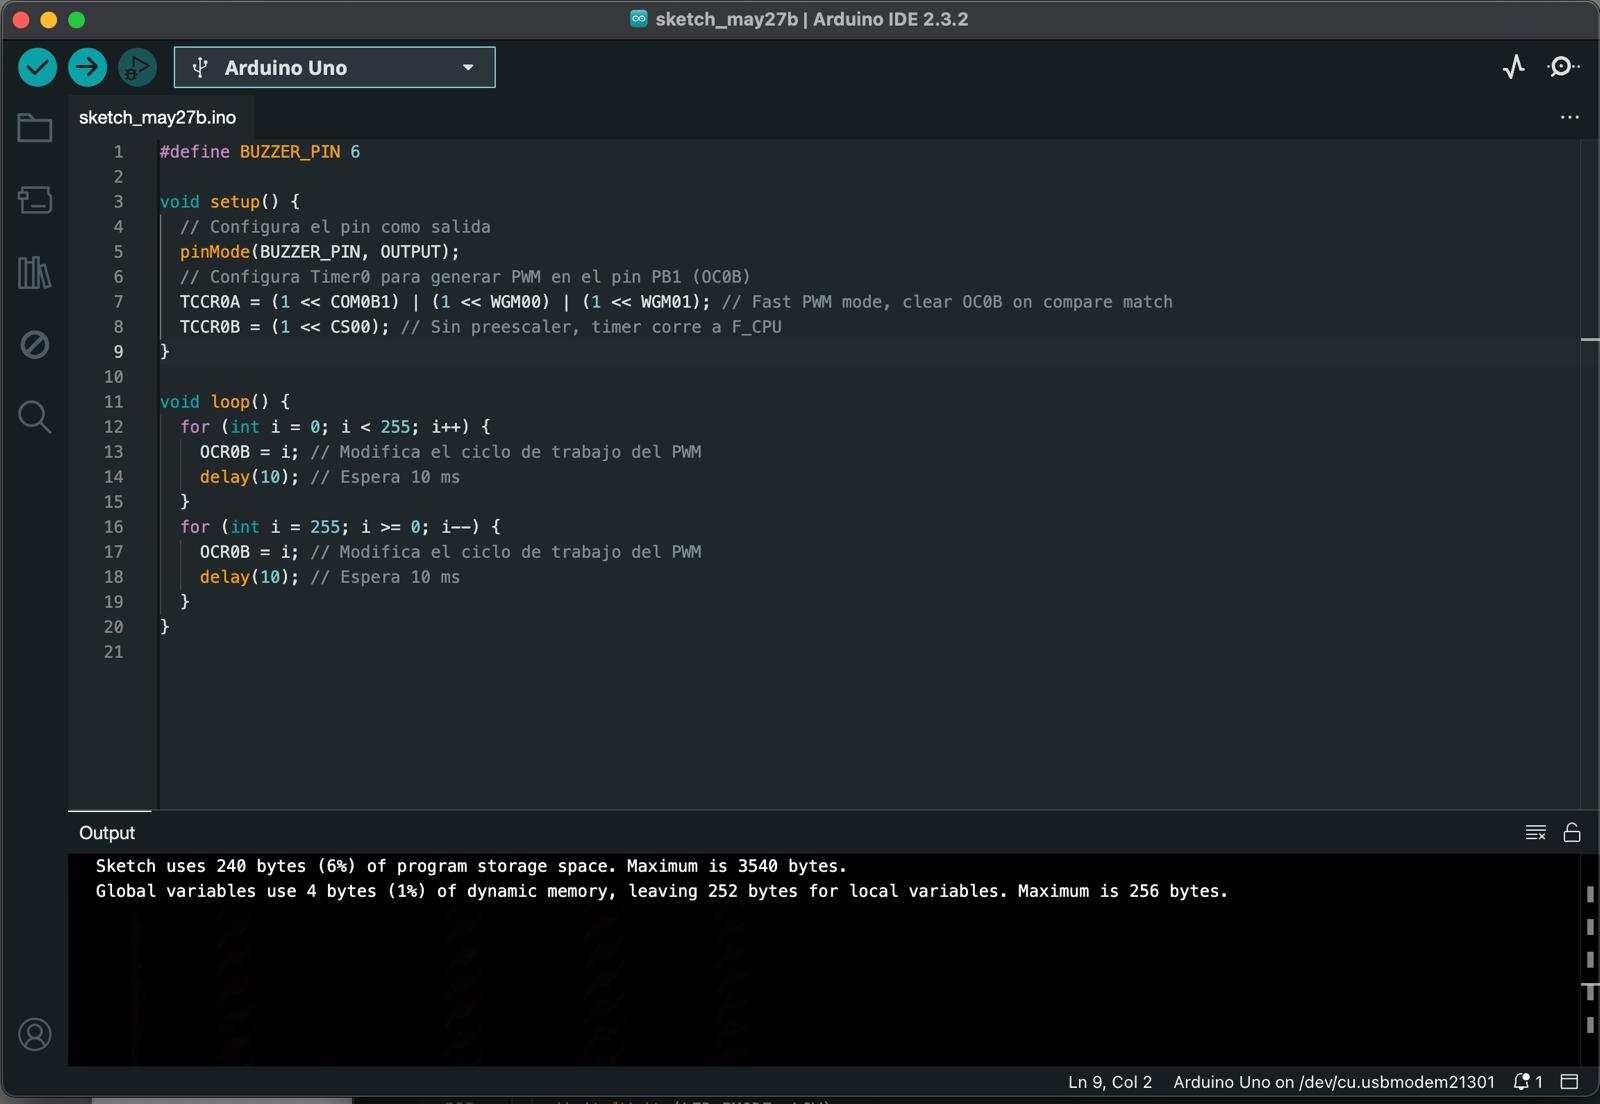
Now we use the other code, which is used for configuring the buzzer, now in this way as soon as the buzzer is connected and the PCB is powered, the buzzer is going to go off and make a curious sound.
Sadly, I couldn't record the board with video, only audio, as the board kinda broke, but let me tell you, the buzzer is LOUD!
Sounds, imaging, there's a lot to do!
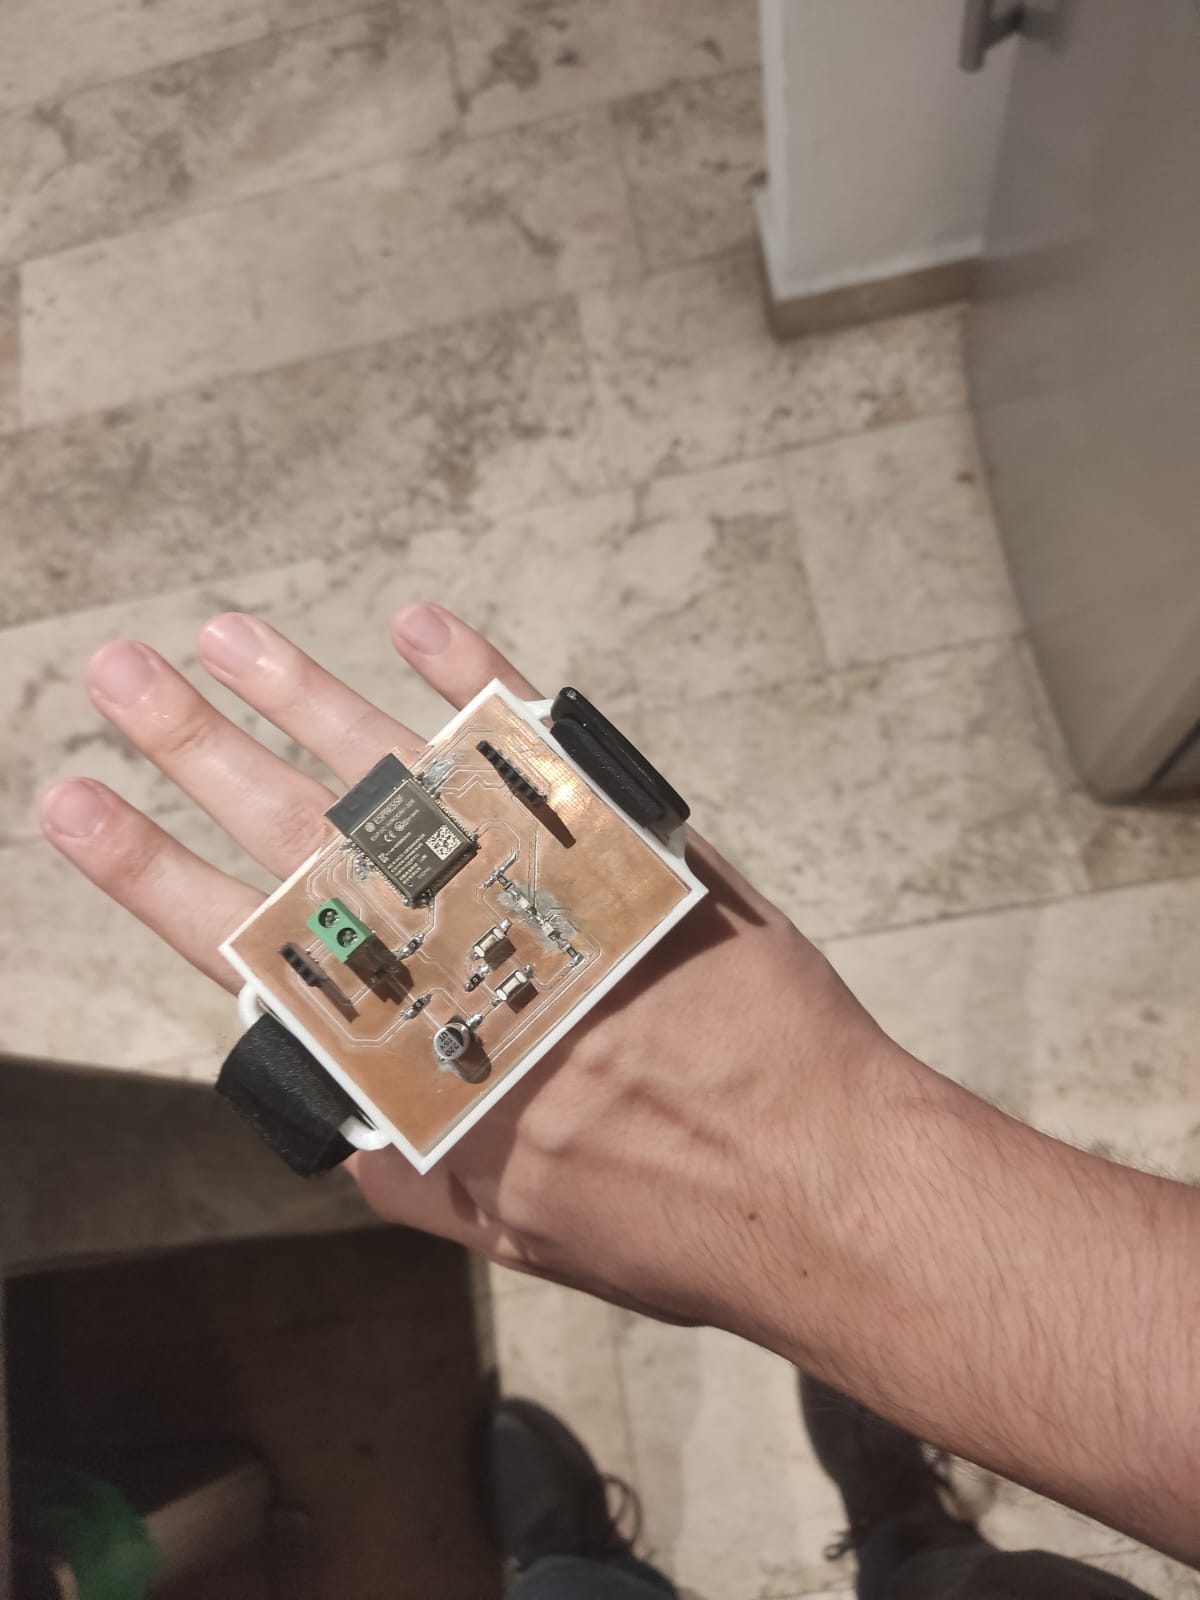
I had another idea for this assigment which is a PCB directly related to the final project, essentially it will be a buzzer module that interacts with the project's main PCB by receiveing its MOCAP (motion-capture) data (X and Y axis angles) and making a sound whenever the user moves it on a certain range of values.
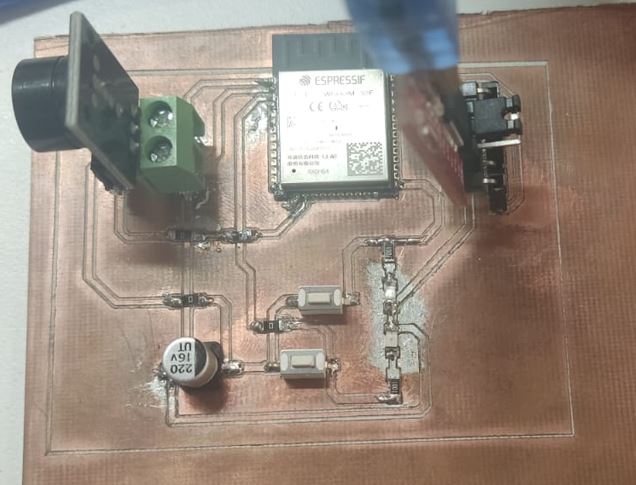
This time I will be using a different approach with PCB connections, using the same buzzer module, this board will be directly connected to the project's main circuit and act on real time as the process goes on.
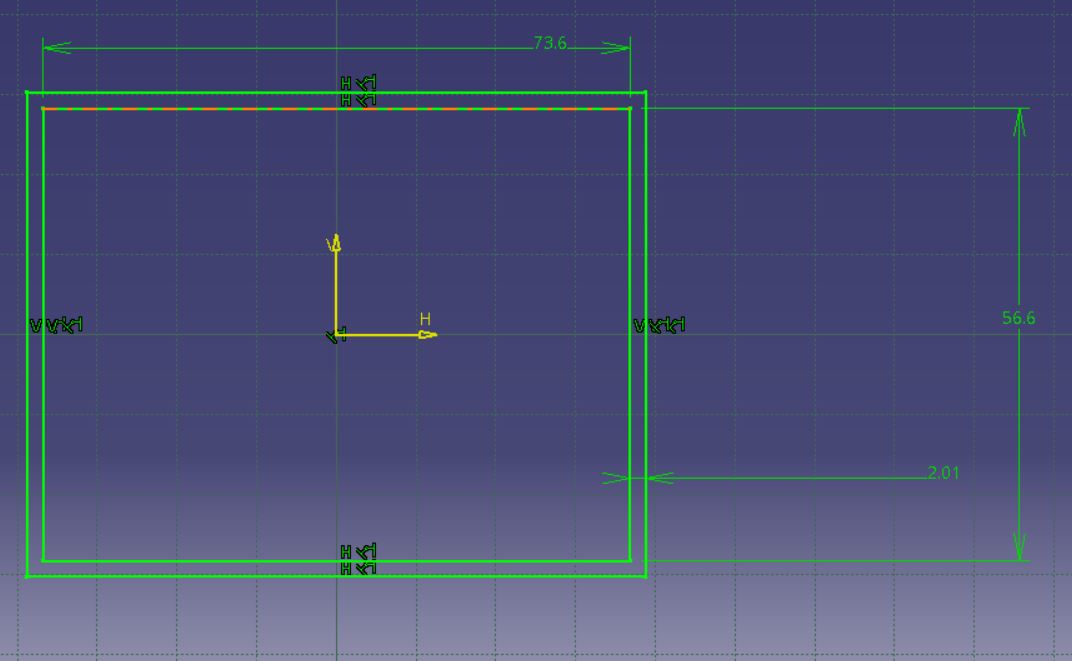
Here's the design I used.
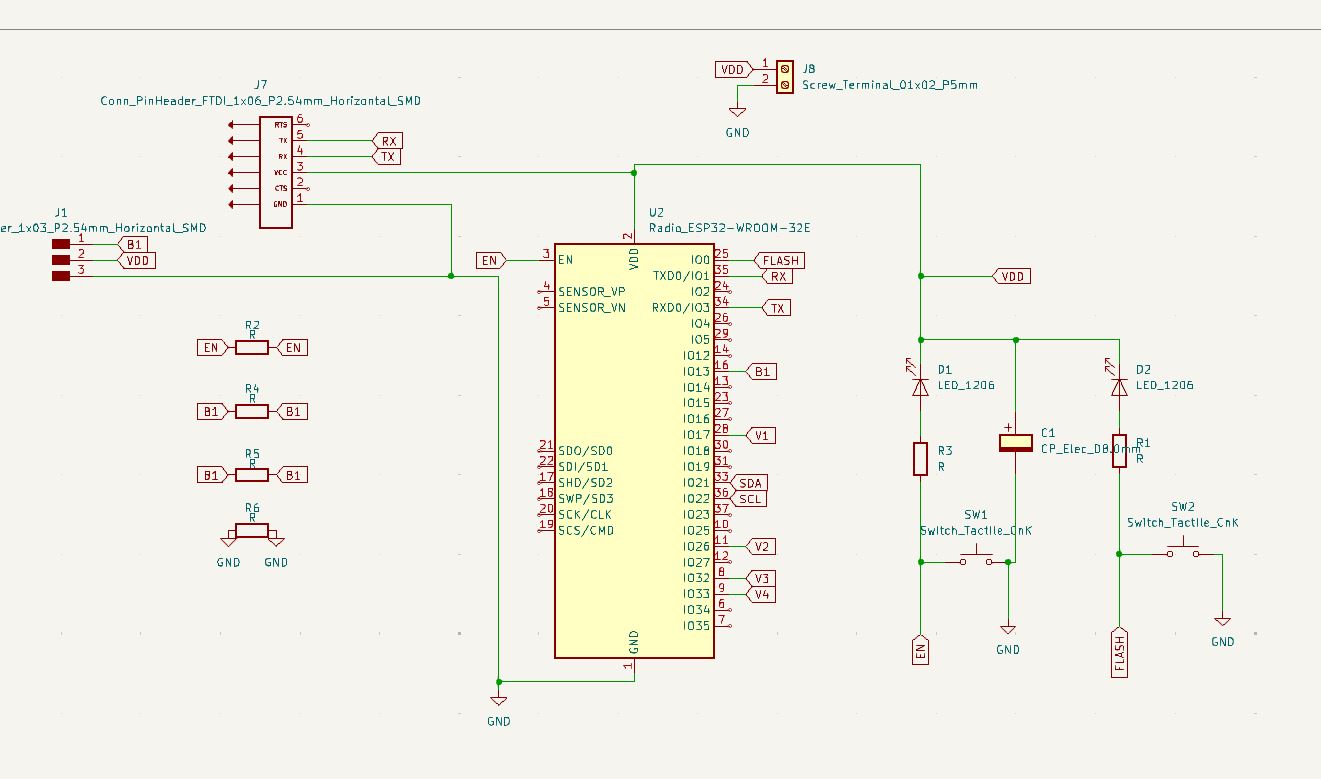
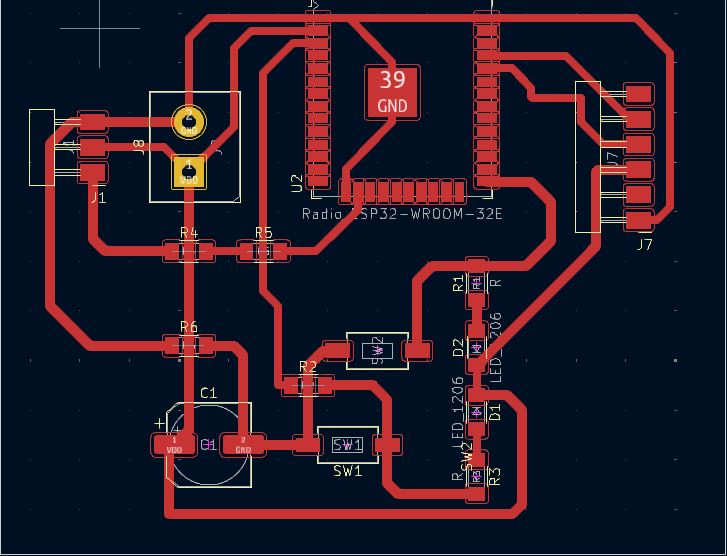
Quick trip to the mod editor to get the SRM-20 2D PCB Miller G-code and voila! A PCB is to be carved and cut.
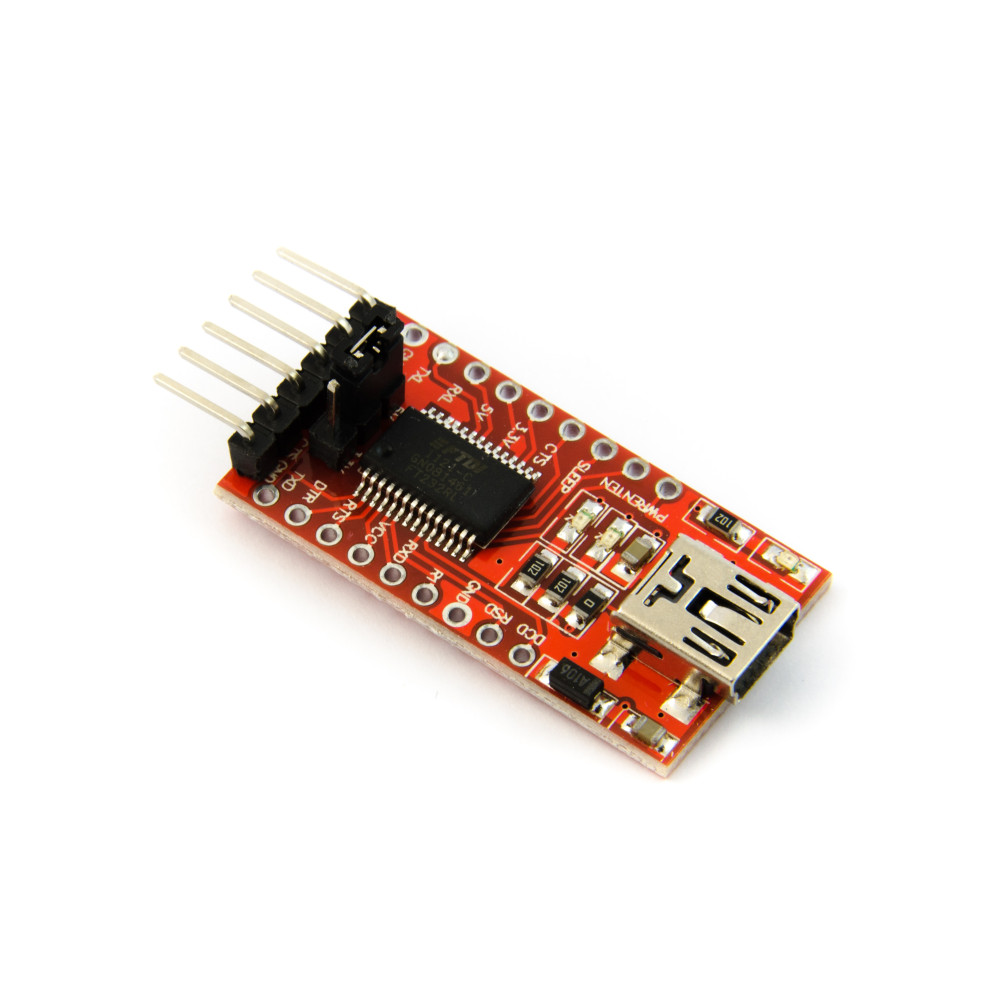
After that, we got some soldering and some basic testing to see if the PCB ACTUALLY WORKS, is just a matter of hold-clicking the BOOT and RESET buttons as a code is uploaded into the board thanks to the FTDI programmer (device used for ESP32 programming with Arduino INO), the code is also down below.
Now that we know the PCB boots and powers up properly, we are load up the proper code. As I told you before, this is directly linked to the final project, the input devices weeks as well as the interface week, so I recommend you check them out for additional information.
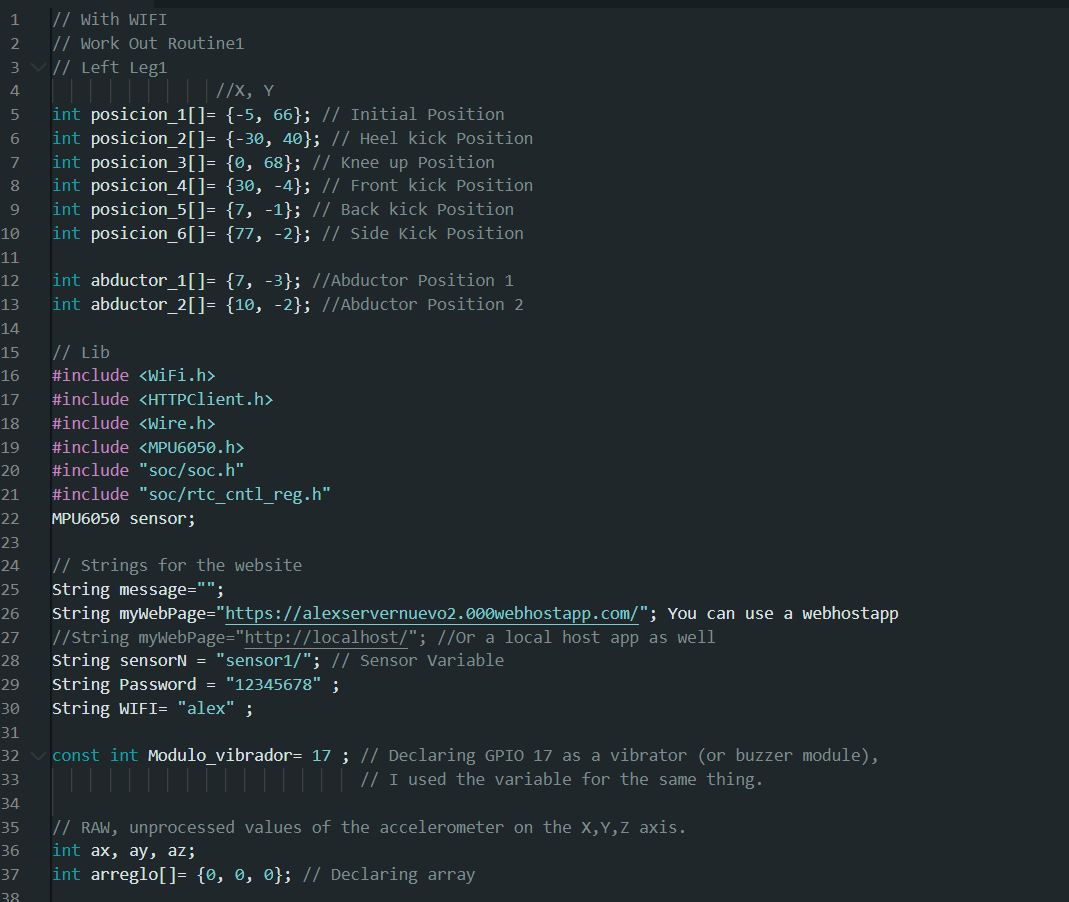
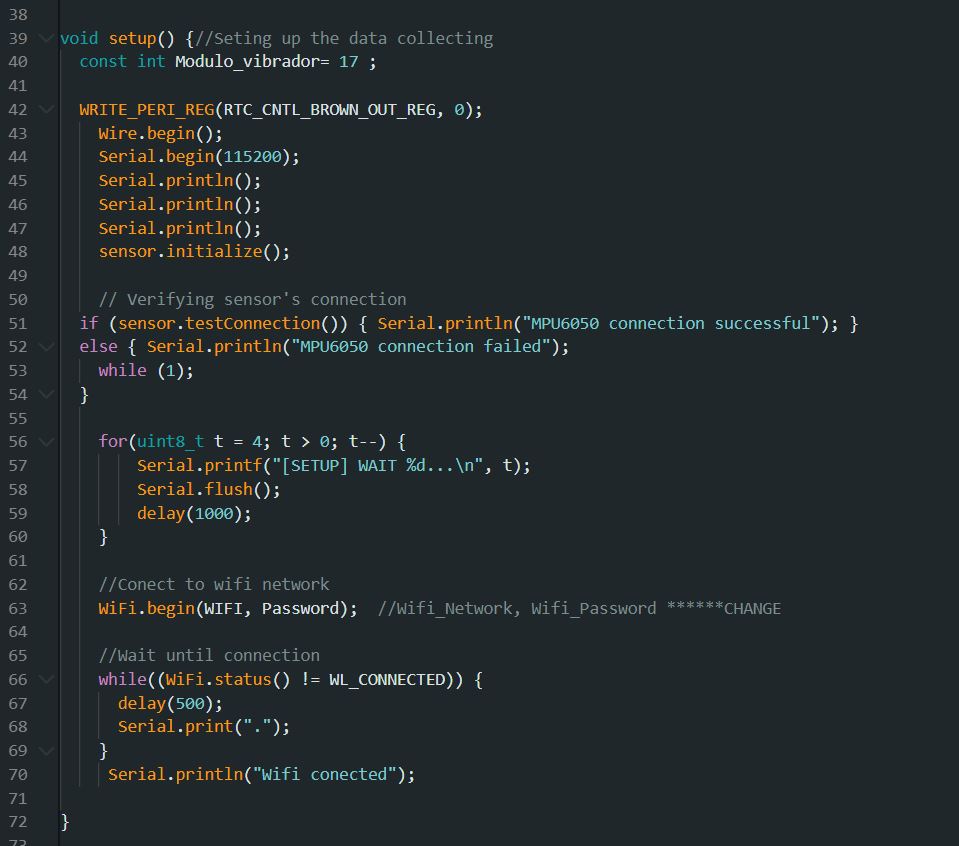

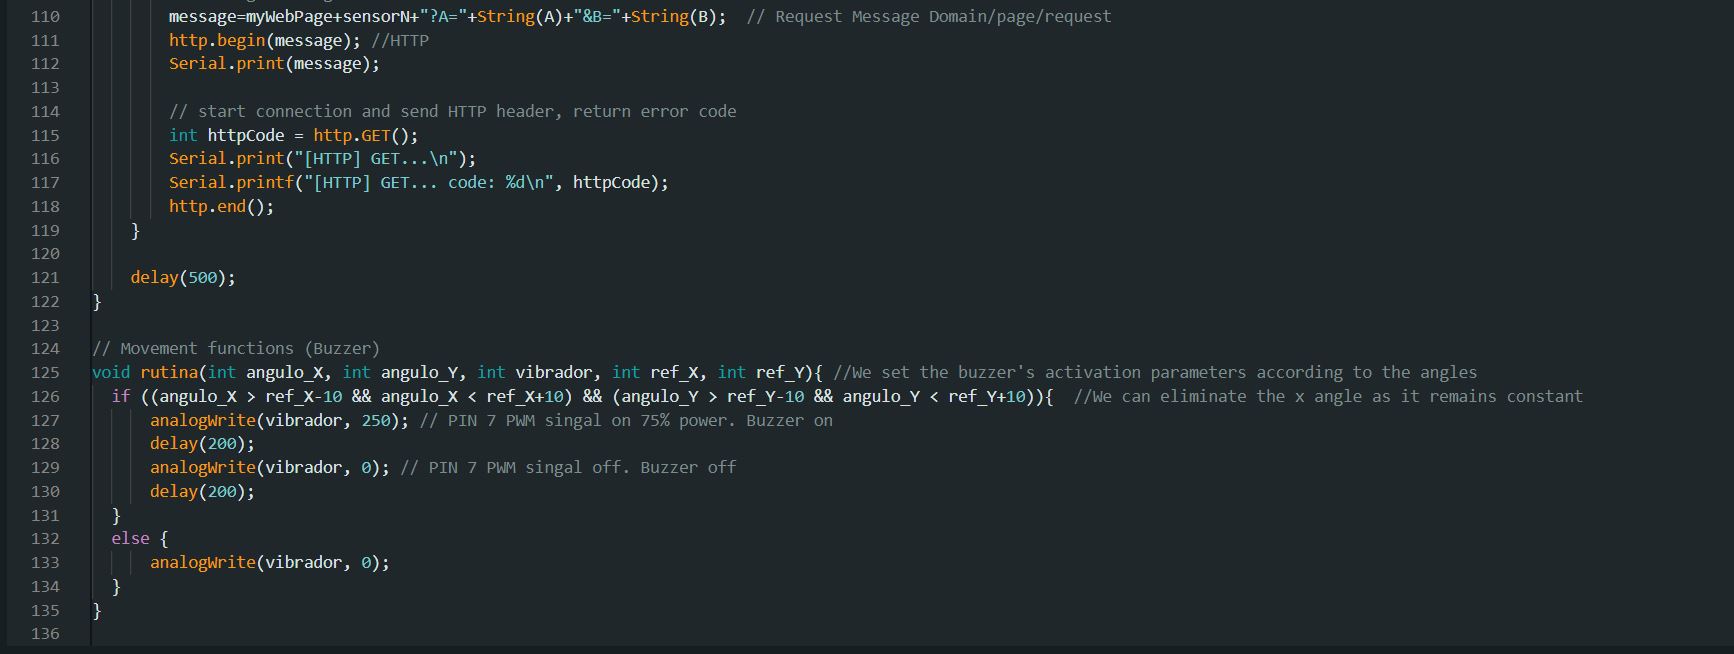
This code is the one that gets the codes and programs the routine for the buzzer to be activated.
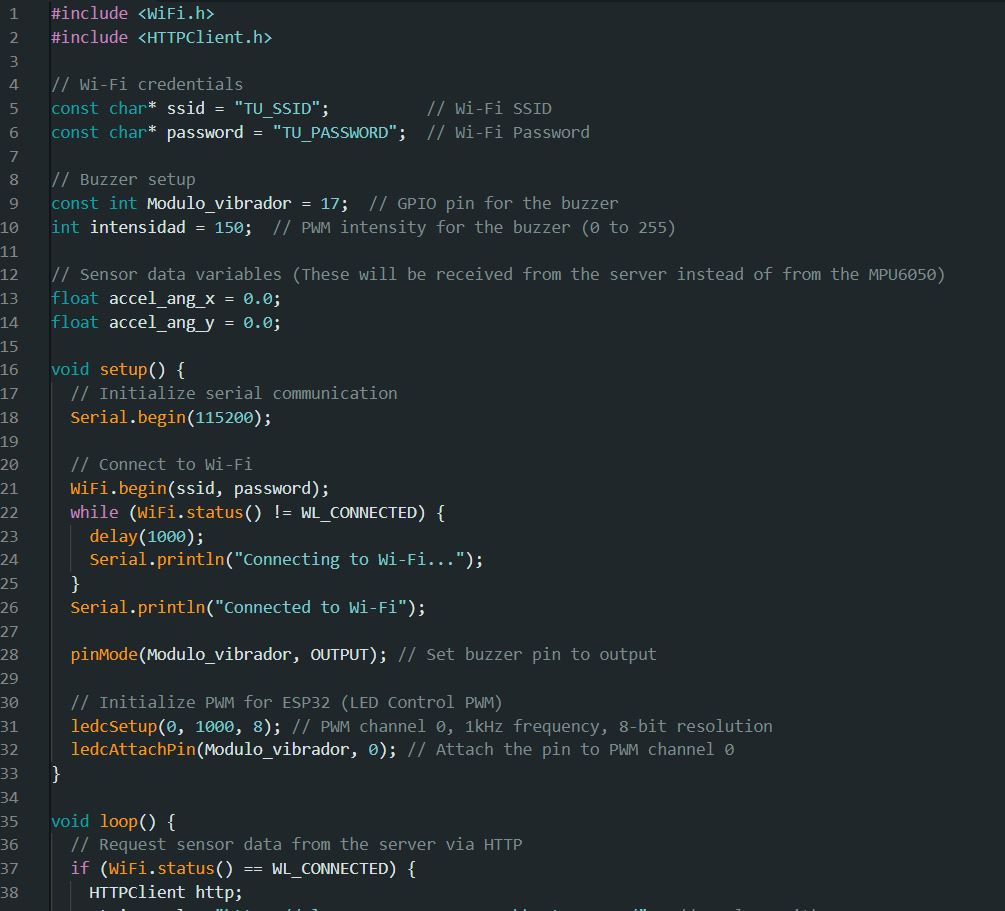
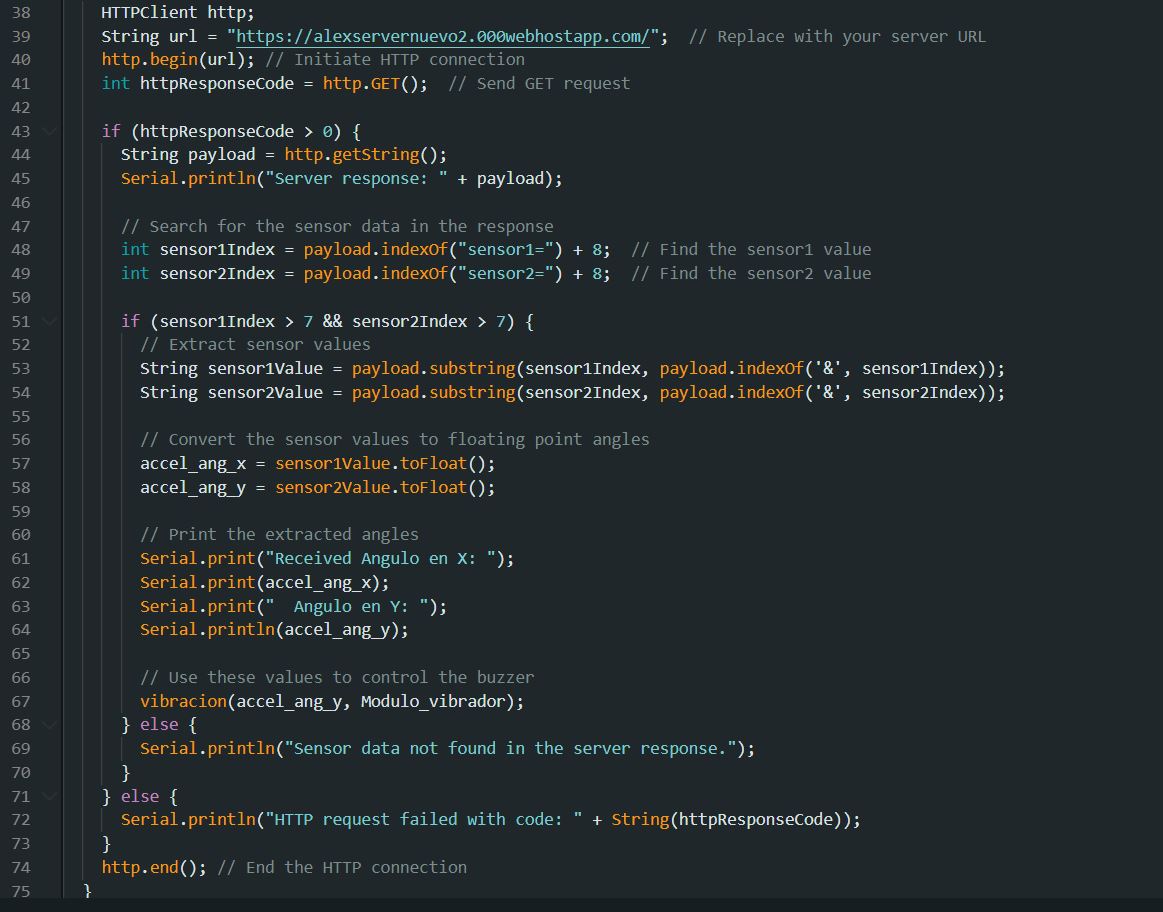
This code is the one that request the data from the URL that was sent.
And this is the video where all this came to fruition.
The response might be a little delayed, but the buzzing sound stops whenever the sensor "senses" (sorry i'm a dummy) that the deviced hasn't moved, so it assumes that the subject has stalled.
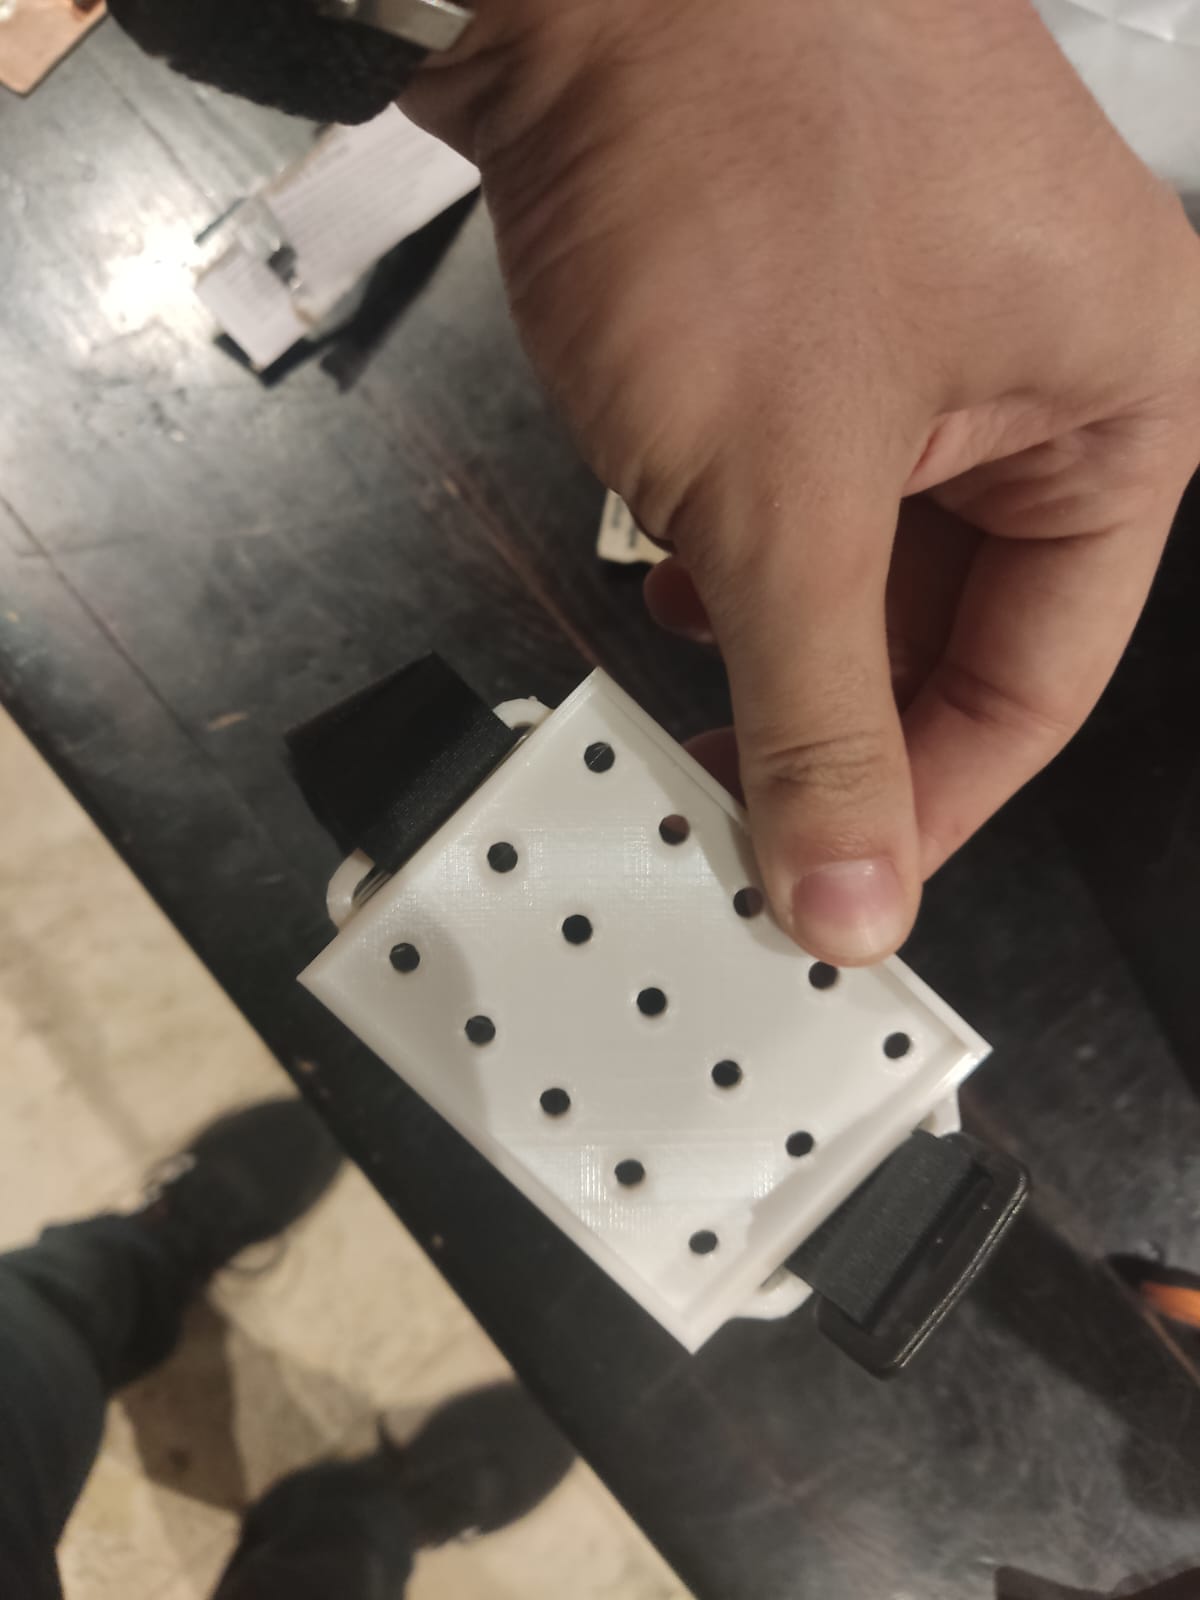
After the testing was concluded, I went out and sliced the PCB from its copper plate and designed a brace to print out in 3D so wielding it could be easier and comfotable.
Using input devices taught me that there is no easy way of approaching data processing and data gathering at the same time, also, precision is highly important, in the first test runs, the devices had terrible angle detection, terrible delay, and a lot of noise in between reads, so getting familiar with the sensors you are going to use is very important, find out different ways to approach the situation of programming and building a board to use. Something super important, have patience, I could tell you about all the times I was ready to drop the assigment out of pure frustration with the building process of the PCB, specifically with the tracing part, as the machines used in my university were innacurate. So, patience, persistence, precision, knowledge, and a "lets have fun" kinda attitude. I wish you all the best!